WELCOME MY INCUBATOR PAGE
When I set out to have a backyard flock I wanted to do it a cheaply as possible. This meant using recycled materials for the coop where I could. I used the same concept when building an incubator.
So, I started by doing a ton of reading here on BYC and other sites on the web. Once I understood the basic concept of incubating and the purpose of an incubator I set out searching the house and shed to see if I had the materials laying around.
Here is what I was able to find:
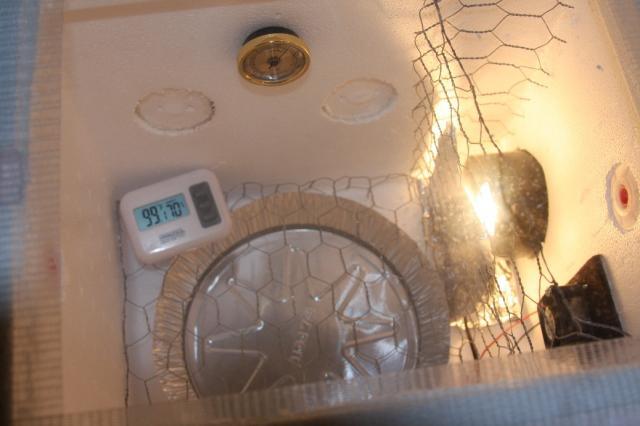
- An old cooler ($0.00)
- Chicken wire ($0.00)
- An extra light fixure for a curio type cabinet ($0.00)
- A pie tin ($0.00)
- A fan from a broken power inverter ($0.00)
- A transformer from an old cell phone charger - 12V to power the fan ($0.00)
- A hygrometer from a small cigar humidor that I never used ($0.00)
- Glass panel from an old picture frame ($0.00)
- 60W Light bulb ($0.00)
- Digital Thermometer (Wal-Mart $6.50)
- Shelf liner (Dollar Store $1.50)

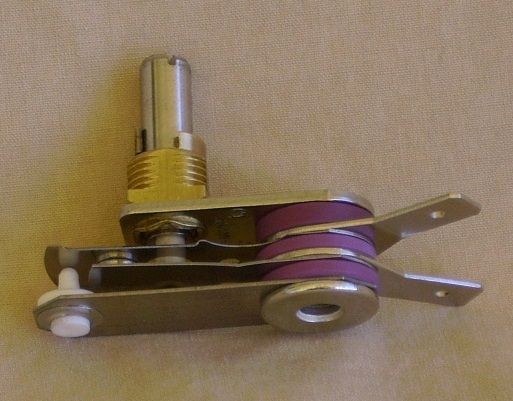
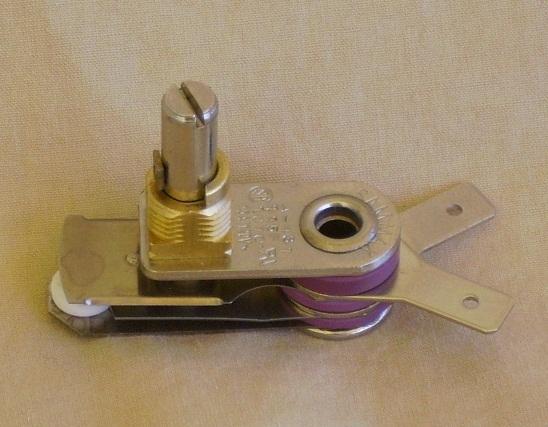
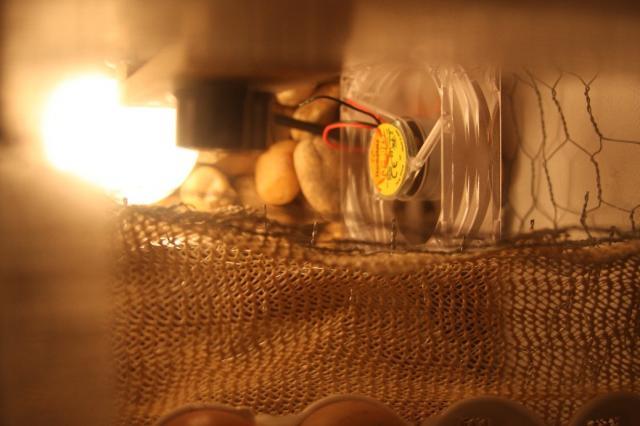
Once I built the bator I tested it out. It did not take long to learn I could not maintain the heat levels I wanted; so I turned to the folks here on BYC. BYCer “rickerra” (BTW: THANK YOU VERY MUCH!) suggested I add heat sinks and a thermostat which I did with great success.
I added a Thermostat (Ebay $16.00)
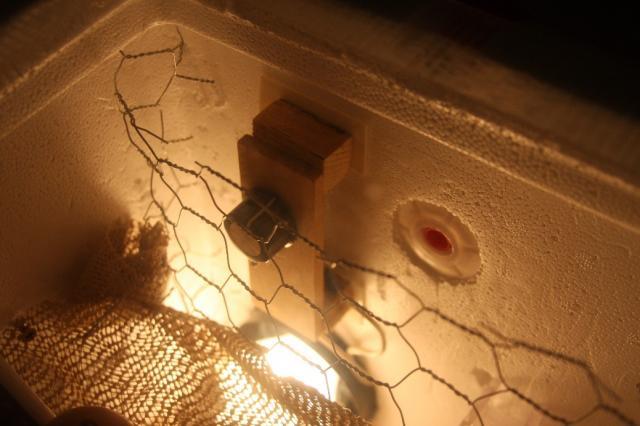

I replaced the small fan with a larger computer fan (Radio Shack $9.00) for better air cirrculation (Note the river rocks in the pic. They were pulled from the yard, scrubbed and sanitized and serve as my heat sink)
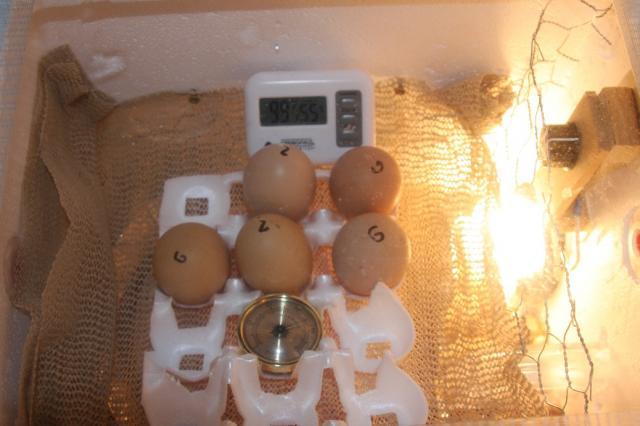
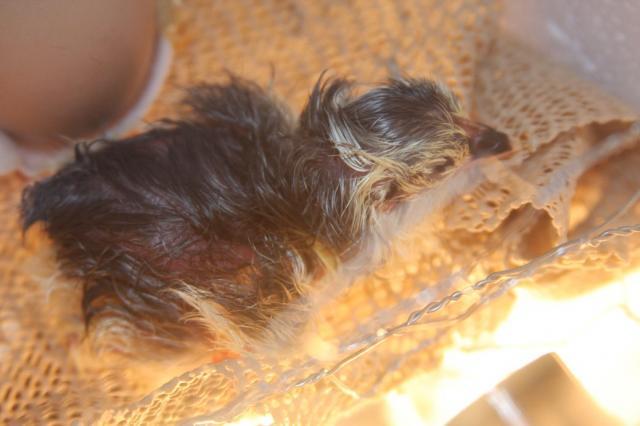
These eggs were my first ever hatch (They were shipped eggs, which really took a beating during shipping; I got one chick out of the bunch):
LESSONS LEARNED
One of the first things I learned was that I did not like the way I had to open the bator to add water. This has been fixed but adding a tube which I can add water to the tray (Tubing $0.00 - shed).

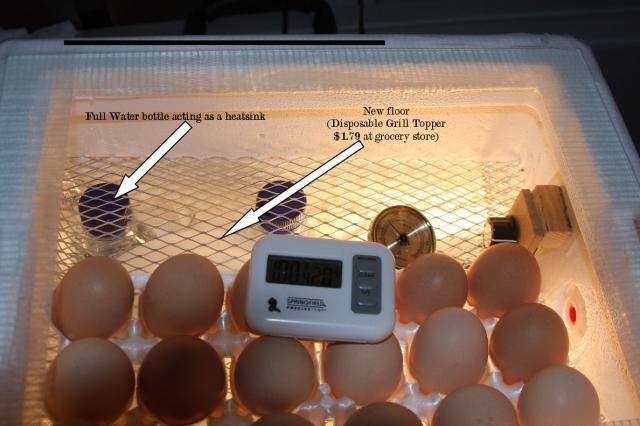
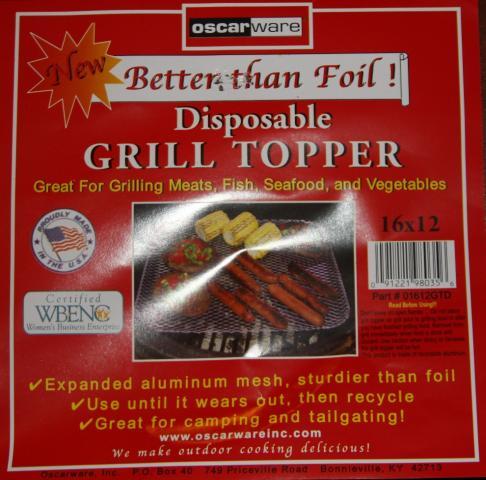
Second: The chicken wire floor was not very stable and if you look at the second image above you'll see I also had chicken wire to serve as a wall so the chicks would not fall into the light or fan. Well, soon after hatch the new chick placed it's head through a hole in the wire. It did not get hurt but left me with an uncomfortable feeling. So I replaced the entire floor with a disposable "Grill Topper" from the charcoal section of my grocery store (Publix $1.79). This gave me a sturdy floor and still allows air flow. This set up also allows me to get a bunch more eggs in the bator; there are 18 Blue Barred Plymouth Rock eggs in the bator as this is being written. In the below image I am using filled water bottles that serve as both my floor support but also as heat sinks.
A word of warning about the grill topper; the edges are a little sharp; but at lockdown I'll insert the shelf liner on it which will provide a cushioned and grippable surface for the chicks.
I'd love to build an auto turner but I don't have the know how and frankly it would be an added expense. To turn the eggs I simply place a small piece of lumber on either side of the bater; turning all eggs at once - this basically mimicks what an auto turner does.
Total cost to date (I know all the items cost money but for this total I am not including recycled items nor am I including items that were laying around the house):
- Digital Thermometer (Wal-Mart $6.50)
- Shelf liner (Dollar Store $1.50)
- T-Stat (Ebay $16.00)
- Fan (Radio Shack $9.00)
- Grill Topper (Publix $1.79)
