The Chicken Country Club
Extreme Makeover!
began July 2010, complete (?) May 2011
Extreme Makeover!
began July 2010, complete (?) May 2011
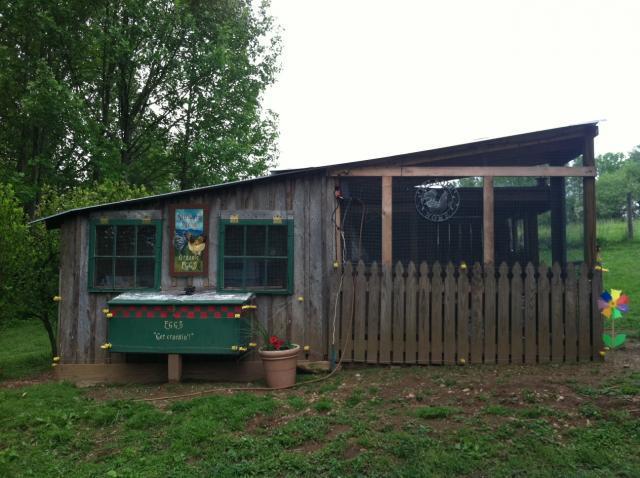
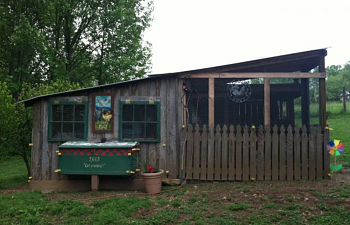
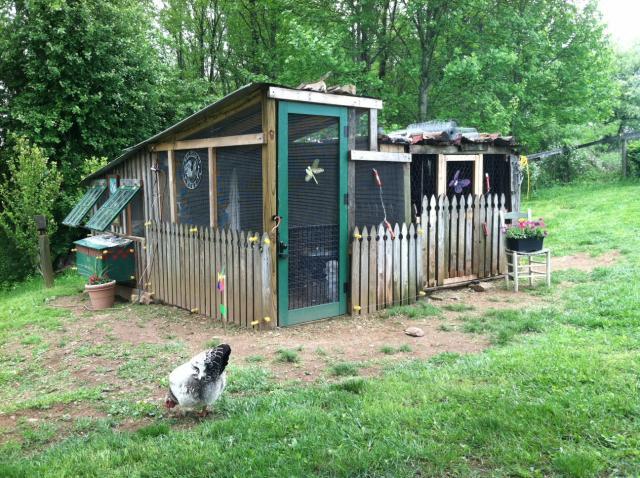
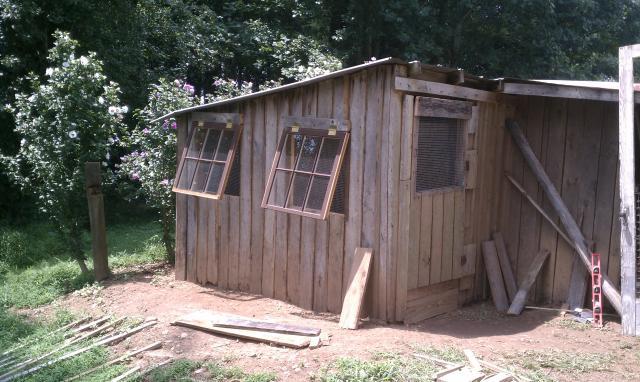
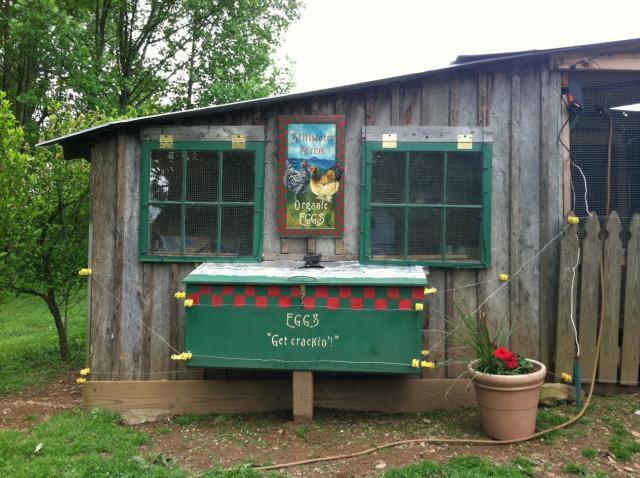
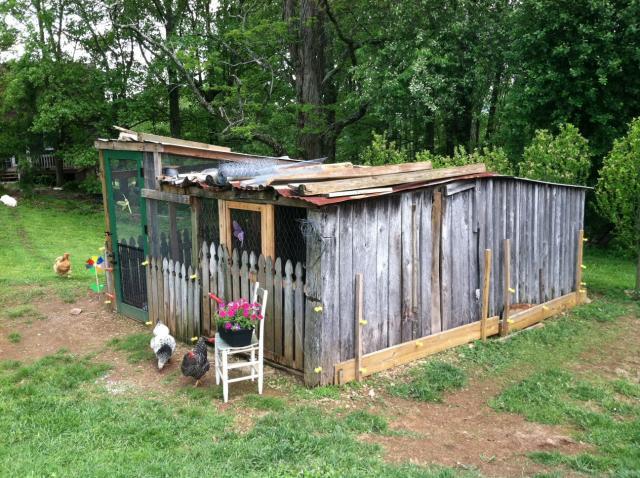
This is our coop remodeling story. Here is the finished (are coops ever really finished?) product.
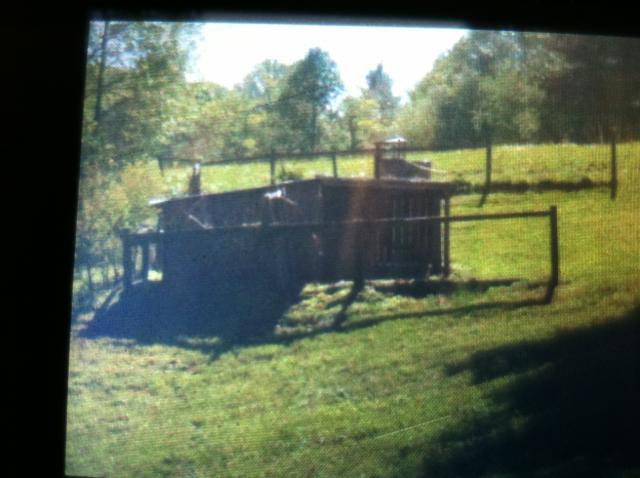
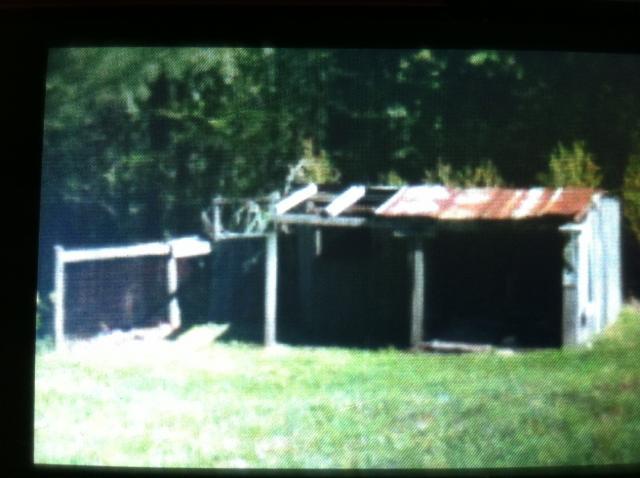
We started with an old 8' x 16' shed used as a chicken and/or dog house by previous owners (below), but now falling in and unstable. The 'door' wouldn't open. Boards were rotting and falling off. There were multiple bees' nests to deal with. Weeds were overgrown in the fenced area. There was only a dirt floor, no roosting poles, and one window covered with broken, rusted chicken wire on far side. It was dark inside.
BEFORE:
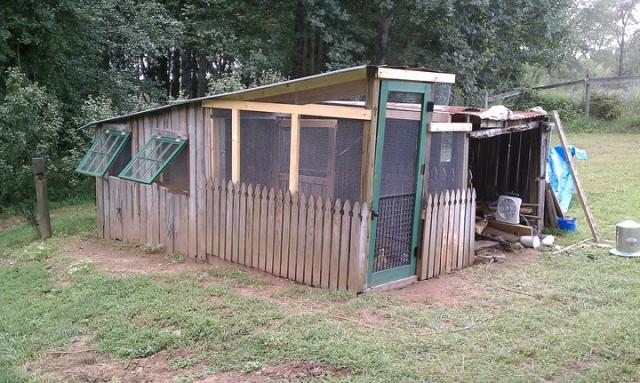
AFTER!!
Here is another picture of it the first time we saw it!
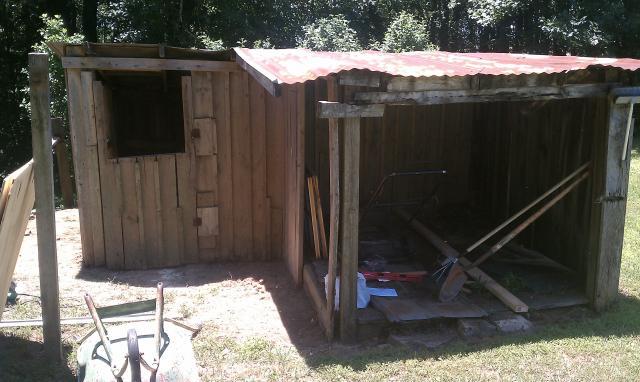
Side view, BEFORE:
Side View, AFTER!
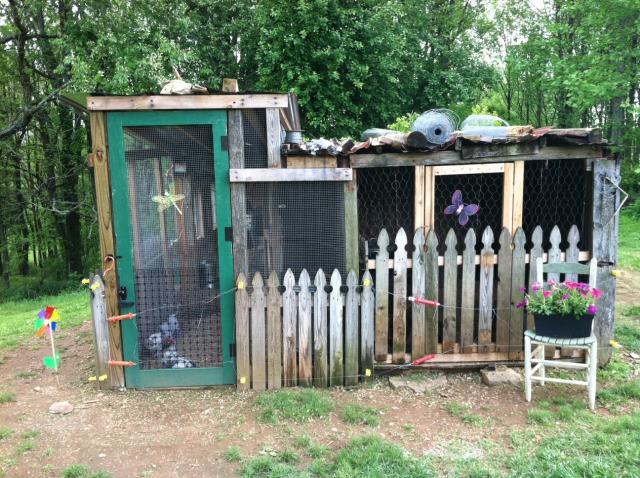
(Okay, so admittedly the roof still needs some work.)
")
We didn't have any 'plans' as much as we had a sort of vision for the finished product, based very loosely on this pretty little coop we saw for sale on the side of the road one day that inspired us:
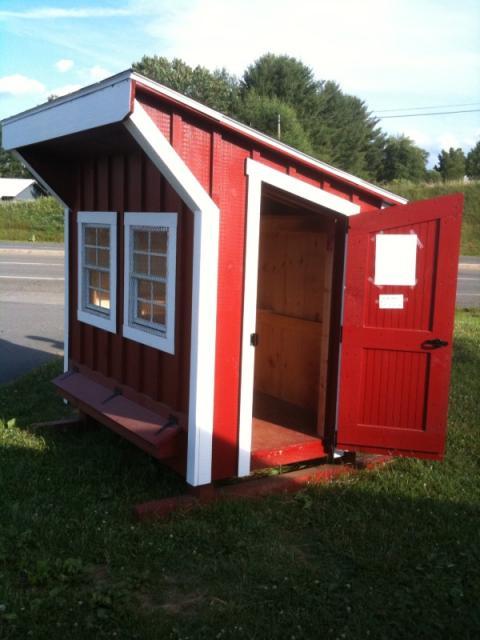
We liked the idea of double windows in the front, egg box underneath, and a people door on the side.
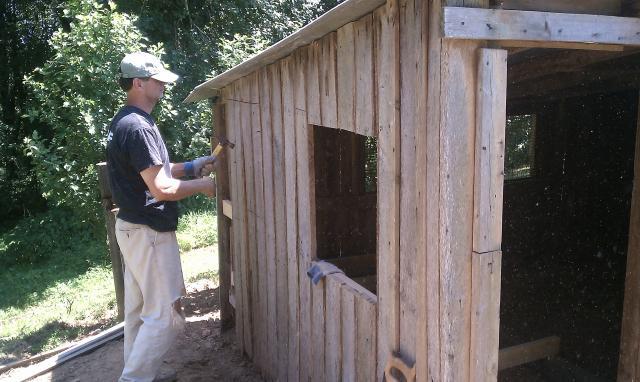
Here is the step by step progression of how we did our Country Club makeover. First, my fiance' tore out lots of the old stuff! And then we began to cut out for the front windows so we could have enough light to see to work on the inside too.

Those old oak barn boards are a bear to cut and nail!!! Seems they bent about every 9 nails out of 10!
Notice that the door drags the ground and is terribly crooked, so much so that we debated for days as to whether to trash and burn it and then rebuild it completely, or to salvage it, and level it up, etc. We chose the latter, but have often wondered if that was a mistake because it took an entire day to salvage it.
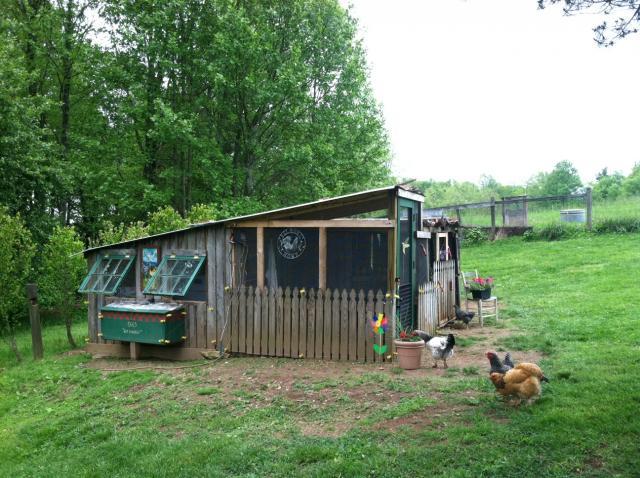
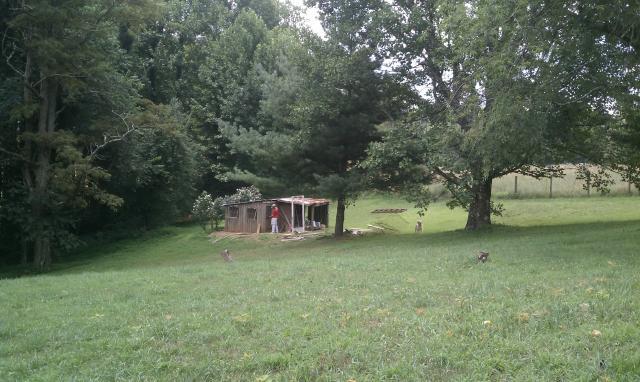
Here you can see the setting and why I did so much work to predator proof it!
Meanwhile, the race was on! We started rehabbing when I placed the eggs in the incubator. I kept saying to myself, oh well, no problem, we have THREE LONG WEEKS to complete this before they even hatch. ha. We had NO idea it would end up taking us months to complete this! In the people house, here's what was happening...rapidly!
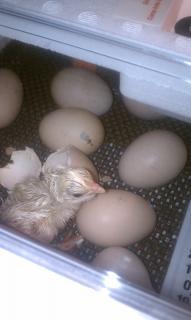
and this:
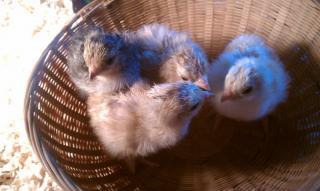
(Tiny Dancer, Dandelion, Eagle, Brewster.)
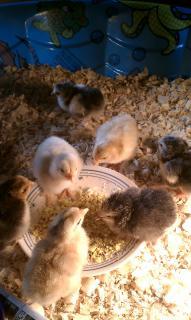
and more kept hatching:
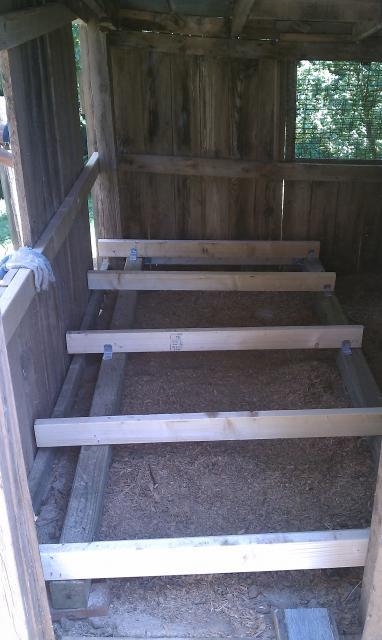
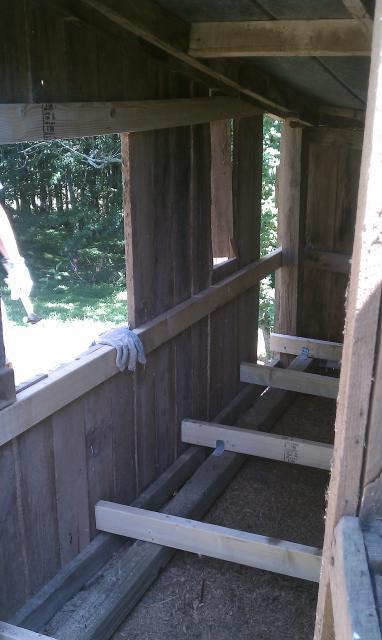
The building is about 8' x 16', and was not remotely level or square and also VERY short! It was only about 5.5 feet tall at the highest point. Adding a floor made the inside only about 4.5' tall. It was back breaking to add the floor and a partition wall, but we did and now the floor space is 4' x 8'.
Below we were framing in for the windows which also accomplished strengthening entire front of the building and gave us something to re-nail the oak boards to, which were previously falling off. We cut out the rotten areas and replaced with stronger, original boards as we worked our way across the front of the building....board by board. We found two perfect sized windows in another old building on the premises. Gotta love freebies!
Below, we started to see some progress finally! It was starting to look like our vision! It was so exciting to get to this stage!
We opted to saw off about a foot of the door, leveled it up the best we could - considering- and reinforced it from the inside because it was also falling apart and rotten across the bottom. It now opens at the level of the new floor we built, and is also more predator-proof than before.
This was nearly a month of work! With the floor finally complete, and the partition wall almost done, here was what was happening with my ever growing chicks who were living it up in the people house, with Carlos, our chihuahua, babysitting!
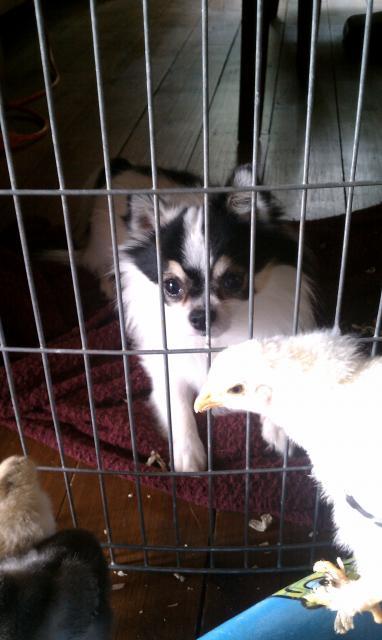
(Carlos and Dandelion, light brahma baby.)
Finally the day came that we felt the coop, while not complete, was safe enough to move the baby chicks into their own house. (Since this picture was taken, we have added a 2"x4" across the back corner for a roosting pole and brooder lamps for warmth and light in winter. This winter I wrapped the roosting pole in an old quilt so their feet would stay warmer -- and they loved it!).
Welcome Home, Stillwater Chicks, Welcome Home!
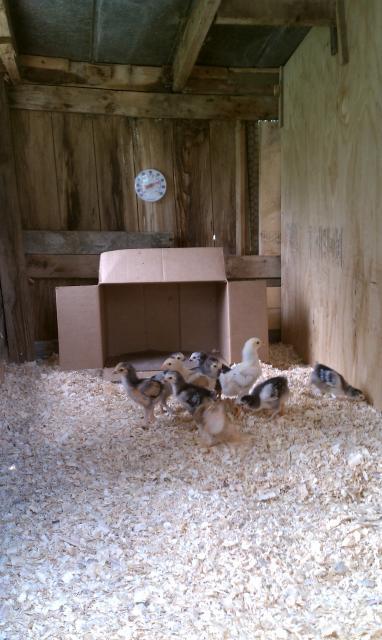
(Dandelion, Puffin, Eagle, Pilara, Tiny Dancer, Little Debbie, to name a few!)
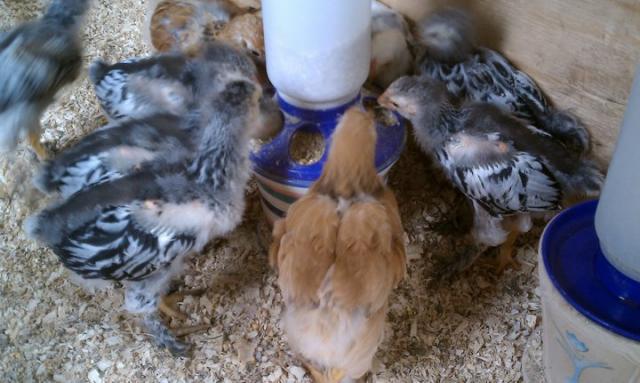
Propping the feeder and waterer up on flower pots kept them from digging out their feed, and getting their water messy. (Notice I've got only 2 pullets, and LOTS of baby roos! Was VERY fortunate to find all lil roos good homes!)
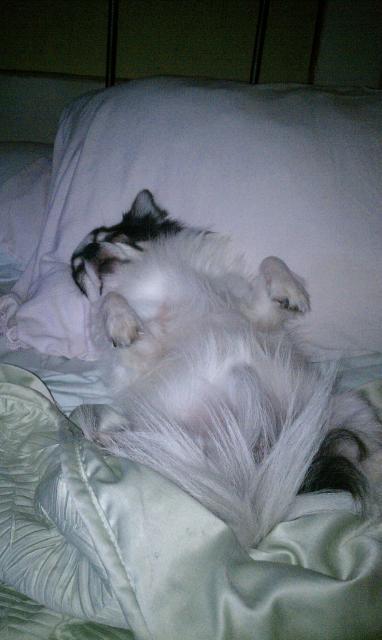
And while we were working day after day in 90 degree plus heat and humidity, look who was sleeping in the the bed in the air conditioning!
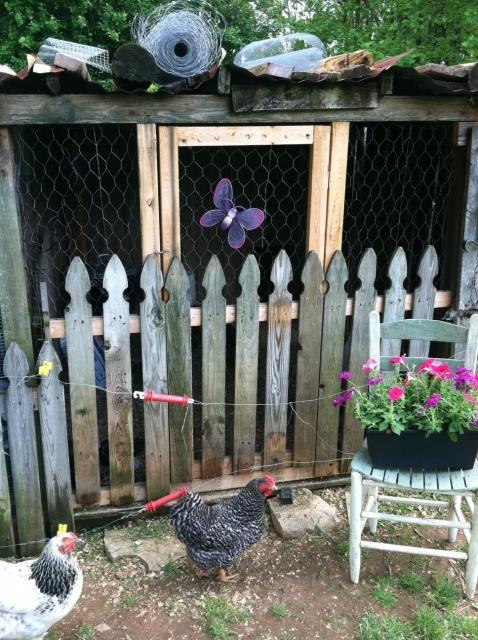
About now, we were so weary of working on it day after day, that we unfortunately didn't take any progress pictures while adding their patio. As you can see here, we raised the original roof of the patio area to match the same angle of the building itself, put the posts into concrete, and poured concrete under the door. We also partially buried an 8" treated board around the edges to deter predators from being able to dig under. After adding hardware cloth, I also added a wood picket fence to further deter any loose dogs or coyotes from jumping directly against the hardward cloth and damaging it. I like the extra protection it offers plus I think it looks nice. (Got 40' of used picket fence off Craigs List for only $15.00.)
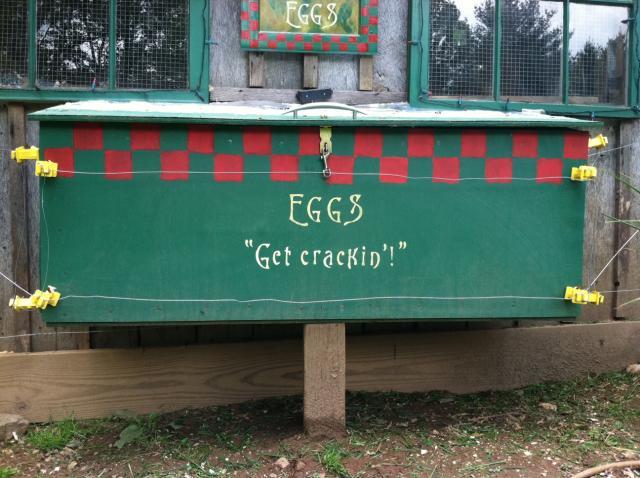
Here's the finished patio area:

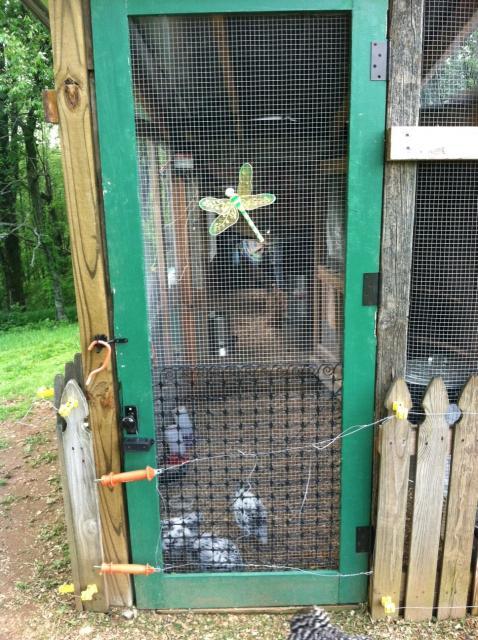
I bought a vintage screen door at a flea market for more than I should've paid (justified it by telling myself, buy hey, the windows were FREE!)...oh well, had to have it! I used "Country Club" green paint for the door and windows , and spray painted the metal screen protector with black.(that's why we started calling it the Chicken Country Club)
Once we got this far, we gave it up for a few months. Whew. Sigh of relief at last. I still wanted to add an egg box, but the girls weren't going to start laying until around December or January, so of course I waited until the last minute! I built and painted the egg box in our basement when there was snow and ice on the ground, and we transferred it to the building in 30 degree weather with some help from some very curious girls! (Notice we had plastic bags and "Great Stuff" filling in the cracks between the boards to block some cold air at this time. Since them we have added the original strips of wood back that we had to remove during the construction phase.)
(Miss Amy, dominique, helping install the egg box.)
("Don't peck me!")
(Pilara, light brahma - 6 months, checking out egg box!)
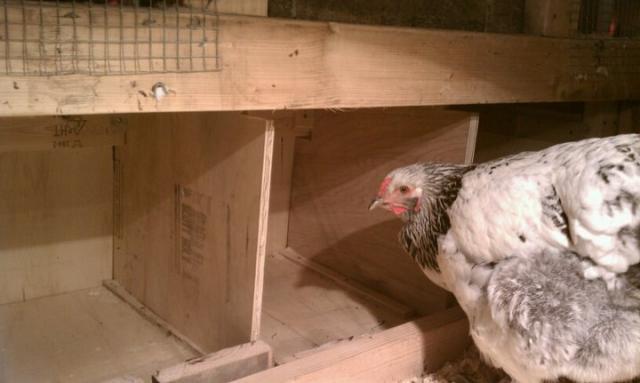
Below is finished Egg Box with lid! (Lid handle was recycled off an old desk drawer in the basement. Notice the Solar Nite Eyes on top. More about those later.)
It still needs a tin roof....another day, another project. Works for now! (Notice we still had the Christmas lights up.)

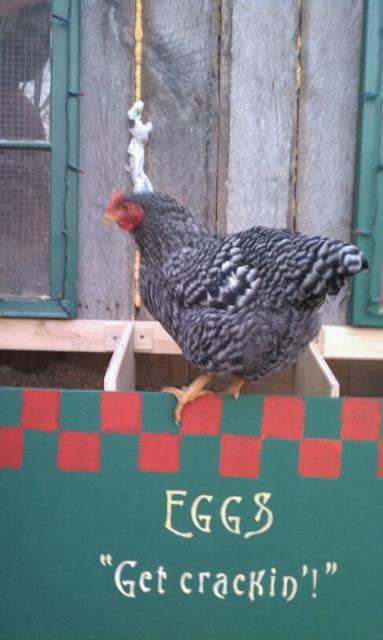
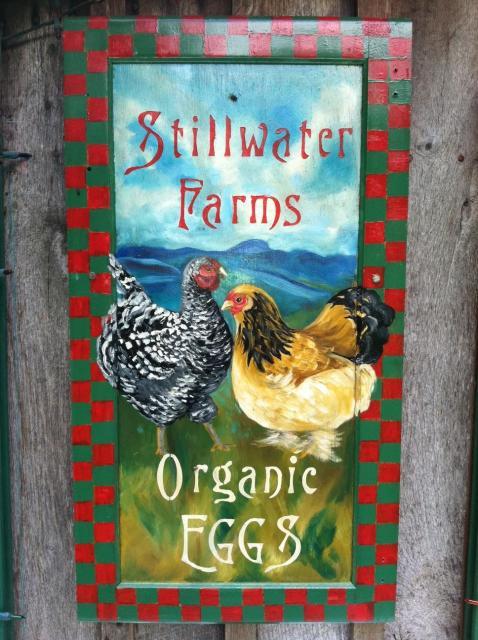
I hand-painted a sign for my coop using an old cabinet door and my oil paints.
We got that egg box installed in the nick of time, because about a week later, the girls laid their FIRST EGG!!! Surprisingly (or not) one of the most exciting moments of my life! I eventually blew out the inside and kept the shell, now one of my prized possessions!

You'd think that would be the end of the story...but as they say 'necessity is the mother of invention'. These guys below made me rethink using the unused portion of this old building when they hit puberty! They became very impolite with the ladies, and much to my naive surprise, started to act like, well, ROOSTERS!
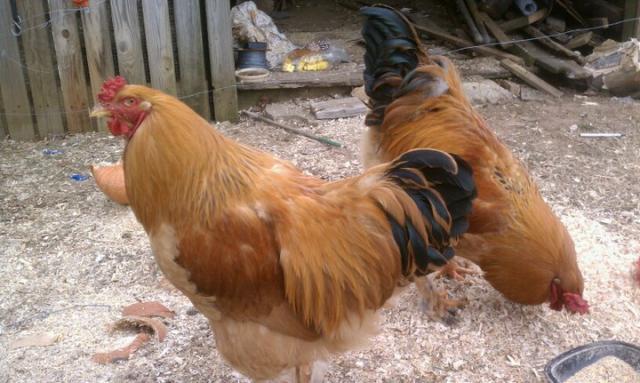
(Brewster the rooster, and Tiny Dancer, behind.)
So, I added a second patio, propped up roof that was previously falling in, and made a 'Bachelor's Pad"for them. They weren't impressed. Eventually these 'bachelors' went to live with a wonderful family who wants to raise Buff Brahmas, and now the extra section is being inhabited by my newest addition shown below, 4 Rhode Island Reds, and 2 Plymouth Barred Rocks. They just have a dirt floor, and no fancy accomodations like the first chickies got (who I might add are VERY spoiled girls who still think they should live in the people house and not the chicken house), but they seem very happy just the same. On this section, I used chicken wire that I already had, but at some point I will replace it with hardware cloth to make it less inviting to predators.
(Pilara and Amy, smiling for the camera!)
Door open:
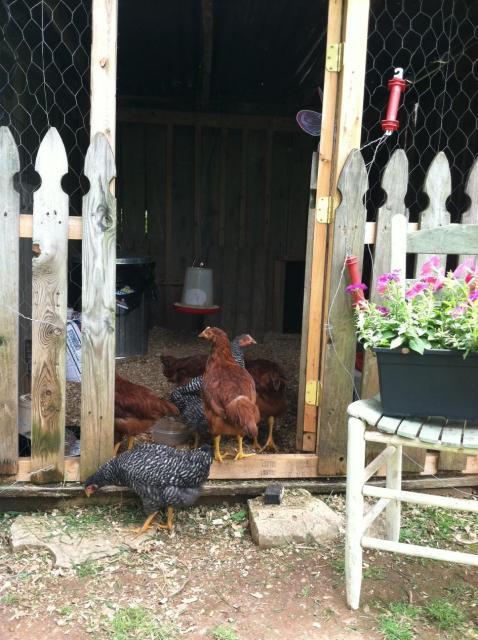
(Tulip, Hammy, Goldy, Henny Penny, Mad Max and Mean Maggie! - about 12 wks here.)
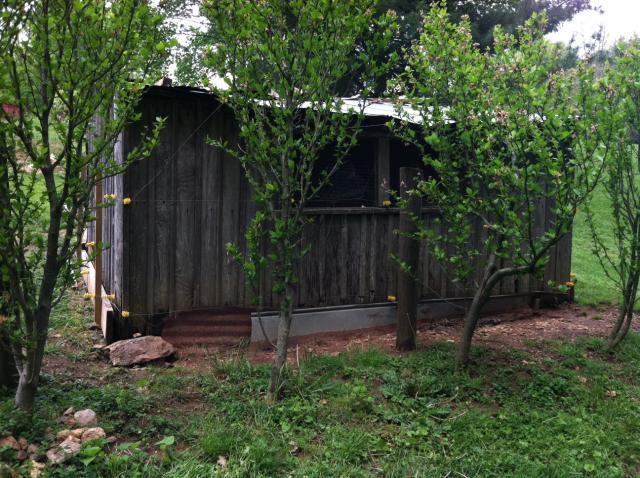
Here's the back. The roof is iffy, and leaks in heavy rain. That's something we've got to deal with soon. We've got lumber on it to weight it down to keep the wind from blowing it off! But, all in all, the chickens are very happy, and we're relieved that the coop is done, it works well, keeps them safe and relatively warm! I love how unique our coop turned out, we are proud of it.
Here is the other side of the coop. We did little on this side besides reinforce to make it stronger and safer, and installed lots of electric fence wire, even along the roof on this side due to the little trees and my fear of something crawling up on the roof! The pieces of tin were partially buried along the bottom from years past, rusted, but still fairly functional as a deterent:
I have tried to make the chickens safe in multiple ways, by making it difficult and unpleasant for a predator. To get at the chickens overnight, a predator would have to work through multiple layers of obstacles: tough old boards, digging under concrete or 8 inch buried boards or buried tin as seen above, braving electrical shock (I bought a Zareba Five Mile Electrical Fence Charger from Craigslist for $20!), deal with red blinking lights (have one of these on each side: ,) and possibly my BEST deterent to every predator imaginable, my wonderful Kuvasz, Trinity, who has turned out to be an amazing chicken guardian! http://www.flemingoutdoors.com/solar-nite-eyes-predator-protection.html
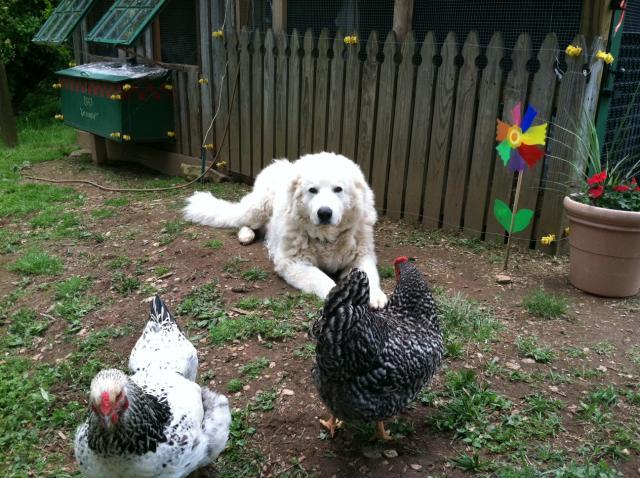
(Trinity, kuvasz, Pilara and Amy.)
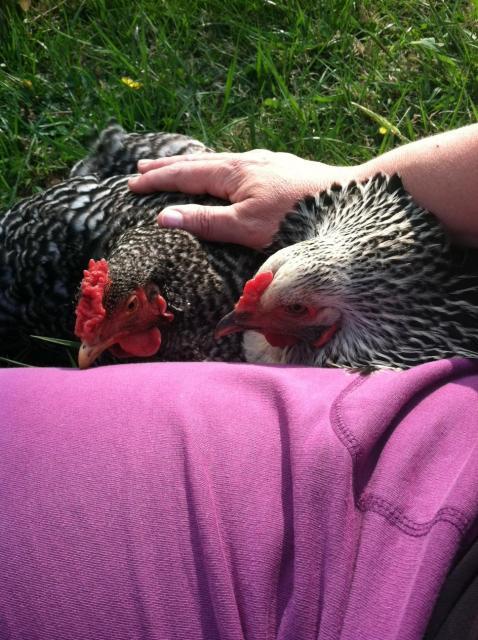
I have had only one predator incident which happened when my first chicks were only 8 weeks old. They were attacked by a very large hawk. Luckily I was able to startle the hawk which dropped one of my only two Brahma pullets to the ground from a height of about six feet. She was limp, and bleeding, and I thought she was dead. The other chicks were terrified. The hawk sat in a tree very nearby and watched me, completely undeterred by my presence, while I frantically rounded all the chicks back into their coop, and ran to the house with "Eagle". After a few minutes, still limp, she started to open her eyes. I kept telling her, "Eagles are stronger than hawks." She must have believed it because she made a full recovery in about a week! She suffered a broken tail that still interferes with her ability to balance, run and jump as well as the other chickens, but all in all, she's now a happy (and fat!) girl. Here she is below with my other two from my first hatch! We added these roosting poles on the front patio area.
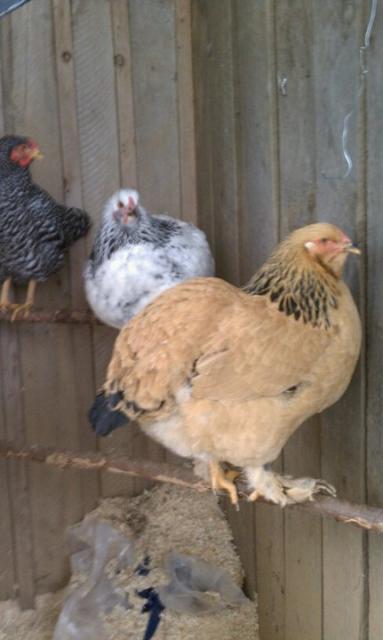
(Left to right: Amy, dominique, Pilara, light brahma, Eagle, buff brahma, 6 months.)
If I had it to do over again, maybe I would have just bought that pretty little red coop I found on the side of the road! After it was all said and done, the cost of this extreme makeover for this old difficult building was nearly the same price as the brand new coop including delivery, not to mention it was SO MUCH WORK!! Way more than we ever anticipated. It is, however, very rewarding to look at it now. It did not save us any money in the long run whatsoever. Good thing I wasn't going into this venture to 'save' money!
On the flip side, I love how it came together piece by piece, and how unique it turned out, and I enjoy the artistic touches we added. Truth is, you just can't buy something like this....and would you want to?! BUT, here are the final results! This makes me happy every single day and it's impossible to put a price on happiness! My amazing organic, soy-free, truly free-range EGGS!!!

And more than that, I my very spoiled and cuddly pet chickens more than I can say! LOVE
(Miss Amy and Pilara.)
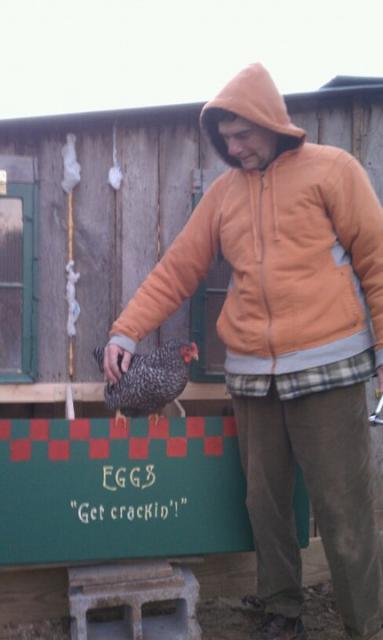
And they all lived happily, ever after!
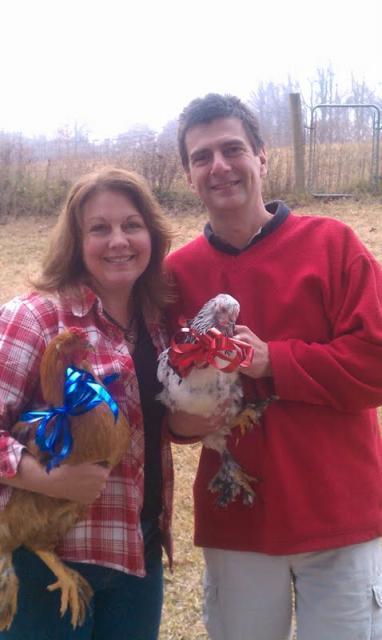
(Me, my fiance', Dancer and Pilara at Christmas.)
The End.