The Fang Dangled Automatic Chicken Waterer....
After seeing all of the ideas on here I decided it was time to do something about our watering system. Previously it was a bucket with holes and an oil pan under it. I have seen some awesome ideas on how to make this better but I wanted something really cool and really easy and not really messy....
And it was born....
Supplies:
5 gallon bucket with a lid ($1 at the local bakery)
10 ft section of 3/4" pipe (we had it, but I know it doesn't cost much a few bucks at the most)
1 3/4" elbow ($0.34)
1 3/4" T-piece ($ 0.33)
2 3/4" pvc caps ($0.36 each= $0.72)
1 package #18 O rings (rubber gasket things.... $1.97)
1 1" x 3/4" pvc bushing ($0.74)
1 3/4" pvc adapter threaded ($0.33)
5 poultry nipples ($18.94) I bought mine at Farmtek but afterwards I saw that others got theirs much cheaper from someone else

11/32 drill bit....I couldn't find this so I bought a 5/16" for $3 and just did a little faniggling as I call it until it was right.
1 piece of water hose with the male end attached (we cut ours from an old piece that didn't work anymore)
a valve or some type of shut off for the end of your hose. We had some connectors that we bought at Harbor Frieght for a few dollars.
PVC glue. We had none...this stuff is pricey! But...it is necessary. I forgot to use some on the elbow and it leaked. We had to shorten it anyway so we just glued it then. ($5)
Total cost Less than $35 !!!....and could be less if you buy the nipples elsewhere and have some of the items already!
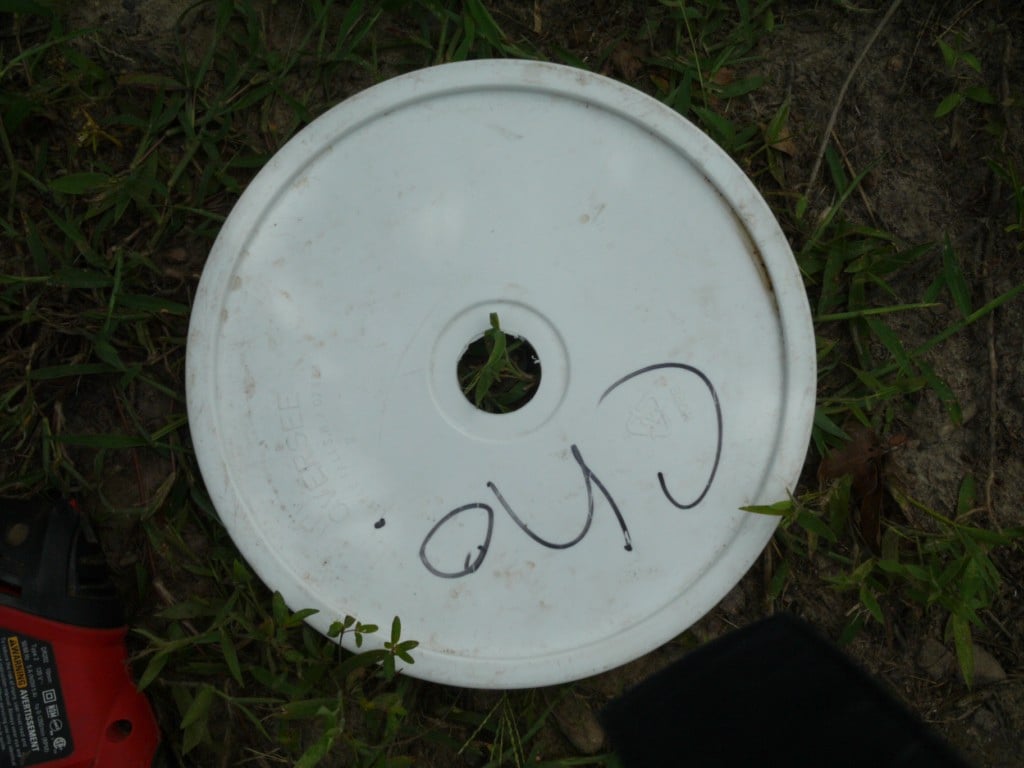
First...I took the lid off the bucket and drilled a hole in the top with a 1 1/2" drill bit. Any size bigger around than your water hose will do. Some air has to come in in order for the nipples to work.
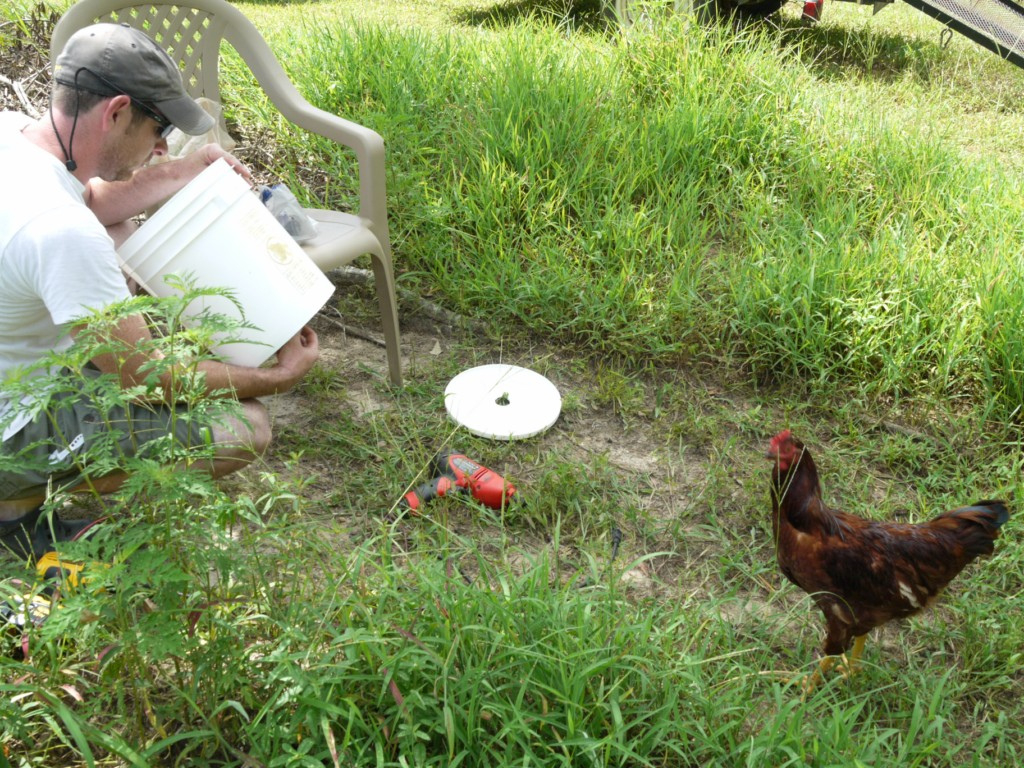
Red the Rooster was wondering what we were doing and stopped by to check us out....
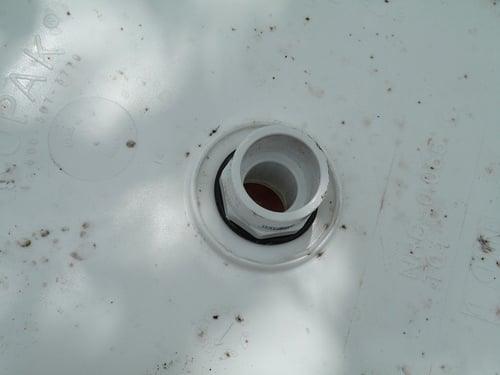
We drilled a 3/4" hole in the bottom of the bucket next. Then we inserted the 2 pieces into the bucket, glued them with PVC glue and tightened them down.
Outside/bottom of bucket
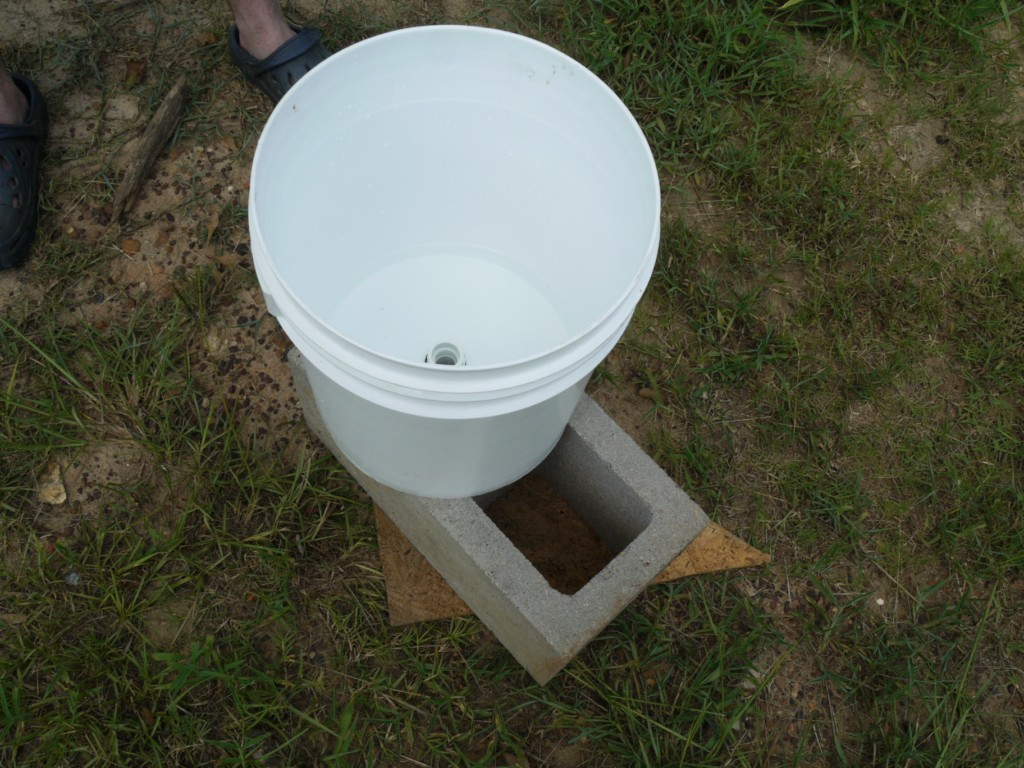
Next we added water to below the tip of the bushing and set it on a cynder block to test for water tightness...looks good...no water leaking!
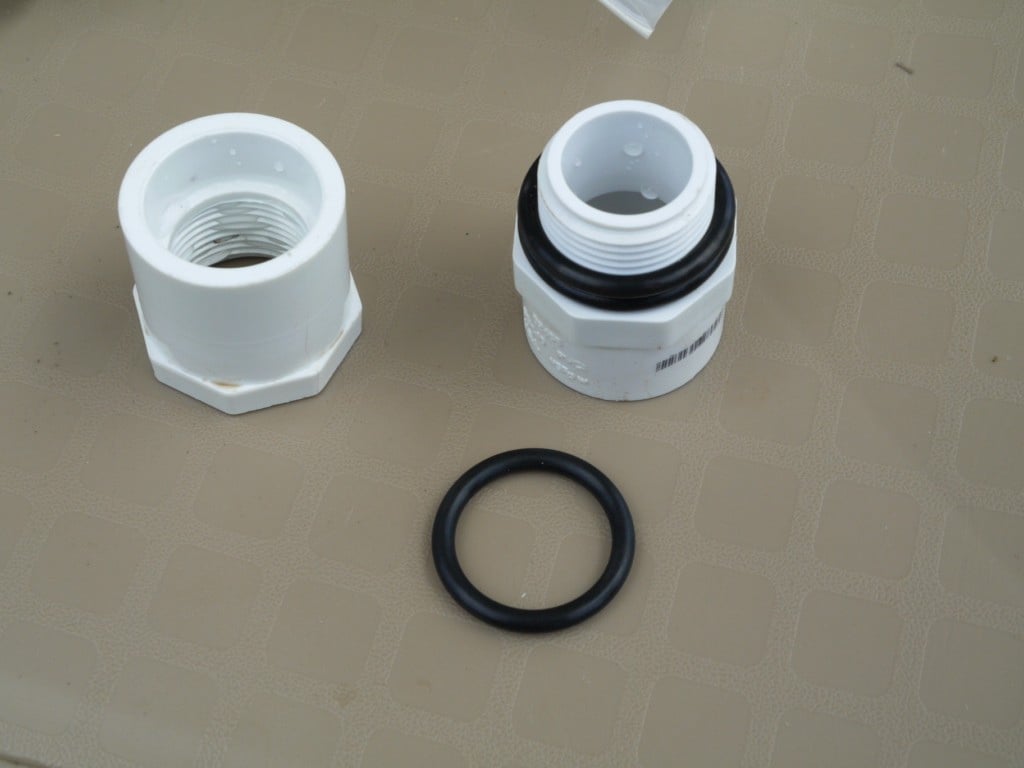
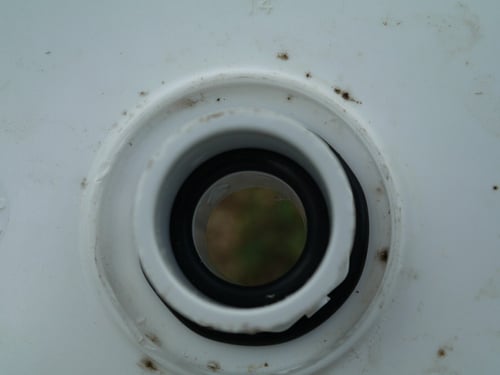
We added a gasket to the inside of the connector piece (outside part) where the pvc pipe is
inserted to help prevent leaks since I was very worried about leaking in the house...
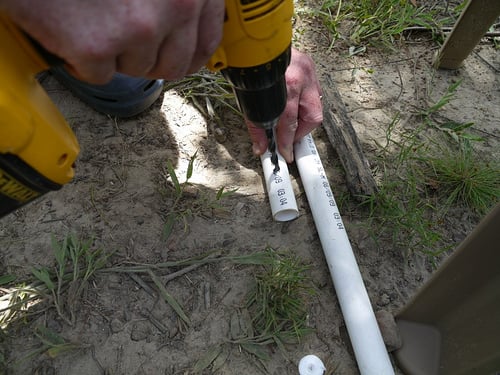
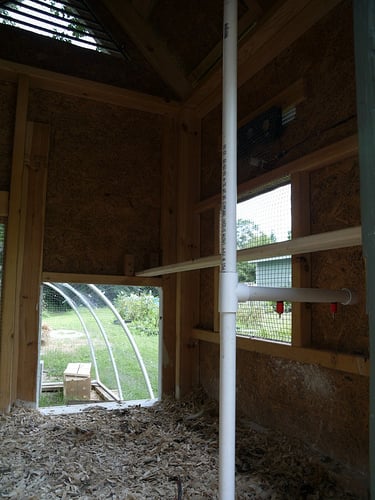
We cut a piece of pvc pipe about 12 inches long for the water line inside the coop. We have 8 chickens and I have 5 nipples. 2 are for inside the coop. That is what this piece is for. My husband drilled 2 holes about 5 inches apart for the 2 nipples. We had to widdle them away a bit and keep trying to insert the rubber grommet to make sure all would fit. Ha ha...don't forget to wet the nipple...it goes into the grommet a lot easier. We had a lot of fun talking about these steps…..
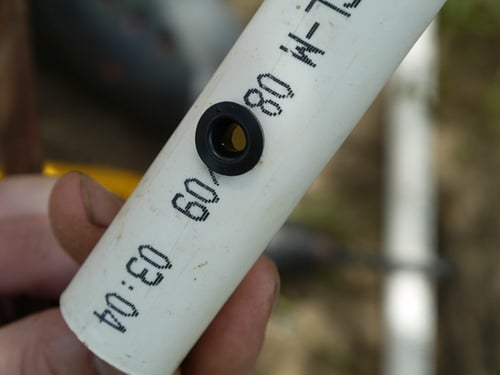
We inserted the nipples next. Then we glued the cap on. I tested for leaks by filling it and holding my hand over the open end. Worked like a charm!
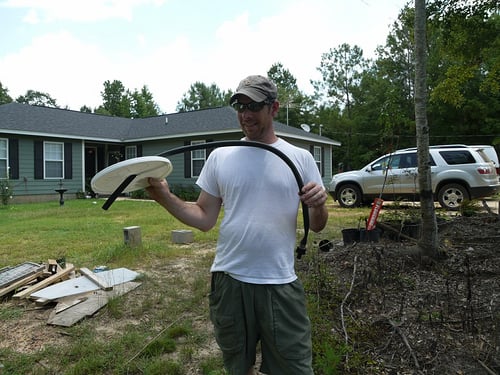
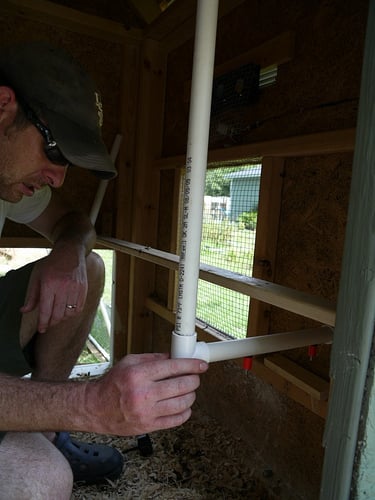
Next we cut the hose to insert through the lid. Here is my happy hubby demonstrating how it works...he didn't know I was actually going to take a picture...he really should know better by now!
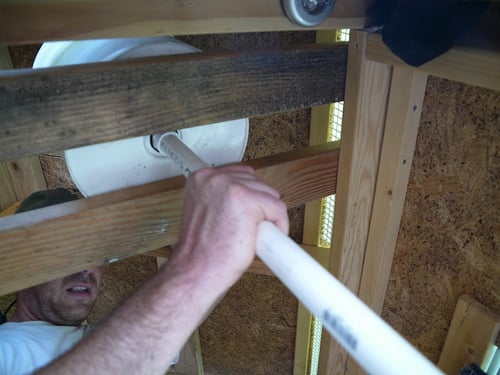
We put the lid on and he climbed into the coop. We have 2 2x4's in the top of the coop resting on the headers/rafters not sure what you would call them! We were using them for storage. We since got a freezer to store things in and now we let the girls roost up there. Anyway, we set the bucket up on the 2x4's. Inserted the hose and fed it out through the opening between the roof and the walls. I plan on securing it down later but for now I think it is ok. He inserted a piece of pipe that is about 25 inches long or so into the connector and glued it in.
Next we glued on the tee peice and glued the water line into that.
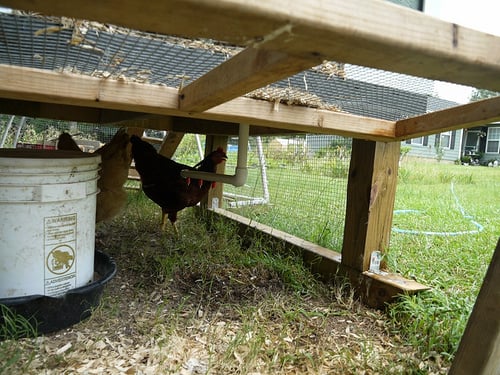
Here is a picture of the hose on the outside. I like it because I can just hook the other connecter to it and fill to my content. I can also go inside and take the lid off if I need to add anything to it. I am planning on adding Oxine when it gets here. This should help with the bacteria and slime build up in the lines and bucket. We put it inside so that it would be cooler in the summer and warmer in the winter. The coop stays pretty cool in the shade even in our 100 degree weather.

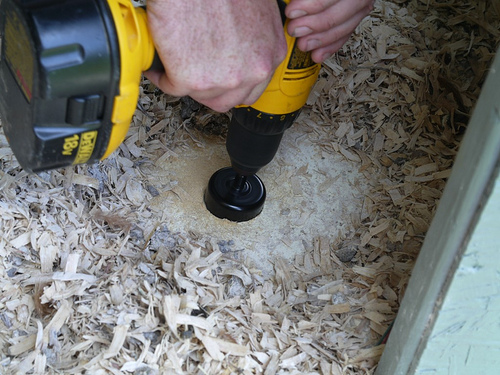
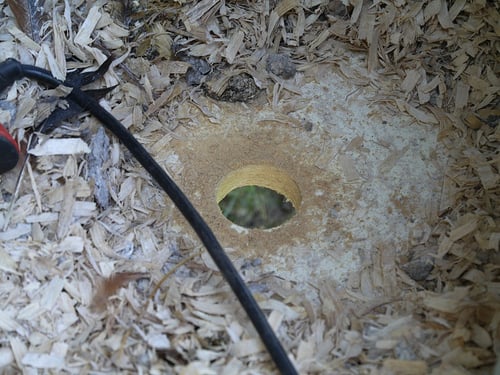
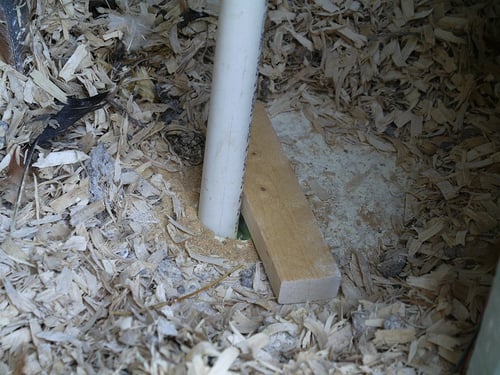
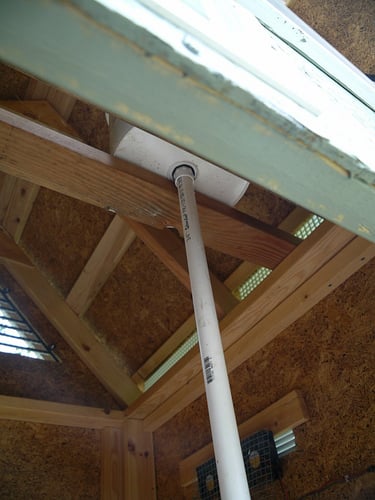
A hole had to be drilled in the bottom of the coop. My husband had a wood hole maker thing for a drill bit...(I lost the 1 1/2" I wanted to use...found it today!) A piece of wood was secured next to the pipe to keep it from moving too much and the shaving from falling out. Then we placed the piece of pipe that goes to the underside of the coop into the tee piece and secured it with pvc glue.
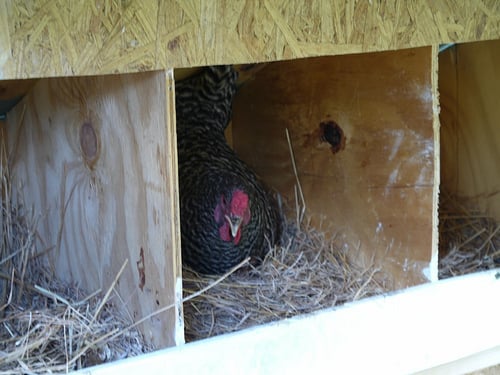
The whole time we were working on this our Dominque hen Dolly was needing to lay an egg...finally she just didn't care and went to work even though we were all up in her business….lol
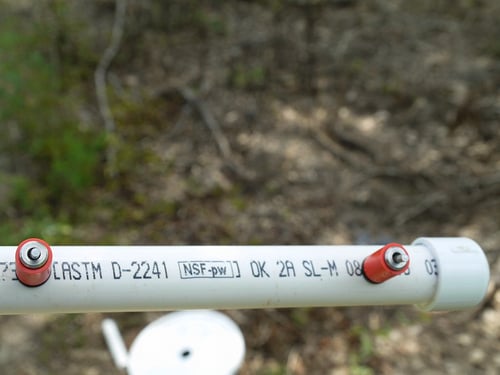
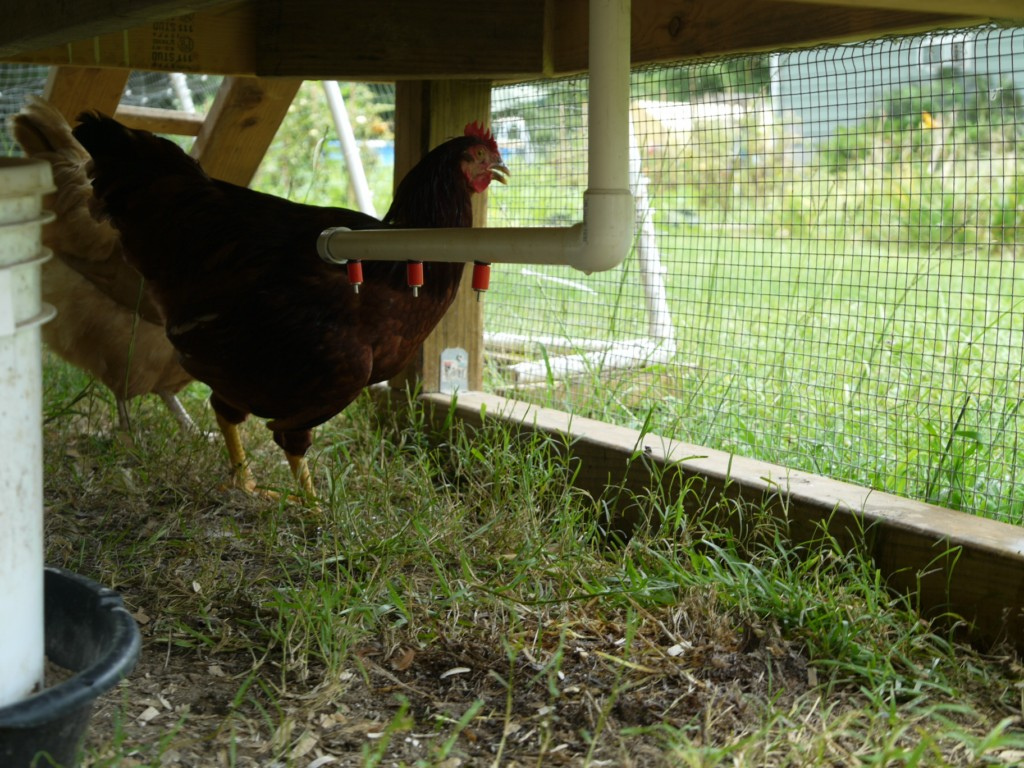
The water line for underneath has 3 nipples since they spend most of their time there during the day. I made it in the same way I made the first one except the pvc pipe was longer for this one. Capped the end off and tested it for leaks...worked great!
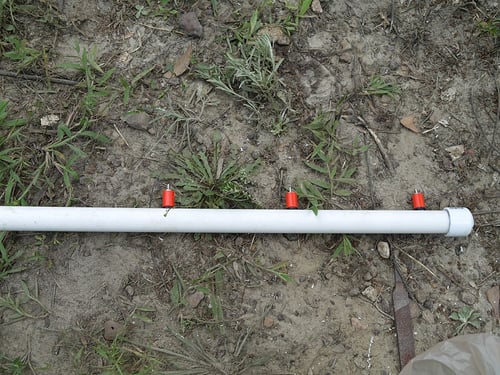
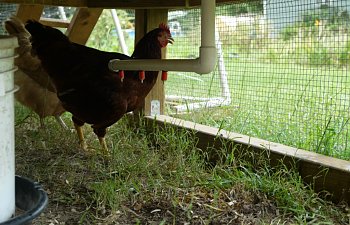
The water line was glued into place in the elbow at the bottom of the line (this is where I forgot the pvc glue and was the only leak we had). Once the piece was glued in it was working like a charm! Love it!! Red the Rooster and his nosey self had to be right there checking it out of course.
Of note, we raised the water line up. Since I didn't glue it in we had to take it apart anyway. That worked out great
") Now it is at the perfect height for them.
Now it is at the perfect height for them. I am still using the bucket feeder as it just seems to work really well for us. A few pounds of feed can be put in and we don't have to mess with it. No plan to change that one!
I hope you enjoyed this! Let me know if you have any questions or recomendations!!!
Oh...shopping excluded it only took us about 2 hours to do this. That included stopping so that Goldie could lay HER egg...lol.
Amanda