I knew I was going to need something to house the chickens in. My first thought was an old shed that was sitting and litteraly waisting away. It was stuffed the celing with scap wood, tarps, my husbands big idea "lets get a mini bike", tires, deer stand, and alot of who know what that was. It sat on a wet area and flooded everytime it rained, the building had sunk underground by about 4 inches on one corner. Pieces of the floor had to be replaced because of rotting wood. and the south west wall had to be replaced also because it was cedar board and the whole upper half was missing and cover by a tarp.
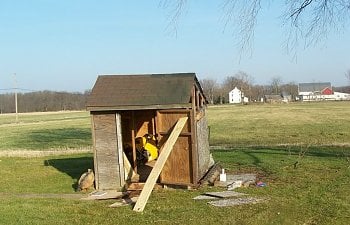
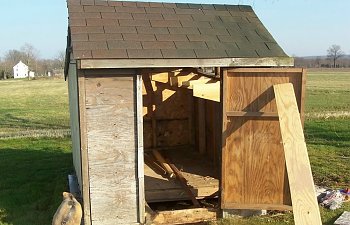
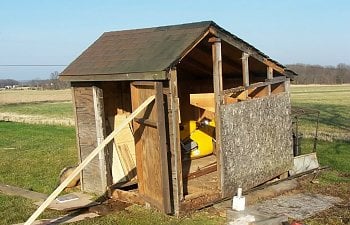
We raised the building in the front to get it out of the mud and replaced the bottom corner. We also dug a trench ( sorry no pics on that) approx 1 ft. deep fulled with about 4 inches of stone, placed in PVC pipe with holes in it, more stone on top of that then replaced the soil. That area gets wet no longer, works awesome.
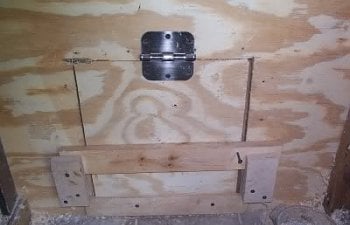
Once the wall was replaced my husband added the coop door, approx 12x18 inches. The door opens into the coop and swings up by hinge to a latch that we hook it too. When the door is closed at night we lock it in place with a board that swings on a nail and slides into a cove. All made from scrap wood. No preditors getting in this door!!
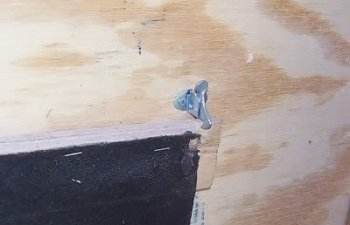
We also added a window in the front door that I can remove depending on weather. We placed wire in front so I can have the window out at night to for extra comfort. We added a turbine to the roof of the coop for hot air to excape. It works real well, especially around here cause it's always so windy. And for now we have weather paper on the outside that will soon be covered with sideing.
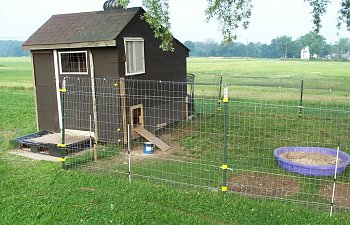
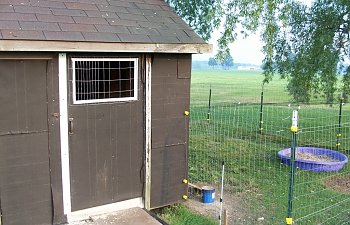
For the yard (run) we inclosed an area of approx 20x30 with 1x2 inch wire, and tied deer netting to the top. We soon after surrounded the original fence with an electric fence for extra protection against preditors. 2 lower electric wires and one high, (see the yellow holders) Chicken wire on the inside or the original fence to stop the chickens from putting their heads through. We didn't want them getting zapped.
The kiddy pool we filled with palysand and soil for a dusting area. They love it!! And I move it around every so often so they can get the worms and bug underneith. Helps keep them out of my flower beds too.
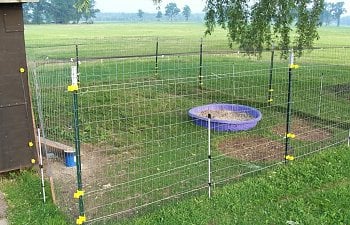
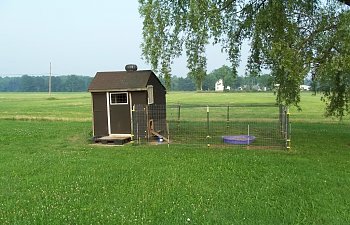
We placed the entire run under a willow tree, which was easy to do. Like it was meant to be. It's great shade for the hens, still has some scattered sun. And what a View!!!
The inside, my husband placed lynolium flooring for easy cleaning, added a shelf for them to lay on with a nest box on the further end. Built a roost with old hand rails for a staircase, and placed deer netting on the celing. Added a hook to hang the food, and loaded in the pine shavings. This winter I plan to add insulation and plywood against the walls for added warmth and less draft.
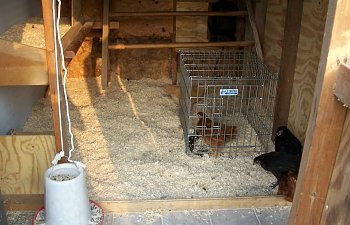
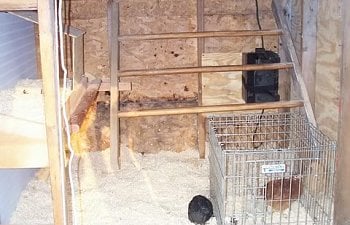
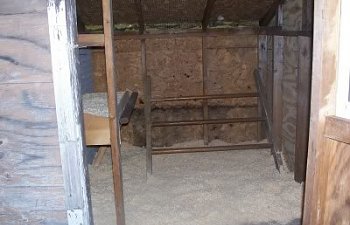
First and second photo you can see we lifted the roost, and have the nest box added. We also added a board to the floor to help keep the shavings in the back of the coop. I don't always have a cage in there, her feathers were being pulled and I had to seperate her. Far right photo was taken as soon as we where finished. The black box you see on the back wall holds the unit for the electric fence.
Please feel free to email me with any questions you have on our coop. It's not the best out there, but it's warm, dry, safe, comfortable, and was very inexpensive. With eveything done as it is now, we spent approx, $300. Can't go wrong there.
