|
|
|
|
|
|
The Chicken Coop | |||||
| |||||
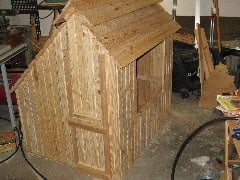
When I lived in the UK we kept chickens. Just very recently Jodie asked if we might keep a few here. Seemed like a reasonable idea, and the City Ordinances allowed it, so I built an incubator and in it we hatched 10 Buff Orpington chicks. Before moving to West Pond, I lived just a few miles from Forsham Cottage Arks. I had one of their Boughton range, as did my parents, who also had the Lamberhurst Dovecote. I had always liked the look of the Lenham Arks and decided that this style was my preferred choice for the permanent housing for our grown up chicks. I looked at the price in the USA of the Lenham 504 .... $1500+ ... er ... NO!! It’s not that I begrudge the price, I just can’t afford it. I have never actually seen a Lenham Ark up close, but armed with a basic idea I set out to design and build something aesthetically pleasing, secure and easy to use. I hope I succeeded, time will tell. Some of the design features took a little working out, but with the exception of a few minor details there is very little I would change. Below is a full description of the Coop and the build process: |
|
|
|
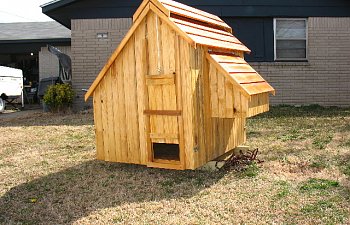
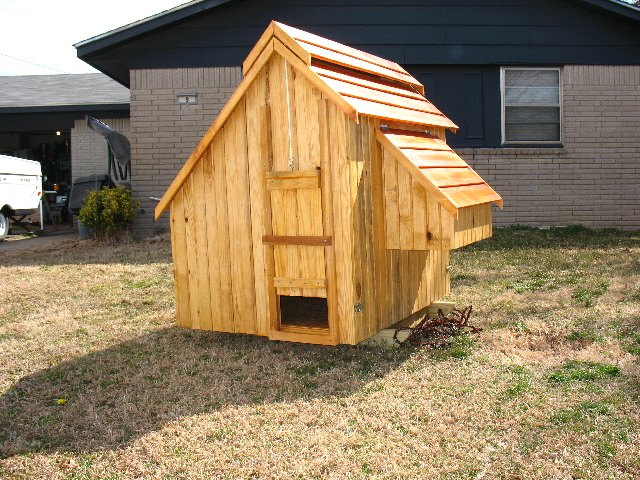
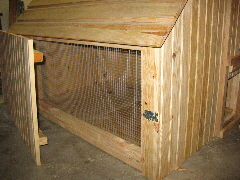
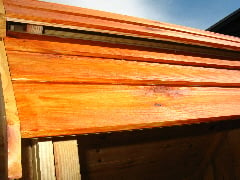
All the lumber is pine or spruce. The framing elements are 6 x 2 x 8’ ripped to 1 3/4” widths. The sides are 3/4” siding and the roof is 3/4” thick drop siding. The floor is plywood and replaceable. The roof has full ridge ventilation. The nestbox wall is completely removable, as is the wall opposite. This smaller wall is in two parts. First a screen wall which is left in place and the solid wall covers it. Both can be removed in a few seconds. There are 2 generous nestboxes with a removable lid and 8’ of perching space. The chickens are prevented from accessing the space below the perches. The finish is Australian Timber Oil. Natural colour for the whole coop except the roof which is Mahogany Flame. |
|
|
|
|

|
|
|
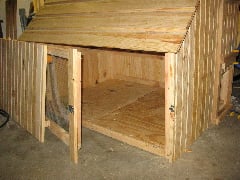
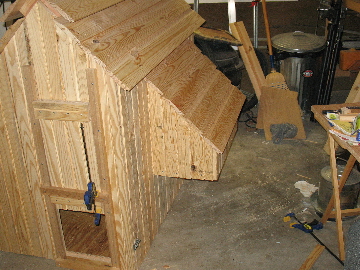
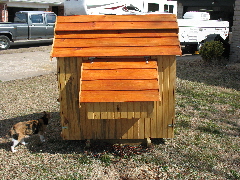
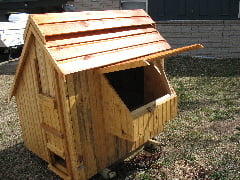
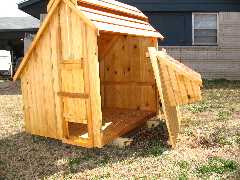
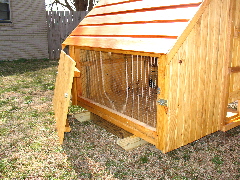
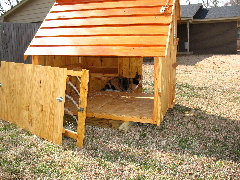
The three pictures below show the coop with both sides in place (securing bolts for solid section to be added), with the solid piece removed and thirdly with the side completely open. |
|
|
|
|
|
|
|
|
|
|
|
|
|
|
|
|
|
|
|
|
|
|
| 
| 
| ||||||||||||||||||
| ||||||||||||||||||||
| 
| |||||||||||||||||||
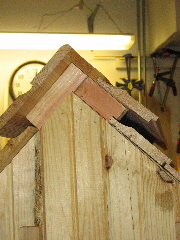
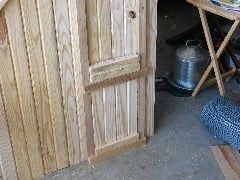
In the images above you can see details of the pop-hole, the roof ventilation and the removable wall that holds the nestboxes. | ||||||||||||||||||||
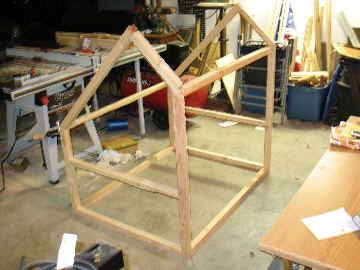
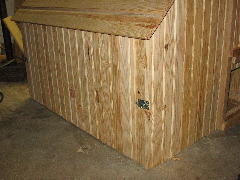
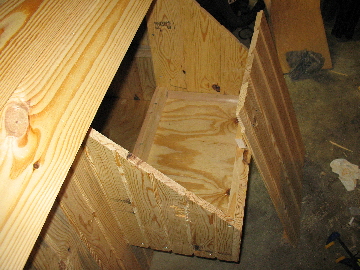
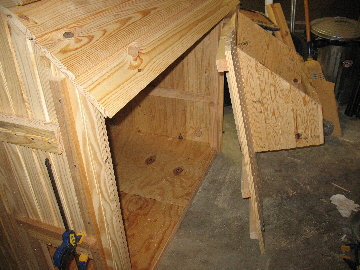
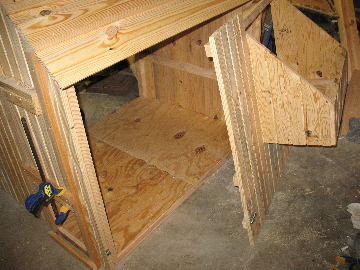
Below is a series of pictures showing the nestbox construction and the removable wall. In one you can see right through the coop as the opposite wall is off. The nestbox divider is still to be fitted, as are the perches and the baffle that will prevent the birds from accessing the droppings. This will be fitted later as the coop will first be used for the 10 growing chicks. Stiil to be fitted are a light and timer, and outlets for future use (heated water, etc) | ||||||||||||||||||||
| ||||||||||||||||||||
| ||||||||||||||||||||
| 
|
|
|
|
The entire project has been instructive and rewarding. The last chicken coop I made was years ago, and, although it served well, is nowhere even close to this one in style or durability. I am pleased that this is a coop my neighbours will be proud of ") It cost a little more than I anticipated, but not much. It has everything I can think of built in, and is designed to make the chores quick and easy. I have an advantage in that I have a well equipped woodshop that I use to make furniture to order. Nonetheless, it was a learning experience. If anyone wants one like this, or custom to their own design, then I can make it. It won’t be cheap, but nor will it be *Forsham* prices. A coop like the one shown here I can make for around $800. The next project is to build the accompanying run ..... |
|
|
|
|
|
|
| ||
| |||||||
| 
| ||||||
| |||||||
| 
| ||||||