Re: 2010 HomeMade Chicken Incubator Contest - Win $20 Gift Certificate
Ok Heres my entry!
After hatching small batches of eggs in a homemade incubator that I made from a plastic tote, dimmer switch, and 60w light buld I decided that I needed to have a much larger incubator but didnt really want to pay the prices that everyone was asking for such incubators. I decided to do a little research and developement of my own and see what I could come up with.
First I measured egg turner that was given to me. Next I started talking to a few people that I knew had larger incubators such as the sportsmans. The largest complaint I found was the exsistance of hot and cold spots in these inubators. After about 2 weeks of research and endless hours of racking my brain I began to place it all on paper.
Heres my final draft of what I came up with.
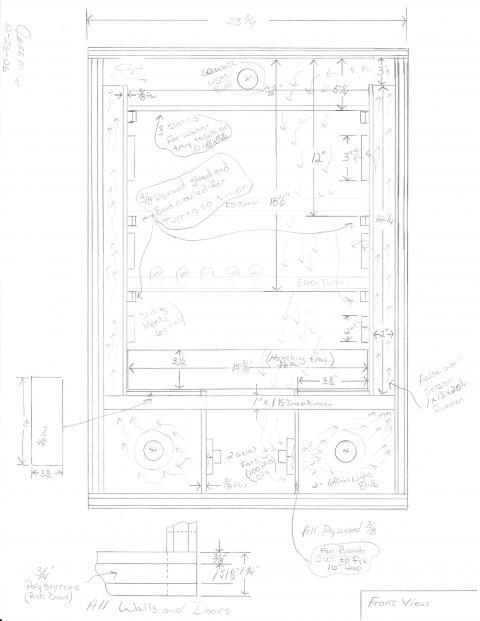
I hope this scans shows up! It has a false wall on both sides and 2 axail fans in the bottom which push and pull the air. I used 2 150watt light bulbs because they are cheaper than any thing else that I could come up with at the time and 1 60watt bulb at the top which sits over a water tray to aid in raising the humdity when needed. This incubator also has vents on each side, on each level that can be adjusted to aid in greating rid of all of those unwanted hot and or cool spots that seem to haunt all of us hatchers. The walls are double sided 3/8" subflooring that I had laying around and I added 3/4" polystyrene pink board in the center to help hold a desiriable climate inside without to much worry about the change in the outside room climate affecting it.
Ok, Now for a few more pictures of it in real life.
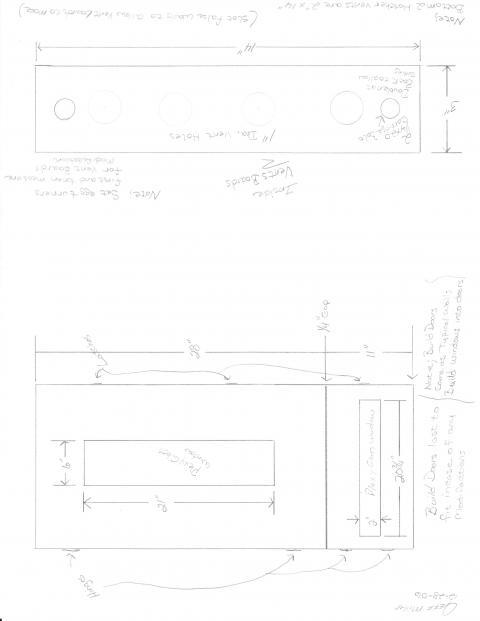
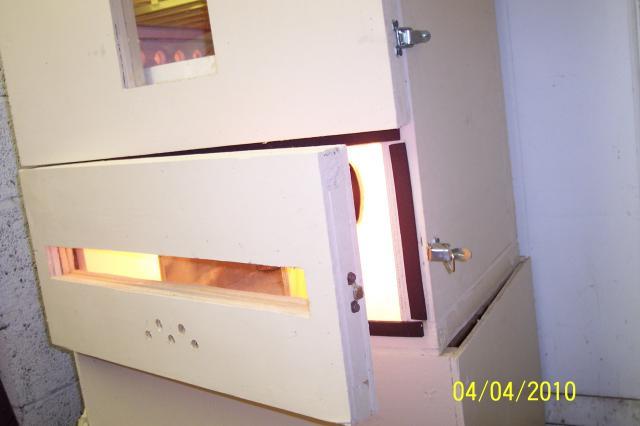
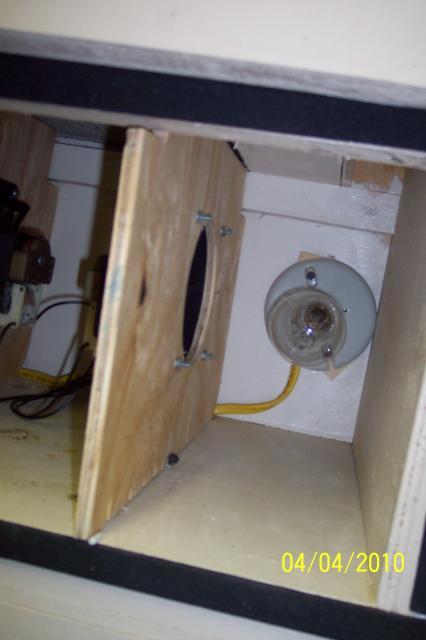
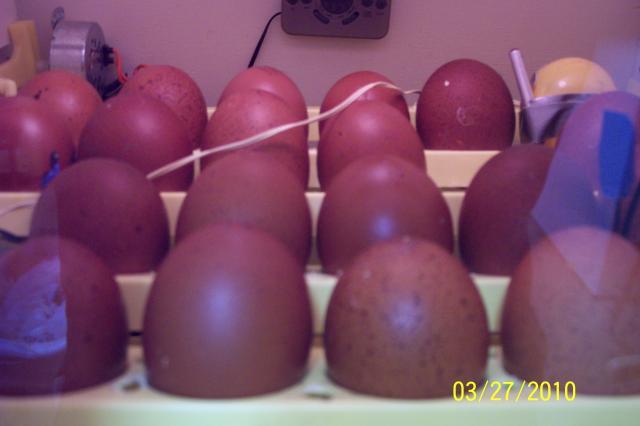
The basic outside; notice the vent holes in the bottom heat chamber. With these and a hole in the back of the cabnet for the turner cords, it allows plenty of fresh air to enter. they are placed between the fans so the fans will suck the fresh air in. The blue tape in the pic is simply the in and out date of the Black Copper Maran eggs inside the incubator
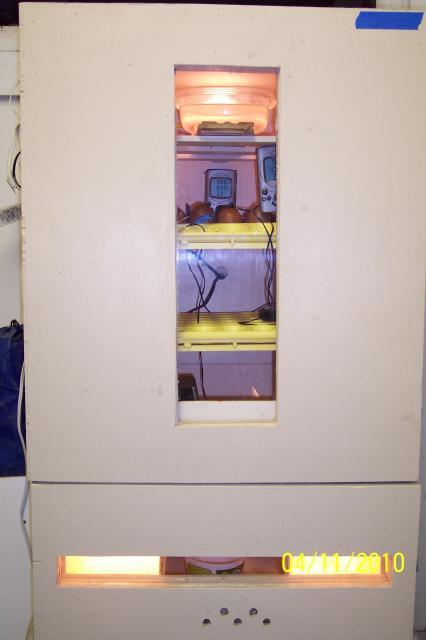
The heat chamber door is completely seperate from the main chamber door. I did this so if need be I could shut the fans off and replace a bulb with out loosing much of the main chamber heat.
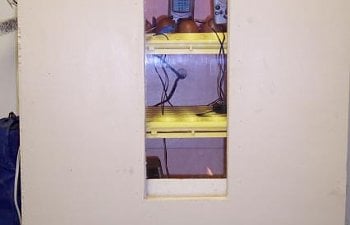
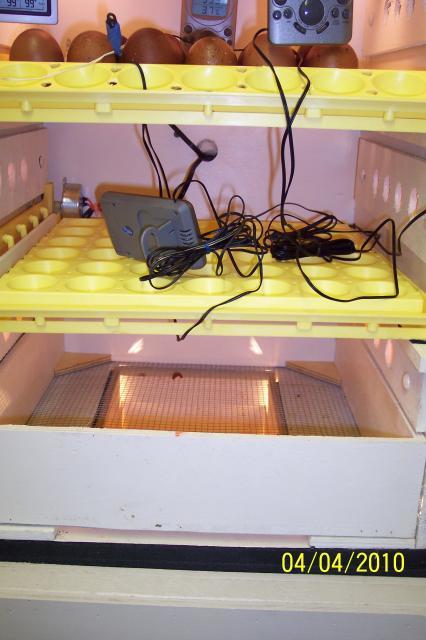
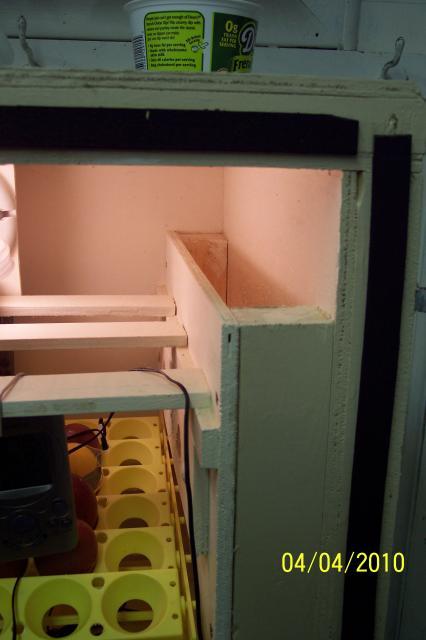
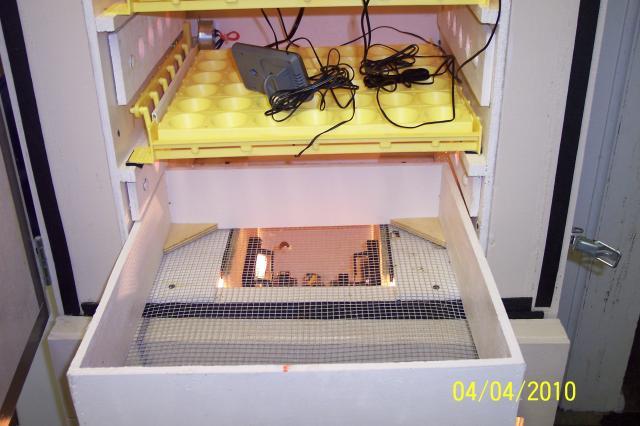
Next is a picture of the inside. You can see the BCM eggs on the top, the hatching tray in the bottom, and notice the adjustable vents on the sides.
The adjustable vents and the false wall.
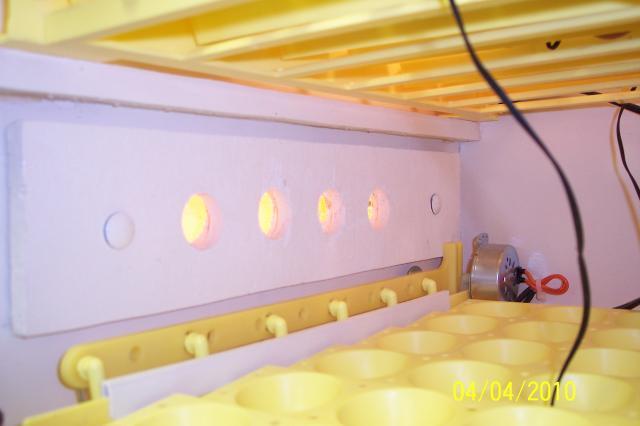
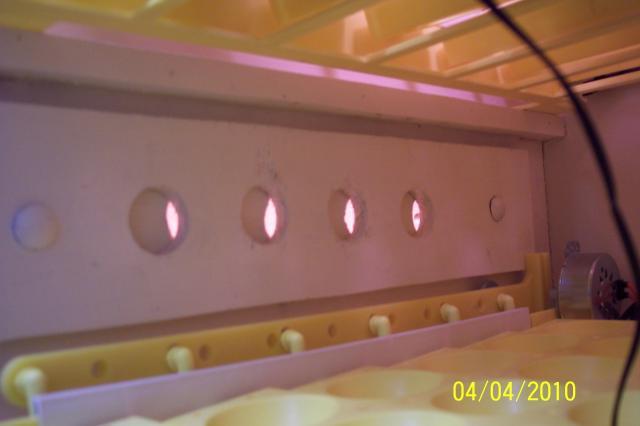
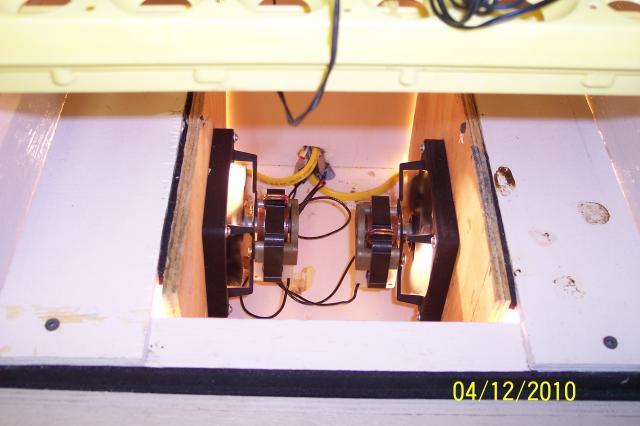
And finally the heat chamber. Notice how the fans are placed. They keep the bulbs cool which make them last an extremely long time. They pull the air down from the top and then push it up through the false walls on each side, out the top, and through the vents. I replace the bulbs evey year but have never had one go out yet. This is also why I used 2 bulbs. If one fails, the other will maintain the heat enough that I will not loose any eggs in the bator before I catch the probblem.
Rasiing the humidity is a breeze! I can simply place small water bowls in each side of the heat chamber and also one in the middle of the fans. With these and the water tray at the top getting to 70% humidity or even higher is no challange at all!
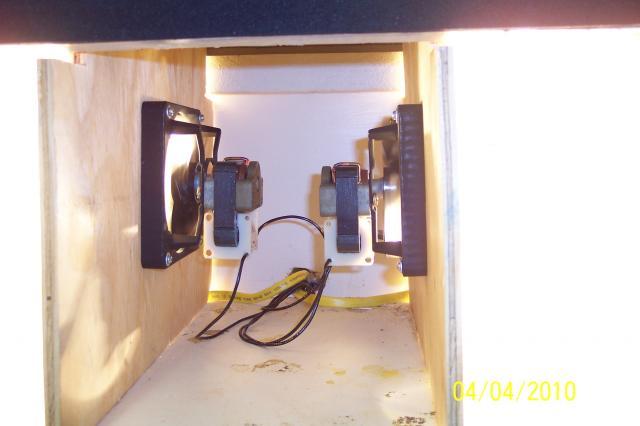
If you look closely on the right side above the bulb you can see the space behind the false wall where the heated air is blown up and out the vents and top.
The hatching tray. I have another hatching tray that I replace the bottom egg turner with when incubating larger numbers of eggs. I simplely remove the bottom turner and replace it with another hatcher tray. durning lock down.
The entire unit is run by a single porportional thermostat from Sprider Robotics. I havent had any probblem with it at all in 4 years. If you look closely you can see an easter egg that I use to hold the tempature probe for the thermostat. I added a little weight to be bottom of the egg so that it wouldnt tip over durning the turner cycle and epoxied it in place; the weigth inside the egg thats is, not the easter egg its self. This allows me to move the the probe around which also aids in regulating the temp in the entire unit by findng the sweet spot and adjusting the vents at the same time. Yes that is ducktape holding the probe on the easter egg LOL
") Its hard for a redneck to build something without using any ducktape at all.
Its hard for a redneck to build something without using any ducktape at all. 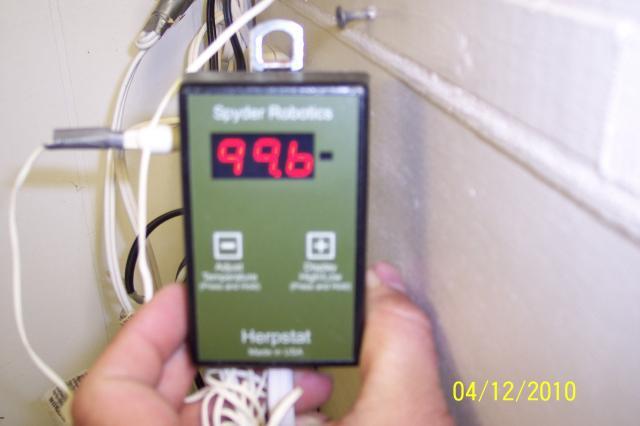
Well theres more but I dont want to make this any longer than it already is. i just wanted to make sure everyone got to see my pride and joy.
This bator holds the heat like no other and with the adjustable vents that I added and and I little fine tuning of them, those pesky hot and cold spots are gone. I have had many 100% hatches with it on turkey, ducks, and chickens. Below is my parts list.
One thing that I would like to change or I guess you could say add is a continous watering system. I have I few ideas for one but need to find the time to follow up on those ideas.
Please feel free to ask if you have any questions and I will be glad to help.
Herpstat porportional thermostat from spinder robotics - $120.00
2 - axial 115v fans 112cfu off ebay - $12.00
3/8 plywood (subflooring I had lying around) -free
2x2's I had lying around
1 - 4x8x1/2 polystyrene pink board - $8.00
4 -casters I had lying around - free
A good quality bathroom pant to prevent inside mold due to humidity - iI also had lying around
2 - 120w light bubs for heat and (1 60w optional; for light) - $5.00
foam window tape to seal doors - $3.00
door hindges and latches i had lying around
plexy glass for veiwing window I had lying around
2 - egg turners that were gave to me
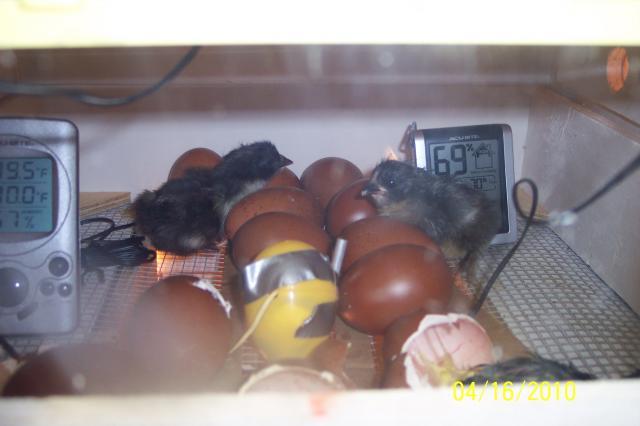
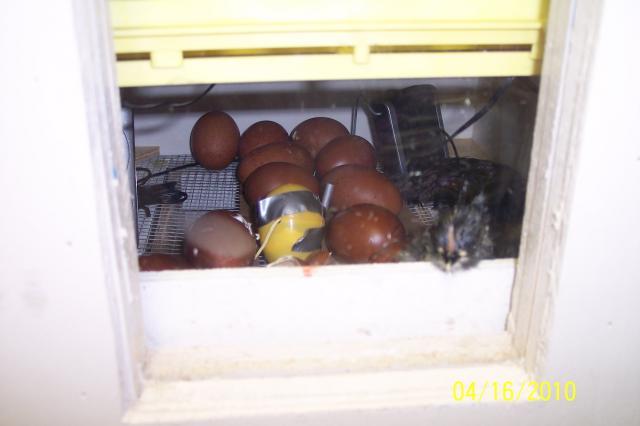
4/16/10 Update!! The Black Copper Maran eggs in the above pics are hatching! Below is a pic of the first 3 of 14. The one in the bottom right corner is being a little camera shy.
Last edited by millejn3 (04/12/2010 10:32 am)
If its worth while doing its worth while doing right the first time