Frank's Flock
We decided to get backyard chicks a year before we actually started our build. I grew up on a farm with many animals, but my husband grew up with none. This has been a duel project for us, however I have to start something, see it, and then do it, while my husband needs to have everything planned before he can start. Many hours were spent on this site seeing what others had done, what worked and what didn't. My husband began drawing up plans, I picked a spot, and off we went to the Home Depot.

Basic breakdown of areas and placement of 2x4s.
Side view and materials list.
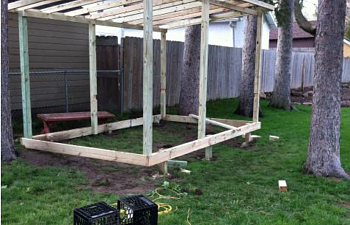
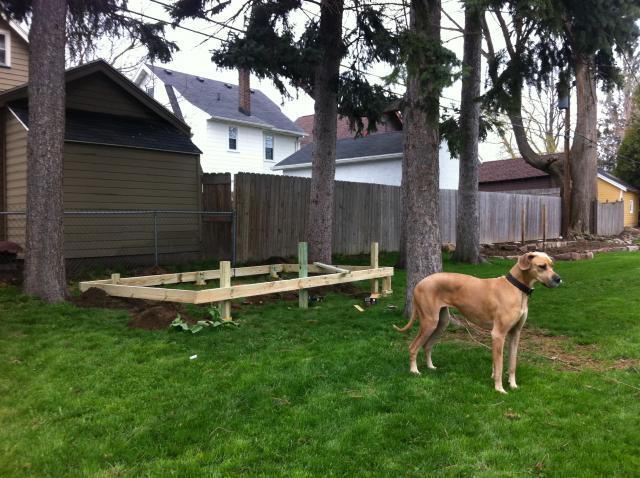
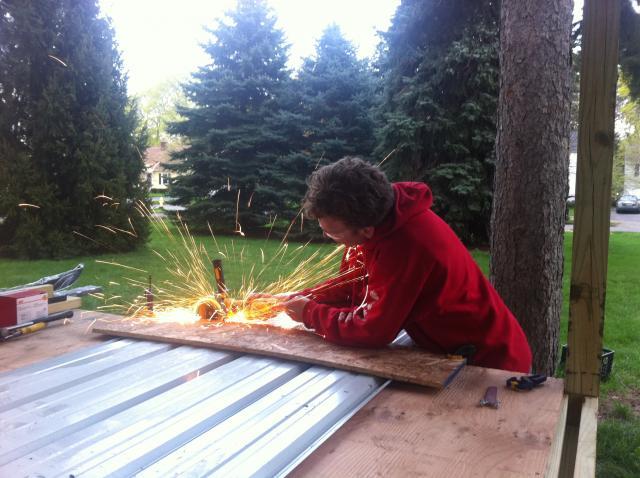
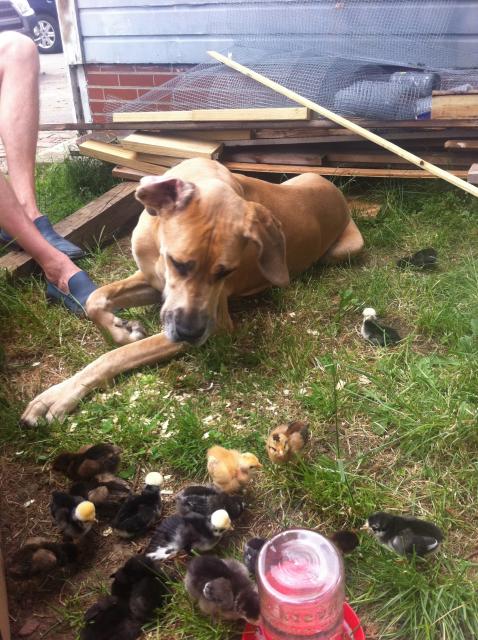
We wanted to coop to somewhat mobile as our ground is not level and we have some major landscaping planned. We started with 6 4x4 posts buried 2-3 feet into the ground and cemented in place. The 8' x 15' perimeter was made from 2x6 and then leveled onto the existing feet and secured with 2 carrage bolts per foot. (Frank is our Great Dane, who has not been helpful during this project, but gets the coop named after her anyway.
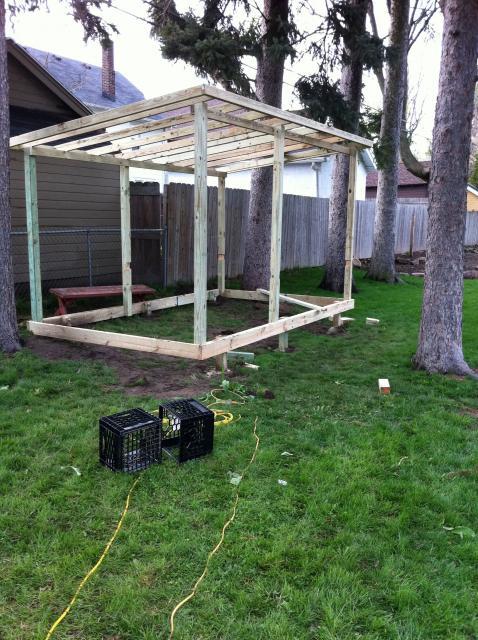
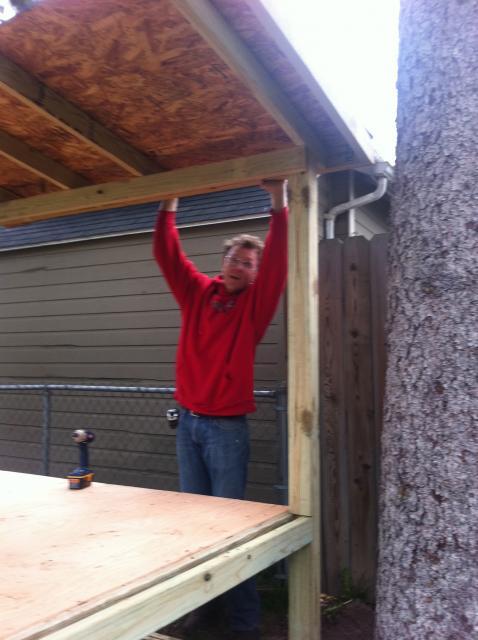
The 6 uprights, also 4x4 were then placed. The roof was constructed on the ground and then lifted into place and secured. A dado blade was used to notch the uprights for the coop floor frame to sit into. The coop floor (8' x8') was framed and plywood used to cover the frame. Roof sheeting, tar paper and red tin finished off the roof.
If you look closely on the right uprights you can see the notches for the coop floor.
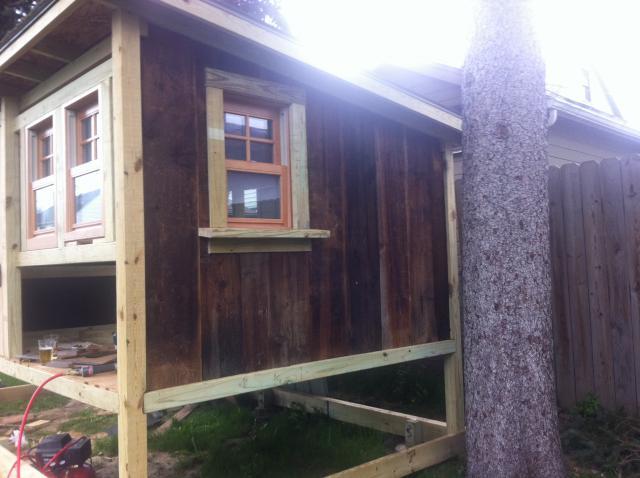
The coop walls were framed out. We found three windows on craigslist that help with ventilation. The outside was panneled with recycled rough cut cedar. The coop door came from a home salvage store. We deconstructed it and then reconstructed it to size. Door hardware also is from home salvage store. The nesting box is all internal, however the front panel under the window is hinged for easy access for egg collection.
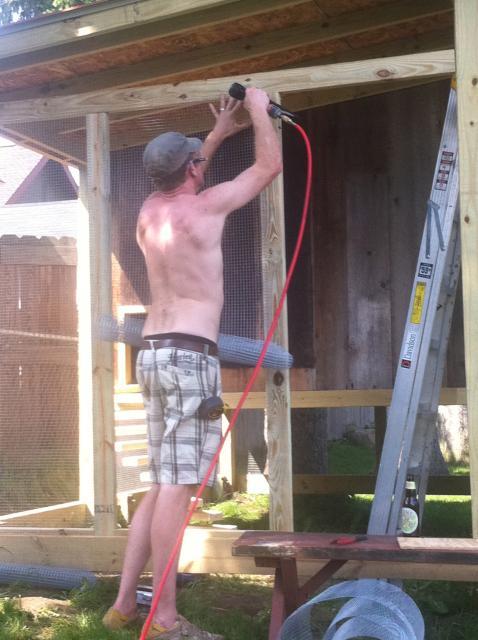
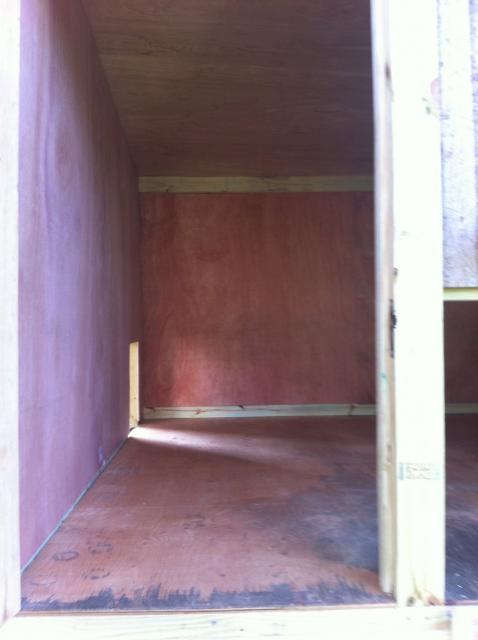
The coop portion was screened with 1/2 inch square wire, stapled to the outside of the construction and then framed for a finishing touch. We also constructed a screen door for the run. The chickens have access to the run by a spiral staircase made with 2x4 and a threaded bolt. Chicken wire extends from the base frame to the ground with 5 inches bent inward. (Eventually will be buried and should keep predators out.) The interior was insulated with fiberglass between each 2x4 and covered with wood paneling. Ceilings and soffits too.
There is electric wire run to the coop and we will eventually have a light source for the girls. Right now they have a nightlight on their roost to encourage them to go to bed.
The floor is linoleum for easy cleaning, it was then covered with pine shavings.
Nesting boxes with pop in dividers. The top was covered and the bottoms have plywood. This is our second nesting box. The first set was a "built in" with a flat roof. We decided to make this one so that it could easily come out for cleaning. The roof also has a slant on it to discourage the girls from roosting on it.
Interior finishing work.
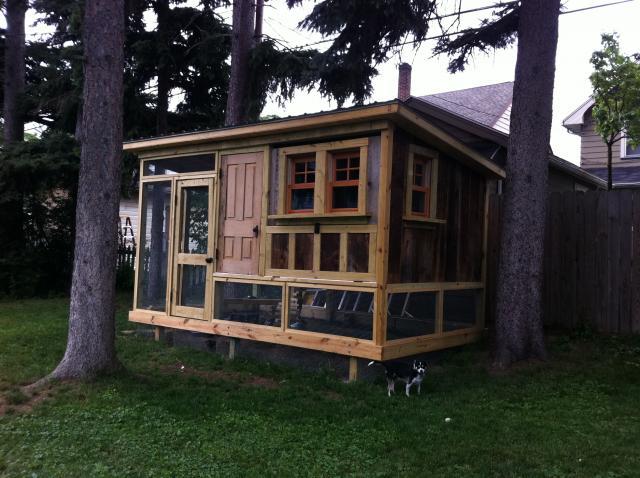
Finished product
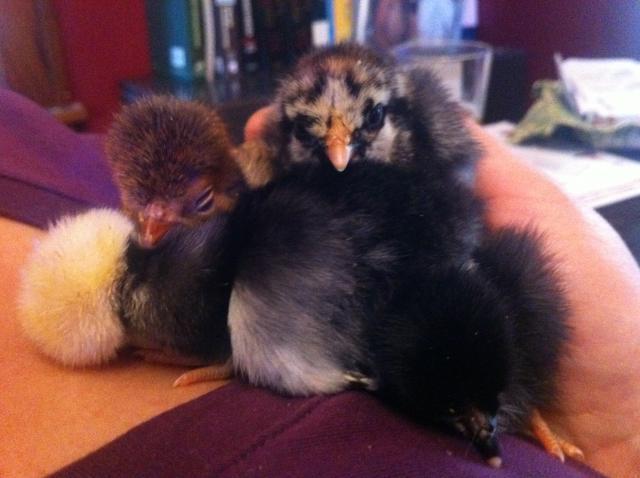
Four of my girls.
First day outside with Frank watching over.
We decided to get backyard chicks a year before we actually started our build. I grew up on a farm with many animals, but my husband grew up with none. This has been a duel project for us, however I have to start something, see it, and then do it, while my husband needs to have everything planned before he can start. Many hours were spent on this site seeing what others had done, what worked and what didn't. My husband began drawing up plans, I picked a spot, and off we went to the Home Depot.

Basic breakdown of areas and placement of 2x4s.

Side view and materials list.
We wanted to coop to somewhat mobile as our ground is not level and we have some major landscaping planned. We started with 6 4x4 posts buried 2-3 feet into the ground and cemented in place. The 8' x 15' perimeter was made from 2x6 and then leveled onto the existing feet and secured with 2 carrage bolts per foot. (Frank is our Great Dane, who has not been helpful during this project, but gets the coop named after her anyway.
The 6 uprights, also 4x4 were then placed. The roof was constructed on the ground and then lifted into place and secured. A dado blade was used to notch the uprights for the coop floor frame to sit into. The coop floor (8' x8') was framed and plywood used to cover the frame. Roof sheeting, tar paper and red tin finished off the roof.
If you look closely on the right uprights you can see the notches for the coop floor.
The coop walls were framed out. We found three windows on craigslist that help with ventilation. The outside was panneled with recycled rough cut cedar. The coop door came from a home salvage store. We deconstructed it and then reconstructed it to size. Door hardware also is from home salvage store. The nesting box is all internal, however the front panel under the window is hinged for easy access for egg collection.
The coop portion was screened with 1/2 inch square wire, stapled to the outside of the construction and then framed for a finishing touch. We also constructed a screen door for the run. The chickens have access to the run by a spiral staircase made with 2x4 and a threaded bolt. Chicken wire extends from the base frame to the ground with 5 inches bent inward. (Eventually will be buried and should keep predators out.) The interior was insulated with fiberglass between each 2x4 and covered with wood paneling. Ceilings and soffits too.
There is electric wire run to the coop and we will eventually have a light source for the girls. Right now they have a nightlight on their roost to encourage them to go to bed.
The floor is linoleum for easy cleaning, it was then covered with pine shavings.
Nesting boxes with pop in dividers. The top was covered and the bottoms have plywood. This is our second nesting box. The first set was a "built in" with a flat roof. We decided to make this one so that it could easily come out for cleaning. The roof also has a slant on it to discourage the girls from roosting on it.
Interior finishing work.
Finished product
Four of my girls.
First day outside with Frank watching over.