The "Egg Plant"
♥ ♥ ♥ ♥ ♥ ♥ ♥ ♥ ♥ ♥ ♥ ♥ ♥ ♥ ♥ ♥ ♥ ♥
♥ ♥ ♥ ♥ ♥ ♥ ♥ ♥ ♥ ♥ ♥ ♥ ♥ ♥ ♥ ♥ ♥ ♥
We went to a garden show one day and saw a few entries that had chickens and their adorable and seemingly quite comfortable (if you're a chicken) backyard coops. They had all sorts of information why having chickens is beneficial for the environment and a great source for fresh, healthy eggs as well plenty of "chicken TV" entertainment.
After much thought we decided we would like to have some chickens in our yard. I spent an entire year reading books, going to classes and surfing the Internet gaining as much "chicken knowledge" I could before getting our lovely little chicks so we would be well prepared.
During my research I came upon the BYC Forum and saw all the wonderful ideas here! I took some of those ideas along with others I came upon and added a few of my own to create our very own coop. We pre-ordered our chicks and picked them up as soon as the coop was framed.
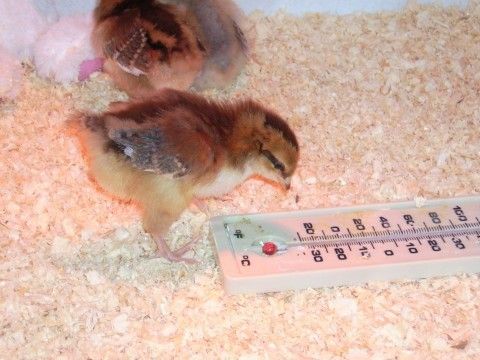
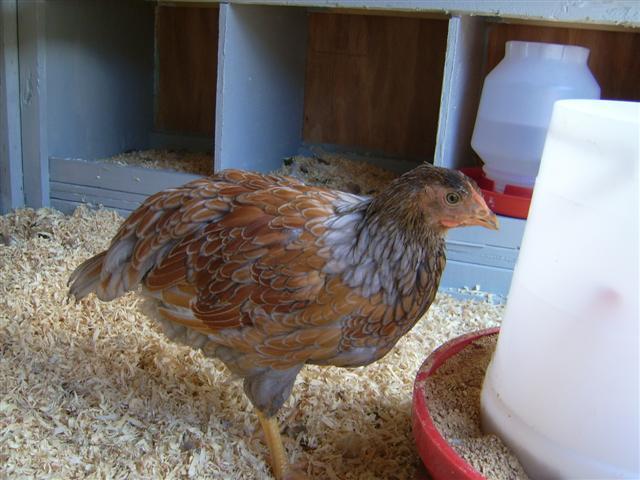
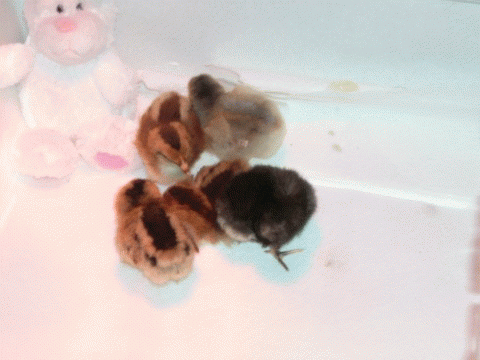
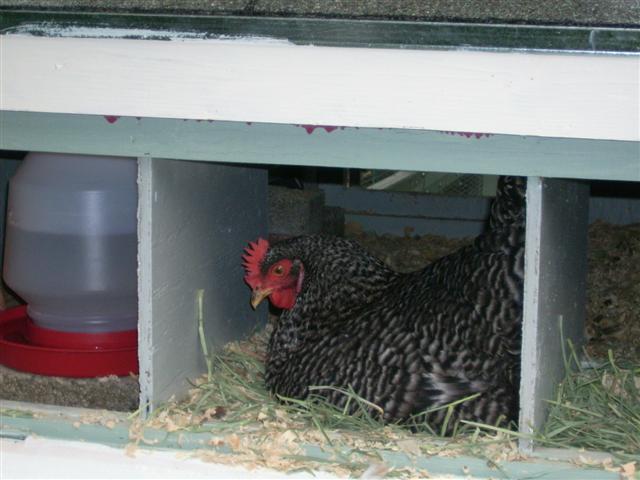
Here is Poppy checking the temperature--she is still very picky, LOL.
Things we wanted in a coop:
- A permanent run and hen house for our girls.
- Completely predator safe so the girls could go in and out of the henhouse freely 24/7.
- Rat proof.
- Easy to clean and maintain.
- Comfortable and roomy for the girls.
- Be able to get up close and personal with the girls to be able to check for lice, mites or illnesses.
- Attractive and completely roofed.
- Use quality wood and screws for strength and longevity.
We chose to have 5 hens so I wanted 5' x 12' but due to the normal lengths of the wood my husband felt it would be less waste and take fewer cuts in the wood to make it 4x13--the henhouse 5x4 and run 8x4. He actually doesn't build things often but jumped right into this project as he wanted chickens as much as I did.
I also wanted a raised hen house that I would be able to reach across easily. I am 4'11" so 4 foot wide made more sense. We decided to raise the henhouse floor 32" to make cleaning really easy on our old backs.
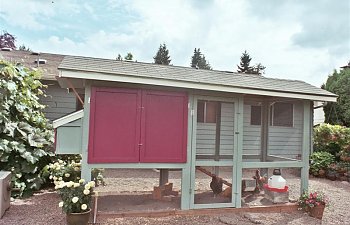
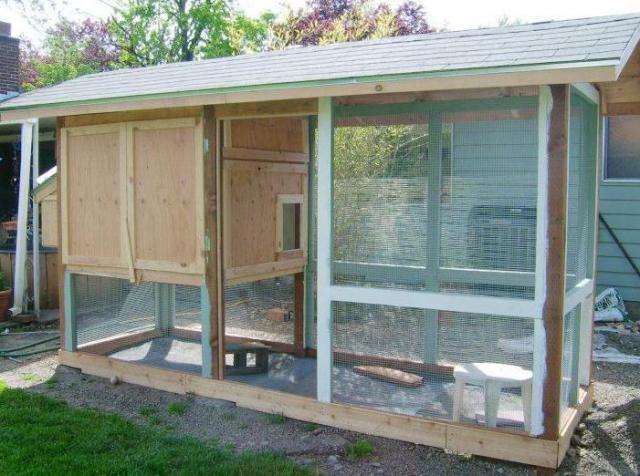
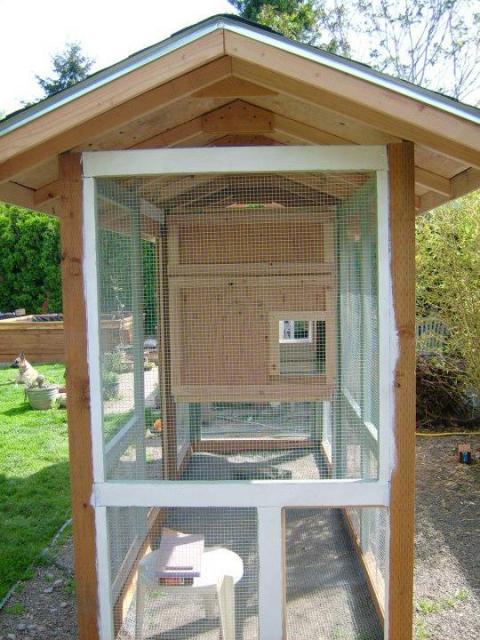
This is the coop we came up with:

(too bad it was cloudy when someone actually had a camera)
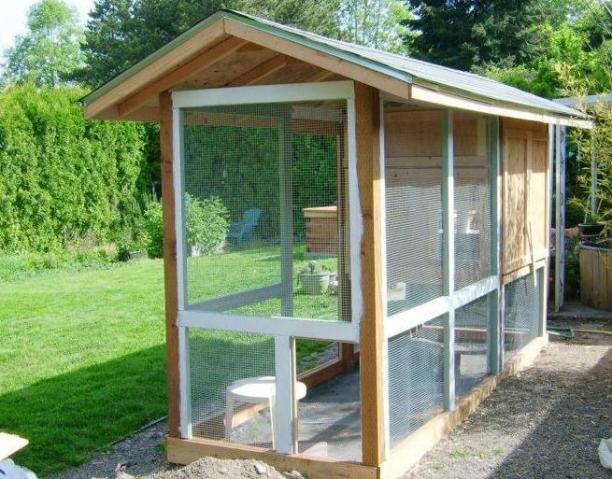
Coop next to our patio Our girls coming out to say "hello."
THE PLANS:
These were the original plans I drew (you can see I am not anything close to an architect). You'll notice that we made some changes as we went along. One major change was to put the "human" door right next to the henhouse.
SIDE VIEW TOP VIEW
LOCATION:
We chose to build it about 15' away from our house next to our patio so we could see the girls from our house windows, care for them and collect eggs in any weather. We have clay soil but we added several inches of pea gravel years ago so it doesn't get muddy. Our yard also has a natural slope that prevents flooding during our rainy winters (we live in Oregon).
BUILDING:
My husband built a 13' x 4' frame along the bottom after he sank 6 4x4s nearly 2' using a post digger and backfilled with gravel. He put 1/2" hardware cloth under the entire coop for protection and 2x6 boards along the bottom to form a "box" so we could fill it with 6" of sand.
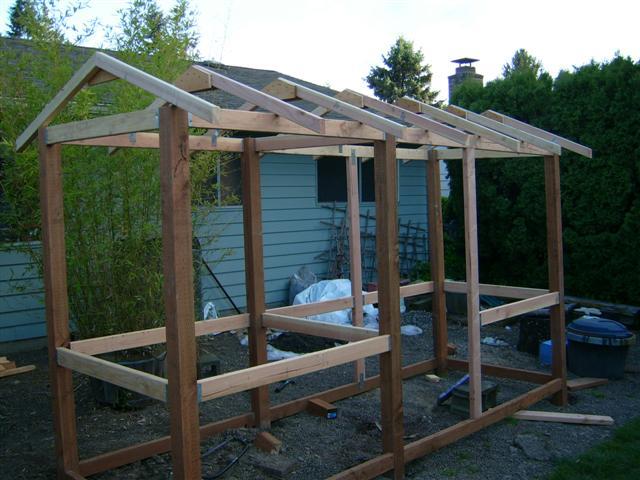
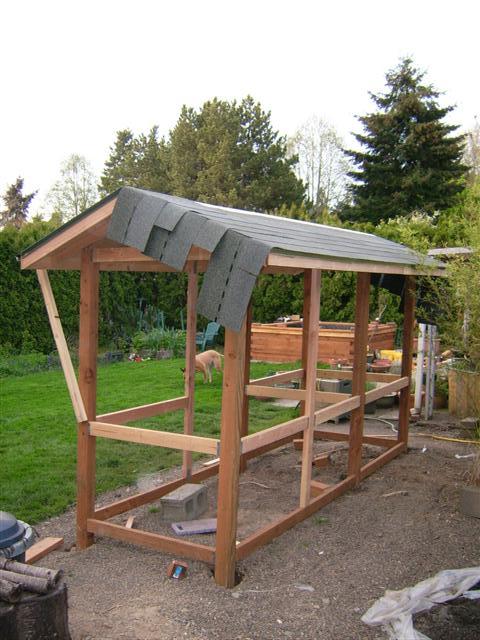
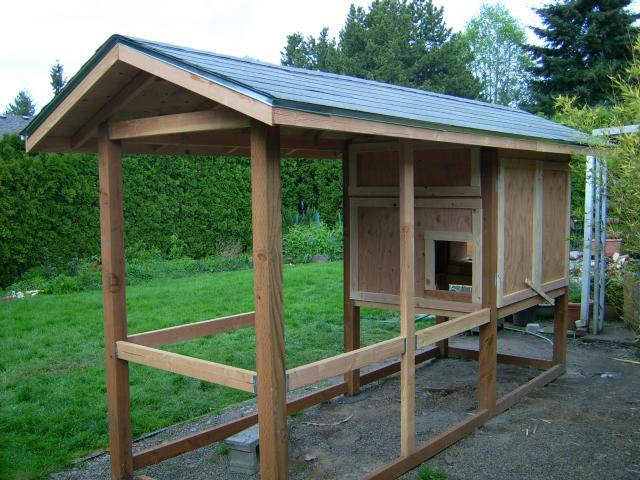
Framing coop Shingles for roof
My husband framed the coop and roof with 2x4's and used plywood to cover the roof. He then covered with roofing shingles to match our home.
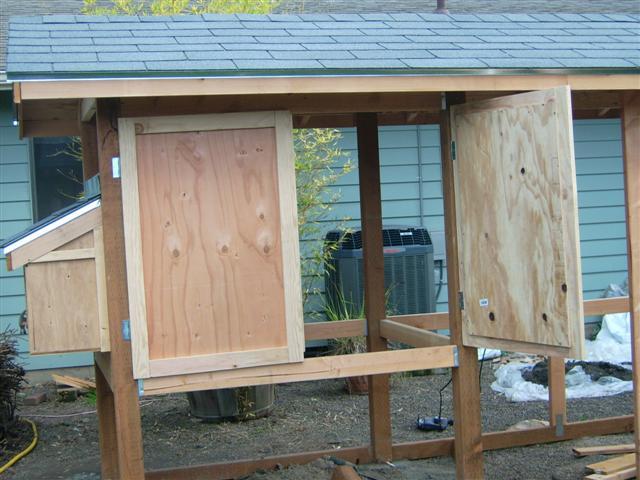
Adding doors and nestbox Roof and henhouse nearly finished
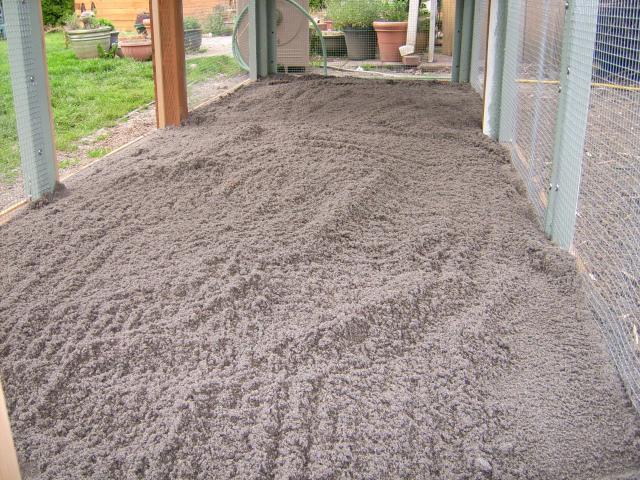
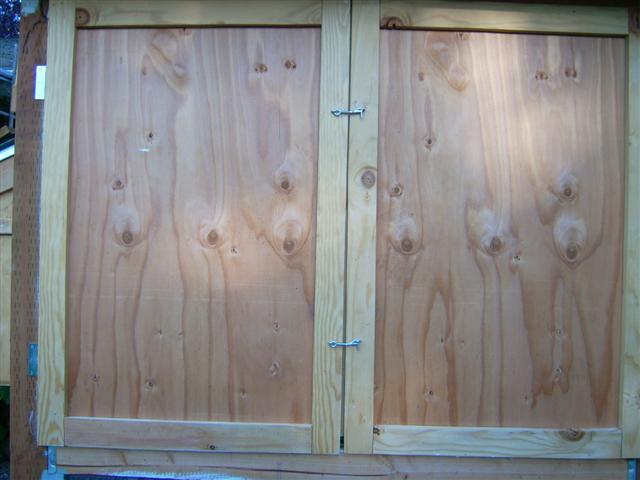
SAND!! Childproof hooks on hen house doors
We filled the "box" all the way to the top with sand as we knew there would be some settling and the girls would kick some out. Its been 7 months since they've been in their coop and there has definetly been some loss of sand--enough that we may toss some back in or add a few bags of sand this spring.
so far so good.... space on the bottom for the chicken door ^
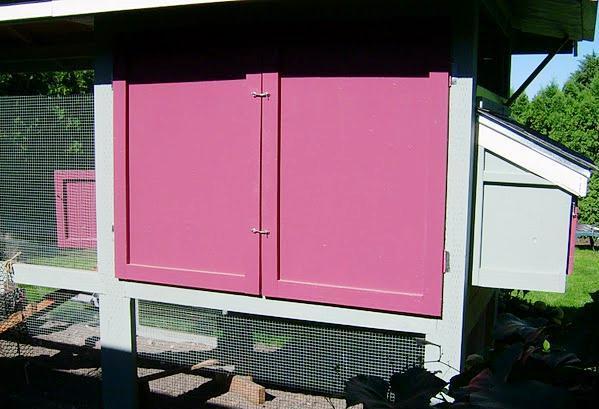
The henhouse is 5x4' and after being framed with 2x4s he used plywood for the walls and floor. The floor was covered with vinyl which works great for cleaning the shavings out! We made double doors on both sides that open almost the entire length of the hen house for ease of feeding and care. I wanted to be able to reach everywhere simply and easily. I would definetly recommend this!
♥♥♥
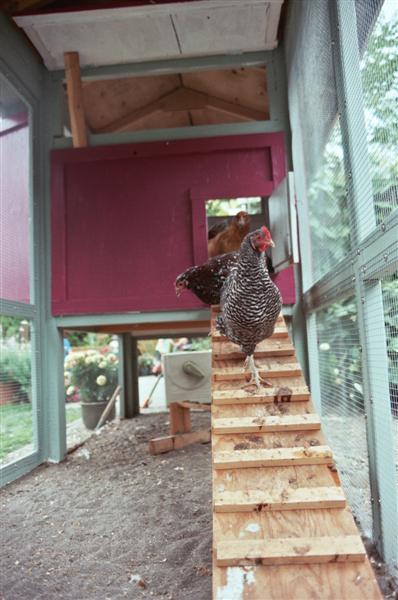
Our pop door is 14"x12" with a 3" lip to keep shavings in the house, LOL. We also added a ladder so they could go down to the run safely. The pop door is always open but we have a door attached to close it if necessary. It has a hook that attaches to the hardware cloth to prevent closing accidentally. 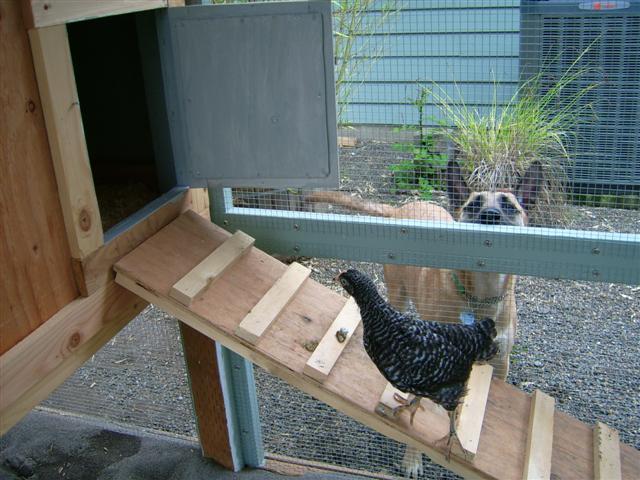
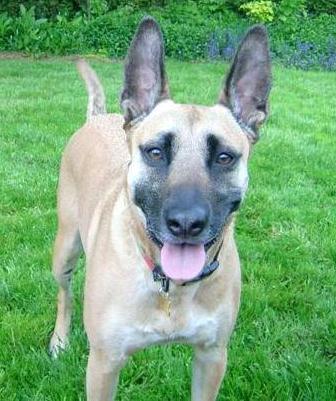
First day in the coop with their guard dog, Cherokee, our Belgian Malinois. See those ears?? No dastardly raccoon is getting past this girl! She really loves her chickens and of course their food too....
NESTBOX:
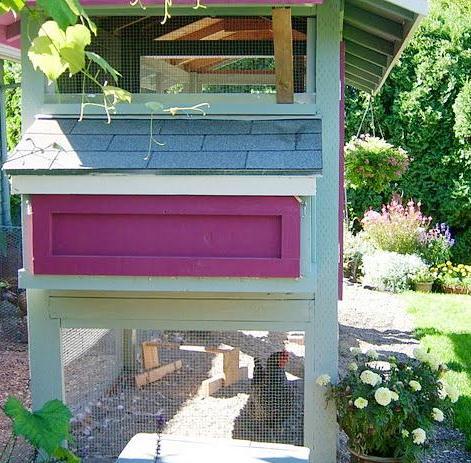
We added an external nest box so we could collect eggs easily and allow more indoor room for the girls. We decided to use all of the space so we made 3 nests for them (almost 14" square) and use one for a 1 gallon waterer which they love as we have a large plastic trough for their food in the house.
We made the roof of the nestbox permanent (also shingled!) and the front of the nest box to open downwards (the rose color door). This not only allows me to gently push a hen off the nest or check under her if she is sitting but keeps rain out of the box! There is a childproof lock on either side.
We have magnets on the nest box door and the fixed box so it closes tighlty in the winter to keep them warm while they lay their egg. To allow more air circulation in the summer we put a small "door stop" between the door and the fixed nest box and it stays open 1/4" to keep them from gettng too hot.
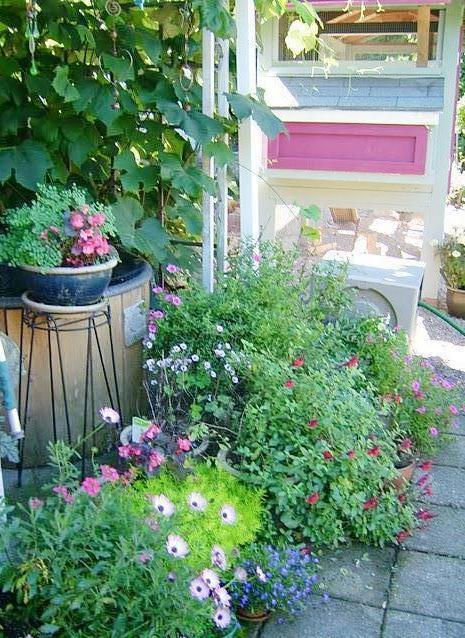
Beatrice checking the flowers...
We painted the coop in our house colors --Glen Ivy Green and English Rose.
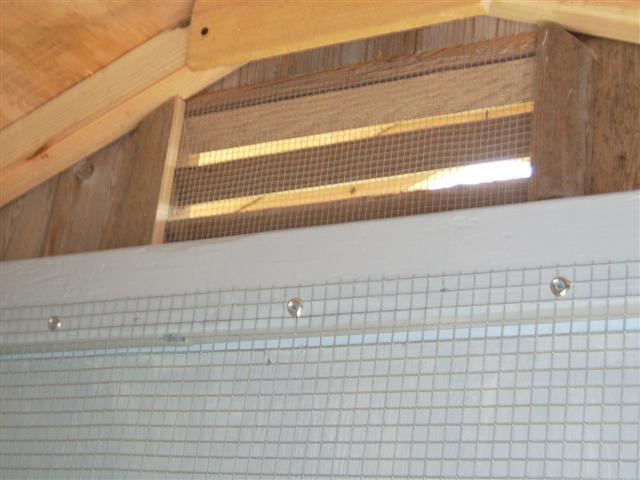
VENTILATION:
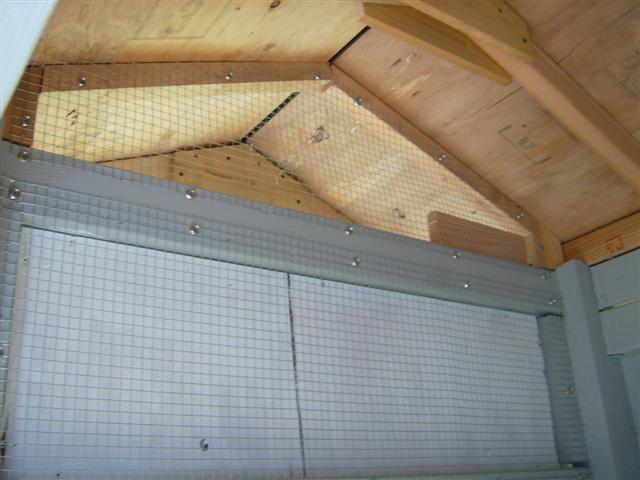
Inside the hen house we made a large ventilation opening facing the covered run to be left open all the time. We have since added a piece of plywood to reduce it to 1/2 size as it's colder in winter and we'll remove the plywood in the spring. We placed a slatted vent opposite it for a good air flow. Under the ventilation areas are windows that open for the summer. Since we usually leave the pop door open they have plenty of fresh air flow without a direct draft.
All spaces larger than 1/2" are covered in hardware cloth--used washers and screws for more security! We did add hardware cloth over the larger ventialtion area to keep the girls from roosting on it and leaving a poopy mess.
3 Nest Boxes (and Hyacinth) ^
What is looks like when I open the side doors

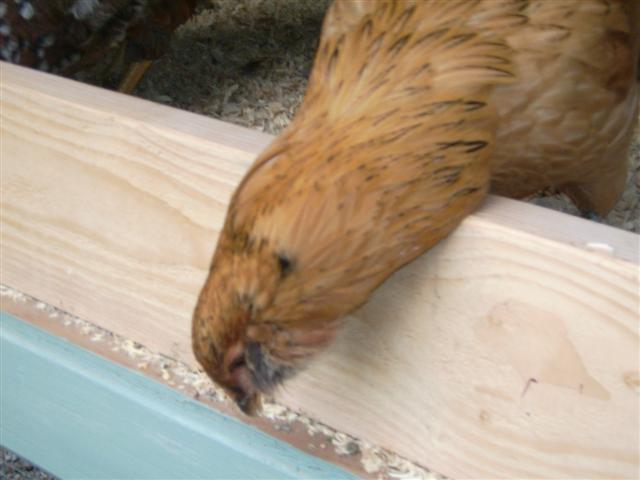
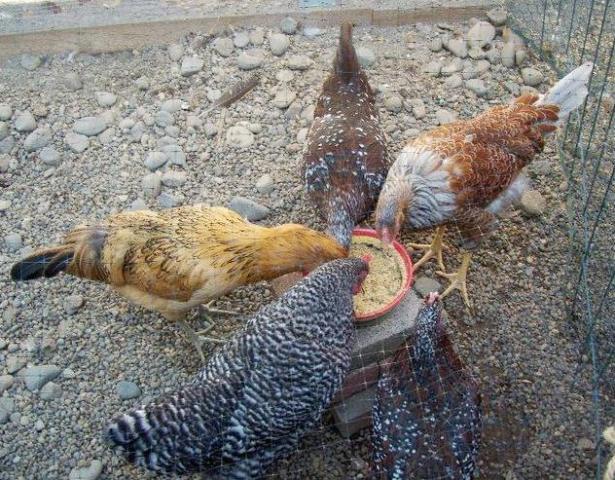
Giving the girls a treat Agnes checking for goodies...
As you can see in the above picture we put a 2x6 board on both sides next to the hen house doors to keep the shavings from falling out when we opened them. We put the board in slats so I could just lift them out to clean the henhouse easily.
We used inside the henhouse for easy cleaning and make less hospitable for mites. We used exterior house paint for the outside of the coop. Had to use several coats of paint inside and outside even after using a primer. grey floor paint
We put a roost made from a 2x4 wide side up and sanded the edges for their comfort. We slid it into metal slats for easy removal to clean. It is only 18" from the floor which makes it easier on their feet and their livers when they jump down. I must have read too many bumblefoot and hemorragic liver stories, LOL.
The darling girls...
Ready for bed in the summer! We can go out to play through our coop "chicken" door!
We used all child proof locks and always two on each door except for the "people door" which has 3--2 hook childproof ones and a slip bolt in the middle. The other is their extra chicken door on the end of the coop (you can see it in upper photos) with only 1--we open to let them out of the coop. We also added a plastic fenced area off that extra door (netting over it for raptor control) when we are home but not in the yard with them. One of us is home most of the time due to our work schedules.
My husband did a wonderful job--especially with me telling him what I want and he had to come up with a way to do it. Thanks, Honey!!
Things we love and recommend:
- Doors that open all the way on both sides of the henhouse. Saves a ton of time as everything is within reach.
- Slatted boards to hold shavings in and a lip for the pop door. A must have in this type of set up.
- Vinyl flooring. Soooo easy to clean!!
- Having the henhouse floor 32" off the ground. A real back saver! It's also fun when they run up the ramp to be practically in your face wanting some affection. You can pick them up easily to check for mites and whatever and not have to bend down. It allows the girls plenty of useful room under it as well.
- Add another 2 feet of pea gravel near the grassy side of the coop to prevent muddy grass from the rainfall off the roof (we don't have a gutter). We will be adding this in the spring as we ran out of time before the rain started this winter.
- Make a lighter, larger, movable tractor for ranging in the yard instead of the dog pen. We let them in the "tractor" only when one of us is home (which is most of the time!) for their protection
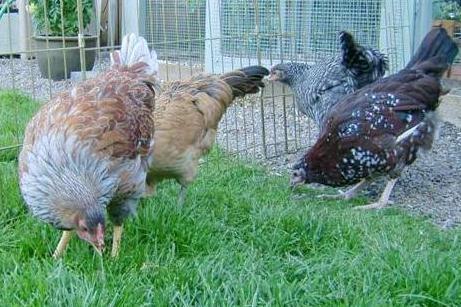
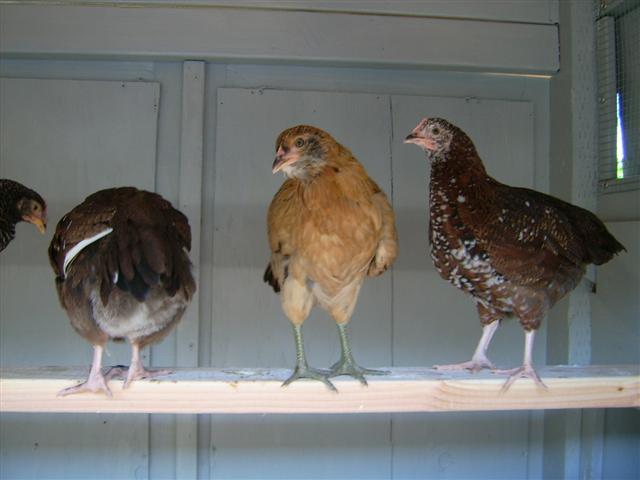
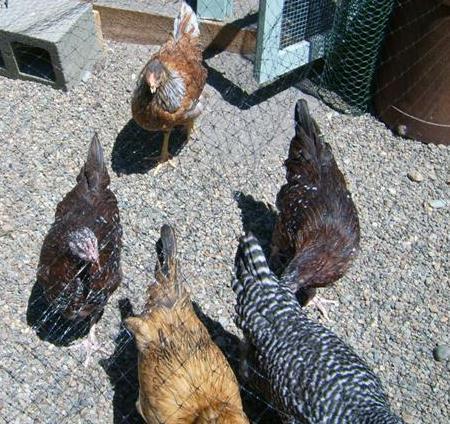
Our happy ladies, Hyacinth, Beatrice, Agnes, Poppy and Pearl.
They are a Blue Laced Red Wyandotte (who has a wicked cross beak and why we have to give
moist mash every day), Barred Rock, Easter Egger, and two Speckled Sussex
")
We have E!!!!GGS