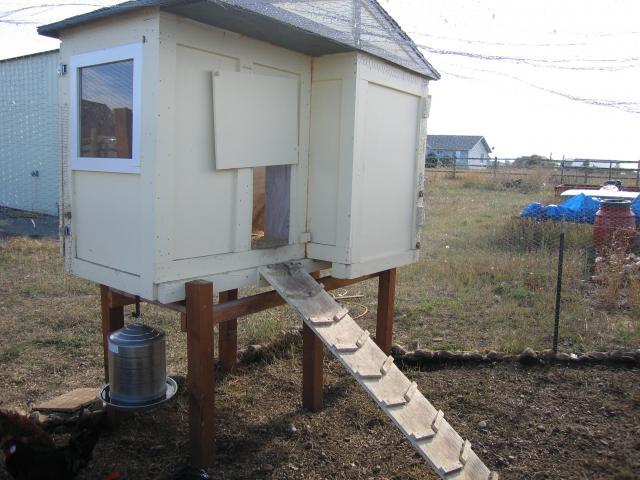
For years I wanted to keep chickens alas my wife was not interested. After years of discussing it I finally was told "fine but it better not cost too much" So "crate coop" was born. I scavenged two crates from work and with scraps and hardware I already had laying around the shop I built this:

This coop has worked quite well for the last couple of years, but It was a little on the small side and it became apparent that we needed a larger coop, oh and this time the wife told me it had to "Look good too". There were some things I had learned with the crate coop and wanted to incorporate some slightly better technology.
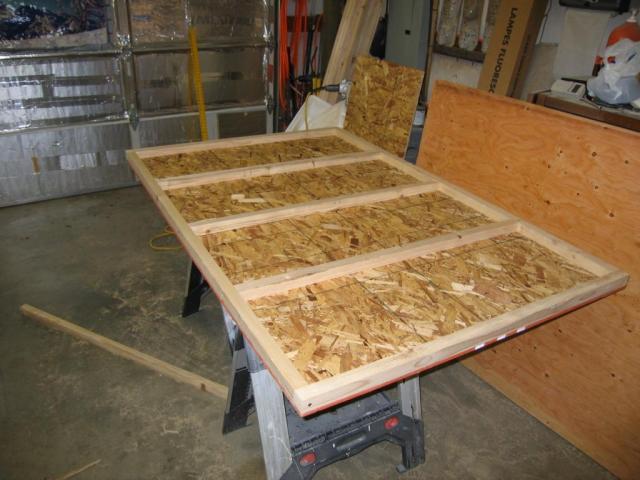
First things first I decided on a 4'x6' coop. That meant that the floor needed to be 4' wide minus the thickness of both side panels (more on that later). The floor was framed up using 2x2's and a sheet of OSB.
Next up came the gable walls. I've learned after several other coop projects that the best way to cut gables is to cut both sides at the same time, that way they match on the first try. The first step is to rip the sheet of T-111 in half then stack one on top of the other with the one one the botttom having the outside of the sheet facing down, this way they are mirror images.
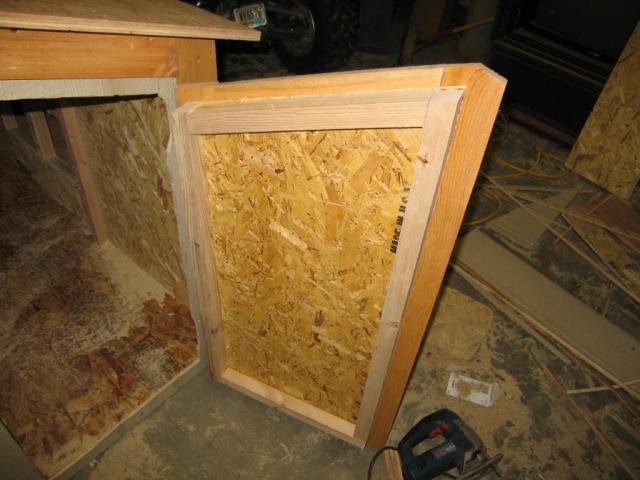
Then each gable wall gets framed and mounted to the floor.
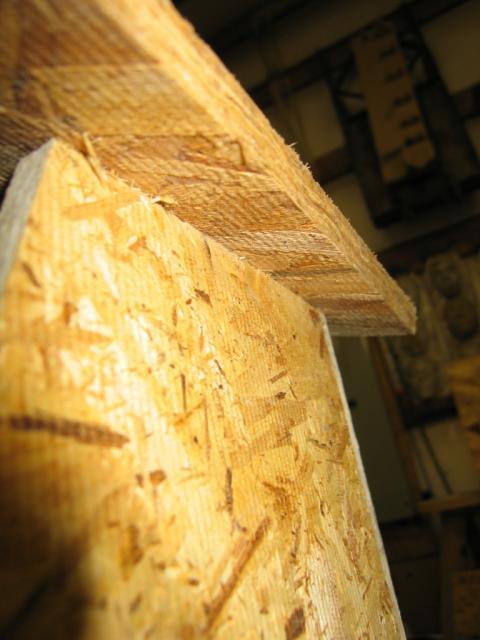
If you look closely you can see that the gable panel is actually a little bit proud of the framing on the sides. The framing is held in exactly the thickness of the side panel, which makes the framing exactly the same width as the floor deck.
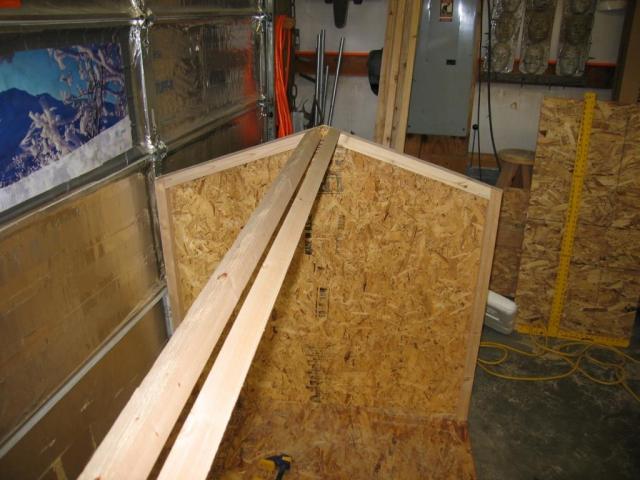
Roof framing comes next. A couple 2x2 angled to match the roof pitch and screwed to the gable framing members.
Now with the roof framing on It's time for the side panels, but first an explanation about the end panels and why I build them this way. Couple of scraps to illustrate.
If the side panels fit INSIDE of the gable panels you don't have to cut any fancy angles on the top of side panels or their framing members to get a nice tight fit between the side panel and the roof panel. This was a happy accident that I picked up on a previously constructed coop. Saves tons of time.
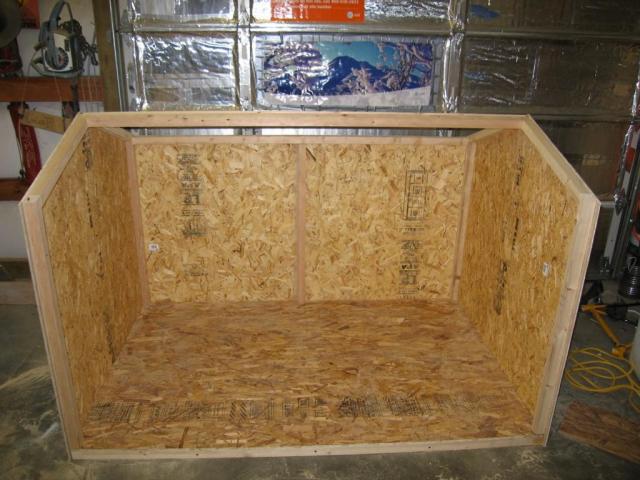
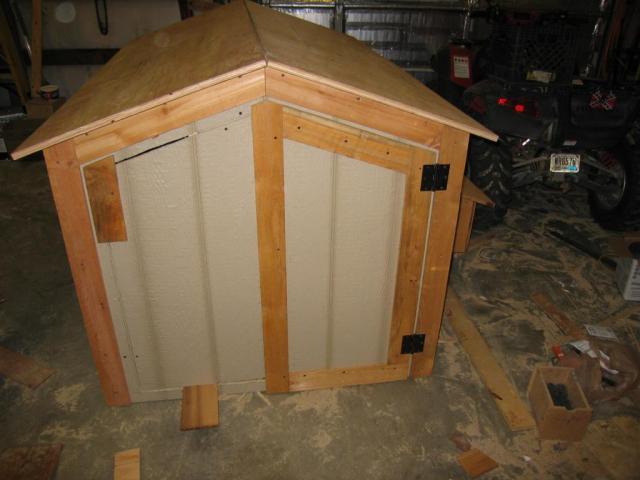
First side panel framed and mounted up. Notice the 2x2 in the middle of the panel, that's where the joint in the T-111 is on this particular side panel I wanted two doors so I centered the joint. On the other side panel where I put my exterior nest boxes I moved the joint as far to one side as I could so I would have room for the nest boxes.
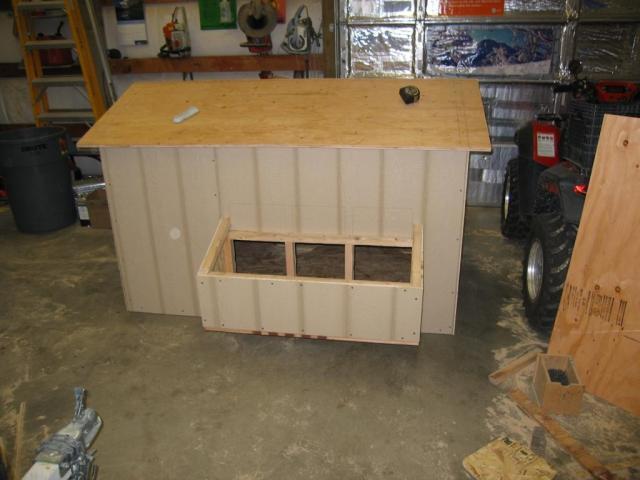
Nest box frame work mounted to the side of the coop, and if you look closely, roof panel is on as well.
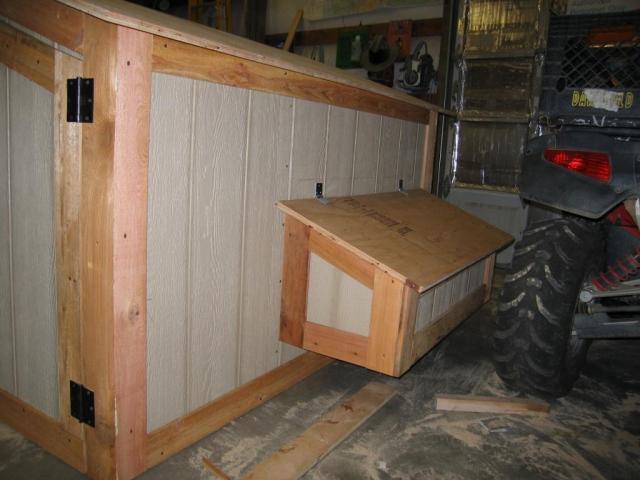
Nest box framed and built. Wish I had payed a little more attention to the siding on the nest box and made the panel line up with the side panel more...oh well.
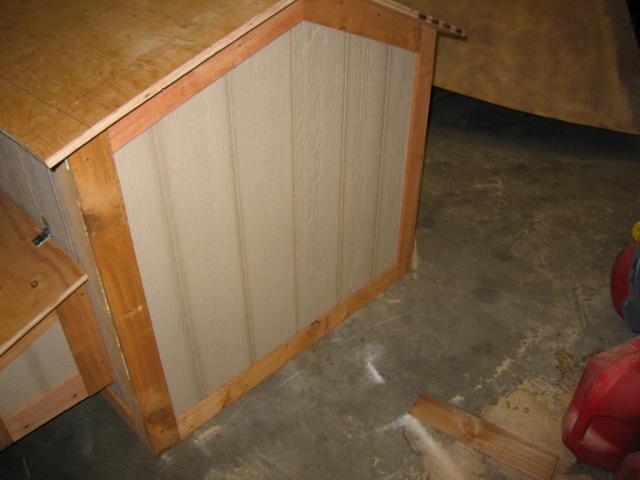
Now it's time to start "Churching" this thing up with some trim, build some doors, and some windows. I used 1x3 cedar fence boards for all the trim because they're relatively cheap, and they look good.
Door are built next and the cedar trim is used as a "stop" on the doors.
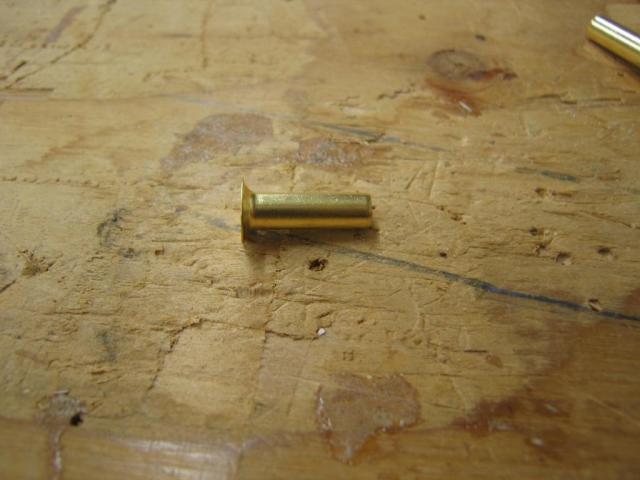
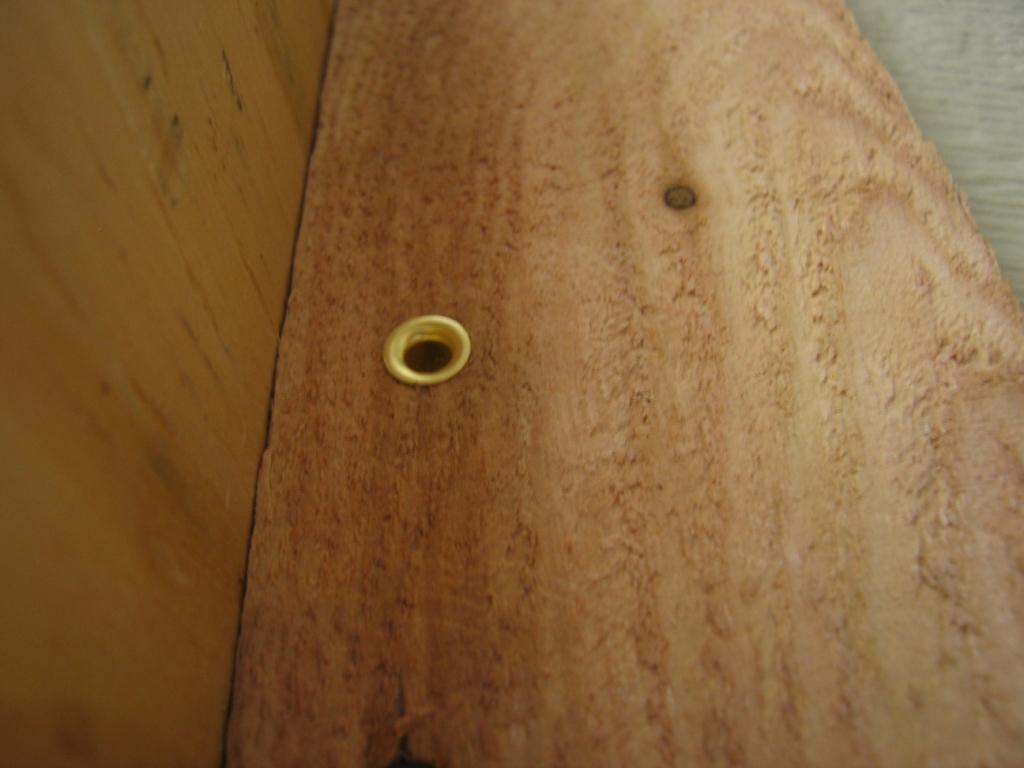
For the pop door I really prefer being able to open and close it from outside the coop and the run. On my crate coop I used a swinging door and a length of string with a cleat type arraingment for securing it open. Same thing on this coop except I didn't want the string cutting into and through the coop wall (like has happened on the crate coop) I was standing in the plumbing aisle at my local Home Despot and saw this.
It's part of a compression fitting. I drilled a hole slightly smaller than the diameter and gently tapped them into the trim.
At this point the picture taking kind of fell off as I was starting to get rushed to complete this thing and taking pictures takes time.
Here's the roost and the thermostat is behind it on the wall.
You can also see the holes in the roof panel that lead to the cupola for venilation.
Next up was lights, heat, and power.
The two heat lamps and the outlet (not pictured) are all controlled by the thermostat, the CFL in the middle is controlled by the timer that is inside the gray box on the wall.
Base is built and set in concrete.
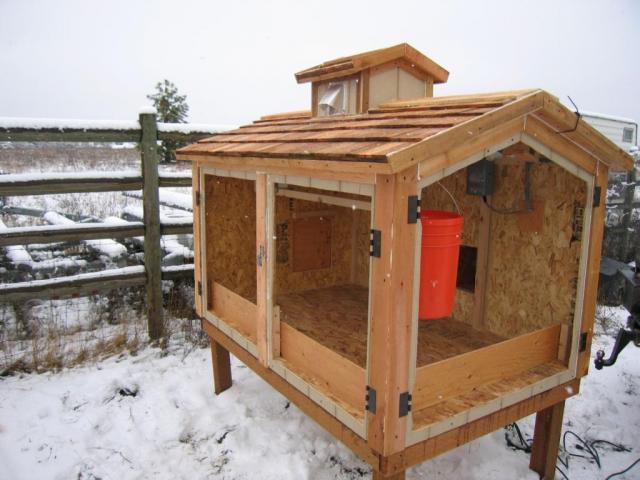
Loaded the coop into the back of my pickup and with the help of a friend we set it on the base. In this picture you can see the litter dam boards these keep the litter from getting into the doors and making a general mess of things (one of the things I learned "after" the fact on my crate coop. They are removable for changing the litter.
You can also see that the roofing is done. I used cedar shakes that are meant to be used for "under-course" or starter courses on real shake roofs, they are way cheaper. I ended up using three packs with some leftover. Also note the dryer vents on the cupola for venilation. Between them and the operating window and the pop door I think I have venilation licked.
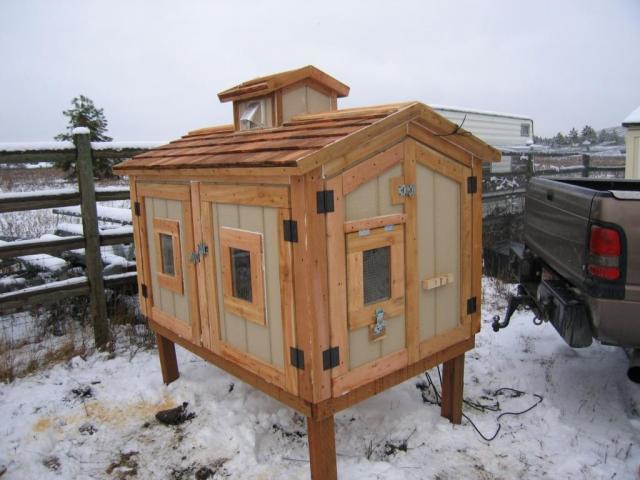
Doors on and wrapped up. The door on the gable end is an operating window meaning it opens, and the two on the side are fixed.
This coop has worked quite well for the last couple of years, but It was a little on the small side and it became apparent that we needed a larger coop, oh and this time the wife told me it had to "Look good too". There were some things I had learned with the crate coop and wanted to incorporate some slightly better technology.
First things first I decided on a 4'x6' coop. That meant that the floor needed to be 4' wide minus the thickness of both side panels (more on that later). The floor was framed up using 2x2's and a sheet of OSB.
Next up came the gable walls. I've learned after several other coop projects that the best way to cut gables is to cut both sides at the same time, that way they match on the first try. The first step is to rip the sheet of T-111 in half then stack one on top of the other with the one one the botttom having the outside of the sheet facing down, this way they are mirror images.

Then each gable wall gets framed and mounted to the floor.
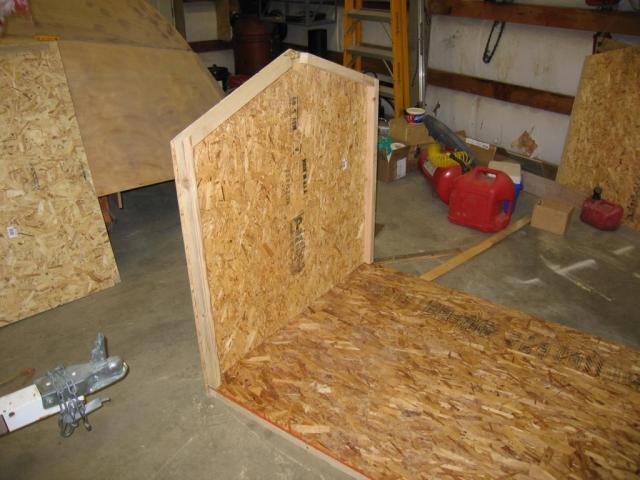
If you look closely you can see that the gable panel is actually a little bit proud of the framing on the sides. The framing is held in exactly the thickness of the side panel, which makes the framing exactly the same width as the floor deck.
Roof framing comes next. A couple 2x2 angled to match the roof pitch and screwed to the gable framing members.
Now with the roof framing on It's time for the side panels, but first an explanation about the end panels and why I build them this way. Couple of scraps to illustrate.
If the side panels fit INSIDE of the gable panels you don't have to cut any fancy angles on the top of side panels or their framing members to get a nice tight fit between the side panel and the roof panel. This was a happy accident that I picked up on a previously constructed coop. Saves tons of time.
First side panel framed and mounted up. Notice the 2x2 in the middle of the panel, that's where the joint in the T-111 is on this particular side panel I wanted two doors so I centered the joint. On the other side panel where I put my exterior nest boxes I moved the joint as far to one side as I could so I would have room for the nest boxes.
Nest box frame work mounted to the side of the coop, and if you look closely, roof panel is on as well.

Nest box framed and built. Wish I had payed a little more attention to the siding on the nest box and made the panel line up with the side panel more...oh well.
Now it's time to start "Churching" this thing up with some trim, build some doors, and some windows. I used 1x3 cedar fence boards for all the trim because they're relatively cheap, and they look good.
Door are built next and the cedar trim is used as a "stop" on the doors.
For the pop door I really prefer being able to open and close it from outside the coop and the run. On my crate coop I used a swinging door and a length of string with a cleat type arraingment for securing it open. Same thing on this coop except I didn't want the string cutting into and through the coop wall (like has happened on the crate coop) I was standing in the plumbing aisle at my local Home Despot and saw this.
It's part of a compression fitting. I drilled a hole slightly smaller than the diameter and gently tapped them into the trim.
At this point the picture taking kind of fell off as I was starting to get rushed to complete this thing and taking pictures takes time.
Here's the roost and the thermostat is behind it on the wall.
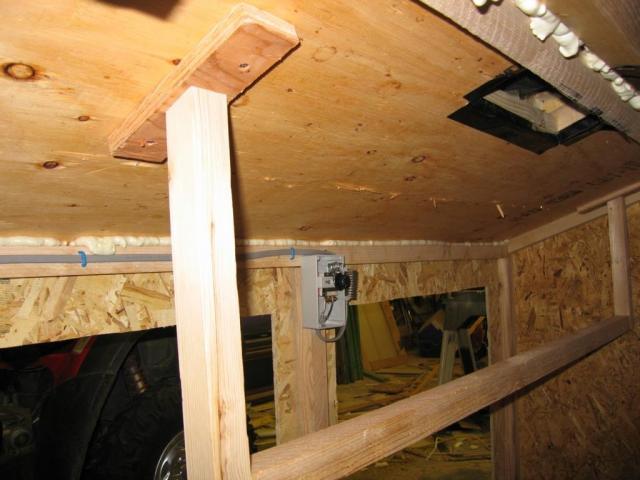
You can also see the holes in the roof panel that lead to the cupola for venilation.
Next up was lights, heat, and power.
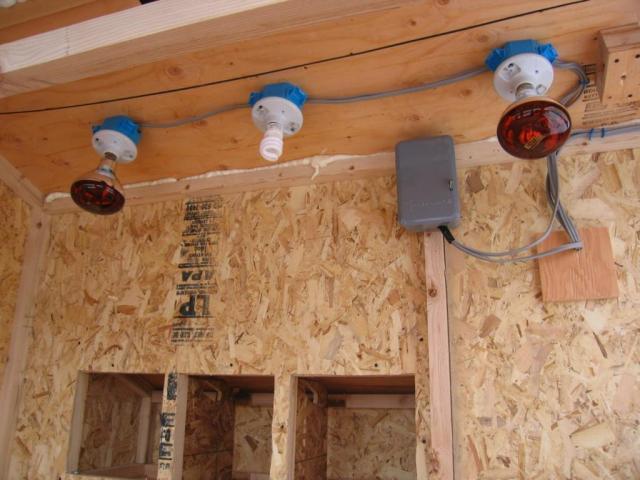
The two heat lamps and the outlet (not pictured) are all controlled by the thermostat, the CFL in the middle is controlled by the timer that is inside the gray box on the wall.
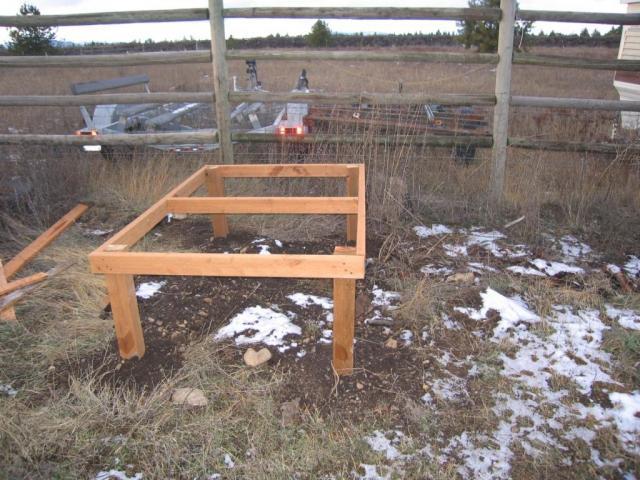
Base is built and set in concrete.
Loaded the coop into the back of my pickup and with the help of a friend we set it on the base. In this picture you can see the litter dam boards these keep the litter from getting into the doors and making a general mess of things (one of the things I learned "after" the fact on my crate coop. They are removable for changing the litter.
You can also see that the roofing is done. I used cedar shakes that are meant to be used for "under-course" or starter courses on real shake roofs, they are way cheaper. I ended up using three packs with some leftover. Also note the dryer vents on the cupola for venilation. Between them and the operating window and the pop door I think I have venilation licked.
Doors on and wrapped up. The door on the gable end is an operating window meaning it opens, and the two on the side are fixed.
