Scrap lumber chicken coop
Ever since I was a kid playing poker with my best friend on the roof of her chicken coop, I've wanted to raise chickens. Unfortunetly, my mom didn't. And when I grew up, I lived in a series of appartments. No love for the chickens there.
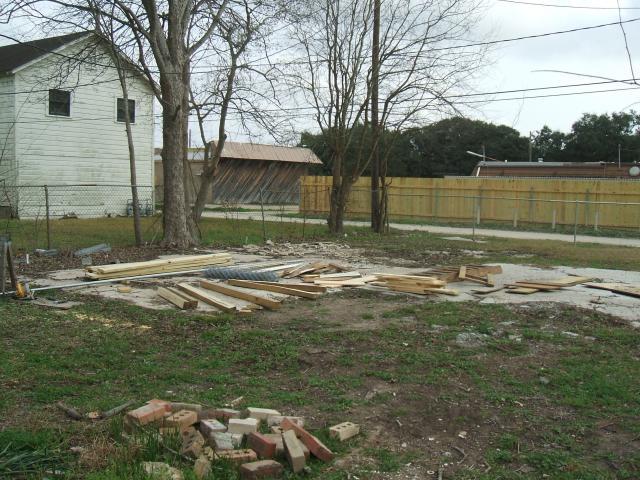
I moved to Texas and suddenly had a yard. A good sized yard. It had been neglected for years, and the back yard was covered in broken glass, due to it being the former location of a glass company.
I've spent the last two years planning, and now I get to have chickens!
We had a bit of left over lumber from the remodel, so I set to work planning. Here's what I've got so far.
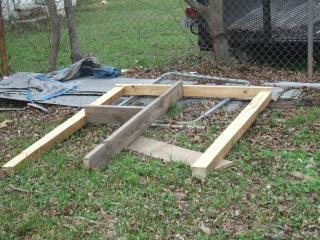
These are the back and front walls of the coop, and the front wall/door of the run.

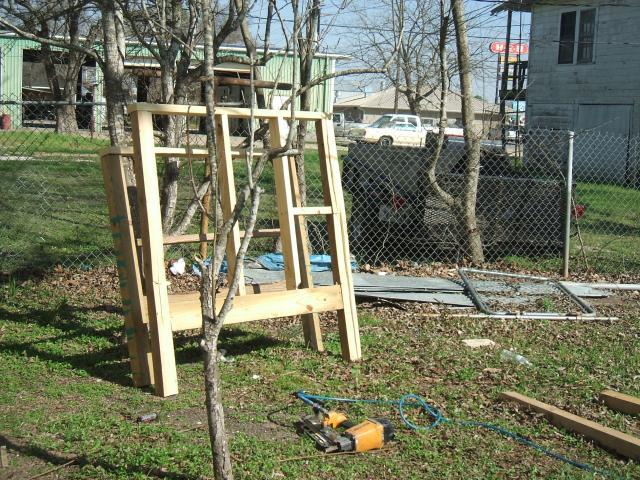
Here we are today! The coop area is mostly assembled, but I can progress no farther today, as I have to get the railroad ties before I can set up the run and put the roof on.
We got the railroad ties and here's what I did the next day.


I set up the roofline and braced the walls. Unfortunetly, It seems I've never been introduced to the level, and the center wall isn't plumb. Oops. Oh well. Good enough for chickens and my first try.
Here I've got the roof set up and I'm ready to start putting in things like floors and doors.

My chicks arrived and progress stalled a bit while I was doting on the little fuzzy butts, but after a couple of weeks, they learned that they can peck their way through wet carboard, so they set about making the cardboard very wet and got out. Time got get my arse in gear and get the coop done.

Ok, so now that they're adept at getting loose and learning to fly, It's time to get the coop done. With a little help from the Mr we got the roof on and the coop wrapped in wire. Unfortunetly, I got so wrapped up in finishing the coop, I didn't get any more in-progress shots. But here we are with the finished product. (I still need to paint and tar over the tack holes in the roof. But we're close enough for government work)

And here are the girls enjoying the great 'outdoors'. I'm using dead leaves as bedding in the run. The girls like to scratch around looking for bugs.


