FOWL PLAY
"No, we are not getting chickens," said my husband. But I am persistent. And also bribed him with a new flat panel HDTV. "All's I want for Christmas is a Chicken Coop!" I begged. So my construction hubby got busy. And I am completly blown away by the results! We spent all winter planning and researching, and could never have come up with such a great plan without www.backyardchickens.com! Hubby started construction in the garage in October of 2009, building the coop in pieces that could be assembled when the weather broke in the spring, just in time for our 12 little fuzz butts, who arrived by mail on my birthday, March 16th!
All the beautiful and functional coops on backyardchickens inspired us, so I hope ours will inspire future coop builders too! We can't think of anything we would have done differently so far! But we're learning as we go, and my hubby said it's under full warranty.
Foudation & Floor
- 2-4x4x12' pressure treated lumber
- 1-4x4x8'
- 2x6 rim joists (outside boards)
- 2x4 joists
- 3/4 plywood (flooring)
- Linoleum (Craig's list special!)
- Pea gravel (4" deep under skids)
- No posts, no concrete
- Deck size 11'x11" long, 7'11" wide
- Top of floor to ground is 16" (to keep dry and have some airflow)
- 2x4 Wall construction
- 3/8x4x8 plywood siding sheets
- Back wall 6'3" overall height
- Front wall 8'3" overall height
- 32" Overhang in front, 12" overhand on all other sides
- 2x6 Facia with 2x4 rafters
- 1/2" Plywood for roof
- Rolled roofing
- 3 pitch roof angle
- Walls and Ceiling insulated (for Michigan weather!)
- Walls and Ceiling covered with 1/8" white board
- Wired for 2 lights - one on switch, one on timer (for short winter days) - and two outlets
- Motion sensor light on front of coop
- 2 perches 8' long, with 8'x22" poop board
- Storage area with slanted roof (to keep birds off)
- Metal garbage can for feed on wheeled board for easy access
- 1x6 on edge to keep wood shavings away from entry door and storage area
- 3 nesting boxes 22" off floor (to gain more floor space)
- 2 Nesting boxes are 12" wide and one is 14", 14" tall at front opening
- Deep litter method
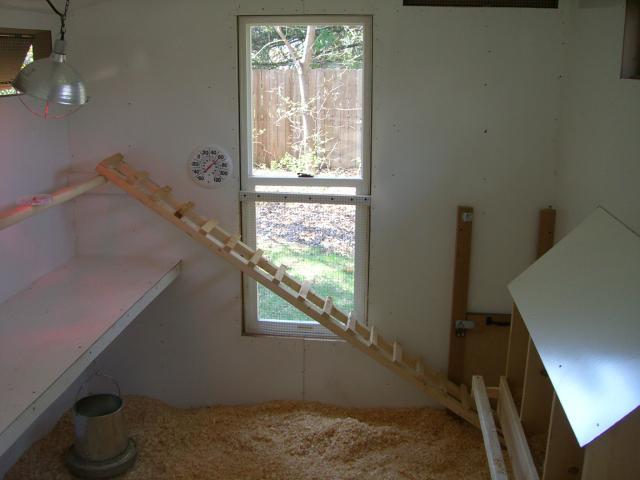
- 2 2'x5' Windows covered in hardware cloth on each end
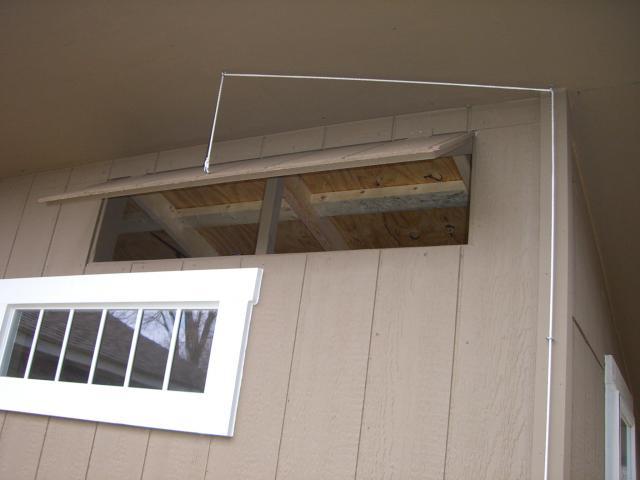
- Transom Window on front for extra light
- Hinged venting on all sides, hardware cloth, with pull cords for easy opening/closing (magnetic closure)
- Weather stripping around entry door and nesting box door
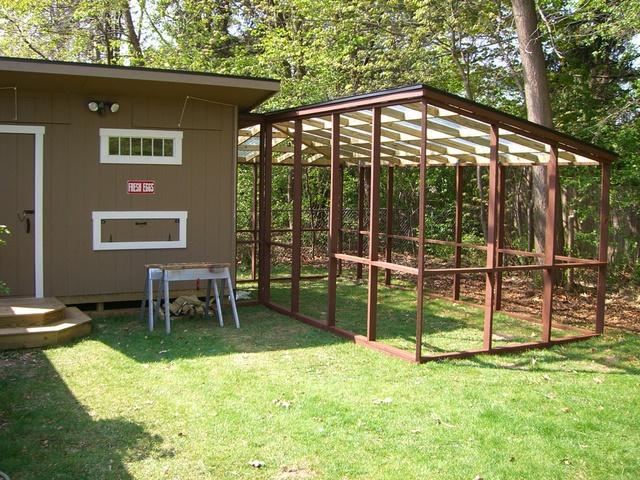
- Size: 21'x9'
- All constructed with 2x4 pressure treated lumber
- Double row of 2x4s for bottom perimiter
- 3' Spacing for studs to match 36" roll of hardware cloth
- 2x4 Facia all around upper perimiter
- 2x4 Rafters spaced at 24" on center to accomodate corrugated pvc roof panels
- Ripped 2x4 to 1/4" to cover wire on studs and door
- Door size: 32" wide x 76" tall
- Door wood is ripped down to 2 1/2" wide to save some weight
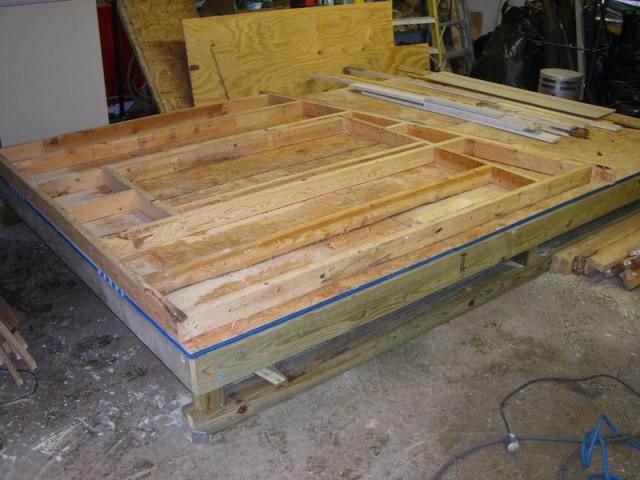
This shows the deck with skids, and I am starting to build the first wall, using the deck as a size template.
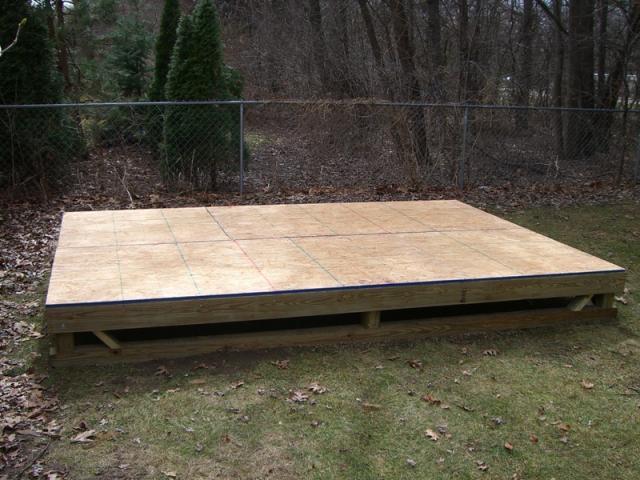
Deck sitting directly on ground with pea gravel under skids. No posts or concrete. Linoleum went on next before adding walls.
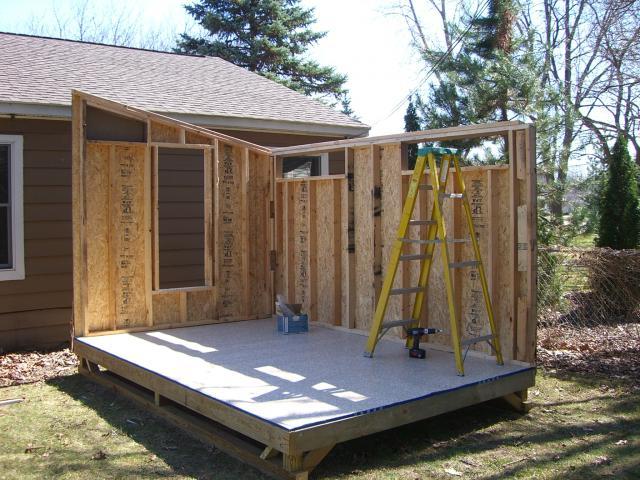
Typical 2x4 wall construction. (studs 16" on center)
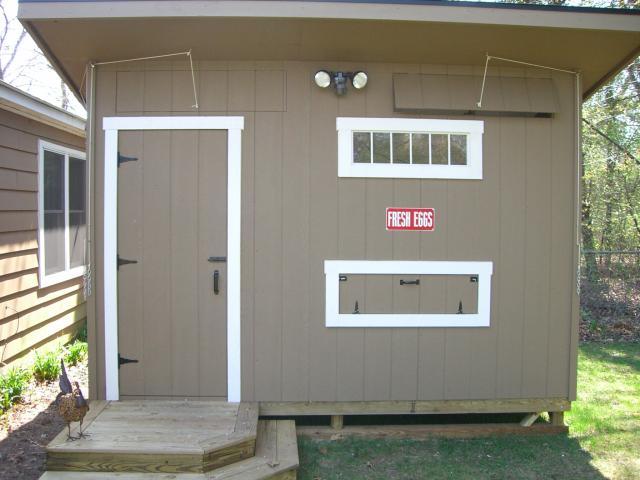
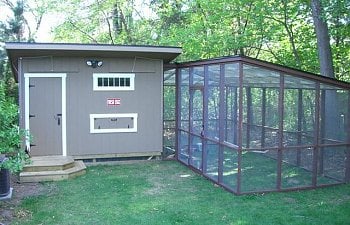
Finished Coop!
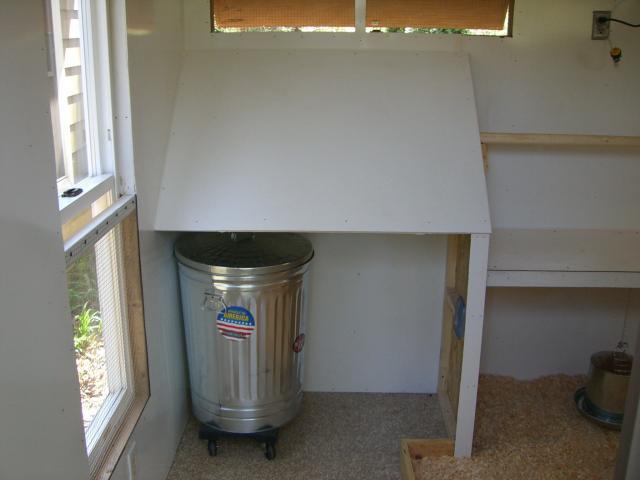
Storage area.
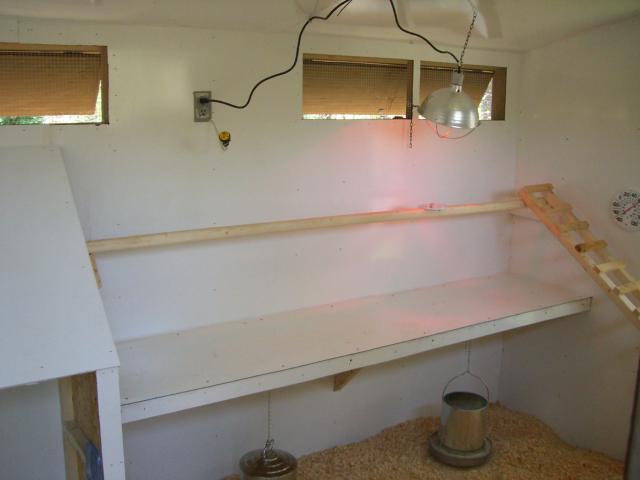
We ended up putting litter on the poop board and adding another perch after this picture.
You can see the chicken door which will head out to the outdoor run that's not there yet.
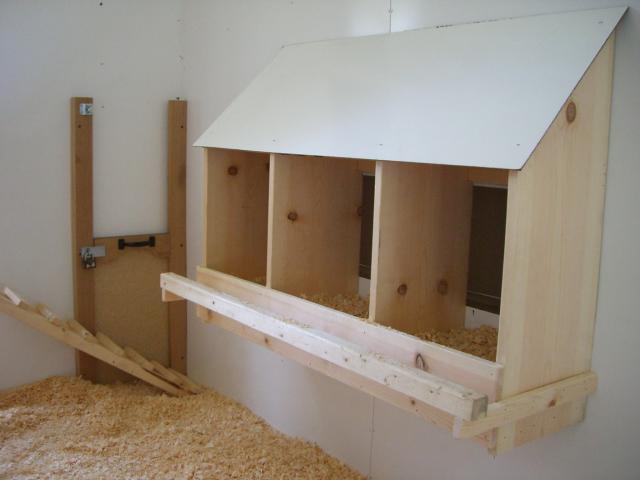
Nesting boxes, with access door to the front of coop. I plan to add a little curtain to give the ladies some privacy.

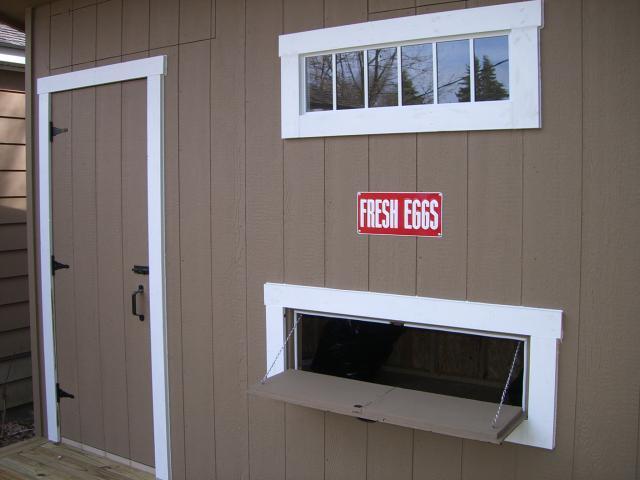
Hinged, weather-stripped egg door!
Pull cord design for easy opening and closing of the vents, with magnetic closure.
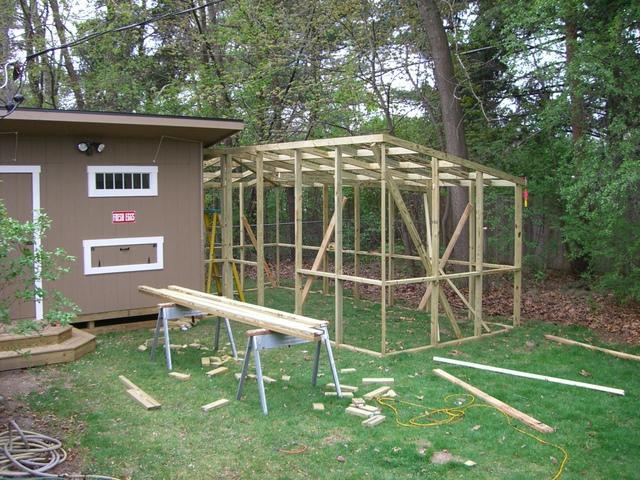
Framing of the outdoor run.
Roof panels installed with fasteners with rubber bushings, silicone used between overlapping panels. Drip edge on facia.
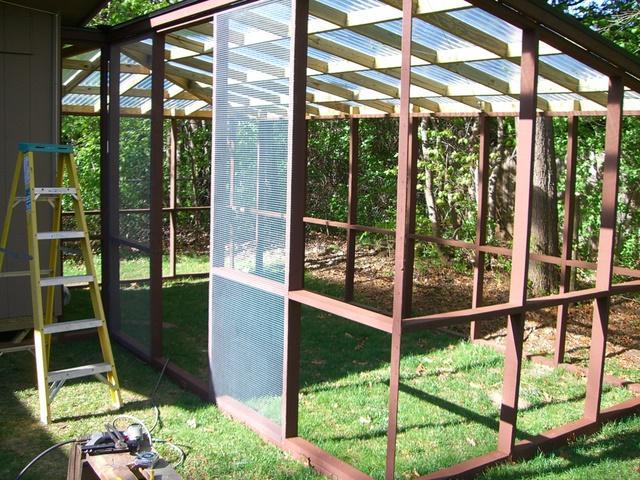
One panel on - many more to go!
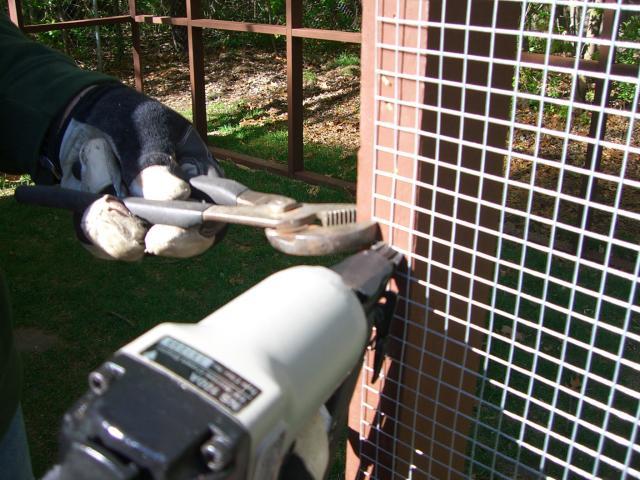
Pull with plyers, staple with airgun, then add screw and washer about every 8" (to keep predator proof)
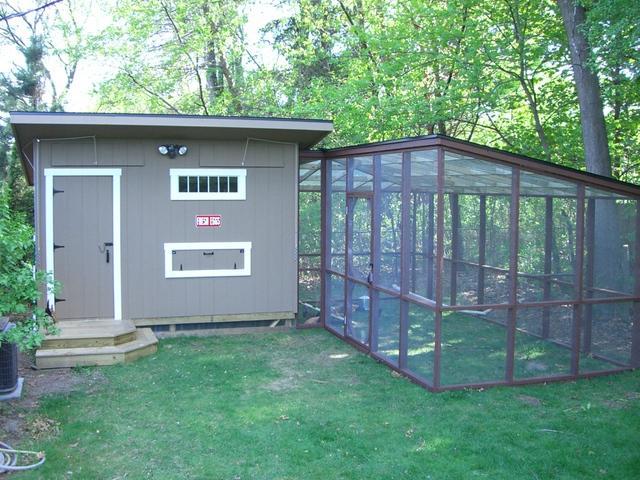
All done!
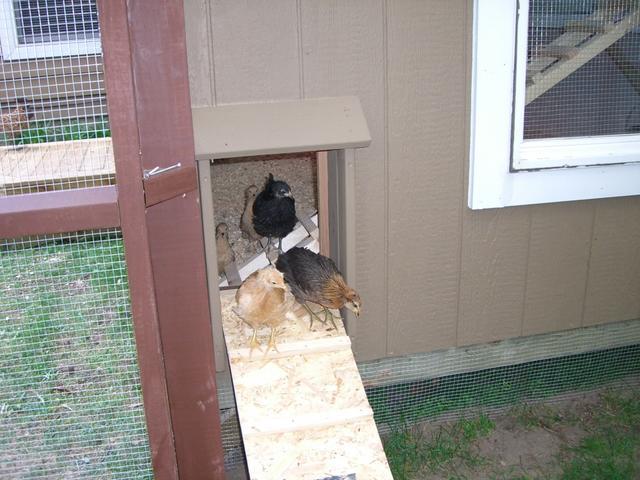
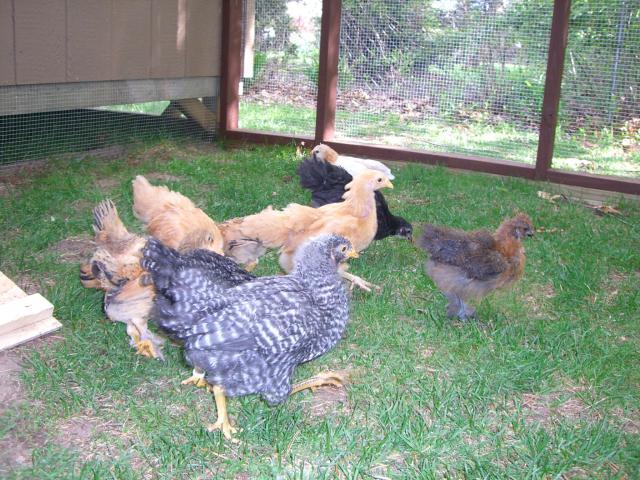
Happy chickens venturing out for the first time!
Go girls, go!
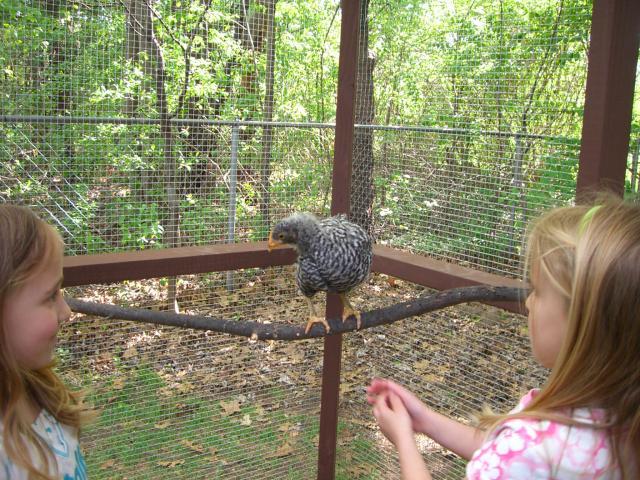
Happy kids, too!