Coop Construction
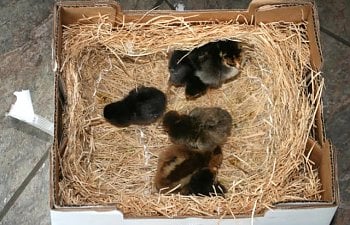
We wanted to have 3 chickens, but, since we could only ship 6 at a time (3 standard and 3 bantam), we started out with twice what we wanted! We thought that we would just keep the ones we liked the best or weed out the roosters. But, of course, that didn't work out!
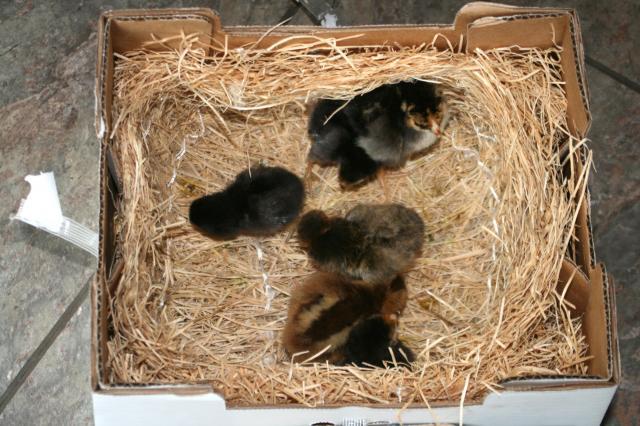
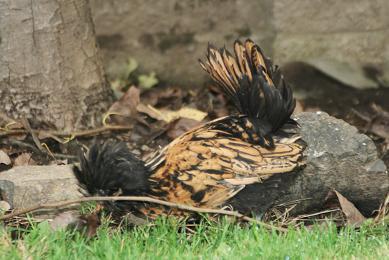
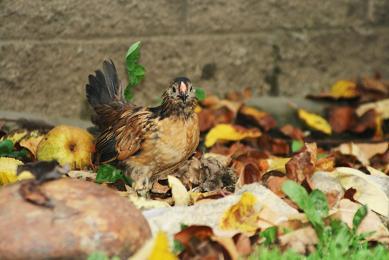
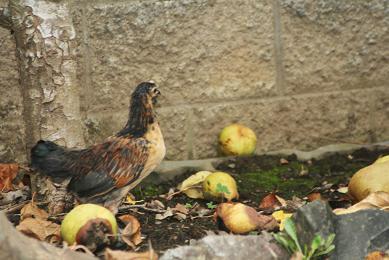
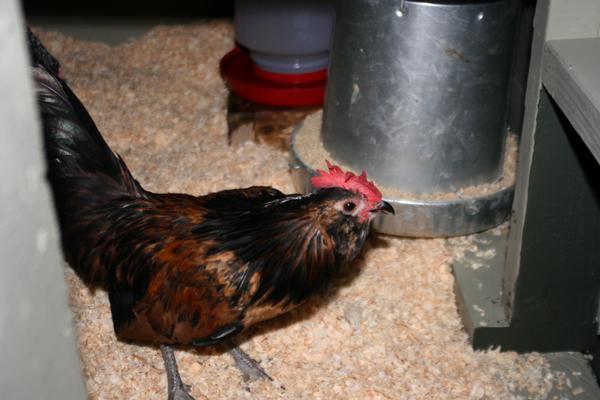
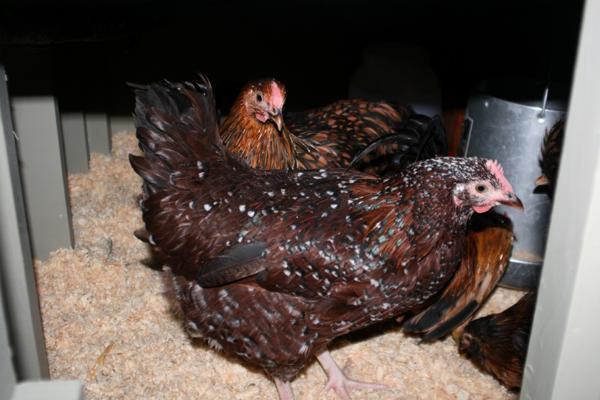
The Girls

The Boys
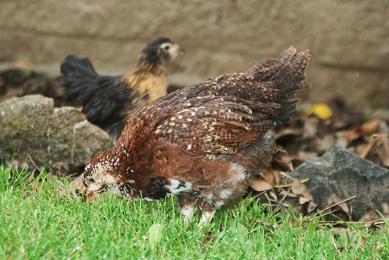

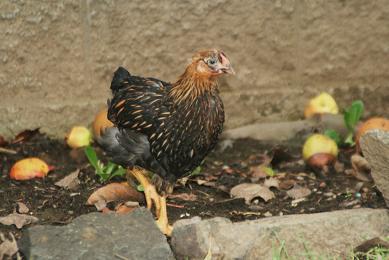
The Boys
And now for the actual coop!
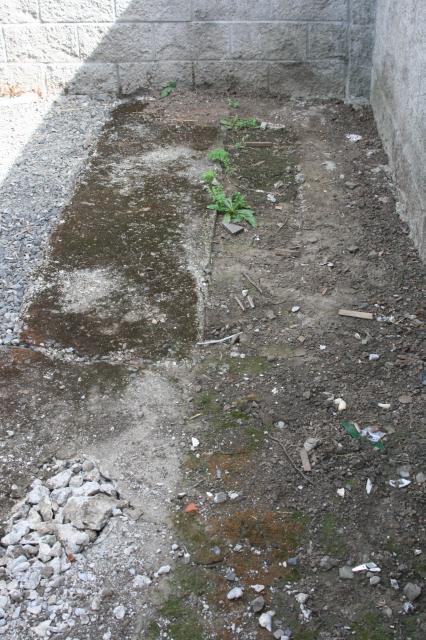
Future Sight of the Coop
To start off, we figured that this was the only place that the coop could actually go! Everywhere else was either already being used or right next to the road. So, unless we wanted to put them in the middle of the lawn, they were going right here! There's a 4' x 10' area surrounded by a 6' concrete fence that just so happens to be sitting a couple slabs of concrete. It gets sun almost exactly half the day and provides a barrier to a good portion of the elements.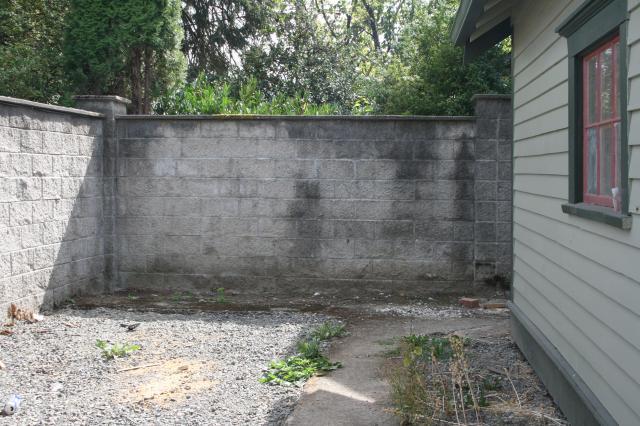
Plans
- It had a coop off the ground to guard against Oregon weather (aka rain).
- 2' posts into the ground to guard against the wind that takes down trees every winter!
- 2 reasonably-sized nest boxes.
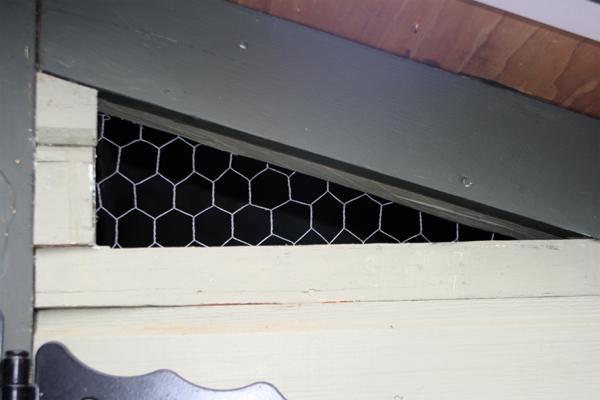
- Ventilation on the sides not covered by the 6' fence.
- A door that hinged open on the coop for easy access and cleaning.
- A run that hinged open so that we don't have to crawl around under it.
- And a gutter for our oh-so-lovely rain to have somewhere to go!
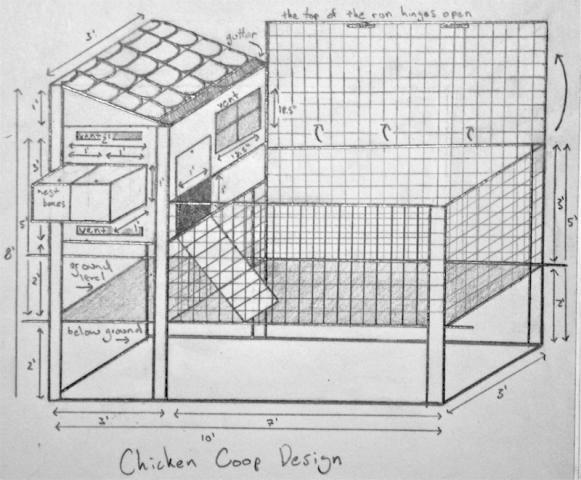
- Everything did get larger, though! Instead of a 3' x 3' coop and a 3' x 7' run, we designed a 3' x 4' coop and a 4' x 10' run. We had to extend it under the coop, which we originally didn't want to do because we didn't want to have to crawl under there after chickens, but we ended up having to in order to accommodate the space.
- We put the lid to the nest boxes at an angle so that water could actually run off of them.
- Moved the vents for what we're hoping will be better air flow.
- We had originally decided to build the coop as close to the fence as possible because we thought it would look strange if there was an 8" gap between the coop and the wall, but it ended up being more work than it was worth. So, we just pushed the entire coop out 8" from the fence.
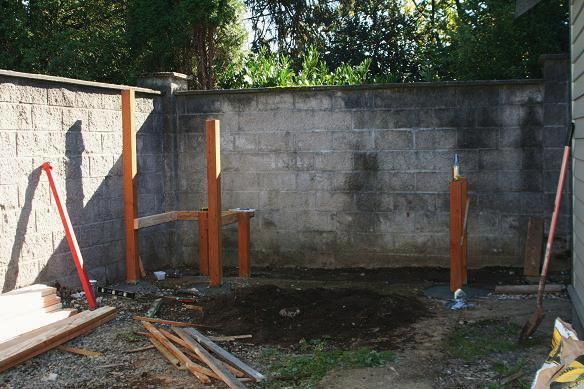
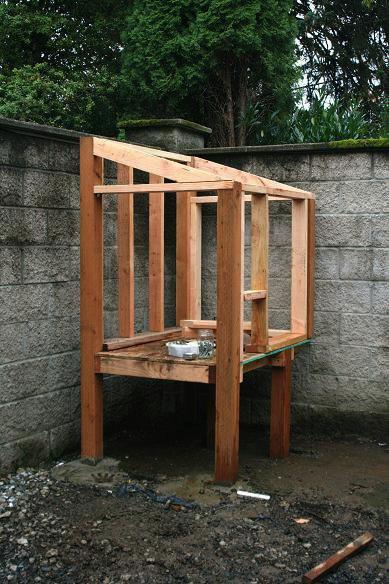
Posts
First off, was setting the posts into concrete. There are three problems with that. First, is that there is already some concrete in the ground! There is concrete holding up the fence and two strips of concrete running along the fence. One of which, runs into the concrete holding up the fence. So, we can only break up the big strip of oncrete on the left side of the picture because breaking up any of the other concrete would compromise the structural integrity of the fence. So, any posts that don't run along that one strip of concrete need to be pushed in. The second problem, is that the fence isn't straight. It doesn't run at a 90 degree angle from itself and isn't exactly perpendicular to the ground! So, instead of measuring where the posts should go from the fence, we need to put one post in and measure every other post from that one. Otherwise, none of the posts will actually line up at straight lines or 90 degree angles! The third problem is that the ground isn't level. So, instead of measuring the posts up from the ground, we need to measure up from the other post in order to simulate where the ground should actually be.

We had oh so many problems with the concrete! What we thought would take us a couple days, ended up taking 3 weeks! We kept having to wait for sunny days to poor the concrete and put tarps up afterwards to guard against the rain and then we kept underestimating how much concrete we needed, so we kept having to go back and get more concrete! All in all, we used over 1,500 pounds of concrete and something like 12 days on this project. I do believe that that was overkill! But this chicken coop is going to survive the apocalypse. It's not going anywhere.
Frame
The frame was a little strange in in of itself. The posts only being in two of the corners meant that we had to strategically make support beams. We had to run beams along the four posts as well as to the back of the coop in order to hold up the side without posts. You can't see it in this picture very well, but there's another post in the back left corner. It isn't set into concrete, but sits on the ground. Beams that aren't sitting directly on a post set into concrete (all but the two in the middle) also have L brackets in the corners in order to help support the base of the coop.
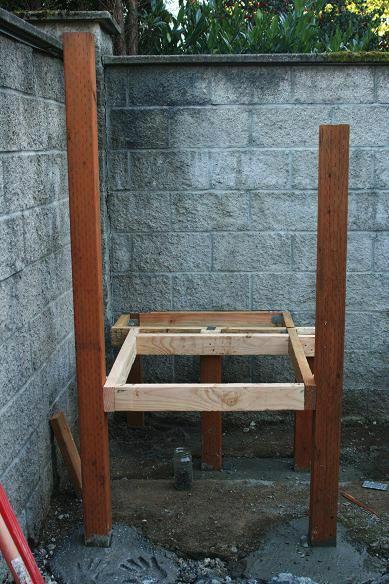
If you're wondering about the nest boxes, they're attached to the wall in front that swings open (the one that's not in this picture. It is shown in the next set, though).
Time and Materials Update
We've spent about $200 and 8 or so afternoons. We've gone through 4 boxes of nails, 2 pieces of plywood, 5 posts, 12 2x4's, and 1,500 pounds of concrete.
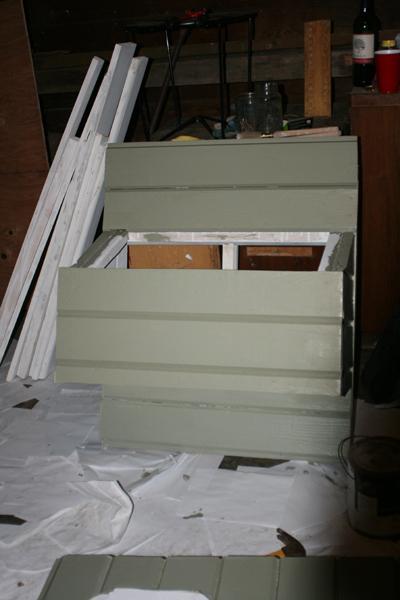
Walls
We only had enough plywood for two of the walls, so we put plywood on the back two. Then, we nailed siding onto the plywood. When the previous owners put new siding on our house, they kept a lot of the old siding that was still in good condition. So, we took the old siding and used it for the chicken coop. Which meant that, not only did it match the house, but we didn't have to buy any new material.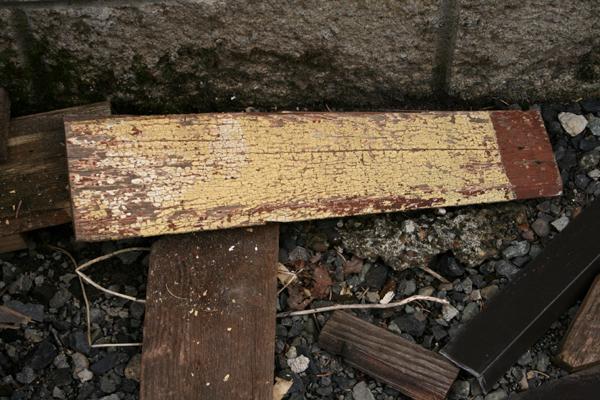
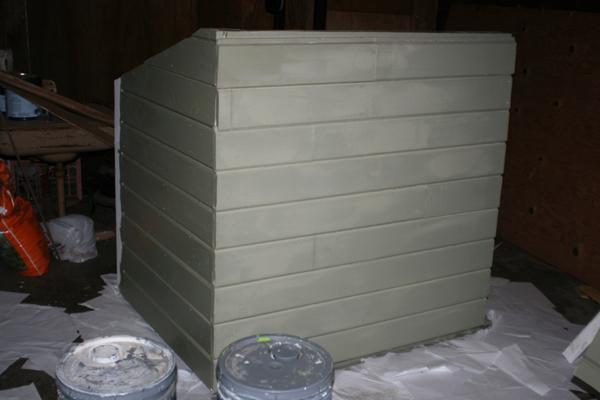
Putting the siding on was pretty striaghtforward. The pieces have little grooves on each side that lock into one another. So, all we had to do was measure the length that we needed, cut it, and nail it into place. We started at the top and worked our way down. It just happened to work out that the pieces almost exactly matched up at the top and bottom, so we didn't have to strip any of them.
By the way, we did not make that window. We actually found it in the garage and thought it would be perfect. They're about $20 at Home Depot, but ours was free.
After the siding was up, we sanded, primed, and painted the walls and trim that would go around the coop (the trim are the white pieces of wood stacked to the left of the photo). We bought trim to match the rest of the house and used leftover house paint for the walls and trim.
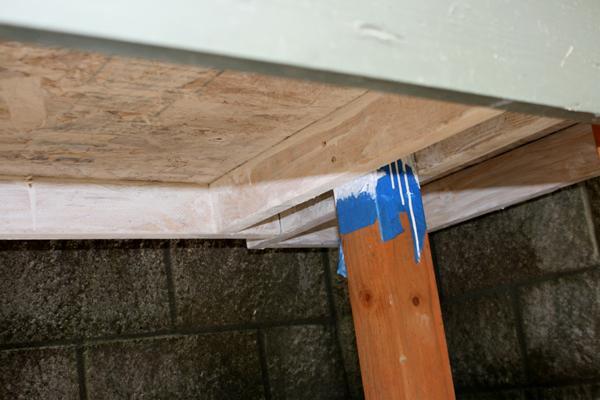
We also primed and painted the bottom of the coop. It's all 2x4s and plywood, so if it gets wet it'll mold.
Time and Materials Update
We've gone through another box of nails, 5 pieces of trim, 30-40 pieces of siding, and a gallon of paint. The siding and paint (which is actually 3 different colors and some primer) we already had, though. So, we only ended up spending about $45 on trim and nails.
Assembling the Coop
We thought that that would be the easy part! After all, what could be so hard about nailing the walls in?Somehow, after the concrete had set, the pressure treated wood warped on one of the posts... Not entirely sure how that happened because that's why you use pressure treated wood and set it in concrete...! But, oh well. After sitting for a couple months, there was a fairly sizeable bow in the front right post. So, we had to nail the right wall to that post and the nail that wall to the back wall. Then, nail those walls to the base of the coop in order to try to bend it back into place. It's not perfect. The right wall is a little crooked and doesn't line up perfectly with the back wall, which is a little ascew itself because it's nailed into a crooked wall, but with everything a little off, it fit together alright.
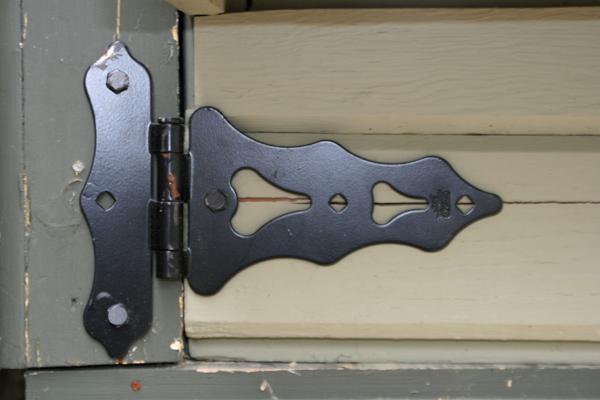
Putting the hinges on that door was pretty difficult as well. We'd already had problems with the siding splitting when we put it on the walls, but we didn't really have a lot of choice for the door. The hinges had to be nailed in somewhere! So, the wood split when we screwed them in.
Roof
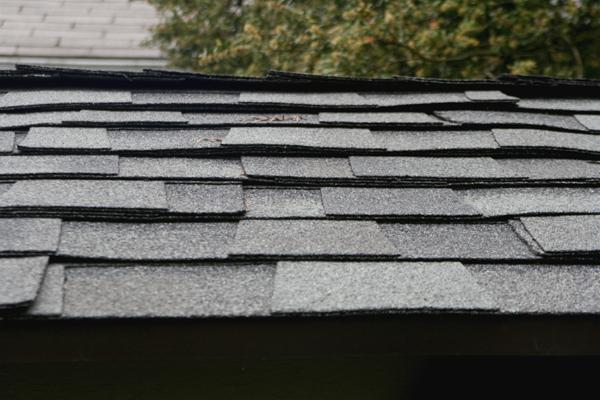
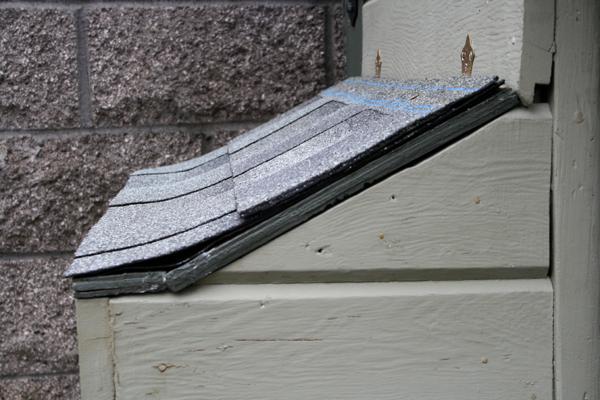
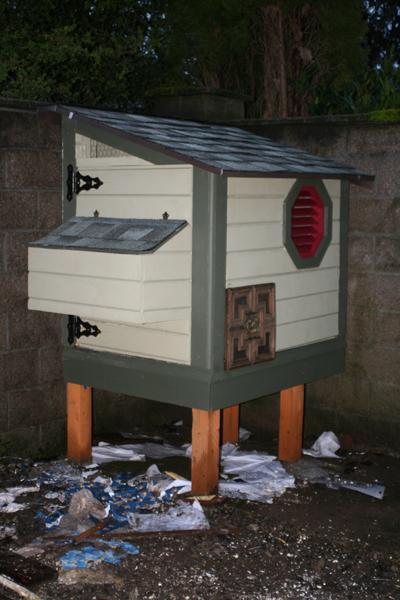
The roofing was pretty easy, though. We cut a piece of plywood to hang 6" off the front sides of the coop (aka the ones not against the fence). We were originally going to put a gutter in, but couldn't find a piece long enough. So, we just put the hangover in and are hoping that it doesn't create too much of a rain problem. At the top of the coop, there's a part where the roof isn't at a slope (because of the 4x4 post). That meant that we could either cut the 4" posts at an angle, build up the walls to fit the angle, or just bend the shingle a little bit to accomodate the angle. So, we just put another piece of plywood up.
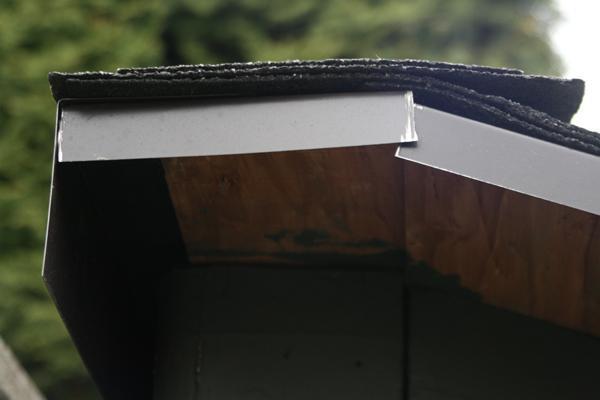
After that, we were on to the tar paper and the flashing. The tar paper was easy enough. We layed it out, marked the right length, scored it with an exacto knife, and bent along the crease, which finished off the cut. Then, we nailed it in place and repeated until the roof was covered. It was the flashing that wasn't so easy. We got two different sizes or flashing. One longer piece for the back of the coop and another shorter piece for the rest of the coop. The problem with the flashing, however, was that we didn't have anything to cut it with. We ended up scoring it with an exacto knife and cutting it with a hand saw. I wouldn't recommend it if you have anything else to cut it with, but it worked fine for us.
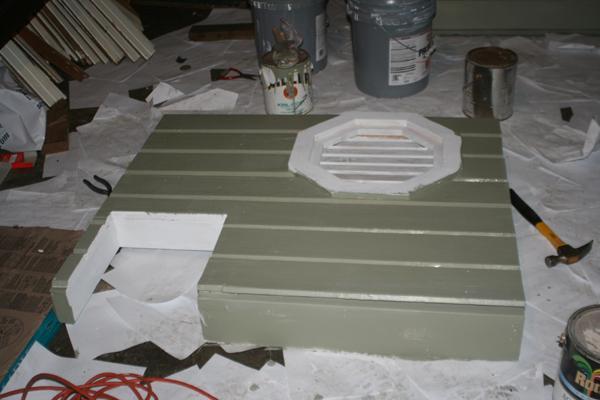
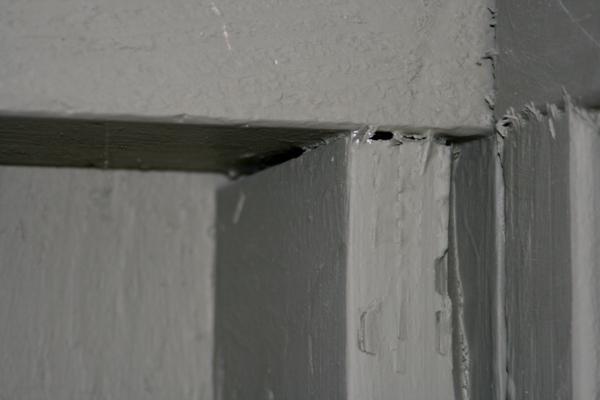
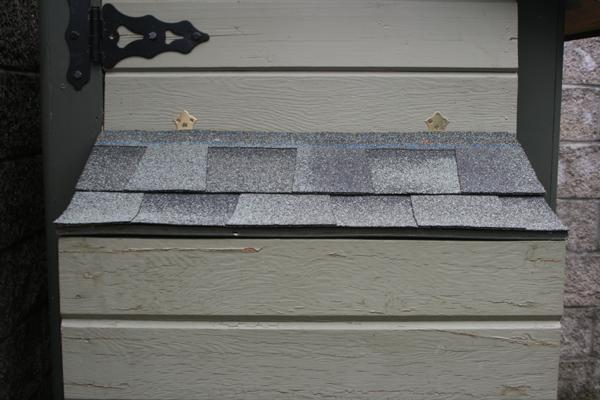
We had to do the same kind of thing for the nest boxes. We built the frame in a 1x1x1' square and then added a slope on top of that in order for rain to run off. But, that meant that we had the same problem with a slope running into a flat surface. So, we put a piece of plywood along the slope and the flat piece and then attached it with L brackets that we bent into the right angle.
By the way, there are two nest boxes there. So, it was actually built in a 1x2' rectangle and then a couple 2x4s and a piece of plywood up in between them. But, you get the point.
By the way, there are two nest boxes there. So, it was actually built in a 1x2' rectangle and then a couple 2x4s and a piece of plywood up in between them. But, you get the point.
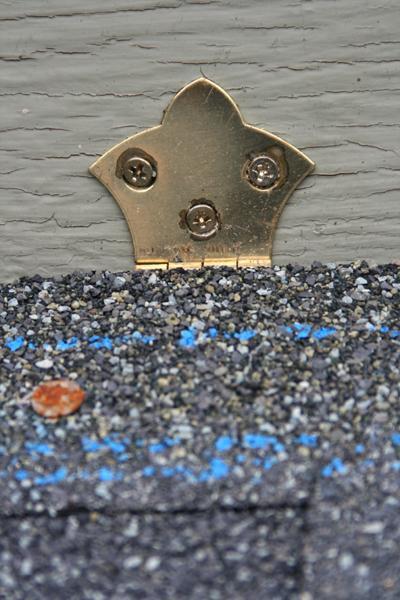
After that, we screwed the hinges for the nest boxes into the wall's siding and the plywood.
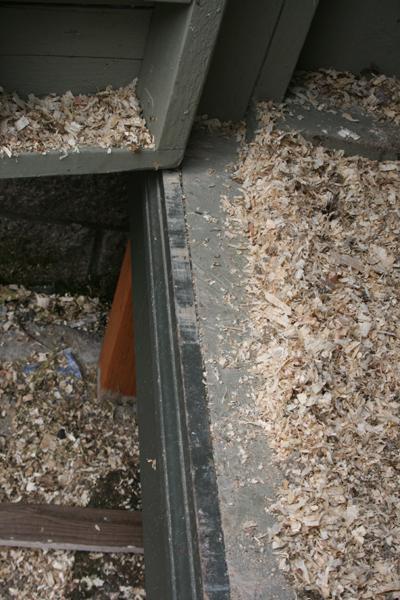
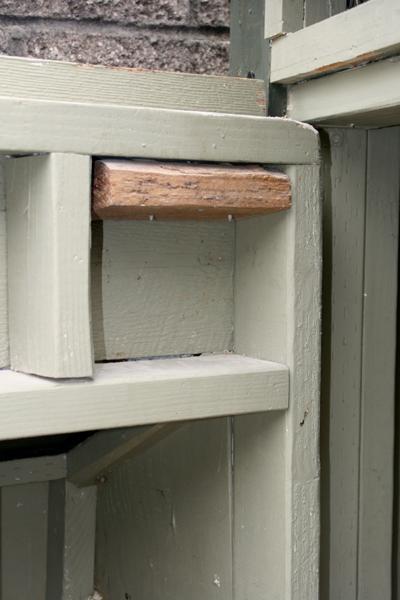
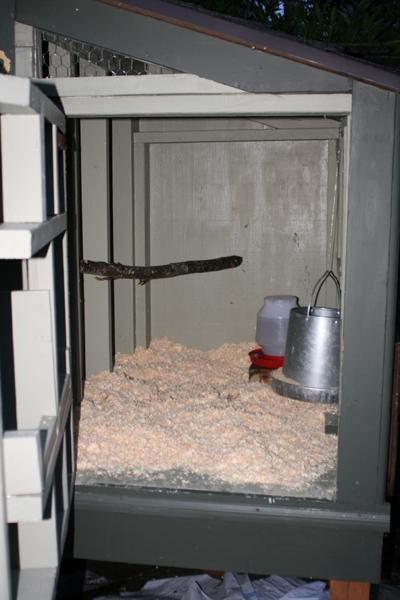
The roost was easy enough. We just took some scrap branches from a tree we'd pruned and nailed it to the wall. They're still not very good at hoping up on things, so we only put it a foot and a half off the ground. When they need a taller one, we're going to move it up and add a second one that runs along the back wall.
After that, we hung the food and water in. The food hangs, so there are no problems there, but the chickens have always had problems with getting wood shavings into their water. So, we built a little stand out of 2x4s for it to sit on. You can't see it in this picture, but there pieces of wood that come up in the back to keep it from getting knocked off.
Time and Materials Update
We used some tar paper, a thing of shingles, two sets of hinges, and a negligible amount of chicken wire.
The shingles were $15, the hinges and the chicken wire we'd already bought, and the tar paper was free.
Run
We still need to build the run, but that's going to be on a little hiatus until we get the skill saw fixed. We used out the blade.