The BuiltMore Coop
(we built way more than we needed to...)
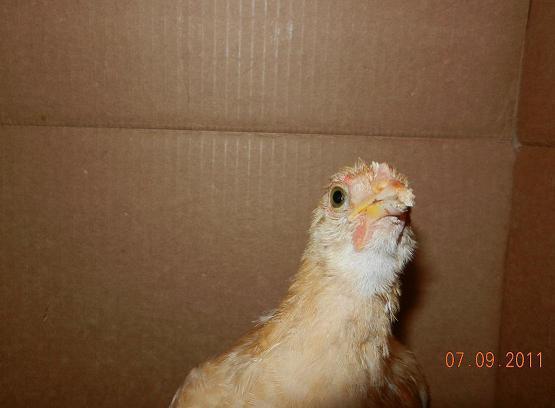
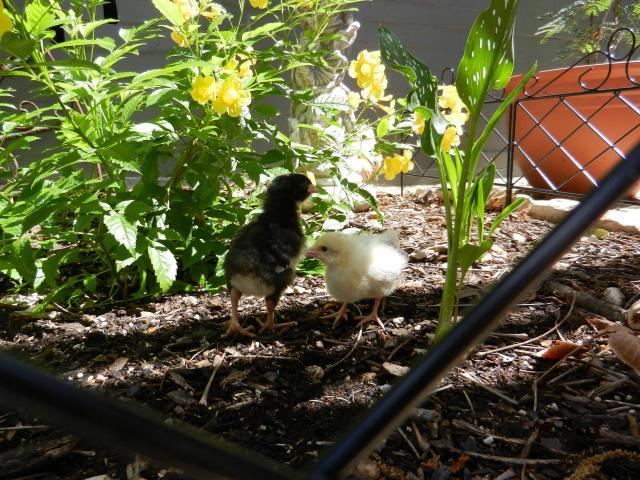
Step One: Get chickens. We can only ever have 3 chickens, so each of us got to pick one of the breeds we researched that thrives in our geographic location / climate. This also means a small coop.
Buff Orpington:
Dominque and Delaware:
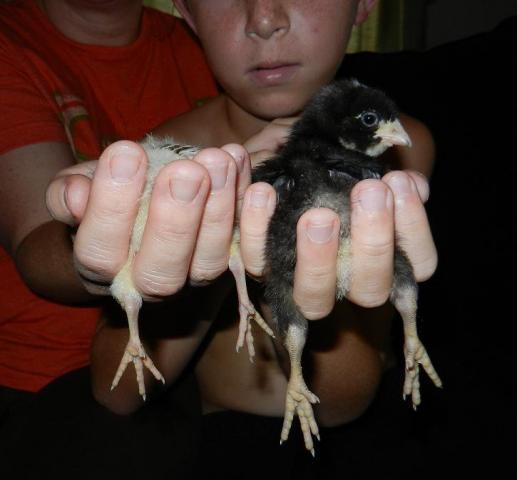
This is how the chicken lady showed us to hold the chickens. (Guess what? Chicken butt!)
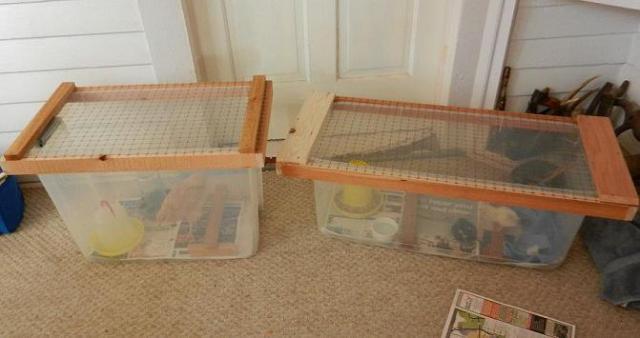
Procure immediate, low-income housing since we haven't built a coop yet!
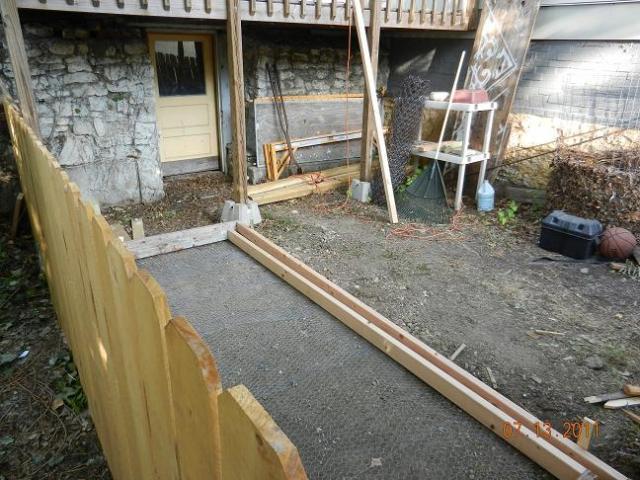
This is the perfect area in the backyard for the coop; already just dirt (no grass, and not useful
as-is). I didn't take pics of levelling the ground (didn't take much, just some raking). It slopes
backward toward the house somewhat, but that is good for drainage.
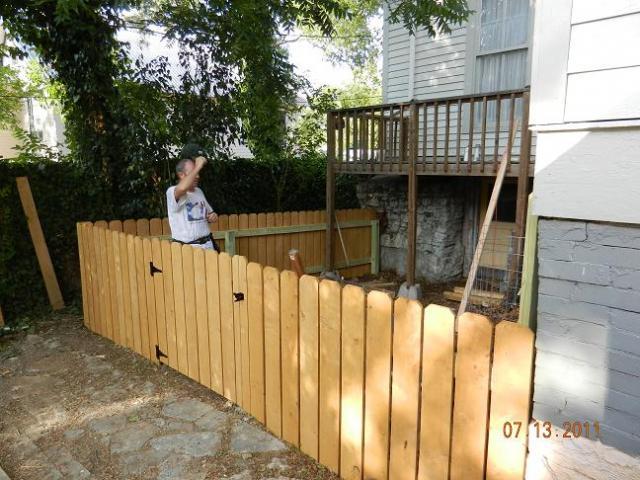
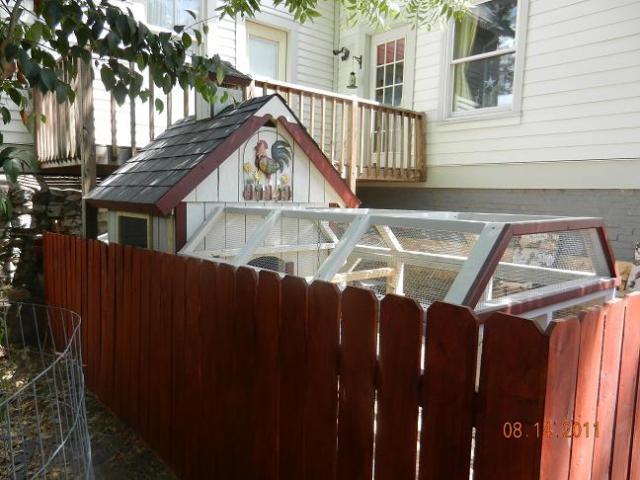
First order of business was to build a containment fence. This may have been an extra step, but we
wanted the girls to have their own area, and the fence is just another layer of protection from predators.
Their coop/run will take up the left 1/3 of the area.
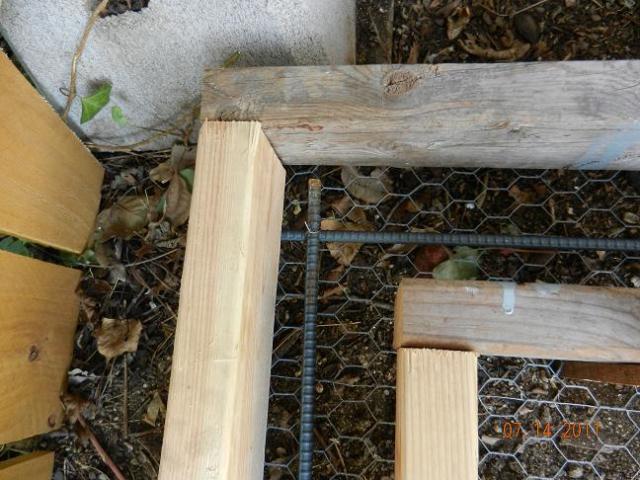
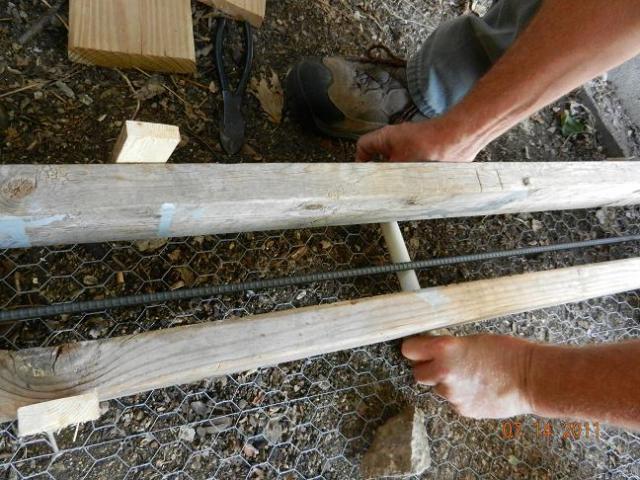
Lay down chicken wire to foil any digging predators, and overlay with wooden forms to shape a concrete footing.
Install rebar inside form:
As you can see, this area wasn't used much, and things just piled up. We're gonna fix that...this will be a nice
area when we are done!
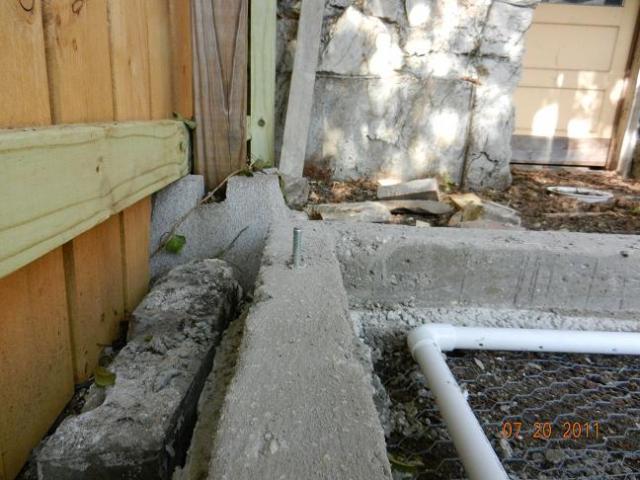
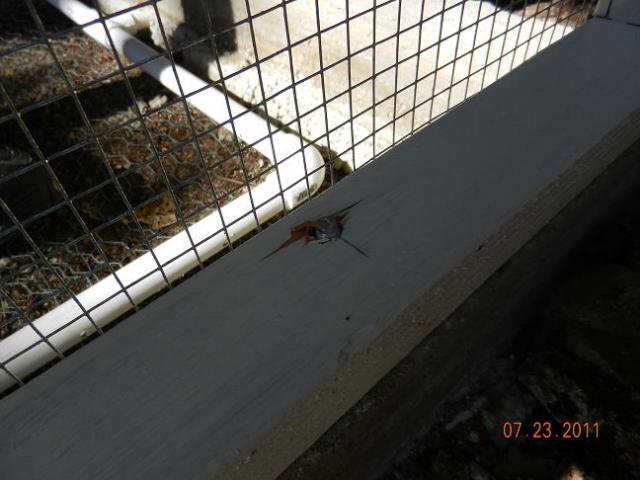
Put a PVC pipe end section (that will act as a stem connecting to the center of a U-shaped PVC pipe for drainage)
under the form (the pipe will end up anchored inside the concrete you pour in the next step).
Mix concrete and pour it inside the forms:
Make a U-shape from PVC pipe with holes drilled at intervals that connects to the drain stem you just covered up
with concrete (see below). This PVC pipe will be covered by gravel later.
Nothing worse than wet, poopy sandy mud in the run, so this will help it drain after a rain.
While the concrete is still wet, install screw bolts to hold future coop walls:
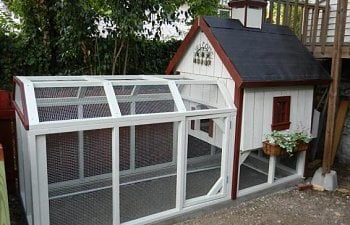
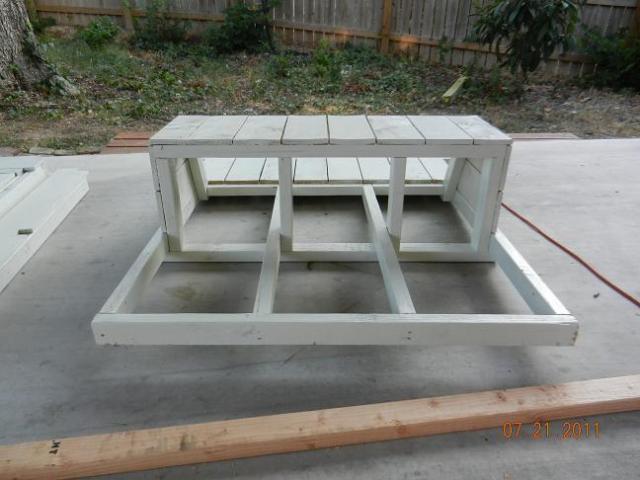
The coop itself is going to be 4' x 4'.
Paint and build, build and paint! Pre-assembly is the name of the game. We used exterior-grade paint with primer
both inside and out so we would only need to apply one coat and would withstand the rain and occasional hose
down of the interior.
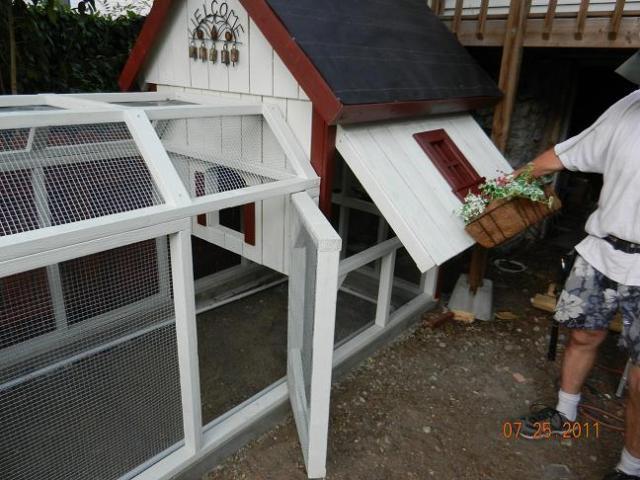
Here is the hinged-panel wall with the flowerbox placed on it where I want it positioned. Hubby will cut out a
window on this wall later on. Still deciding on one window or two...

Here is another view of the newly-painted nest box panel wall...
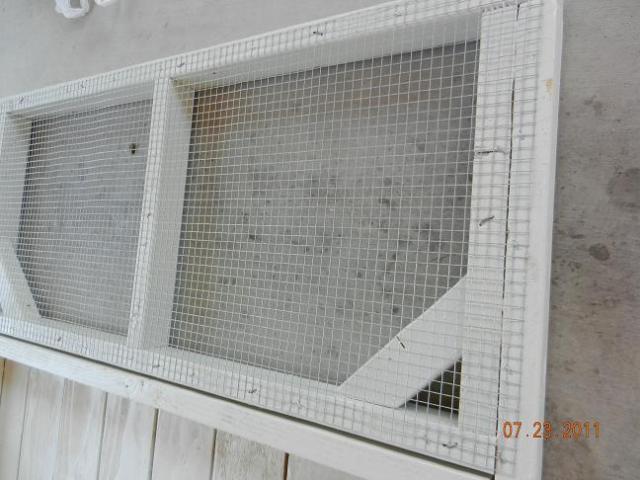
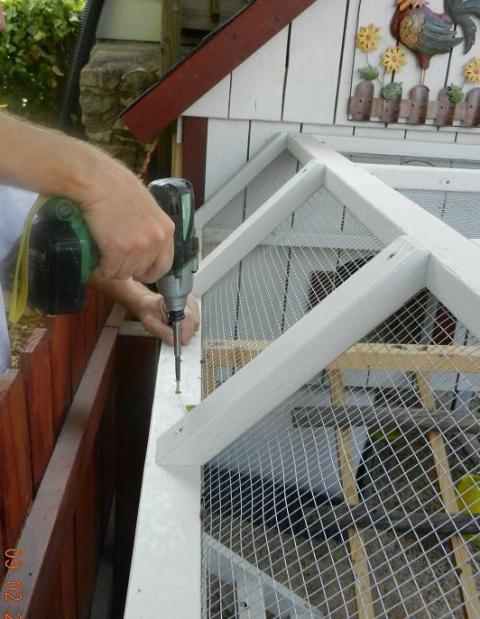
Install hardware cloth (wire mesh) on the inside of the walls of the run and under coop. Mesh is attached with
U-shaped nails, every 6 inches shown below. We then followed up this up with long staples placed about every
2 inches.
OK, time to begin building! Place the first wall on bolts pre-installed in concrete...
Ooops!
So, this is something we'd do differently: Hubby had bought the kind of bolts that can be screwed into concrete,
but he thought he'd embed them in the wet concrete and save a step. The bolts ended up being too close to the
edge of the boards and so the drill shattered the wood or else drilled out the side.
So, he cut them off with a hack saw and just screwed them in place in the concrete where he needed them.
So much for saving time!

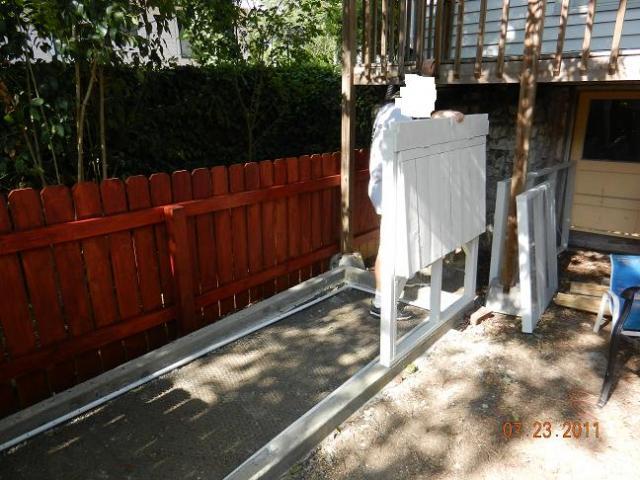
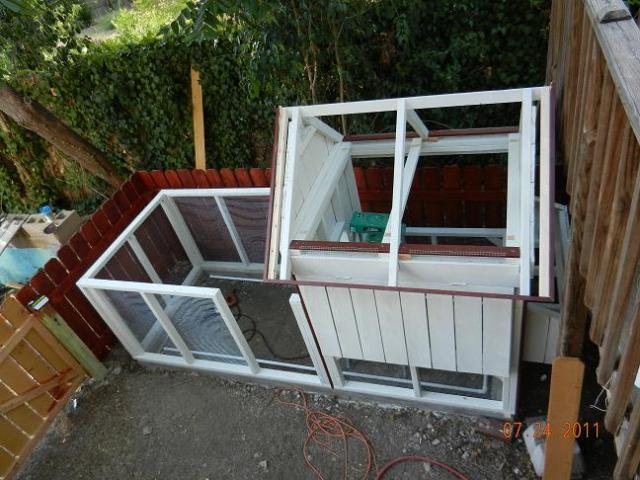
Place the second wall and screw them together. The wall on the right has a hinged top section (you can see it
swinging open by the gap there in the middle) and the nesting boxes are on the back wall.
Place 3rd wall. This one has a big, gaping hole, you may have noticed. Hubby plans to create two interchangeable
panels that will fit in this side: one to be a panel frame of hardware cloth for good ventillation (the fence keeps the
bottom half shielded from drafts); the second to be a solid wall to use in the winter months or if we have any
predator issues.
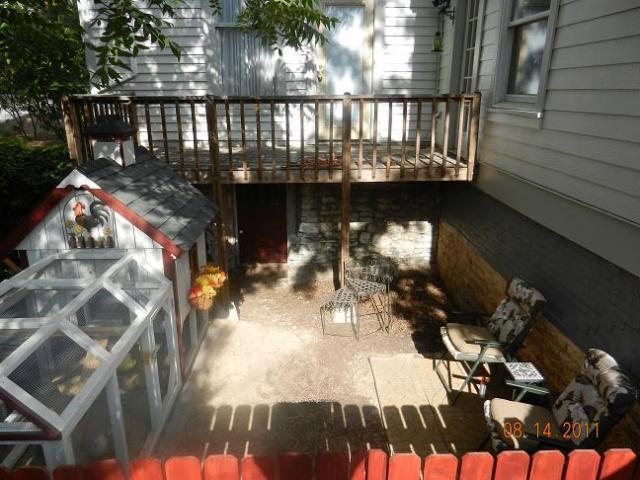
There is a storage area behind the door under our balcony where we will keep the supplies and food in airtight
containers (no smell) and away from rodents. Here's keeping my fingers crossed for NO SNAKES.
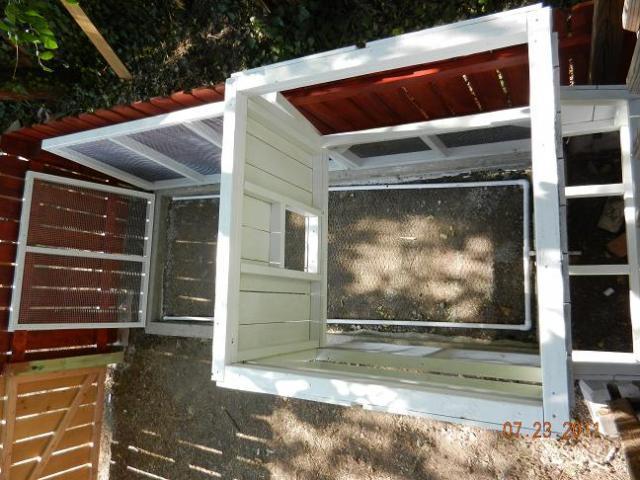
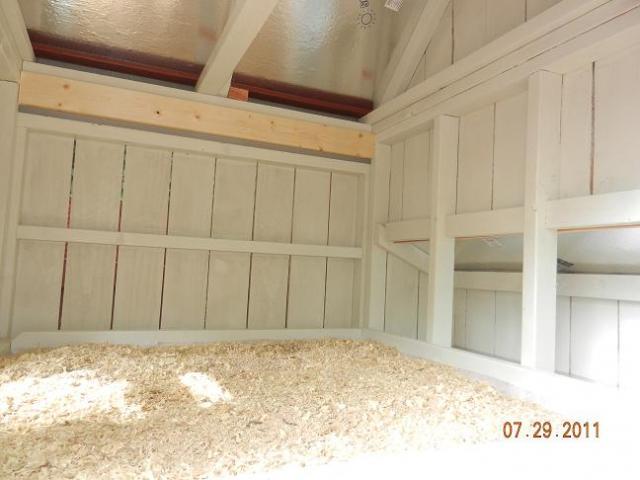
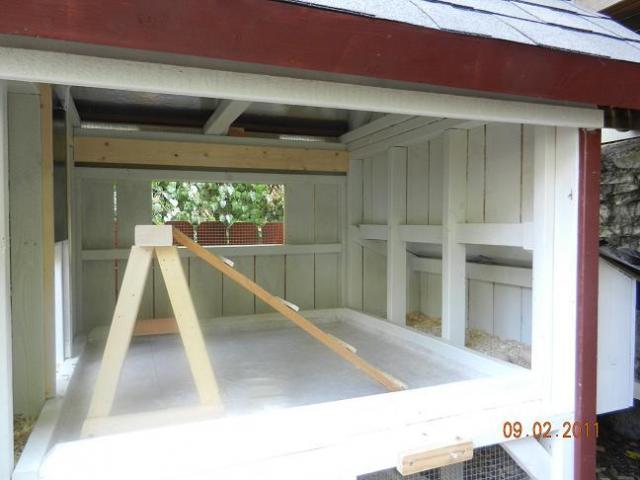
This is the view looking down into coop from our back balcony. You can see the nesting boxes on the end. And,
you can see the U-shaped pvc pipe drain system in the run that empties under the nest boxes (this will be
covered by gravel and sand later).
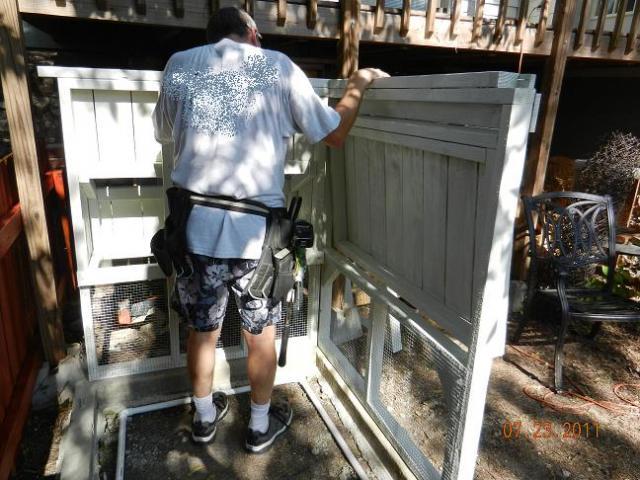
Attach roof:
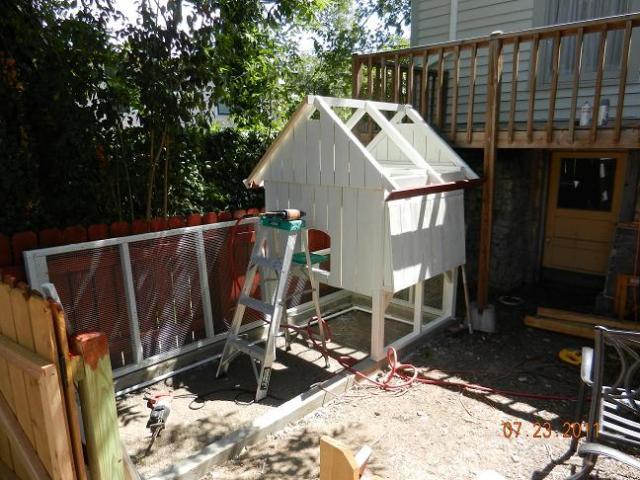
Attach trim to roof:
Attach run walls. In the pic below, you can also see the side roof vents covered with hardware cloth. These are
about 2 inches tall and run the length of the roofline.
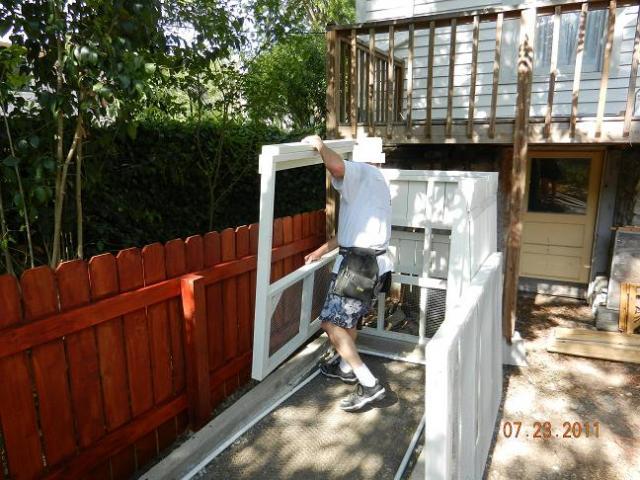
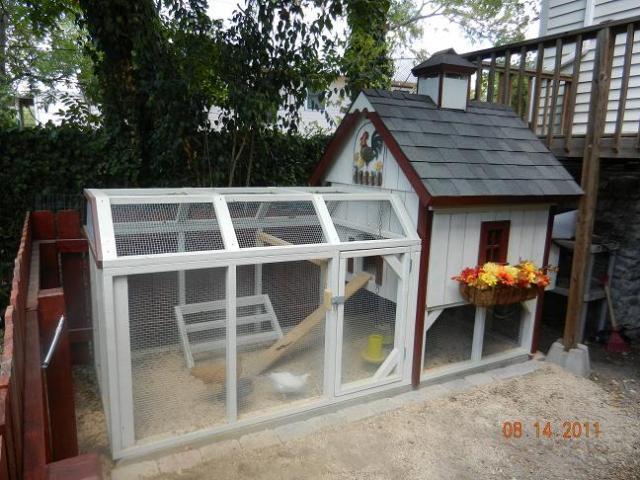
Screw the run cover on:
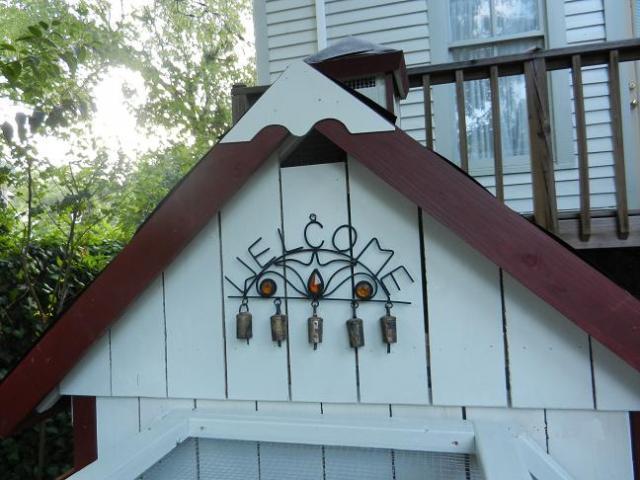
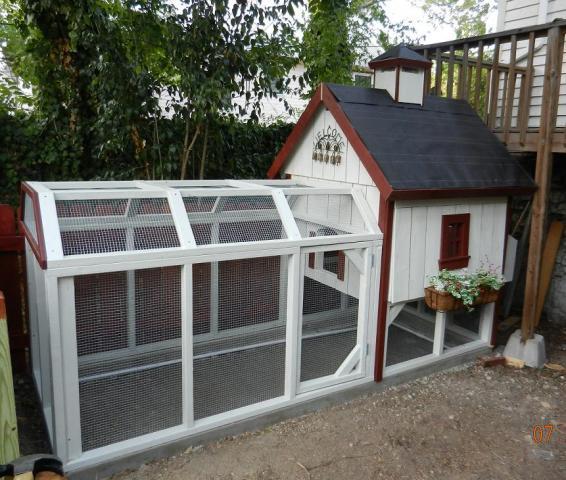
Now to add finishing touches. We added the rooftop and covered in roofing paper, cut out and framed in a
window (putting all hardware cloth on the inside of all run/coop openings). I added a planter box and other
decorations.
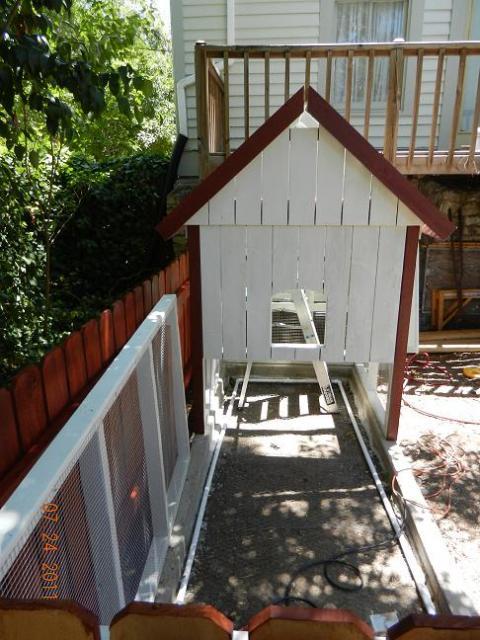
You might notice here the wide cracks between boards. When originally built, the boards fit snug together, but
it has been so very hot and dry here that the wood shrunk. It will expand again when it gets wetter. These
cracks are not an issue, since the coop is really for shelter from the rain and predators. It is hot here 8 months
out of the year, and only snows once every 7 or 8 years about an inch. So, we didn't want to insulate.

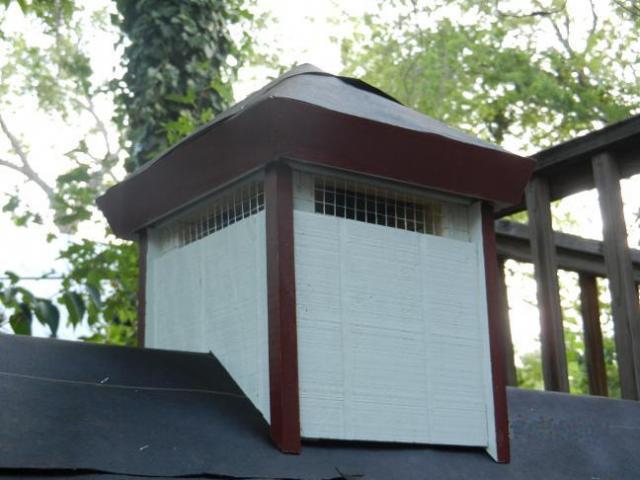
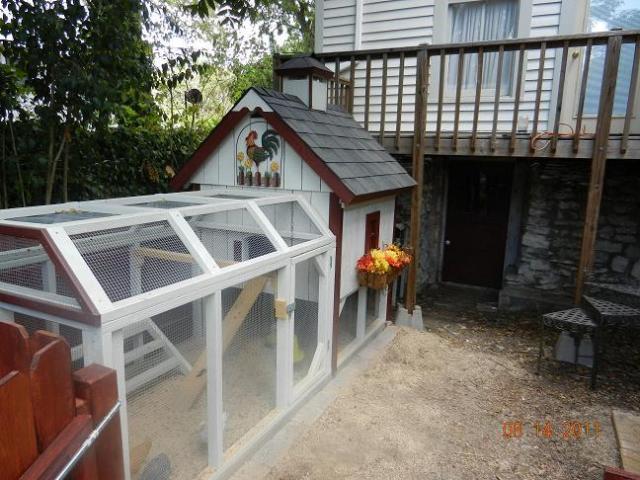
A cupola on top for extra ventilation:
Here you can see more vents at roof peaks (covered with hardware cloth from the inside):
Looking up under the roof eaves, you see the mesh-covered vents 2" tall that run the length of both long sides
at the edge of the roof:
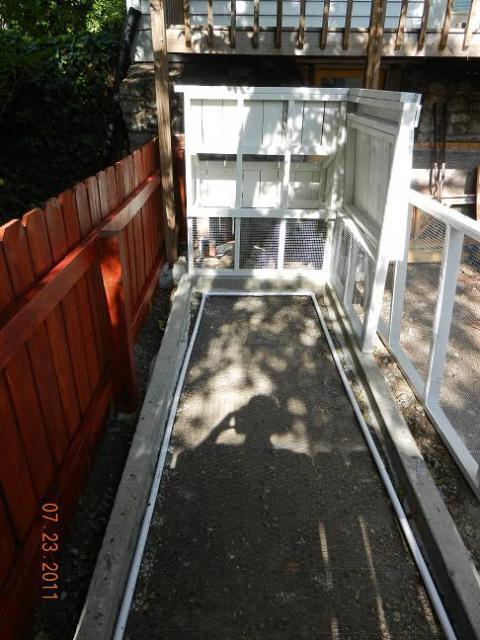
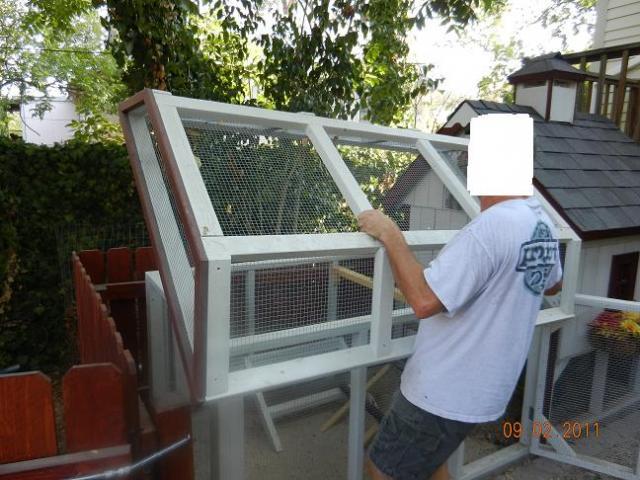
We have a cover on the run that can be removed to allow us to clean/rake out the run while standing upright.
The coop is under a shady tree, but in the late afternoon, it does get some sun from the west. We can easily
add shade cloth to the top of the run if needed. We'll just wait and see.
The back, under our balcony, is where the nesting boxes are. Note: We still need to put a hinged lid
with lock on top of the nesting boxes, working on that NOW. Luckily, the girls are still about a week
away from needing to move into the coop.

Below, the door to the run is open. Also demonstrating the hinged side door so we can lift it up and prop
open (90-degree angle) to hose it out inside as needed (how chickens poop on vertical walls is beyond me!)
We used outdoor paint with primer in it to get it on with one coat, and make it easy to clean. Note that all
hinged doors will have racoon-tamperproof locks by the time the girls take up residence.
The door to the run is so close to the coop for easy access.
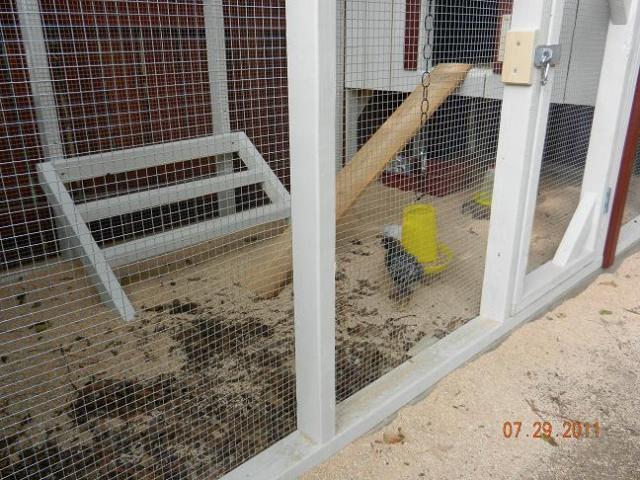
Below is the run roost ladder (attached with screws to the side wall), the run filled with sand, the hanging food, and a
temporary ramp up to the coop.
Here is the inside of the coop area. The back wall has, for now, the interchangeable
"full wall" panel rather than the hardward cloth panel. We are just starting out cautiously for now. This is as clean
as it is ever likely to look.

This is the floor that is a slide-out drawer for easy cleanup. It is lined underneath with linoleum for easy wipedowns/hoseoffs.
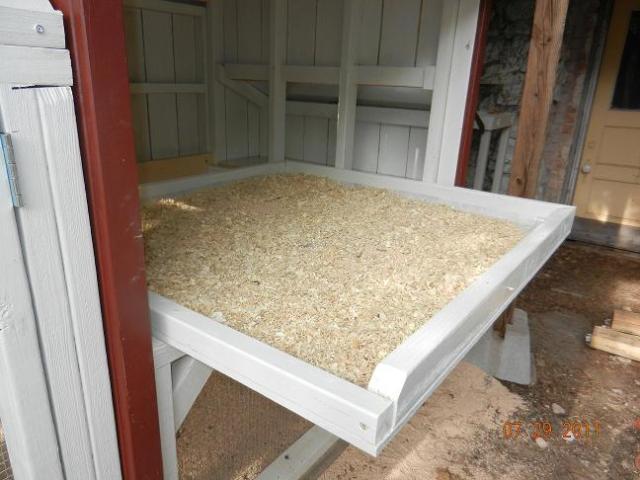
Drawer removed for cleaning:
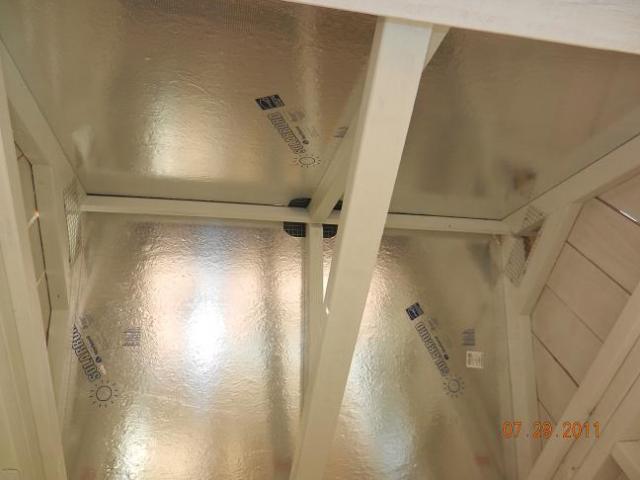
This is looking up at the roof. It shows the cutout in the roof (with hardware cloth over it) that leads to the cupola
which acts like a chimney and pulls the hot air up and out.
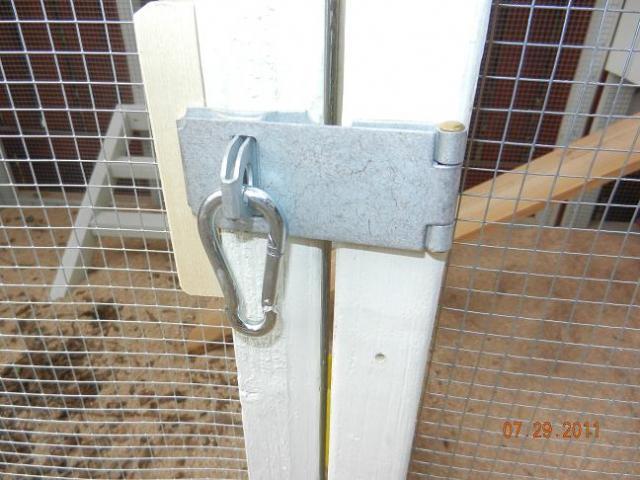
These are our two latch types that should be coon-proof. This one is the door to the coop. It takes me using 2
hands to open, because the latch only pushes in a little ways, and the eyeholes it is hooked to latch have big
metal lips around, so there is very little clearance...I have to twist / juggle it at the opening while pushing down
the latch and rotating it to the one small point where it will slide through at a weird angle just to get the thing
open. I understand how smart coons are, but we have made this coop as predator-proof as can be reasonably
expected, and I don't think a combination/key lock is reasonable; unless there are two-legged predators after
my girls.
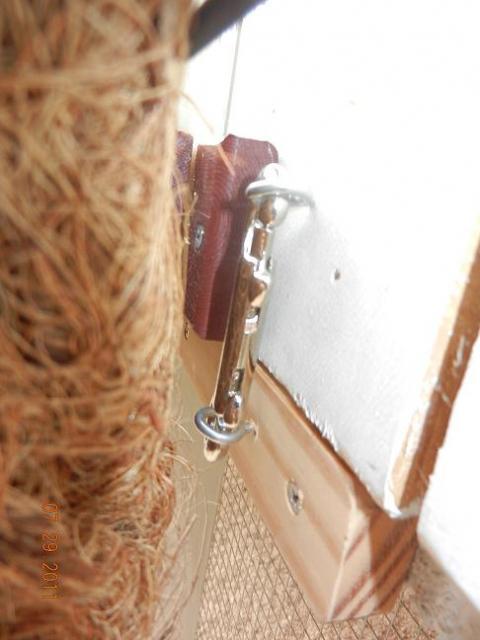
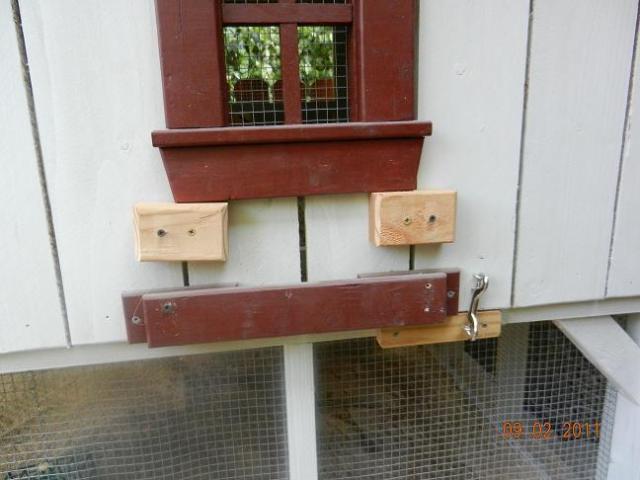
Here is the latch on the coop door under the window and hidden behind the flowerbox. To remove the door, you
pull out and down to clear the framing. It is secured here as shown with eyebolts and a double-ended slide-pin
latch. Again, it takes two hands to get it open.
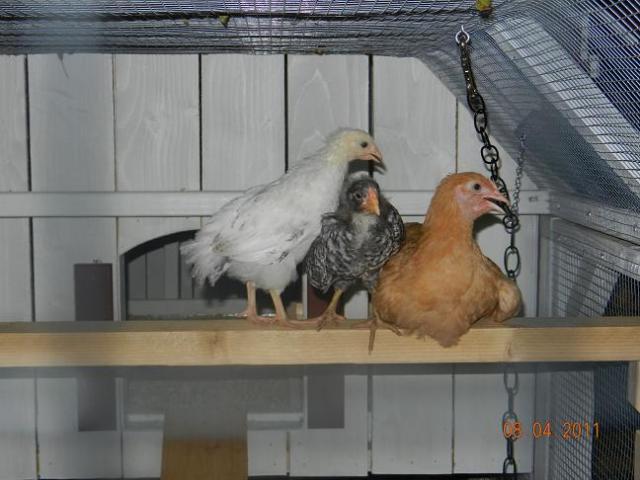
Hubby added a higher roost outside, and they love it. Always jockeying for position...
We added some pavers to the outside of the concrete footing to further deter digging predators, and added
larger pavers to put under some chairs so we could sit and enjoy watching the girls scratch around.
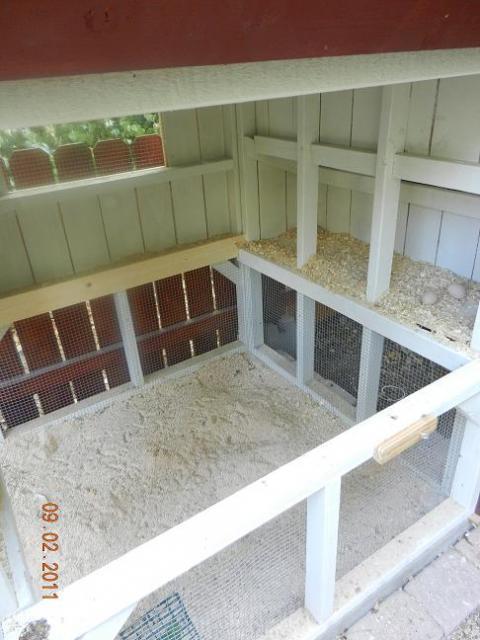
Backside view with full backwall panel switched out to hardware cloth insert because it has been so hot:
Inside of coop looking in the back wall panel (shown above). Roosts and sliding pop door visible:

Here is the final view of this area now.
What would we do differently (if we got a mulligan):
1) Hubby already decided he didn't want to lift the side door (with planter) up at a 90 degree angle as he initially
built it, and the door is too heavy to add hinges to allow it to open on the side. So, he took off the top hinges
and made the door removeable if you pull it out (there is a handle under the planter box). It has the double
eye bolt latch (pictured above) to secure it. It will only get removed to clean the coop twice a month or so, and it
isn't so heavy that I can't manage it myself.
(Here showing coop door removed and everything cleaned and ready for new layer of pine shavings):
2) If we had offset the cover of the run away from the coop wall by about 4 inches, we could have installed
hinges on the back side of the cover to simply lift the cover up (like a treasure chest opens).
This is necessary so we can walk in and stand up to rake it out periodically. This would have required a
removeable piece of wood to cover that 4" gap left between the run cover and the coop wall to keep out
predators. But, as it is, it is smack dab up against the coop wall and so has no clearance to swing past the
eaves of the roof. However, it is currently secured to the run with 4 screws so that we can just lift the cover off to
do our cleaning.
(Here showing Hubby can easily lift it off):
3) Leave one corner of the run to put in "play" sand rather than "river" sand. The girls love a nice dirt bath, and they
have to wait to get outside the run to get one. It was also hard to find a cat litter scooper sized correctly to shift out
the poop from the riversand gravel during cleanup. They are about the same size! But playsand would be easier to
sift. I think we'll appreciate the riversand during a rain, though. So, a compromise is to leave them a small dirt bath
area, and we finally found a ladel-type kitchen utensil that works better than a litter scooper (see pic below):