Welcome to my BYC Blog and Coop Contest Entry

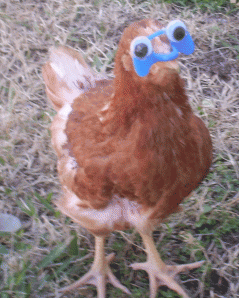
Much of my earlier experience is documented at my YouTube page. I drove a 7 hour round trip to Ideal Poultry two days before Christmas so I could get 8 chicks. They can only ship a minimum of 25 so they can keep each other warm in shipping, so I had the heat up in the car all the way back. We joked about naming them Comet, Cupid, Donner, Blitzen, Dancer, Prancer, etc. This was alright until we lost one as we learned one of our dogs thought it was a new toy. He jumped 4 feet into the air and snapped the poor babies head off before I knew he left the ground. The dogs cannot be trusted. I would need to keep them apart.
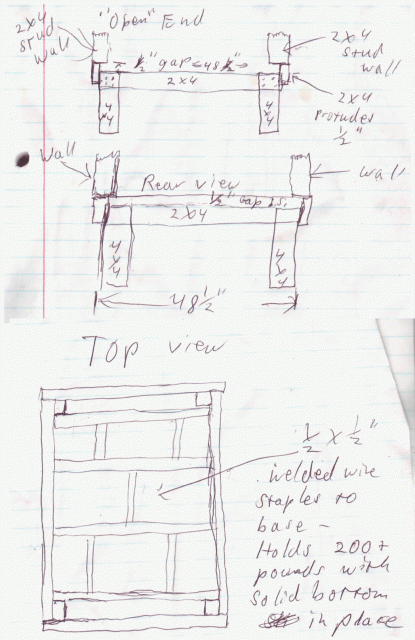
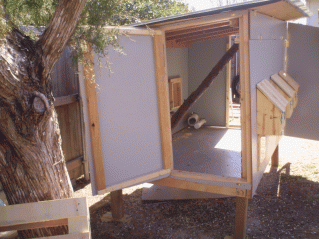
Another mistake I made was to think they would be in the 3'x 2.5' x 1' cage until early spring when I planned to build the coop. WOW! they grew fast. I had to rush into the build. Lucky for me, they were throwing away some MDF panels at work. This would be the outside skin. We had some PolyCarbonate roofing panels left from an attempt at a deck roof. All I needed were a few studs, a plan and some screws and nails. Time for the plan:
Click on the picture for more detail.
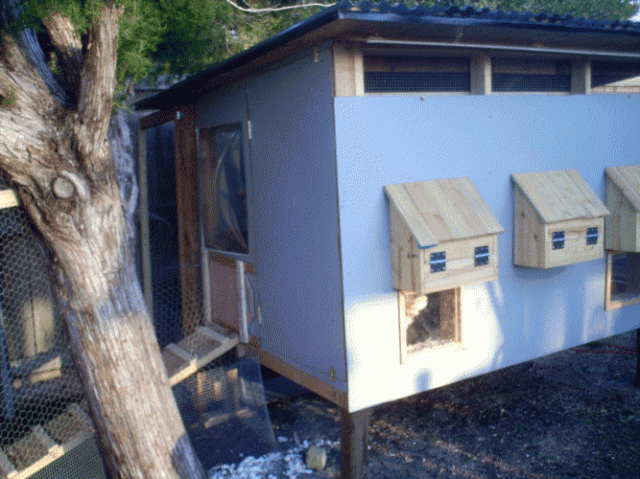
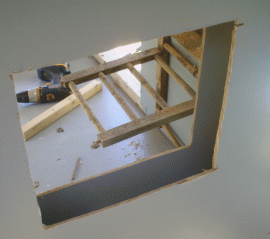
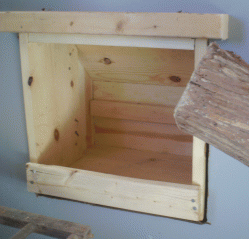
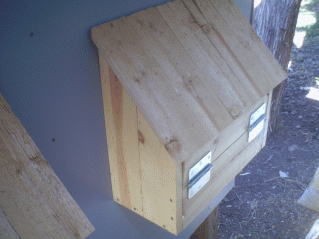
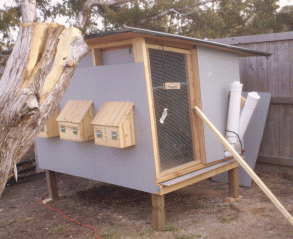
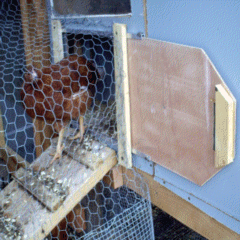
Earlier, I made nest boxes using culled pine I got as part of a large bundle at Lowe's. $20 goes a long way if you can work with warped wood in various dimensions. These boxes are modular, removeable and they open from the outside so you can raid the eggs without going inside the coop or run. I spaced the studs of my coop walls so I could make cuts:
This cut is about 14" wide and 12" tall.
Then I inserted the nest box and used a 2 x 2 inside to hold it in place.
Two screws and it's out for cleaning.
The outside has cedar shingles and a hook & eye keeps it shut from predators.
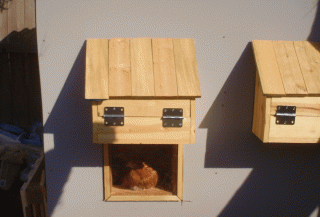
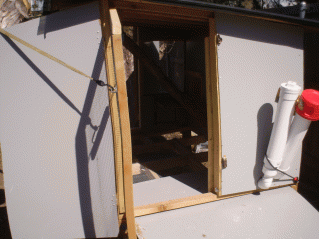
The roof hinges open for raiding or quick cleaning. Then I came up with a couple of ideas for windows. There was a glove display at work with a clear domed top made of high impact clear plastic. After explaining how inconvenient this would be for customers buying gloves, the dome top was MINE! Here is the result:Another mistake I made was to think they would be in the 3'x 2.5' x 1' cage until early spring when I planned to build the coop. WOW! they grew fast. I had to rush into the build. Lucky for me, they were throwing away some MDF panels at work. This would be the outside skin. We had some PolyCarbonate roofing panels left from an attempt at a deck roof. All I needed were a few studs, a plan and some screws and nails. Time for the plan:
 Click on the picture for more detail.
Earlier, I made nest boxes using culled pine I got as part of a large bundle at Lowe's. $20 goes a long way if you can work with warped wood in various dimensions. These boxes are modular, removeable and they open from the outside so you can raid the eggs without going inside the coop or run. I spaced the studs of my coop walls so I could make cuts:
This cut is about 14" wide and 12" tall.
Then I inserted the nest box and used a 2 x 2 inside to hold it in place.
Two screws and it's out for cleaning.
The outside has cedar shingles and a hook & eye keeps it shut from predators.

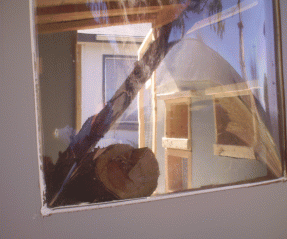
Then I was snatching some of the wife's Christmas candy when I got the idea for the smaller windows. The Ferrero Chocolates case was made of two curved edge, clear plastic shells. I removed the labels and framed them to fit under two of the nest boxes.
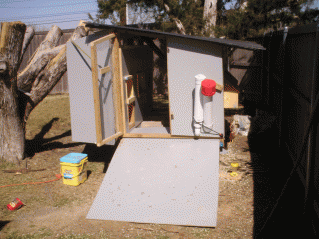
Another gadget idea was to make a removeable solid floor over a wire floor with the whole thing elevated. The origin of this came from the debate of wire floor against solid floor. The real benefit was in cleaning the coop. Not only could I slide the bottom out for ventilation, but it made it easy to clean and easy to replace. When it gets worn or nasty, I can buy a 4 x 8 sheet of plywood or Masonite and just slide it home. The foot I cut off (the coop bottom is 4 x 7) is used as a squegee to wipe it clean. Here it is pulled out:
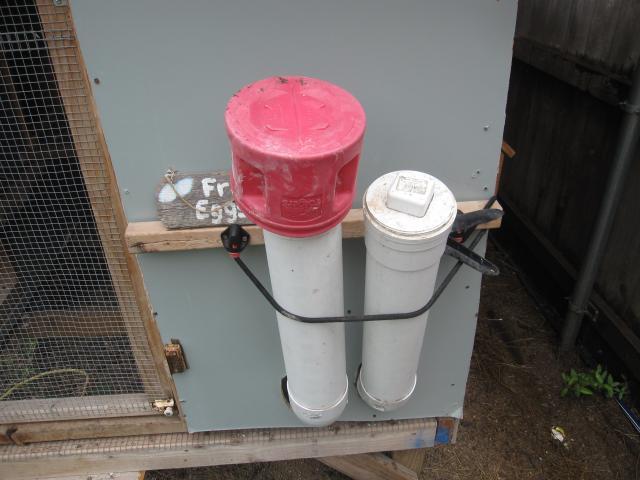
The PVC items on the right hold a week of food which gravity feeds into dispensers inside the coop. The 4" tubes allow the hen to peck for food with her head inside the tube. This cuts waste down to almost NONE. You just have to make sure they stay dry inside. I had to glue the upward pointing seams and put coffee cans over the top and I always check for moisture. Here is what they look like now:

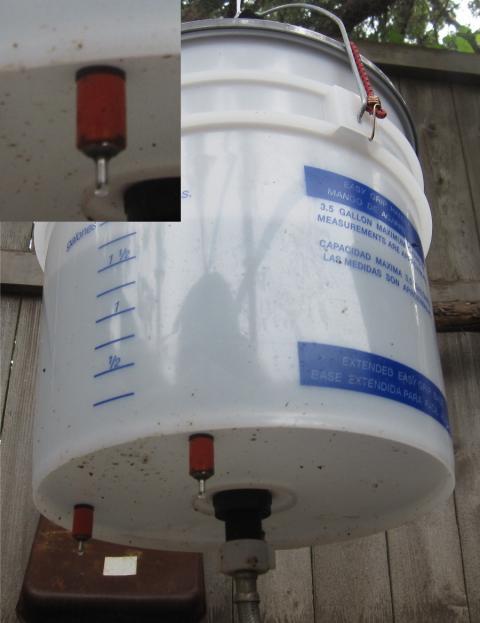
The new waterer is a covered 3 gallon bucket suspended inside the run. There are three 360 degree nipples I got from Farmtex.com drilled into the bottom of the bucket close to the outside edge. The thing in the middle is a toilet fill valve which brings the level to two gallons when I turn on the water hose supply for a couple of minutes. Even though I add vitamins to the water each week, the water stays fresh and clean.
The open space under the roof now has wire covering the inside and a hinged lid for the outside. I can open it for ventilation or buckle it down for bad weather.

I added a back door so I could reach half way through from either side. Now that the run is completed, you can see my sliding door.
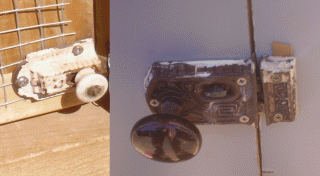
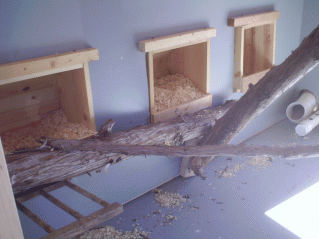
Following is another inside view as well as a few details. The front door latch is a 100 year old rim latch with brown mineral knob from my antique collection. The latch for the screen is also 100 year old Eastlake design. Before chickens, I collected antique door hardware. I added some roosts.
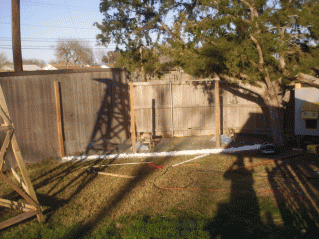
So now, I have the front of the run planned.
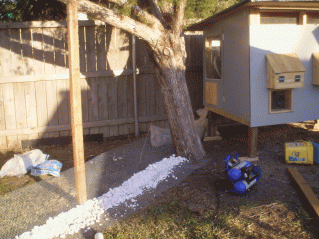
It will have a rock based raised bed with native plants in front to keep my dogs, coons or possums out. I'm doing this so I don't have to dig down to bury wire. Recently (after a soaking rain) I drove bamboo stakes 12" deep every 2 to 3 inches at the base of the wood fence to prevent critters from digging into the run.
So, if none of this has enticed you to visit my YouTube site, maybe this will.......
")