
My goal
~~~~~
In April 2012 I purchased 6 day old chicks from the local feed store. Now at 4 months, they are beginning to grow out of their first coop, and we must prepare for the future including winters and egglaying and comfort for our little flock.
I've searched and researched tons of coops here on BYC, and pulled some features I really enjoyed, and handed my ideas and inspiration piece to my brother who happens to be an architect. He was quite puzzled by my request But once he started drawing, he understood he had to fit certain elements within a 4' X 5' space, it became a challange.
Now into July 2012, we finally have begun to build the future coop. The name is based on the Henny Penny "The Sky Is Falling"
Size of coop: 4ft X 5ft.
Materials, wood, shingles, vinyl flooring, windows, doors...yet to be determined...
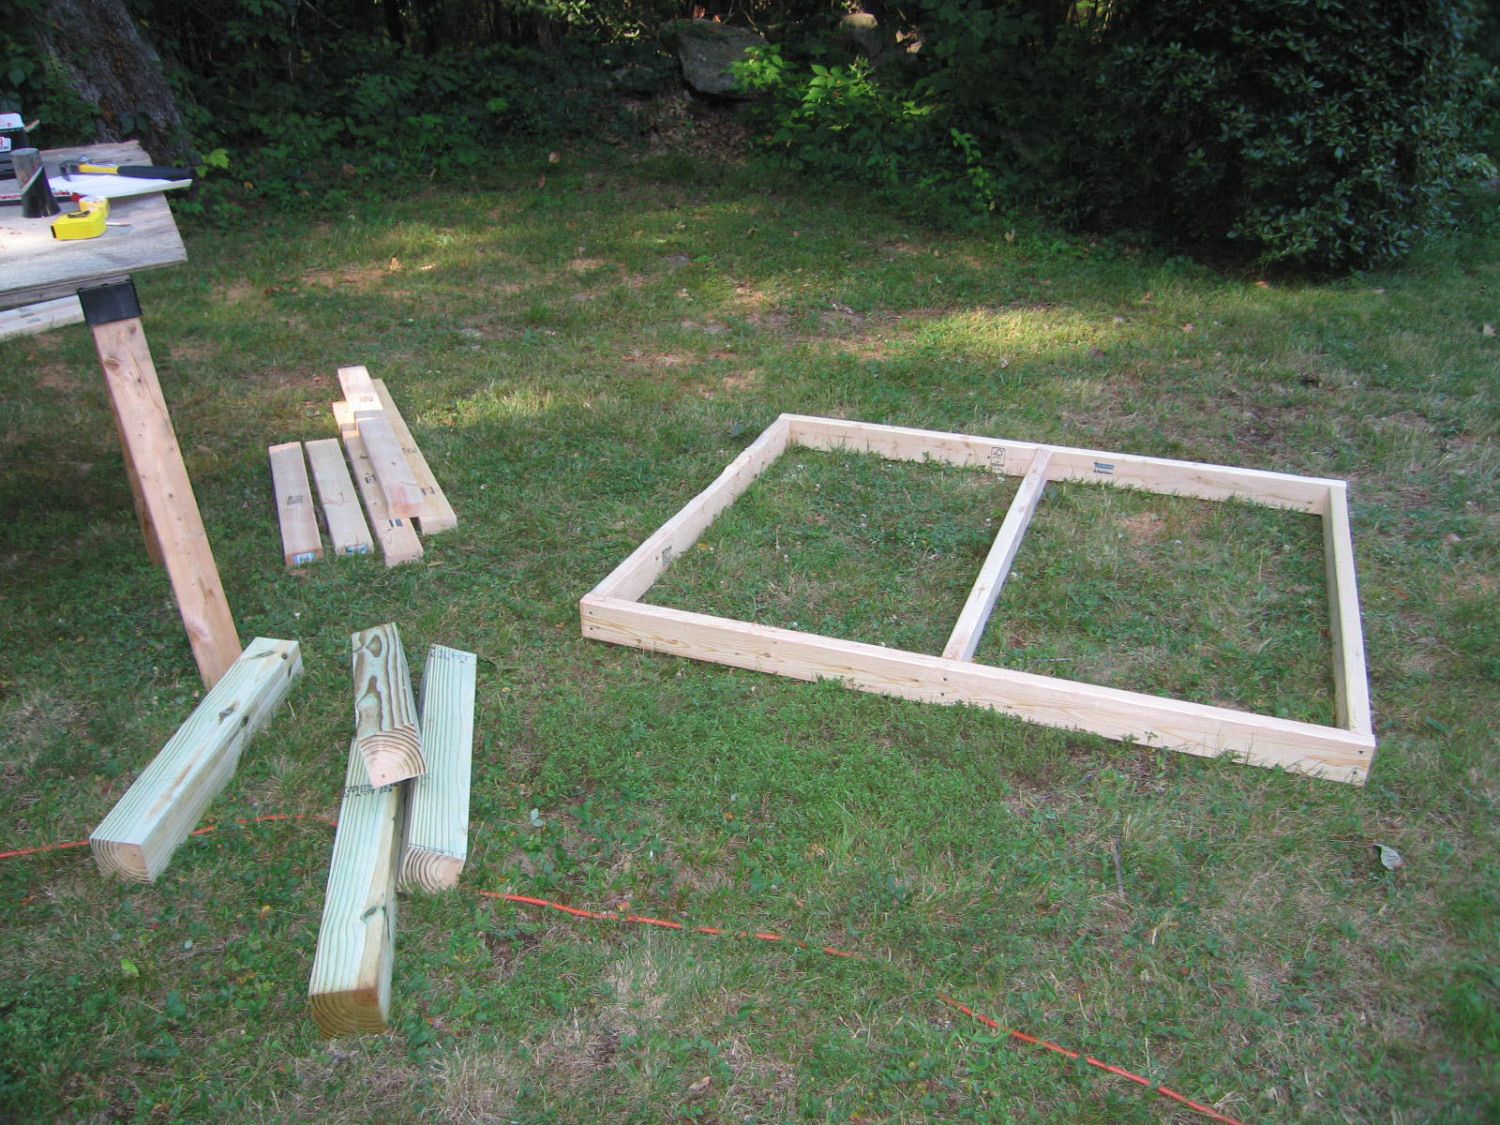
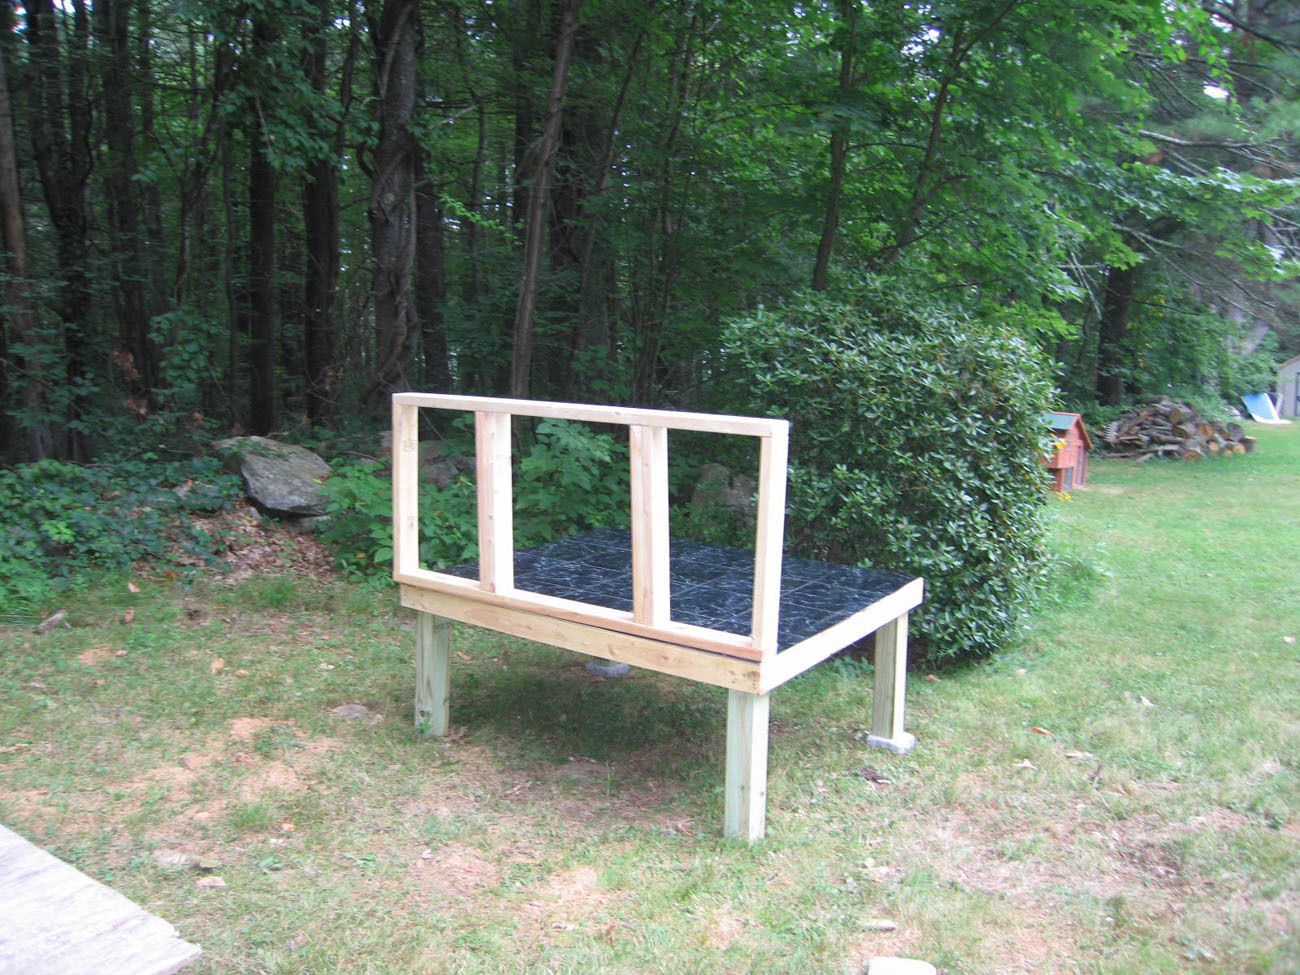
FLOOR-4x5 BASE
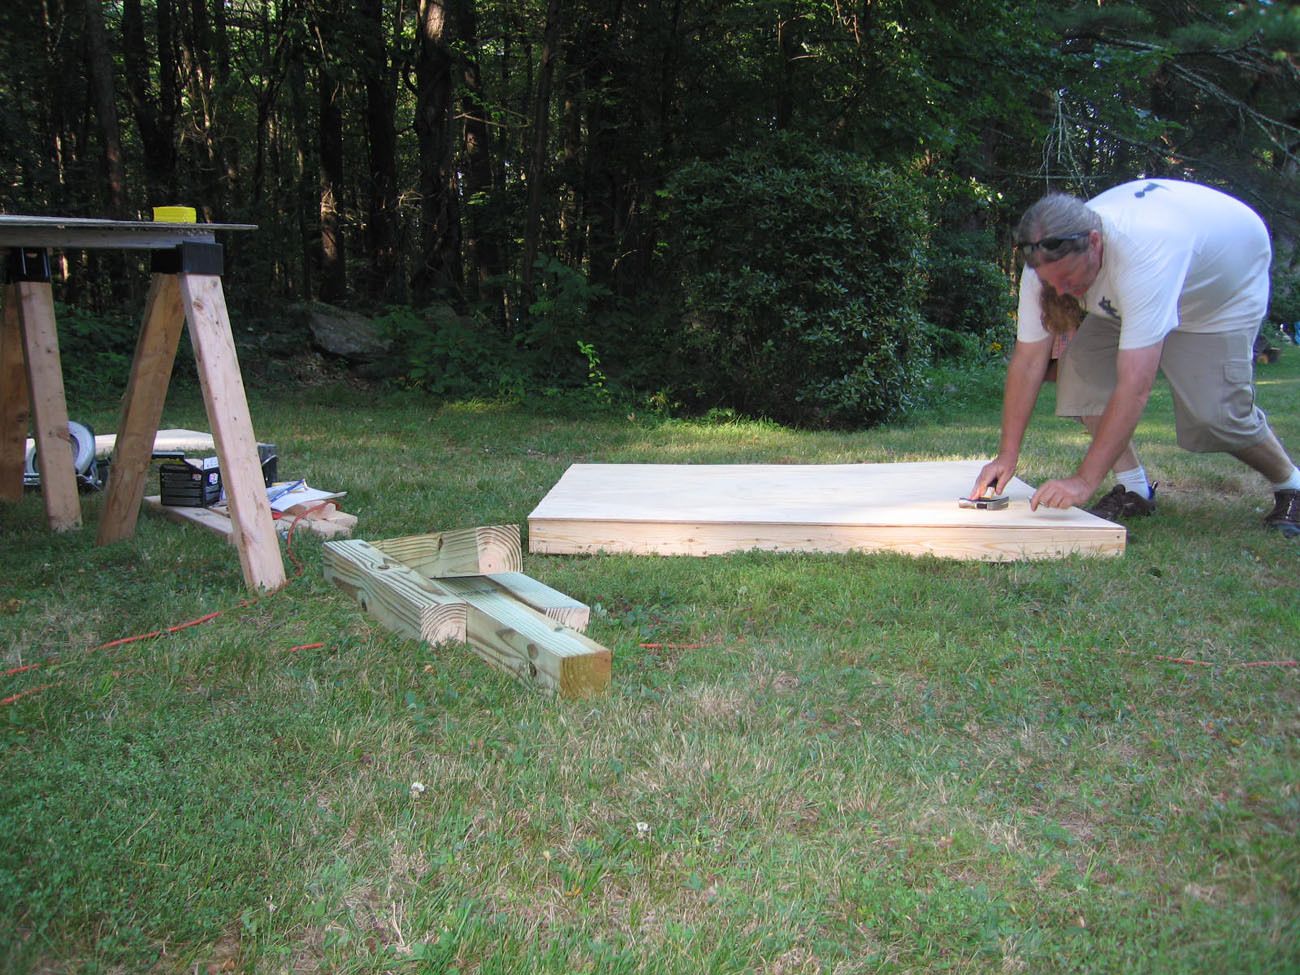
NAILING DOWN PLYWOOD TO BASE
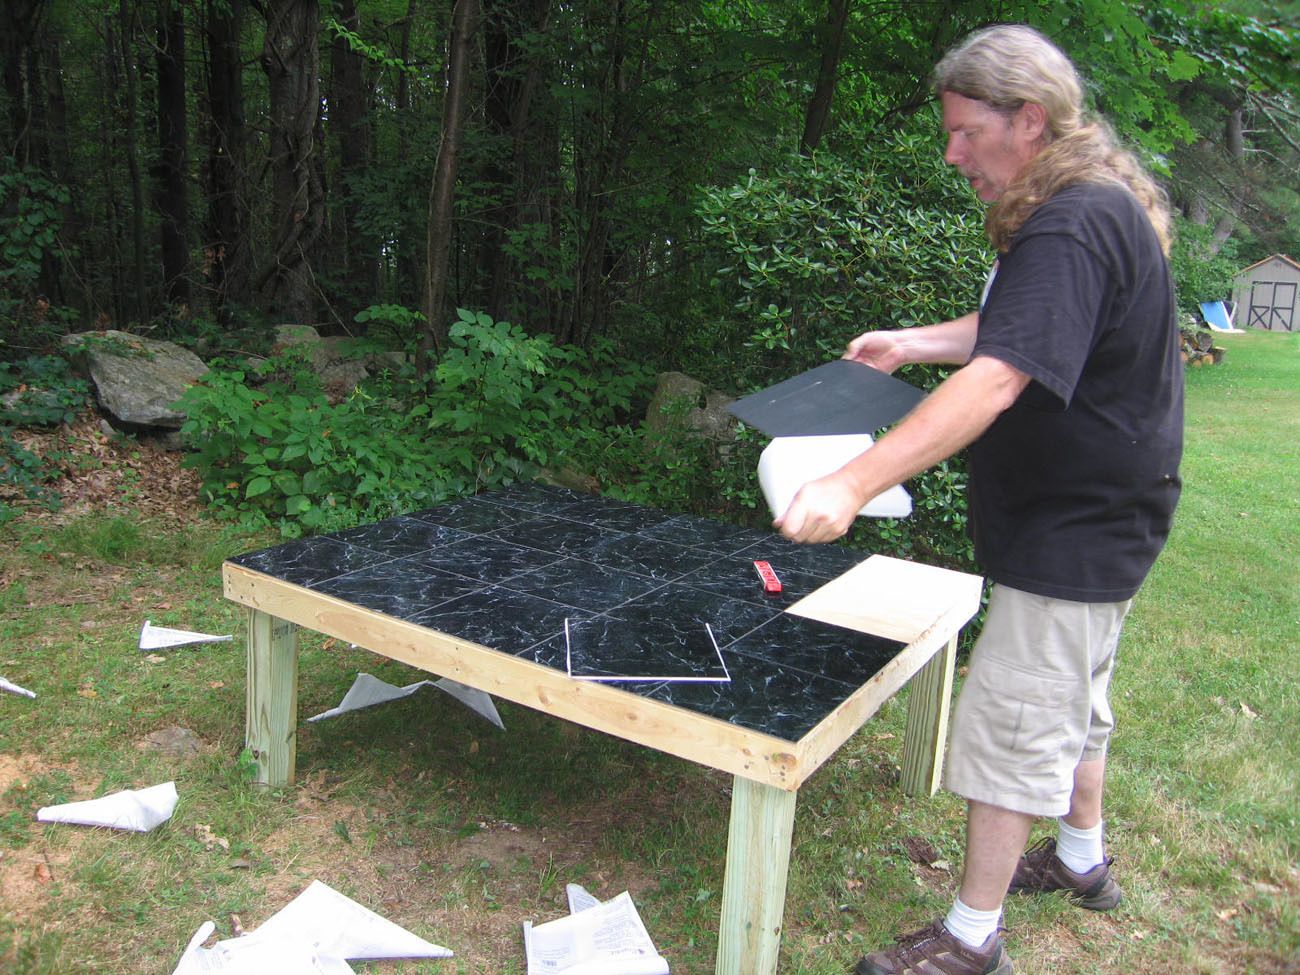
STICKING VINYL FLOORING DOWN (legs stand 2 ft off the ground 4x4)
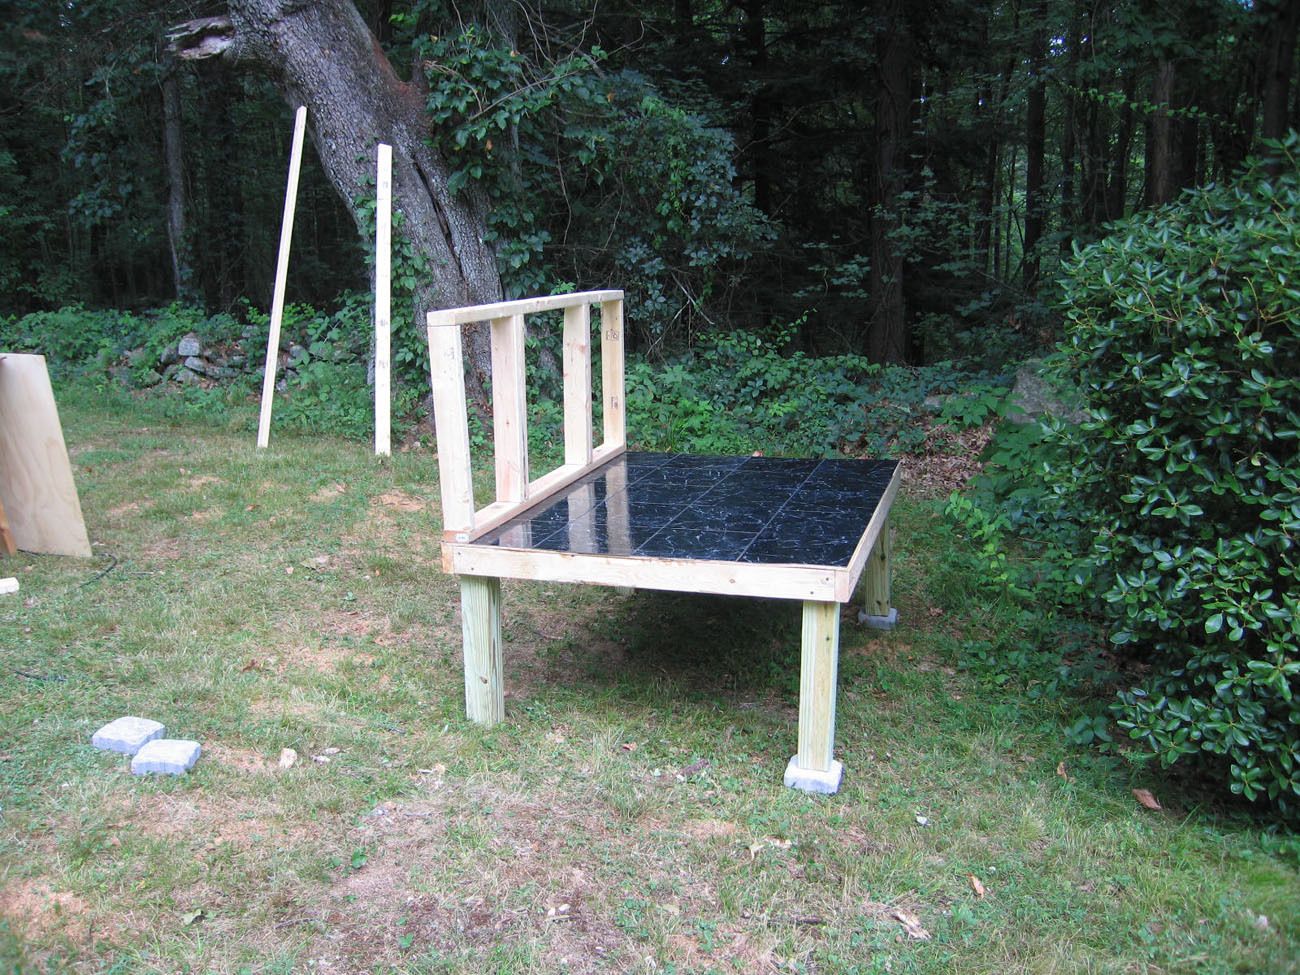
WALLS WILL BE 2ft HIGH (Door facing WEST)
DOOR IN THE CENTER, WILL BE 2 PIECE DOORS (wall isn't attached in this photo so it looks crooked)
7-28 WORK HAS PUT US BEHIND SCHEDULE BUT BUILT 3 WALLS TODAY.
7-28 THE RUN DOOR IS 10" wide X 12" high
finished the frame and started to cut the walls 8-6-2012
Door to the run. 10" wide X 12 high" Run is facing north. 8-6-2012
South side where the nesting boxes will be 8-6-2012
Oh no! The inspectors are here
") 8-9-2012
8-9-2012
They approved the headroom under the coop 8-9-2012
Checking the seams 8-9-2012
Flower and Sammi discuss the door frame 8-9-2012
After a lot of soggy days, we returned to find the plywood a bit wet, but all in all things are coming along. 8-12-2012
The north (door) and east side. debates about vents. Winters are tough, might leave east side w/o a window or vent. 8-12-2012
From the south side. This is where the nesting boxes will go (coop isn't crooked it's the photographer) 8-12-2012
Adding west wall and trying to figure out the nesting boxes 8-14
adding walls to south side. 8-12-2012
Nesting boxes 8-25
side view 8-25
Interior view nesting boxes 8-25
I know things look pretty raw still, but soon we'll start adding trim and extras and it should come together nicely
8-26-2012
Huge progress made on a beautiful sunday afternoon. We go the roof framed and the rafters started, and the stone wall and garden cleaned up behind the run
While Hubby built, I cleaned up the stone wall
All clean!
Garden behind the coop
dding the run beam
view from the run
I planted some thyme , blue bells and periwinkle to grow around the rocks and keep
the weeds down
garden behind run
Roof added 8-27 we had to put the canopy over because of rain,
there are vents on the door side where the roof and the walls meet.
roof 8-27
large overhang to help keep water off the nesting box. We rarely get storms from the
south, but when we do..they can be rough.
8-29 adding nesting box holes and roosting bar
dad's liittle helper
adding holes, so they have some privacy
close up
3 different sizes just in case they get picky
Addiing a removeable roosting bar in front of the boxes
close up
8-30 a first coat of paint! Barn white base. I read the nesting boxes should be dark
so they have privacy while laying so I painted them deep purple
and the interior sky blue and white
sorry so messy! It's doubling as a tool box for now
After a couple bad weekends of hurricane rains, we got a sunny day to work and finish some of the details off.
Start of the run
painting the doors
adding the roof
first coat looks pretty!
Roof of run finished
random photo of progress
Studs painted on the run
adding Hardware cloth over vents in roof usingg staples
Starting to come together. Cut off excess from the front overhang
outside view of hardware cloth for vents
adding tar paper membrane (donated)
other side tar paper'd
top piece tar paper added
Door placed but not set
Lots of work done today progress! yay!
door to nesting box
Added base under coop to attach hardware cloth to
Rohan the wonder corgi inspects the height, also shingled the roof
looking good!
Wrapped coop so to eliminate drafts
wrapped coop to eliminate drafts
so close! Have to build a ramp, hardware cloth and door hinges, and the interior roosts, door on run...
door hinges!
beautiful front door
moving day! 9-15
comfy!
added a ramp, but it was too dark to get a pic last night, will get one today. Nothing fancy, just shingles with steps for now. I find the shingles help keep their nails trimmed. We have siding too, but Rome wasn't built in a day. But within the week it should be looking much prettier on the outside
temporary ramp
The weather has been almost perfect, but time is getting away from us to continue our build.
We have done several small things, adding a door on the run and weatherstripping, but hopefully this
weekend (sept 29th-30th) we can get the siding up and painted before it's too cold to paint.
Here's the new (unfinished) run door
10-6-2012 Finally we have some siding! It's a fabulous change to the coop! I also added weatherstripping around the
the door above to keep any small critters out (chipmunks) and finished the hardware cloth at the top where the sides meet the
roof. I will get some more detailed photos.
The flag is there to remind me my first egg was laid on 9-11-2012.
I placed temporary boards around where they eat and drink, the pups seem to like the taste of
layer pellets, and the girls sweep them around with their feet, just keeps everything cleaner, and
the pups not so interested in the coop.
north east side
nesting box (south side)
success!!
fall 2012
10-7-2012 3 sides of siding done! We'll do the last side (run side) next spring. Now just have to paint it, and
the girls are set for winter.
showing how the siding was finished V
Fine tuning
Adding PVC food bin. It's resting on 2 bricks, but we'll add either a cement block or wood underneath
when time and weather allows
Added a cinderblock under the water, later we'll add a light bulb inside to heat the water in the winter
We had combed through a lot of designs and concepts for heating water but find for our coop this will
be the easiest one to use
My experience with this above waterer, is they work well and are cute in design, but are kind
of light and easily pushed over by frisky chickens.
weekend 10-13/14
With thr season of building coming to a close and cool morning greet us daily, I put a
primer coat of paint on the wood Oct 13th
Very chilly day I painted with winter gloves on, and the paint was thickened by the cold
but I got it done
it's getting there!
Sunday started rainy and cool, but by 3:00 it was over 65 and beautiful, inspired I added trim color
and a 2nd coat of paint
so fun to finally see our dream come true. Come spring I'll add one more coat but I am steps away
from finished
It's so pretty!
hard to believe this didn't exsist 3 months ago!
end result 2012
Thanks to everyone that has helped inspire my design and make this dream come true!
