Welcome to Grungybones's super duper nifty keen coop page!
Home of FORT CHICKEN!!! (Key dramatic music)
This page has just started so check back lots for updates! Feel free to PM me or email with any questions!!!

Lets get right down to business shall we?
Overview
Home of FORT CHICKEN!!! (Key dramatic music)
This page has just started so check back lots for updates! Feel free to PM me or email with any questions!!!
Lets get right down to business shall we?
Overview
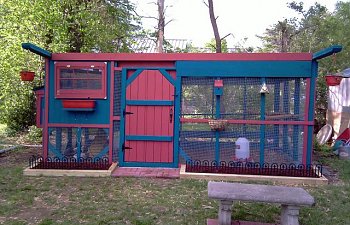
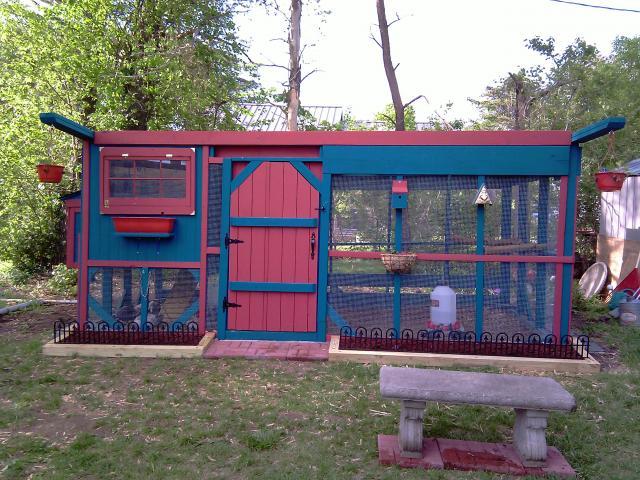
Run:
The overall size of the run is 8' x 16' with 4'x8' of that covered by the coop itself which is raised off the ground 2.5 feet.
Coop:
The coop itself is 4'x8' and 4' tall. The entire coop/run is roofed in with corrugated plastic sheeting half of which is translucent to allow in more light for the little ladies.
General:
The entire frame is 2x4 construction, super heavy with the bottom rail pieces in treated lumber. The entire run is covered in 1/2"x1/2" hardware mesh, with each and every seam covered by a 1"x 2" board.
It sits on concrete blocks with an apron of 1/4"X1/4" hardware mesh beneath it. It is 6.5 feet tall in the front and 6 feet in the rear for water run off.
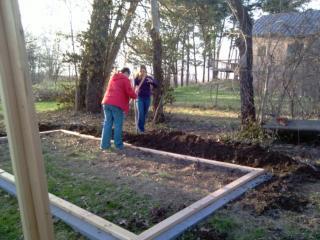
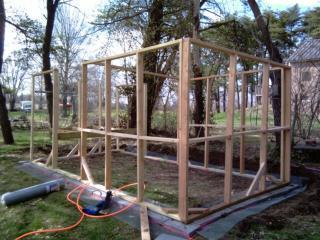
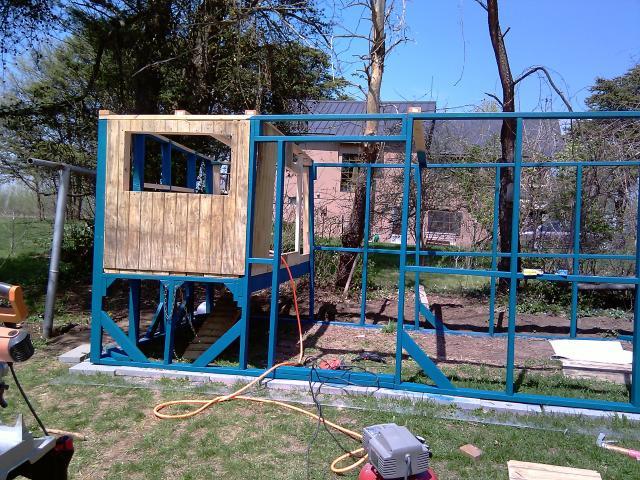
The frame
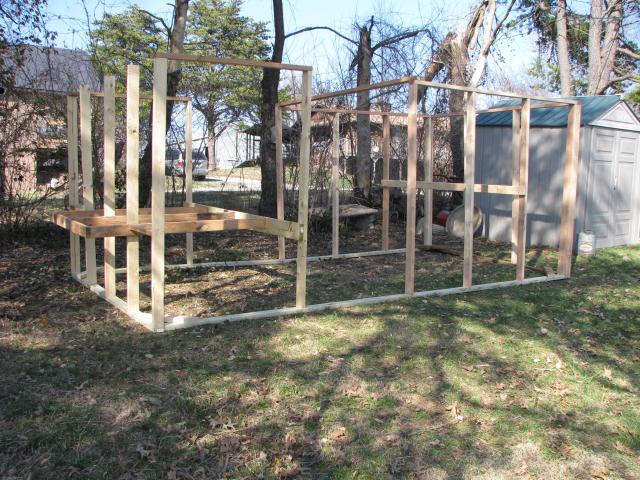
The bottom rails are pressure treated lumber. They do not sit directly on the ground but rather sit on leveled paver stones. As I've got a bad elbow I used air guns for the entire project. (thanks dad!) I built the two halves apart on our driveway for all the rough in work, then moved it up to the site at the point pictured above. Then the two halves were joined together. On the left of the picture you can see the egg box extensions sticking out the side.
The run side has horizontal bracing set at 35" so I could wrap it in hardware mesh that comes in 36" rolls. One for the bottom, and one for the top. The 1/4"x1/4" mesh apron sticks out aprox 1 foot past the pavers and wraps around and is stapled to the back side of the base boards inside the coop. This adds double predator protection. They cant burrow down outside the pavers, nor can they squeeze themselves between the pavers and the base board.
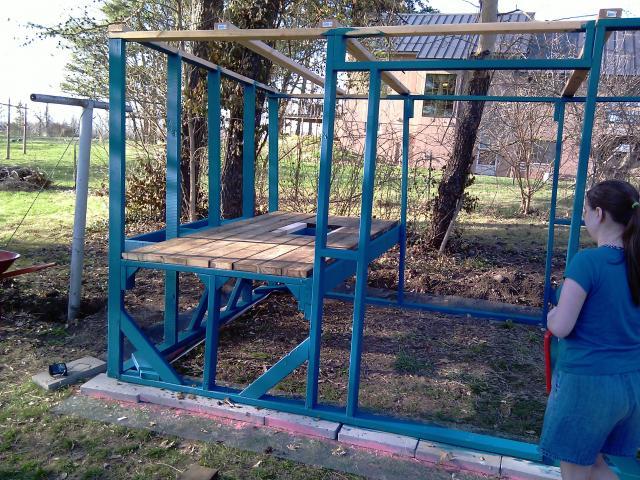
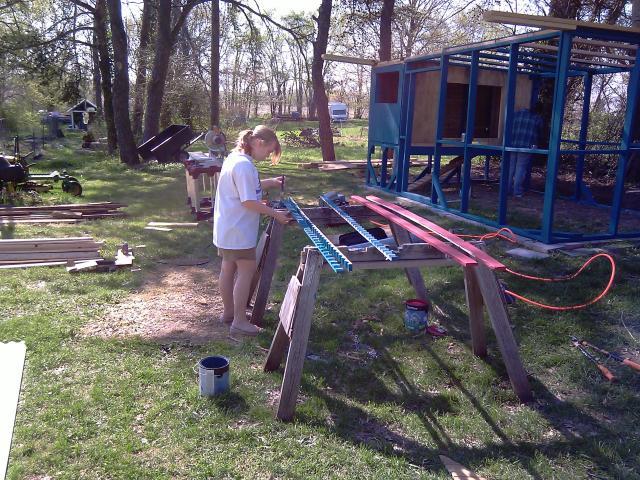
I was lucky enough to be given lots of good lumber left over from a wall rebuilding project, and a deck removal. As I didnt want to store any extra wood I kinda went wild with the bracing. To the left of my daughter (Amethyst) You can see the door opening (still to be framed in) The floor of the raised coop is pressure treated deck boards 4'x8'. We decided to have the entry point on the bottom of the coop, rather than have the plank extending out into the middle of the run, which would be in the way of the access doors. I begged a bit and got the wife and my other daughter (Rowan) to do as much painting as possible as it was being constructed. This saved a ton of time, and made the painting much easier on everyone.
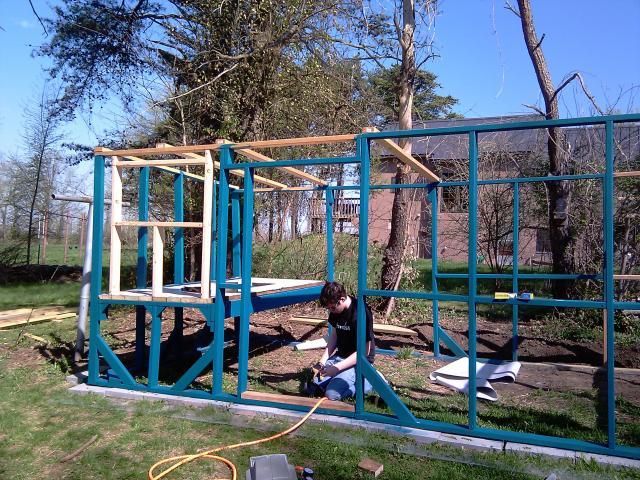
The door framework begins to take shape as well as the window braces and some of the roofing supports. The floor of the coop has been covered with a linoleum remenant for ease of cleaning. That's my nephew (Keegan) hard at work. He may look like he's sleeping, but I assure you he's in deep planning mode.

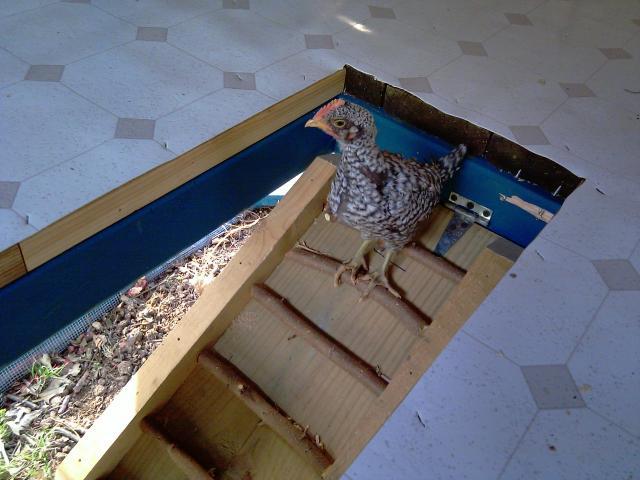
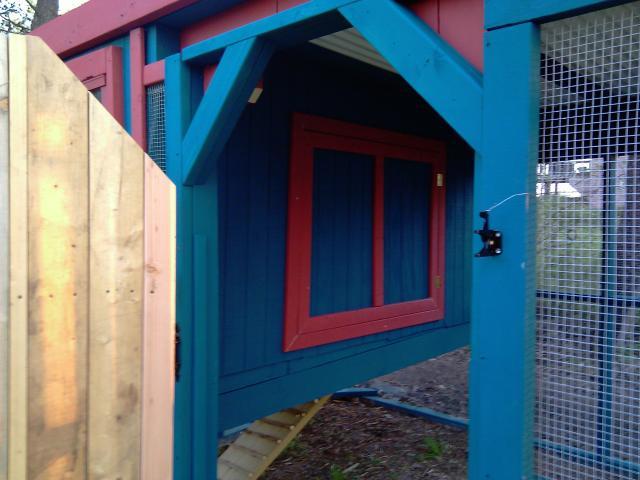
The gang plank is set up with a hinge on the coop end. The chains attached to the ground end are looped thru the wall outside of the run. This allows us to raise the drawbridge from the outside every night without going into the coop to shut the princess' in their castle. I used small branches 1" or smaller for the ladder rungs to give the birds traction. It makes for a nice rustic touch, and they are easy to find. The plank itself is a 2x12 pressure treated board unpainted.
Here is Jaws our test rooster taking the first trip down the drawbridge I chose Jaws for this job as I heard that Plymouth rocks were fearless, and not likely to call OSHA for unsafe conditions. (The nails have been removed and made safe for chicken kind.) The floor is covered with a linoleum remenant for ease of cleaning.
The sides of the coop begin to go up! It's really starting to take shape now. My neighbors are coming to grips with the fact that I'm actually making a chicken coop at this point. The siding is normal plywood siding. Nothing special about it other than it's not cheap. But with this design I didn't need too much of it.
The outside of the run will have 1"x2" trim boards on the outside. This will cover and secure all the seams between the wires... and look nice. One of the goals for the coop (Other than super easy to clean and get the eggs out) was to make it pretty. We all agreed that we didnt want a slap board raggidy shack on the propery. Rowan is painting the "Wiggle Wood" that goes beneath the coragated roof panels to make a flush surface with no gaps. Jenn, my wife is inside the run painting as fast as I build. Here you can also see the main people access door to the coop. The boards sticking out from the roof are there to break up the box shape of the coop and to hang planters off at a later point.
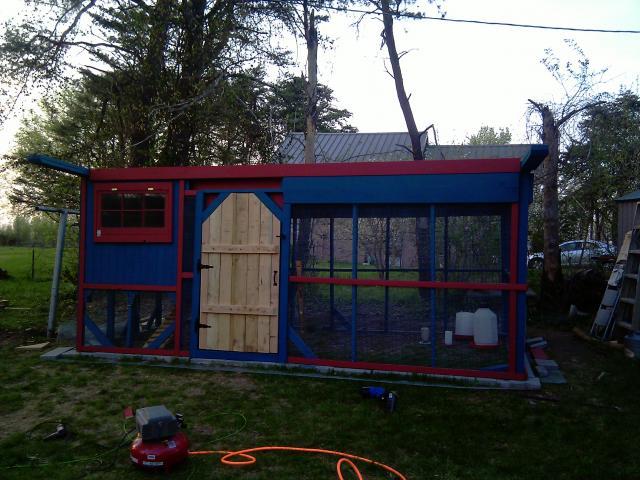
Next we wrapped it in the hardware mesh with heavy staples and covered every seam with the 1"x2" trim boards. The 2x12 on the top of the run covers the gap in the mesh which is stapeled to the back side of the board. The red 2x4 on the top most edge of the roof coveres the sealed wiggle wood and makes it all pretty.
The door:
The door is my pride and joy. Certified bear proof! 2x4's and 2x6's laid side by side secured with 2x4 planking across it, with wooden pegs securing the entire structure together. The door weighs around 70lbs or so and is solid solid solid.
The window:
The window is an old thrown out kitchen window with hinges attached to the top side of it. A chain runs down the side thru an eyelet with a hook on the end of the chain. We can pull on the chain and hook it to raise the window to the desired height for venting.
It's all about egg boxes and poop doors.
No sooner did I get it finished enough for the wee birdies to move in, than I cut huge gaping holes in the side for the egg boxes.

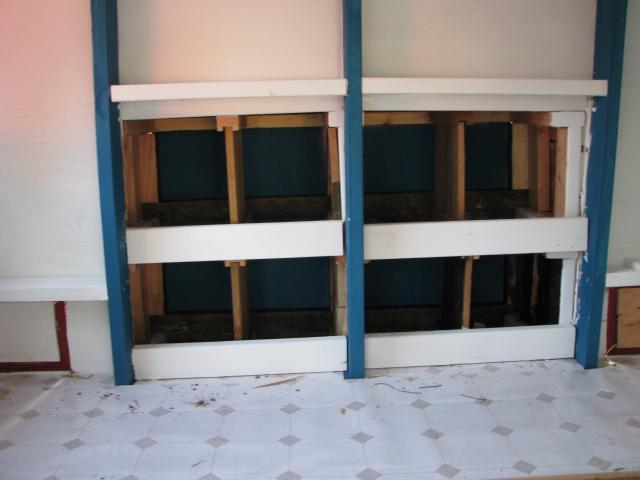
We have 14 ladies and the coop is set up with 8 egg nests. The more the merrier.
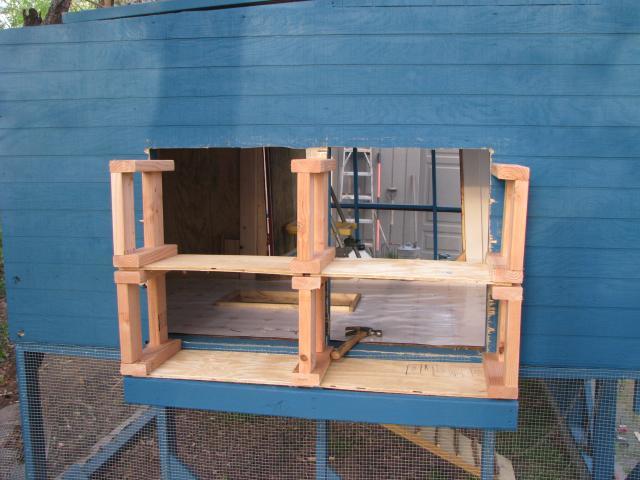
2x4 construction for the frames again.. You never know when you are going to have a 45lb chicken…
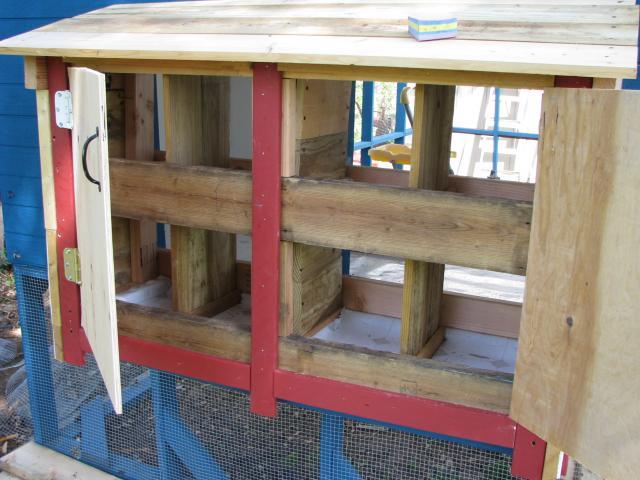
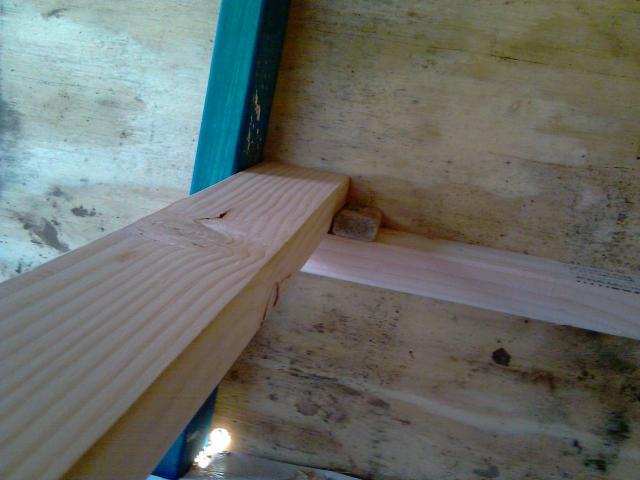
The interior divider between the boxes is pallet lumber that my wood came stacked on. They have a groove in them that turned out to be perfect for the vertical slats. They fit in there tight enough that I did not attach them to the top and bottom of the box floor. They can be removed without fuss for cleaning. I kept adding trim until it looked good.
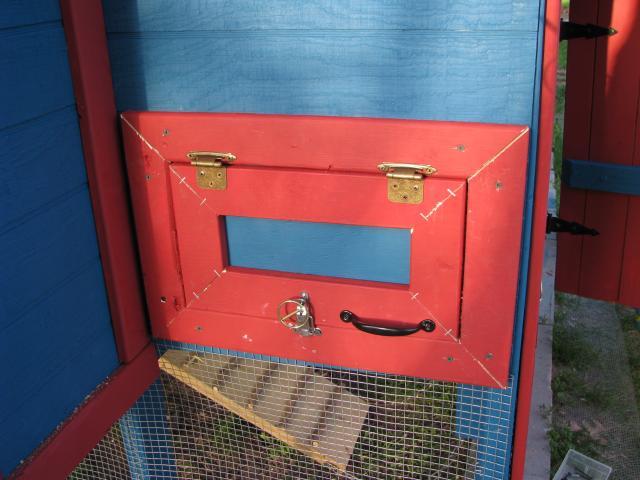
Poop door #1
Behind this door is the poop tray below the roosts where the ladies will sleep. The poop tray will have snap down legs on hinges that will swing down when the tray is pulled out. Then we simply park the wheel barrow beneath the tray and clean out all the goodies for the compost pile. This picture is of the doors before the final paint was applied. The doors are secured with snap latches and tractor spring pins. Double secure.

Aint nothin gettin' ma Eggs!!!
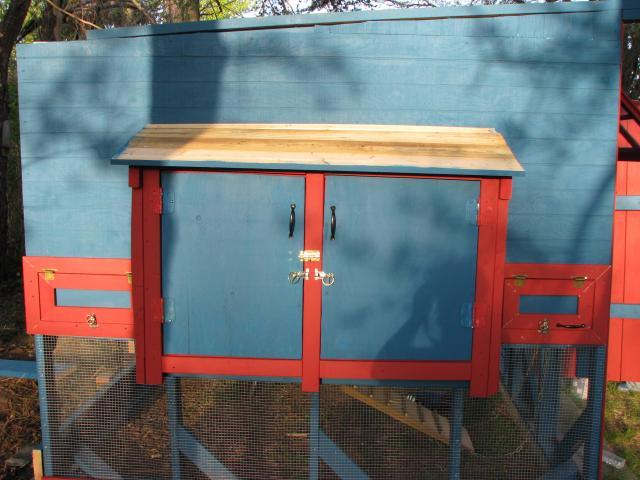
Only thing left on this side to do is the shingles for the egg boxes, some trim on the bottom, and a vent in the upper left. (All which have been done at this point.)
Interior view of the people door.
The egg boxes are painted, trimmed and ready to be filled with straw for the ladies to move in!
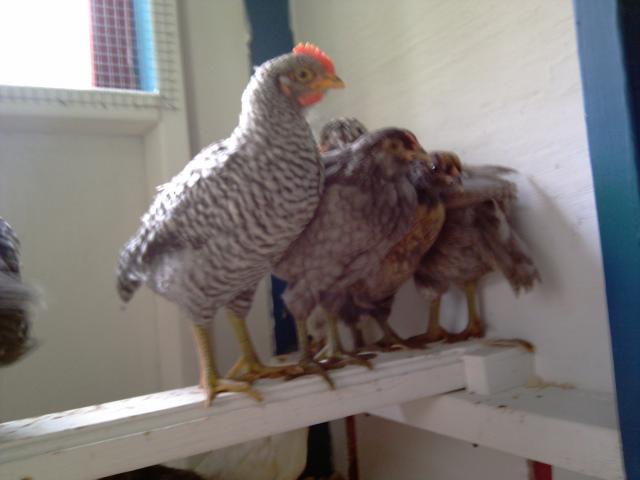
The roosts are removable for cleaning and replacement. The sides are now beveled and they are painted a very pleasing white.
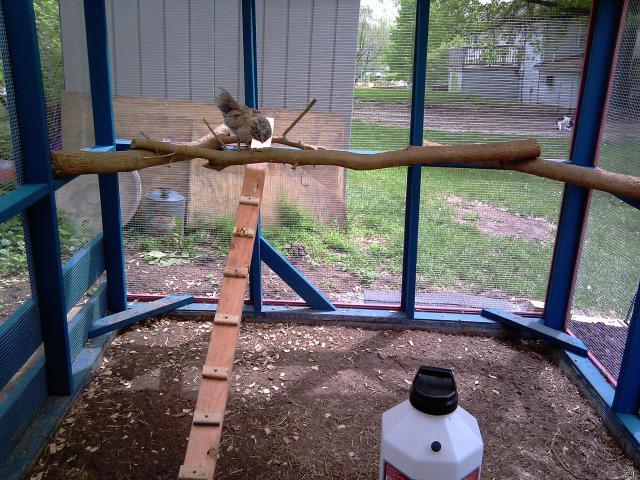
First part of the play perches. I'm going to make several different levels with ladders going up to each. They really enjoy playing on them.


Also added a bench for bird watching. It has already had much use this weekend.
Now for more trim work and landscaping a patio under the egg boxes.
More updates to come!!