After several months of plotting and wanting, I asked my landlords/bosses if I could set up a chicken coop 'round the back of the clinic/apartment where I live and work. The veterinarians I work for debated amongst themselves, and decided that no, I couldn't have a chicken coop 'round the back of the place, but I could have one up by the old, mostly abandoned barn on the property! Much, much more space to work with than what I was expecting. Excited!! I headed up the morning I got the news to take a look at the area. I'd seen it before, and knew it was filled with junk, so I was pretty much expecting this:
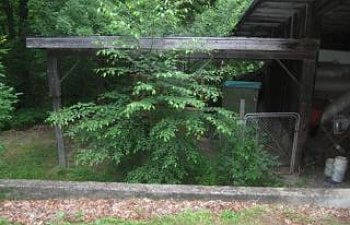
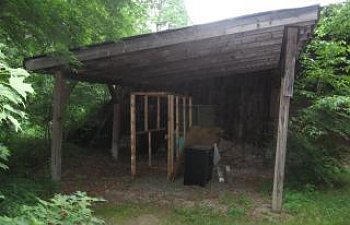
Next day, I hauled all of that junk out of there, to include: 5 really ugly old kennels and their gates from the clinic, an old, broken refridgerator, the framework for the kennels and the plywood for said frame, miscellaneous bits of wood, and a lot of old, bent, rusted welded wire. I also cleared out the brambles by the gate and leveled the gravel floor as best I could.
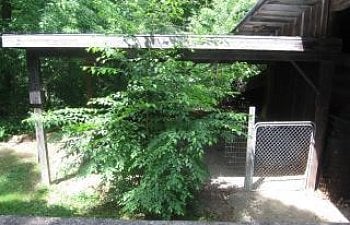
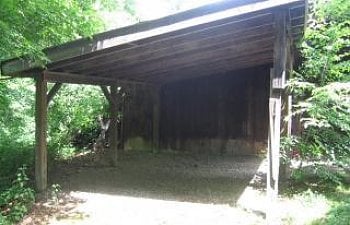
So! Now that I could see what I have to work with, it was time to change my plans! I went through about 3 different drafts before settling on this:
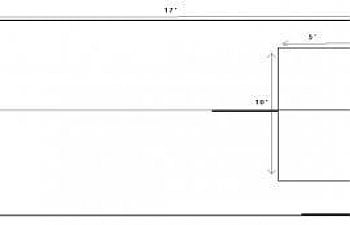
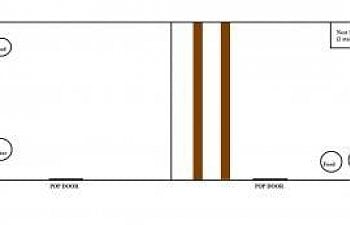
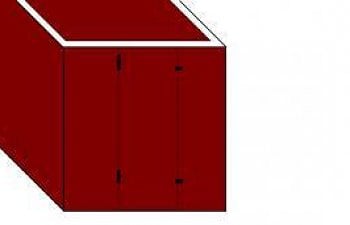
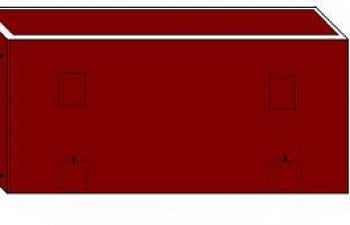
Basically, I've got a duplex- one side for my laying hens, the other for my meat birds (chickens, turkeys, ducks, etc). What you're looking at the the front and right side. The left side is exactly the same, and the back is simply flush against the side of the barn- nothing exciting there, just the OSB it's walled with. The white space on the top is my ventilation; in the summer, the whole top is just hardware cloth. (The joys of having a solid roof over top the whole thing!) In winter, we're going to clap a 4'x8' piece of OSB on top. The coop itself is 5'x10', so hey, ventilation!
It took a few weeks for construction to actually begin- we were delayed by Dad's work schedule and my truck trying to kill me (failing brakes= me borrowing Dad's car for a week). But construction did finally begin, in the form of moving sand, digging trenches to bury fence, putting up some of the fence, and setting and leveling the fountation stones. Dad, in the meantime, was putting parts of the bulding together at his house, as there's no electricity up by the barn. Then, the parts went together!


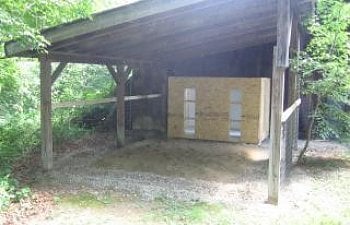
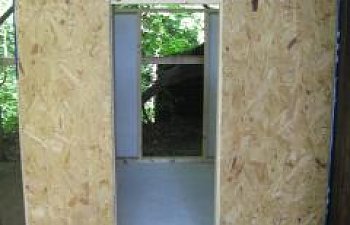
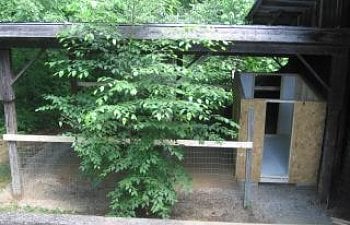
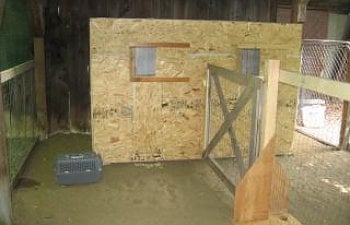
Construction paused here once more, again because of Dad's work schedule. Meanwhile, my cute little fuzzies in the brooder up at the house were growing rapidly! They were more than ready to move in once the interior wall was up, and the doors and hardware cloth were on.
We finally finished the thing this morning!


The birds moved in last week when the brooder got entirely too cramped, so the vinyl floor will get put in after my first clean-out. No perch yet, but that's not hard to do. I really like the pop doors on this thing- Dad had the clever idea to hinge them on the bottom, so the door acts as a short ramp. Slap a piece of medium-grit sandpaper on it, and we've got ourself some pretty decent ramps.
What I would change:
HEIGHT. It's only 5' tall, so I'm crouching to get into the thing. I should've added the extra foot to the height.
I wish I didn't have to separate the yards, but I don't feel right feeding Flock Raiser, and I want those meat birds, so...
5/26/11
Coop reboot!!

(Yes, I will admit to a decidedly sloppy paint job... I have nothing to say in my defense other than I HATE taping. The paint job will be getting touched up.)
So after having the coop for a year, I decided something needed to be done. I didn't have the space I wanted/needed with the 5'x8' coop split in half, there wasn't enough light getting to it (no electricity) and boy did it need a paint job. Me being me, I went with the classic (and available in the mistint bin!) red with white trim.

Opened up the inside, added the feeder and waterer I've been looking for *forever*, salvaged the roost and added a poop board, and hidden under the shavings is the linoleum floor.

The new window that still needs a cover- gonna use Lexan, that window is primarily for letting in light, doesn't make sense to cover it with wood. Might change the other windows over to Lexan at some point, too.
Can't wait to move the fluffbutts in soon!!
We finally finished the thing this morning!
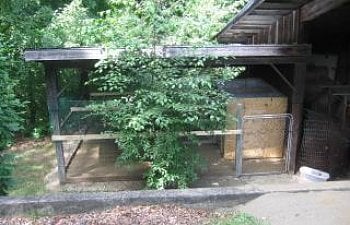
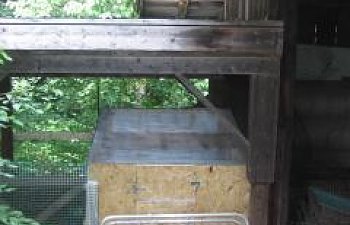
The birds moved in last week when the brooder got entirely too cramped, so the vinyl floor will get put in after my first clean-out. No perch yet, but that's not hard to do. I really like the pop doors on this thing- Dad had the clever idea to hinge them on the bottom, so the door acts as a short ramp. Slap a piece of medium-grit sandpaper on it, and we've got ourself some pretty decent ramps.
What I would change:
HEIGHT. It's only 5' tall, so I'm crouching to get into the thing. I should've added the extra foot to the height.
I wish I didn't have to separate the yards, but I don't feel right feeding Flock Raiser, and I want those meat birds, so...
5/26/11
Coop reboot!!
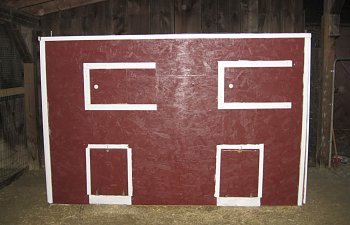
(Yes, I will admit to a decidedly sloppy paint job... I have nothing to say in my defense other than I HATE taping. The paint job will be getting touched up.)
So after having the coop for a year, I decided something needed to be done. I didn't have the space I wanted/needed with the 5'x8' coop split in half, there wasn't enough light getting to it (no electricity) and boy did it need a paint job. Me being me, I went with the classic (and available in the mistint bin!) red with white trim.
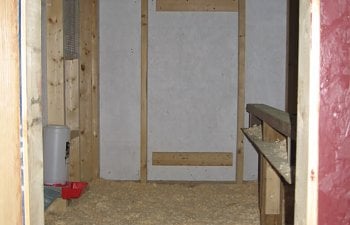
Opened up the inside, added the feeder and waterer I've been looking for *forever*, salvaged the roost and added a poop board, and hidden under the shavings is the linoleum floor.
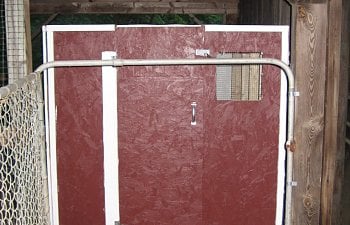
The new window that still needs a cover- gonna use Lexan, that window is primarily for letting in light, doesn't make sense to cover it with wood. Might change the other windows over to Lexan at some point, too.
Can't wait to move the fluffbutts in soon!!
