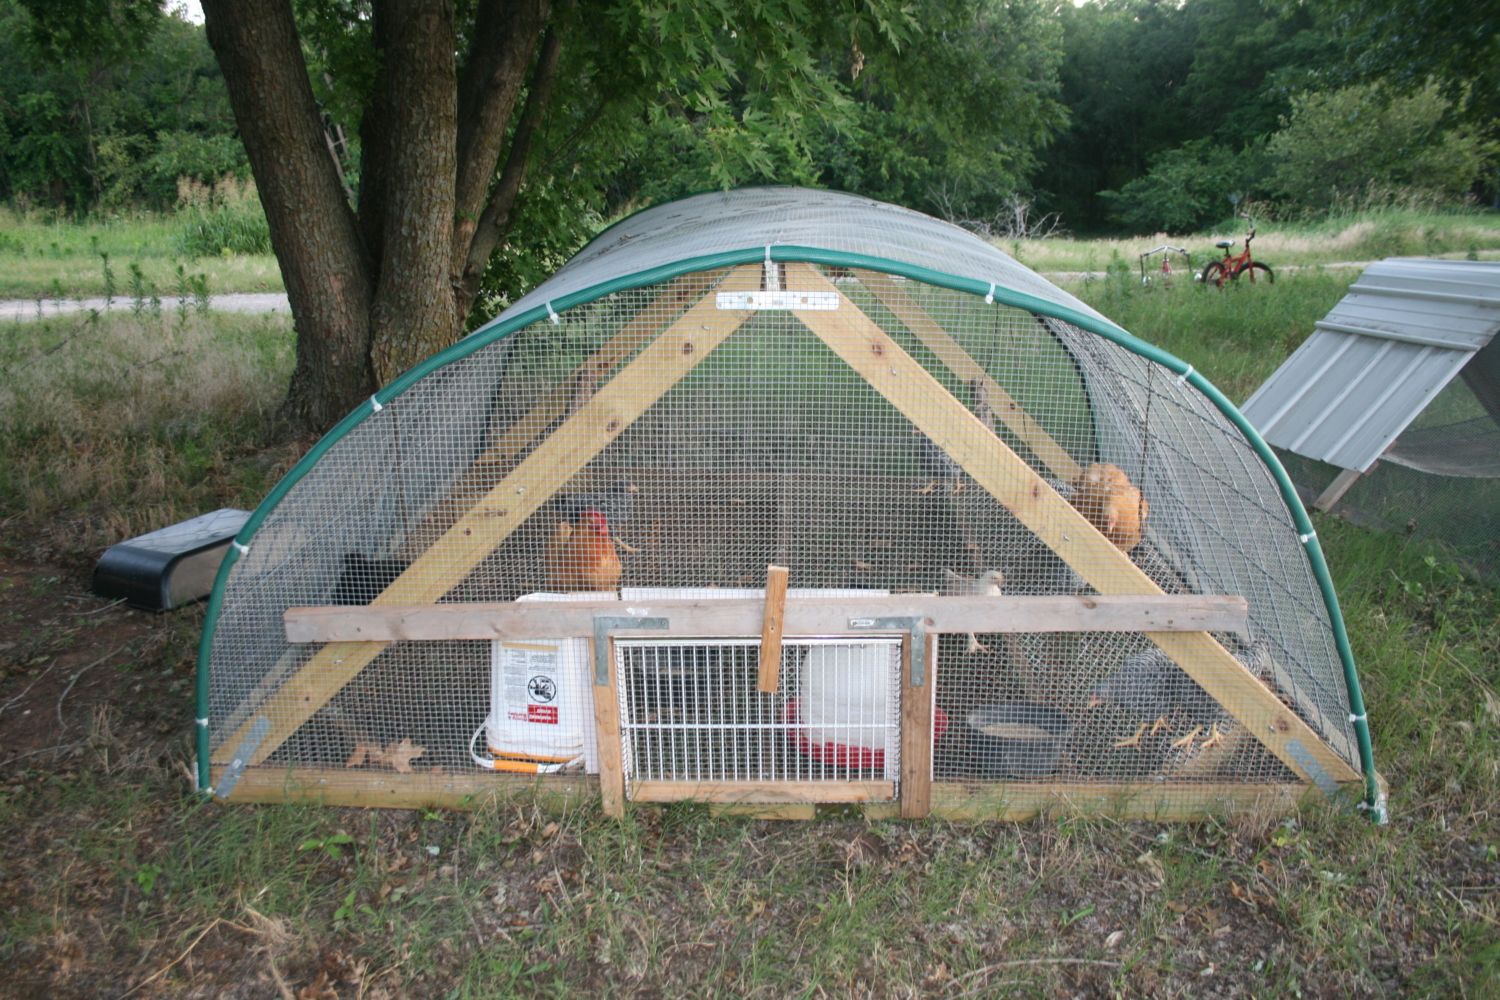
This is our hoop house for our pastured system.

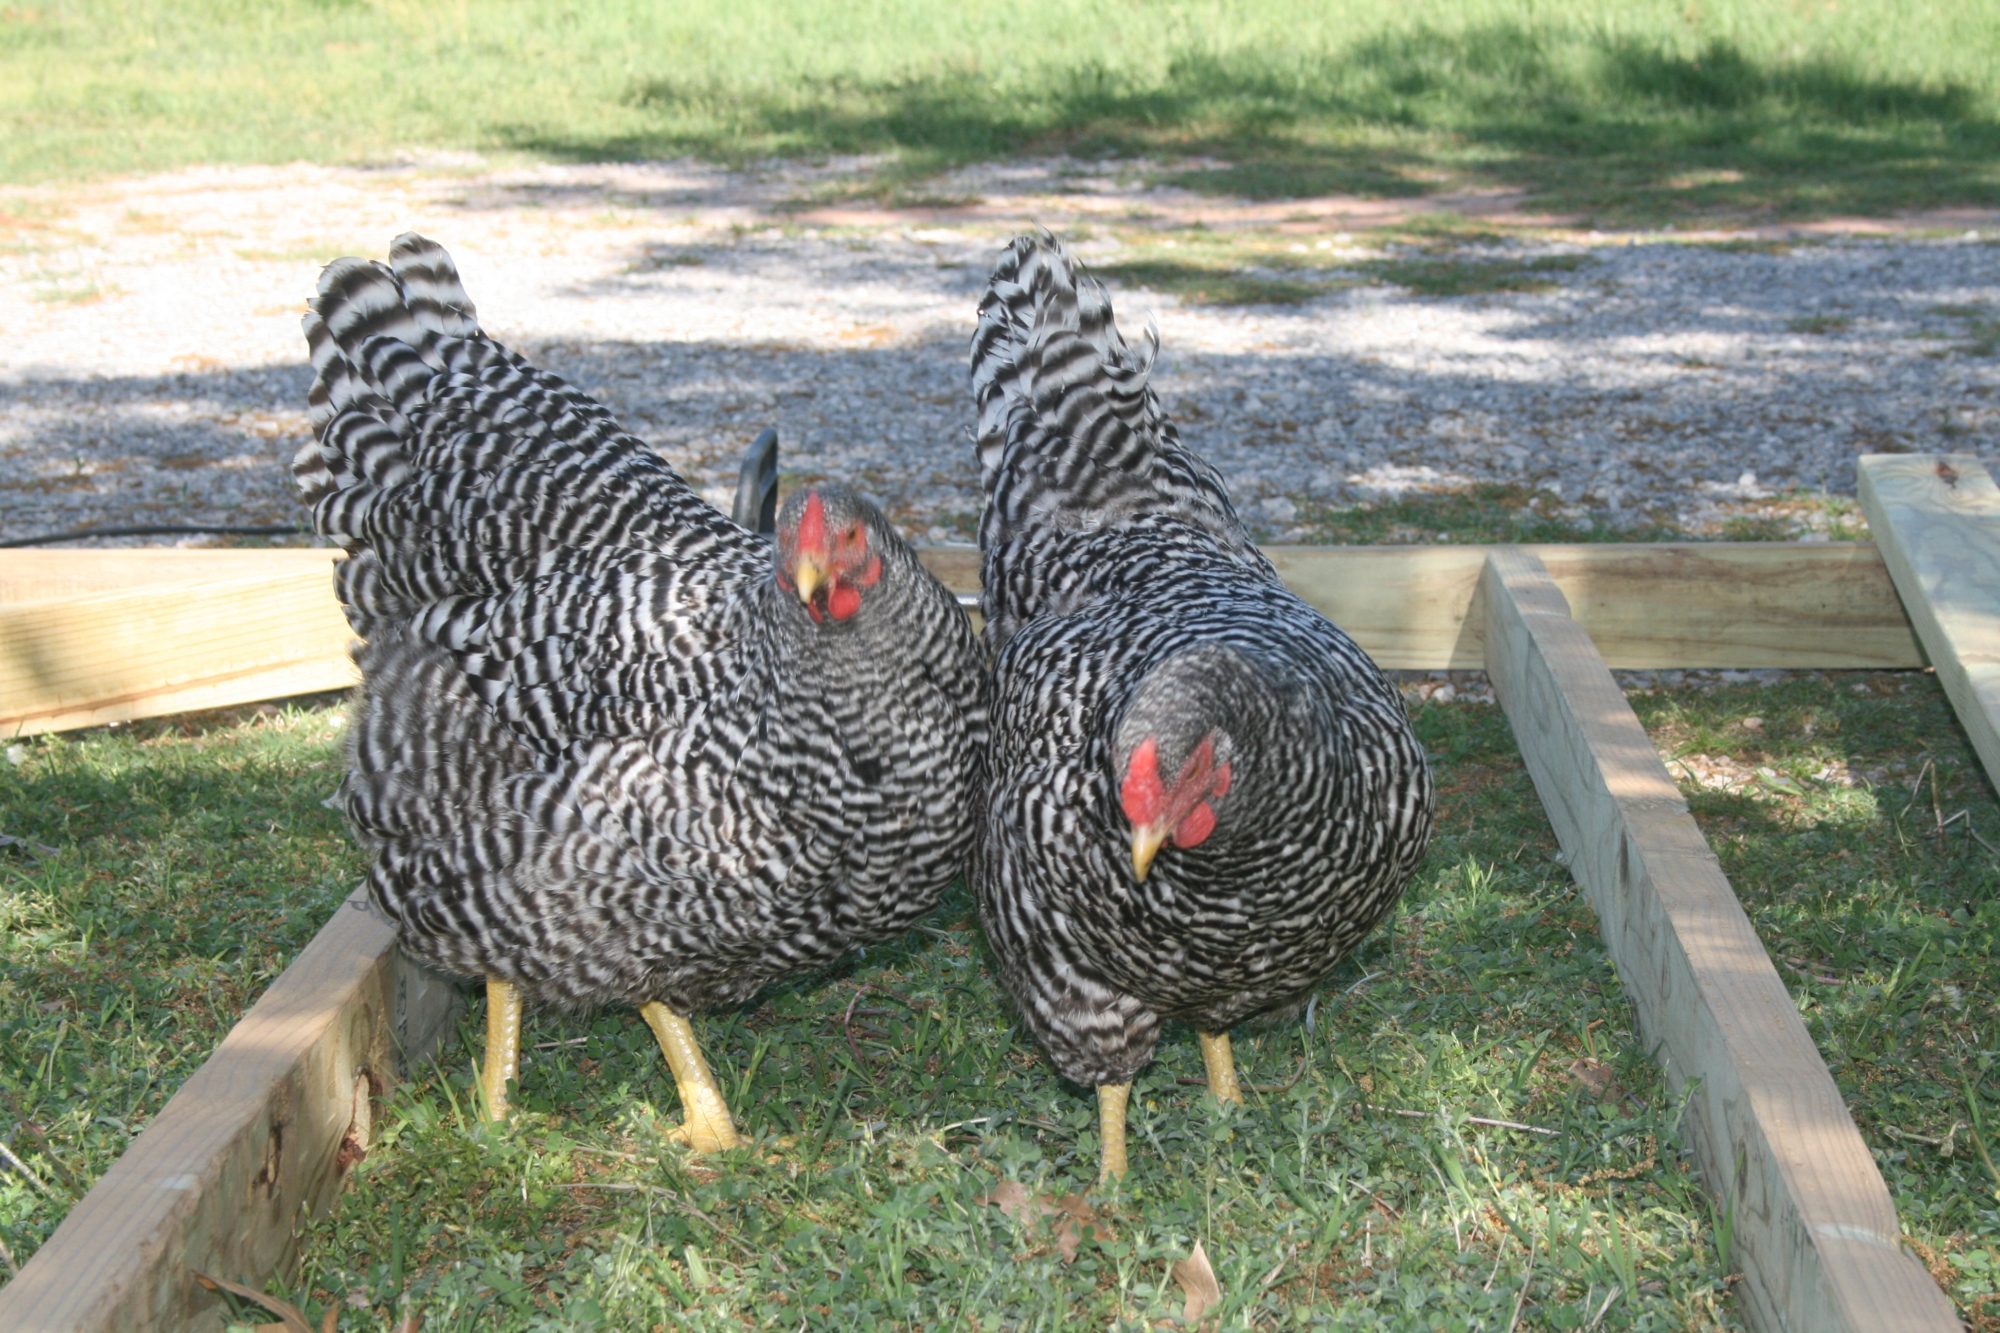
I wanted to build a new coop for our chickens this year. Our original coop was a stationary coop and the birds free ranged over our property. That didn't work so well for us though because we have so many predators and I was sick of losing birds. I spent the winter reading and planning. After reading Pat Foreman's Day Range Poultry I decided that I wanted to build one of her little hoop houses and use poultry netting to limit the bird's range so they would be less vulnerable to predators.
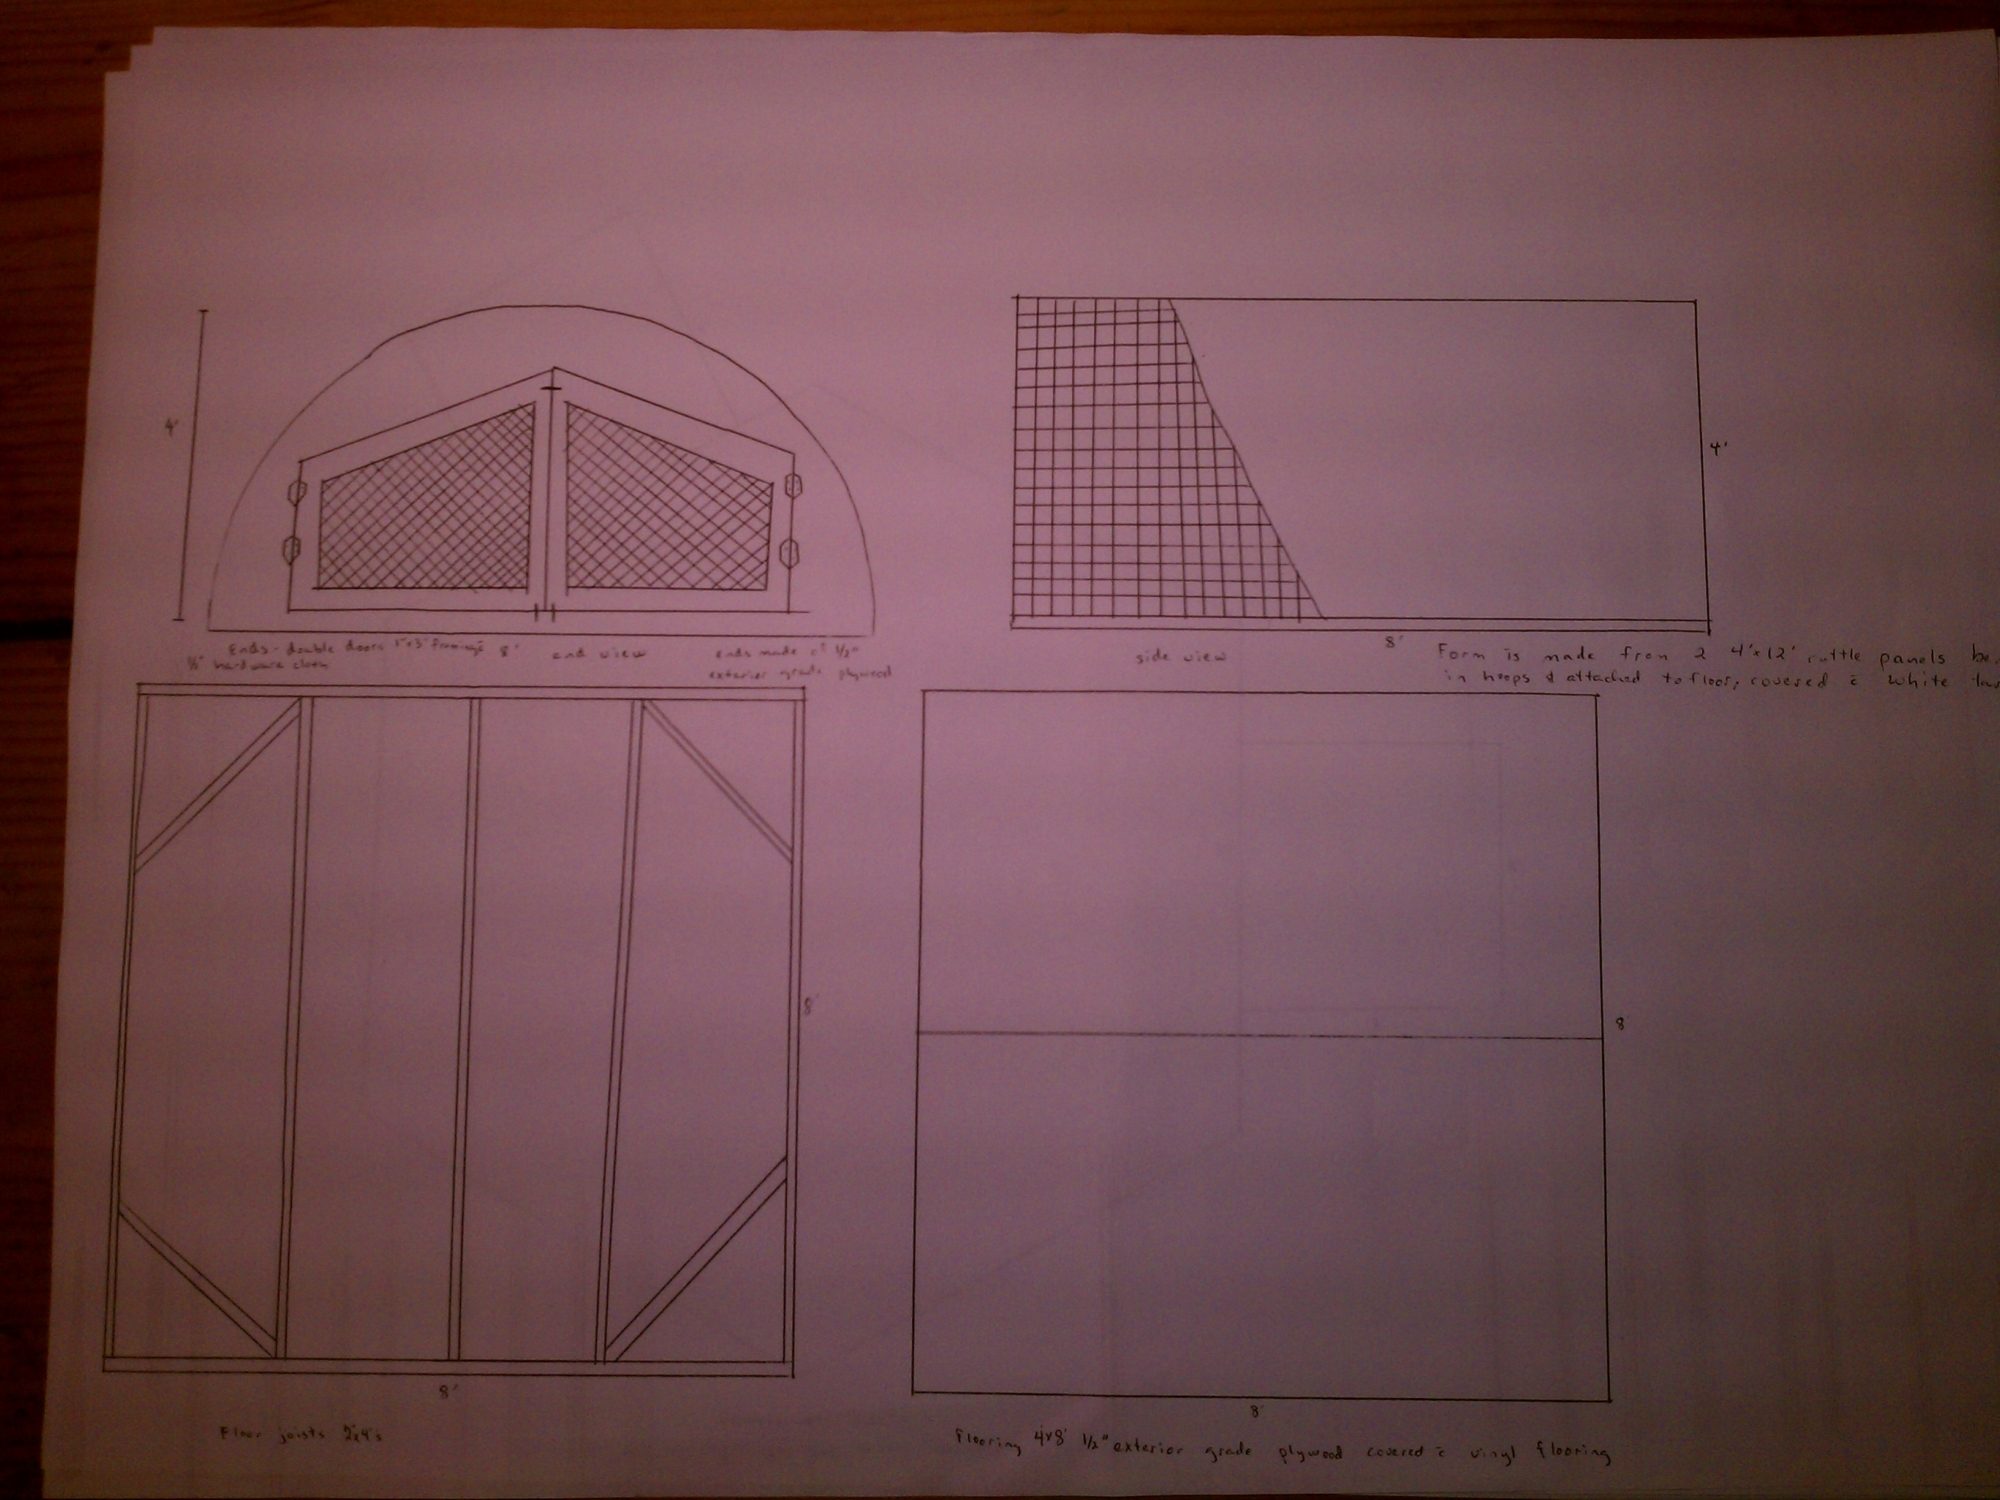
These are the plans we came up with. Things did change in the process of building though. We had originally planned to have vinyl covered plywood floors, but I decided that I'd rather use expanded metal flooring.
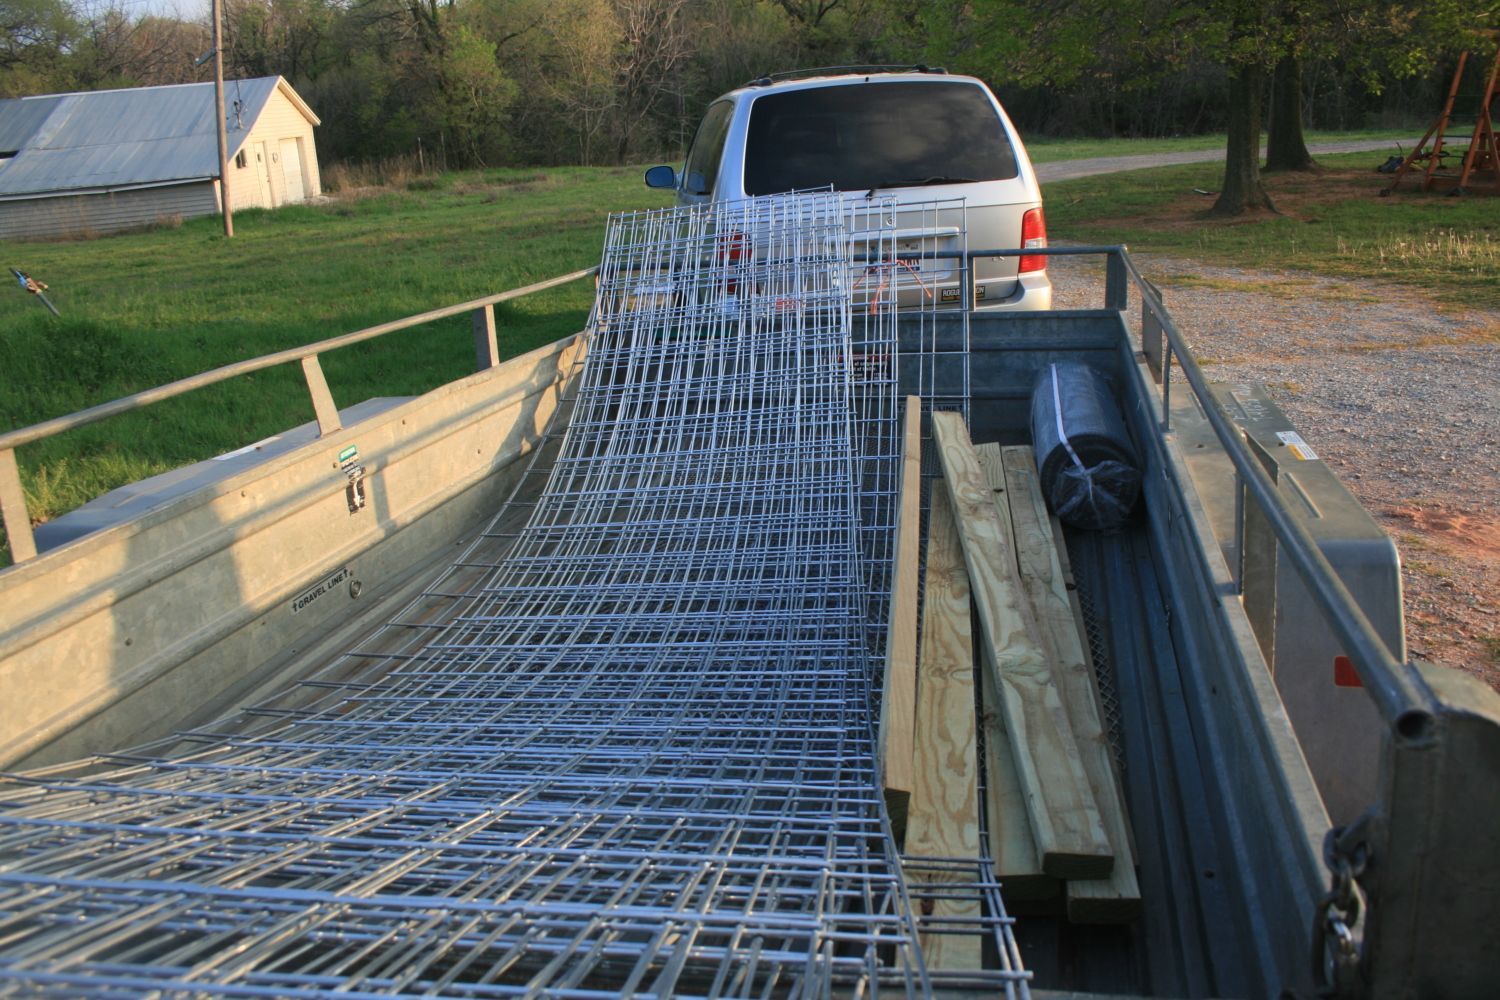
Here's our trailer full of supplies.
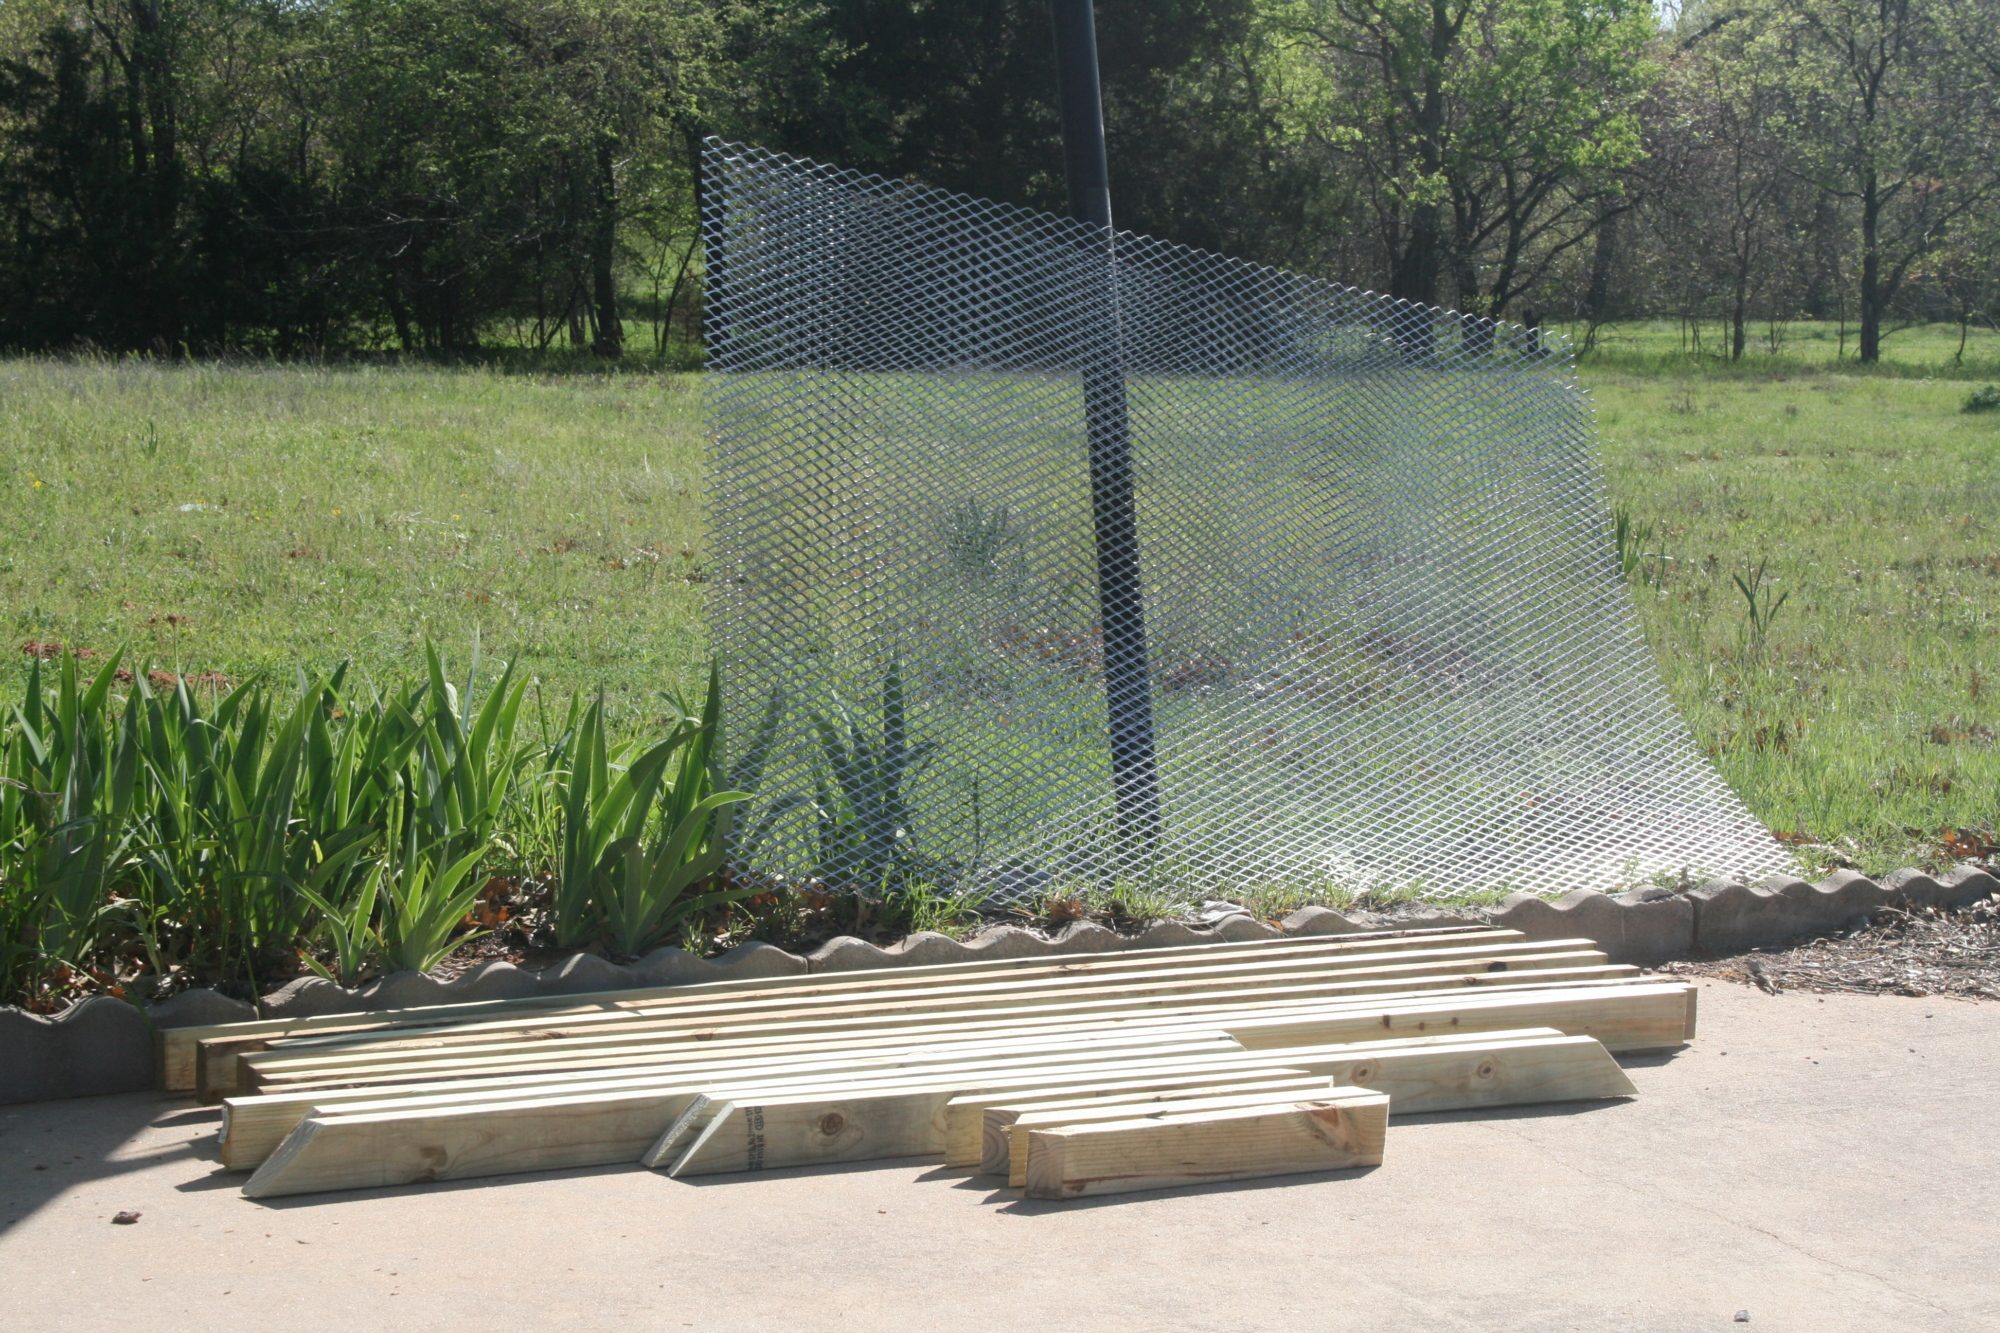
Here's the wood all cut to size, and the metal flooring.
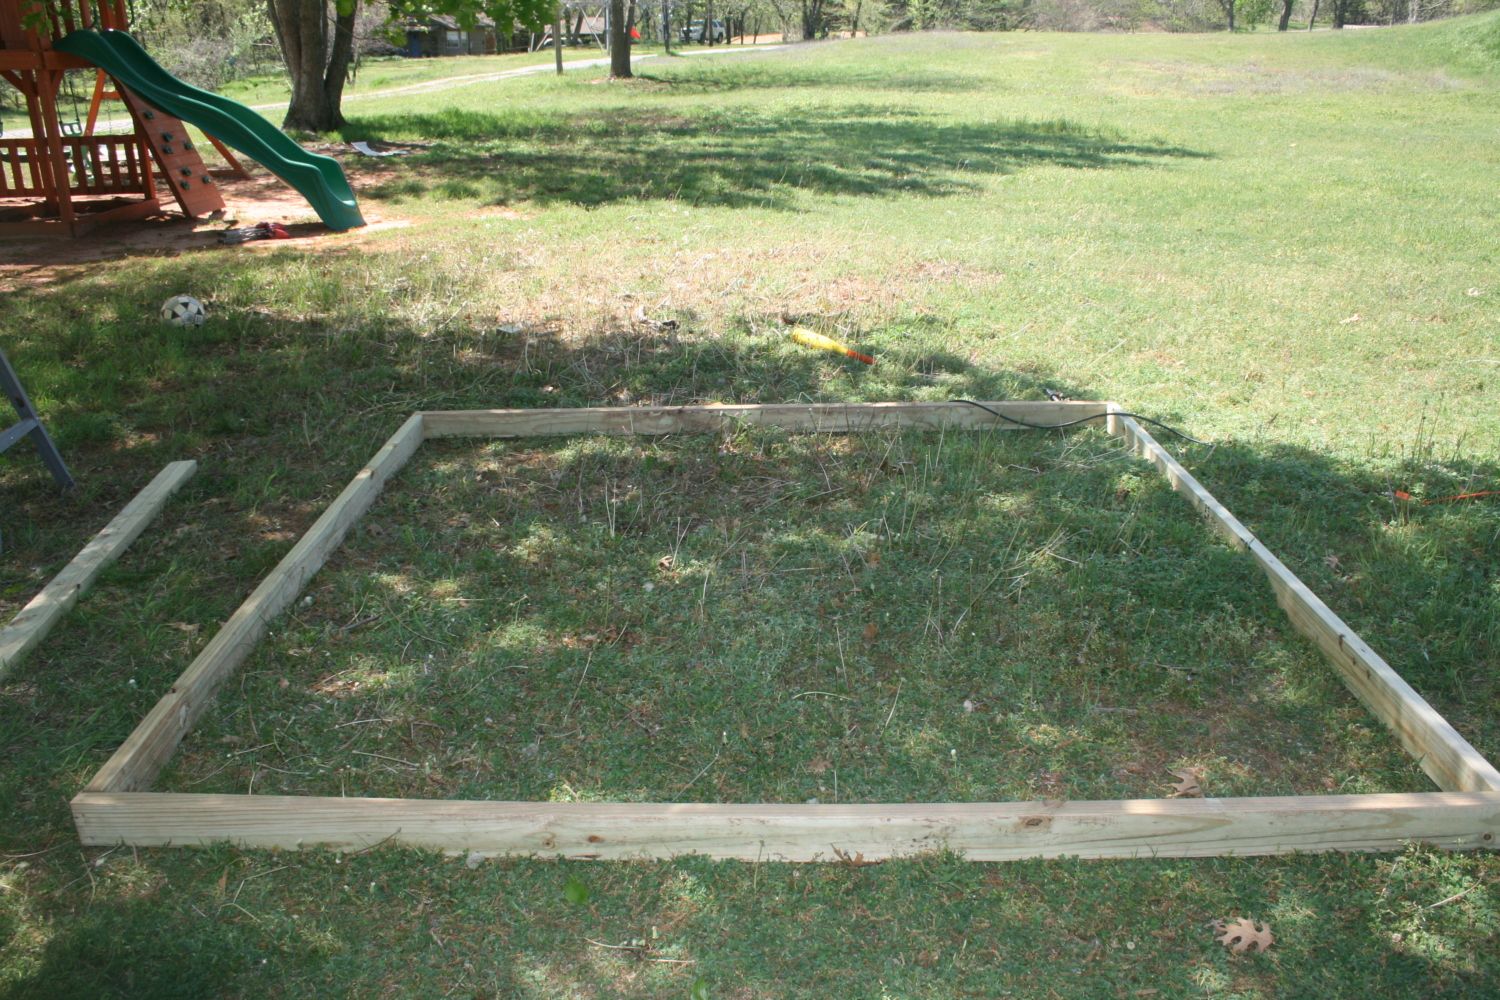
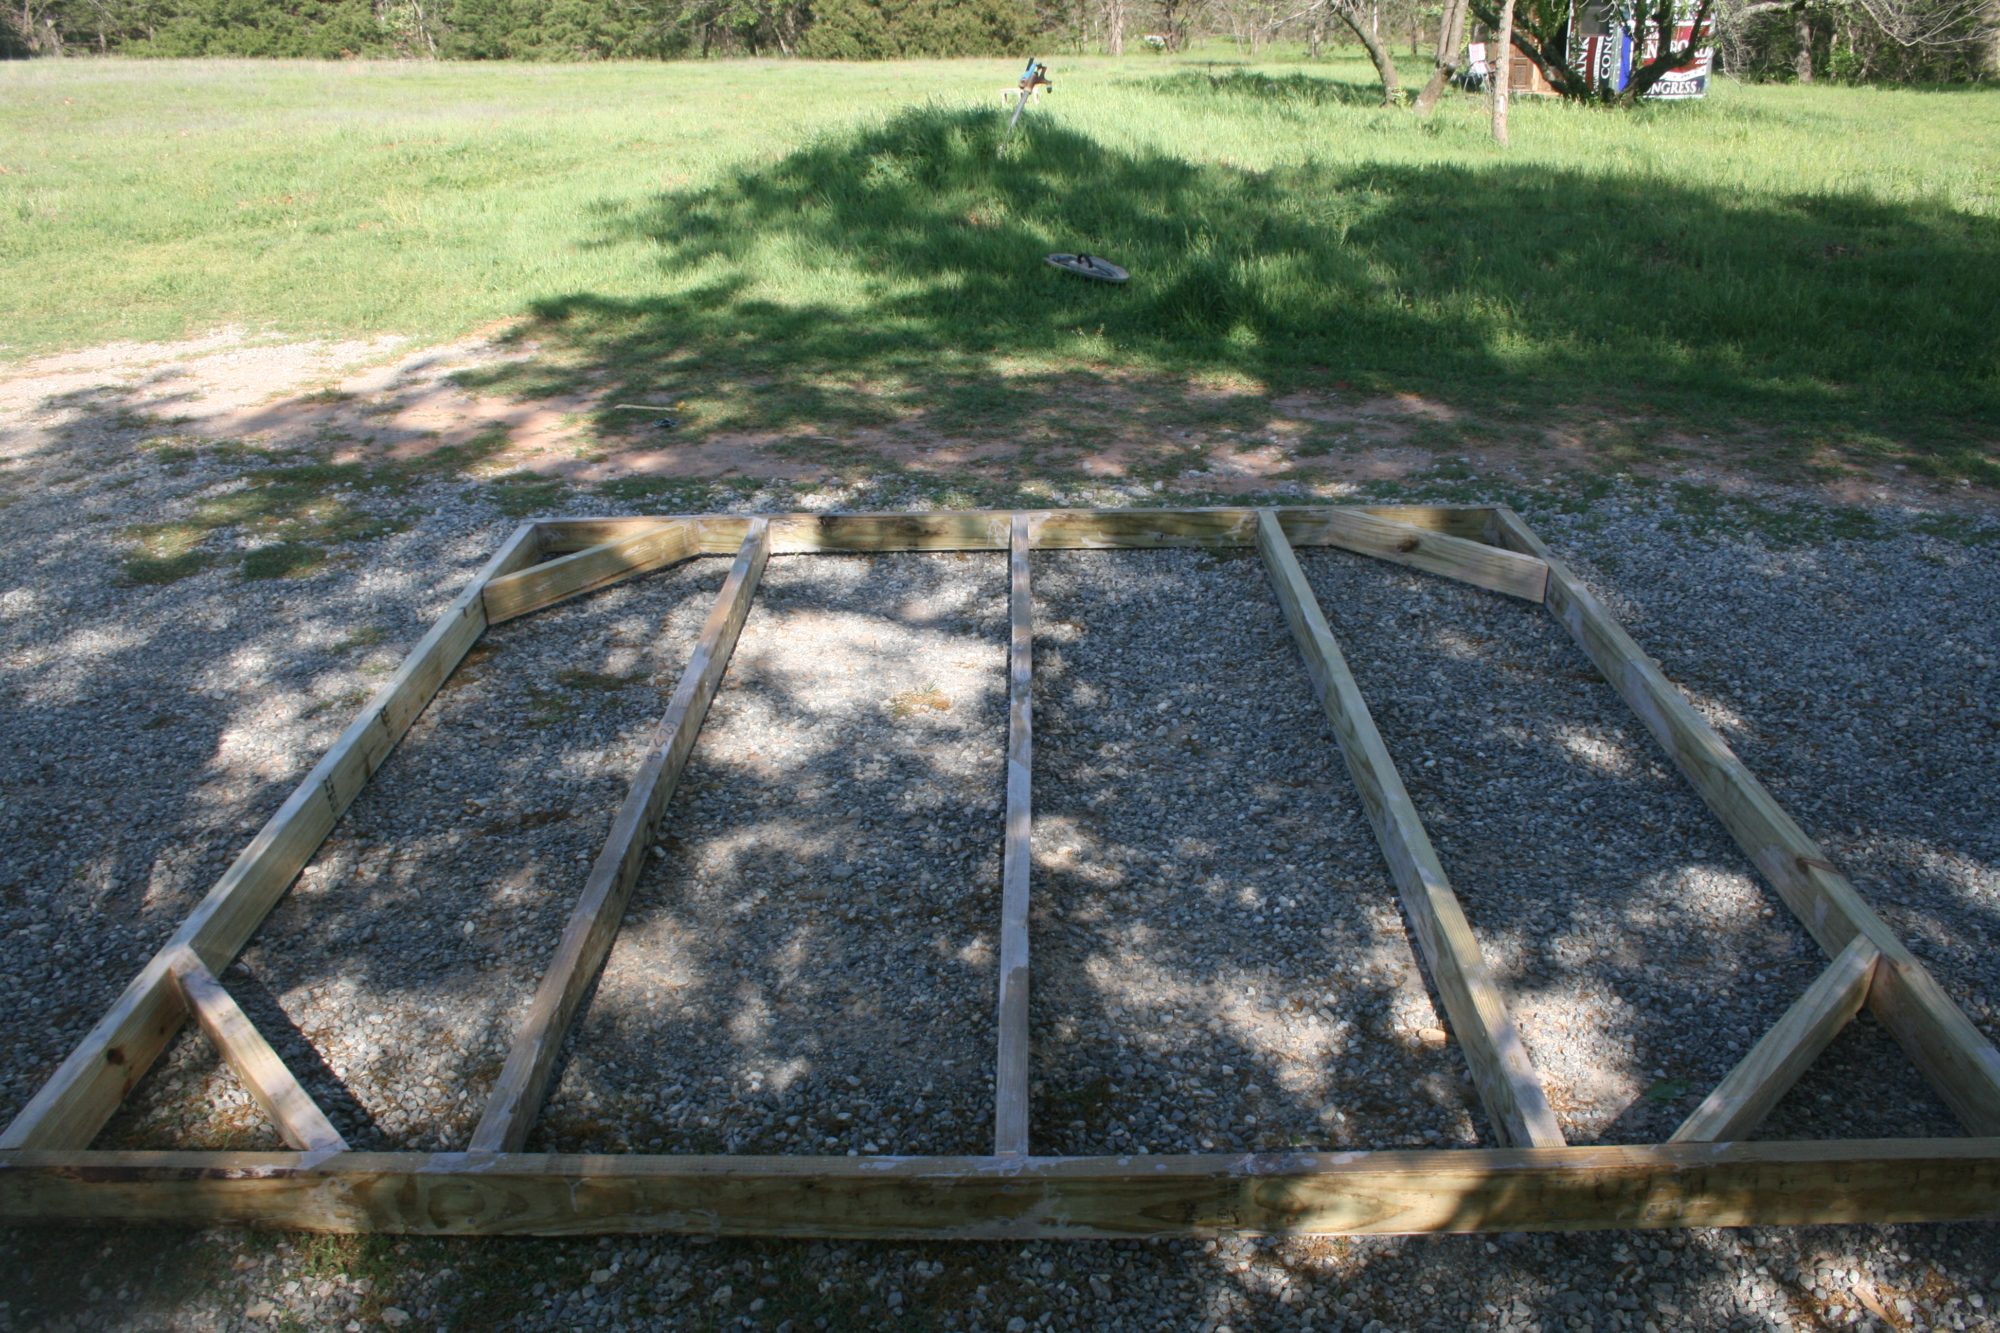
First we built the base. The wood is all 2x4. The base is 8 ft. x 8 ft.
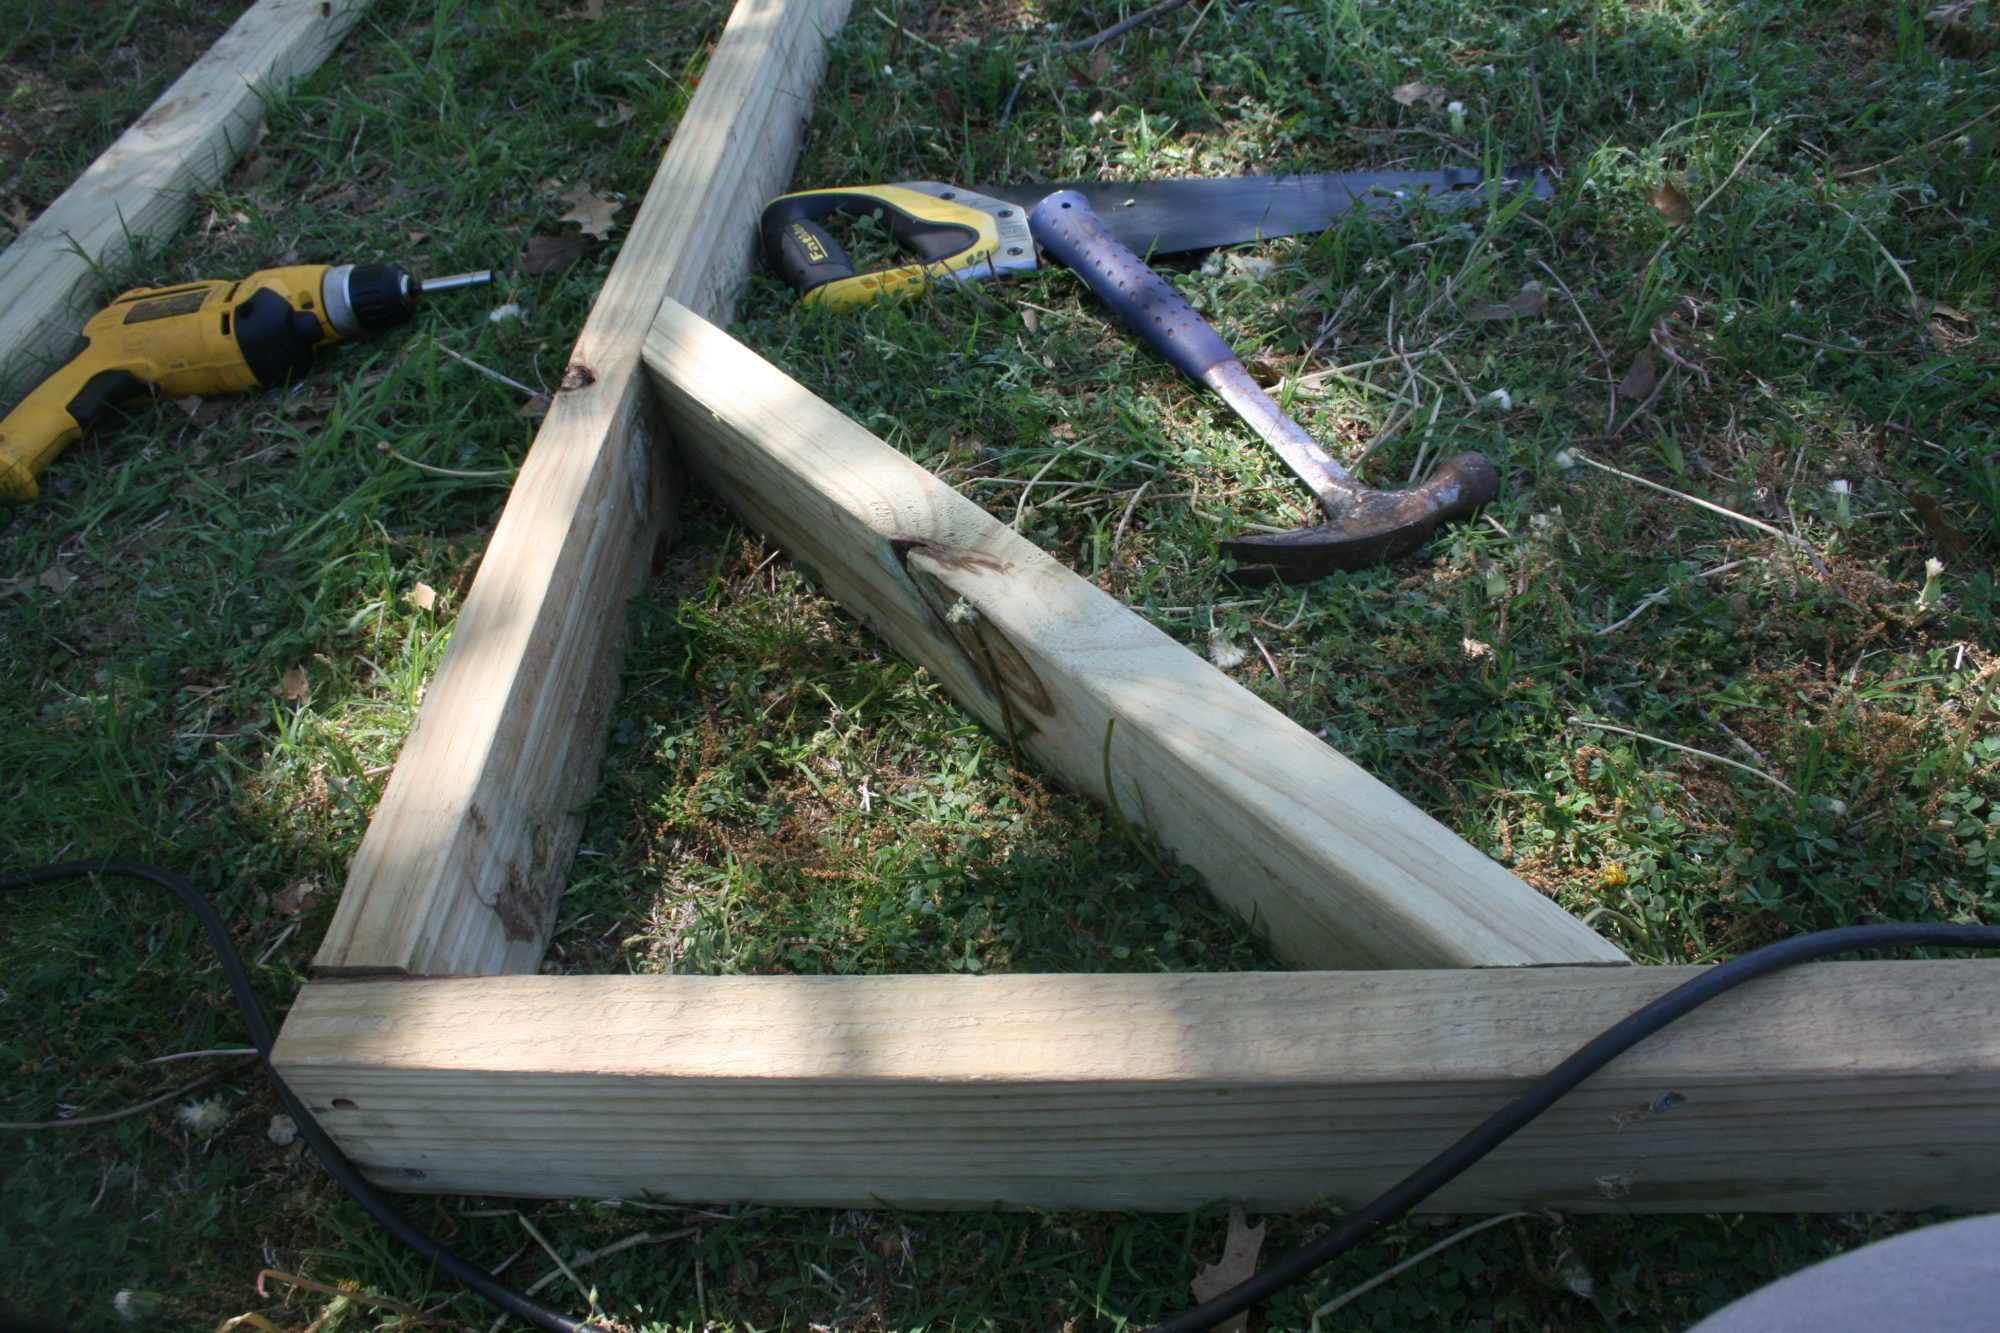
Corner braces for stability.
Looks all square.
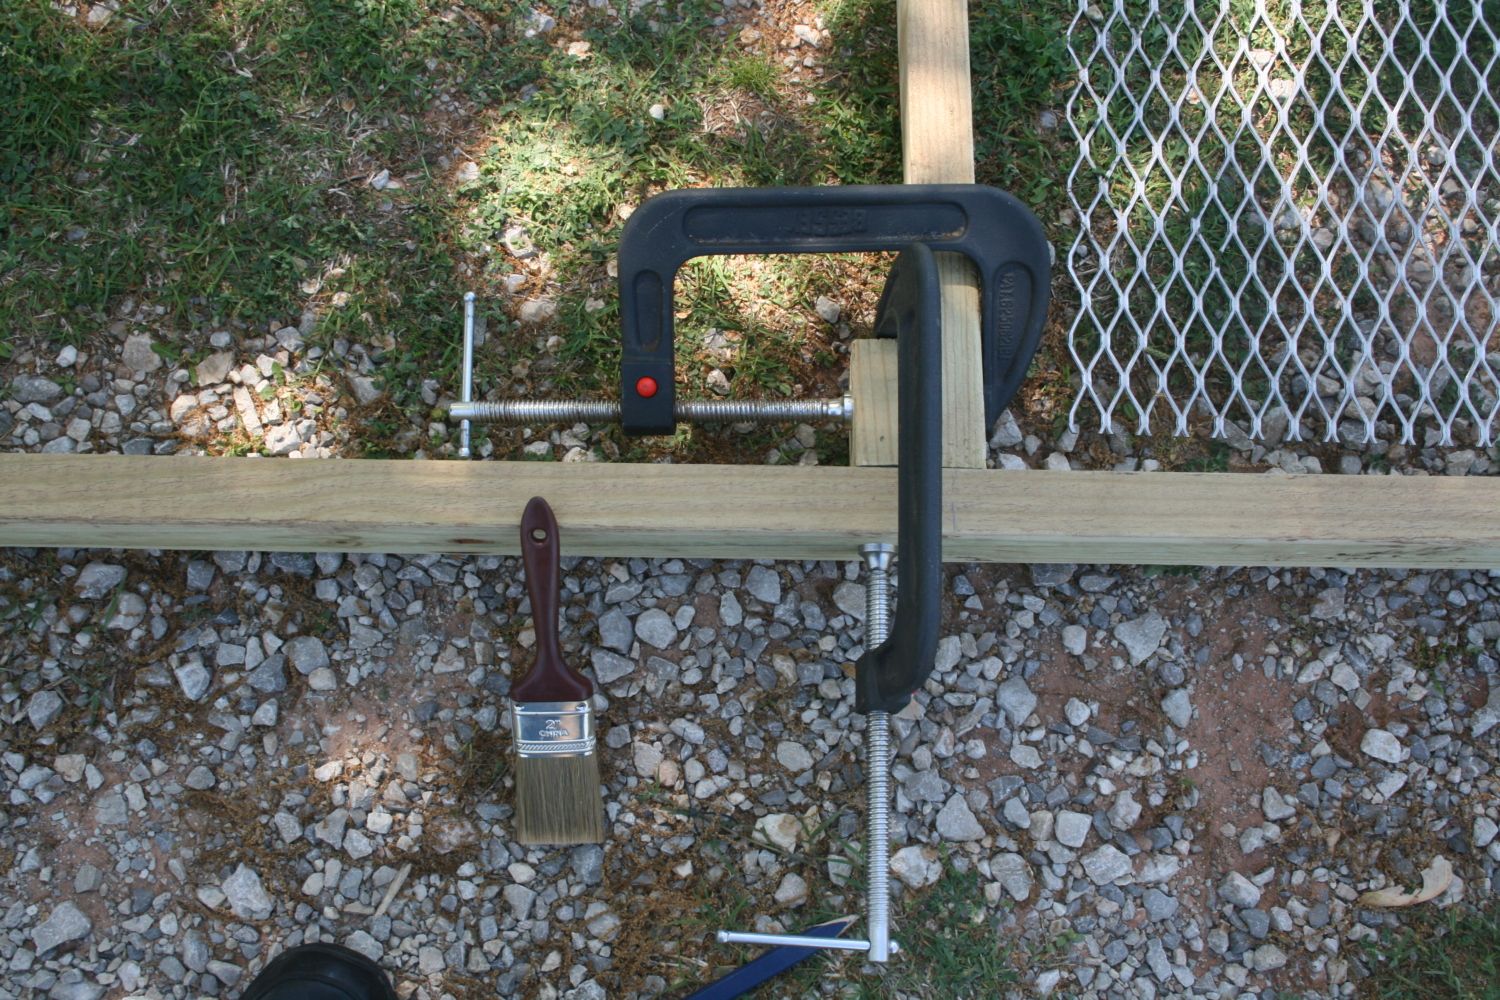
Here's my husband's method for clamping the joists.
We had to have the building inspectors in, of course.
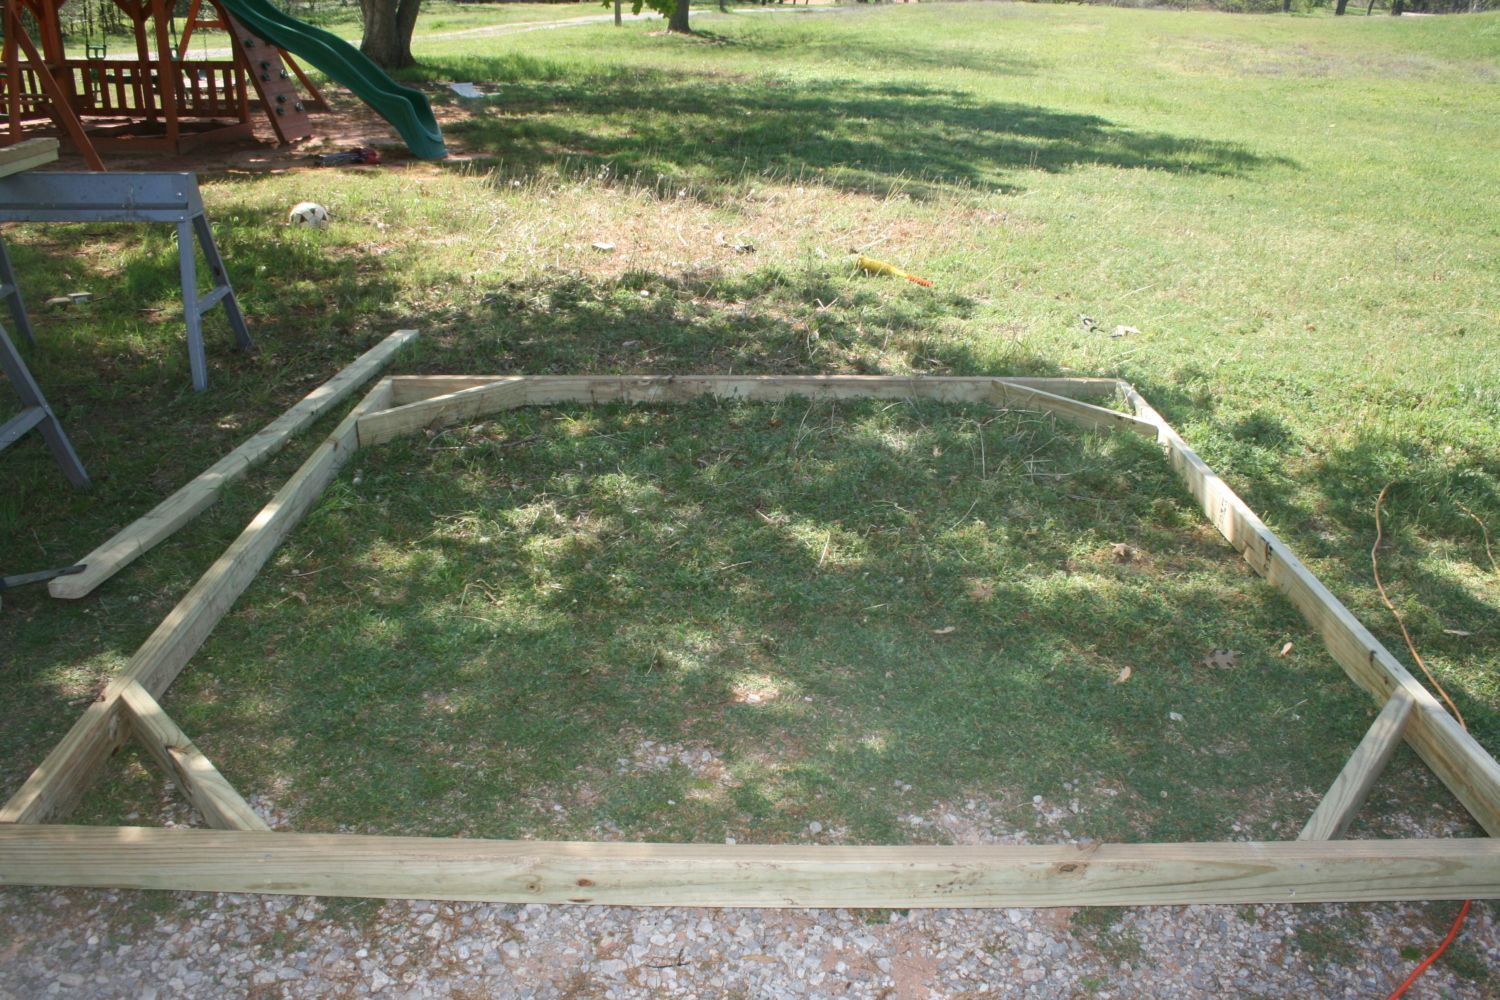
Here's the completed base.
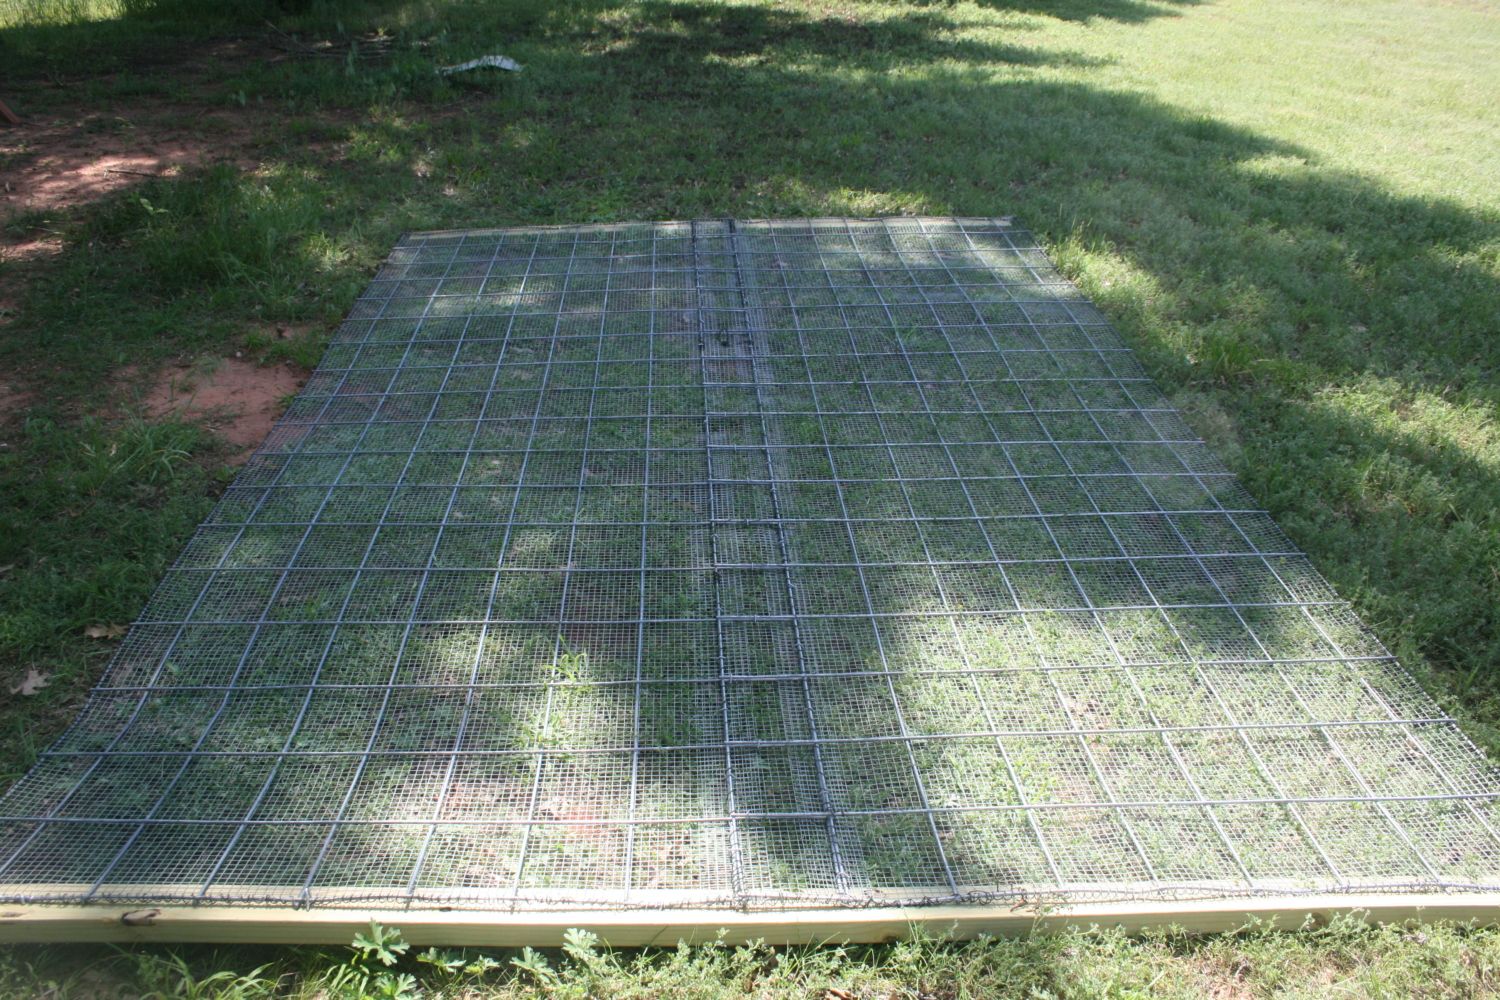
Flooring installed.
This will support the top of the hoop house so it can carry a snow load if required.
Ready for the cattle panels.
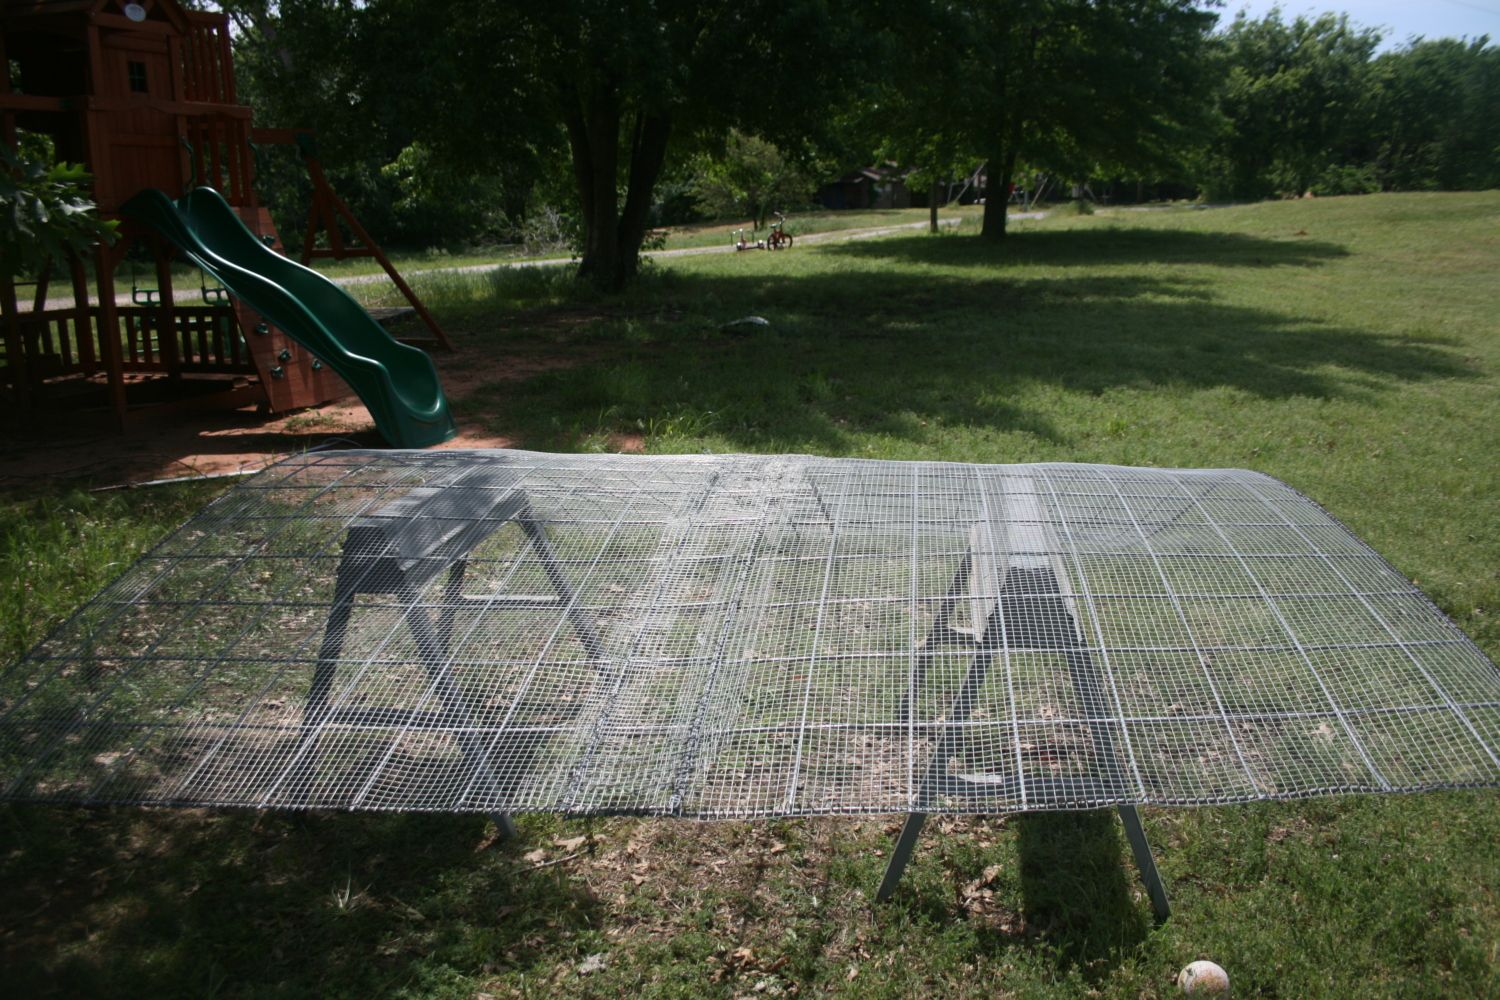
I thought it would be easier to install the cattle panels and the hardware cloth as one unit. So, I attached the hardware cloth to the cattle panels while they were still flat. Had to lay flat on my back and work on weaving them together in the middle.
I am sick to death of snakes getting in my hen house and getting eggs and chicks, so this is how the entire pen is put together. 88 feet of weaving baling wire through every single square!
Here's the completed roof / wall section.
My original plan for securing these did not work. There was simply too much pressure to use u-nails on it. If it were bottomless I could have installed the cattle panels on the inside, but since the expanded metal floor is there, it had to be secured to the outside. I ended up nailing the panel assembly to two 2x4x8 boards and then screwing those into the original structure with decking screws.
Here's the cattle panel arch installed. You can also see the roosts.
Here's a better shot of the roosts. We had some small limbs come down in a storm, so I found some that were fairly straight, cut them to the proper length and installed them.
Several steps got skipped in the photographs. After installing the roosts, I installed hardware cloth on the end panels. This involved cutting them the right length, and using zip ties to hang them at the right height. Then I cut off the excess and used pliers to curl each wire around the cattle panels. Then I got out my handy dandy roll of baling wire and wove the ends on with the same kind of running stich I used on the sides. A friend joked that a spider can't get into my coop. She may be wrong, spiders are small, but a butterfly did fly in accidentally while I was building it, and it got trapped in there until I could complete the door the next day and let it out. Hopefully it's snake proof.
I had a garden hose split last winter, so I cut lengths of it and zip tied it in place over the hardware cloth edges so that when I installed the tarp it would be less likely to rip.
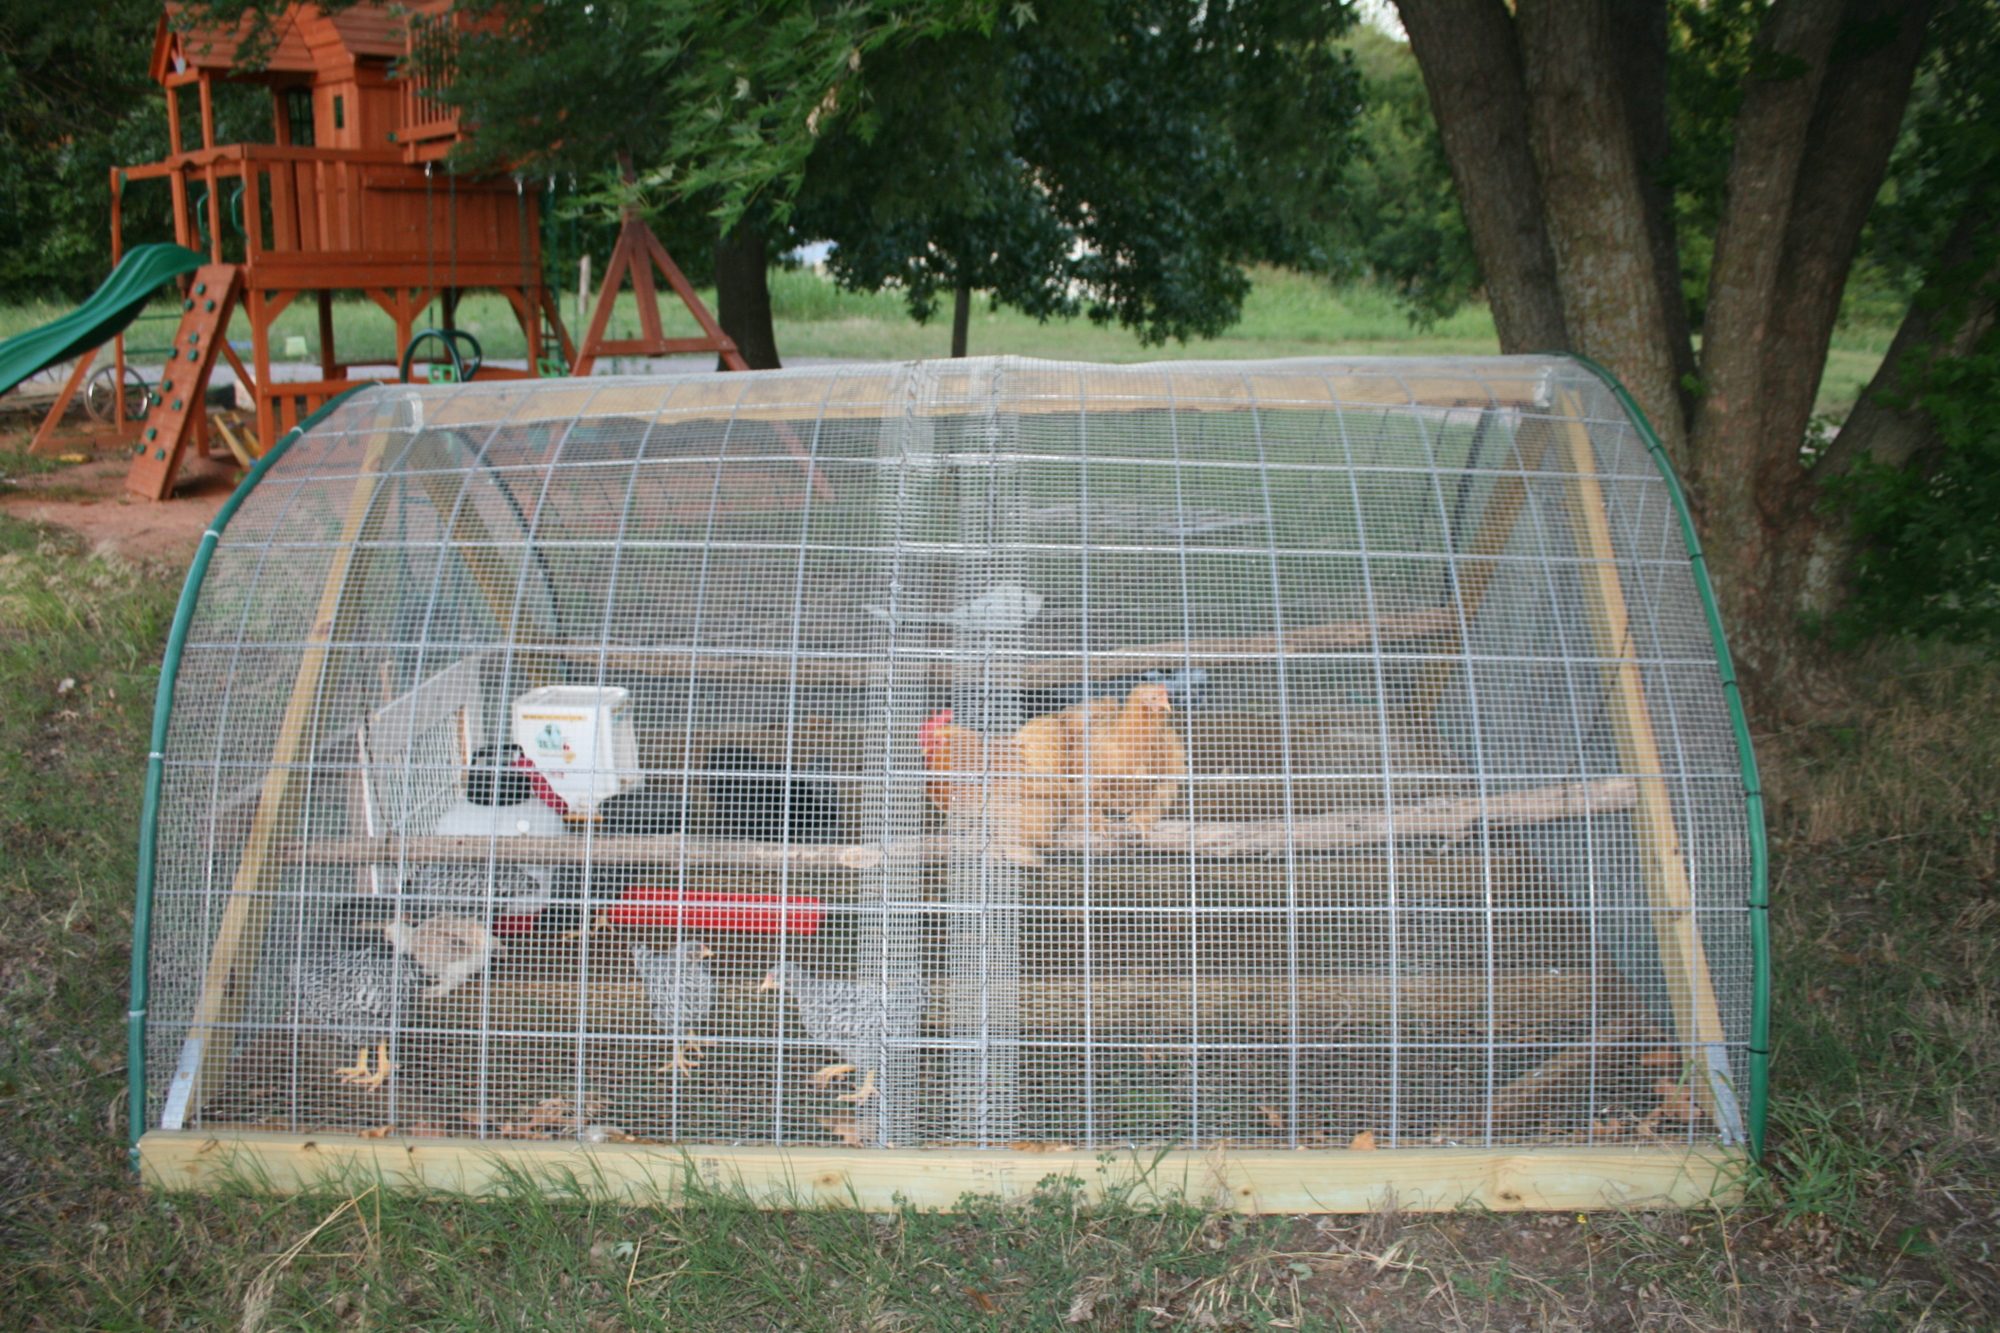
Here's the completed coop. The door is a refrigerator shelf a friend gave me. I covered it in hardware cloth. Used the same weaving with baling wire method as earlier. I never want to look at another piece of baling wire again! Anyway, I built a frame from scrap lumber, used old door hinges to attach the door to the floor of the coop, and it works great. It takes two people to move this coop. We have two hand trucks, and my husband and I each take a side, slide our hand trucks under the base, and off we go. We can move the coop with the birds in it, and they don't get hurt thanks to the floor. I'd like to build a dolly like Joel Salatin talks about to put under the back side of the coop so I could move it by myself. Thought I could just use the second hand truck, but that doesn't work.
Things I've learned along the way: U-nails are terrible for holding things under pressure. I am working out a better design for next time. The biggest thing I learned was that I should have used zip ties as temporary "hands" to help put the coop together. I could have wired the ends on at the same time I wired the hardware cloth to the cattle panel if I'd only used zip ties as a temporary measure. There are two things I'd like to change for "next time". I wish I'd had money to install big casters on all four corners of this so I could move it by myself and not have to worry about having help. I may be able to fix that problem with a custom built dolly, but in my fantasy world where I have all the money I want for chicken projects, this sucker would be on 10" industrial hard rubber casters and I could just wheel it about whenever I liked. The other thing I would change is I'd have a larger door, and I'd like to figure out a way to gather eggs from outside the coop. Right now I'm using cat litter boxes for nest boxes, and I have to grab the box, slide it over, lift off the top and get the eggs out. I love having the expanded metal floor. It's a joy not to have to shovel poop. While the chicken feed gets scratched out of the feeder sometimes, as long as I move the coop every day, the chickens can just go scratch around and eat it off the ground. If I don't move the coop every day, then I worry about mold.
I wanted to build a new coop for our chickens this year. Our original coop was a stationary coop and the birds free ranged over our property. That didn't work so well for us though because we have so many predators and I was sick of losing birds. I spent the winter reading and planning. After reading Pat Foreman's Day Range Poultry I decided that I wanted to build one of her little hoop houses and use poultry netting to limit the bird's range so they would be less vulnerable to predators.
These are the plans we came up with. Things did change in the process of building though. We had originally planned to have vinyl covered plywood floors, but I decided that I'd rather use expanded metal flooring.
Here's our trailer full of supplies.
Here's the wood all cut to size, and the metal flooring.
First we built the base. The wood is all 2x4. The base is 8 ft. x 8 ft.
Corner braces for stability.
Looks all square.
Here's my husband's method for clamping the joists.
We had to have the building inspectors in, of course.
Here's the completed base.
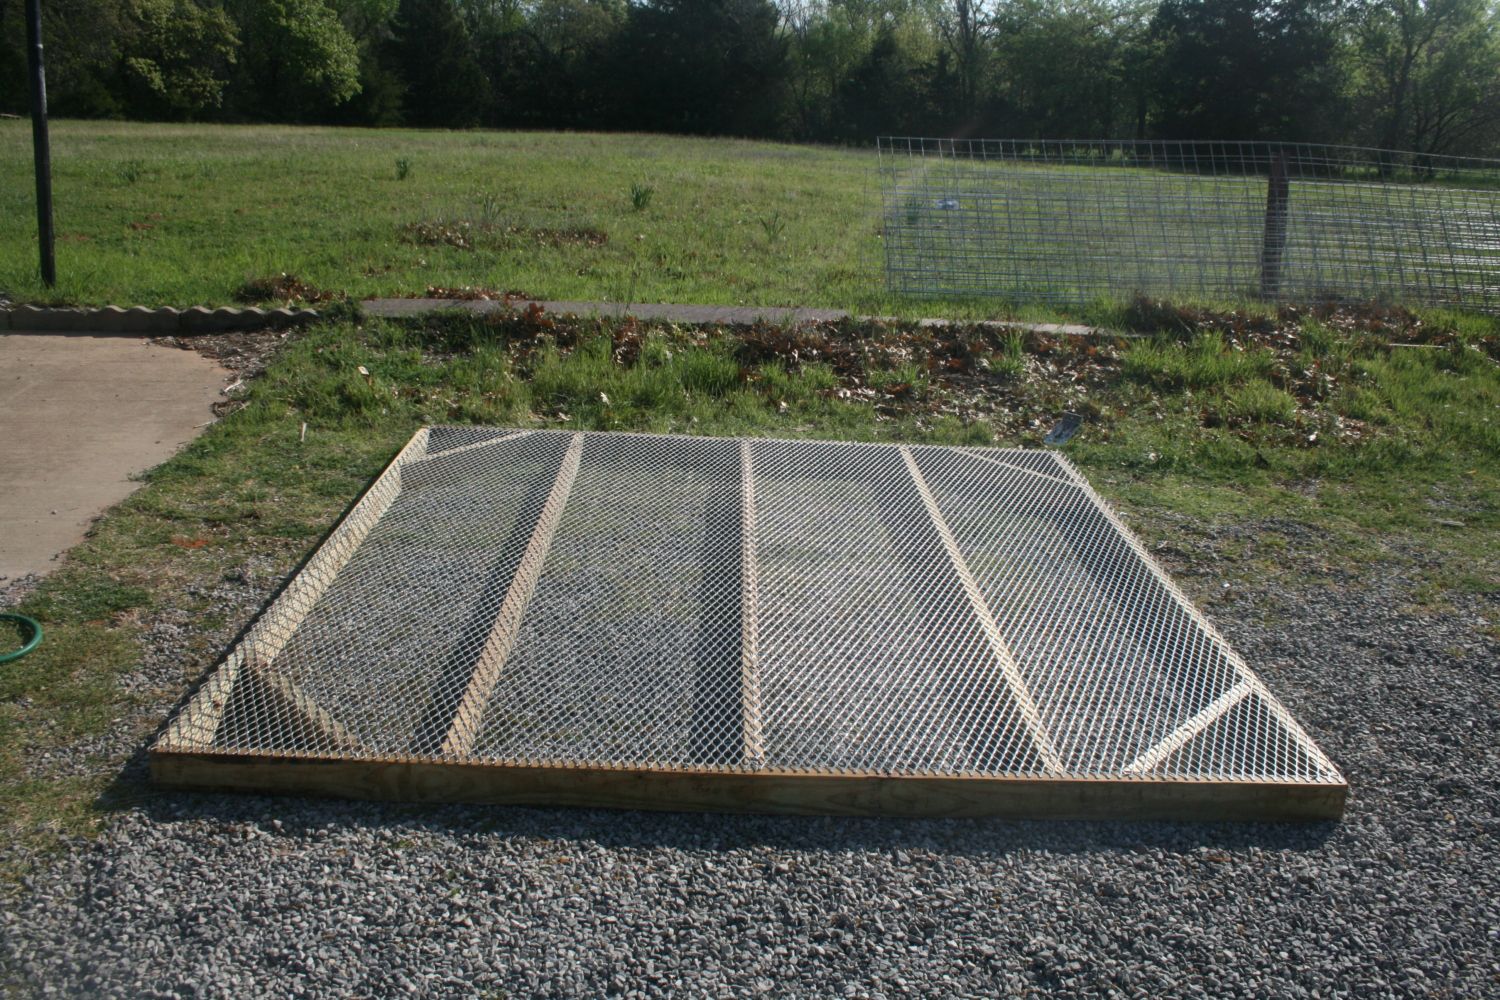
Flooring installed.
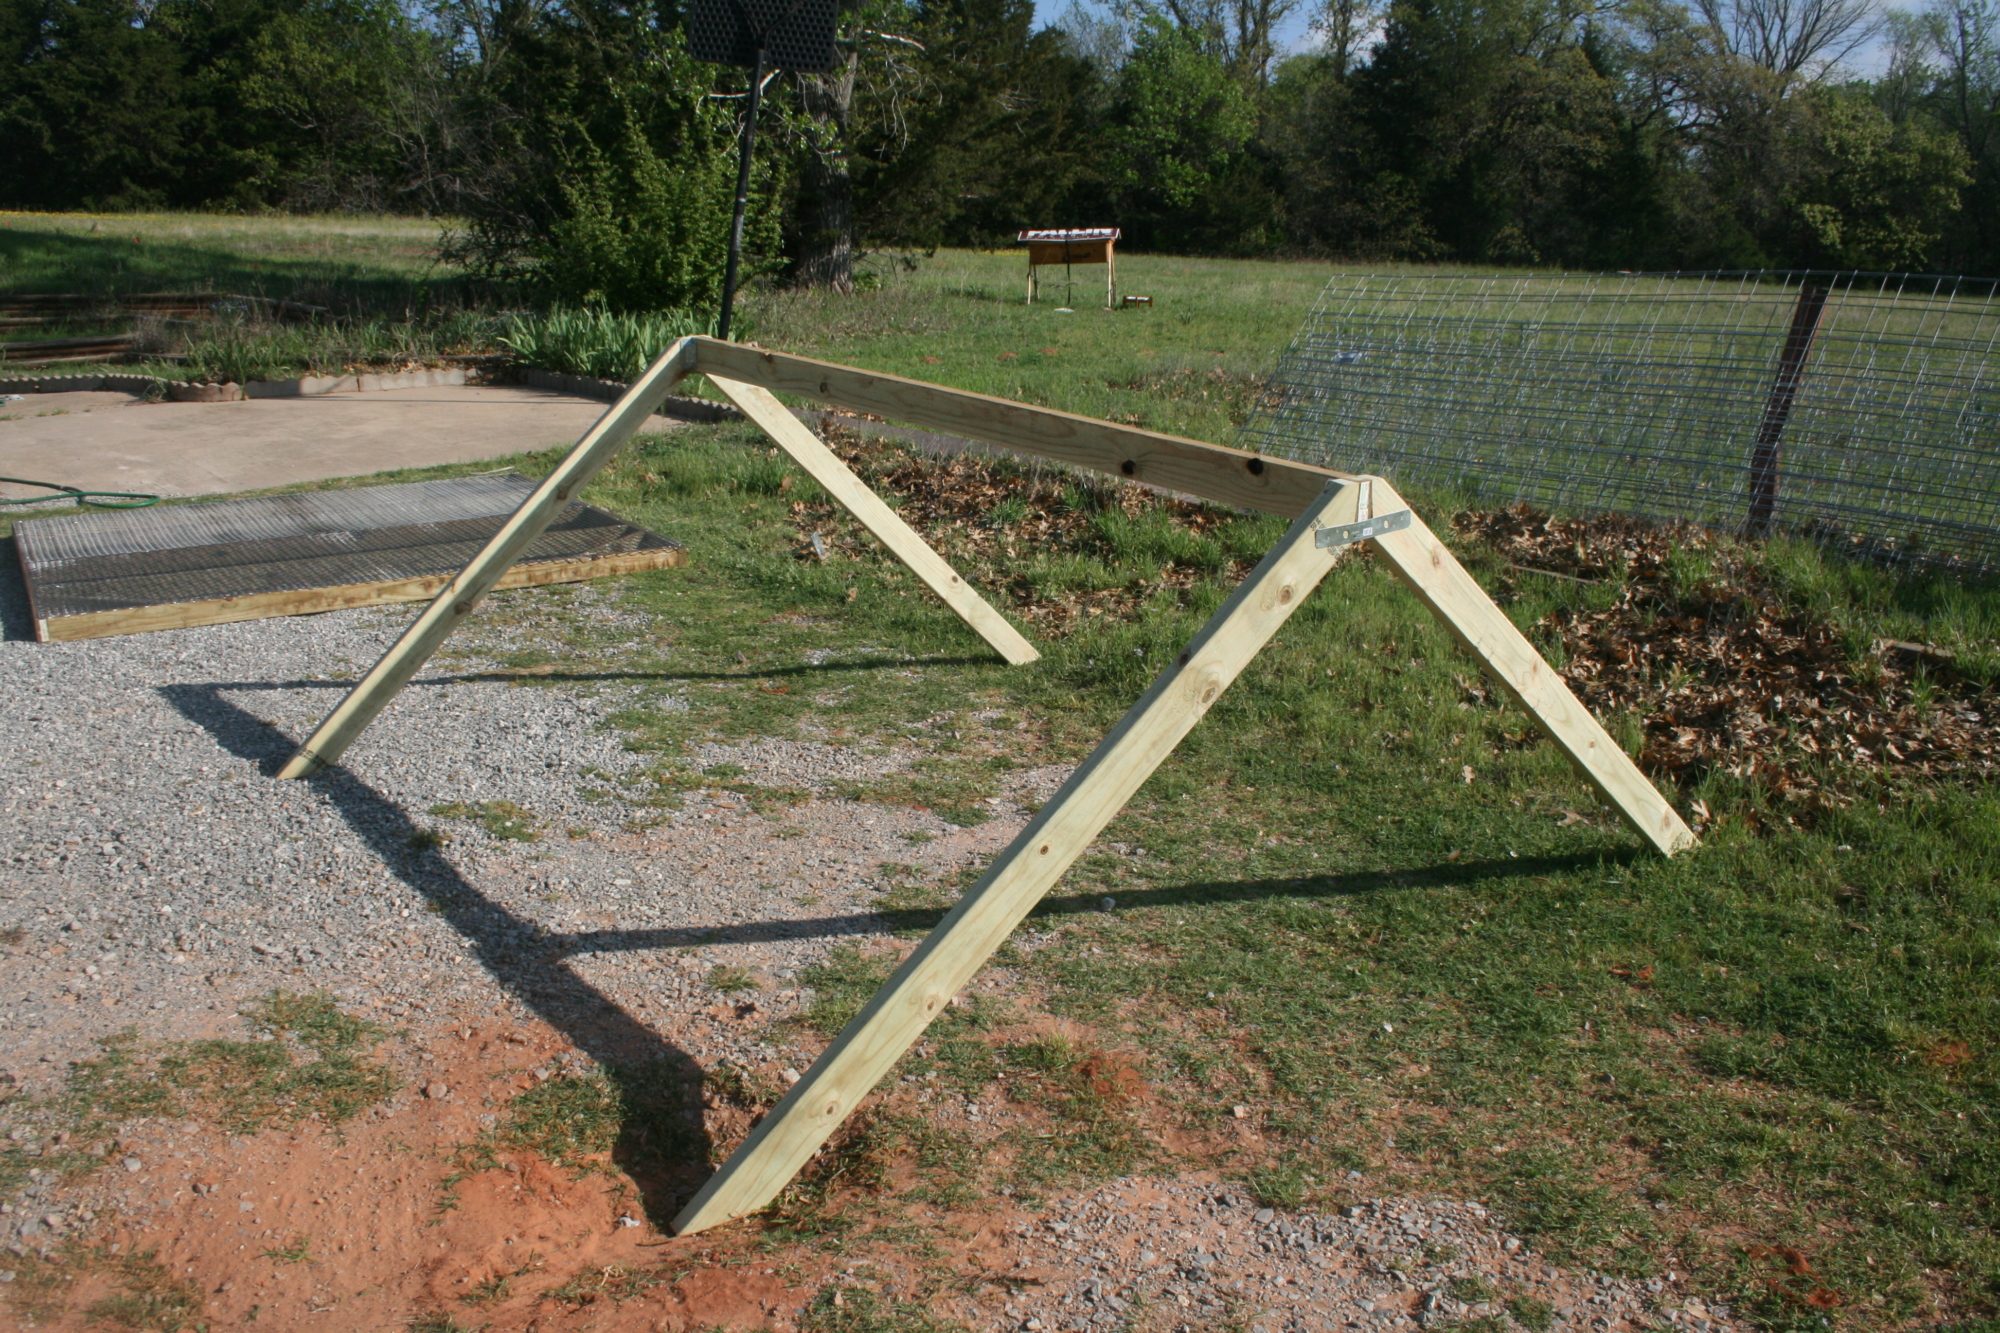
This will support the top of the hoop house so it can carry a snow load if required.
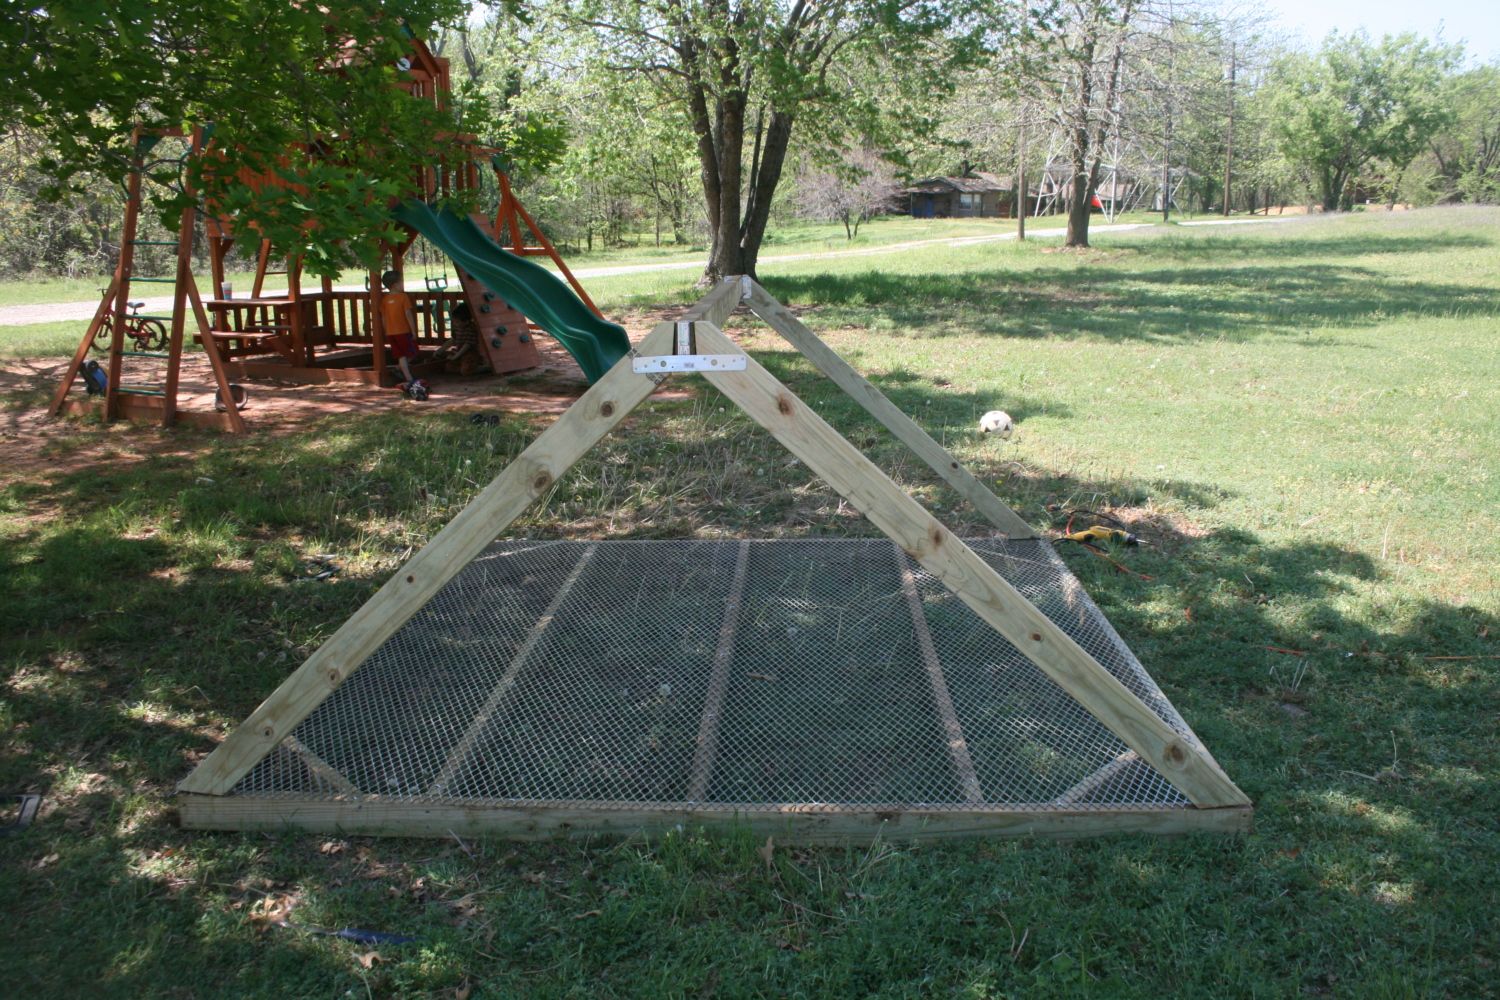
Ready for the cattle panels.
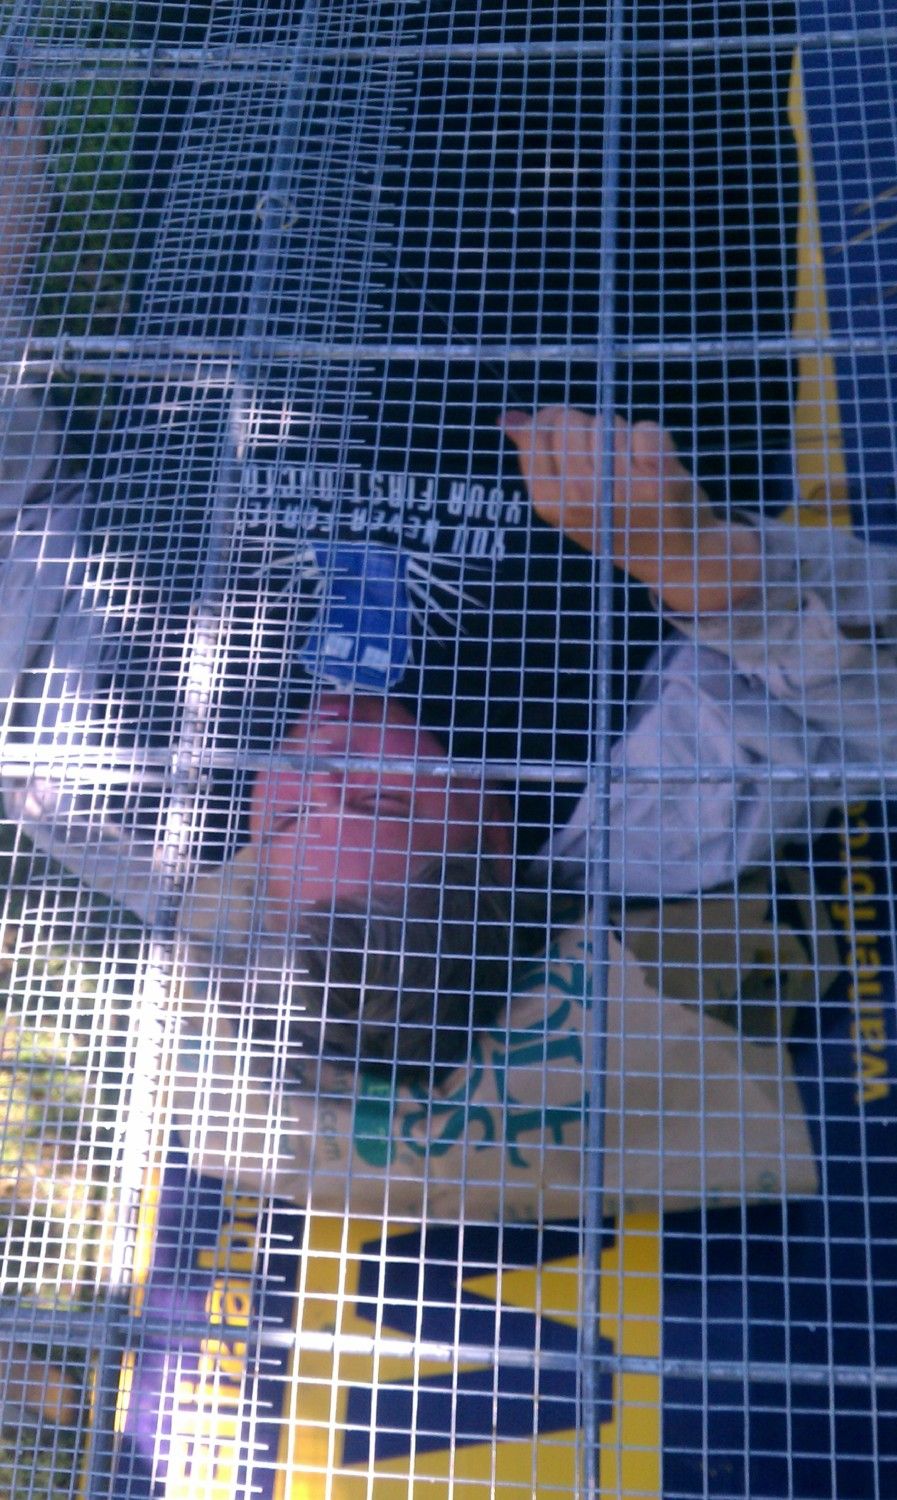
I thought it would be easier to install the cattle panels and the hardware cloth as one unit. So, I attached the hardware cloth to the cattle panels while they were still flat. Had to lay flat on my back and work on weaving them together in the middle.
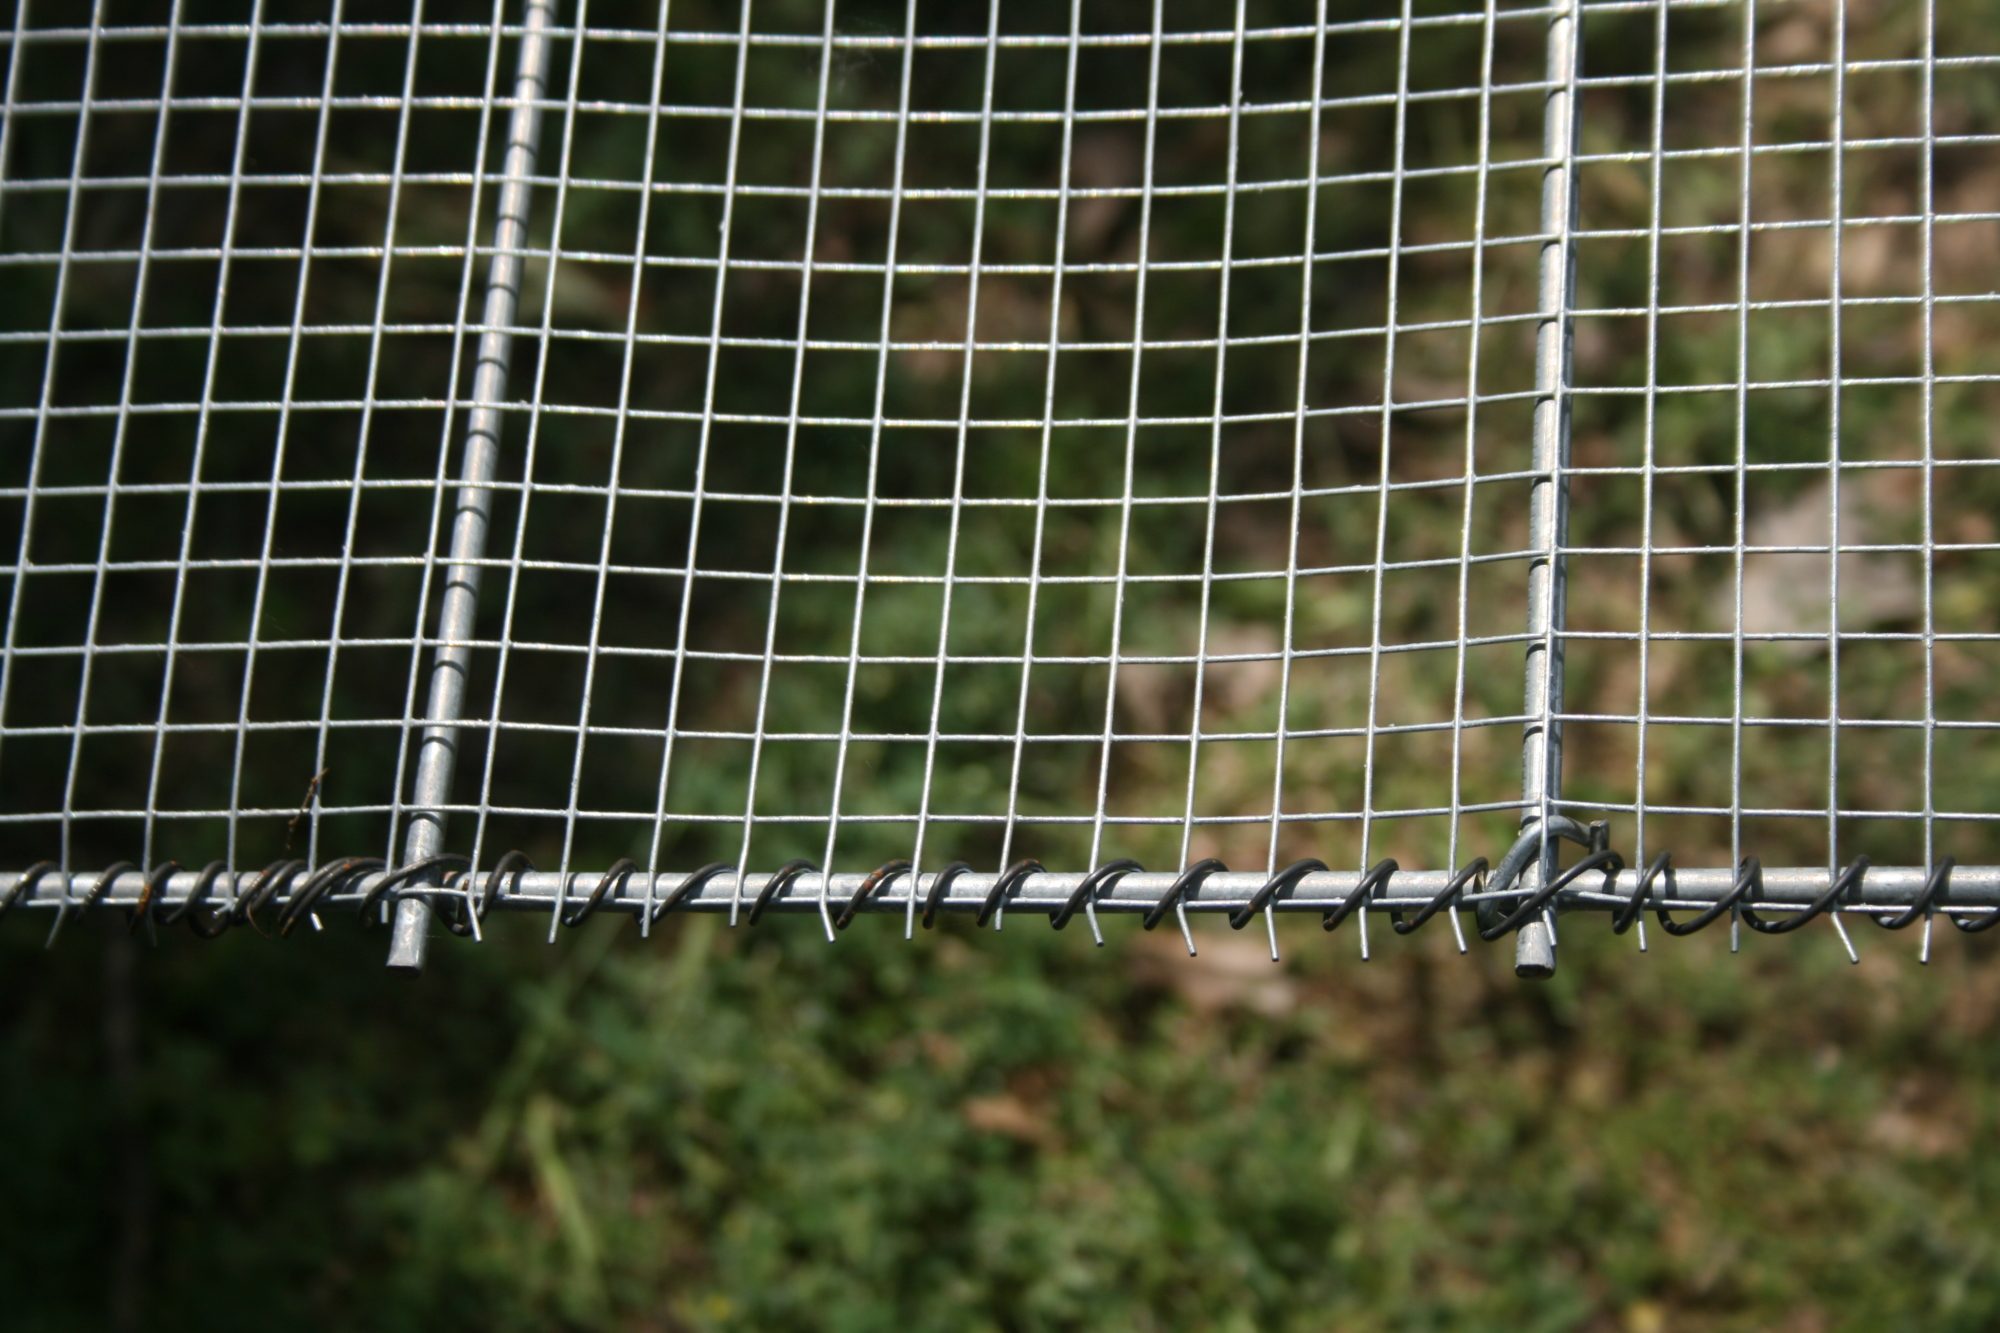
I am sick to death of snakes getting in my hen house and getting eggs and chicks, so this is how the entire pen is put together. 88 feet of weaving baling wire through every single square!
Here's the completed roof / wall section.
My original plan for securing these did not work. There was simply too much pressure to use u-nails on it. If it were bottomless I could have installed the cattle panels on the inside, but since the expanded metal floor is there, it had to be secured to the outside. I ended up nailing the panel assembly to two 2x4x8 boards and then screwing those into the original structure with decking screws.
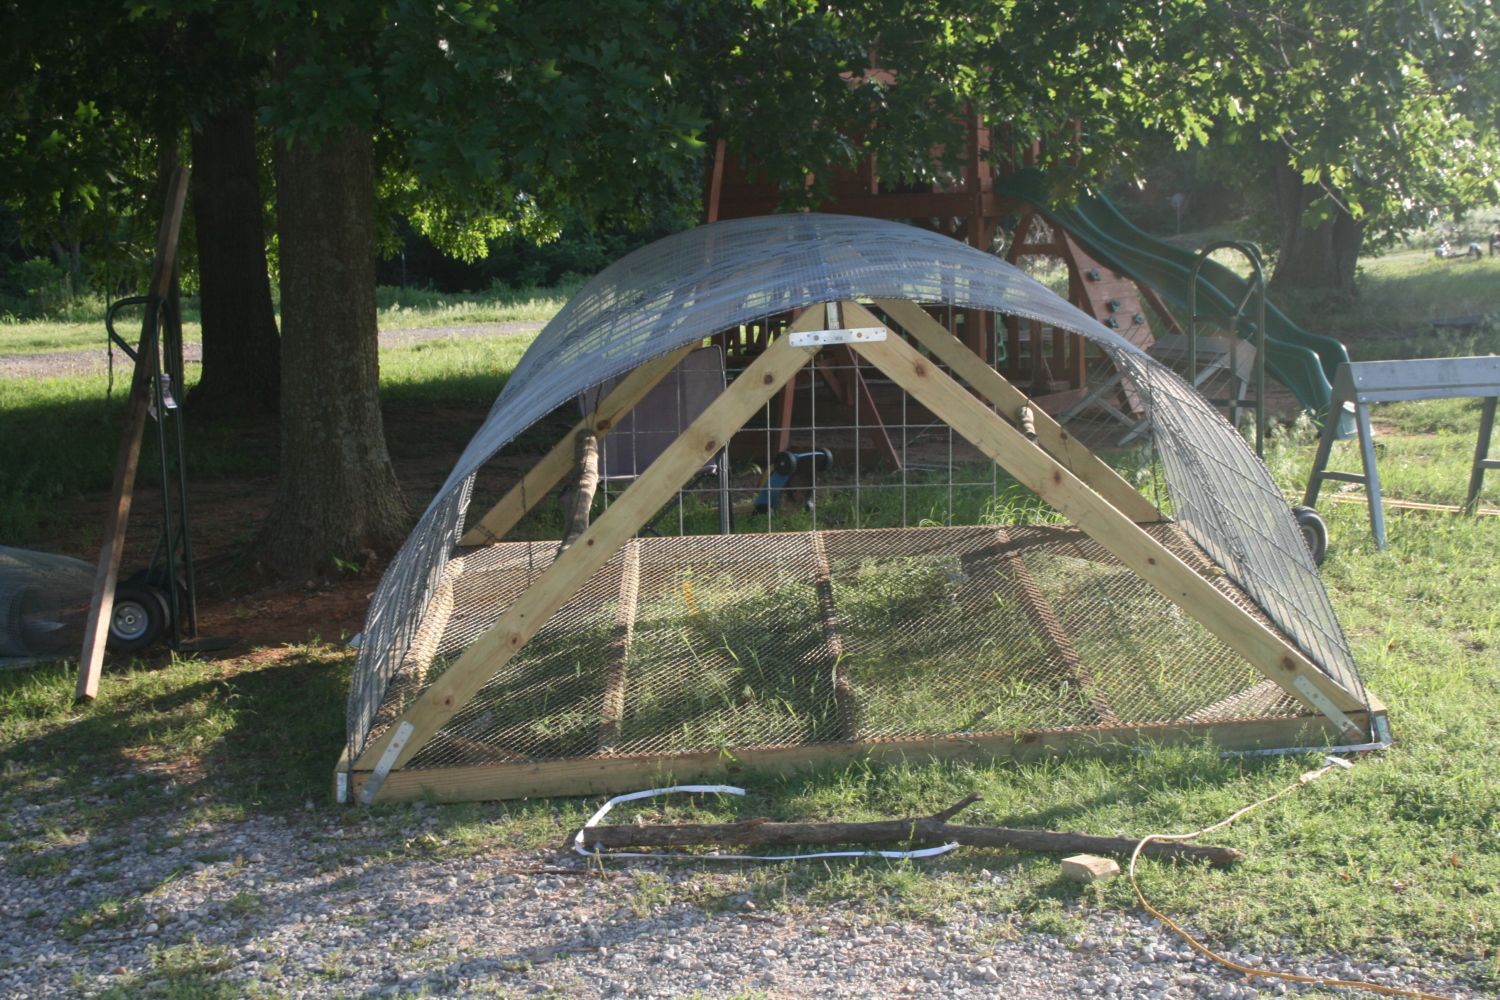
Here's the cattle panel arch installed. You can also see the roosts.
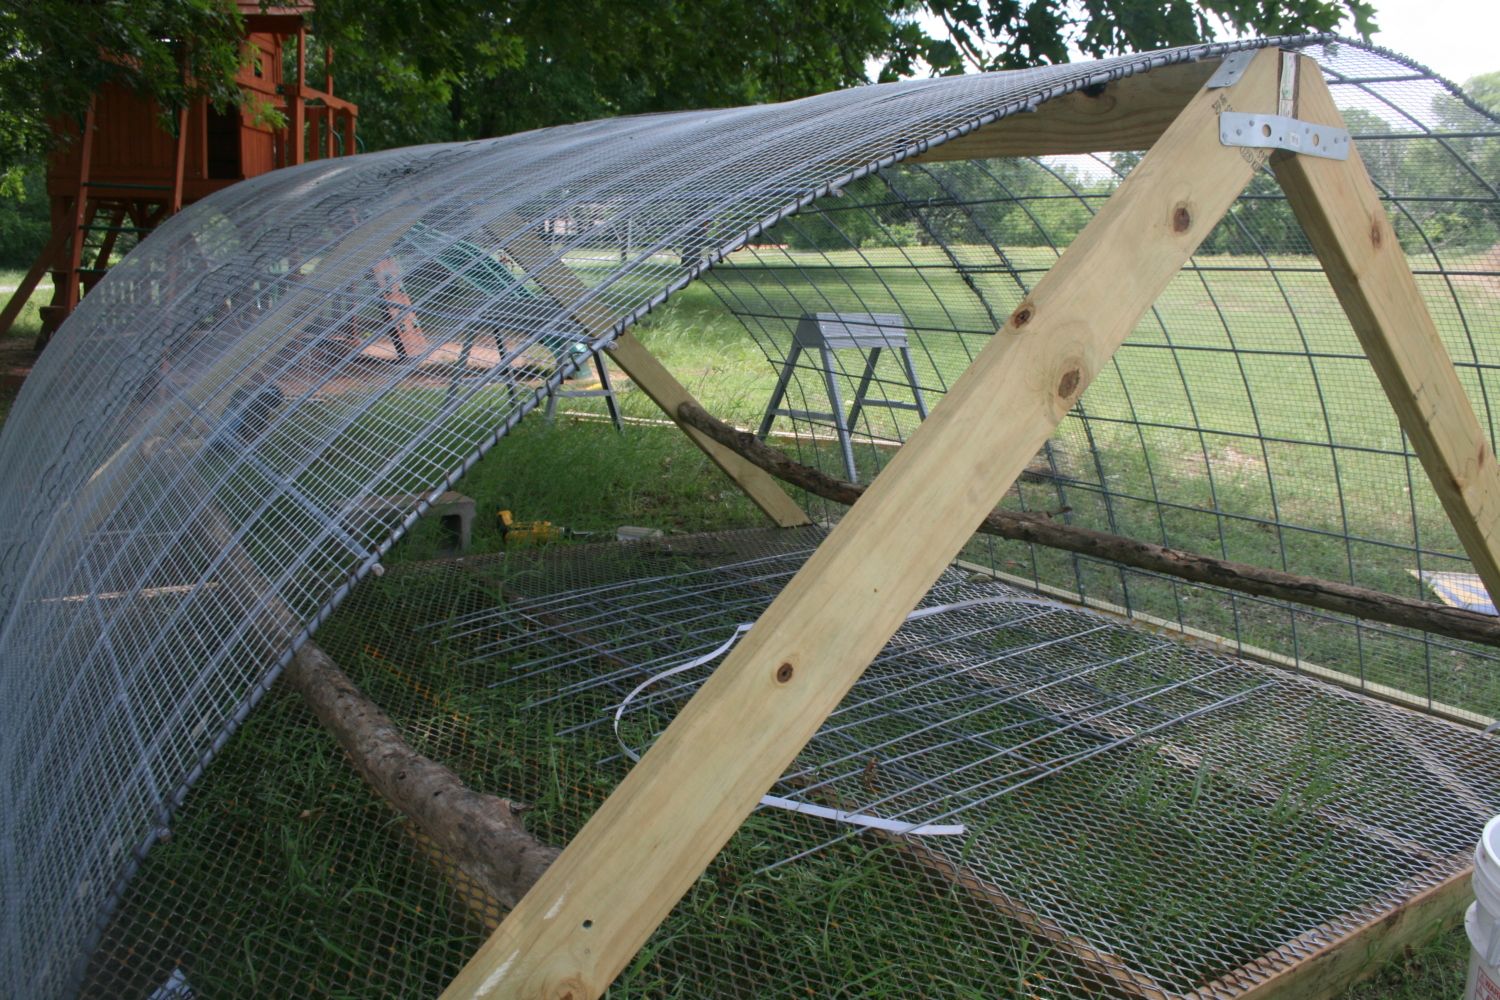
Here's a better shot of the roosts. We had some small limbs come down in a storm, so I found some that were fairly straight, cut them to the proper length and installed them.
Several steps got skipped in the photographs. After installing the roosts, I installed hardware cloth on the end panels. This involved cutting them the right length, and using zip ties to hang them at the right height. Then I cut off the excess and used pliers to curl each wire around the cattle panels. Then I got out my handy dandy roll of baling wire and wove the ends on with the same kind of running stich I used on the sides. A friend joked that a spider can't get into my coop. She may be wrong, spiders are small, but a butterfly did fly in accidentally while I was building it, and it got trapped in there until I could complete the door the next day and let it out. Hopefully it's snake proof.

I had a garden hose split last winter, so I cut lengths of it and zip tied it in place over the hardware cloth edges so that when I installed the tarp it would be less likely to rip.
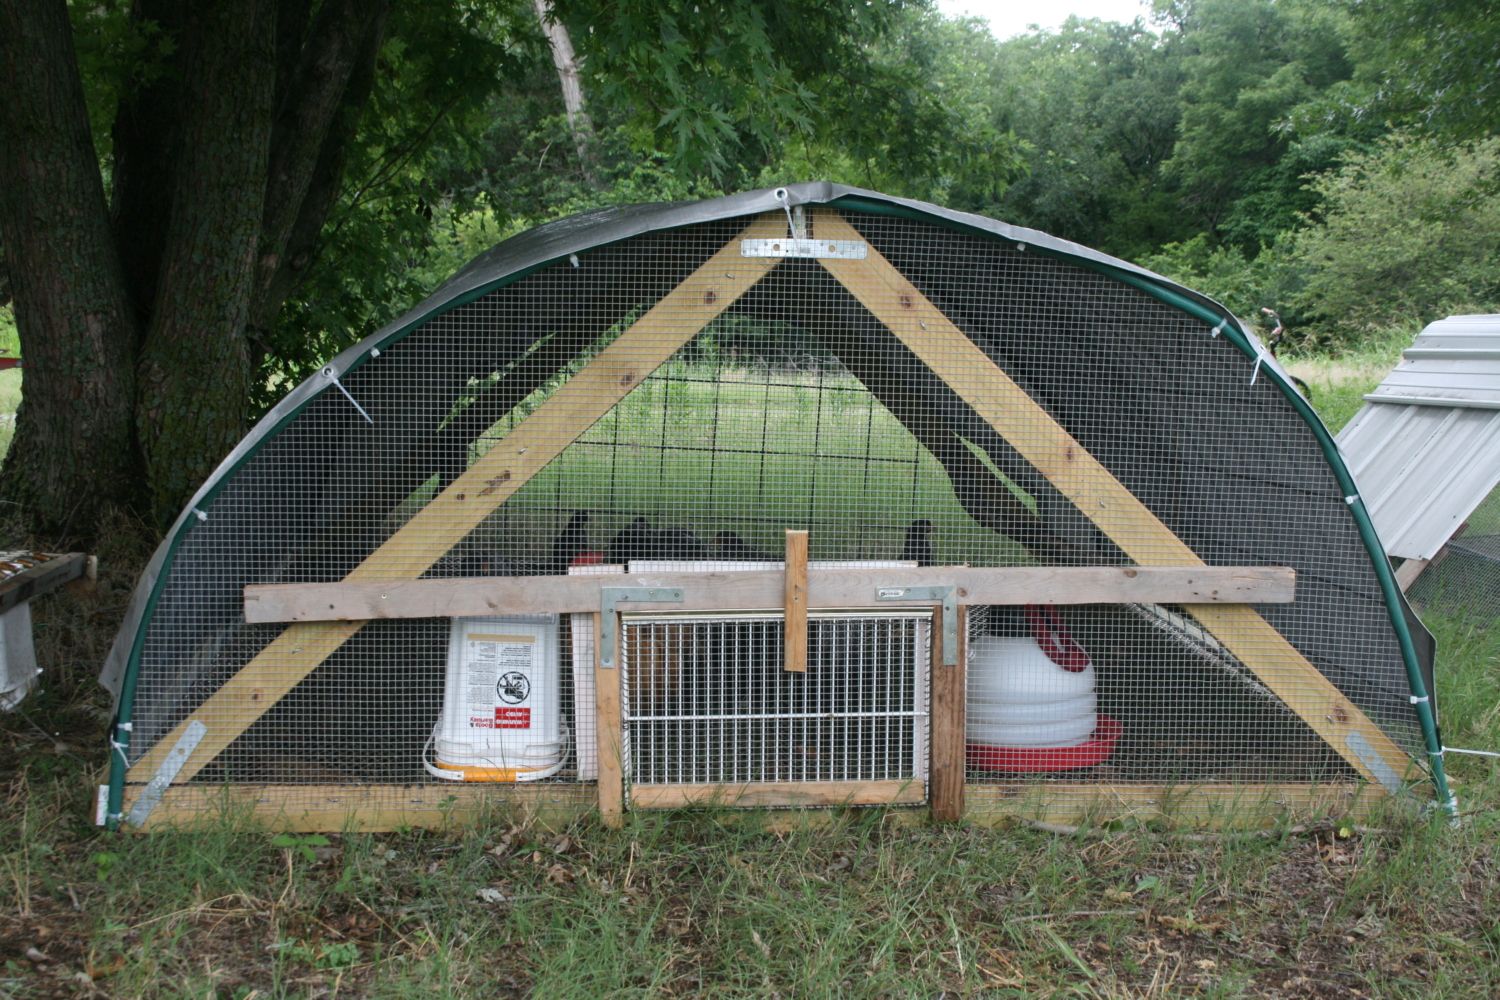
Here's the completed coop. The door is a refrigerator shelf a friend gave me. I covered it in hardware cloth. Used the same weaving with baling wire method as earlier. I never want to look at another piece of baling wire again! Anyway, I built a frame from scrap lumber, used old door hinges to attach the door to the floor of the coop, and it works great. It takes two people to move this coop. We have two hand trucks, and my husband and I each take a side, slide our hand trucks under the base, and off we go. We can move the coop with the birds in it, and they don't get hurt thanks to the floor. I'd like to build a dolly like Joel Salatin talks about to put under the back side of the coop so I could move it by myself. Thought I could just use the second hand truck, but that doesn't work.
Things I've learned along the way: U-nails are terrible for holding things under pressure. I am working out a better design for next time. The biggest thing I learned was that I should have used zip ties as temporary "hands" to help put the coop together. I could have wired the ends on at the same time I wired the hardware cloth to the cattle panel if I'd only used zip ties as a temporary measure. There are two things I'd like to change for "next time". I wish I'd had money to install big casters on all four corners of this so I could move it by myself and not have to worry about having help. I may be able to fix that problem with a custom built dolly, but in my fantasy world where I have all the money I want for chicken projects, this sucker would be on 10" industrial hard rubber casters and I could just wheel it about whenever I liked. The other thing I would change is I'd have a larger door, and I'd like to figure out a way to gather eggs from outside the coop. Right now I'm using cat litter boxes for nest boxes, and I have to grab the box, slide it over, lift off the top and get the eggs out. I love having the expanded metal floor. It's a joy not to have to shovel poop. While the chicken feed gets scratched out of the feeder sometimes, as long as I move the coop every day, the chickens can just go scratch around and eat it off the ground. If I don't move the coop every day, then I worry about mold.
