Suburban Chickens
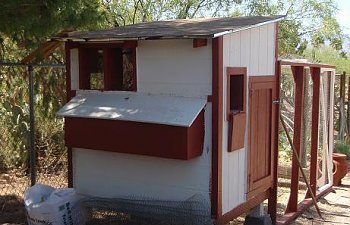
This is a 5x4 coop, elevated off the ground with a run attached. If any one is interested I have the plans. Of course the plans don't exactly represent the coop 'as built' but are very close. This project took me at least 6 weekends - probably more. It cost probably $300 total. Any one with any experience could do this much more quickly and cheaply. If i had it to do over I might build it 4x8. Number one, that would require far fewer cuts. Number 2, we keep wanting to add more chickens. 4x5 is good for 5 chickens, maybe 7 or 8 tops.
Now we are just waiting for eggs.
Foundation
The first step was to level the ground. Then we got 4 concrete piers (with straps attached) from Lowe's. These are a bargain at about $6 each. I highly recommend an elevated coop in hot weather. The chickens love to sleep underneath during the day.
To the piers I attached 1 foot lengths of 4x4 posts using lag screws.
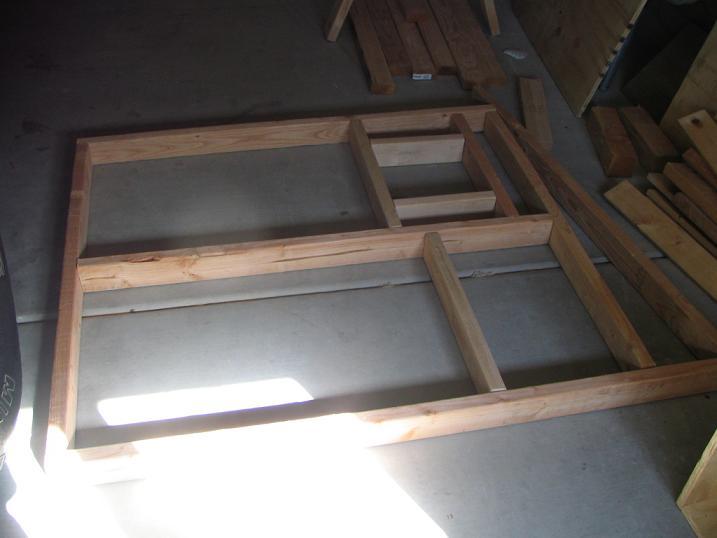
Then I built a 5x4 platform using 3 2x6 joists and 3/8" plywood as the floor. This is over-engineered but it will hold up to kids. The platform is attached to the posts with lag screws. You can't see it, but there is another joist running under the center of the platform.

Frame the walls
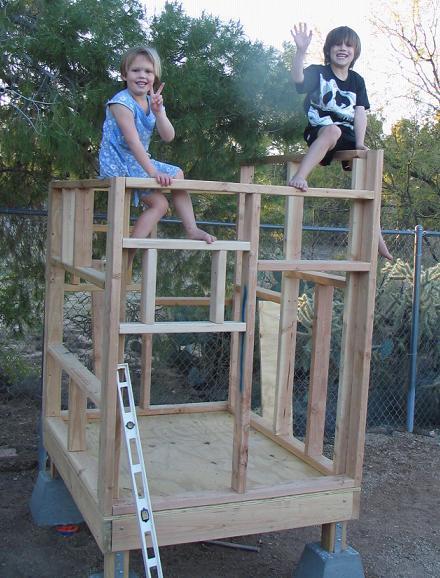
Next I framed out the walls with 2x4's. A huge framing square and a lot of careful measurement were helpful here.
The framed walls are built with deck screws, but if I did it over again I might use nails just because they are faster. Once the walls were framed I attached them to the platform. I used lag screws to attach the frames to the platform and used nails to attach the walls to each other. Note the roof will be a simple sloped roof with a fairly shallow pitch.
Put on the roof and nestbox
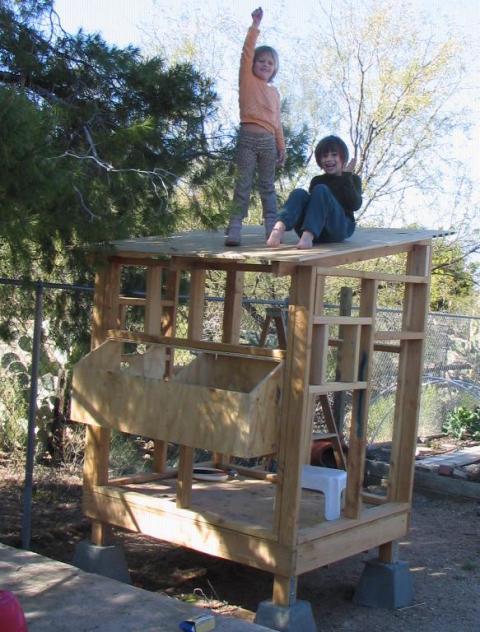
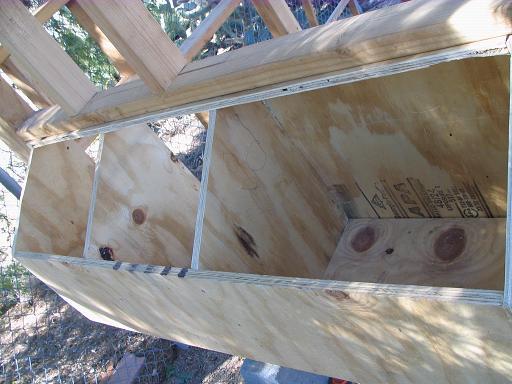
Next I attached the rafters and roof (3/8" plywood) and the nestbox (also built of 3/8" plywood). The nestbox plans are online somewhere. They're just plywood cut out and screwed together with drywall screws. Note the birds mouths in the rafters. These weren't as hard to do as a lot of people say but I did spend a fair amount of time on them.
Again, if I had it do do over I would have the roof extend at least 16" over the walls - maybe even 24". This would be easy and keep the rain off more. Not that it rains much here.
The nestboxes. The righthand area is for storage.
Attach SidingNow we are just waiting for eggs.
Foundation
The first step was to level the ground. Then we got 4 concrete piers (with straps attached) from Lowe's. These are a bargain at about $6 each. I highly recommend an elevated coop in hot weather. The chickens love to sleep underneath during the day.
To the piers I attached 1 foot lengths of 4x4 posts using lag screws.
Then I built a 5x4 platform using 3 2x6 joists and 3/8" plywood as the floor. This is over-engineered but it will hold up to kids. The platform is attached to the posts with lag screws. You can't see it, but there is another joist running under the center of the platform.

Frame the walls
Next I framed out the walls with 2x4's. A huge framing square and a lot of careful measurement were helpful here.
The framed walls are built with deck screws, but if I did it over again I might use nails just because they are faster. Once the walls were framed I attached them to the platform. I used lag screws to attach the frames to the platform and used nails to attach the walls to each other. Note the roof will be a simple sloped roof with a fairly shallow pitch.
Put on the roof and nestbox
Next I attached the rafters and roof (3/8" plywood) and the nestbox (also built of 3/8" plywood). The nestbox plans are online somewhere. They're just plywood cut out and screwed together with drywall screws. Note the birds mouths in the rafters. These weren't as hard to do as a lot of people say but I did spend a fair amount of time on them.
Again, if I had it do do over I would have the roof extend at least 16" over the walls - maybe even 24". This would be easy and keep the rain off more. Not that it rains much here.
The nestboxes. The righthand area is for storage.
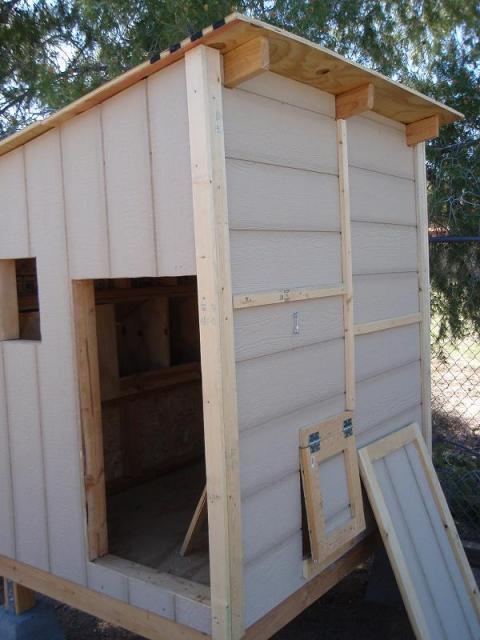
Next I added the siding. I used 1x3's and 1x2 as trim to cover every seam. This really isn't necessary but looks nice. I then cut holes for each of the windows, the chicken door, and the cleanout door. Then I attached 1x3s or 1x2s to the pieces I just cut out (using cabinet screws screwed from the inside). These make nice doors/windows that overlap the openings.
The Finish Work
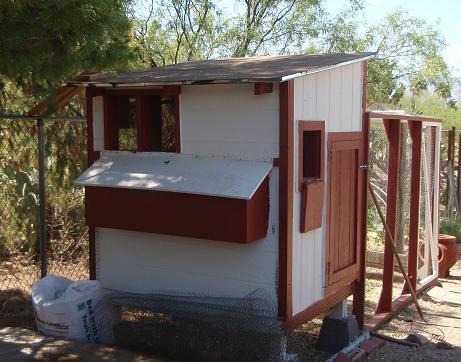
We used tar paper, aluminum flashing, and asphalt shingle for the roof.
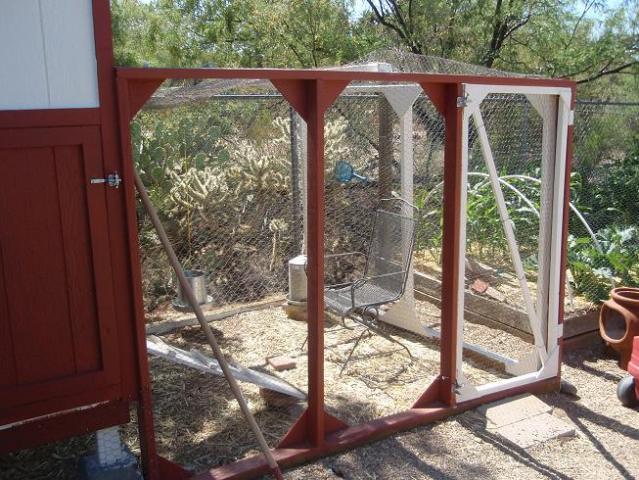
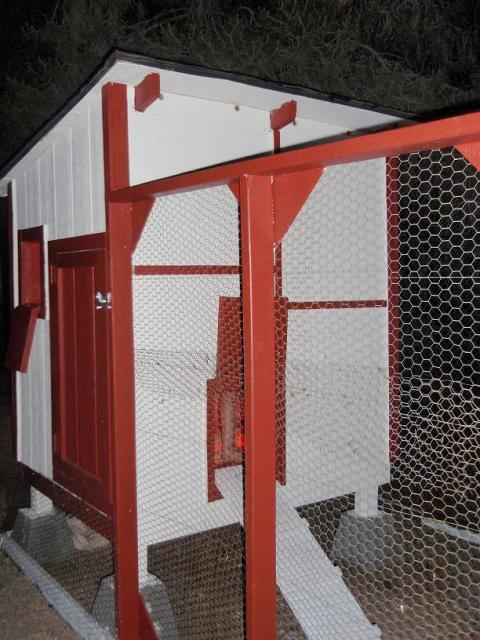
The run foundation is built of treated 4x4s (and some 2x4s) as the base. I pinned them to the ground using 3/8" rebar pounded thru 1/2" holes drilled thru the timbers. Then I framed out the run using leftover siding to make the triangles to reinforce where the 2x4s attached to each other. Then pounded in poultry staples (available at any hardware store) to attach the chicken wire. The door is built out of 2x2s. A spring at top and bottom ensures that it closes. Finish-quality timber would be nice here but I used the cheapo 2x2s which tend to warp. It works fine anyway.
Primer and paint, hardware, plexiglass window, a roost, a dropping box, a door for the run, chicken wire, etc., etc., etc., complete the coop and run.
The run
Happy chickens!
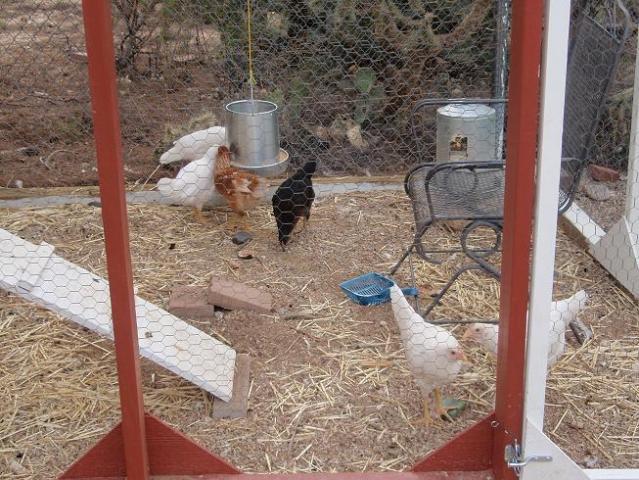
The inside. The roost is just a 2x4. They seem to love it. Some chickens roost above the windows. I could prevent them from doing this but it doesn't seem to be a problem.

Chicken cat