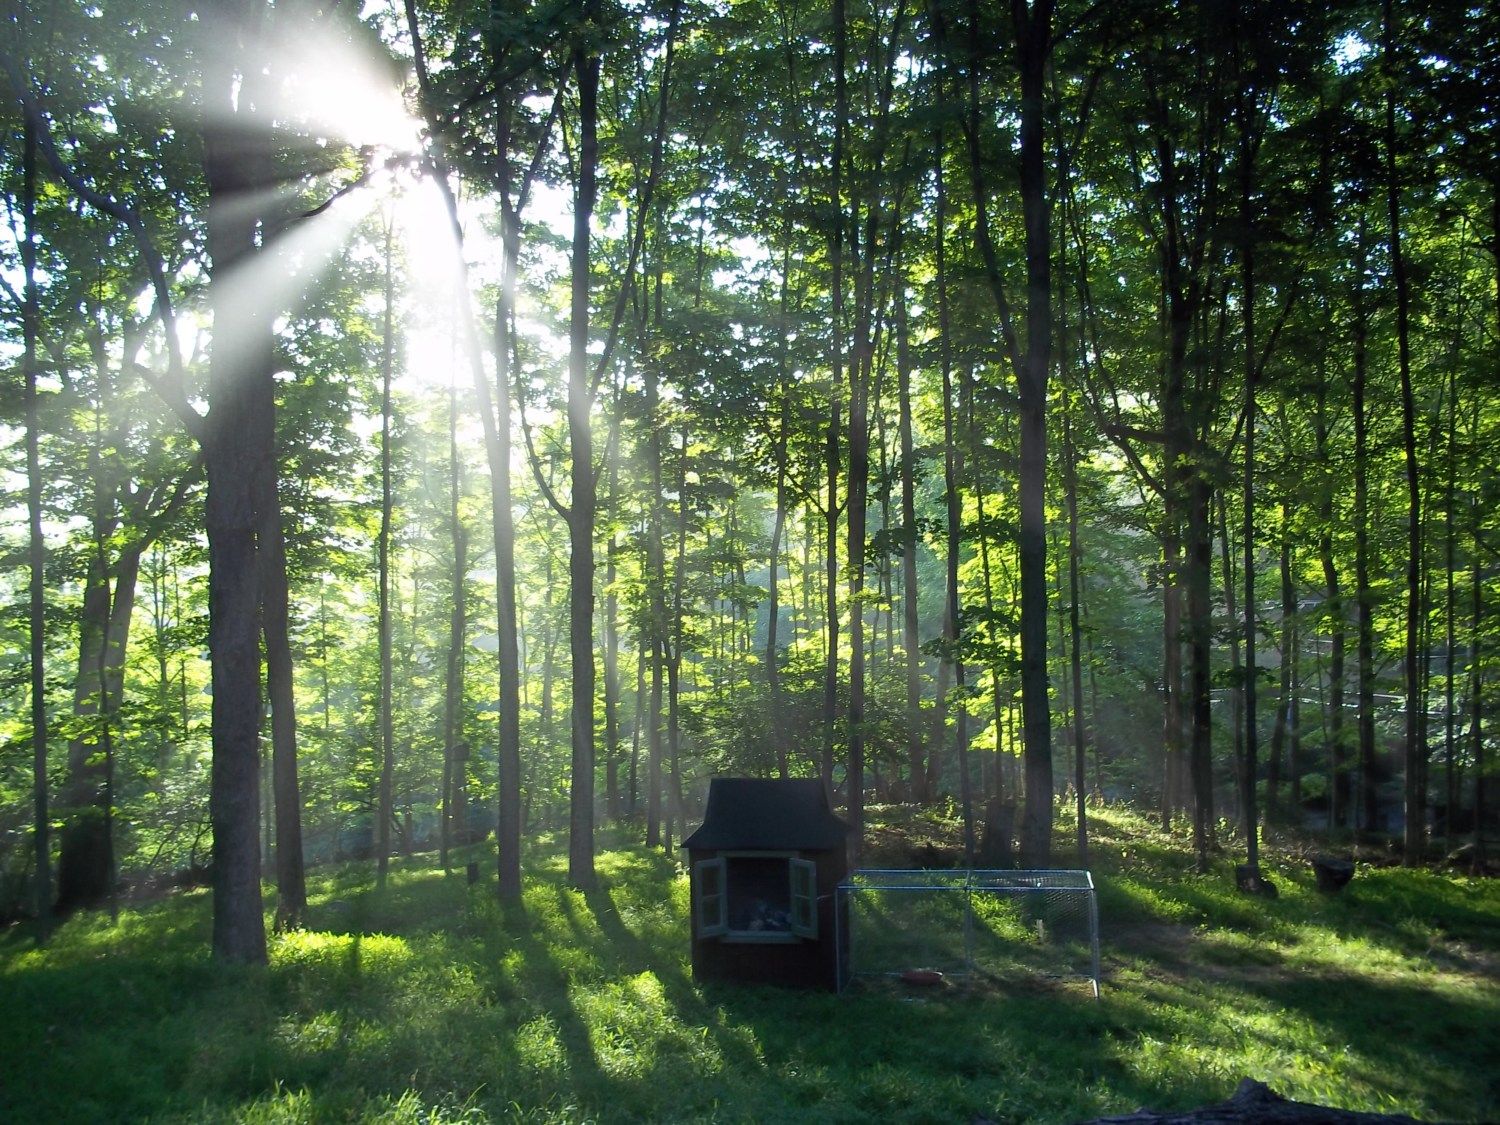
This is my first time owning chickens. I decided a chicken tractor was the way to go for my flock of four. I live in New York so wanted an insulated coop and one that is easy to move around my yard.
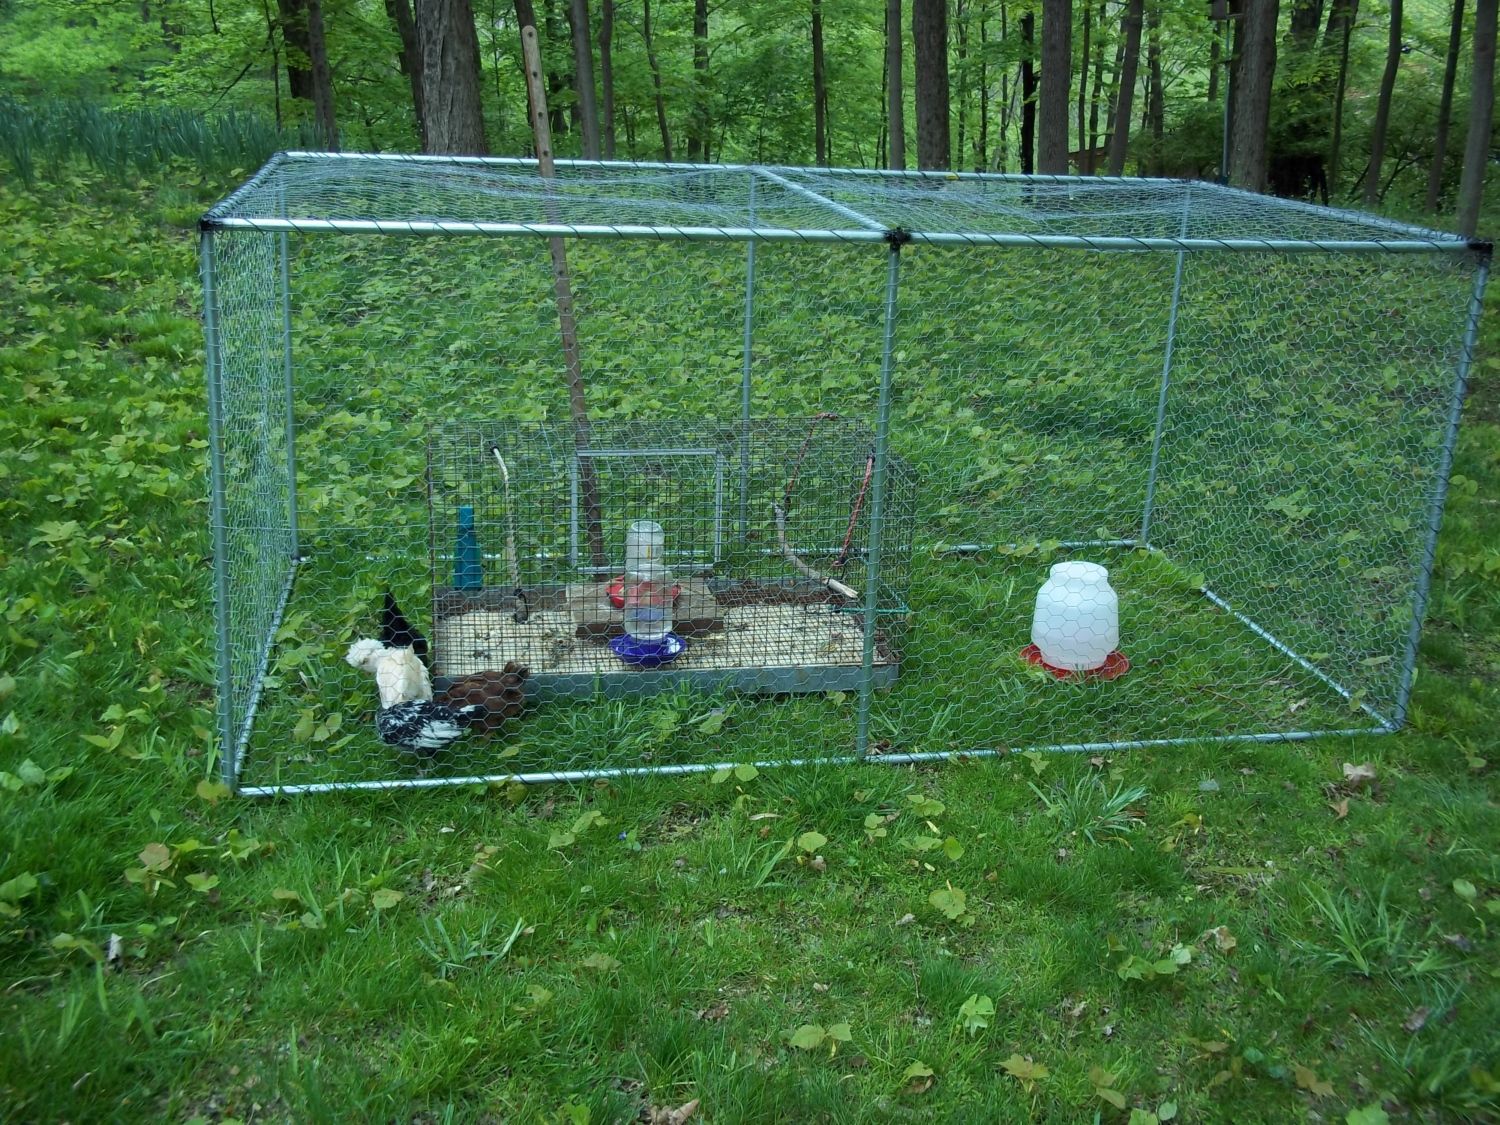
The run was built first. It is 4 feet wide by 8 feet long by 3 feet high. It is constructed of electrical conduit (light weight, strong, won't rust), galvanized chicken wire, welded fabricated "joints" and is "sewn" together with wire - through the chicken wire and around the electrical conduit.
Closeup of the connectors and "sewing."
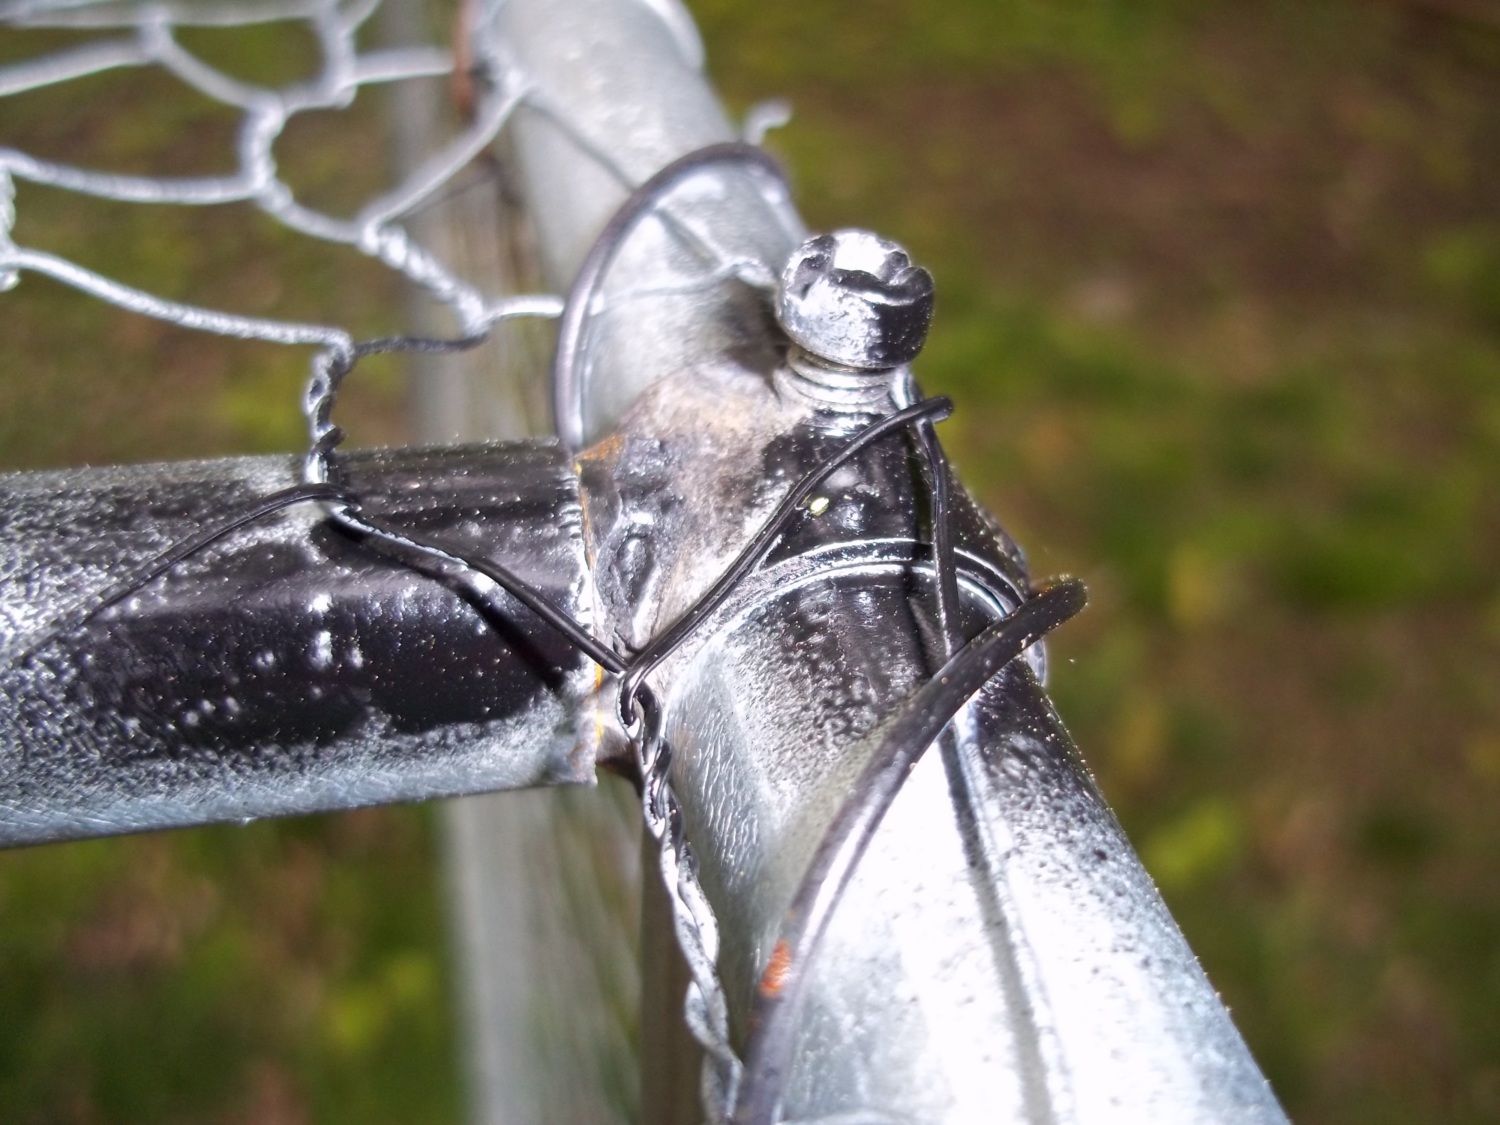
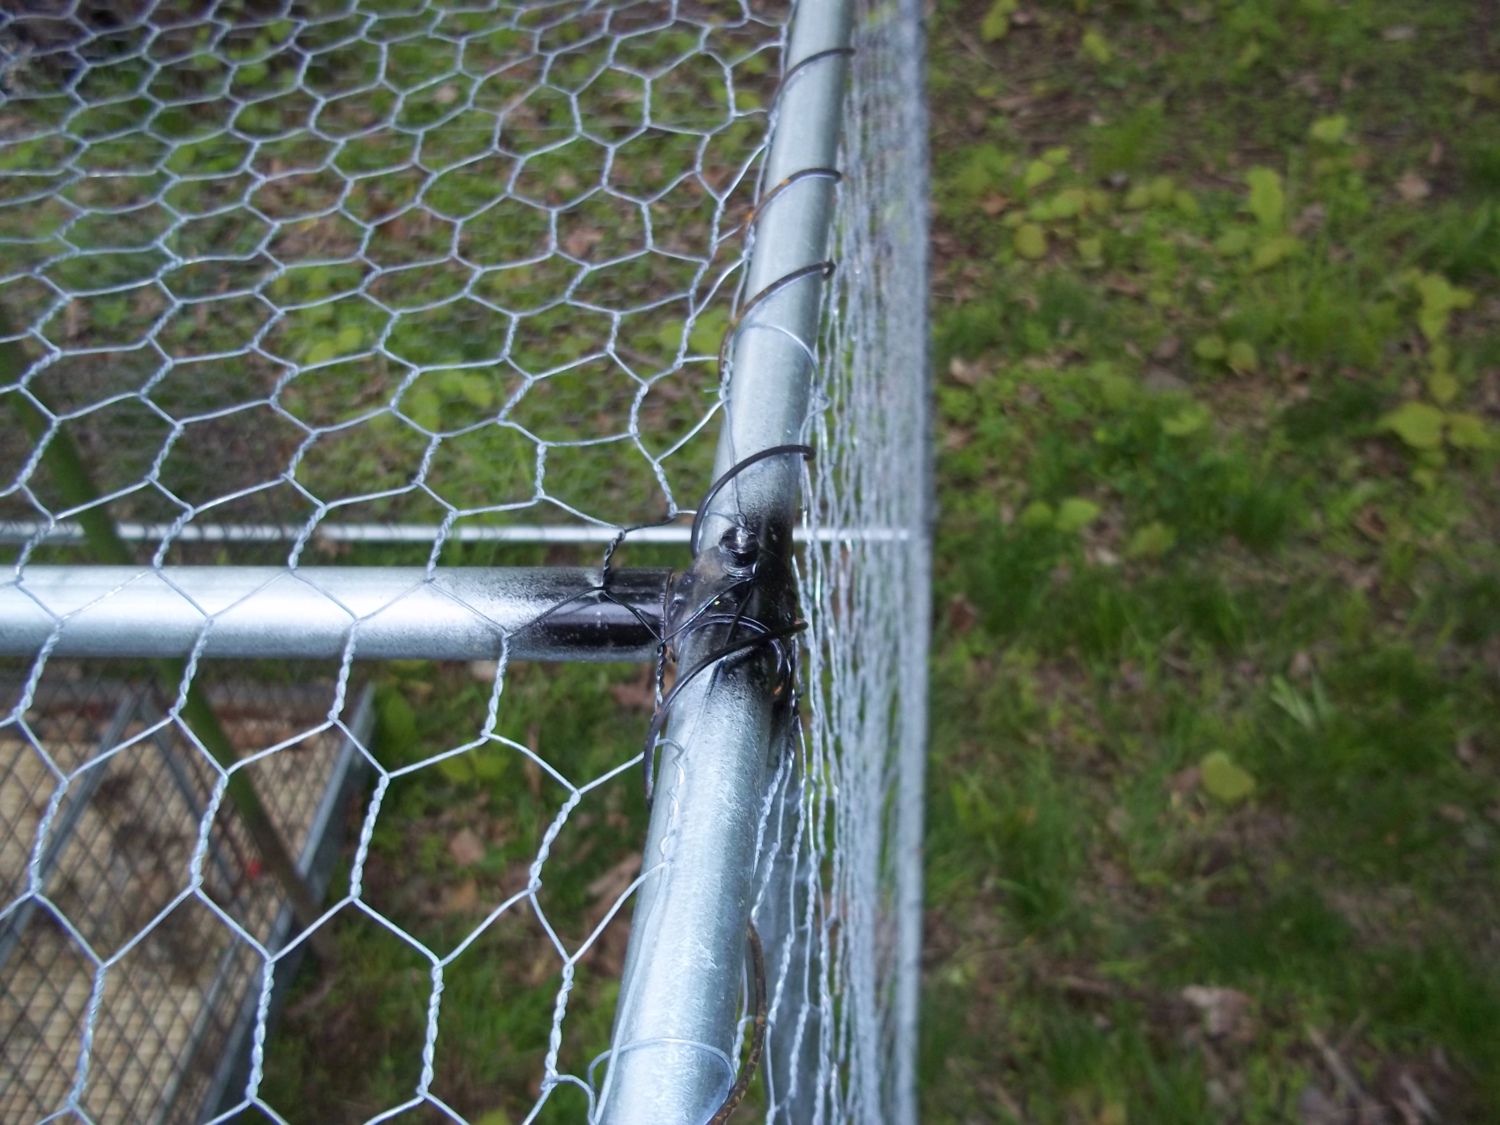
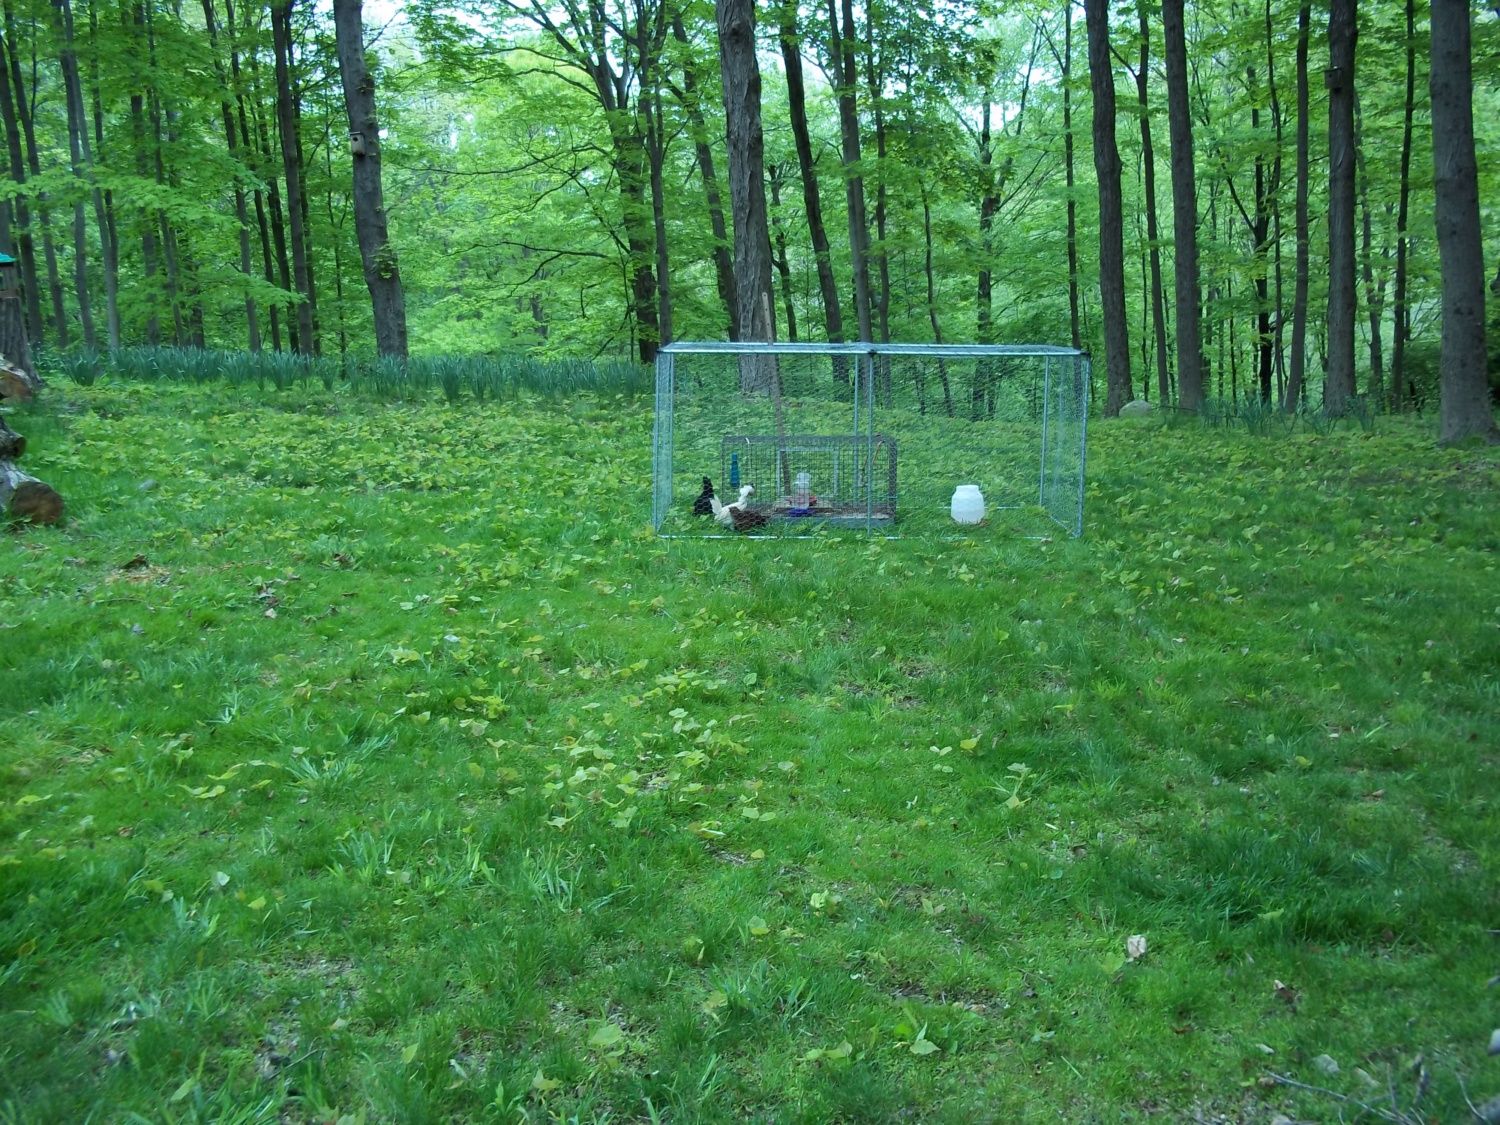
Right now, there is no bottom on the run, but there will be soon because we have hawks, coyotes, fox, owls and raccoons. There will also be a door that will connect it to the tractor. No wheels are needed for the run since it is so light weight.
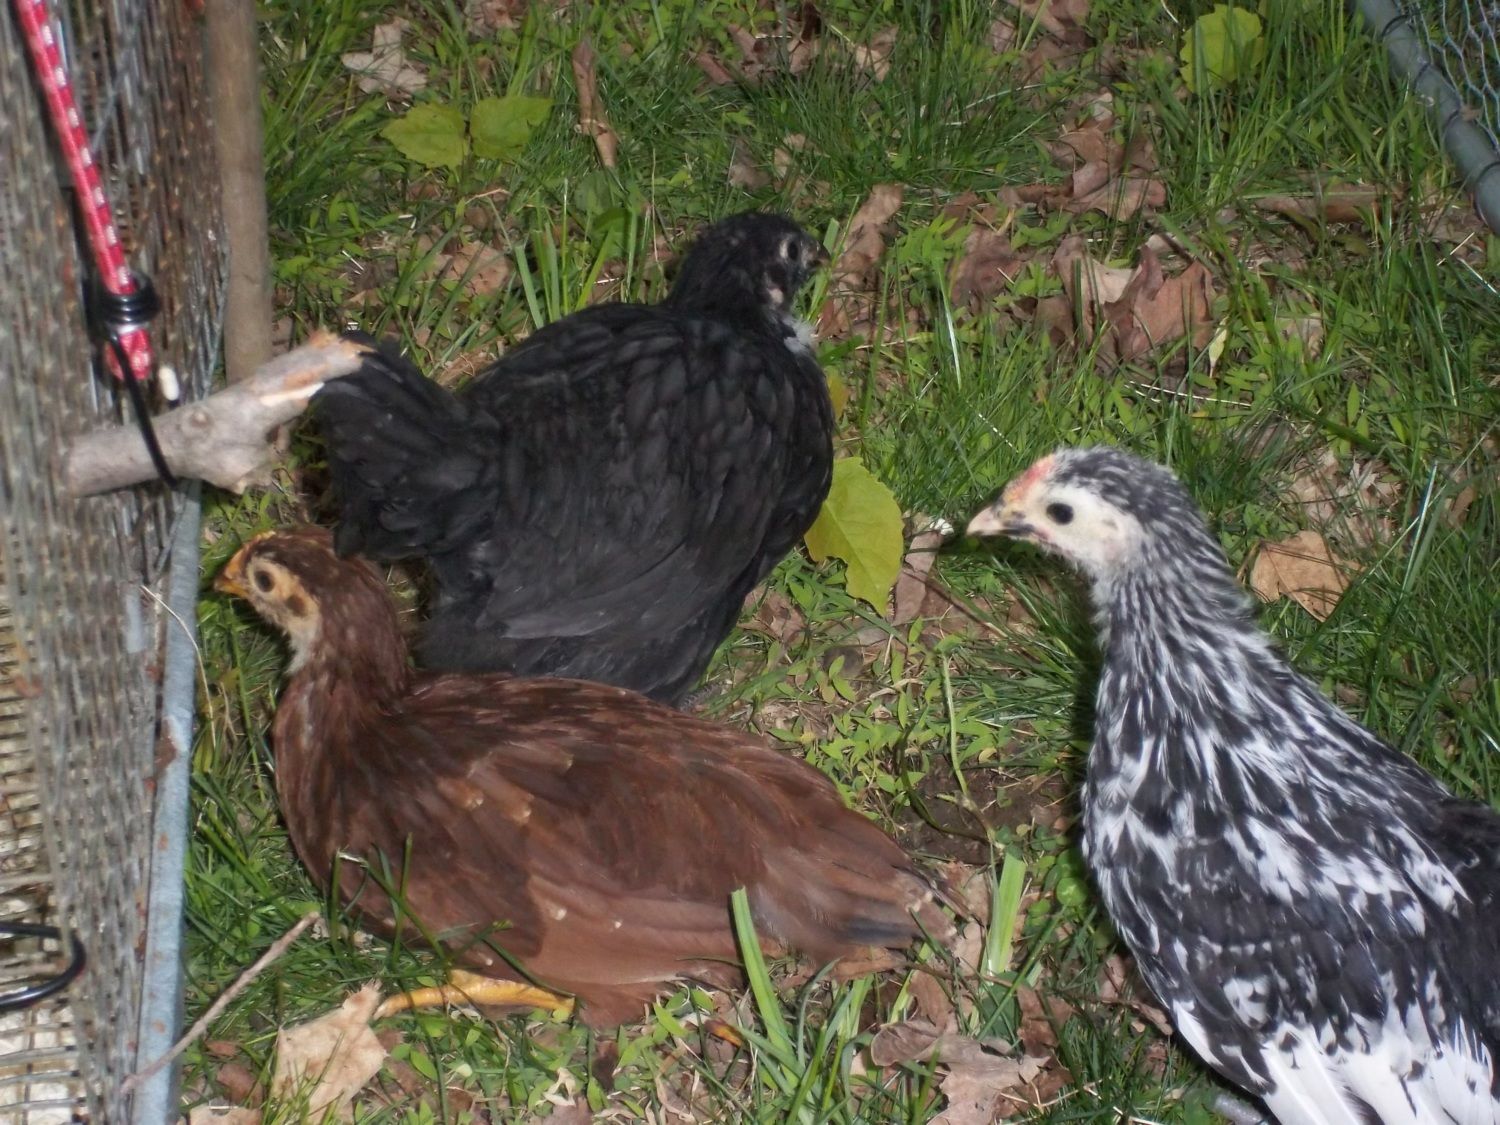
Here, the chicks are 5 weeks old and need to graduate from the small animal cage they have been living in.
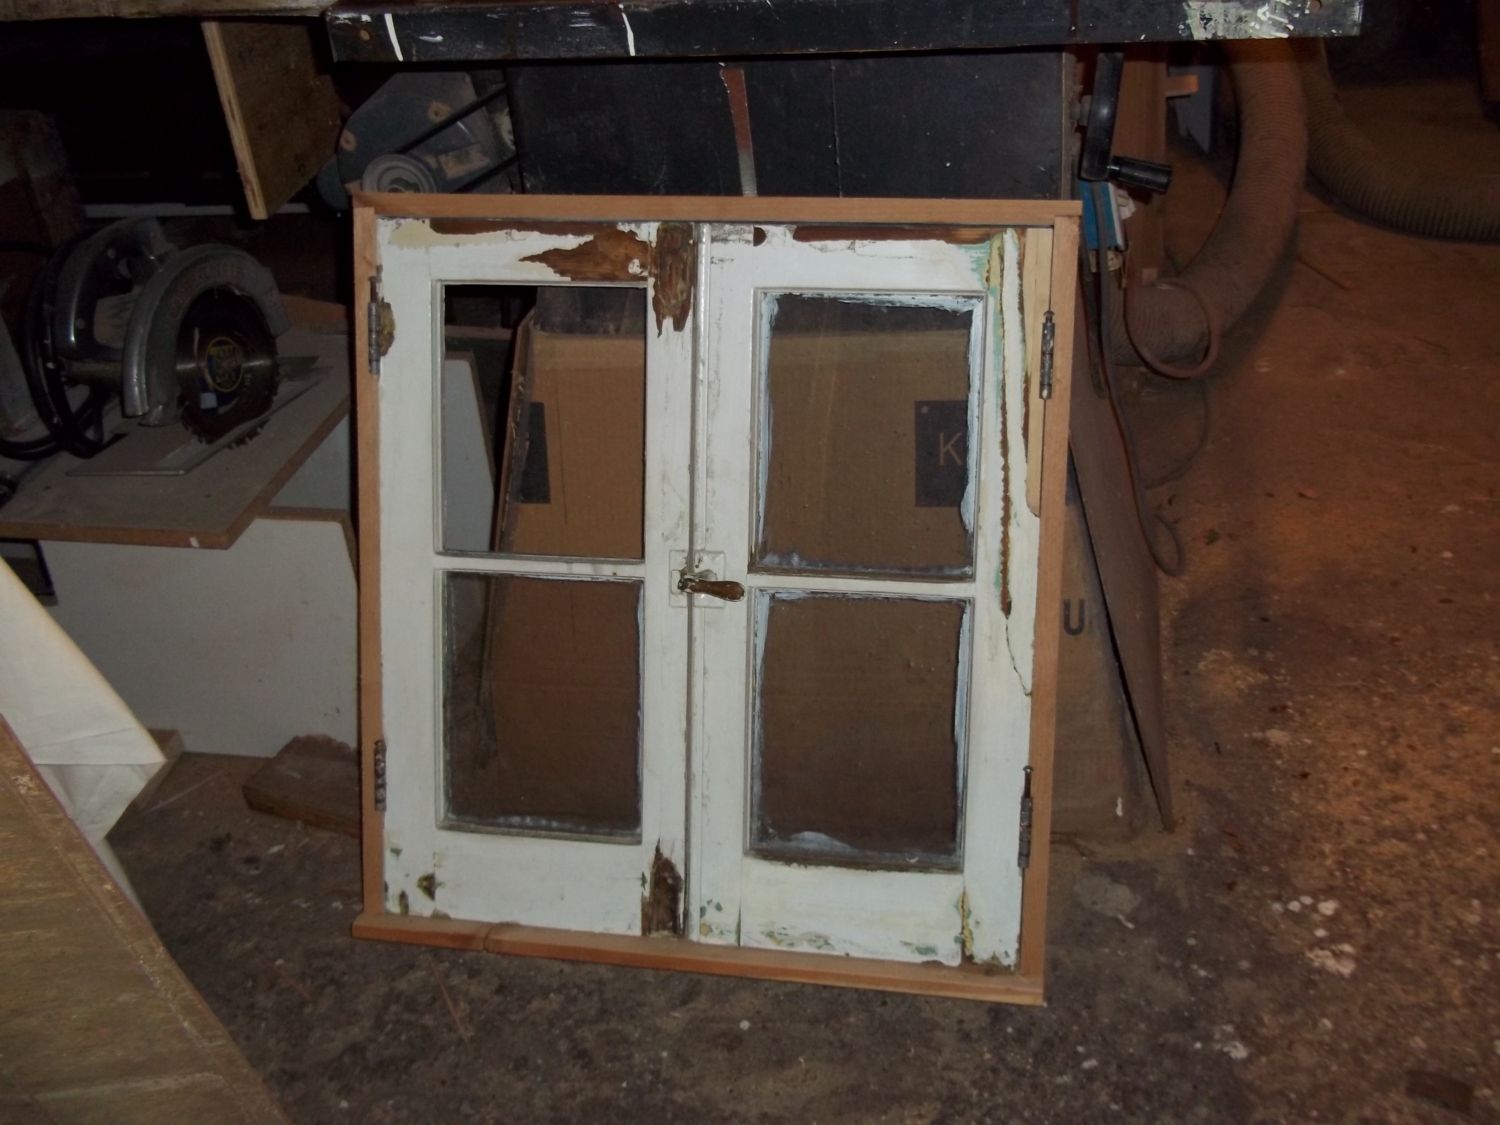
Erich likes to prefabricate his projects in his shop and then bring to the site to assemble. Here's an old window we are going to use.
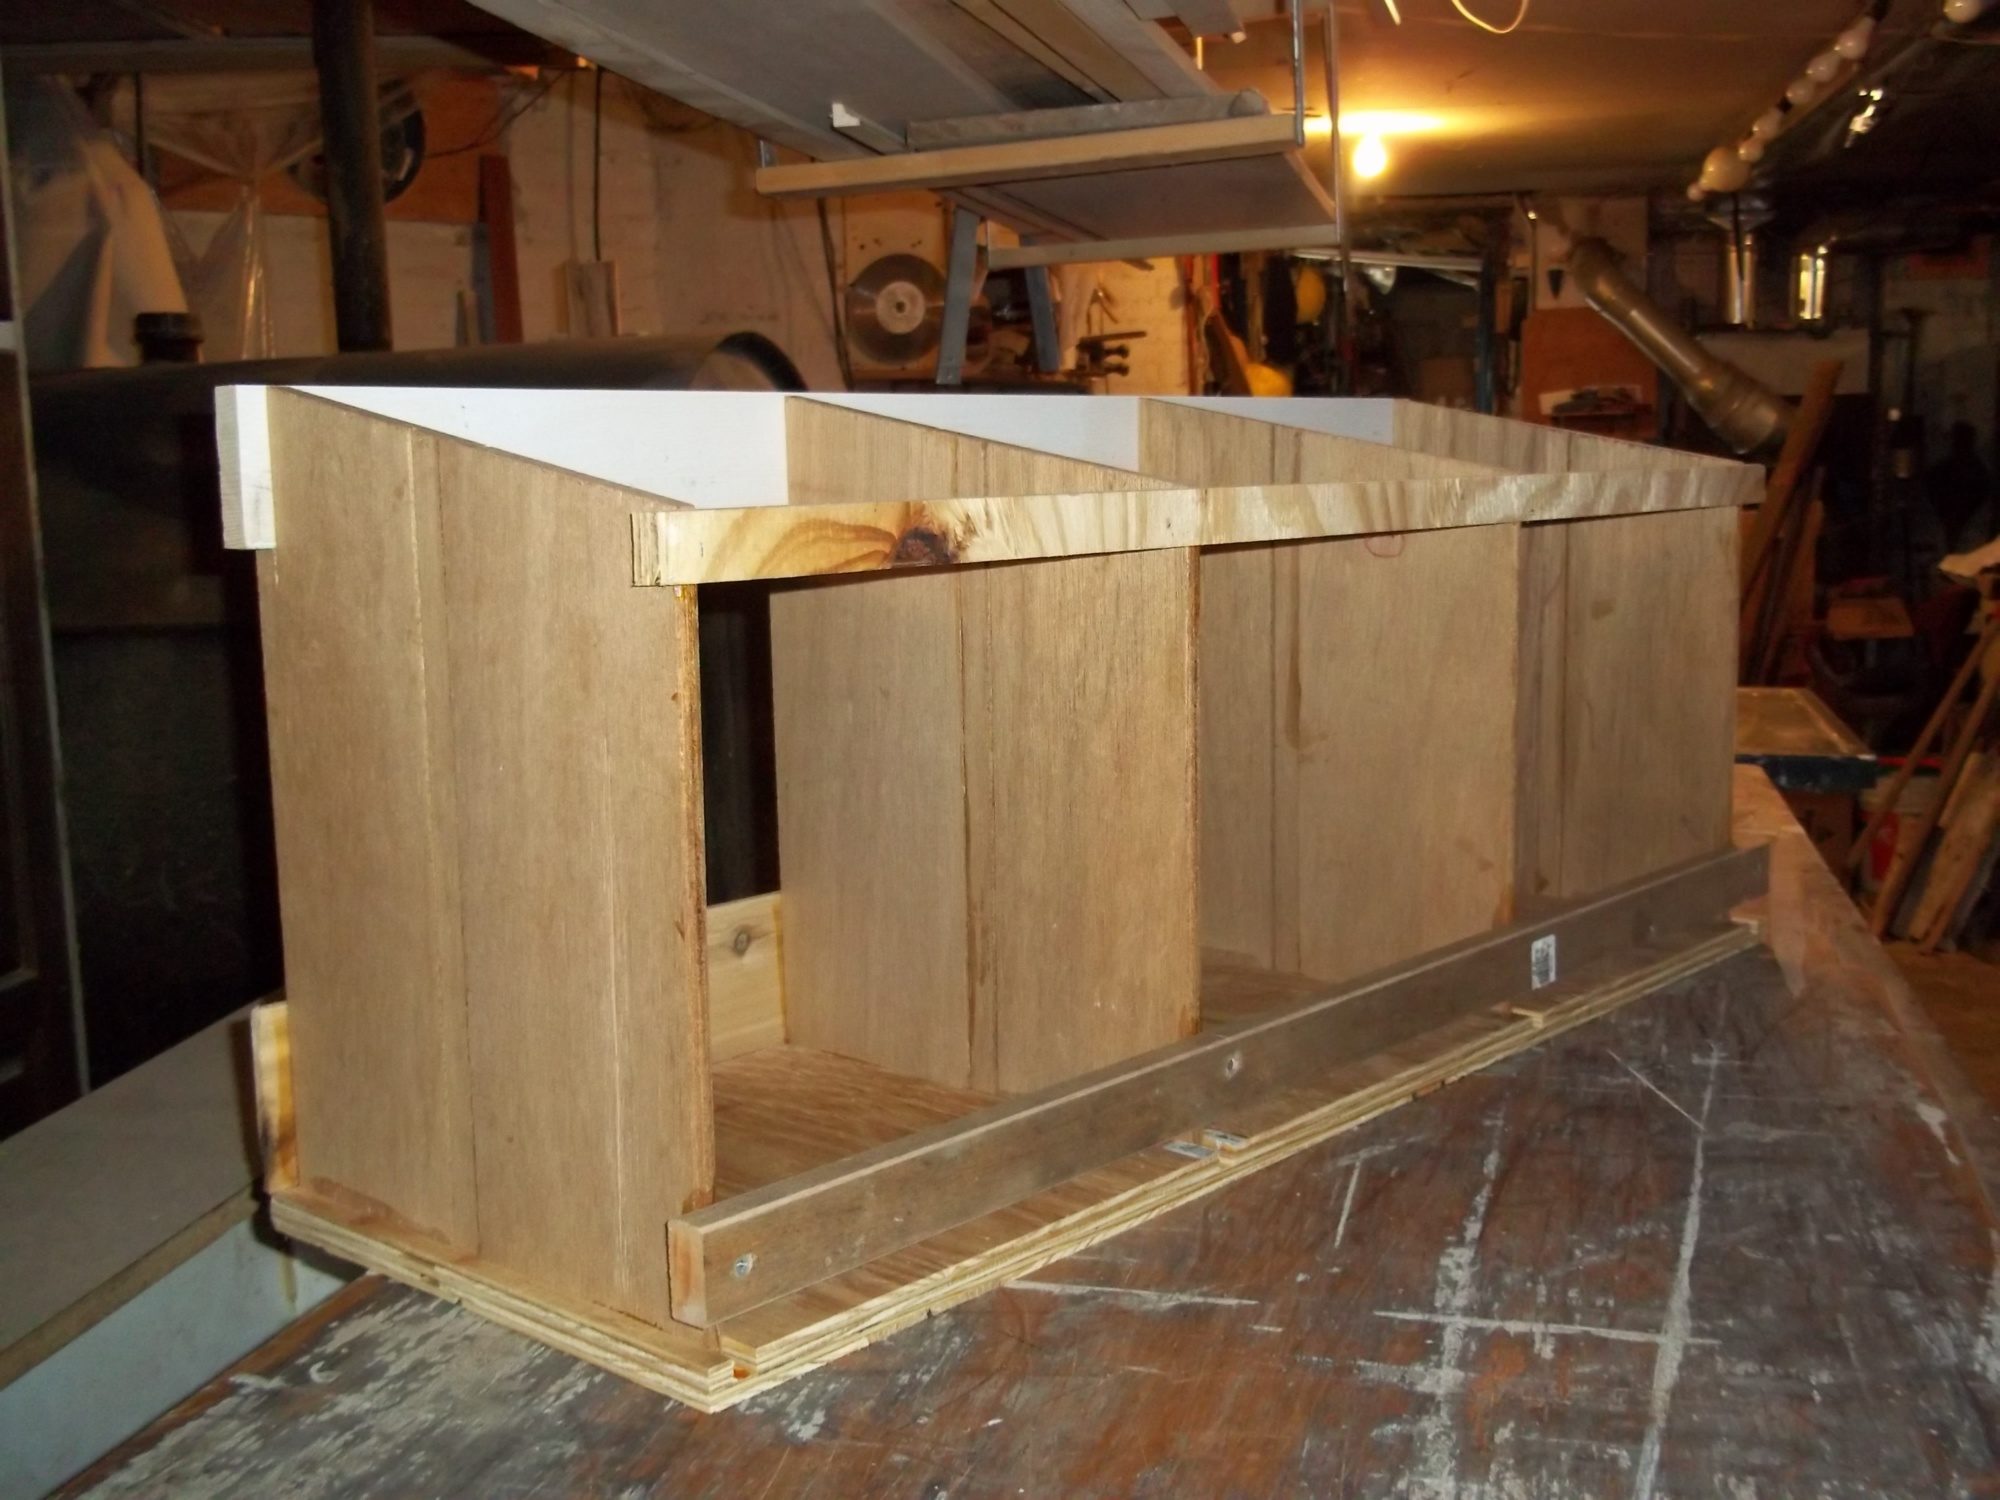
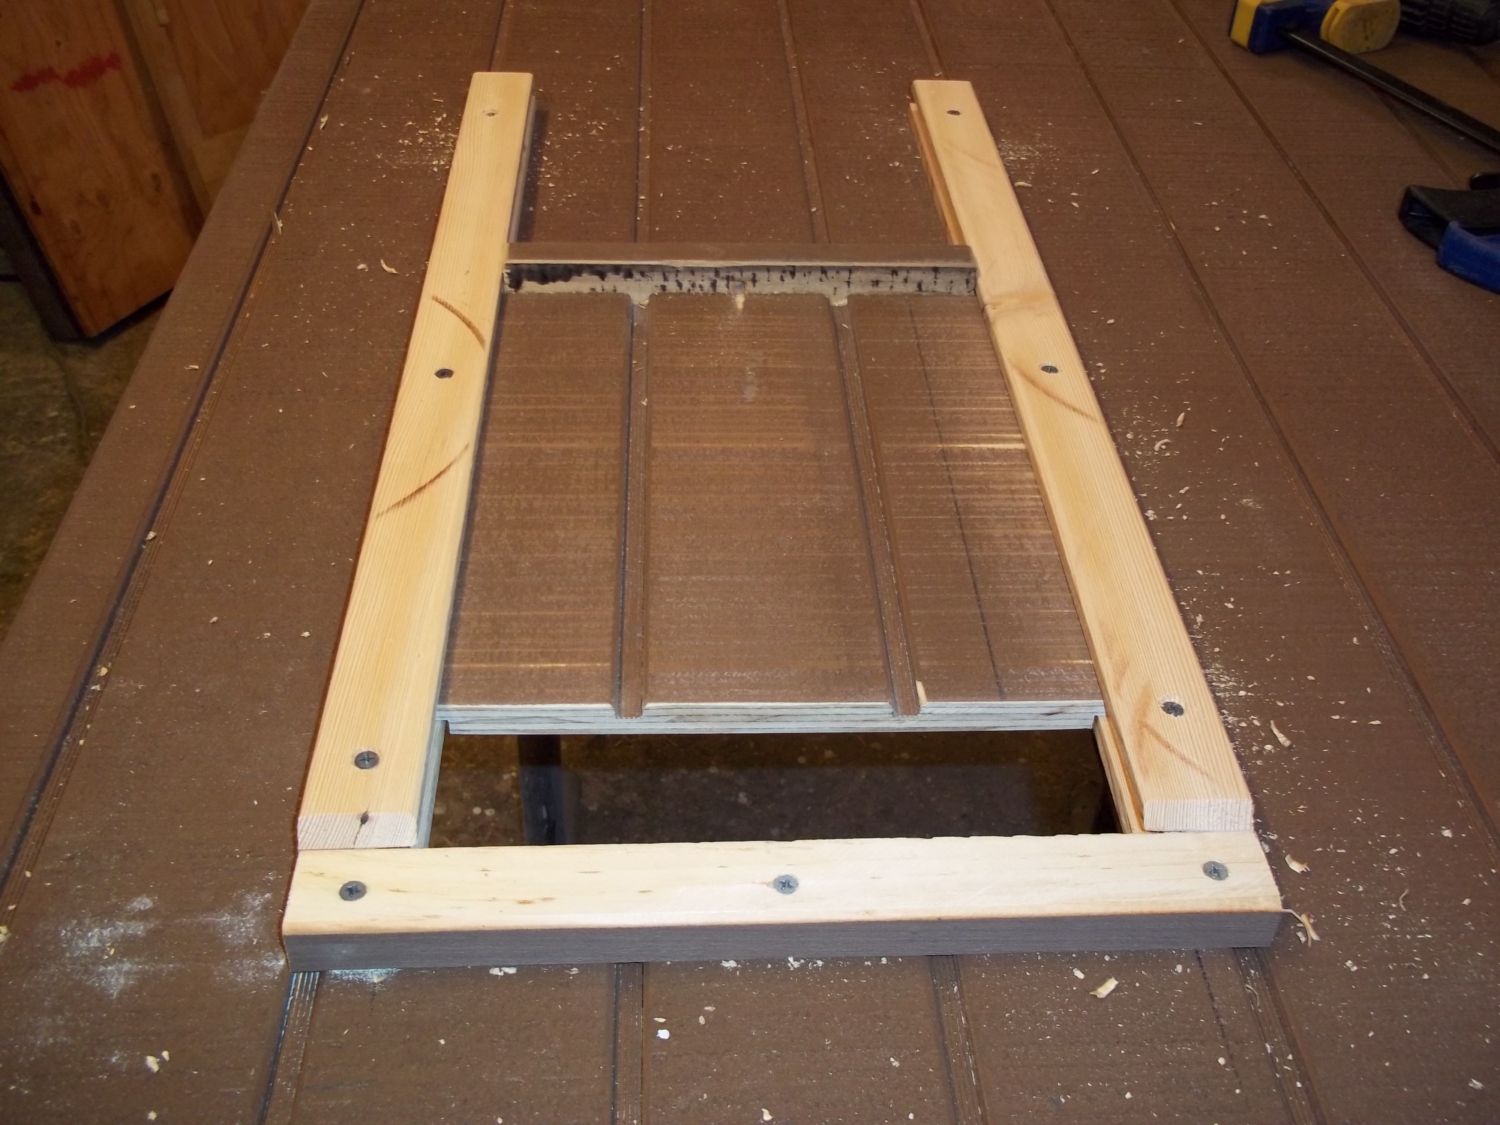
Also 3 egg laying boxes, 12" x 12"
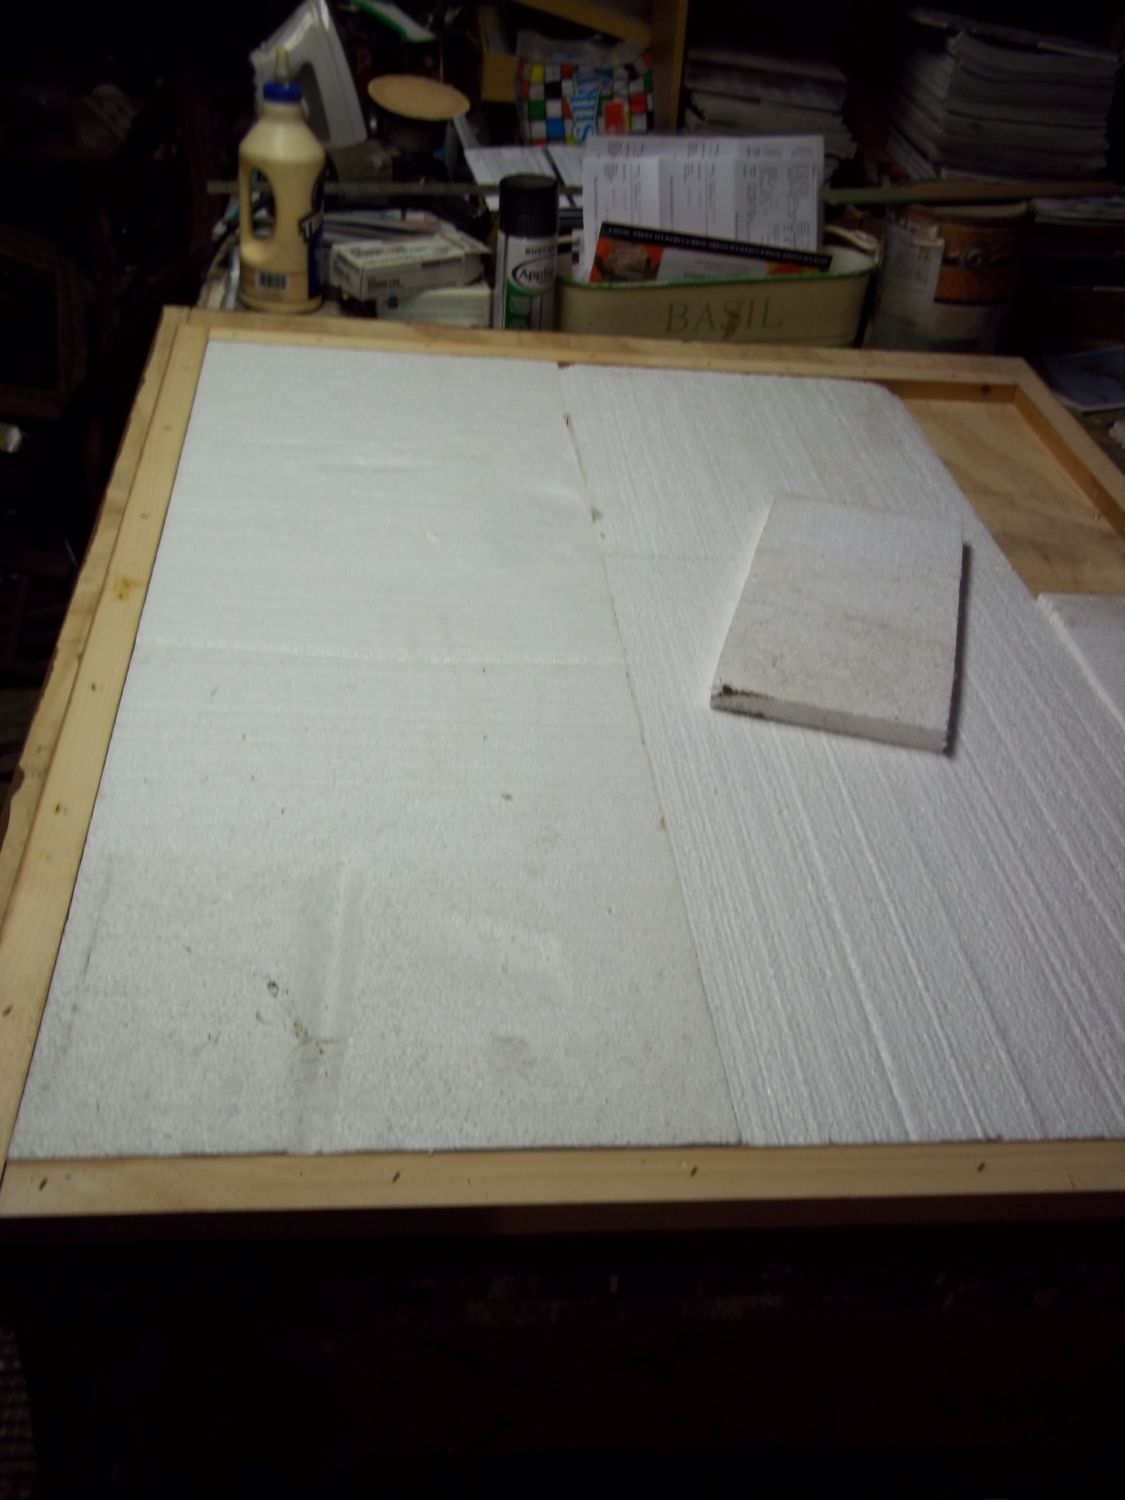
Side wall with 1" rigid styrofoam insulation.
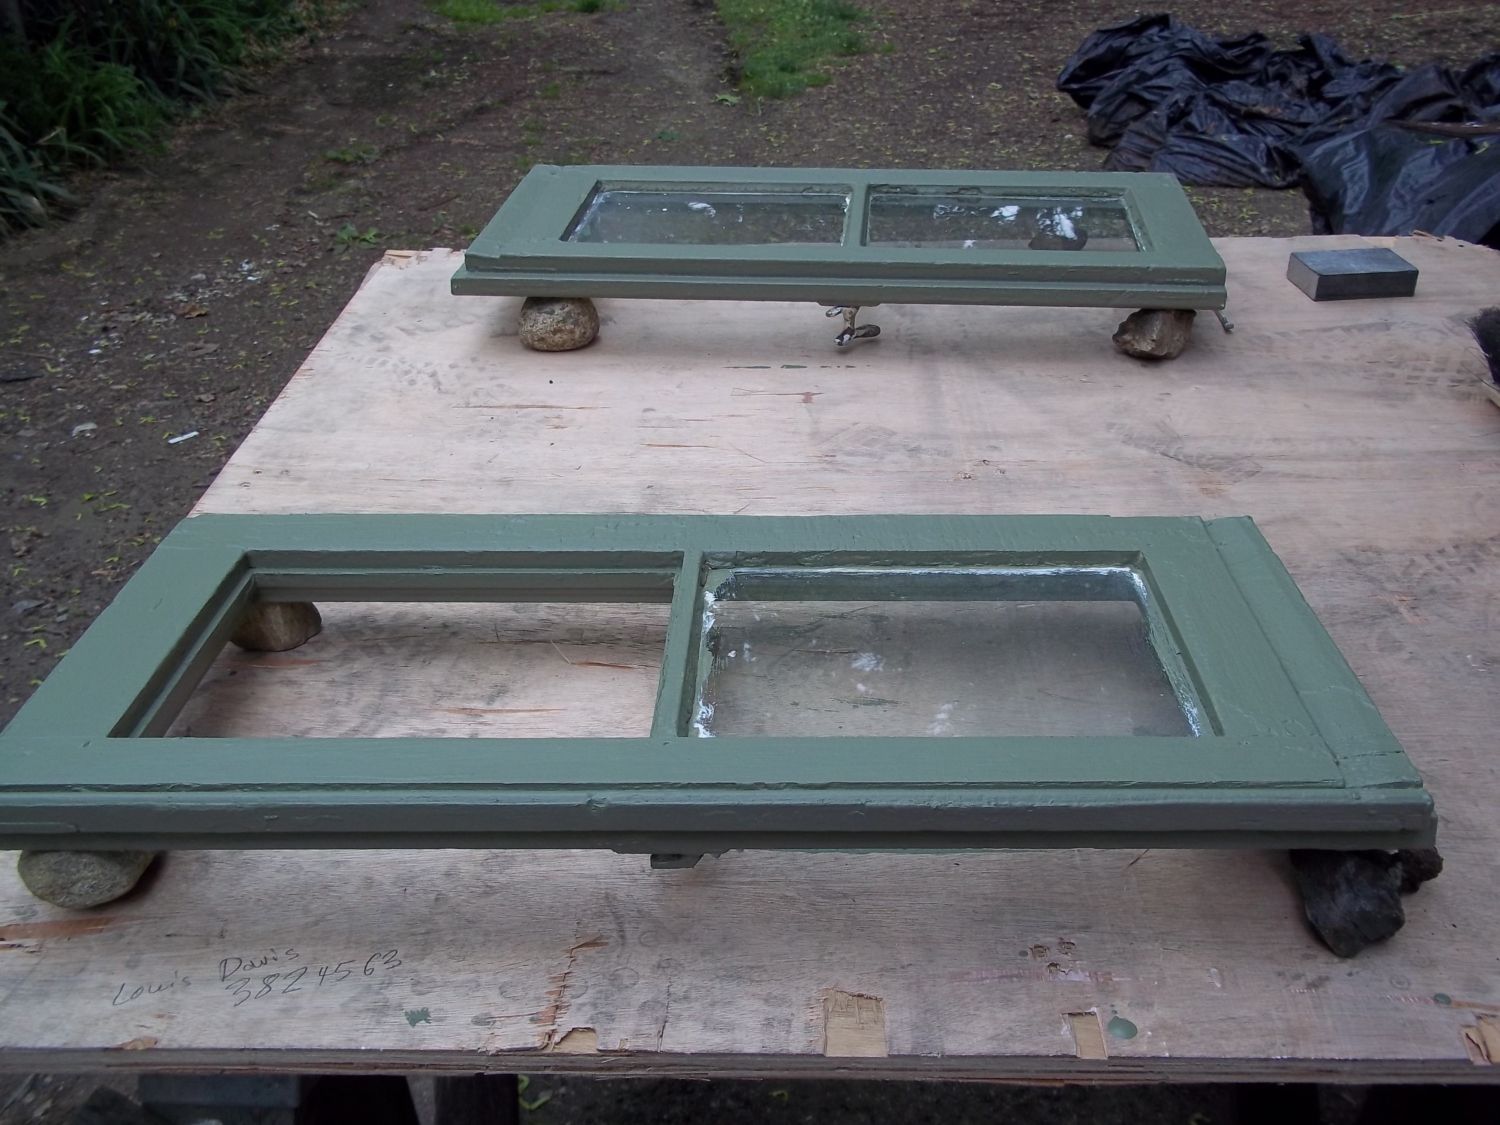
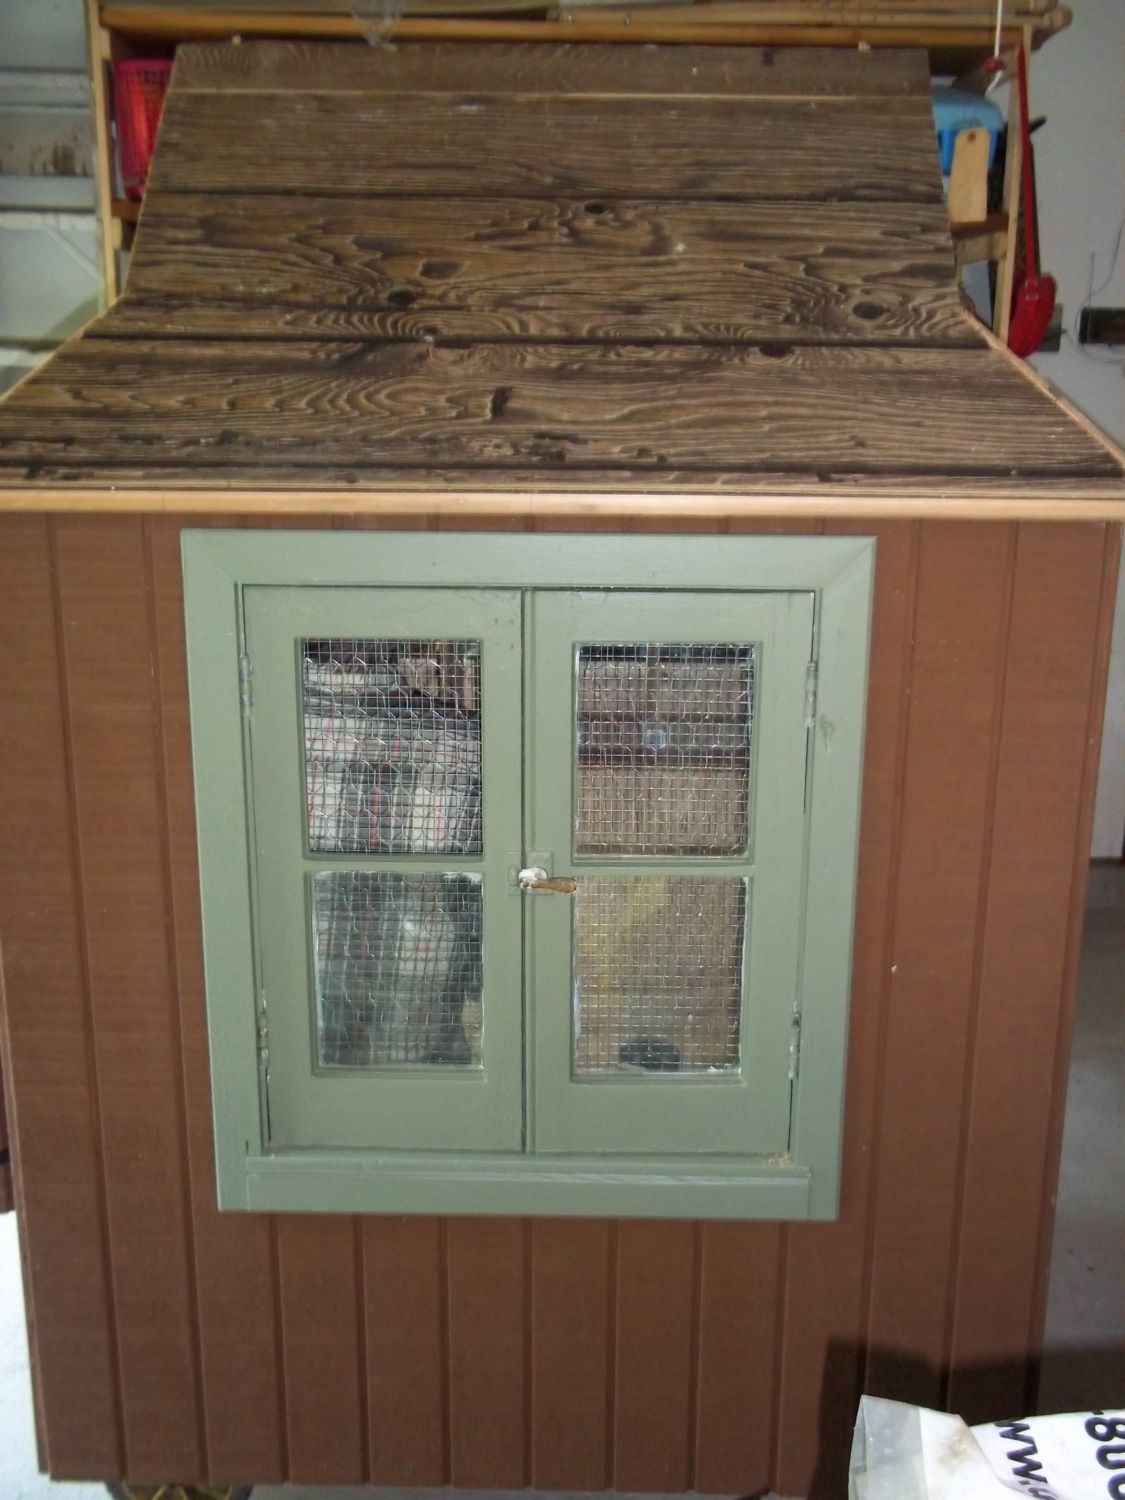
The window has been painted an olive green. Still needs one window pane.
We are using a popup style chicken door. Needs more painting and a mechanism to raise and lower the door and a way to lock it so a raccoon can't get in.
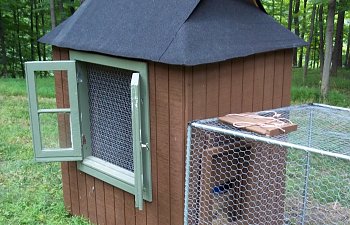
We stapled chicken wire to the back of the window frame so when the window is open the chickens can't fly out.
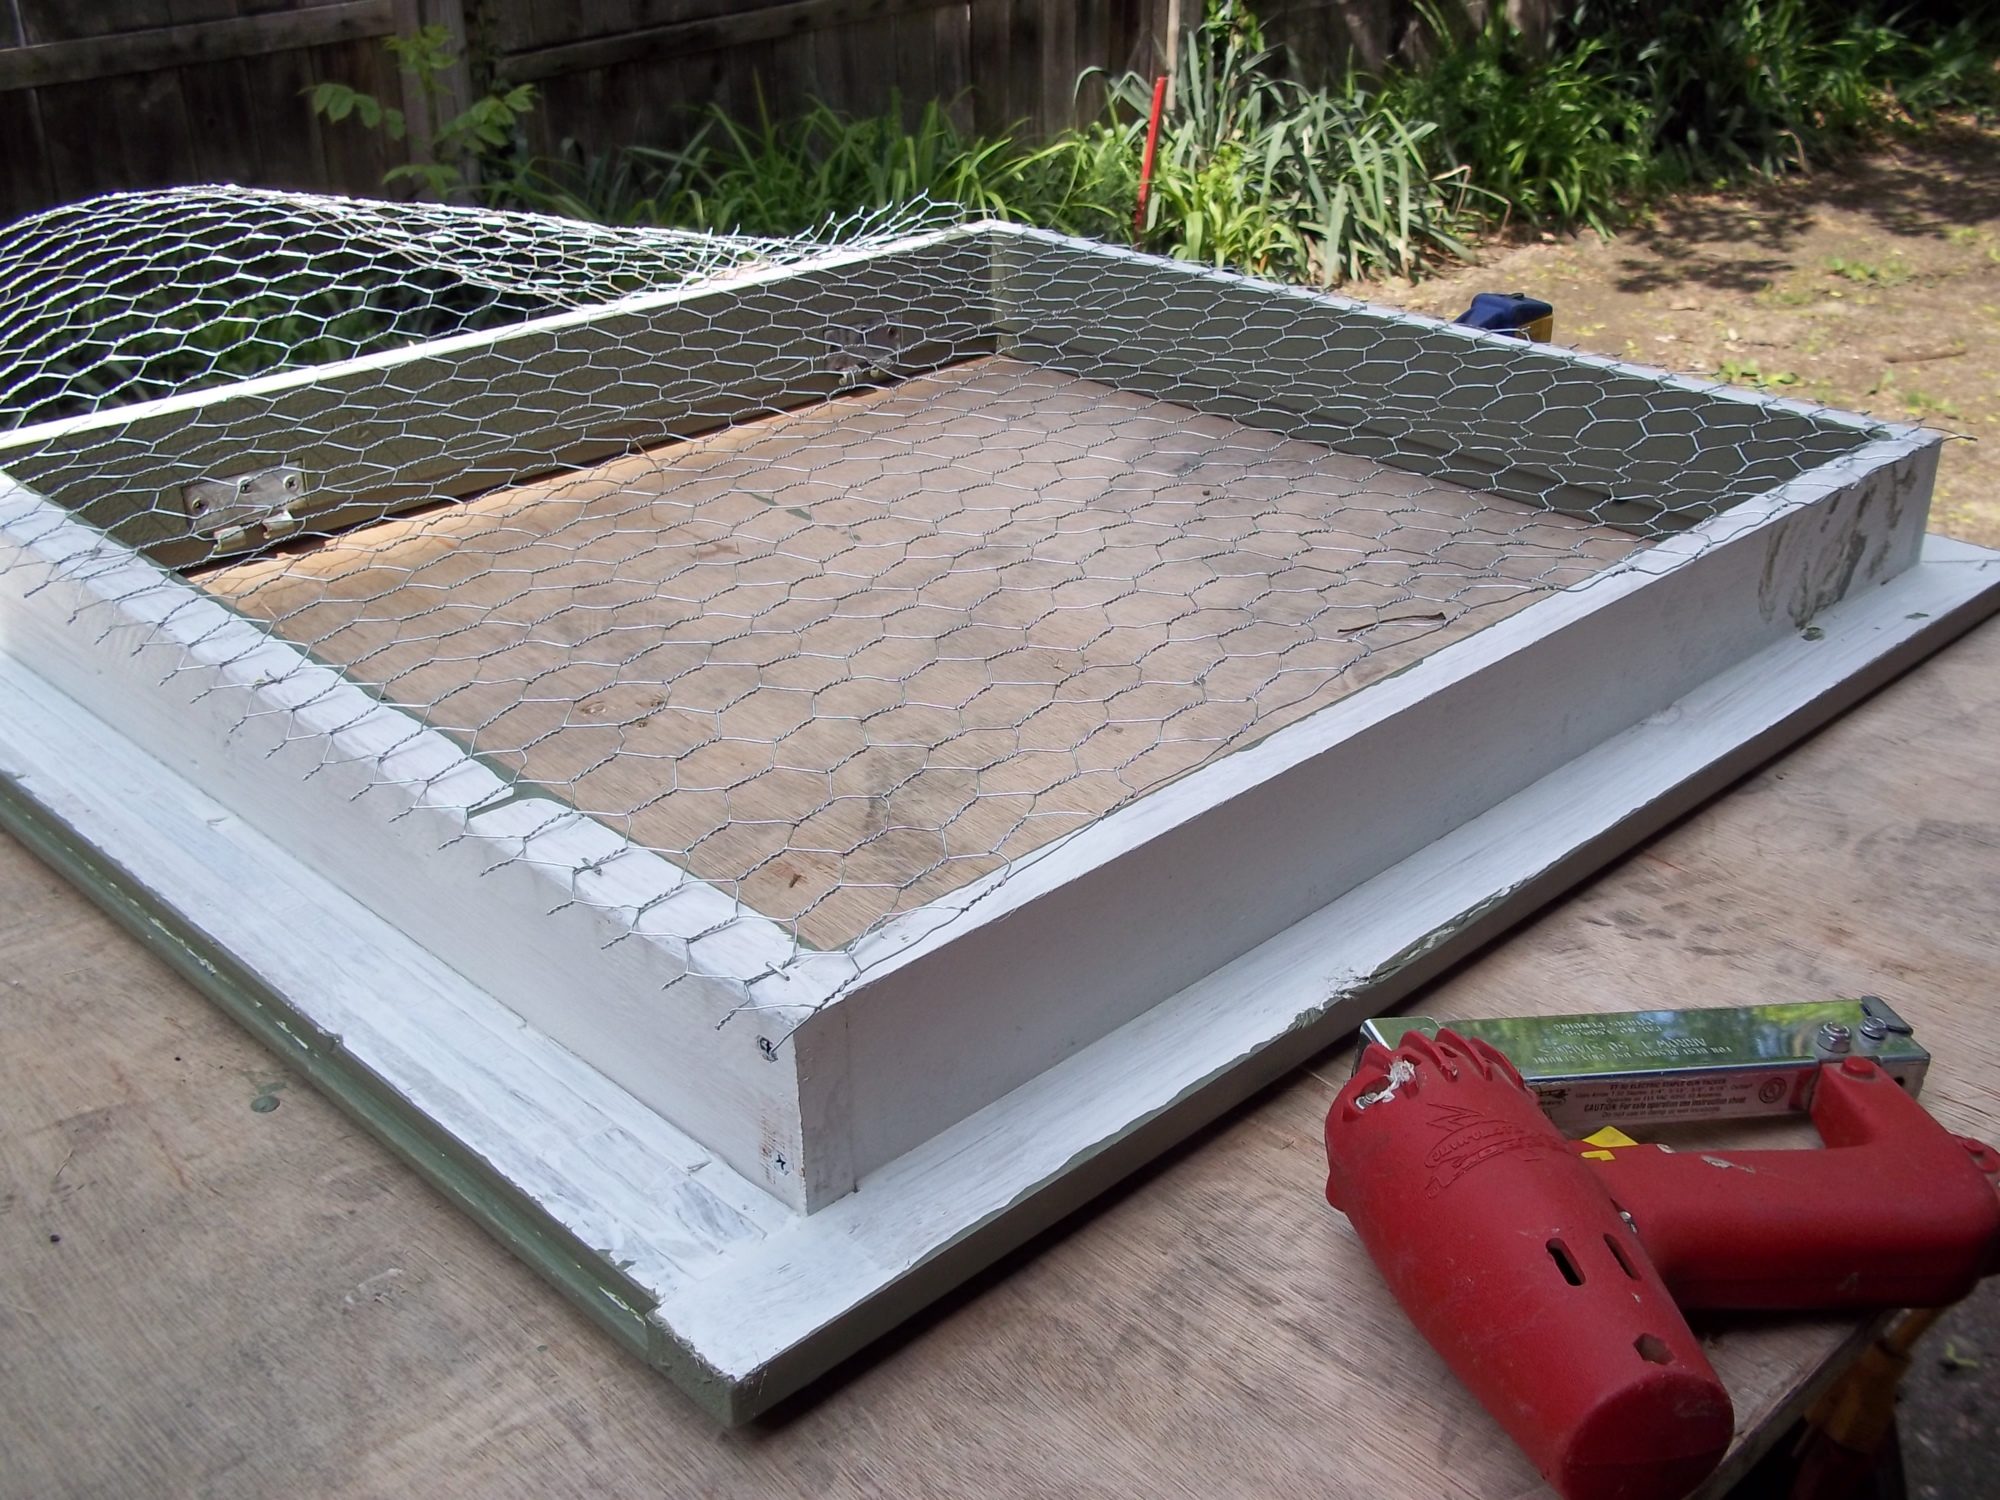
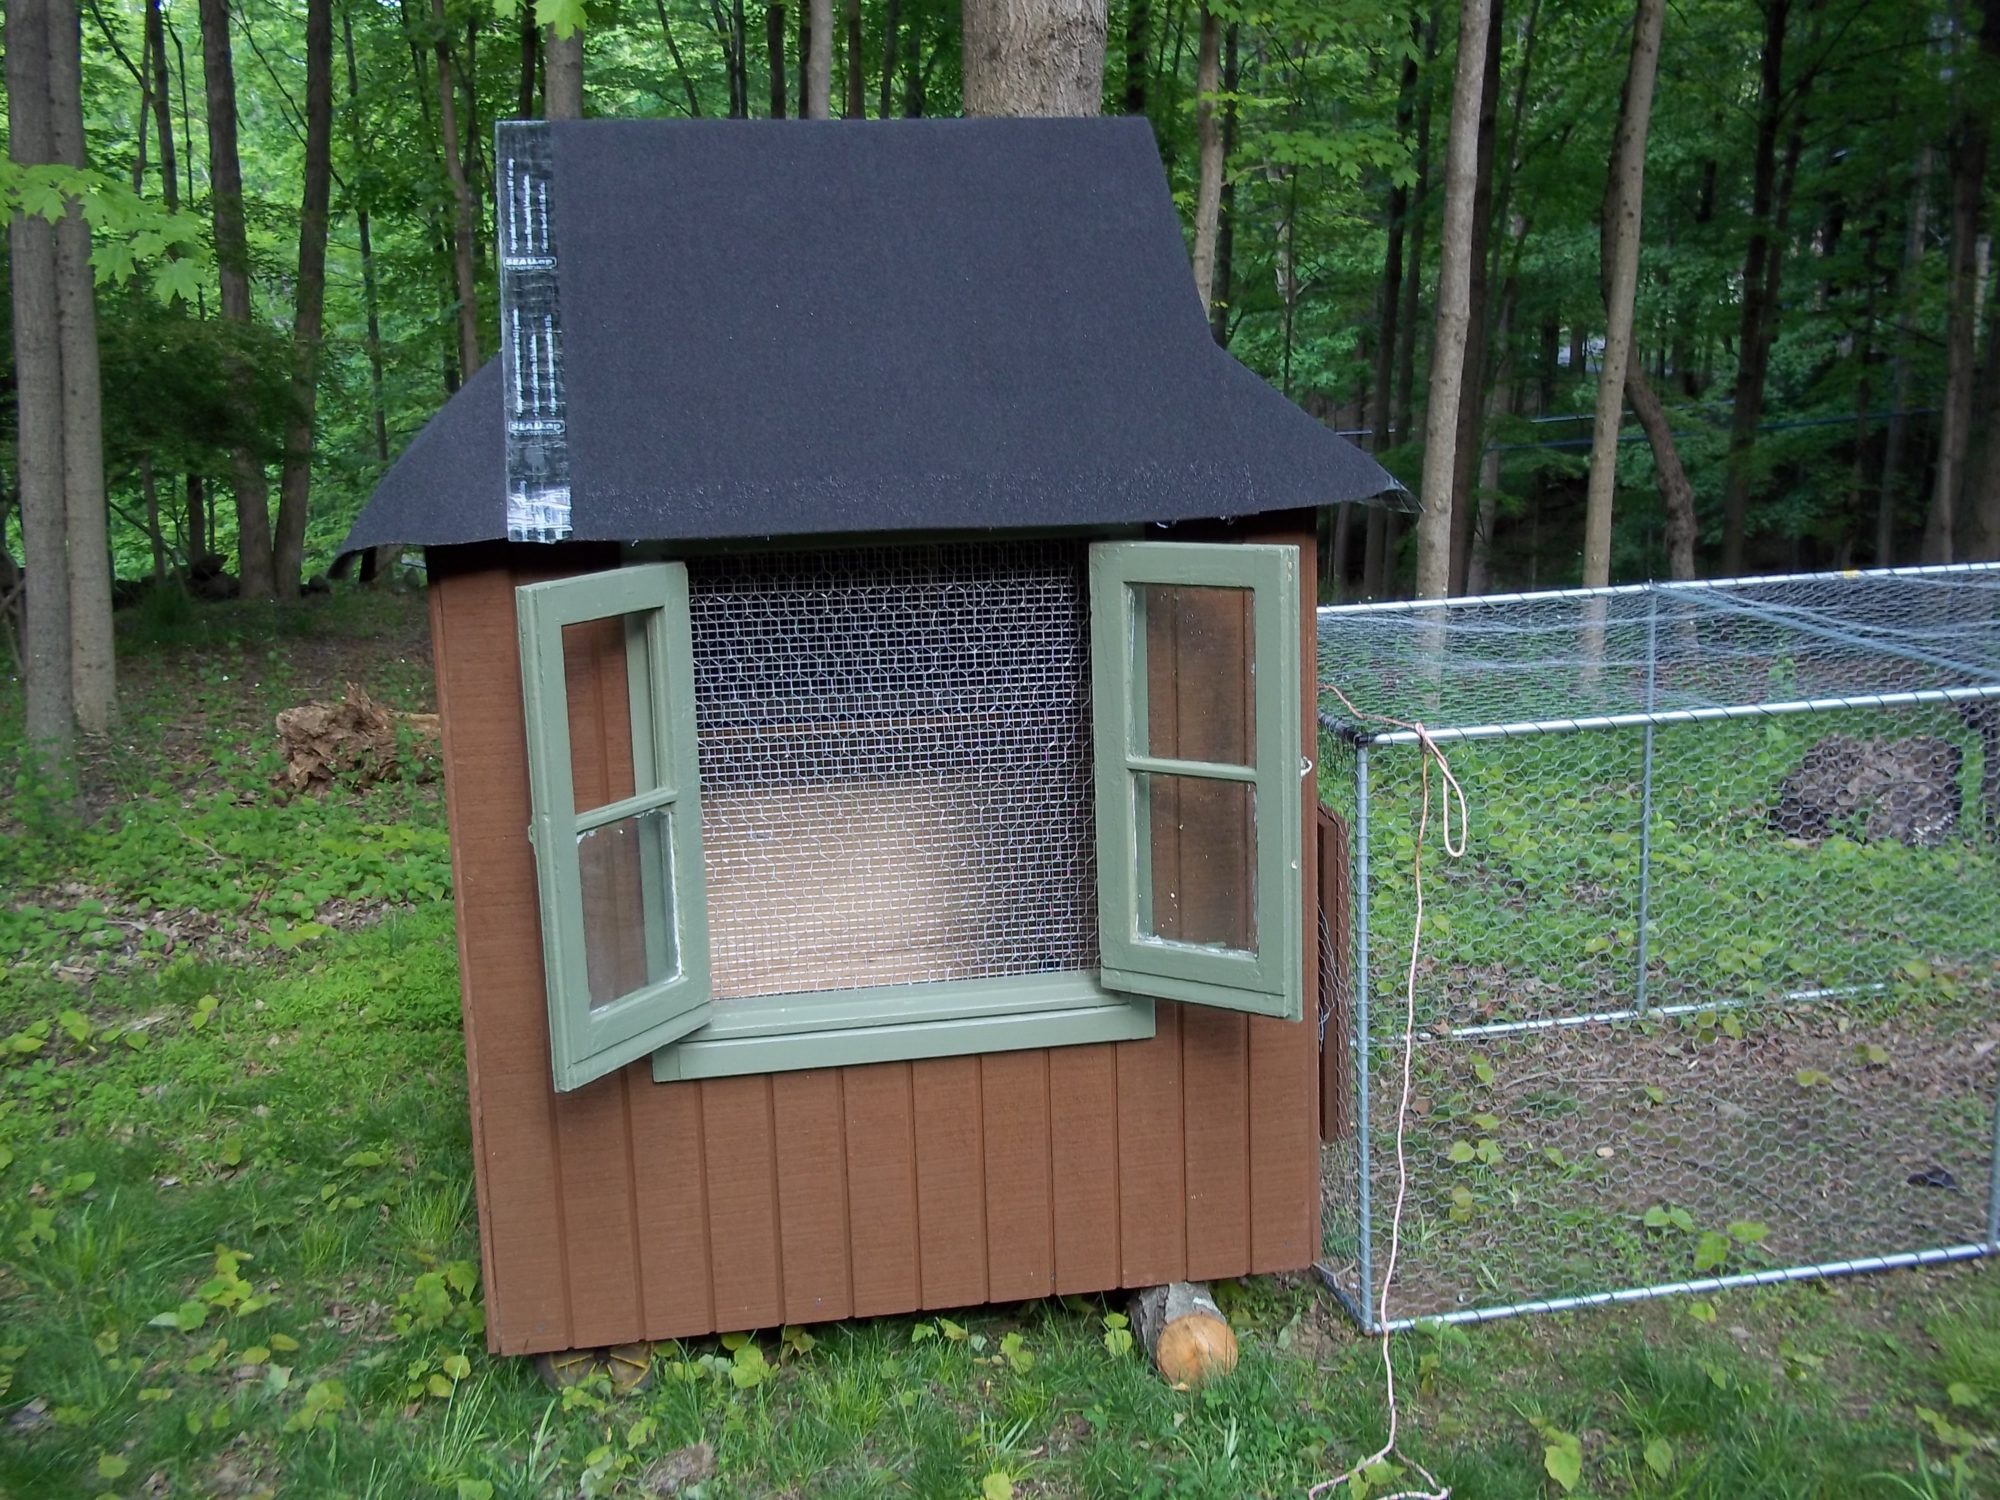
After posting this picture, someone on backyardchickens.com asked me if chicken wire would be enough to keep out the raccoons. I did a little research and found that it would be better to use a welded wire so installed hardware cloth over the chicken wire. There are pics of this later.
Coop assembly day: Here's the underside of the bottom of the tractor showing the bracket where a wheel will be attached.
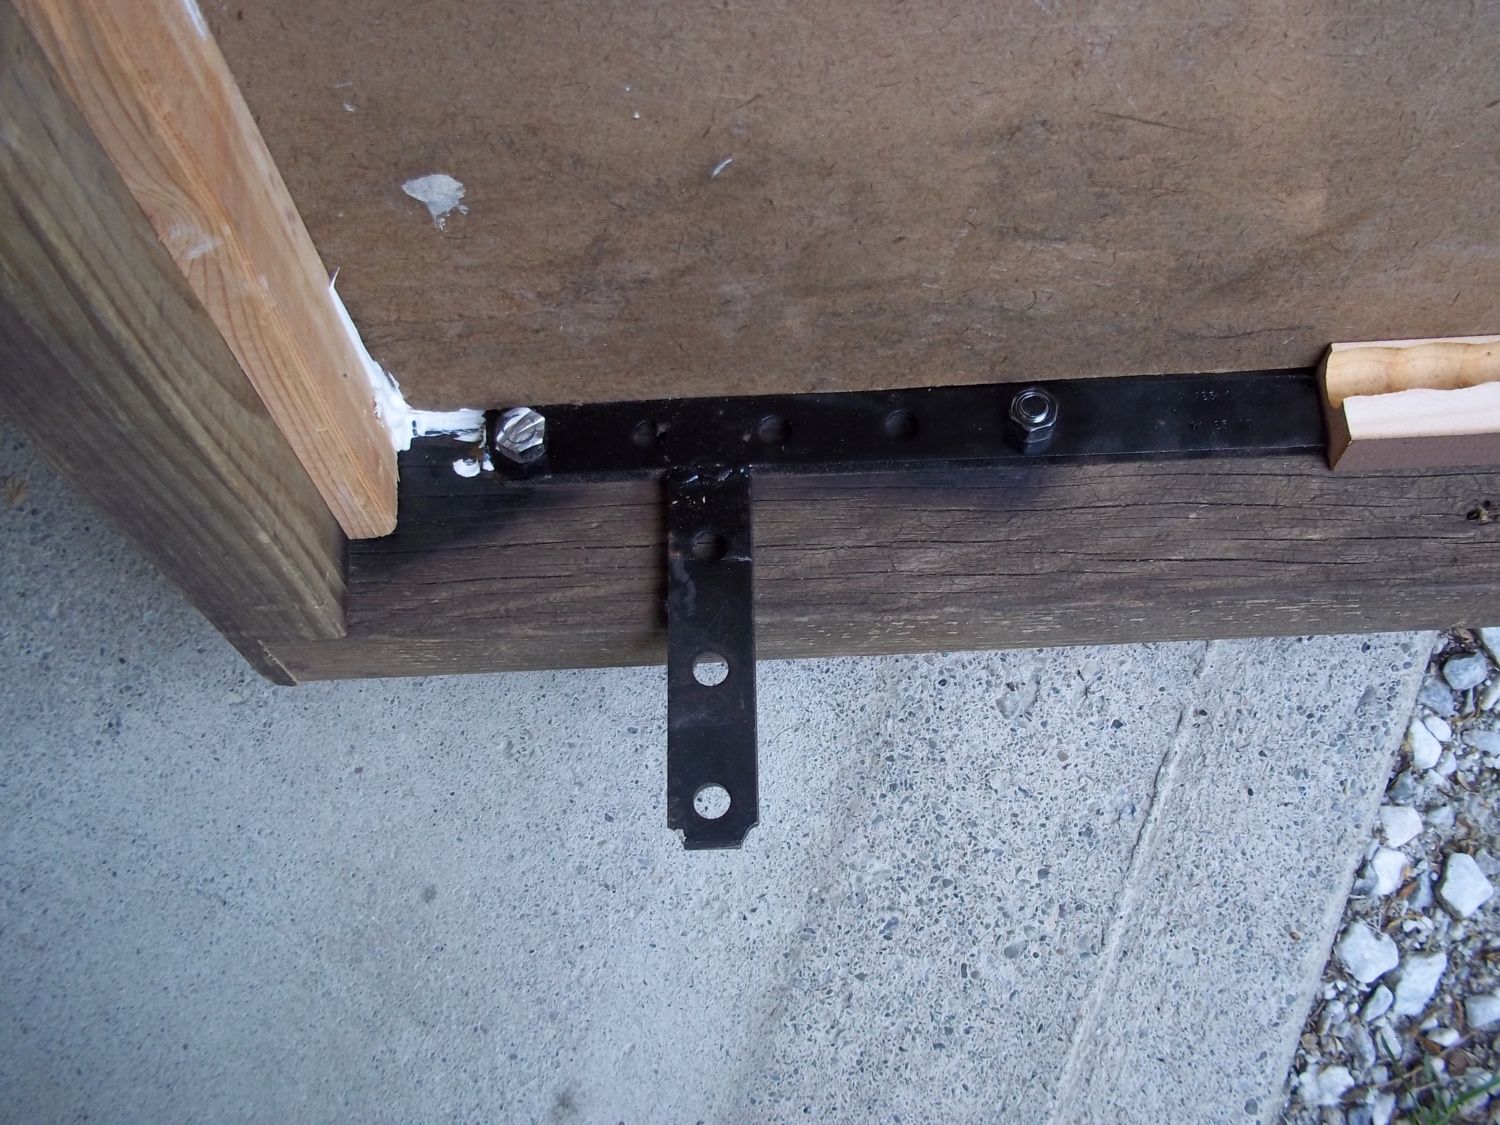
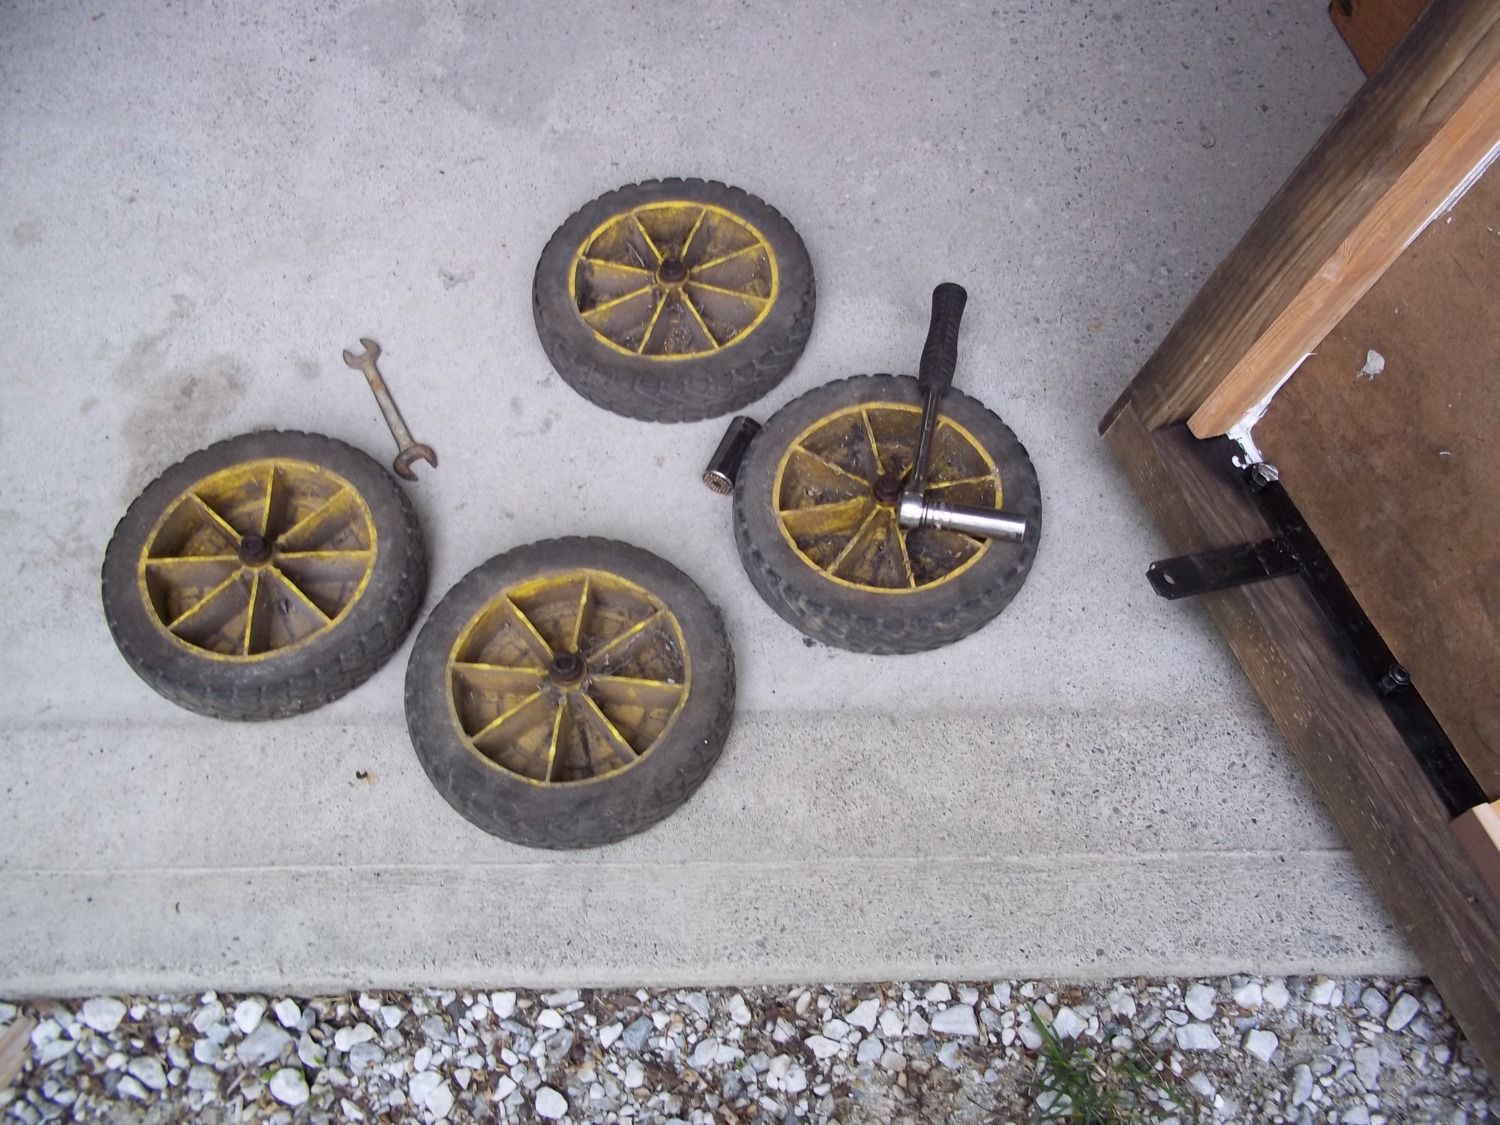
We used old lawnmower wheels.
Below, the base, wheels, sides and roof are assembled. This picture shows the roof insulation before the top plywood layer and roofing material were installed and the roof venting.
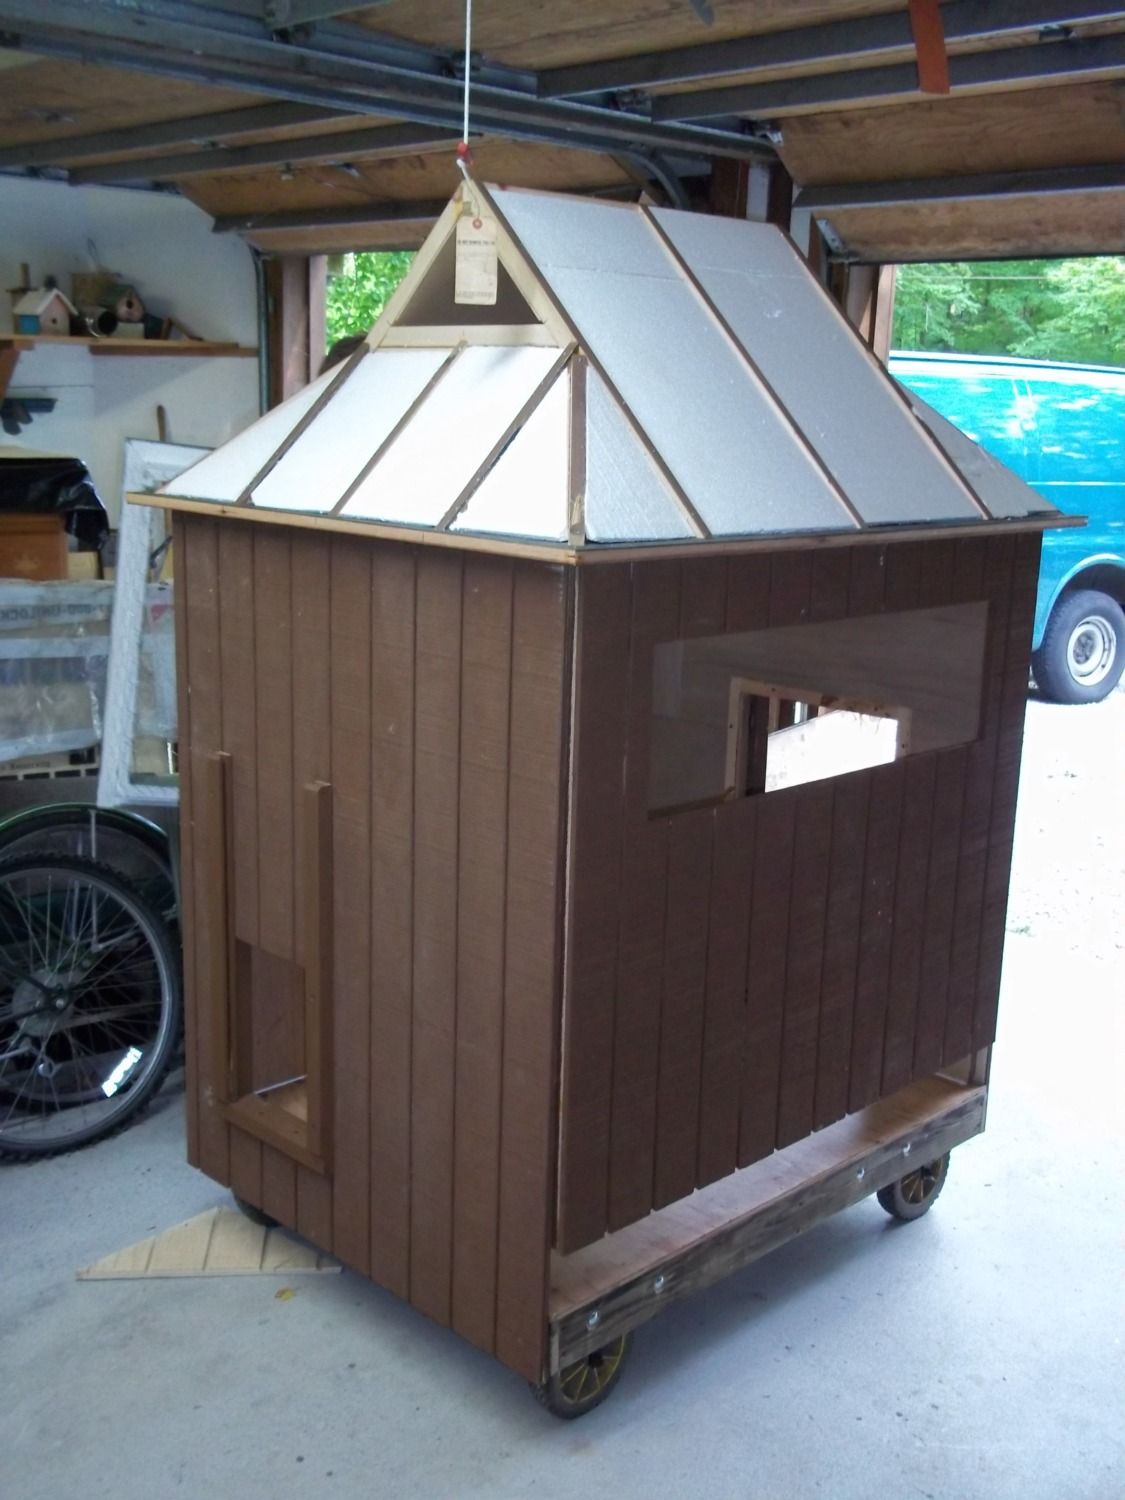
Plywood sheathing for the roof and the egg boxes were installed next. The flap covering the egg boxes will serve as a shelf when chains are attached on both ends. Temporarily, they will be screwed shut because the chicks are too young to lay eggs anyway. They are only 6 weeks old.

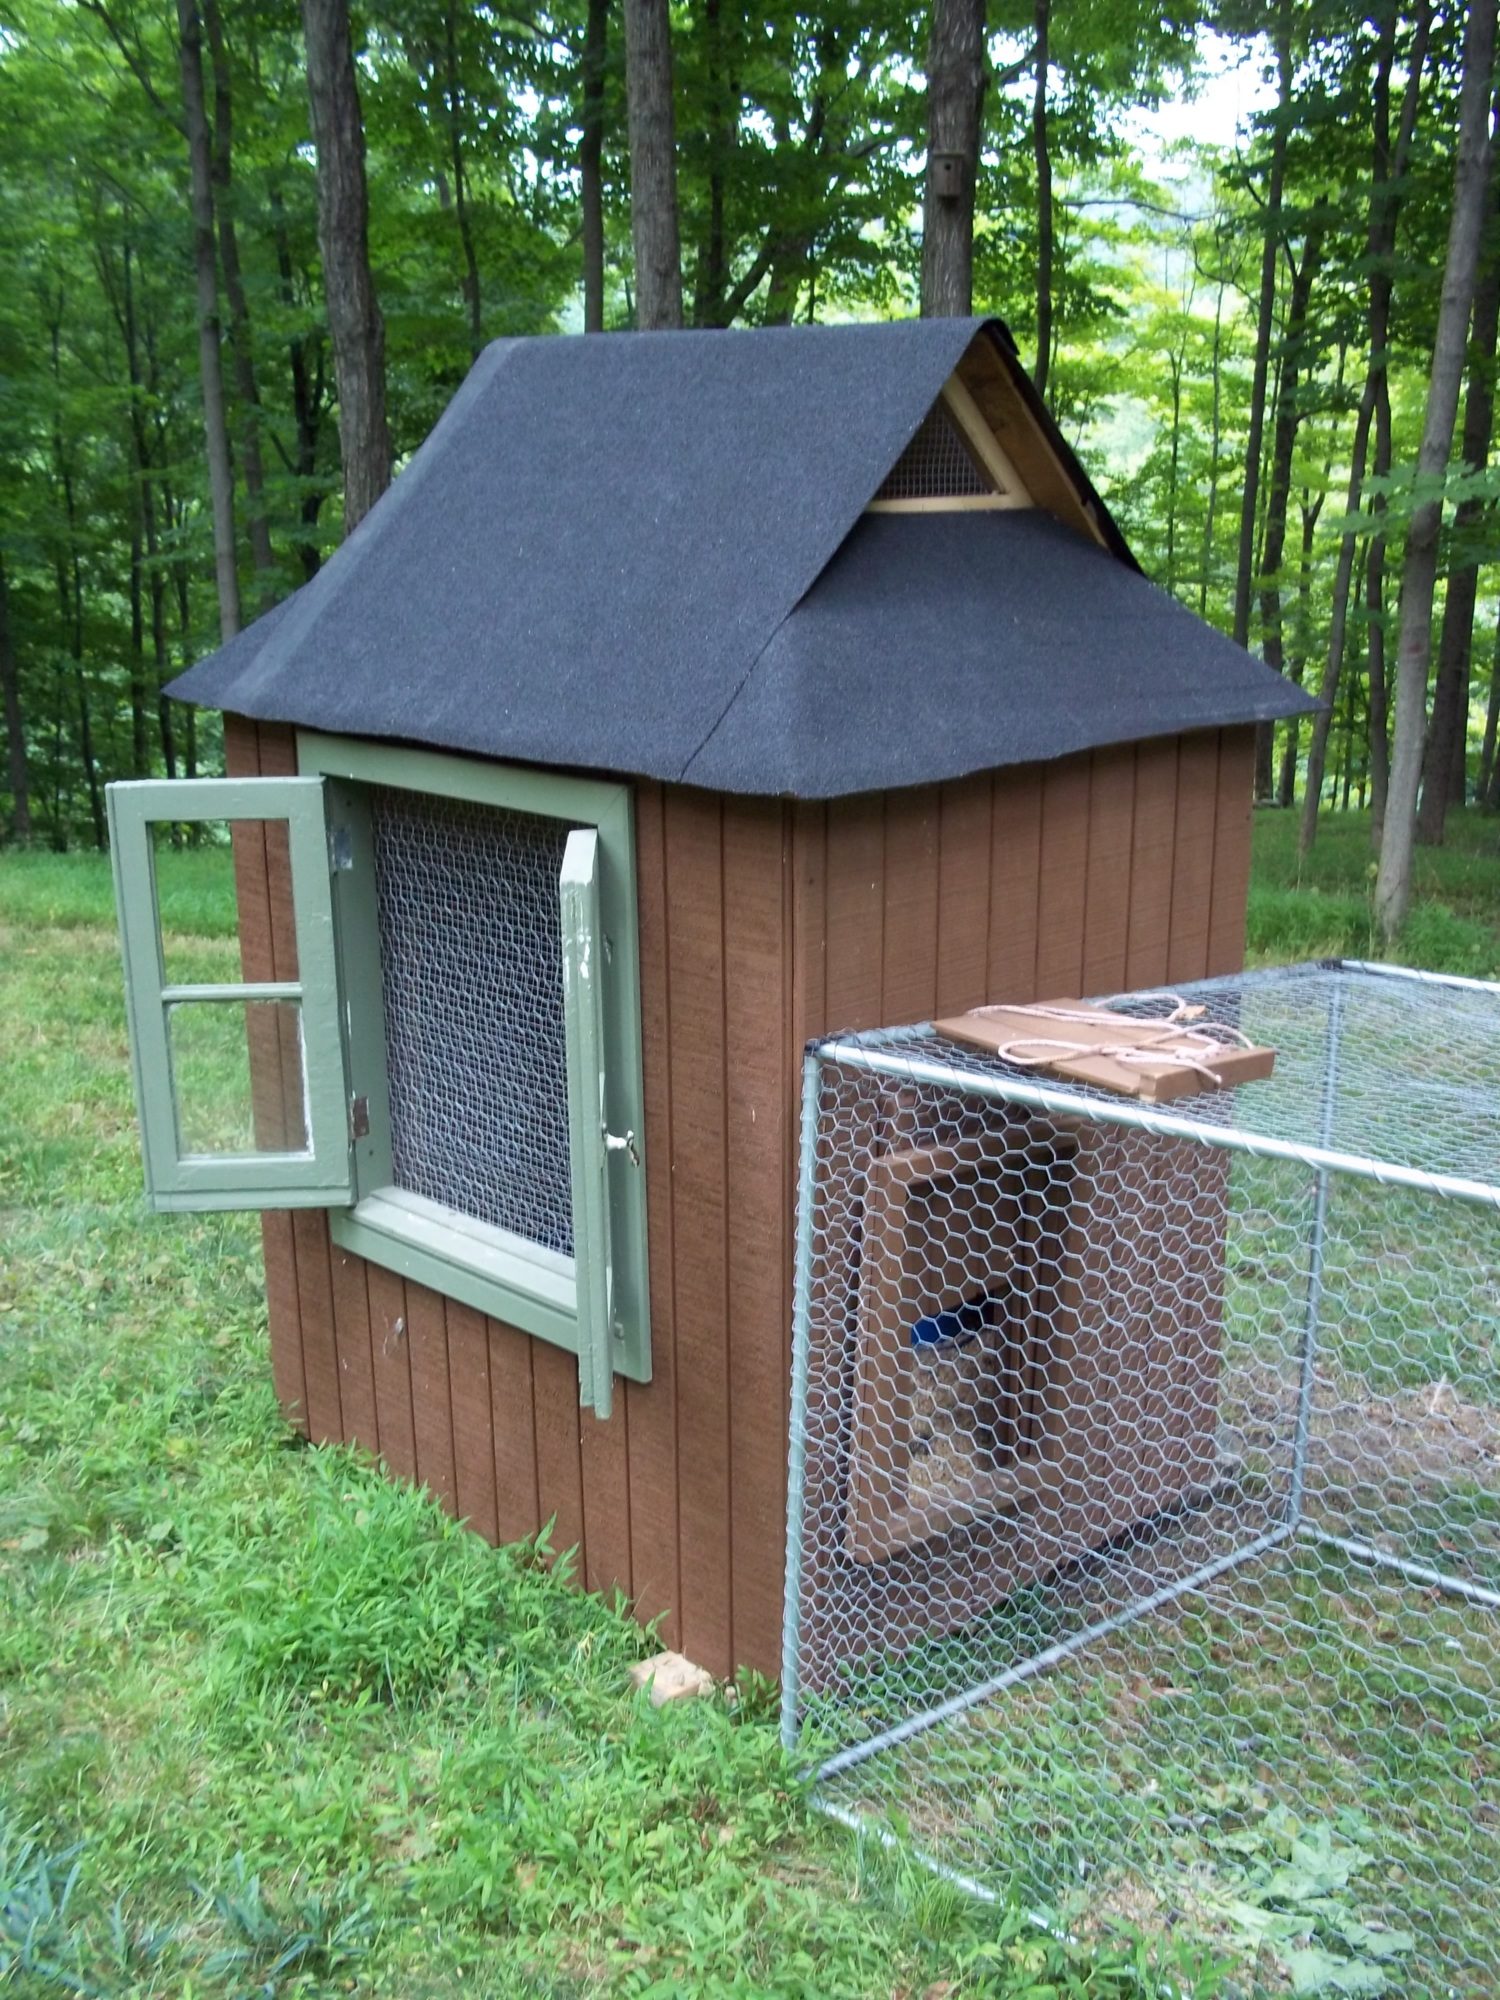
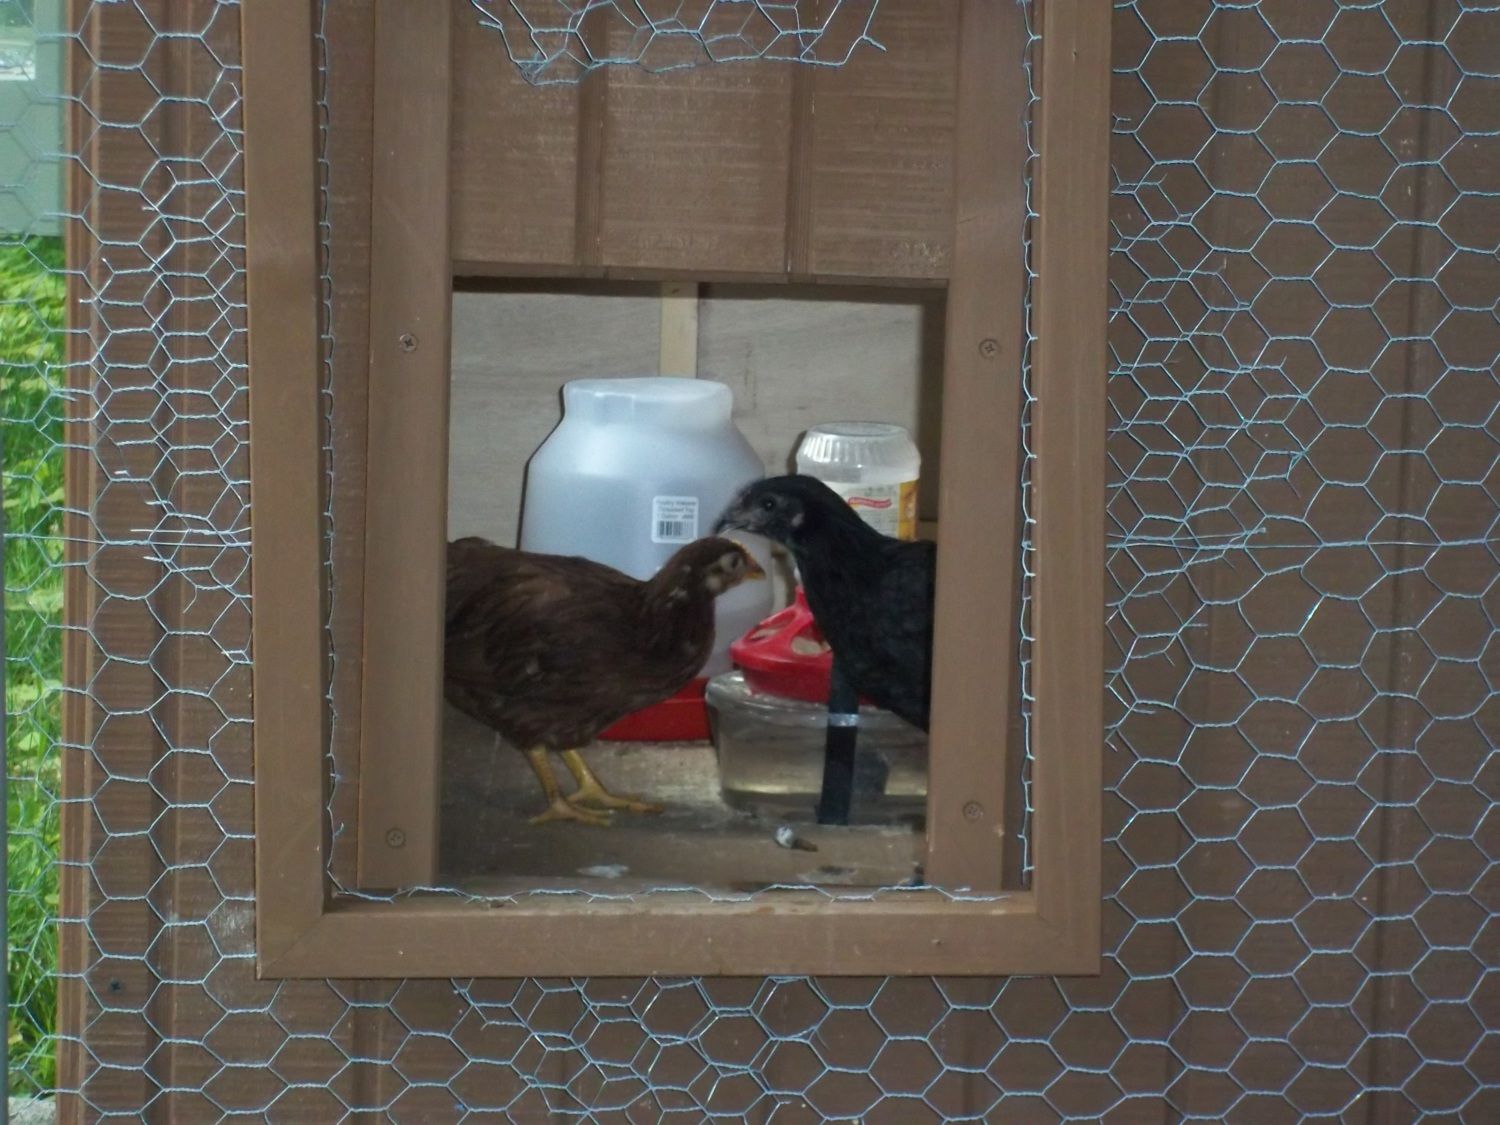
The large window will provide maximum ventilation in the summer. Hardware cloth was added over the chicken wire for more protection from predators. I have read that chickens like to roost on the highest perch inside the coop and if the nesting boxes are the highest structure, they will sleep there and poop on the eggs. So the roosting bar is just above the window. We hope it is not too high. There is an intermediate perch for the chicks to get up there, but we do not know whether they will figure it out.
Erich made two wood frames a little larger than the chicken door opening and placed one frame on each side of the chicken wire and screwed them together. Then he cut an X in the chicken wire and bent it back around the frame to make an opening to meet up with the chicken door. The coop was rolled outside and butted up against the run.
When we rolled the coop out to the run, two wheel brackets broke - the soldered joint failed. He will have to think of another way to attach the wheels. For now, we have two logs holding up that end of the tractor to make it level.
The roofing material is the type meant for a flat roof. It has a sticky underside and a granulated top side. We lapped it right over the top of the coop so we wouldn't need any extra material over the ridge. We decided not to use shingles because we thought it would add that much more weight that we did not need to be rolling around. We did not have time today to finish the roof. It will be trimmed and a drip edge installed.
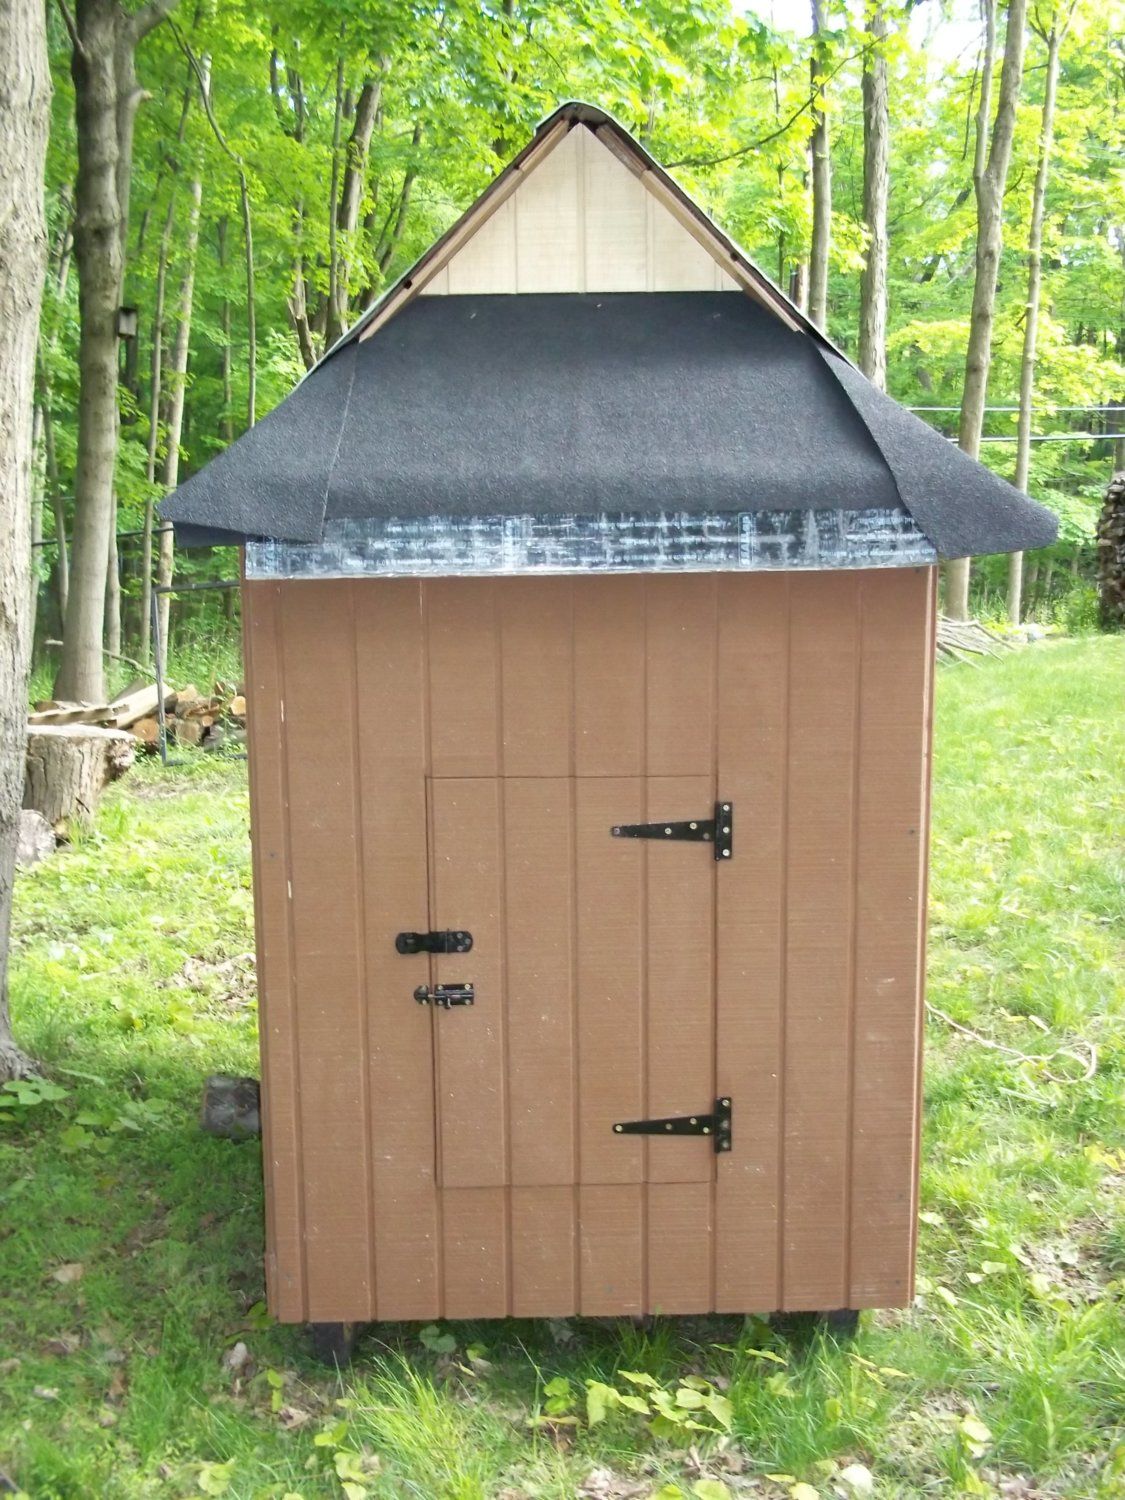
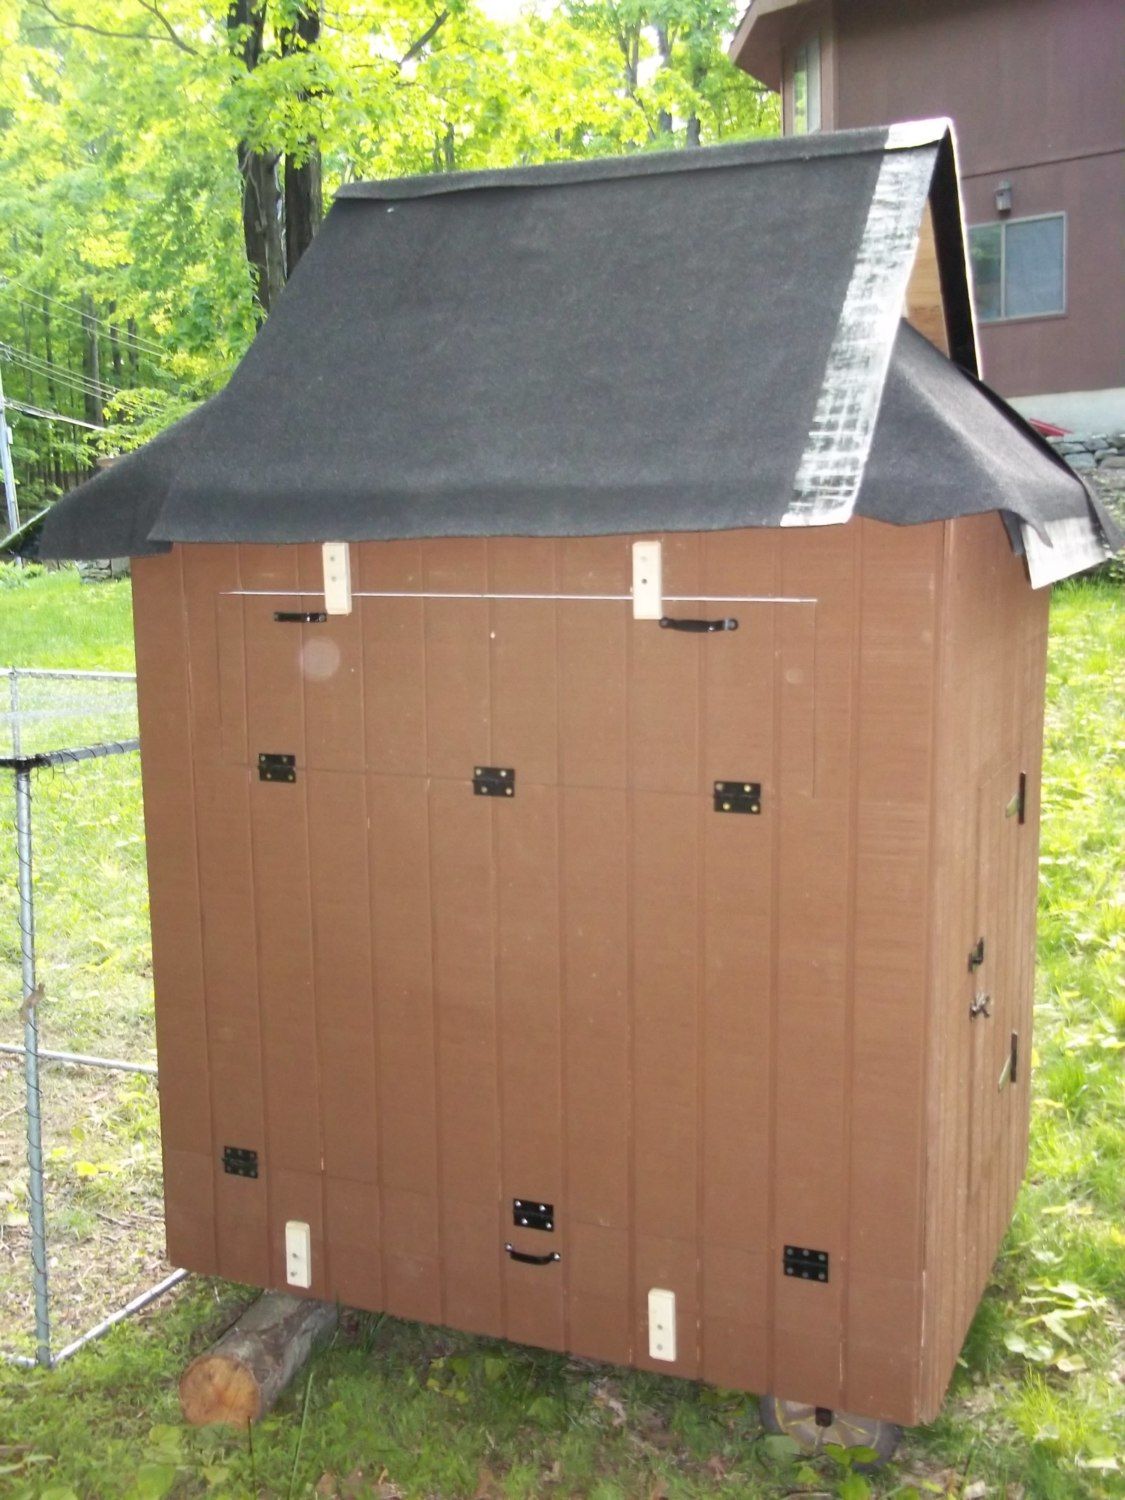
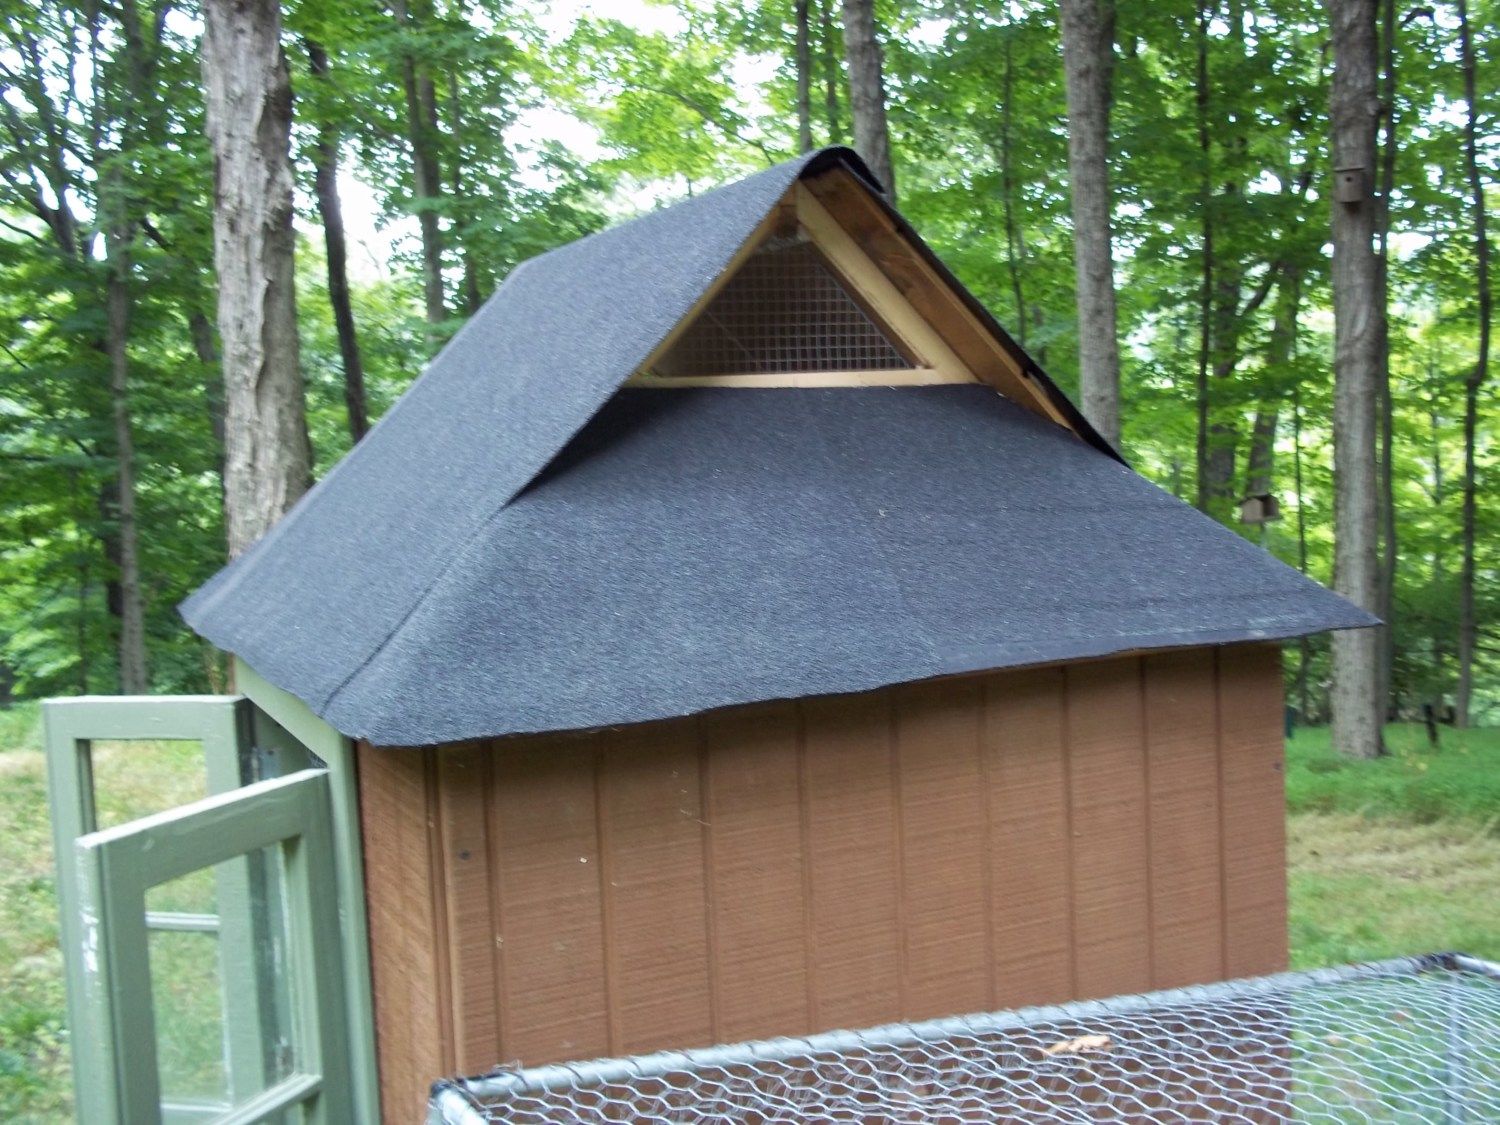
The "people" door has 2 locks. Erich had installed a sliding latch, but I asked for a closure that would accept a padlock to foil the raccoons. The ventilation triangle at the top is closed up because we did not have time to install the hardware cloth but will do that and paint the triangle flaps (one on the opposite side too) next time.
On this side we have the egg laying boxes and flap at bottom for clean out. There will be a tray the size of the entire bottom of the coop that pulls out for cleaning. With high mounted egg laying boxes and an even higher perch, this leaves the entire floor of the coop for the chickens to walk around, eat and drink. You can see the "people" house in the background of this picture. We tried to coordinate the coop with the house.
It took the chicks about 30 minutes to muster up the courage to peek inside their new home. But they all eventually went in. I placed their food and water inside to encourage them to check it out.
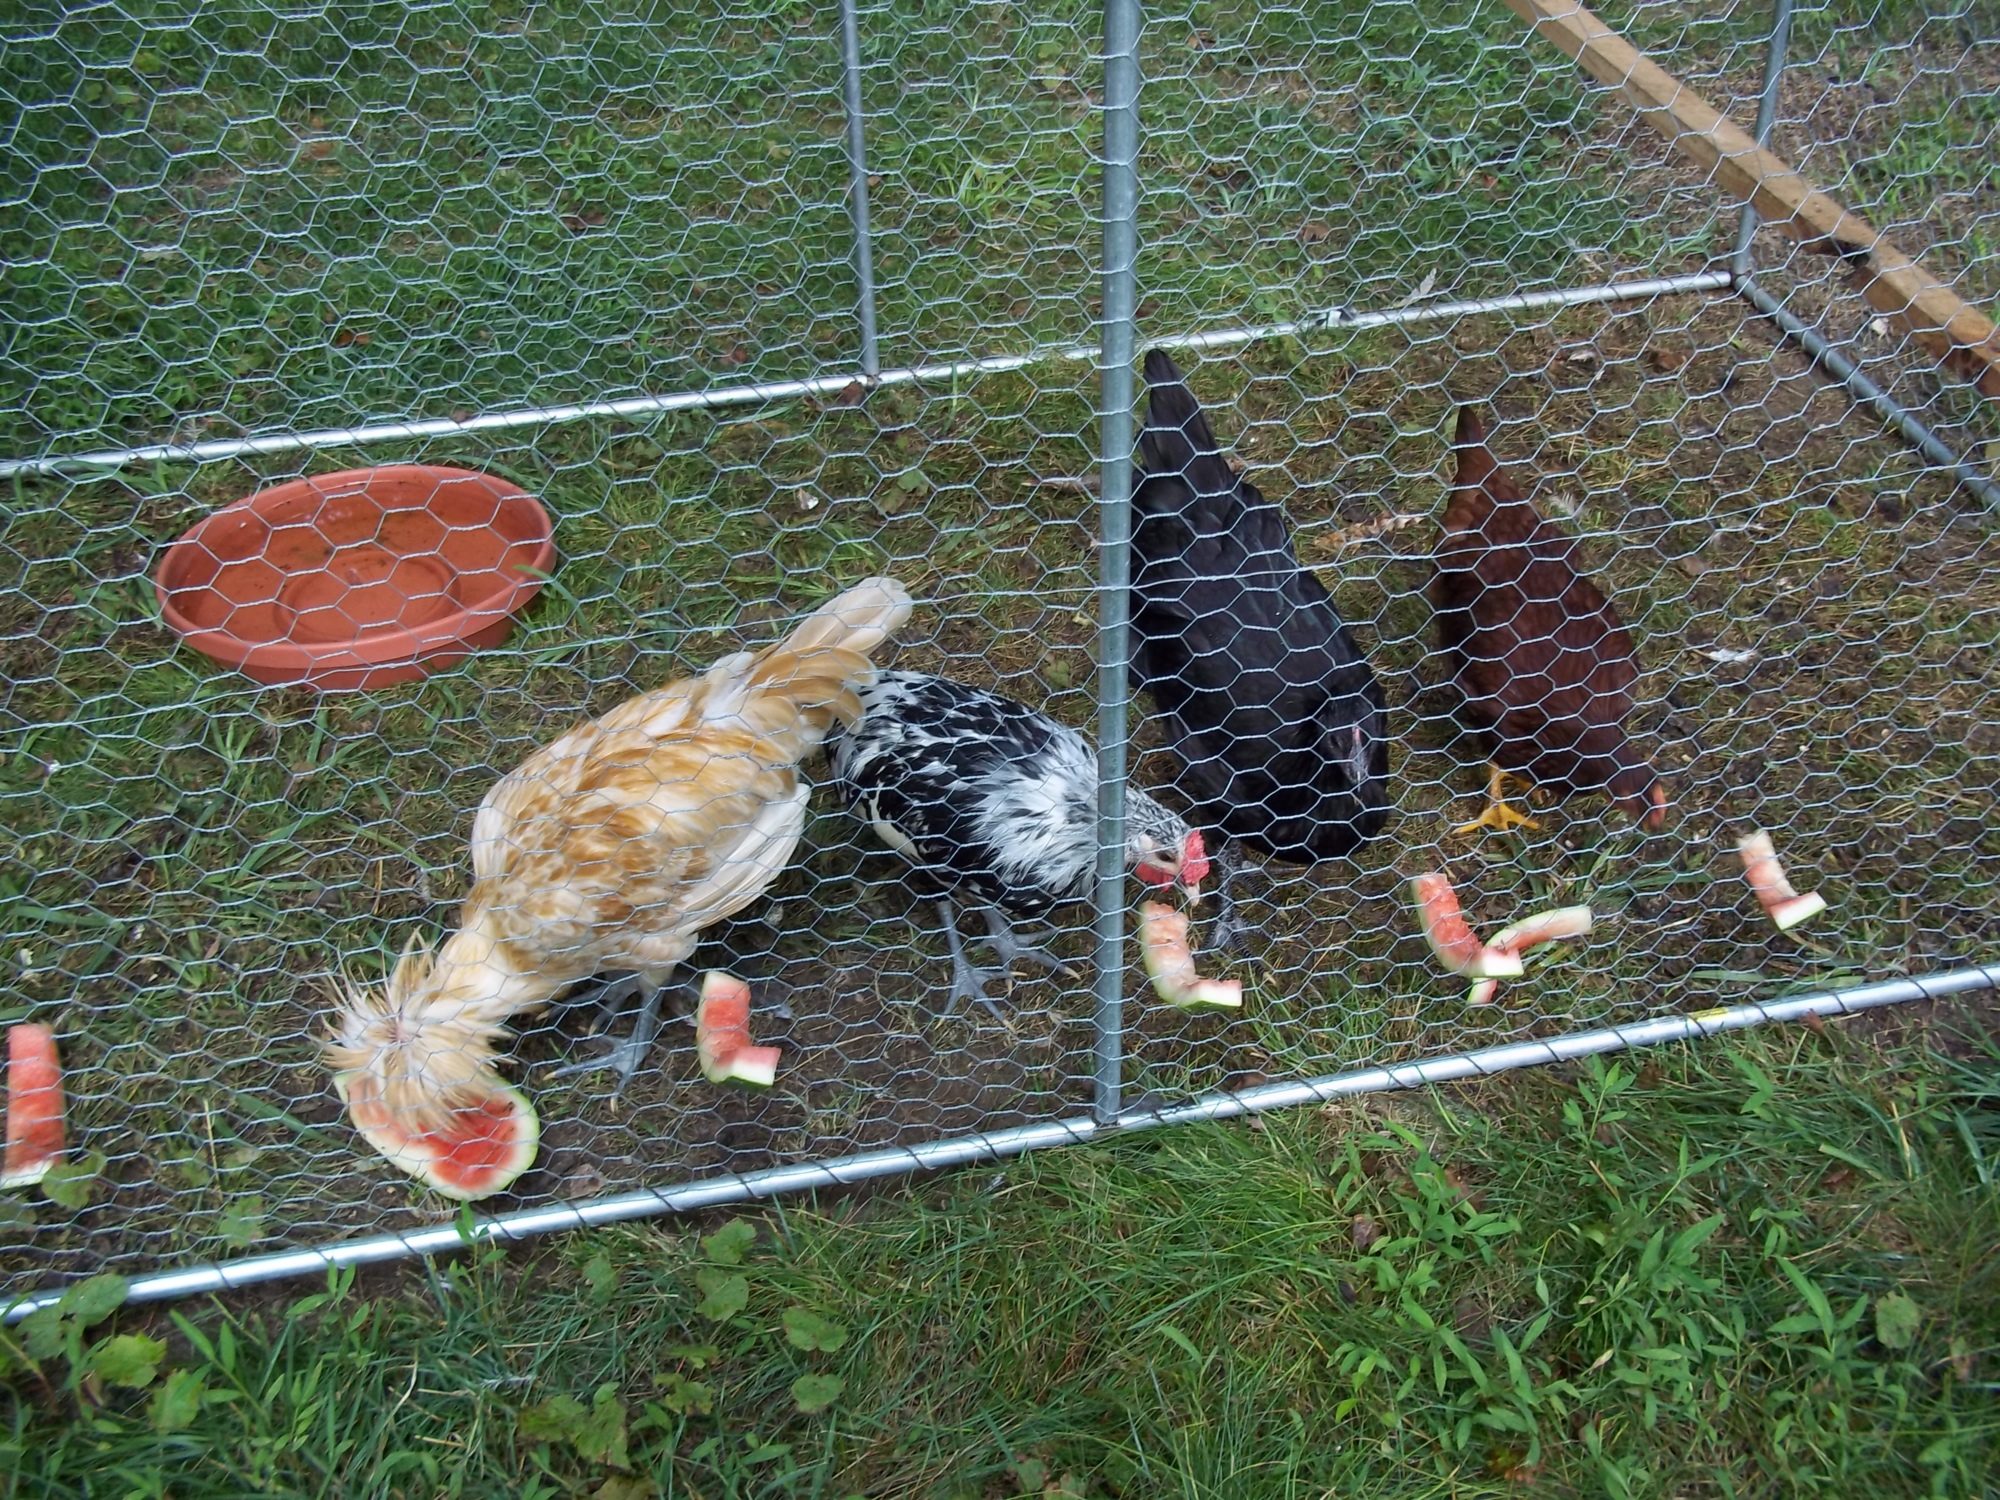
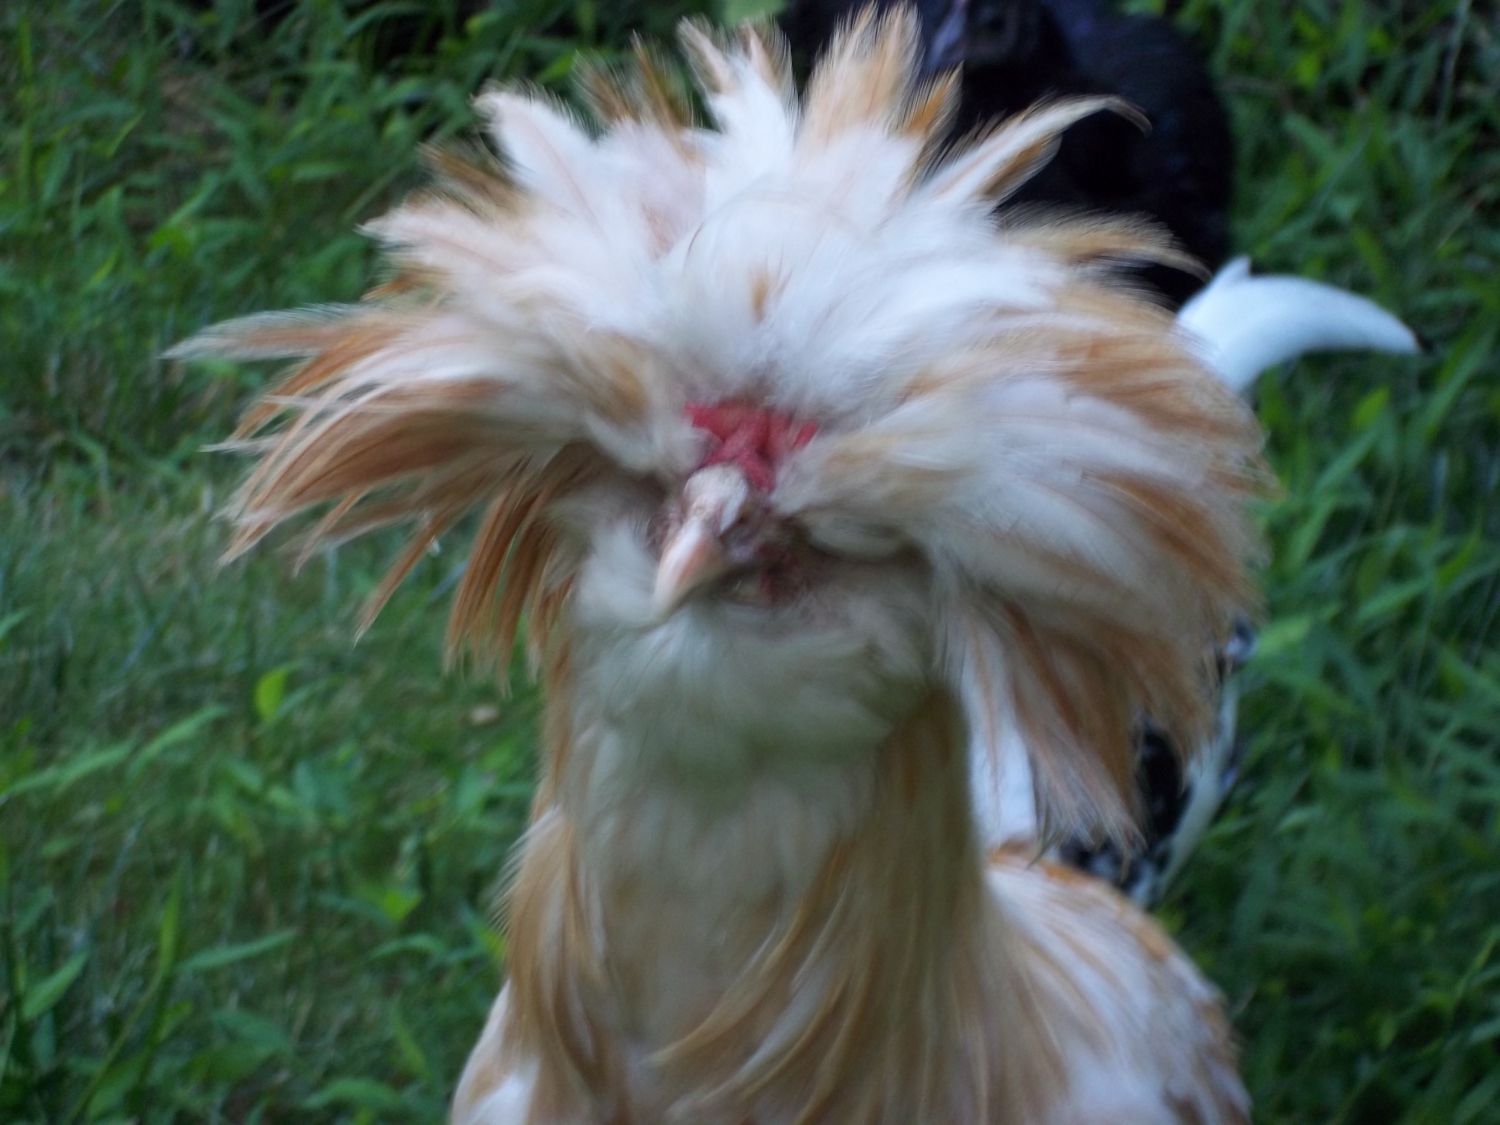
Here are the chicks at 6 weeks old. A Black Australorp (Samantha), Red Star (Rosie), a Buff Laced Polish (Anishka), and a Silver Spangled Hamburg (Dotty).
It has been a hot summer. In early July, vents were installed at the top of the roof providing cross ventilation.
One hot day I stuck sliced watermelon rinds in the chicken wire and each chick had its own slice to peck on. They loved it.
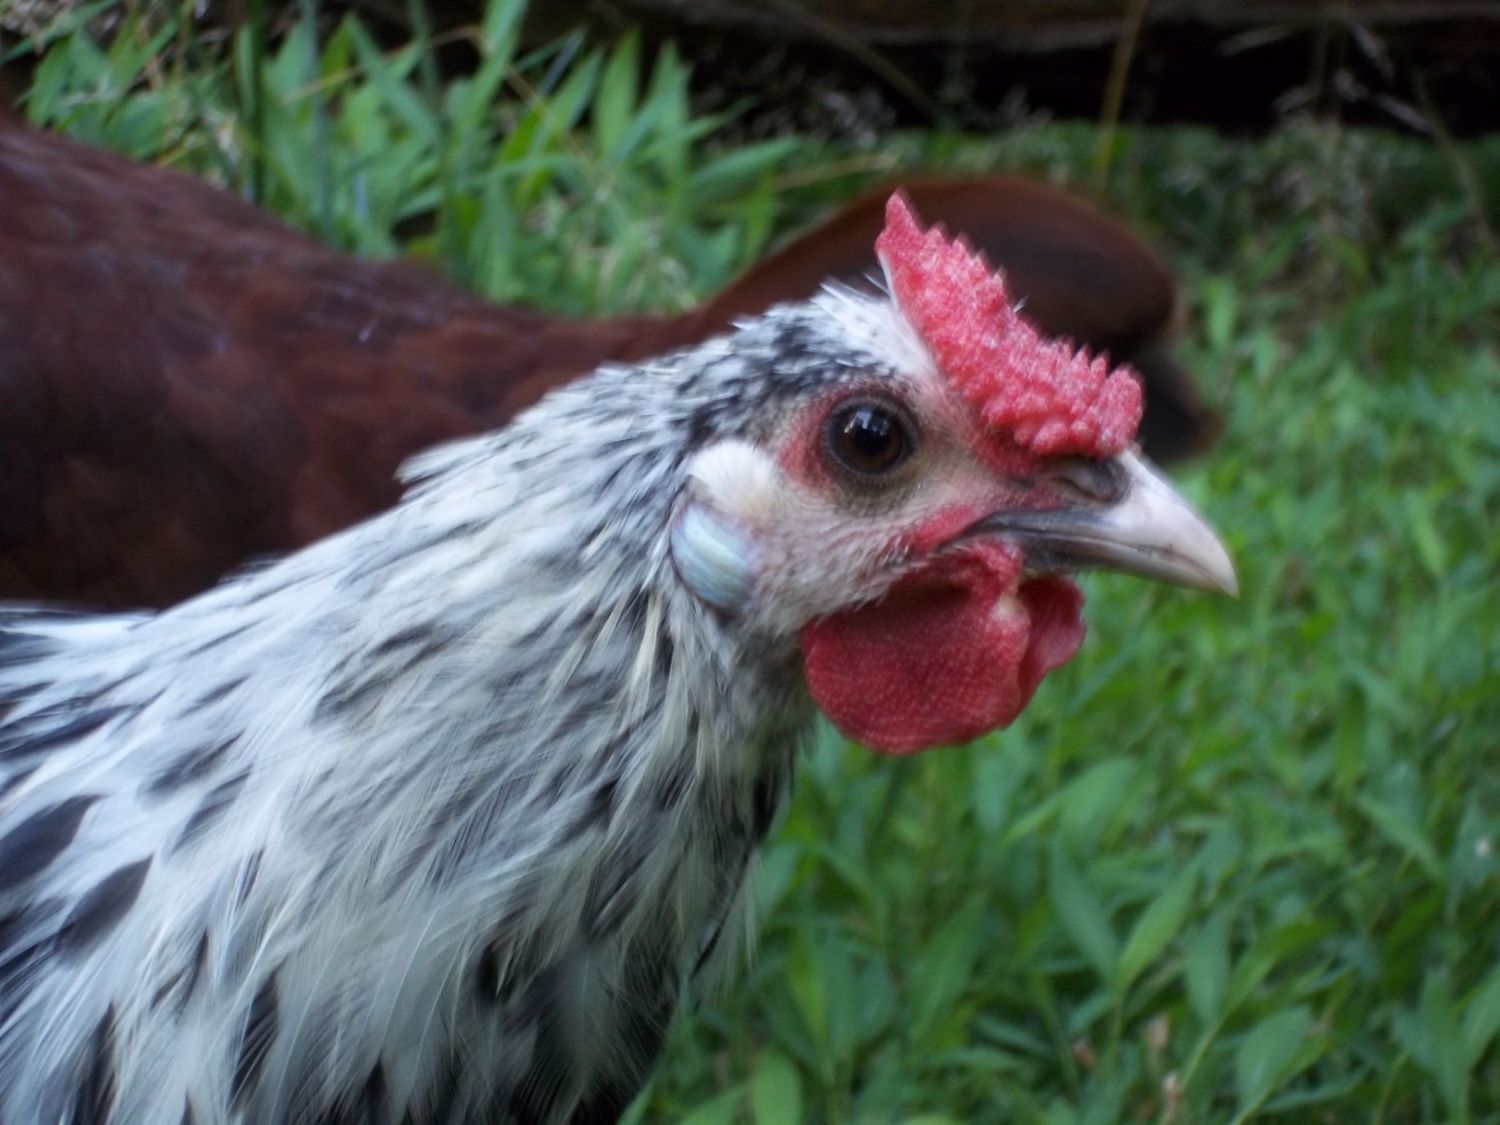
Dottie and Anishka turned out to be roosters. I realized they were roosters when they were about 3 months old. Both were given to an orchard farm where there are about 20 other chickens. Below are my last pictures of Dottie, a Silver Speckled Hamburg and Anishka, a Buff Laced Polish.
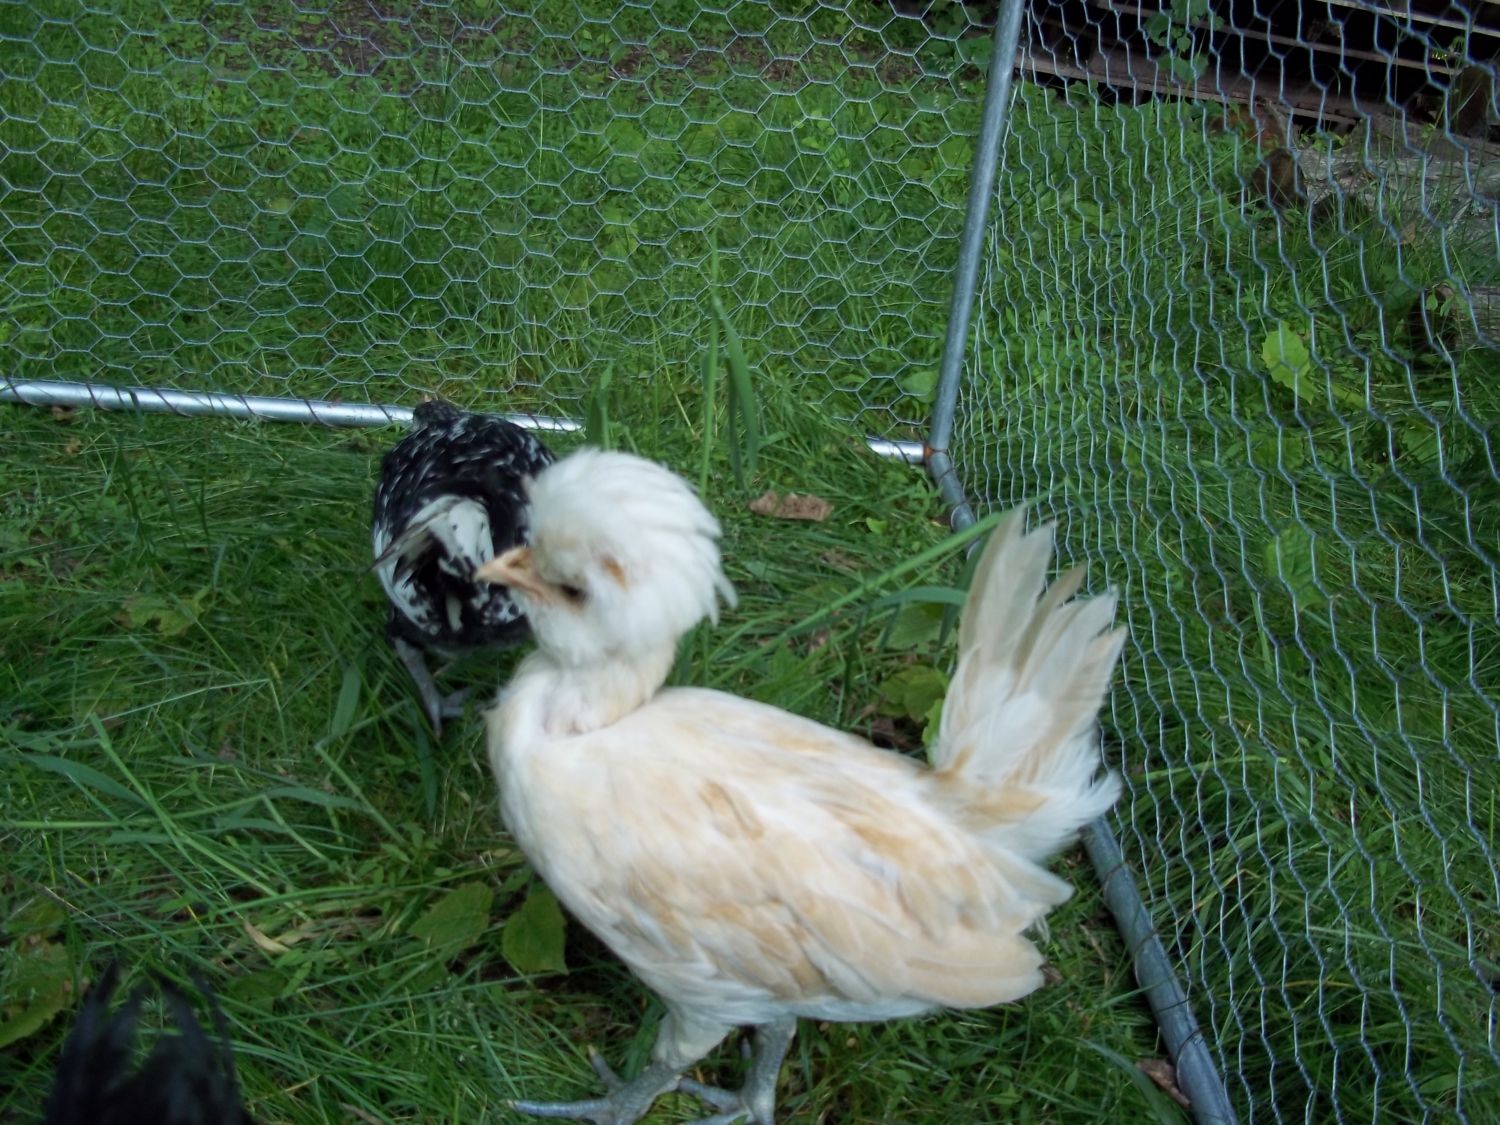
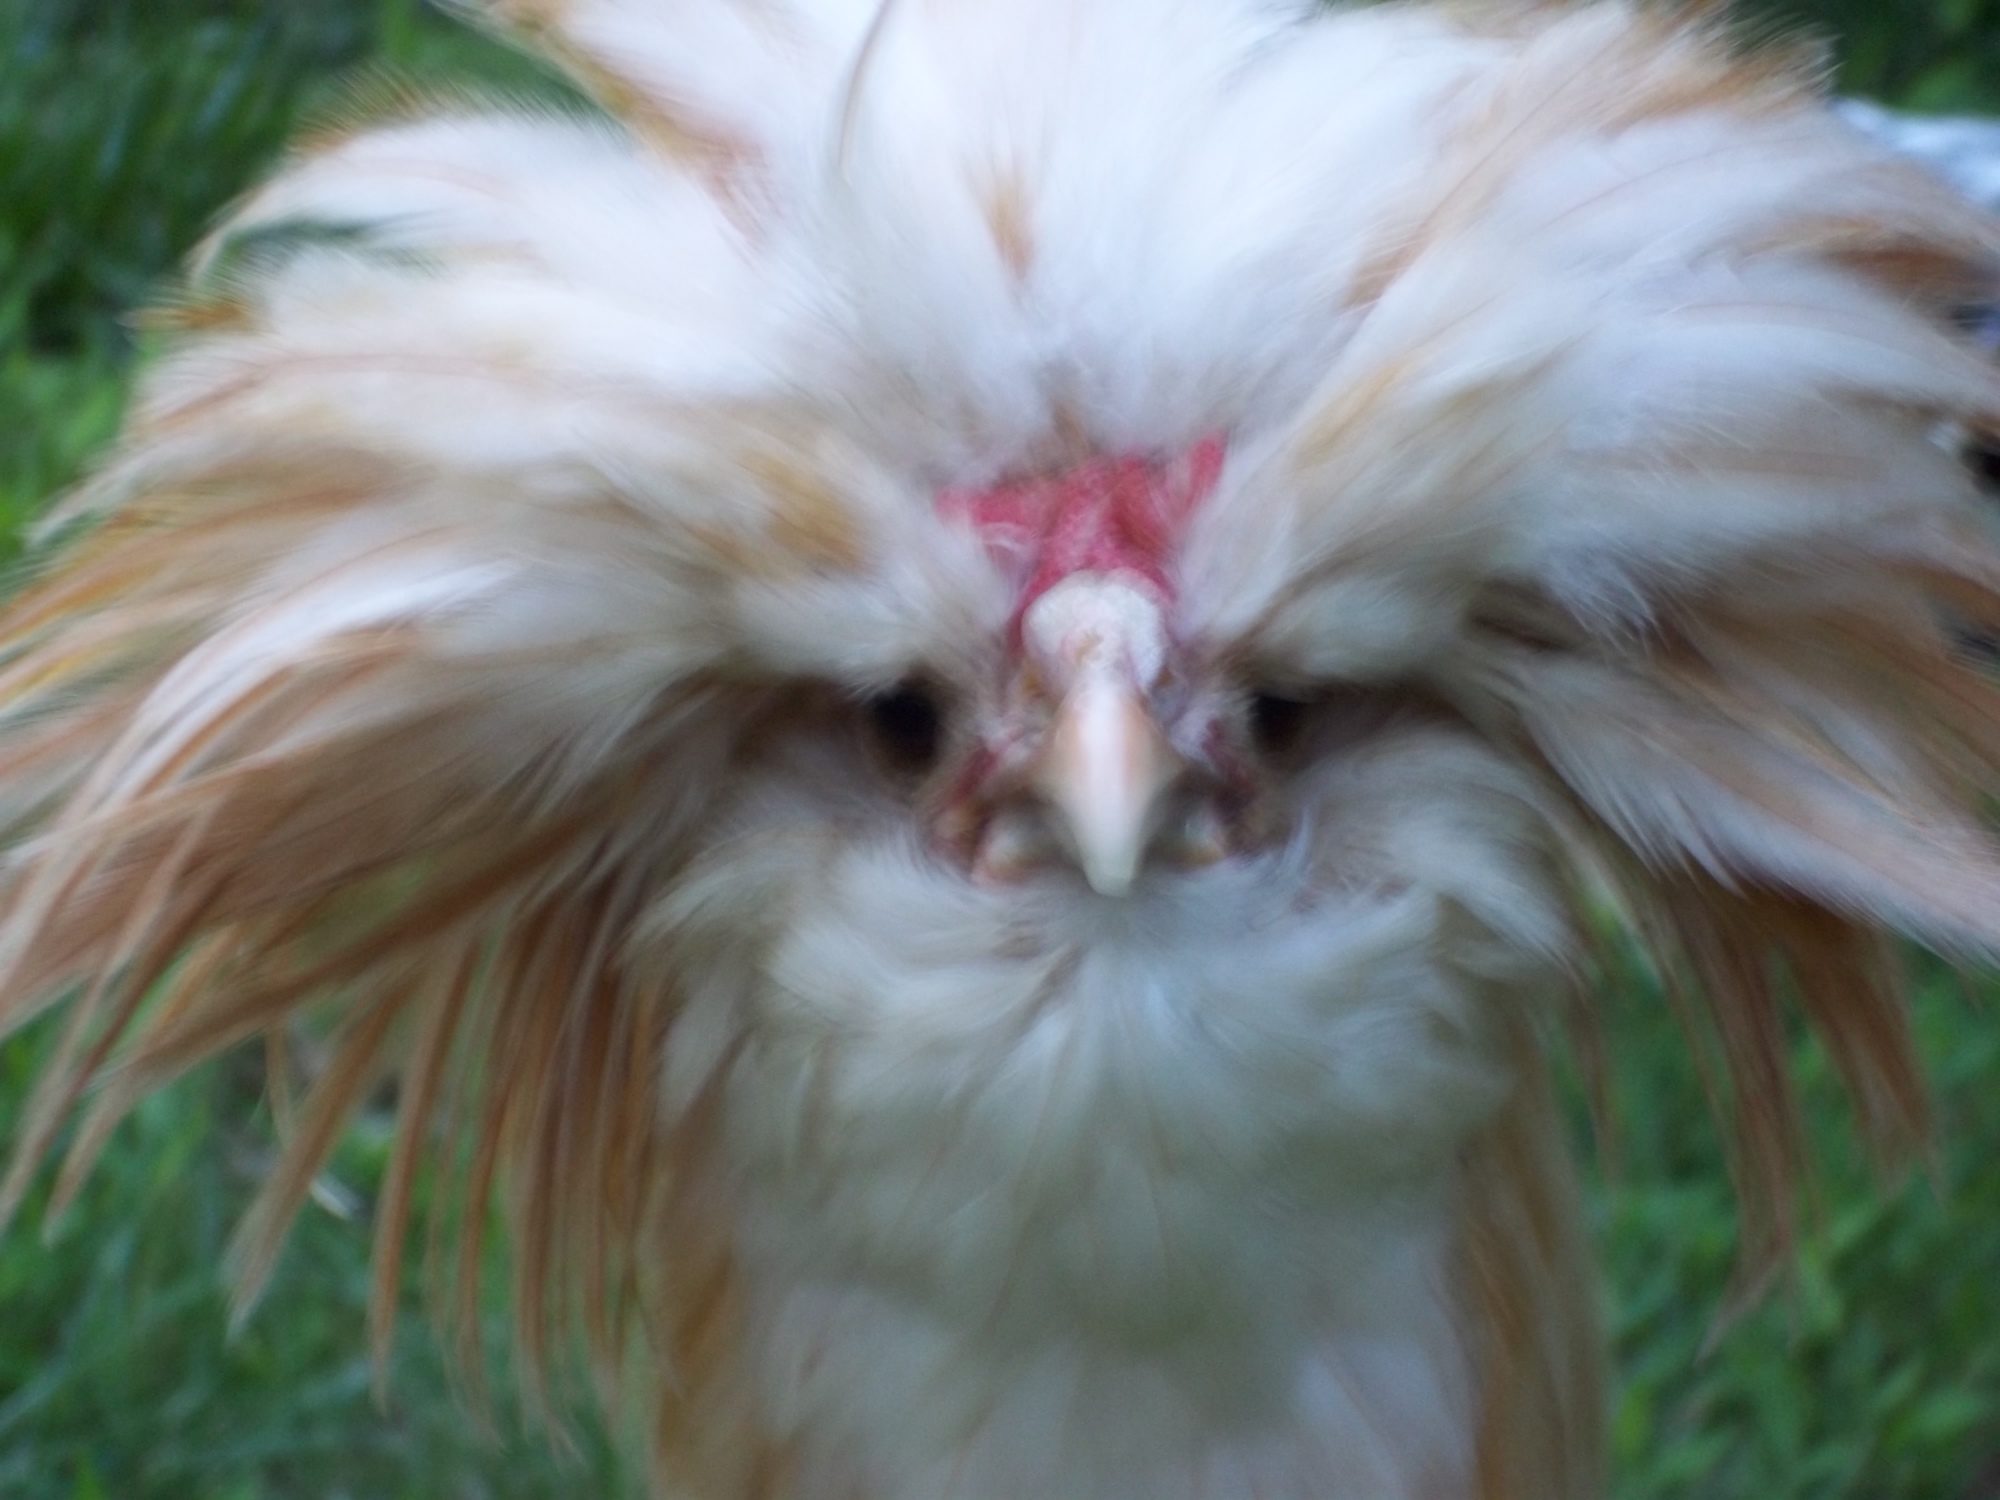
Below is a picture of Anishka before she started crowing. Here she was 2 months old.
Below are two pictures of Anishka at 3 months old and already crowing.
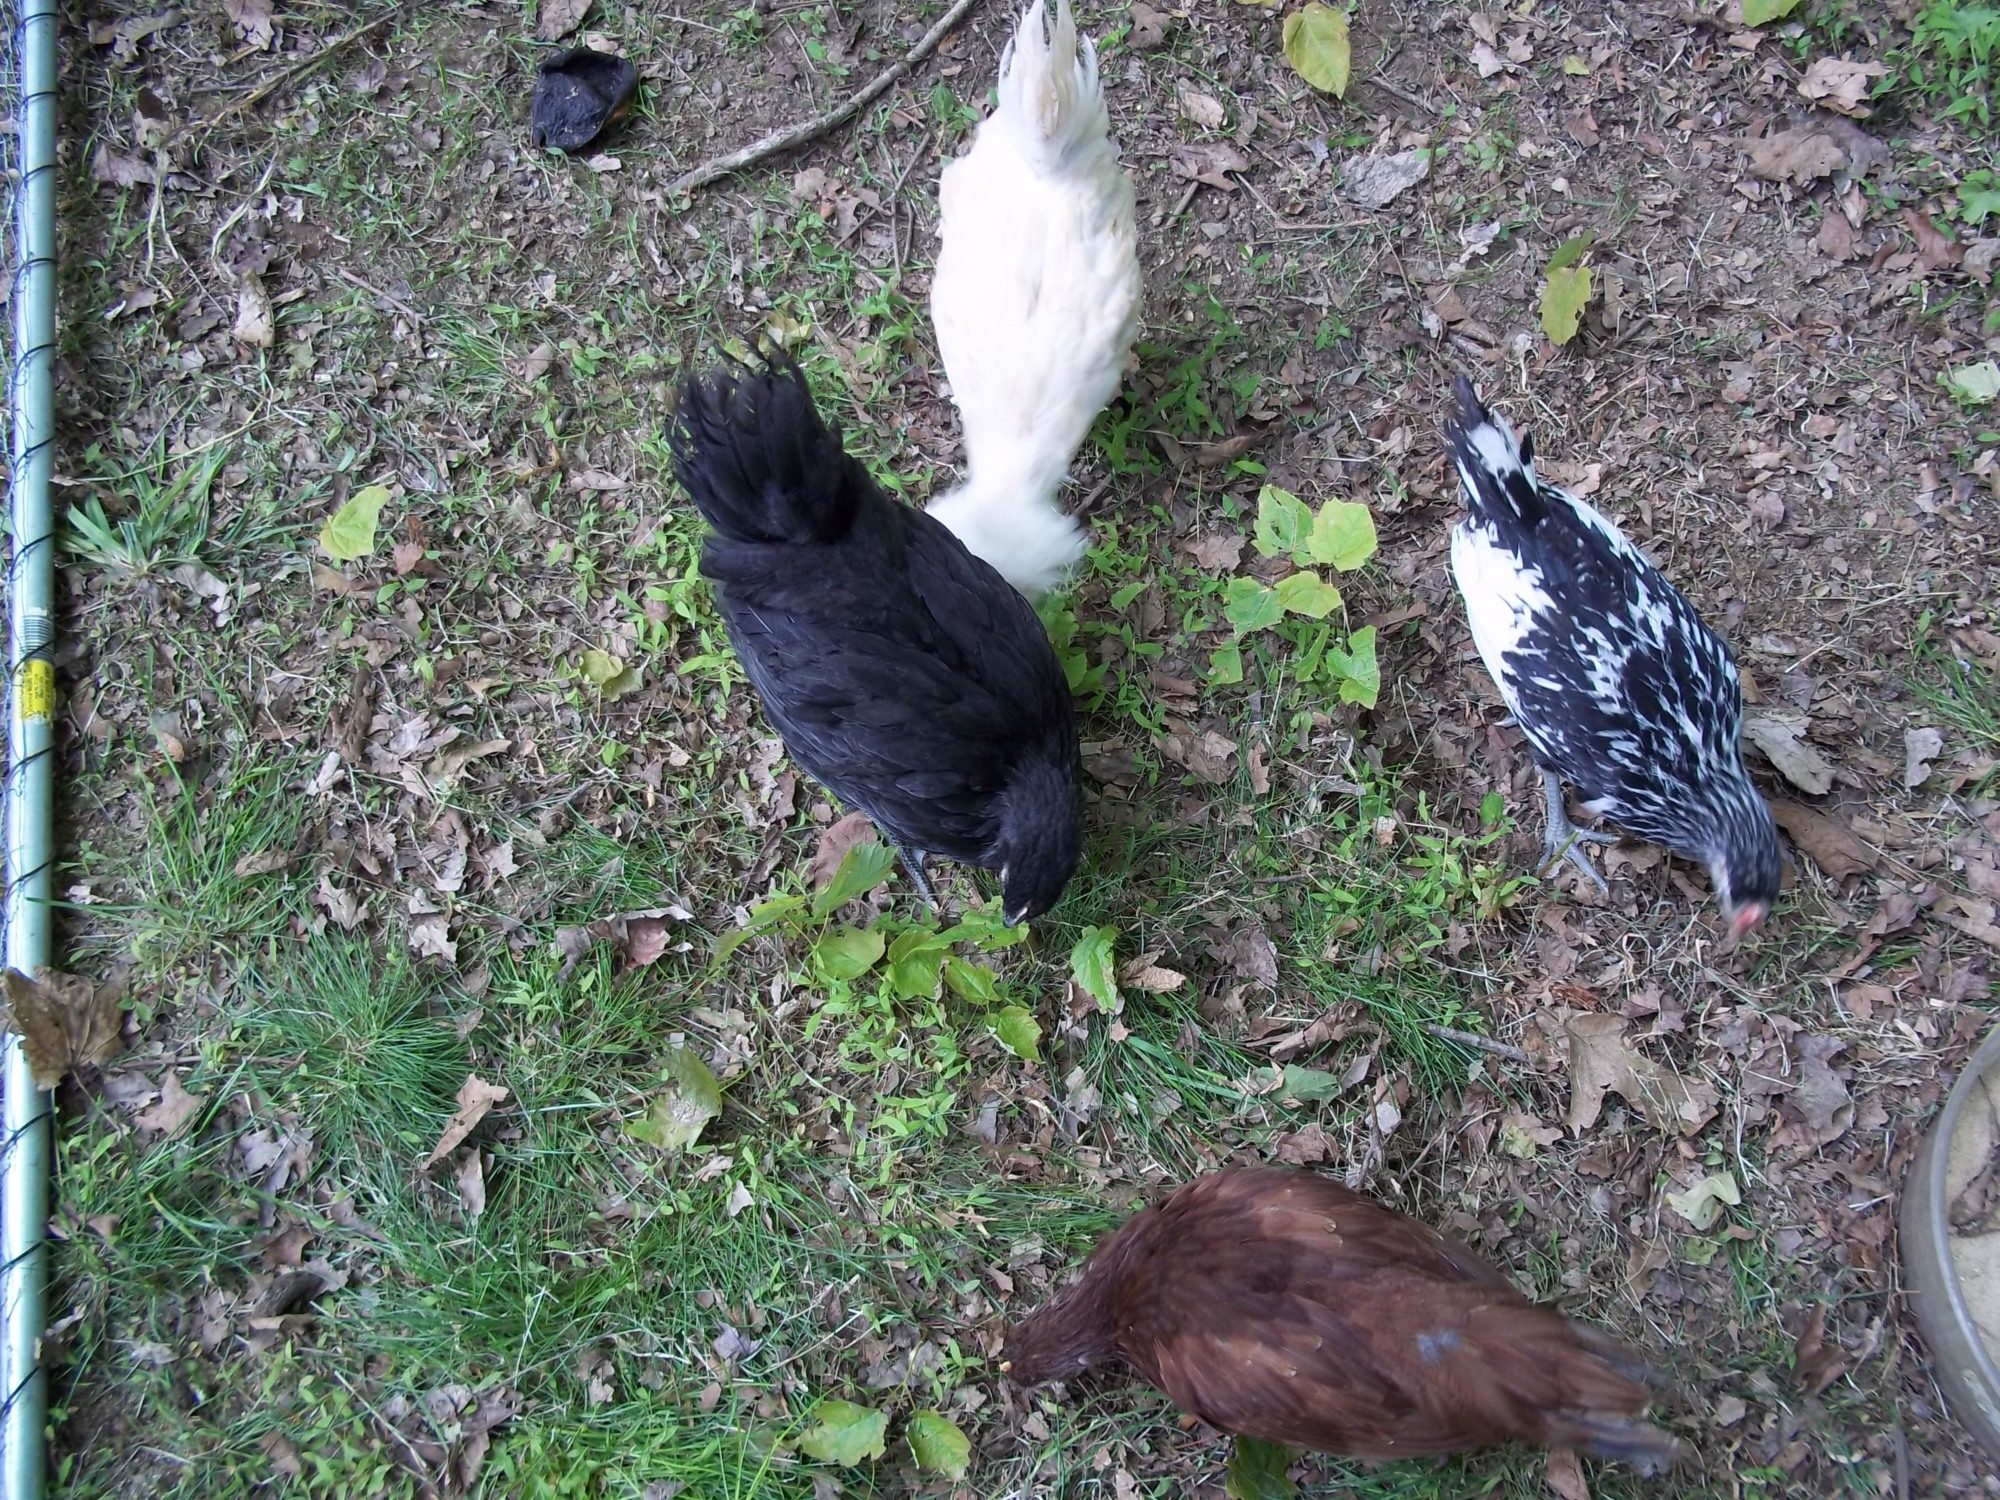
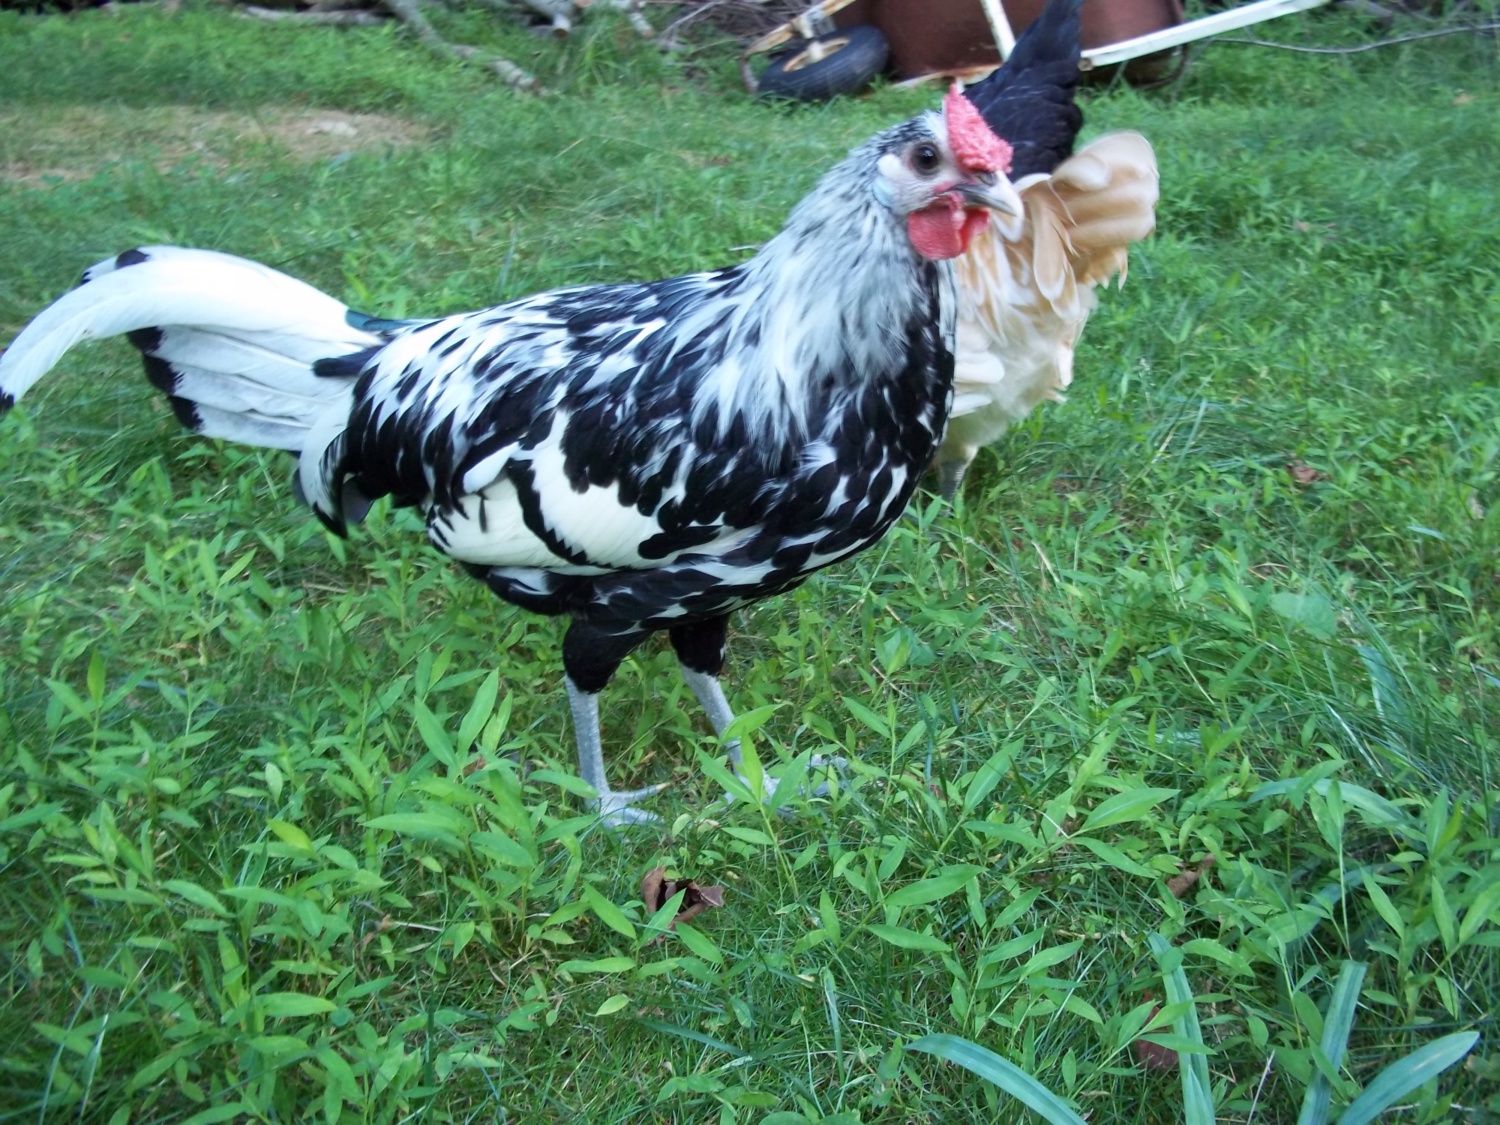
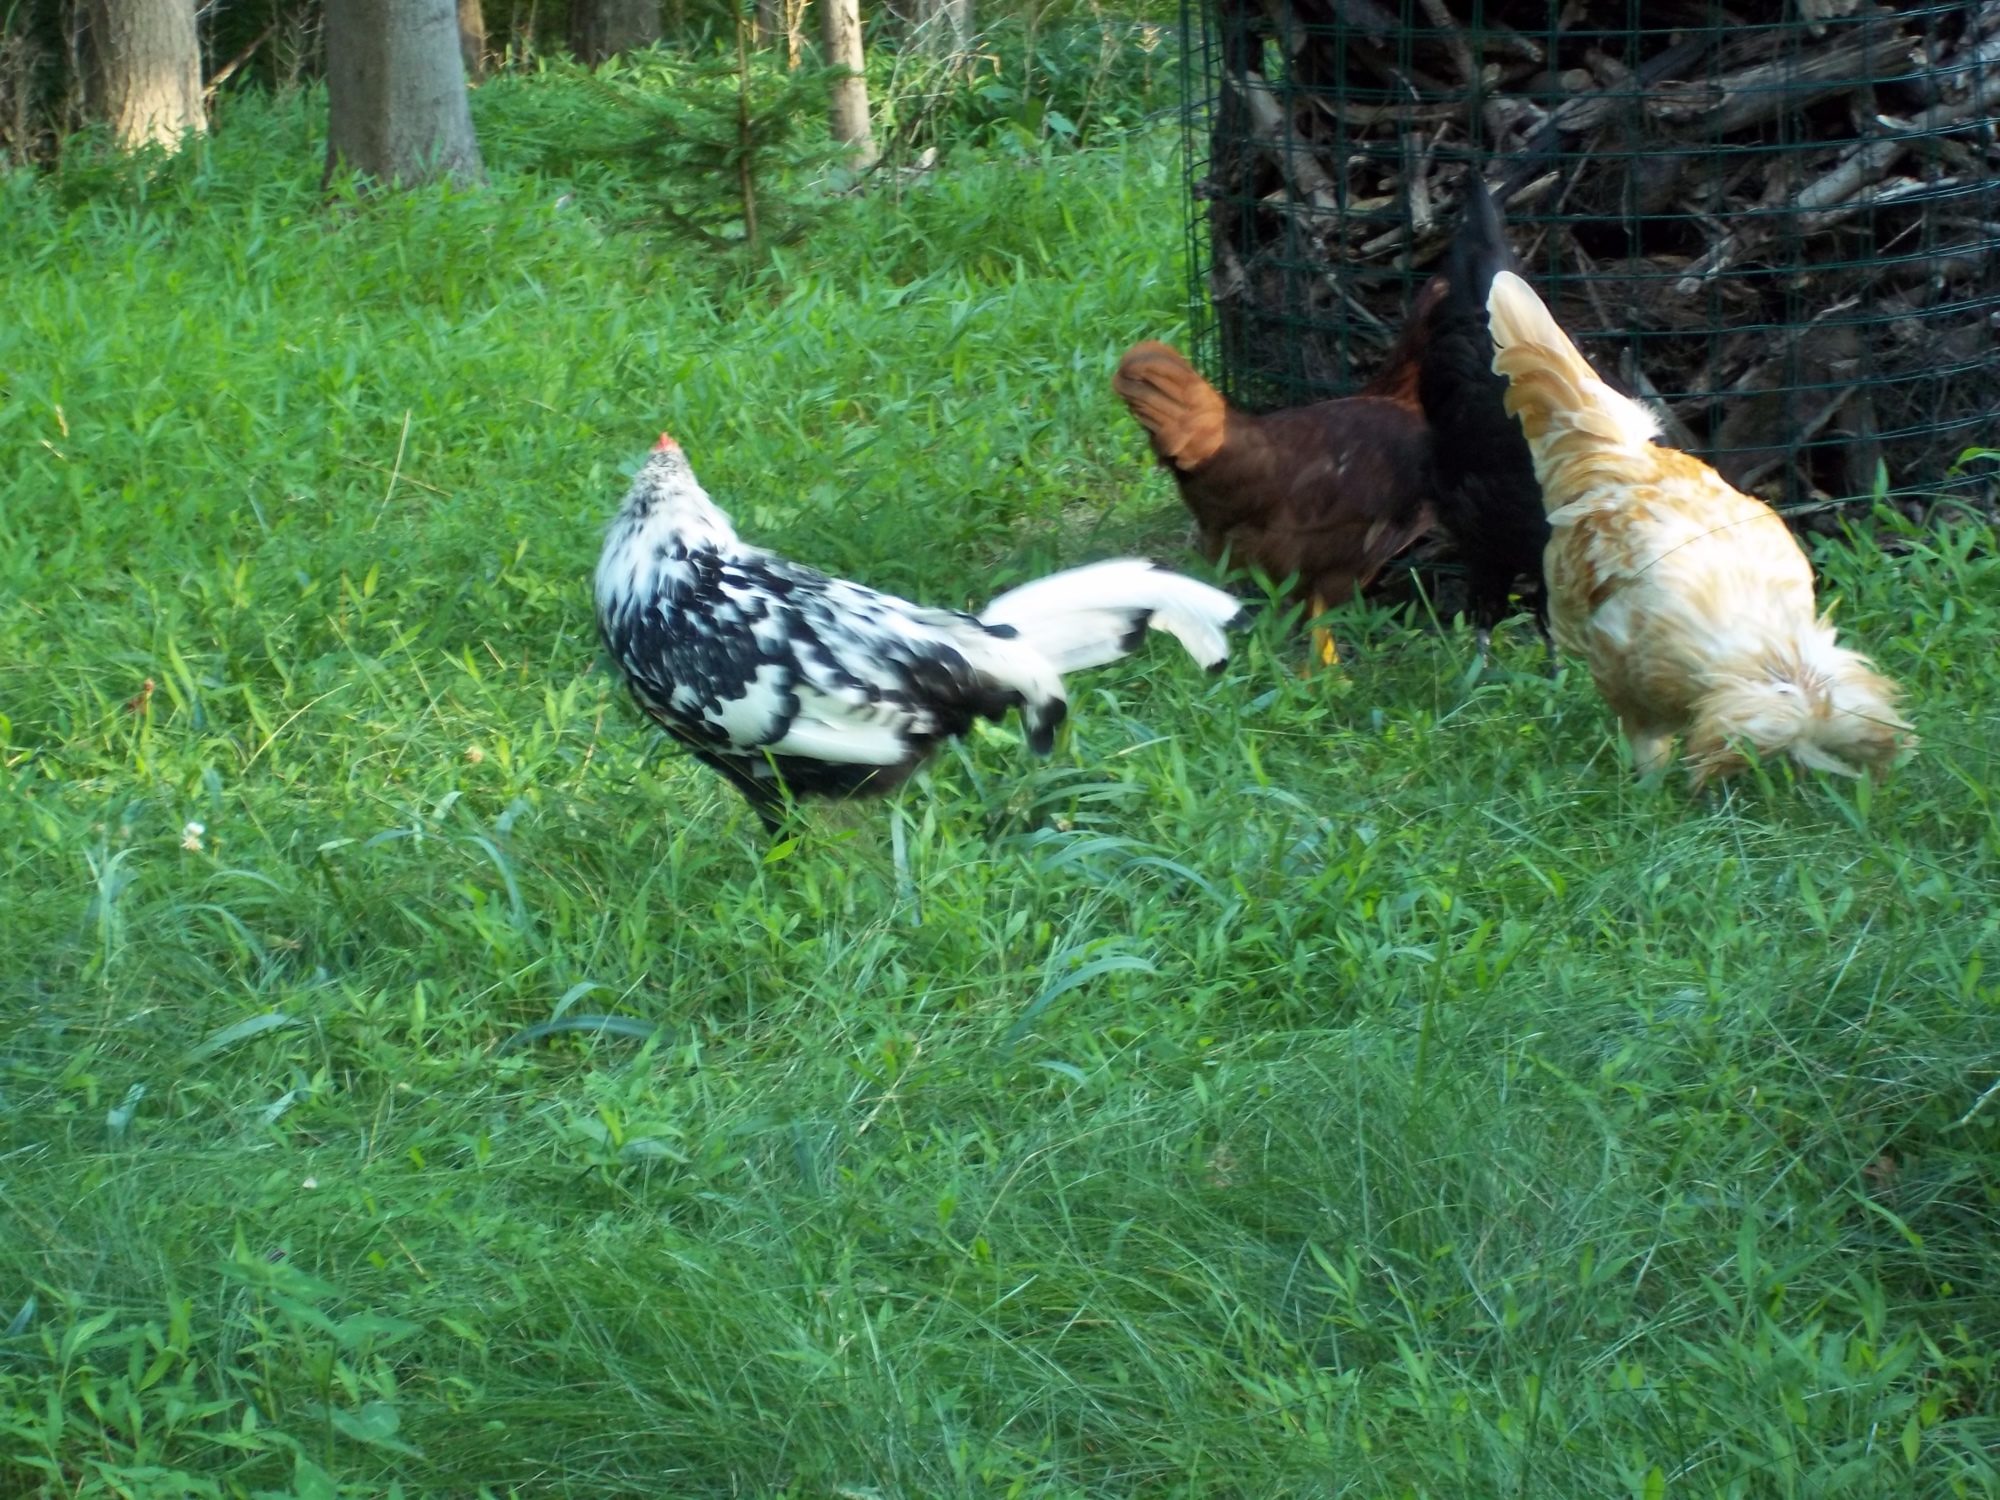
Below, from left to right: a Silver Spangled Hamburg Rooster, a Red Star hen, a Black Australorp hen and a Buff Laced Polish rooster, all 3 months old.
Below: Rosie and Samantha at 4 months old

Below, my 7 chickens at 10 months old - I added 5 more after giving away the roosters.