~THE FEATHER FACTORY~
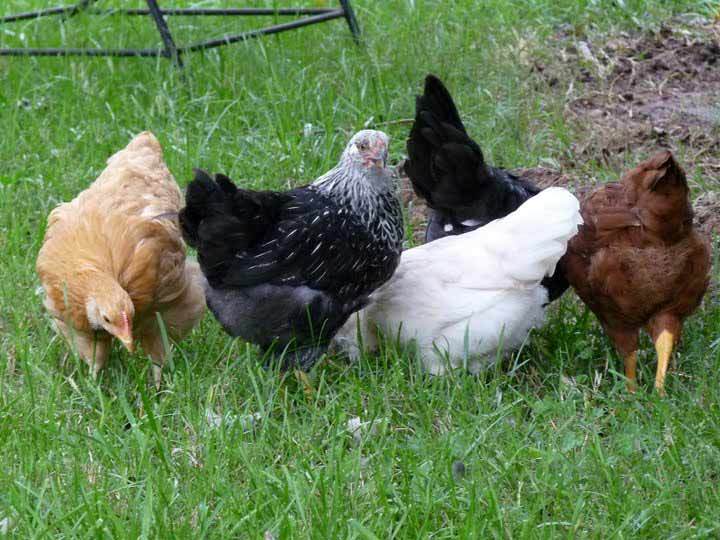
The summer of 2009 I decided to start on a new hobby and have some hens as "pets with perks"! To prevent overwhelming my neighbors and my ability, I ordered 5 day-old chicks from My Pet Chicken. I selected one each: Rhode Island Red (Amber), Black Australorp (Lilith), Silver Laced Wyandotte (Wynnie), Buff Orpington (Maisie), and an Easter Egger (Frisbee). The chicks were hatched on August 17 and my adventure began at the local post office two days later. I set them up in a crate in my garage and my husband and I started on the construction of what was to become their home.
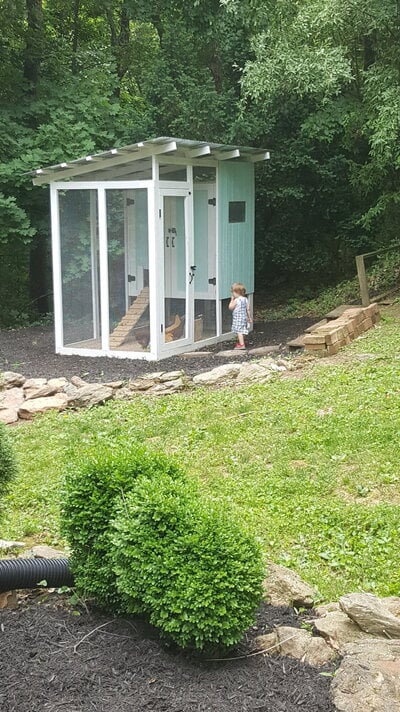
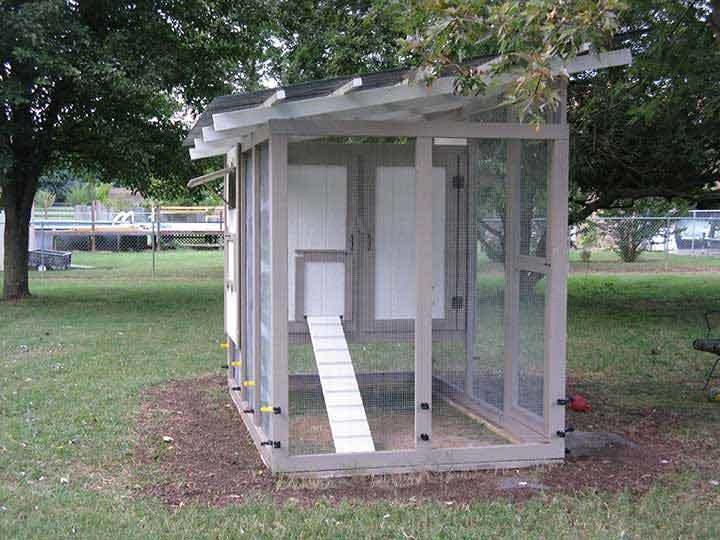
After studying books and of course the BYC forum for all the advice and tips and ideas I could cram into my brain, I drew out a sketch of my plans. After many trips to Home Depot and the bank and after spending all my summer weekend days sweating instead of kayaking, the hens are all happily settled in their new home!!
:ISSUES I NEEDED TO ADDRESS
1. Aesthetics - Want to keep the neighbors happy so wanted something that wouldn't make the backyard look like a ghetto and would be easy to keep clean so flies and odors would be minimal.
2. Security - Although our property is fenced all around with a 4' high chain link fence, I have 4 dogs and 3 cats and all of the normal wildlife predators including coyotes, bobcat, raccoon, opossum, skunks and hawks and hopefully no other creepies that I'm not aware of lurking after dark!!
3. Drainage and Ventilation - There is an area of the yard that water flows across during very heavy rains and I needed to address the very hot afternoon sun that hits our backyard.
4. Clandestine - I wanted the coop to be as unobtrusive as possible and chose all hens and kept my fingers crossed til maturity. I do believe MPC successfully sexed all 5! At 13 weeks they do seem to be full of all girl cackles.
5. Construction materials - I wanted the construction to be something my husband and I could handle on our own, with materials readily accessible, and able to transport with only the aid of one small Pontiac Vibe with a luggage rack.
So with notes, lists and checkbook in hand, we headed out for our first trip to Home Depot.
(At the end of the pictures, there is a description of the construction process in a very simplified outline.)
THE PLAN

THE PROCESS:
Here is the first load of many in the construction van!
First we laid out the materials for the start of the walls.
Looks like the crew has quit and wants to play.
Ya just can't get good help anymore!
Ah good.....the job foreman is here. Now work will get underway again!
Now the frame has been painted with primer and the whole thing moved to a new location. What fun!
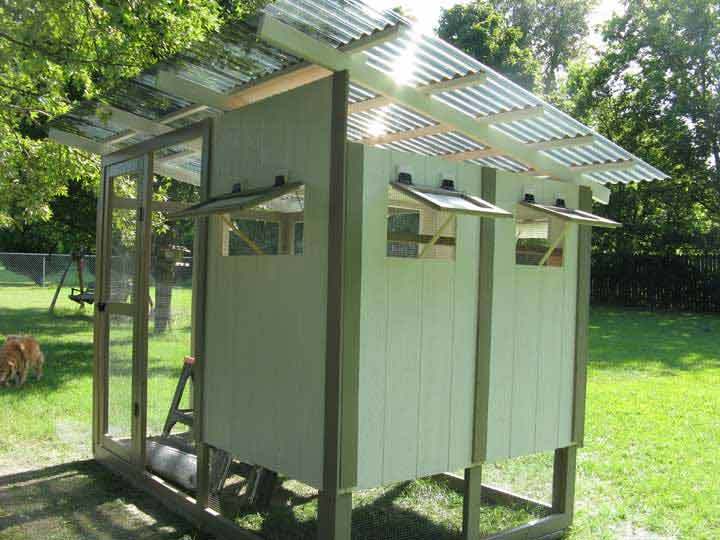
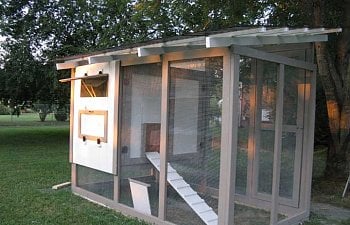
Here the smoke gray fiberglass roof panels have been added. They are called SunTuf and were one of the most expensive parts of the design. They were chosen so light could filter in but they would keep it cooler in the summer.
Puzzle pieces being cut and painted assembly line style.
Hatch windows open for ventilation. There is also an opening in the roof of the coop for hot moist air to escape upward. The lower panel is for gathering eggs.....someday!
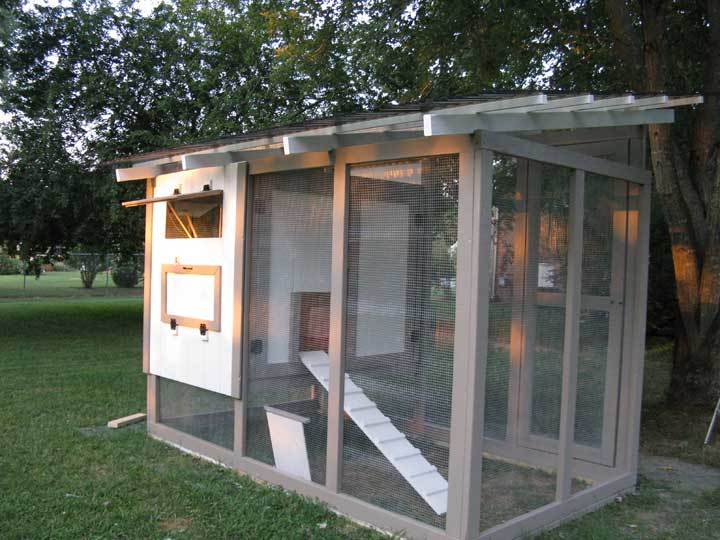
The interior with roosts, nesting boxes and feeder and waterer. The roosts weren't planned out very well and there was no poop board under them so this configuration does not work very well as they poop over the feeder.
This will be reworked in the spring but for now, the feeder hangs under the coop in the run area.
Here is their pop door with ramp. The ramp is painted with a sand mix in the paint so it is not slick. I have also since added a pulley for the pop door so it can be opened and closed from next to the egg gathering hatch.
Here the coop is electrified with 2 strands along the perimeter. There is now a strand above the top as well.
There is also hardware cloth extending a foot and half out on the ground with a layer of dirt and mulch over it.
.....and the residents on their day of arrival. It will be several weeks before they move into their new home!
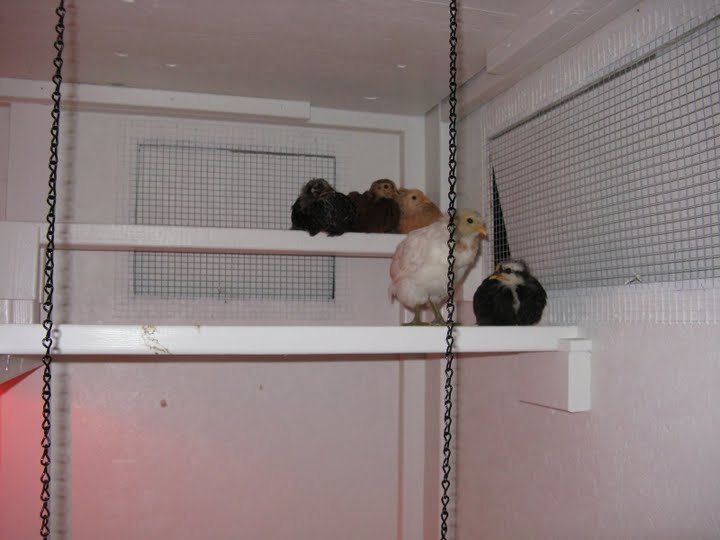
Here they are on one of their early roosts. They seem to love their coop and put themselves to bed all by themselves every night!
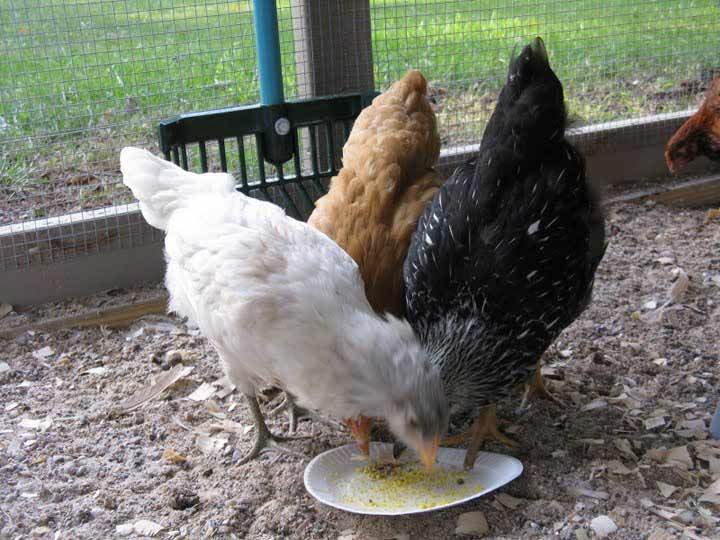
Here they are at 8 weeks having a snack in their run.
And here are all five of them enjoying some free time out in the yard. They are growing sooooo fast!
NOW I WANT EGGS!!
Now for the THINGS I WOULD / WILL DO DIFFERENTLY NEXT TIME (oh my gosh did I really say "next time"):
1. Keep the coop in the original spot rather than deciding to move it. I could have left it where it was and the drainage would have been far better. Don't tell DH but I may move it back on pvc "rollers"! A better location would work out better with our new garden area too and one main fence could have kept the dogs out of the garden as well as from running circles around the coop.
2. I would have planned out the roosts better so as to be able to incorporate a poop board under them so the hanging feeders/waterers would work out without getting poop in them. I would have spaced the roosts better. WHICH LEADS TO # 3 .............................................................
3. DEFINITELY MAKE IT BIGGER!! The roosts would have worked out much better with more room. I don't know that I'd want more chickens (hahahaha sure I would) but a little bigger coop would have been nice!
The Construction Steps:
The summer of 2009 I decided to start on a new hobby and have some hens as "pets with perks"! To prevent overwhelming my neighbors and my ability, I ordered 5 day-old chicks from My Pet Chicken. I selected one each: Rhode Island Red (Amber), Black Australorp (Lilith), Silver Laced Wyandotte (Wynnie), Buff Orpington (Maisie), and an Easter Egger (Frisbee). The chicks were hatched on August 17 and my adventure began at the local post office two days later. I set them up in a crate in my garage and my husband and I started on the construction of what was to become their home.
After studying books and of course the BYC forum for all the advice and tips and ideas I could cram into my brain, I drew out a sketch of my plans. After many trips to Home Depot and the bank and after spending all my summer weekend days sweating instead of kayaking, the hens are all happily settled in their new home!!
:ISSUES I NEEDED TO ADDRESS
1. Aesthetics - Want to keep the neighbors happy so wanted something that wouldn't make the backyard look like a ghetto and would be easy to keep clean so flies and odors would be minimal.
2. Security - Although our property is fenced all around with a 4' high chain link fence, I have 4 dogs and 3 cats and all of the normal wildlife predators including coyotes, bobcat, raccoon, opossum, skunks and hawks and hopefully no other creepies that I'm not aware of lurking after dark!!
3. Drainage and Ventilation - There is an area of the yard that water flows across during very heavy rains and I needed to address the very hot afternoon sun that hits our backyard.
4. Clandestine - I wanted the coop to be as unobtrusive as possible and chose all hens and kept my fingers crossed til maturity. I do believe MPC successfully sexed all 5! At 13 weeks they do seem to be full of all girl cackles.
5. Construction materials - I wanted the construction to be something my husband and I could handle on our own, with materials readily accessible, and able to transport with only the aid of one small Pontiac Vibe with a luggage rack.
So with notes, lists and checkbook in hand, we headed out for our first trip to Home Depot.
(At the end of the pictures, there is a description of the construction process in a very simplified outline.)
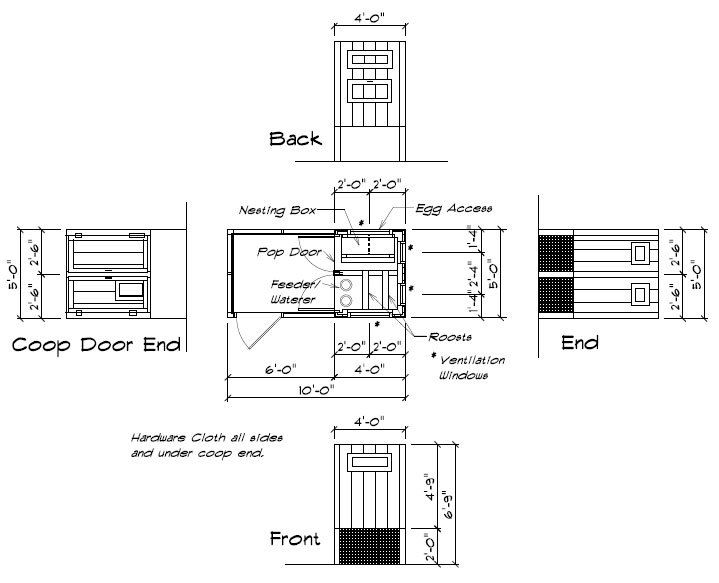
THE PLAN
THE PROCESS:
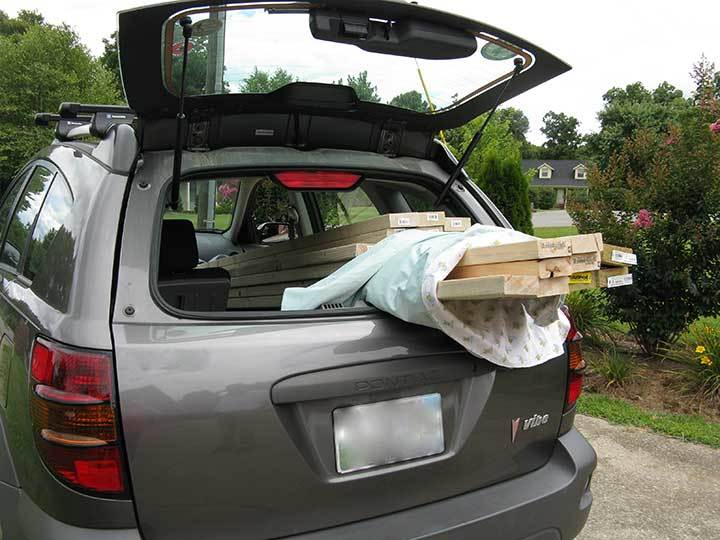
Here is the first load of many in the construction van!
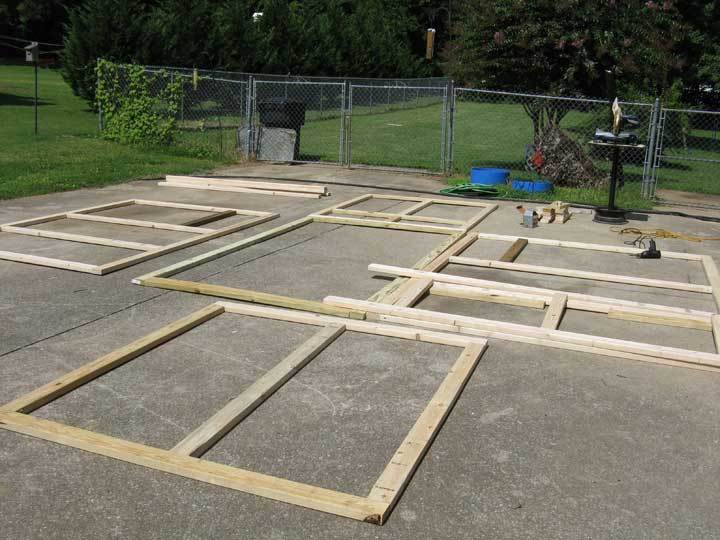
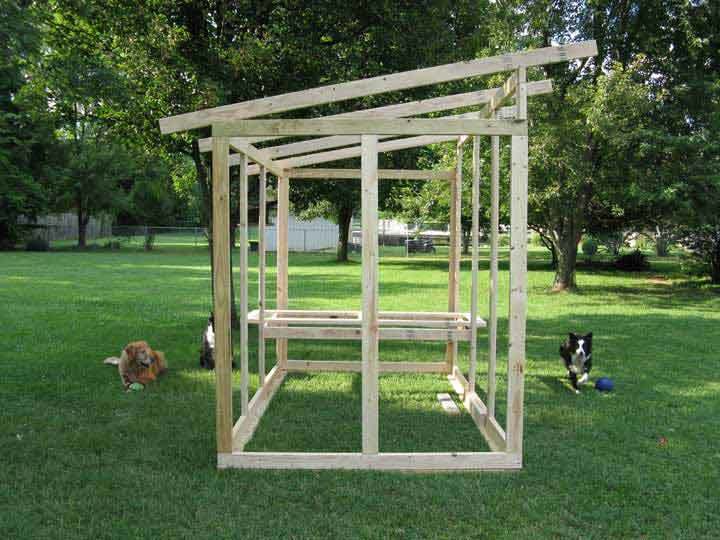
First we laid out the materials for the start of the walls.
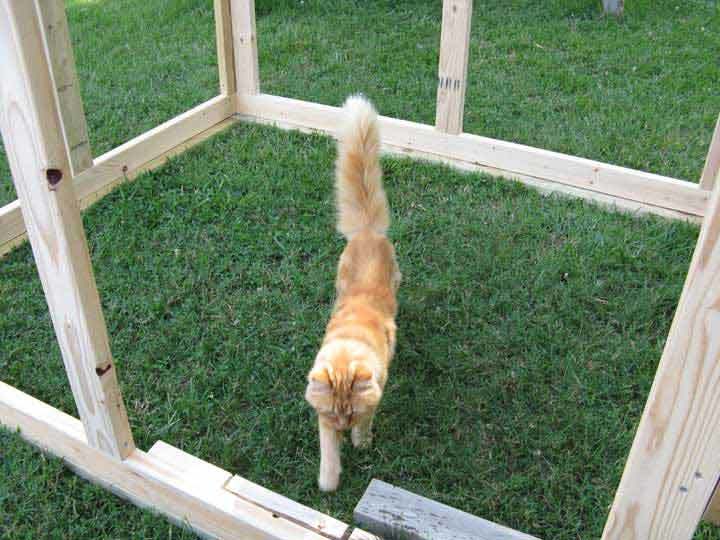
Looks like the crew has quit and wants to play.
Ya just can't get good help anymore!
Ah good.....the job foreman is here. Now work will get underway again!
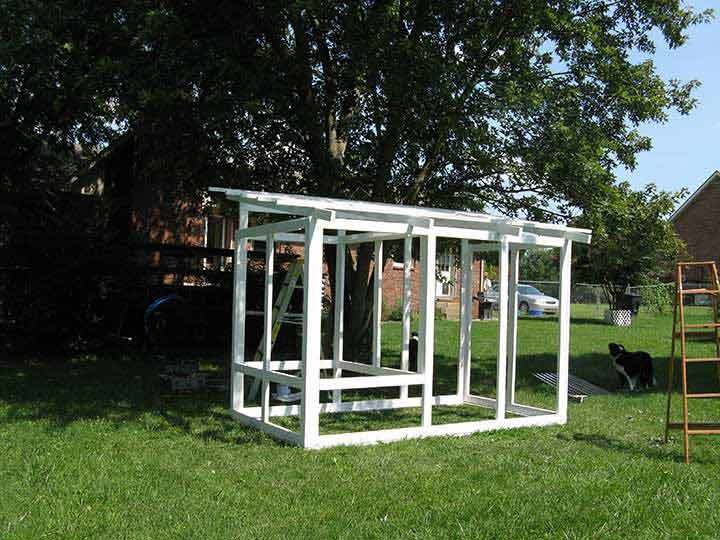
Now the frame has been painted with primer and the whole thing moved to a new location. What fun!
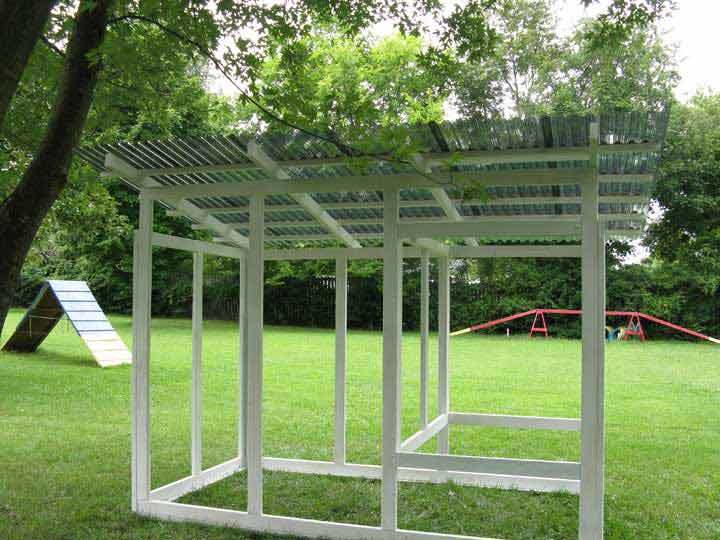
Here the smoke gray fiberglass roof panels have been added. They are called SunTuf and were one of the most expensive parts of the design. They were chosen so light could filter in but they would keep it cooler in the summer.
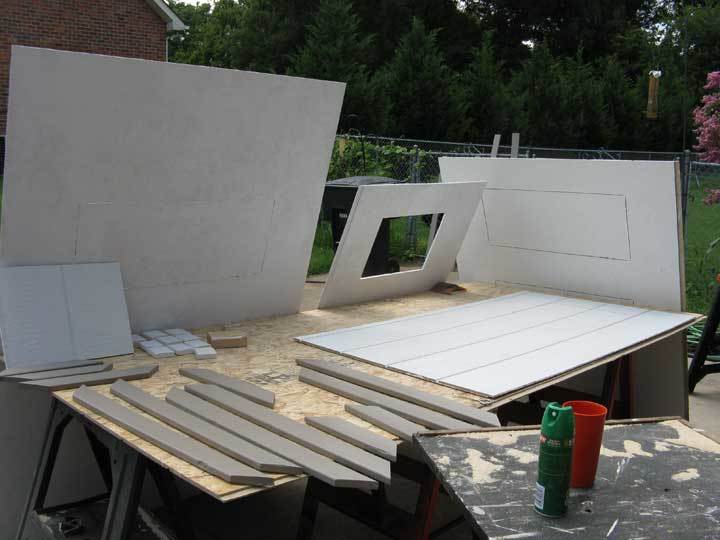
Puzzle pieces being cut and painted assembly line style.
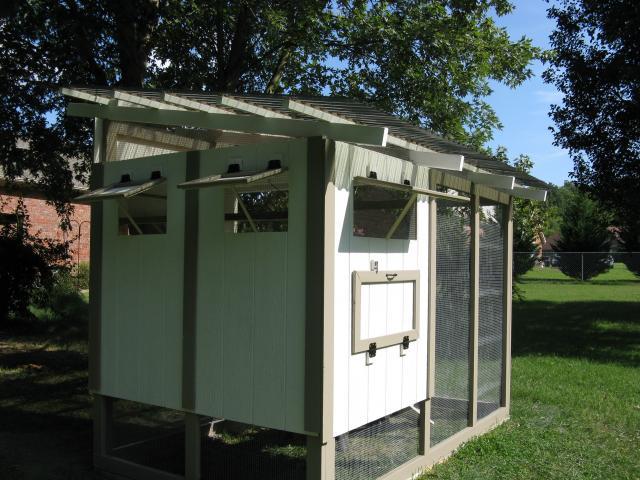
Hatch windows open for ventilation. There is also an opening in the roof of the coop for hot moist air to escape upward. The lower panel is for gathering eggs.....someday!

The interior with roosts, nesting boxes and feeder and waterer. The roosts weren't planned out very well and there was no poop board under them so this configuration does not work very well as they poop over the feeder.
This will be reworked in the spring but for now, the feeder hangs under the coop in the run area.
Here is their pop door with ramp. The ramp is painted with a sand mix in the paint so it is not slick. I have also since added a pulley for the pop door so it can be opened and closed from next to the egg gathering hatch.
Here the coop is electrified with 2 strands along the perimeter. There is now a strand above the top as well.
There is also hardware cloth extending a foot and half out on the ground with a layer of dirt and mulch over it.
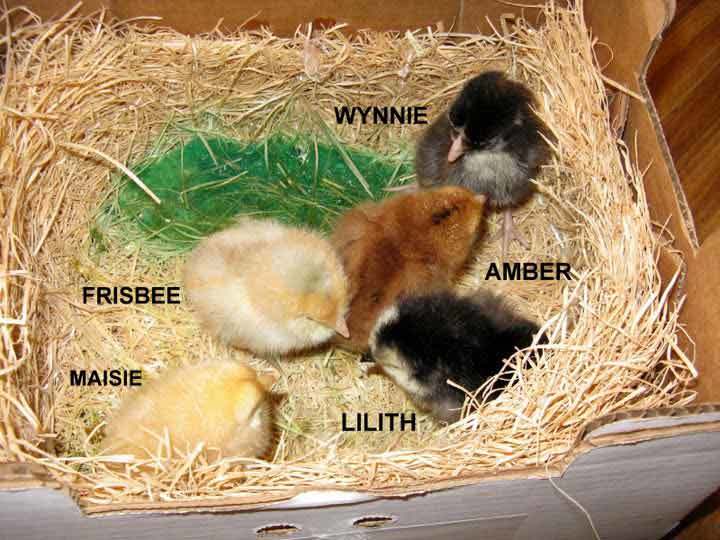
.....and the residents on their day of arrival. It will be several weeks before they move into their new home!
Here they are on one of their early roosts. They seem to love their coop and put themselves to bed all by themselves every night!
Here they are at 8 weeks having a snack in their run.
And here are all five of them enjoying some free time out in the yard. They are growing sooooo fast!
NOW I WANT EGGS!!

Now for the THINGS I WOULD / WILL DO DIFFERENTLY NEXT TIME (oh my gosh did I really say "next time"):
1. Keep the coop in the original spot rather than deciding to move it. I could have left it where it was and the drainage would have been far better. Don't tell DH but I may move it back on pvc "rollers"! A better location would work out better with our new garden area too and one main fence could have kept the dogs out of the garden as well as from running circles around the coop.
2. I would have planned out the roosts better so as to be able to incorporate a poop board under them so the hanging feeders/waterers would work out without getting poop in them. I would have spaced the roosts better. WHICH LEADS TO # 3 .............................................................
3. DEFINITELY MAKE IT BIGGER!! The roosts would have worked out much better with more room. I don't know that I'd want more chickens (hahahaha sure I would) but a little bigger coop would have been nice!
The Construction Steps:
- The layout of the walls using 2 x 4’s. Pressure Treated 2 x 4’s were used for the base pieces that are in contact with the ground.
- The basic dimensions: 5’ x 10’ with the enclosed coop end at 4’ x 5’. The floor of the coop is offset up approximately 2’ and the roof slopes from 8’ down to 7’.
- The roof rafters are 2 x 4’s with 2 x 2 strips running the long way. The SunTuf roofing panels are attached by screwing through the panel into a plastic mounting strip that has been fastened to the 2 x 2 strips. The panels are polycarbonate corrugated panels and carry a lifetime warranty and are virtually unbreakable. The roofing was installed with a foot overhang on all sides and all of the open areas under the framing are completely enclosed with hardware cloth to prevent climbing predators from gaining access to the coop or run.
- The siding, window hatches, and trim pieces were all cut and installed. The trim pieces used are 1 x 4’s and 1 x 3’s. The hatches for ventilation are hinged at the top so as to prevent rain from blowing in while still being able to remain open. All hatches are covered with hardware cloth to maintain a complete barrier to predator access.
- The floor and ceiling to the coop area are ½” exterior grade plywood, primed and painted with semi-gloss exterior white paint for ease of cleaning.
- Hardware cloth is attached to all of the run areas and also a wide strip is layed horizontally on the ground running under the base and out approx. a foot and half around the perimeter. This has been covered with dirt and mulch which my Border Collie has done a good job of scattering as she races around and around the perimeter of the coop! Luckily the chickens pay very little attention to her as I guess they feel totally secure in their enclosure!
- With very little exception, the entire structure is screwed and/or LiquidNails glued together rather than nailed. The 2 x 2 roofing strips were nailed down and the trim pieces were glued and nailed.
- The perimeter of the coop/run has 2 strands of electric fence near the ground and one strand around the top to aid in stopping predators from trying to dig and/or climb.
- The ramp has cross strips attached and also is painted with a paint/sand mixture to keep it from being slippery. The screen door has a spring in addition to a latch to keep it closed at all times. The pop door has a pulley system attached and mounted just outside the coop near the nesting box access hatch so the coop can be opened and closed without actually entering the coop or run. This makes it nice in the mornings when I open the coop right before I leave for work and don’t have to worry about taking little goodies in to the office on my shoes!! Sand and poop can cling and travel a LONG way!
- This is a very simplified outline of the steps we followed in building our coop/run. We, or at least I can say I, had a great time designing and building it. My husband was a tremendous help even though it wasn't his idea of the way he wanted to spend his summer weekends. BUT he did it for me!! It would have been quite the challenge to build on my own but then again....I'm pretty stubborn! I hope you can gain some ideas that will be useful for your project as well.
- The layout of the walls using 2 x 4’s. Pressure Treated 2 x 4’s were used for the base pieces that are in contact with the ground.

 It is a fun journey overall, thanks for sharing