Our First Chicken Coop
Over the past few years, my husband and I have become more and more concerned with what we eat, and how and where it is produced. We are trying to use as much locally grown and raised, organic food as possible. One of the things we changed to was local, farm fresh eggs. We are hooked. So, this year we decided to add our own chickens to the yard. I began researching raising chickens, and we started planning over the winter. I read books and Web sites, joined the forums here, and have gotten some great help! So this is going to be the on-going chronicle of the design and building of the coop for the hens we want to get.
Hubby is working on the specific plans now. He is expanding the basic idea so that we can use half the building as a coop, and half as a garden shed. The run will be double the size it needs to be, since I can't truly free range the hens, but we will divide the run space in half and use it as alternating pasture.
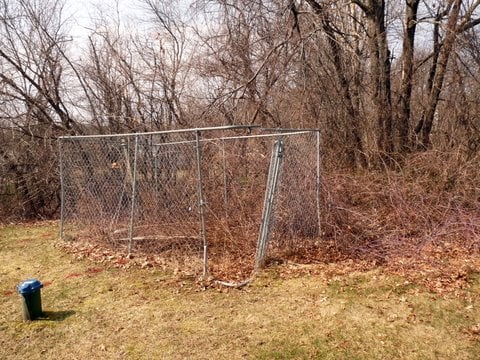
We started the work on Saturday, March 20. The spot in the yard we chose had an old chain link dog pen that we never use anymore, so that had to go. It was also completely overrun with wild black raspberry bushes and other brush that needed to be cleared. We began to do all that, and stopped to make a run to Home Depot to look at brush cutters. Best idea we had all day! Made short work of the clearing and we got the pen down and the space cleared in one afternoon.
The Old Dog Pen on the coop site.

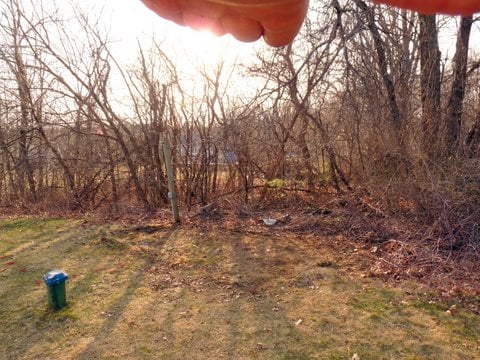
The Cleared Site
Next step is digging the holes for the foundation footings and getting concrete poured. Since we want to use one half as a shed to store equipment and tools, we want it to be good and solid. It's raining now, so we can't do much till it stops.
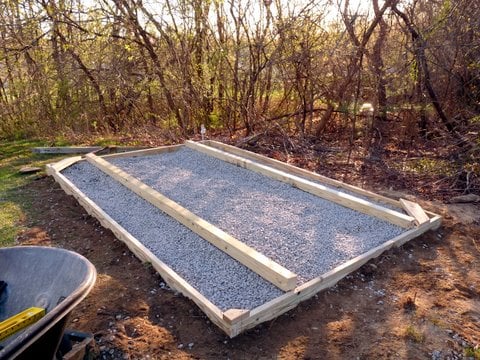
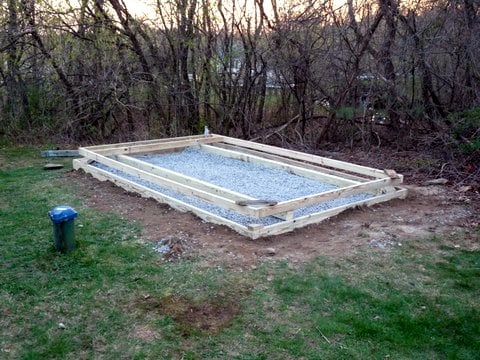
So, the concrete footings didn't work out so well. Even with the rented power post hole digger, hubby couldn't get a good hole dug in our rock hard soil. So we went with Plan B- a gravel bed to build the foundation on. We needed something to help level the site before putting up any construction.
Here's the gravel bed, leveled out, with the foundation frame on it:
And the base frame for the floor
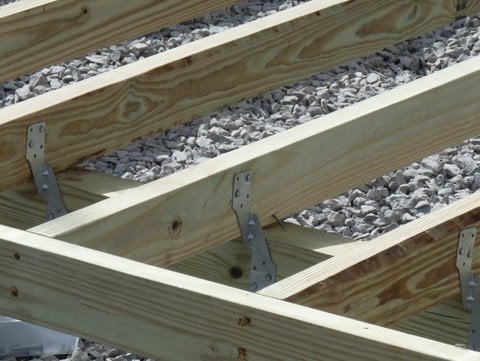
With the joists in place. They are on 12 inch centers, to make the floor nice and solid.
The joists are nailed into the frame and also attached with hurricane ties.
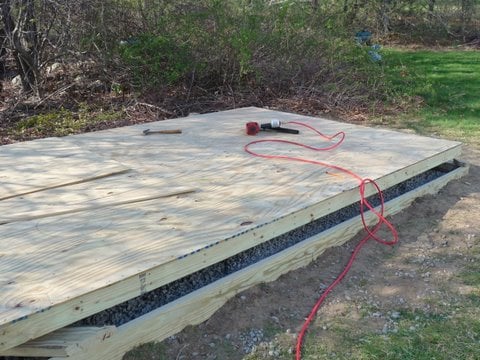
And the plywood floor is down!
Two walls are up and in place!
This is the garden shed side, with the door framed out.
One long wall. The left end will be the coop. That's the human access door framed. The right side will be the garden shed. There will be a window in that wall.
Those are the other walls stacked up on the floor for now.
We used siding panels to enclose the walls.
The ridge board went up next, then the rafters were built and attached
Plywood sheathing was attached to the rafters, and shingles nailed on. Many thanks to our son-in-law for being the one to crawl around on the roof and nail down the shingles! The picture was taken before the shingles went on.
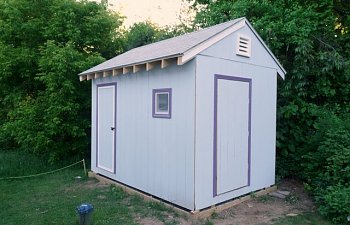
Shed and coop doors were built and attached, and the whole thing was painted to match the house color as closely as we could. The house does not have purple trim, but we wanted a touch of whimsy on the coop/shed so it would be an attractive addition to the neighborhood.
Here are a couple links to close up picutes of the trim around the doors and the windows. There is another window on the other short (coop) wall of the building. The windows have hardware cloth in addition to the screening they came with, to keep out unwanted critters. The ventilation openings under the rafters are screened and covered with hardware cloth as well.
We used a leaf embossed trim painted white inside the purple trim around the doors.
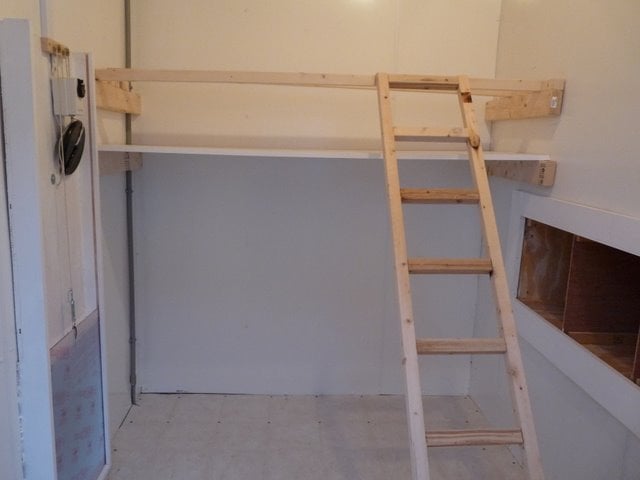
Now on to the inside of the coop. We put a remnant piece of vinyl on the floor, attached with leftover roofing nails. Hey, it just has to stay down! And used white, washable, bathroom grade paneling on the walls. I wanted it to be easy to clean. The roosts are made from a split 2x4, lightly sanded and attached to rails on the side walls, with blocks to hold them in place. The poop boards are white finished pre-made shelving boards and slide onto rails. The roosts and poop boards are removable for easy access when cleaning the whole coop out.
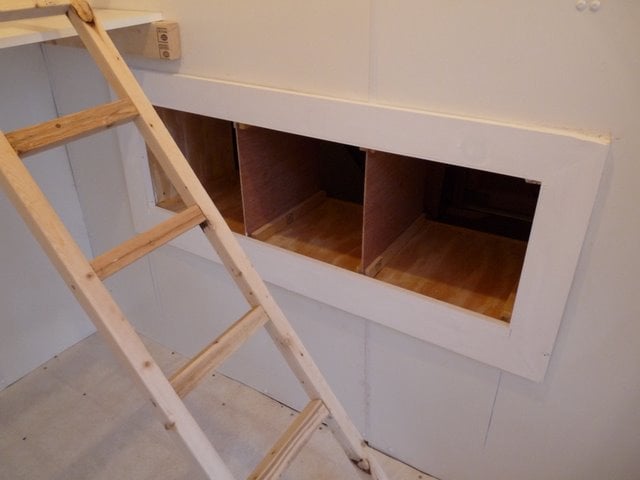
The nest boxes are made of plywood, divided into 3 sections and mounted to extend into the shed part of the building, so I don't have to stand in the rain or winter weather to gather eggs. The door on the back of the nests is hinged on the shed side.
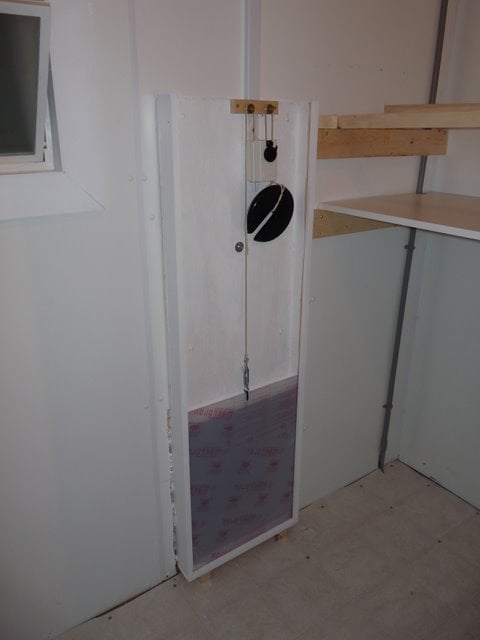
The pop door was made out of a sheet of plexiglass that we sanded down to make it opaque. It's attached to a drapery motor. Hubby added pulleys to the mechanism so that the drapery motor could run in the orientation it was meant to. The counterweight is a disc weight from a sporting goods store. The motor is plugged into a Z-wave controller that is run from our Home Automation software. It opens and closes on a schedule that we can easily modify as we figure out the chickens' routine.
That's the coop part of the project! We finished up the run July 4th, and there will be pictures of that coming soon!
Our 9 chickens are out in the coop now and they love it! They have a nice big run to play in all day, and a securely locked up coop for the night.
Over the past few years, my husband and I have become more and more concerned with what we eat, and how and where it is produced. We are trying to use as much locally grown and raised, organic food as possible. One of the things we changed to was local, farm fresh eggs. We are hooked. So, this year we decided to add our own chickens to the yard. I began researching raising chickens, and we started planning over the winter. I read books and Web sites, joined the forums here, and have gotten some great help! So this is going to be the on-going chronicle of the design and building of the coop for the hens we want to get.
Hubby is working on the specific plans now. He is expanding the basic idea so that we can use half the building as a coop, and half as a garden shed. The run will be double the size it needs to be, since I can't truly free range the hens, but we will divide the run space in half and use it as alternating pasture.
We started the work on Saturday, March 20. The spot in the yard we chose had an old chain link dog pen that we never use anymore, so that had to go. It was also completely overrun with wild black raspberry bushes and other brush that needed to be cleared. We began to do all that, and stopped to make a run to Home Depot to look at brush cutters. Best idea we had all day! Made short work of the clearing and we got the pen down and the space cleared in one afternoon.
The Old Dog Pen on the coop site.
The Cleared Site
Next step is digging the holes for the foundation footings and getting concrete poured. Since we want to use one half as a shed to store equipment and tools, we want it to be good and solid. It's raining now, so we can't do much till it stops.
So, the concrete footings didn't work out so well. Even with the rented power post hole digger, hubby couldn't get a good hole dug in our rock hard soil. So we went with Plan B- a gravel bed to build the foundation on. We needed something to help level the site before putting up any construction.
Here's the gravel bed, leveled out, with the foundation frame on it:
And the base frame for the floor
With the joists in place. They are on 12 inch centers, to make the floor nice and solid.

The joists are nailed into the frame and also attached with hurricane ties.
And the plywood floor is down!
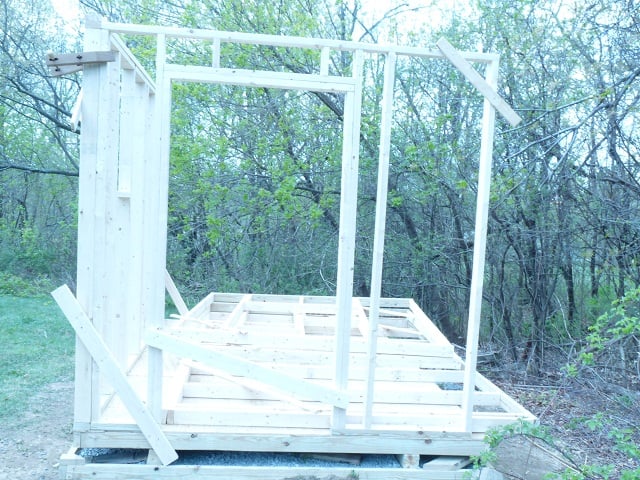
Two walls are up and in place!
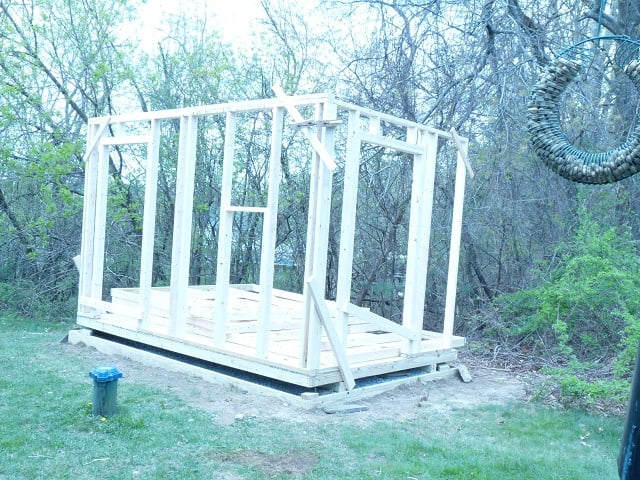
This is the garden shed side, with the door framed out.
One long wall. The left end will be the coop. That's the human access door framed. The right side will be the garden shed. There will be a window in that wall.
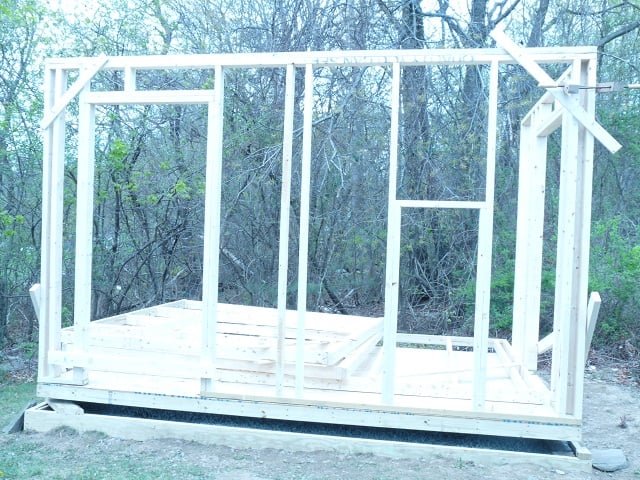
Those are the other walls stacked up on the floor for now.
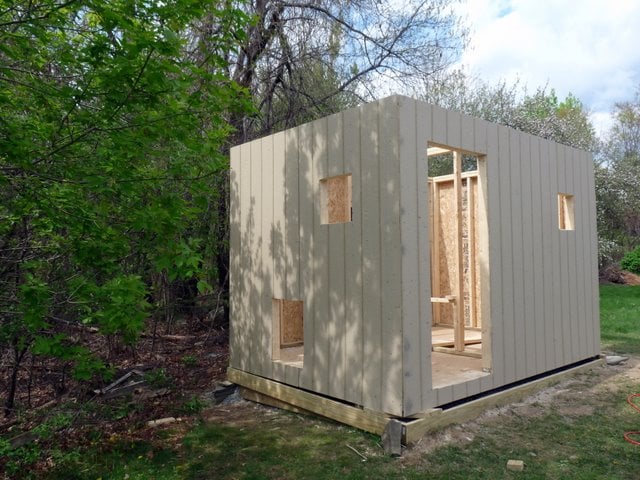
We used siding panels to enclose the walls.
The ridge board went up next, then the rafters were built and attached
Plywood sheathing was attached to the rafters, and shingles nailed on. Many thanks to our son-in-law for being the one to crawl around on the roof and nail down the shingles! The picture was taken before the shingles went on.

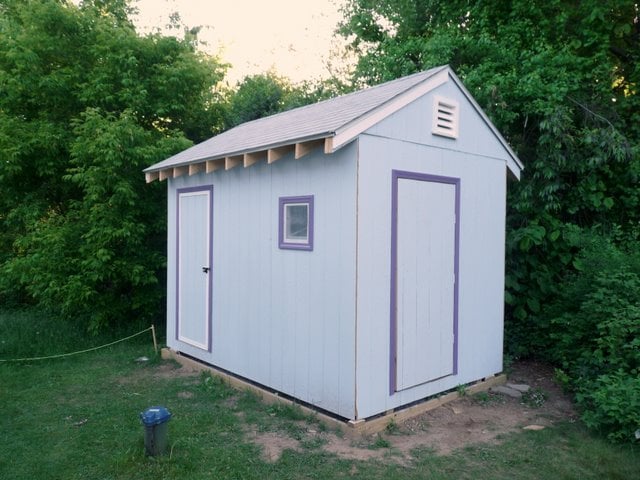
Shed and coop doors were built and attached, and the whole thing was painted to match the house color as closely as we could. The house does not have purple trim, but we wanted a touch of whimsy on the coop/shed so it would be an attractive addition to the neighborhood.
Here are a couple links to close up picutes of the trim around the doors and the windows. There is another window on the other short (coop) wall of the building. The windows have hardware cloth in addition to the screening they came with, to keep out unwanted critters. The ventilation openings under the rafters are screened and covered with hardware cloth as well.
We used a leaf embossed trim painted white inside the purple trim around the doors.
Now on to the inside of the coop. We put a remnant piece of vinyl on the floor, attached with leftover roofing nails. Hey, it just has to stay down! And used white, washable, bathroom grade paneling on the walls. I wanted it to be easy to clean. The roosts are made from a split 2x4, lightly sanded and attached to rails on the side walls, with blocks to hold them in place. The poop boards are white finished pre-made shelving boards and slide onto rails. The roosts and poop boards are removable for easy access when cleaning the whole coop out.
The nest boxes are made of plywood, divided into 3 sections and mounted to extend into the shed part of the building, so I don't have to stand in the rain or winter weather to gather eggs. The door on the back of the nests is hinged on the shed side.
The pop door was made out of a sheet of plexiglass that we sanded down to make it opaque. It's attached to a drapery motor. Hubby added pulleys to the mechanism so that the drapery motor could run in the orientation it was meant to. The counterweight is a disc weight from a sporting goods store. The motor is plugged into a Z-wave controller that is run from our Home Automation software. It opens and closes on a schedule that we can easily modify as we figure out the chickens' routine.
That's the coop part of the project! We finished up the run July 4th, and there will be pictures of that coming soon!
Our 9 chickens are out in the coop now and they love it! They have a nice big run to play in all day, and a securely locked up coop for the night.