Miss Tis Coop
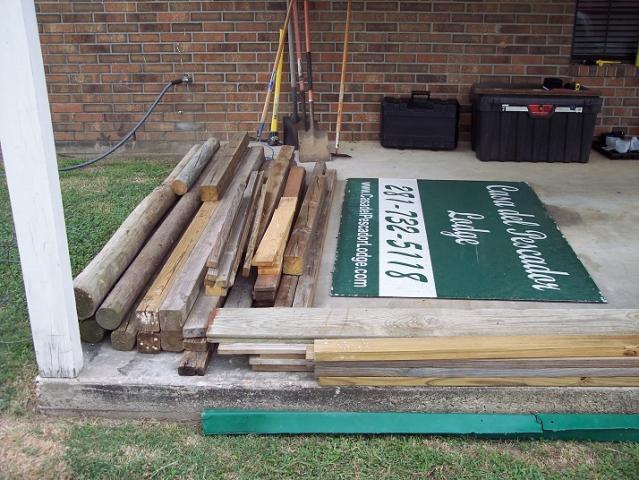
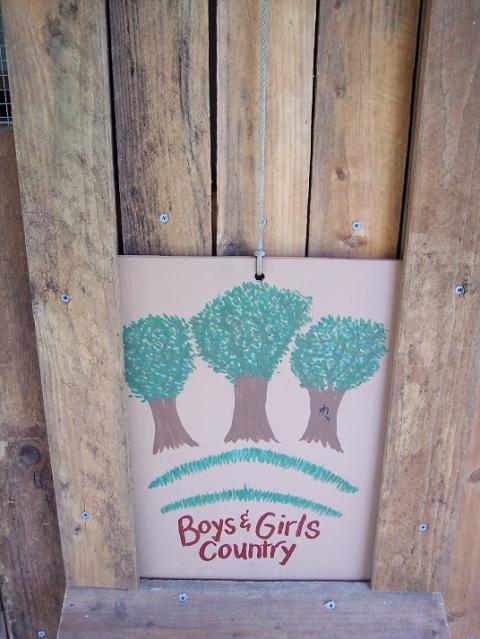
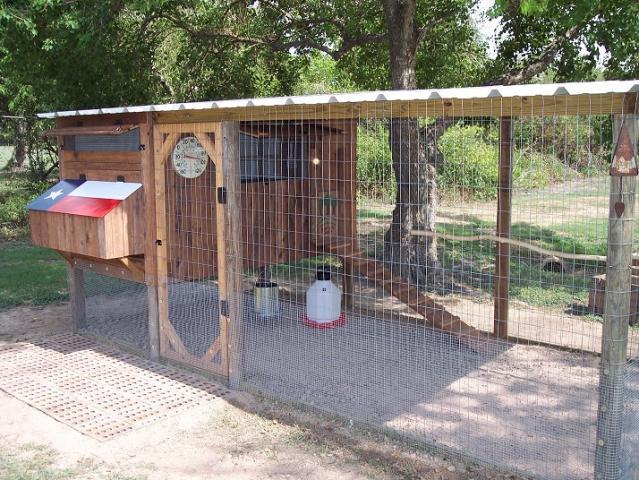
My lovely wife Tis and I decided to get a few chickens for the eggs and just to have fun with. She works at Boys & Girls Country in Hockley, TX which is a childrens home. We live on the college kids and staff campus. This is her 35th year and she plans on putting in another 10 more. Started gathering info back in March and found BYC and joined up. Lurked around gathering info and started collecting as much used material as I could find in mid April to keep cost down. Had an old business sign that we decided to use for the back wall of the coop. Was able to get all of the posts and a good portion of the framing and siding material. I do not own a nail gun so everything is screwed together on this coop.
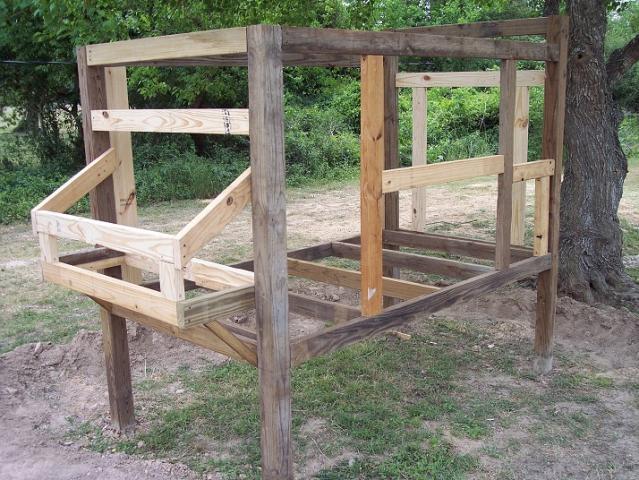
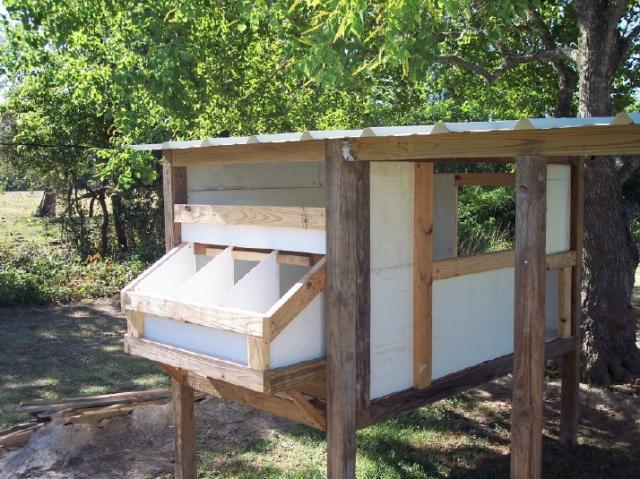
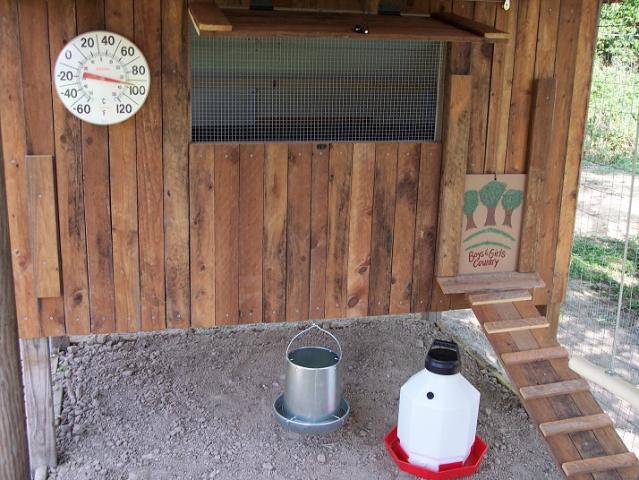
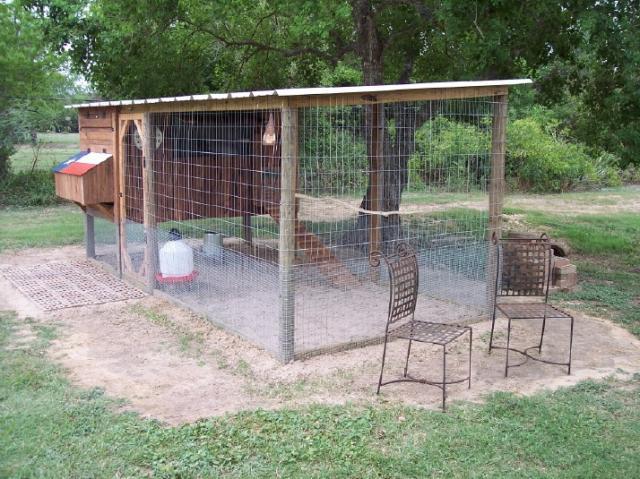
Kept the construction to basic sizing to utilize material. The 4 posts for the coop are 4x4x8. The coop is 4' wide x 7' long. Two posts are 2' deep and the other 18" for roof pitch and the floor is raised 2' off the ground for added space and easy access for cleaning. Burying the post for the coop and run were tough due to the severe drout we are having. There will be three 12"x12" nesting boxes on the end of the coop. Vent windows on each end and a large one in the center of coop.
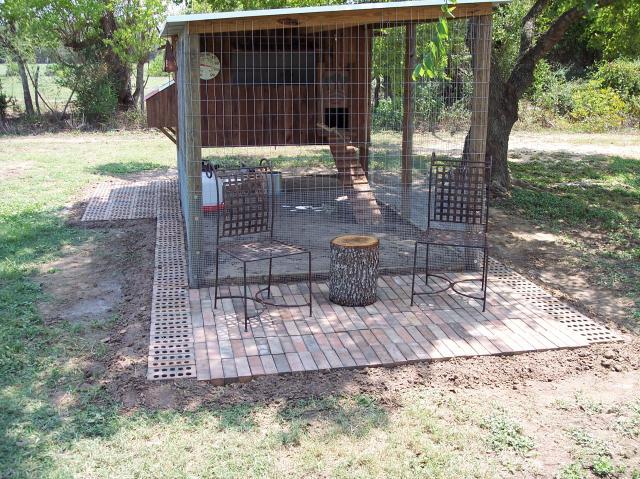
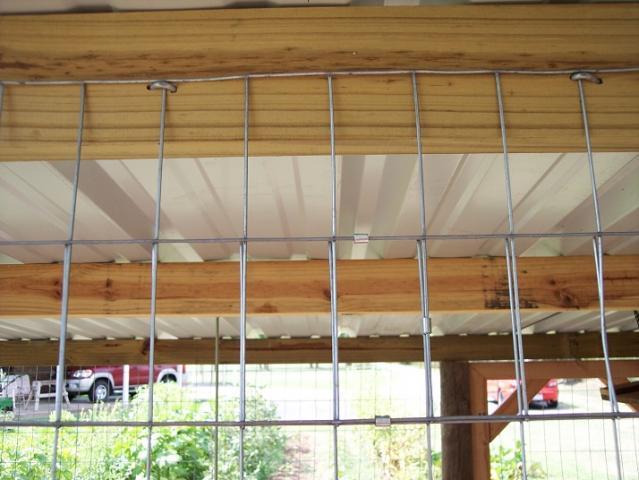
The inside of the coop is lined with commercial grade fiberglass sheets that will be great for easy cleaning and sanitary conditions. Want to thank Charles Cochran with B&C Constructors for donating the fiberglass and the commercial grade tin for the roof. The over all length of the coop and run is 14' 6" from center of post to center of post. This allows for the overhang of the roof with 5 sheets of tin, making it 15' long. Windows are covered with hardware cloth.
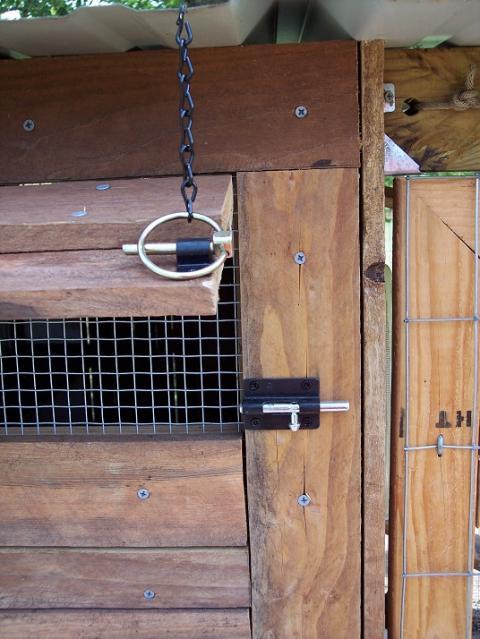
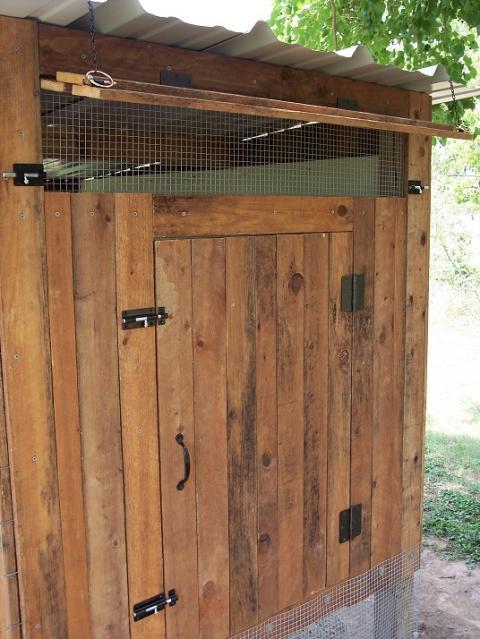
Next was putting on the sign and start triming out the siding which are old cedar fence slats that they had in the scrap wood pile on campus. Took a while for me to come up with an idea on keeping the windows open utilizing the latches. Tractor pins and chain is what I came up with. Drilled some small holes in the tin. Cut the chain to length and added the pins using a pair of needle nose pliers. Clean out door is at opposite end from nesting boxes.

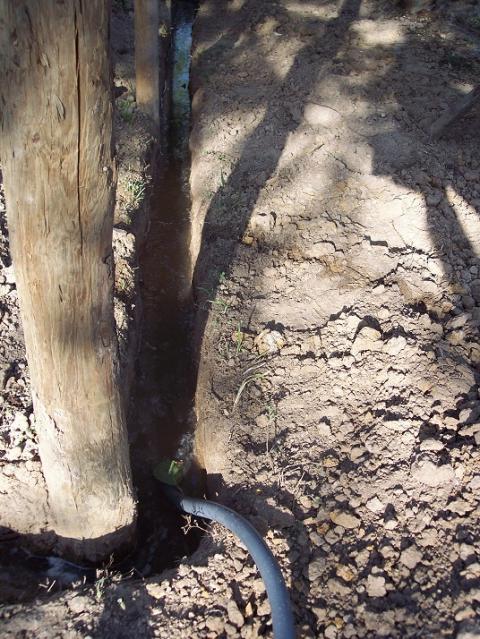
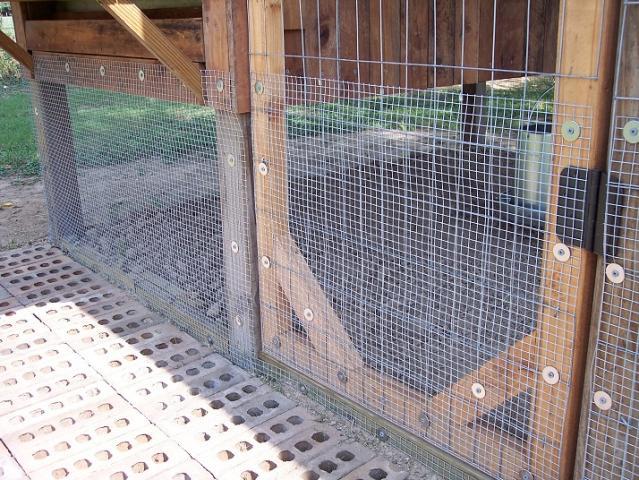
Next step was digging the trench around the coop. Installing 4"x2" horse wire around the run. Then installing the hardware cloth which is buried 1' deep. Used screws and stainless steel fender washers to attach hardware cloth and 1.5" staples on horse wire. Used rabbit wire clips to attach the wires together.
Next step was the painting of the lid to the nesting box and coop door. Want to thank Heidi Coberly, one of the house parents for a job well done.

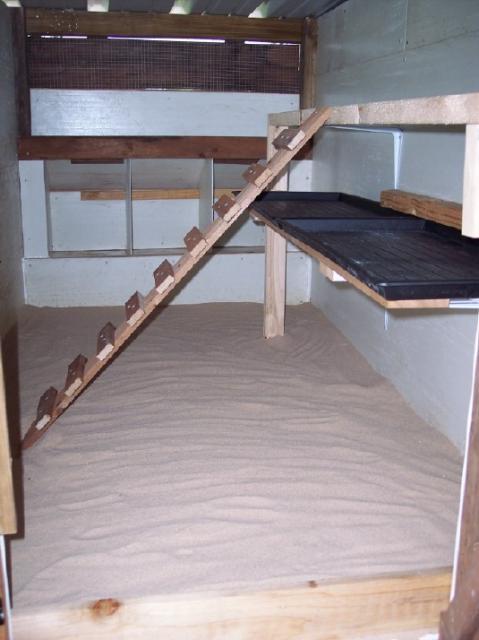
Next step was building the roost bar and poop board. Boot trays will be utilized for easy access and cleaning. Going with play sand in the floor of the coop. Want to thank Elmo one of BYC members for the idea with the boot trays!
Next was the installing of the outside roost bar which is a piece of Aspen wood that was donated by Paden Drozd!
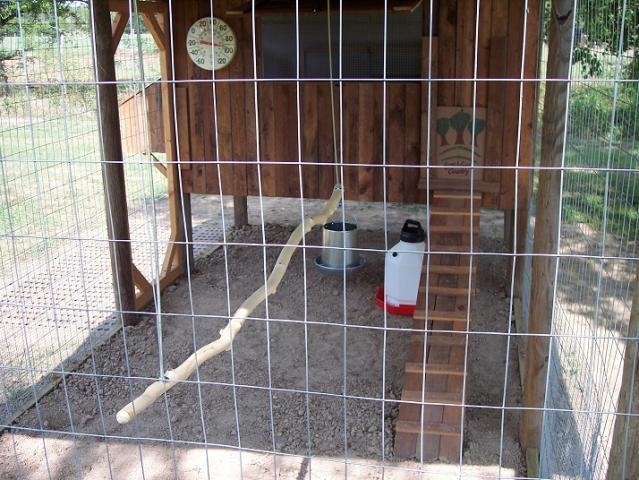
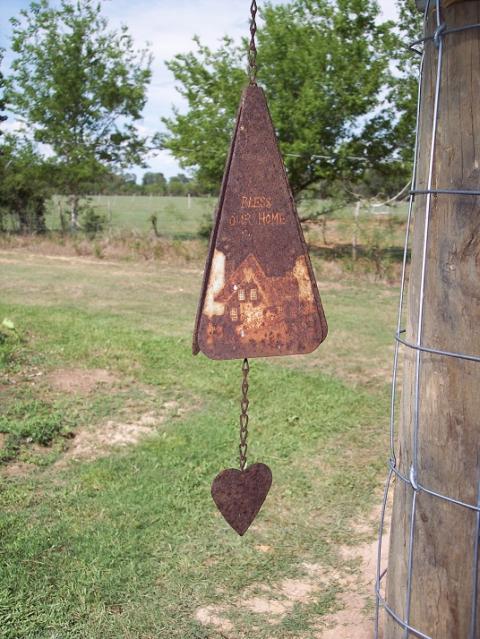
Made a little patio using old bricks at the entrance to the run and nesting box site. Will eventually have one row of bricks going completely around the run and coop. Going to wait till this fall when weather cools down some to install. Added a thermometer and old windchime for some added touches.
Finished her up on 7/12/11
Total cost from screws, wire, paint, sand, feeder and waterer to get going was $551.71
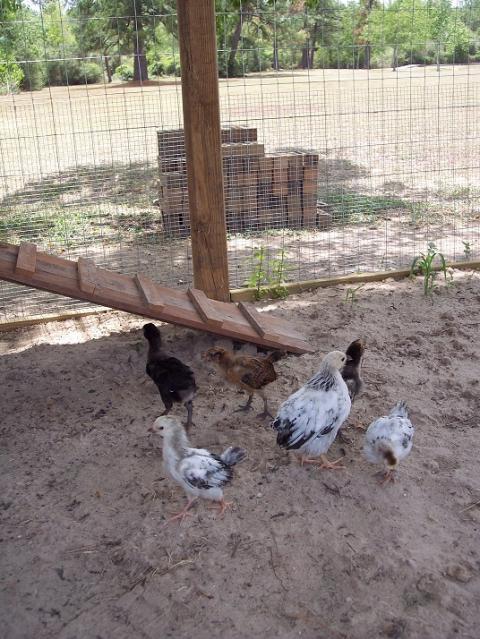
7/30/11 Picked up our girls today. A Black Australorp, Easter Egger, Light Brahma, Golden Wyandotte and 2 Columbian Wyandotte's. All aroud 4 to 6 weeks old. They are having a good time in their new coop & run!