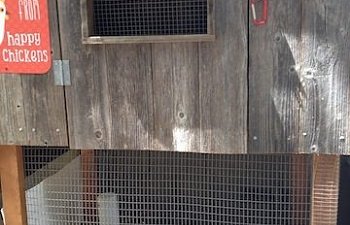
My coop, 60"h x 65"w x 32"d has a 30" ground clearance.
I wish I had lots of techie plans for you, but to be a chicken mom/dad you need not be able to build.
We thought all the online stores had stunning coops, albeit for a lots of $.
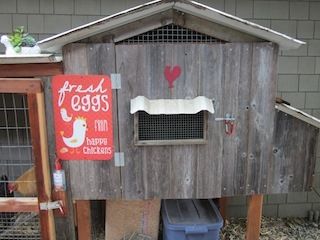
As an alternative, we found a local guy who built us a perfect coop for our needs w/ recycled fence boards.
This is my plug for helping local economy. I paid him $550 for the coop & pen, materials were mostly free, & he got to pocket a bunch of $. Happy!
This is also a story of how one thing leads to another, as you will see!!!! (well, I'm sure you know this too)
The coop- decor mine
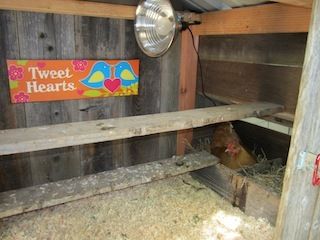
Goldie inside, taking her time in nest box. Can I get ya a magazine, honey?
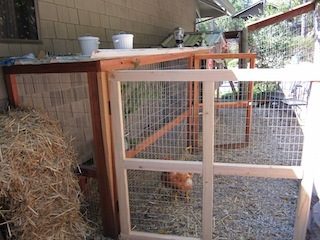
Here's Michael putting in the coop. Bonus of local guy: Although he sells his coops at a local feed store, I don't have a truck to haul it. They were happy to give me his name & get him over to tweak his stock design & a pen to fit. You can see we put it in our unused side yard, next to the house. The slope he's on leads (just out of the pic) to a steep cliff, going up to street level. We live on a hill in a small city of 160,000. It's good to have the hill as shelter for any loud clucking. But so far, neighbors who peer in on their daily walks have been fine.
I wanted to open the door all the way instead of it running against the hill, so my husband dug it out

nesting box side & a little more hill cut
My hubby excels at starting projects! He loves manual labor, but works 70 hrs/wk as a Dr, so little time for actually finishing or gaining the skills to do it right (not like chickens care). Happy that he did his due, he hired local guys for "his" wall
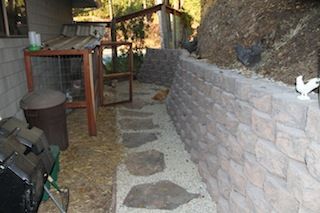
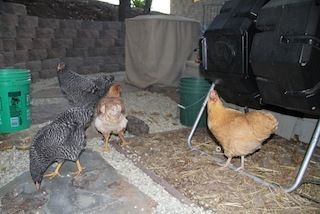
The path leads around the front of the house up to a little deck. So the $ spent on this "one things leads to another" project has enhanced our home. (what I tell my hubby) The gals love to scratch around our compost tumblers.
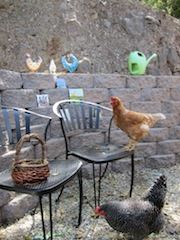
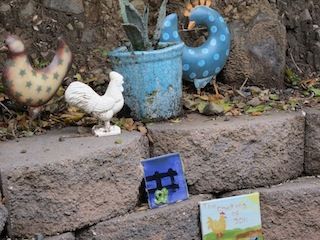
decor
Back to the technical. The past wkend we added (work by hubby & me) a swinging gate to keep the gals away from front yard when we want. Just a 4x4 ft frame attached to the pen with hinges- yet we are proud of our fine skills & innovative ideas! ;-)
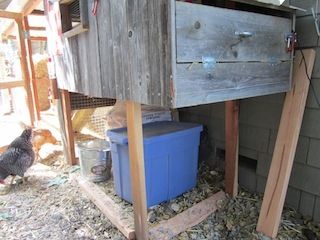
Our plan for next wkend is add pen area under the coop to give the gals a little extra space. I can't let them roam when I am not home, but I want them to be happy.
The boards & wire are measured and ready to be affixed.
We also plan to add a solar powered chicken door soon.
Despite our urban location we have predators. We (my hubby) buried 6in vent wire along the perimeter of the pen.
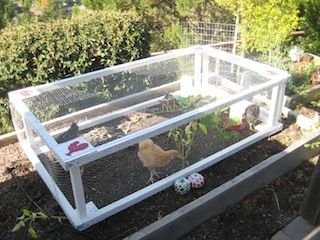
I built the chicken tractor to use in the winter over my raised beds. The gals worked & I watched them from my kitchen window. Now I use it on the lawn for the 2 new babies. They get to be outside, meet the gals, & also be safe! Tractor plans from Art of the Chicken Coop, by Chris Gleason.
Design did not have a door. I managed a hinged door (it opens up- don't do that) with a cute knob & 2 little locks
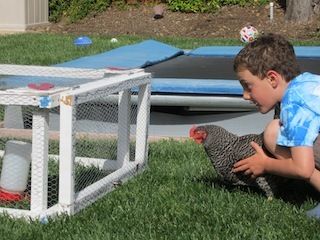
Here's my older son (8 yrs) yesterday, sweetly facilitating a meet & greet. And see how much Carmen really cares.
If you can't build your own coop, you can find local help to assuage a hefty price tag. Beware of project creep!
The wall cost over $2000 in labor & materials. LOL!
Other costs:
The tractor cost ~ $40 to build, & the new gate was also inexpensive ($20?)
The extra pen frame is scrap lumber. The only cost is the welded wire for the enclosure (~ 8 ft), & 8 ft of vent wire for the ground ($9?)
I plan to buy the new coop door from this site's sponsor Chickendoors.com ($180 +some for solar)
...Alright, so our eggs are still expensive. But I'm in this love affair for a long time!
")
-B
Update: August 14th. We've had great success with our solar powered PulletShut door. We also completed the pen addition, but after a few months of fetching eggs with the rake from the back reaches of it, we added a nesting box. That was a small project but one I am proud of. I bought a standard wood nesting box from the feed store, but I needed access from outside the pen. I installed a knob on a duct cover ($5 at the hardward store) and a cut a hole in the box to fit the cover. It's fastened with a bungie so the ladies or predators can't knock it out or remove it.
I cut a hole a bit too small for the box in the welded wire and stapled it around the outside edges of the nesting box.

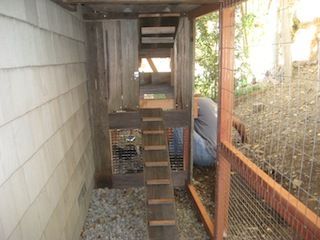
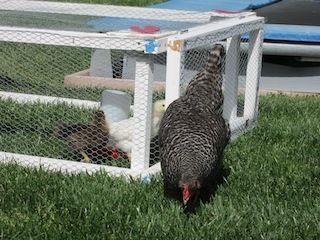
Here's a good picture of the pen addition. Why not use that space under the hen house, right? We have a temporary, and easily movable, plastic mesh cloth (see bottom left side of picture) that can spread across the entry from the rest of the pen, handy for keeping the younger ones apart from the bigger ones during the integration process. (and for us it sure has been a process!!!!)