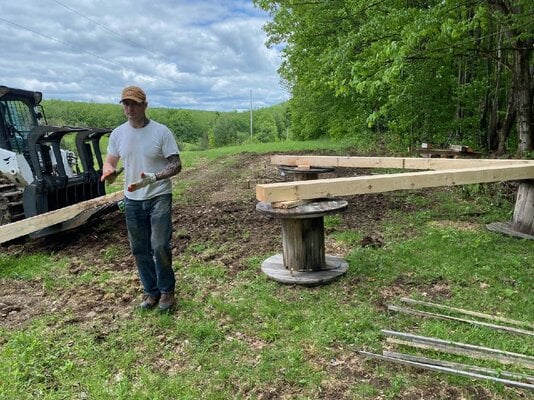
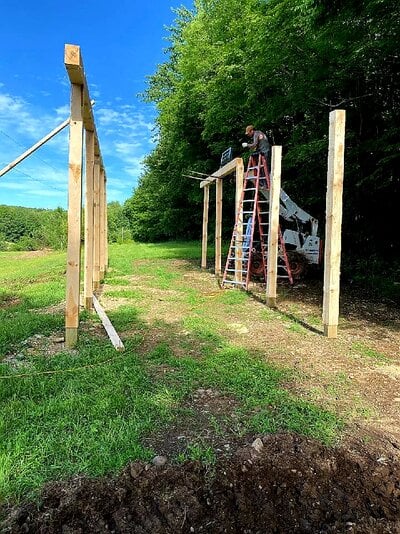
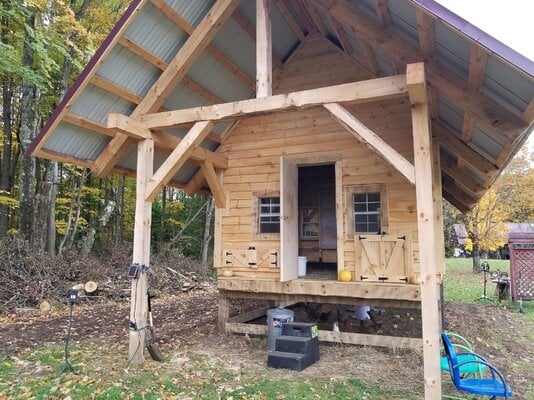
All lumber used from an old 1993 woodmizer sawmill except 4ft treated in the ground. 1st step was putting posts in the ground. I leveled and squared the posts. Decided on a 32ft by 12ft footprint with posts 8ft apart. Used a string level to set the posts and laser level to trim the tops of the treated if needed.


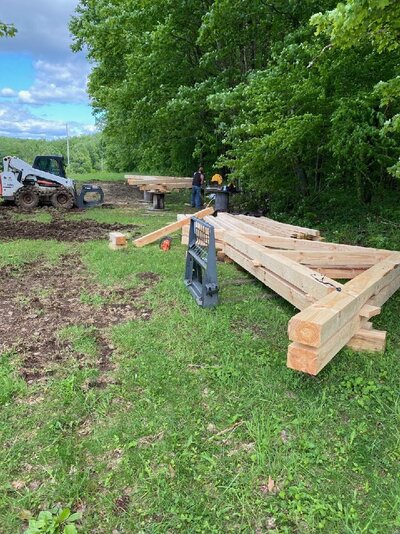
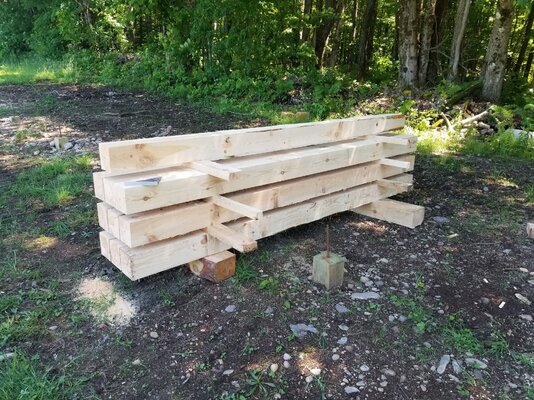
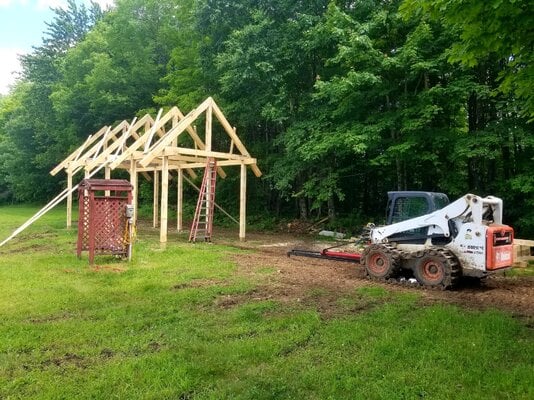
Step 2 was to build the trusses. These used 6x8 beams, 13ft run and 12ft 6" width. 1/2" auger bit used with 1/2"rebar in the place of timber nails.


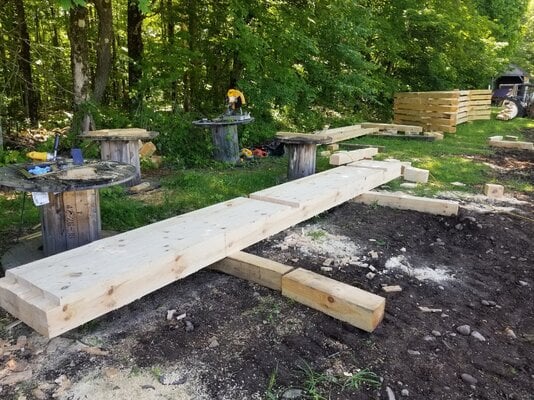
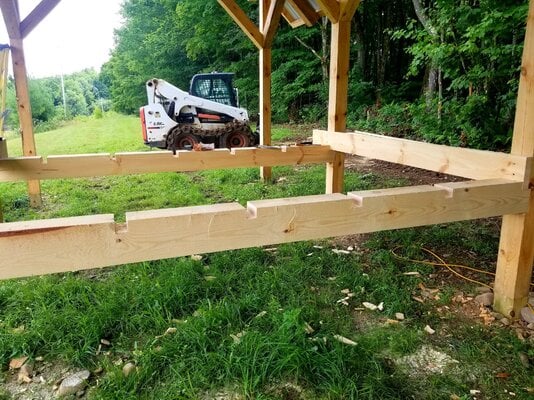
Step 3 cut the 6x6 posts to as close to 10ft as possible. Within 1/16th of an inch. And cut the horizontal 6x8 beams. Beams notched 2" every 8ft for the trusses to fit into.
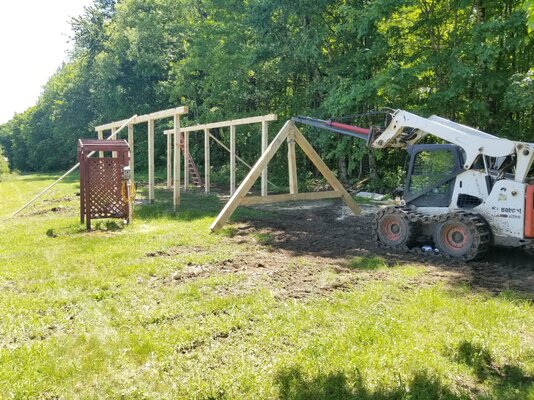
Step 4 was to attach steps 1, 2, and 3 together. Auger bit and rebar were used for the posts. 9" down the ground post, and 9" up the 10ft post. Rebar used to attach the horizontals with the trusses also.

Step 5 to put the perlins on and diagonal supports. The perlins were 20ft, 16ft, and 12ft 4x4s and diagonals used 6x6s. 8" spiral nails used for both.

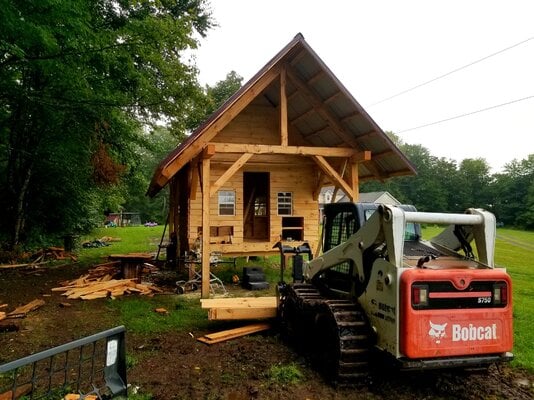
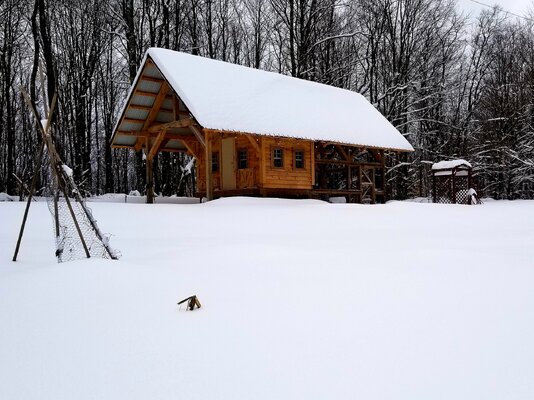
Next is the roofing metal to complete the shell portion of the coop. This was the most expense on the project with $1600. The rebar is about $1 per foot. Nails I think were $130 for a box of 100 of the 8" spirals.
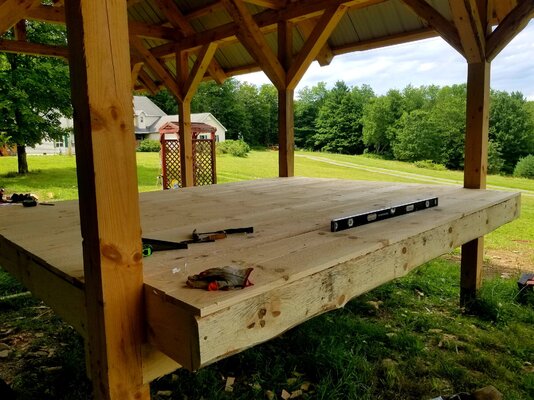
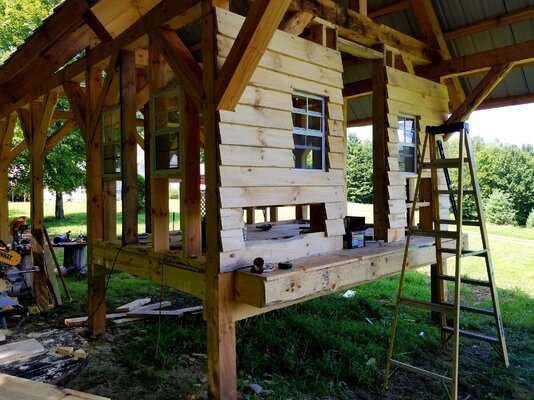
Next was building the floor. Used 6x8 beams notched 2" into the posts with rebar.
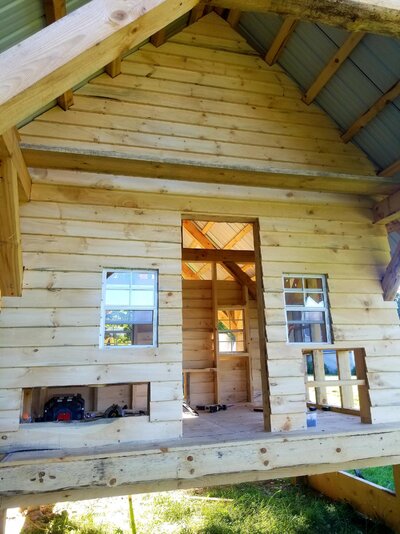
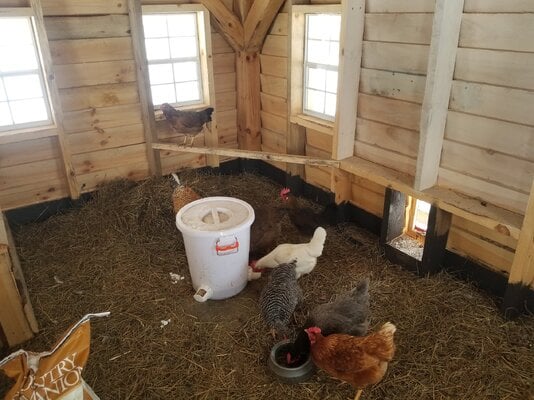
Framed in the walls
Siding was rough cut 1x8s.
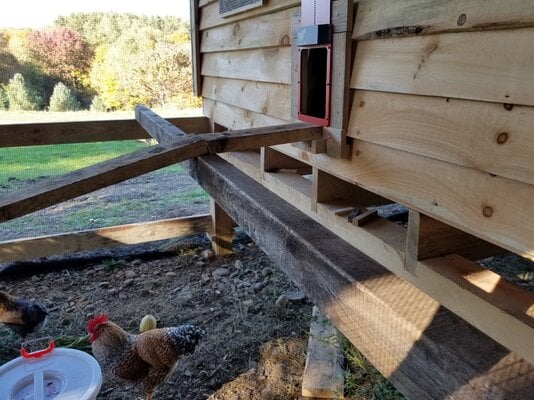
Then 4ft x 100ft hardware cloth from amazon for the run. A powered hand planer came in handy for the run door to get a close fit between the door and frame.
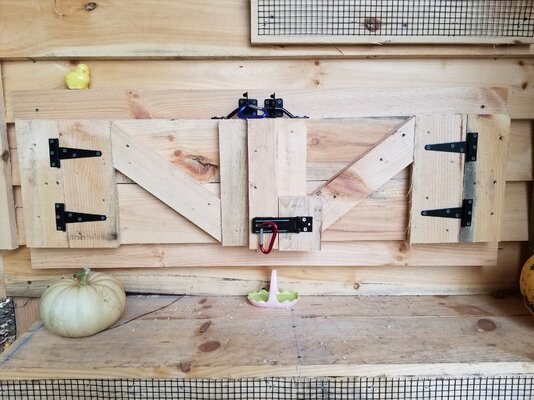
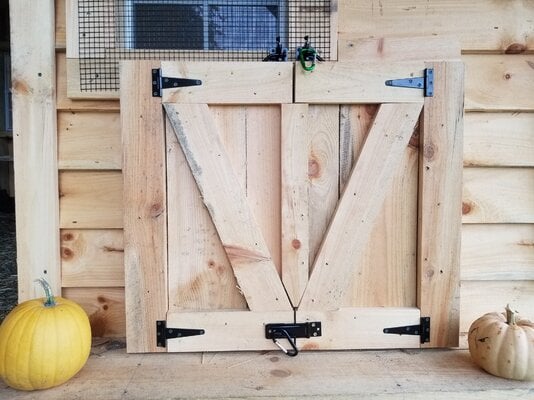
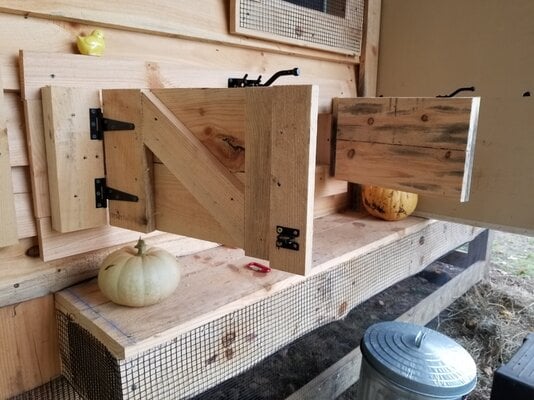
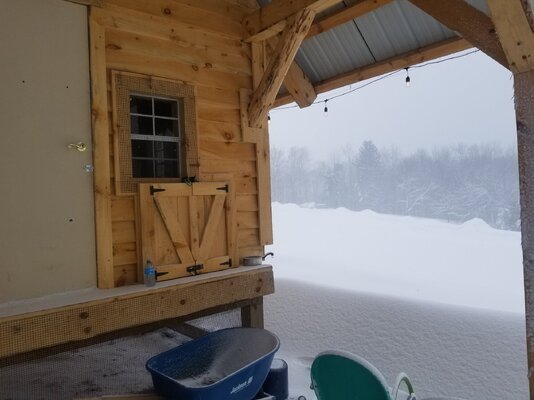
Nesting boxes are inside with flush doors on the outside wall.
The nesting box doors are about countertop height. They open horizontally with hinges and latches from tractor supply.
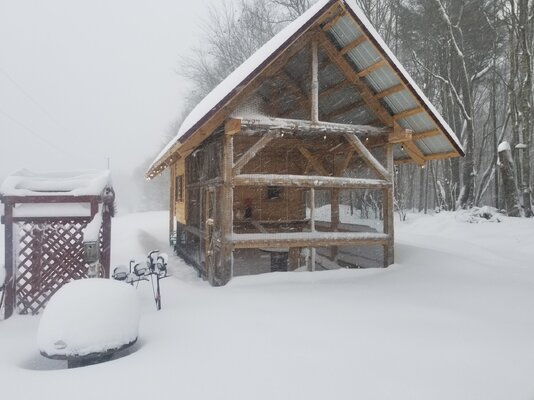
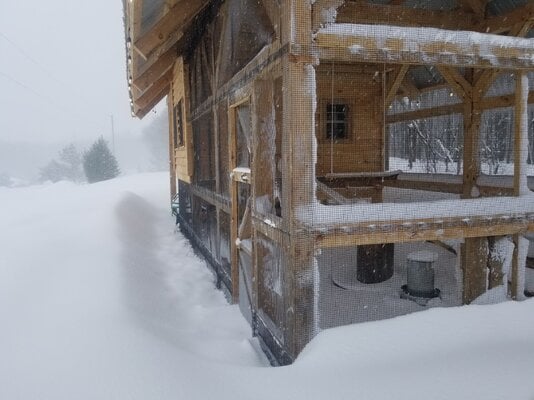
Having a completely covered run helps with the coop smell, especially during a rainy season. The hardware cloth was 4ft x100ft rolls from Amazon. It was about half the price you'd pay at tractor supply. 4ft is about the max width I'd use. It was a pain to handle. Mounted horizontal. The run door was made out of 2x4s and measured to fit the frame. Of course it didn't fit. Too large. I used a powered hand planer to plane the perimeter edges until a perfect fit. One thing that would help in the future is a perimeter drain around the run. In the spring, the snow bank is pretty high from snow sliding off the roof, making it muddy and icy in the run for about 2 weeks. A perimeter drain would probably minimize that time.

For additional ventilation the top 2 spaces, created by the trusses and perlins, were covered in hardware cloth instead of siding.
I do plan to put an electric wire around the perimeter soon. A fox has already been spotted checking out the craftmanship of the coop on the trail camera.