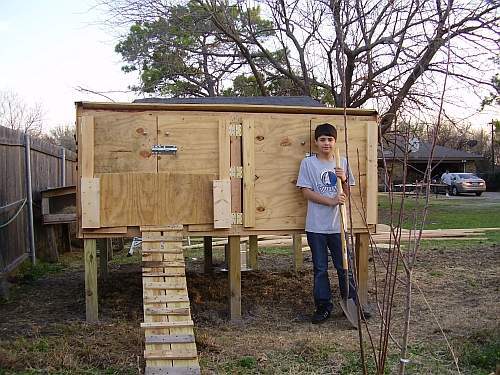
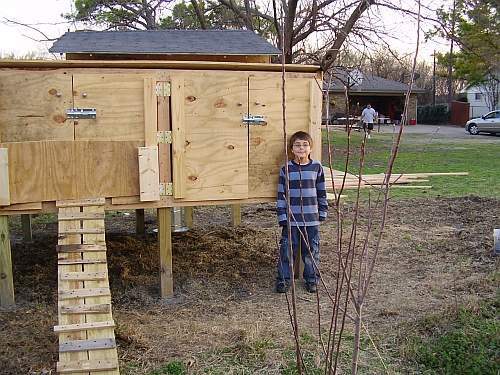
Elevated, Screen Floor, Easy Access Chicken Coop
My name is Ryan Mangipano. My sons and I built a chicken coup. My son Justin wanted me to share our plans since we used a bunch of ideas that we found on this site.
Here were the goals of our chicken coop

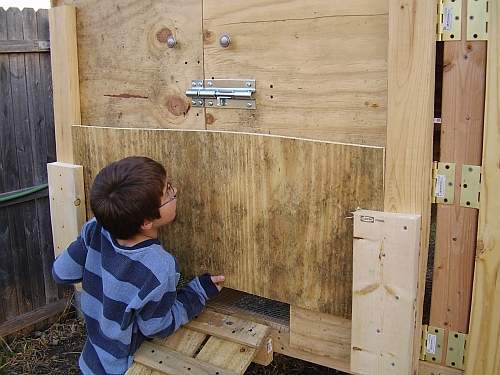
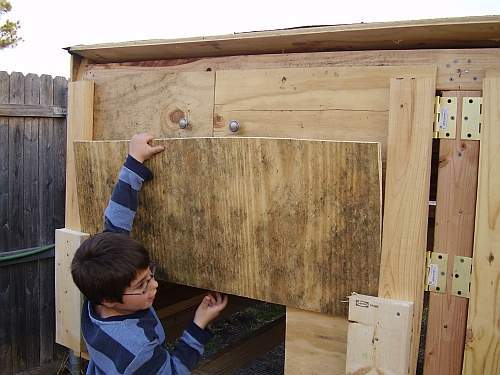
This is the door for accessing the 4 nestboxes from the outside.
The door was very light until I added the feltpaper and roofing shingles.
The 2x4 at the bottom of door allowed me to use large screws for the hinges
to create a sturdy connection.
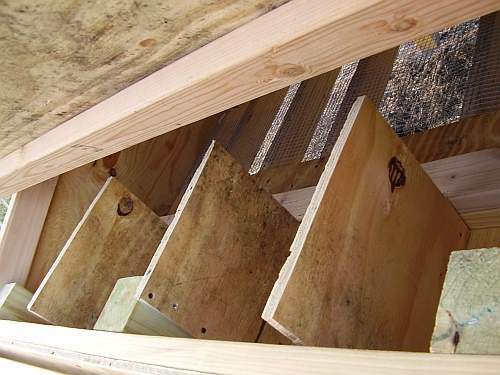
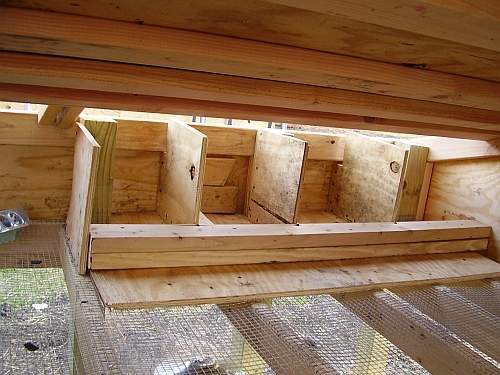
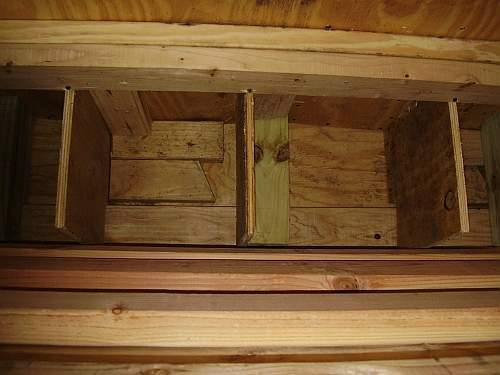
Here are the 4 nestboxes
Here is the other door which is for accessing the food and water that we keep inside of the coop
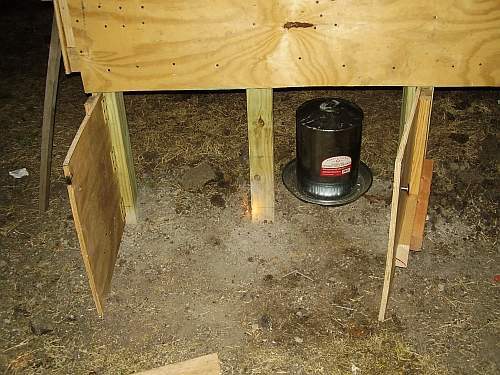
Here is where the food and water for the outside of the coop is kept.
I later added doors to this section so that they can be refilled without entering the gated area.
I have pictures posted later on the page of these doors.
Since the floor is screen and I wanted to keep the chickens droppings out of the food and water,
I placed a small section of floor over the food and water and placed the 4 nestboxes on this floor section
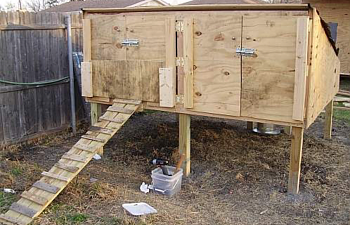
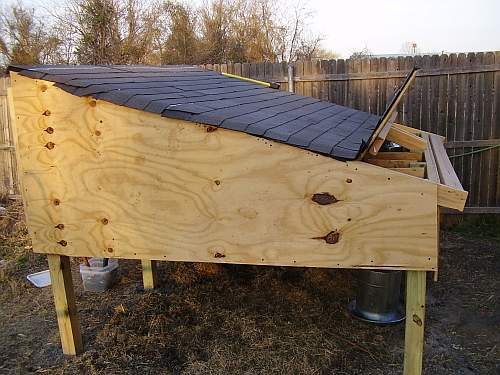
Here is a view of the coop from the side
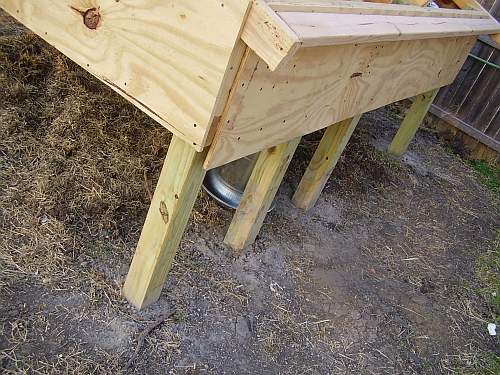
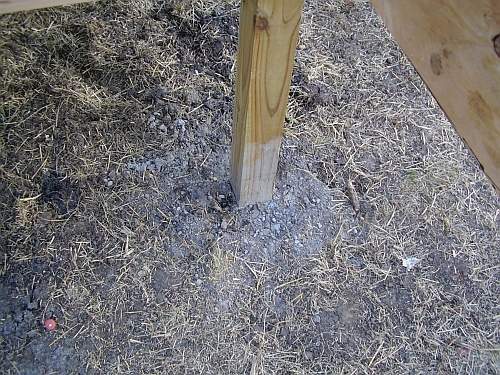
Here is a view of the 4 legs in the front which are concreted 1 foot into the ground.
We dug holes and then poured the concrete into the hold while adding water and mixing it in the hold.
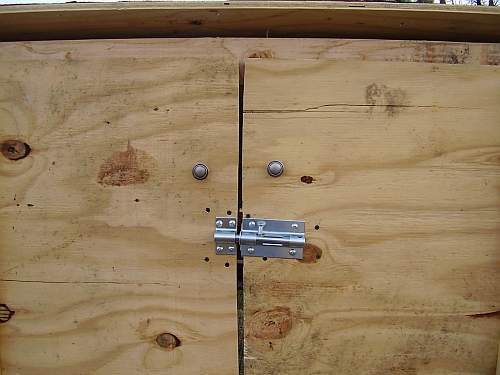
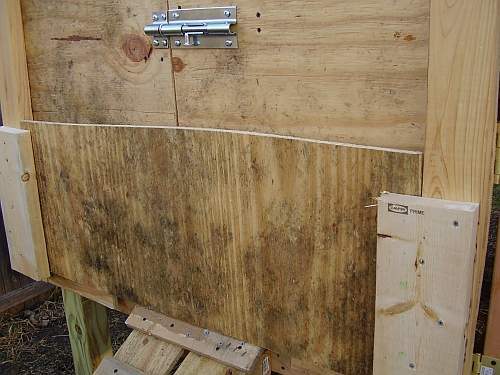
Here is a close up of the hardware used to close the doors.
When trying to find handles, I found that they were very expensive.
I used the ones shown in the picture because I found a 10-pack
from home depot for a reasonable price.
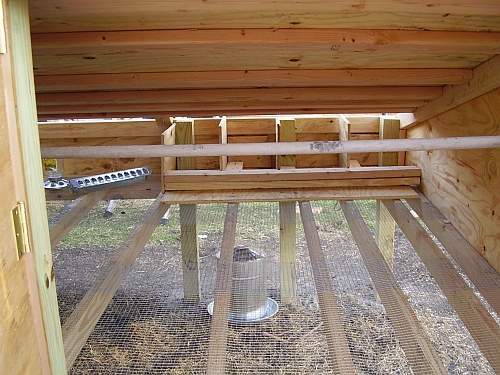
Here is a view of the coop from one of the large doors in the back.
You can see the screen floor and the nestboxes.
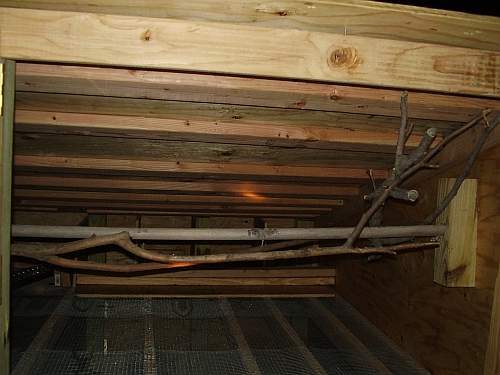
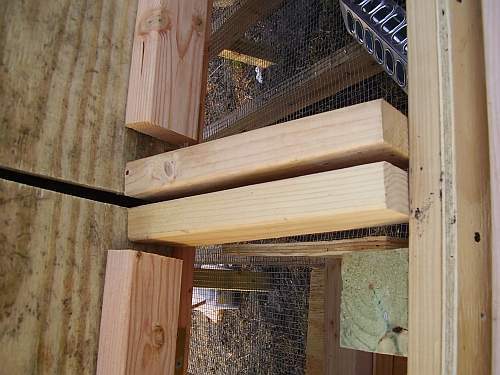
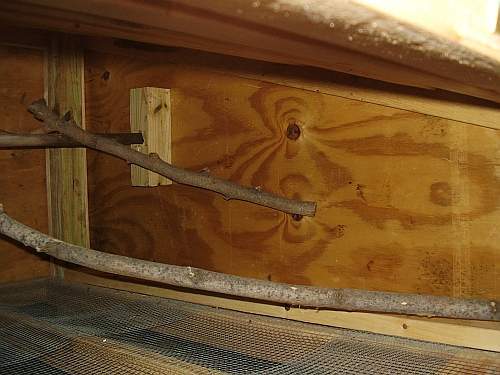
Here is the perch. I screwed a small 1x4x4 into the wall on each side after drilling a large hole in it to hold it.
Here is the other side.
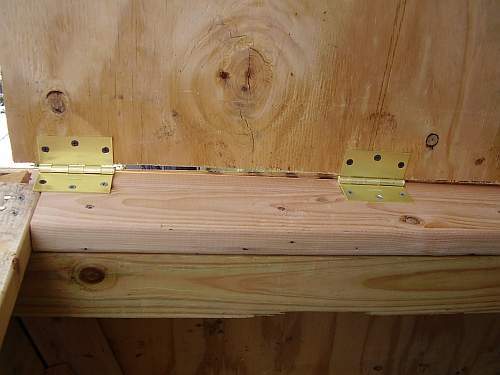
Close up of the hinges.
Hinges are also expensive when you need a lot of them.
I got these for a little under 2 dollars a piece.
I used over 20 hinges total.
I placed a small 2x4 behind the latches so that the heavy duty screws would
have something to byte into instead of sticking out and becoming dangerous.
Here is a close up of the latches. They are heavy duty from home depot.
Instead of buying more latches, I made this slide in door cover out of wood.
This will allow us to keep the chickens in the coop whenever we need to.
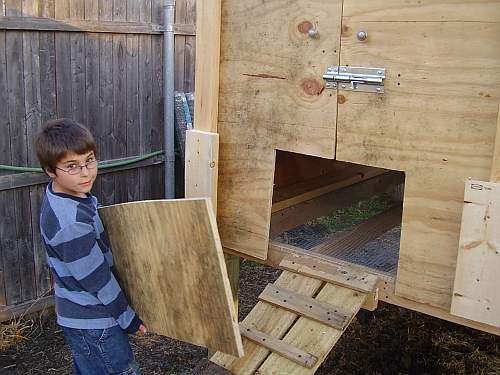
That is my son Justin opening the door
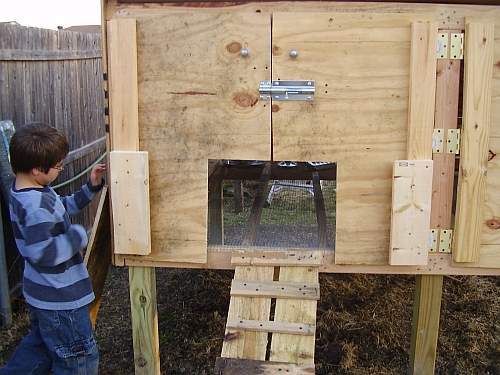
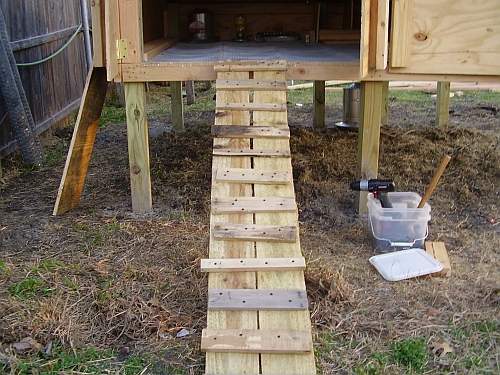
There is the chickens ramp and enterence into the coop.
Here is the view inside from the back with the doors open.
Here you can see how we mounted the latches.
Here is a view of the floor.
The screen was stapled down with a staple hammer.
Notice the floor in the back to keep the droppings off the food and water below.
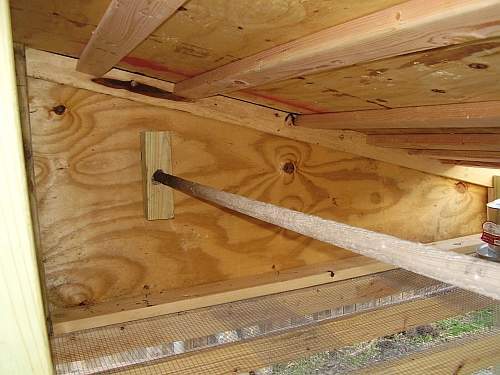
Here is the mounting of the ramp to the coop entrance.
I used 2 fence boards and connected them using some wood from a pallet.
Here is how the perch bar was mounted.
There were some roofing nails sticking out so the kids hammered
them all down into the wood to prevent the chickens from getting cut.
Here is a view of the nestboxes.
They weren’t designed in the original plans.
Instead we just sort of stuck wood where it needed to be to make the nests.
Here is a view of the doors to the front opening up.
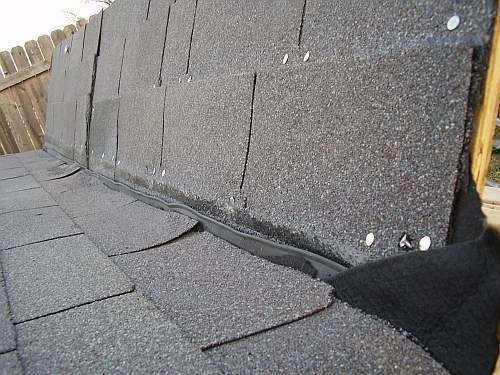
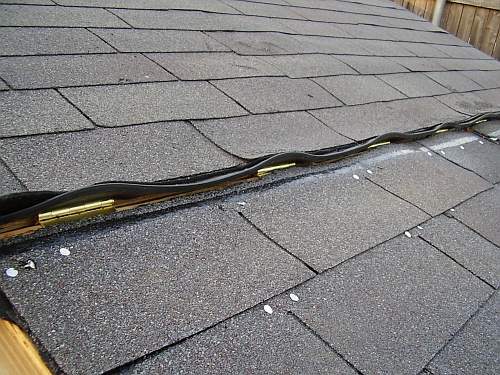
I used rubber garage door trim to try and get the water to roll off the shingles.
This may leak and may have to be redesigned.
I’ll have to wait iand see.
To hold the doors open, we used some 1 foot 2xs4’s
Here is tone of the doors in the closed position.
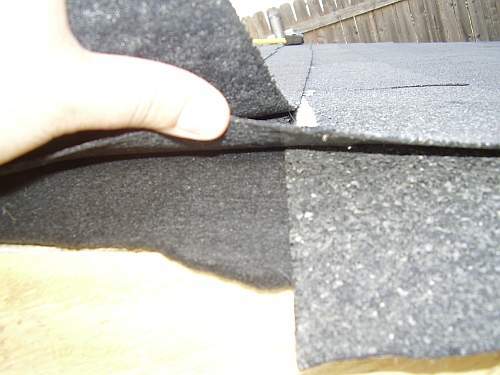
We used some felt that was lying around in the garage from an old pond that we filled in.
It made some nice feltpaper.
A view of the concreated legs.
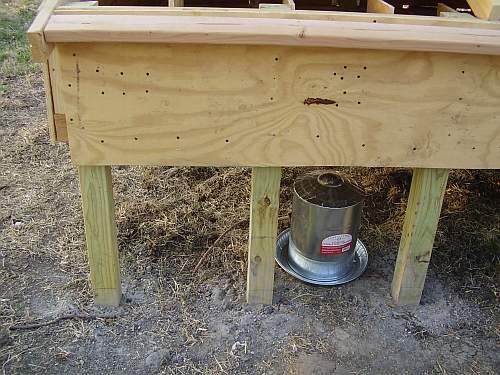
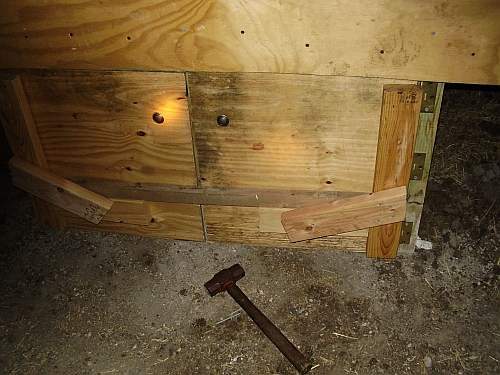
A view from the bottom of the coop.
Notice the 2 hooks for hanging feed buckets or water.
A view with the doors open in the back.
The nestboxes from above
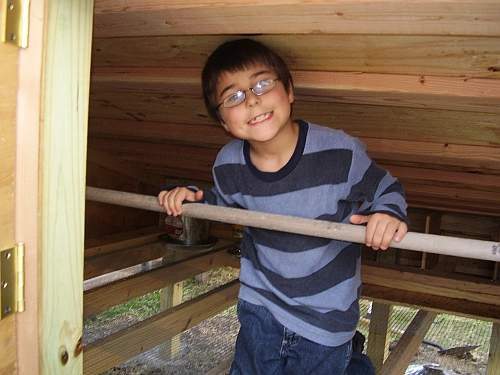
Justin inside of the coop.
We got the doors built in this picture.
This will allow us to service the food and water by opening these doors in the front of the coop without entering the gated area.
Here is the view with the doors open.
Here is our homemade latch being opened.
Notice the knobs from the 10-pack I mentioned earlier.
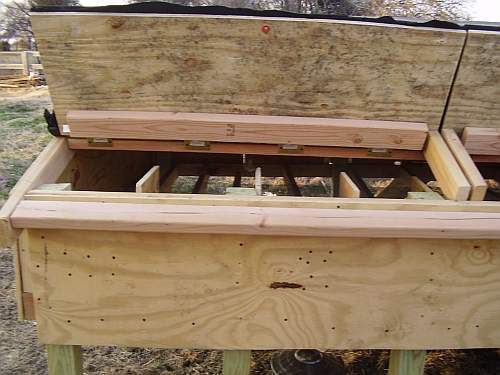
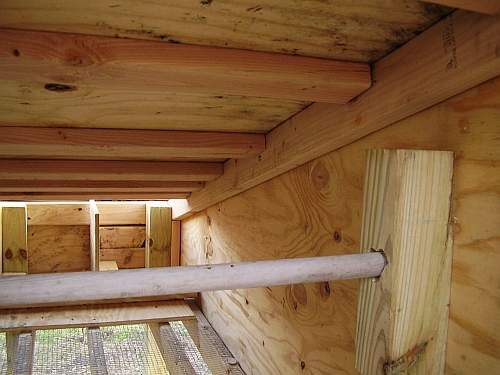
Here are the roof rafters.
Here are some views of the back with the perches screwed down and the doors closed.
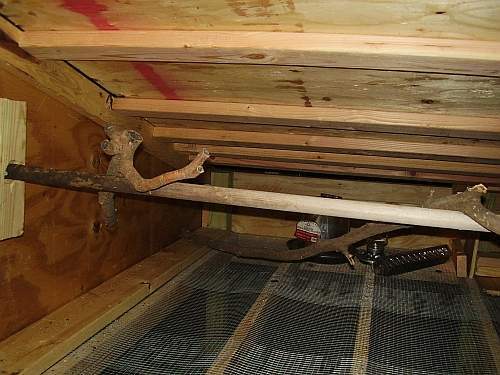
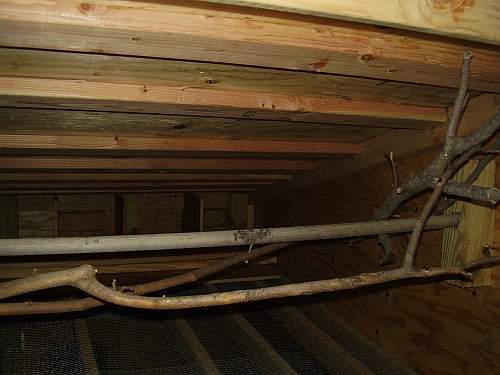
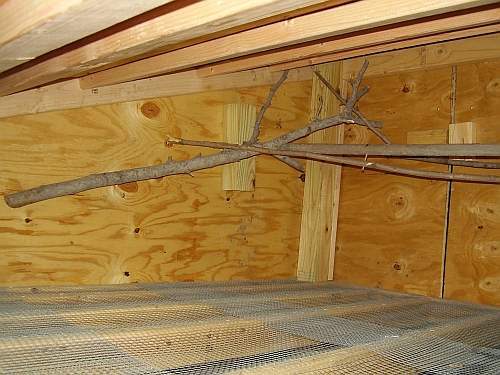
Here are all the perches.
I read that leaving only 1 foot above the perches (rooster chooses top perch I think?) would keep the rooster from being able to crow as loud.
I’ll try it.
I screwed some branches to the walls and to the main perch branch. This should give them plenty of room.
My name is Ryan Mangipano. My sons and I built a chicken coup. My son Justin wanted me to share our plans since we used a bunch of ideas that we found on this site.
Here were the goals of our chicken coop
- · Elevated design so that the chickens could walk under the coup for shade
- · Access to the nestboxes from the outside of the coup without having to enter the gated area.
- · Food and water both inside and outside the nestbox which could be accessed without entering the gate.
- · Screen for floor to aid in coup cleaning
- · Easy access to all areas of the coup
- · 4x4 pressure treated legs concreated into the ground to prevent tipping over in high wind\
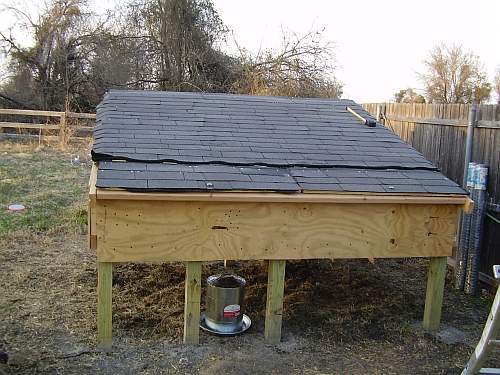
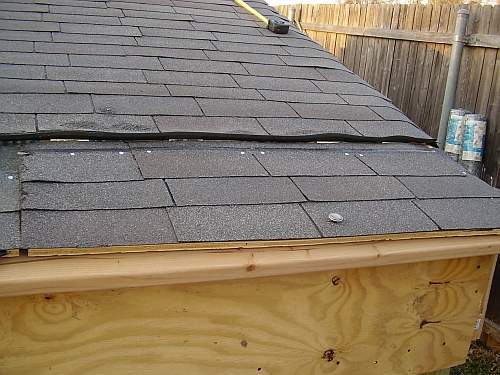
- · Shingled roof that doesn’t leak
- · Sturdy hinges, latches, and perches and enough space for >10 chickens
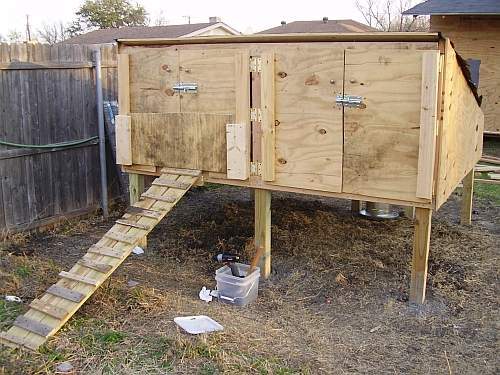
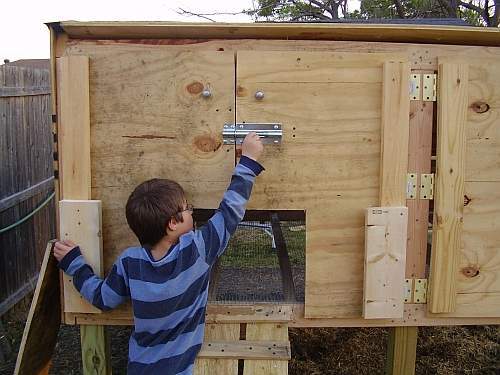
This is the door for accessing the 4 nestboxes from the outside.
The door was very light until I added the feltpaper and roofing shingles.
The 2x4 at the bottom of door allowed me to use large screws for the hinges
to create a sturdy connection.
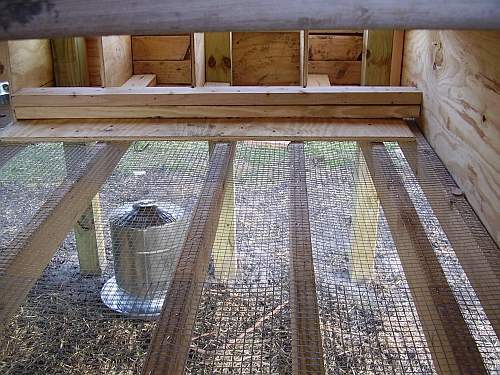
Here are the 4 nestboxes
Here is the other door which is for accessing the food and water that we keep inside of the coop
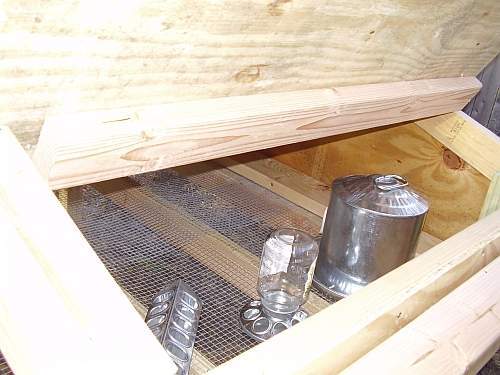
Here is where the food and water for the outside of the coop is kept.
I later added doors to this section so that they can be refilled without entering the gated area.
I have pictures posted later on the page of these doors.
Since the floor is screen and I wanted to keep the chickens droppings out of the food and water,
I placed a small section of floor over the food and water and placed the 4 nestboxes on this floor section
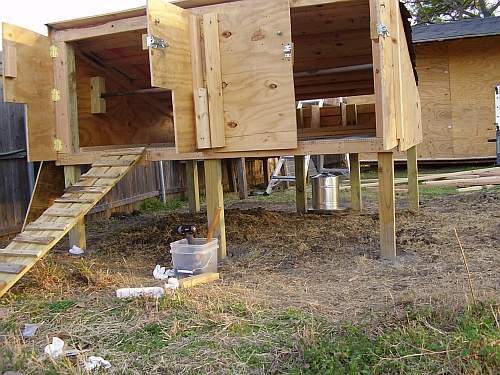
Here is a view of the coop from the side
Here is a view of the 4 legs in the front which are concreted 1 foot into the ground.
We dug holes and then poured the concrete into the hold while adding water and mixing it in the hold.
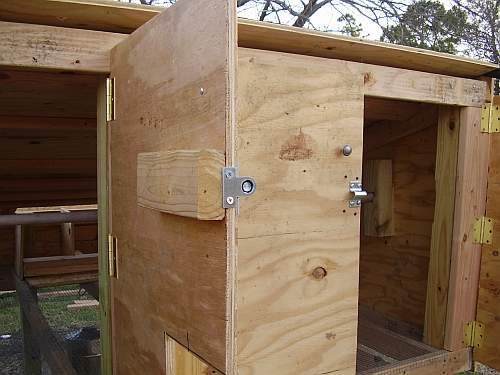
Here is a close up of the hardware used to close the doors.
When trying to find handles, I found that they were very expensive.
I used the ones shown in the picture because I found a 10-pack
from home depot for a reasonable price.
Here is a view of the coop from one of the large doors in the back.
You can see the screen floor and the nestboxes.
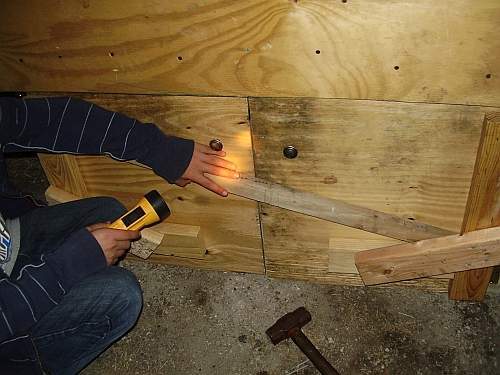
Here is the perch. I screwed a small 1x4x4 into the wall on each side after drilling a large hole in it to hold it.
Here is the other side.
Close up of the hinges.
Hinges are also expensive when you need a lot of them.
I got these for a little under 2 dollars a piece.
I used over 20 hinges total.
I placed a small 2x4 behind the latches so that the heavy duty screws would
have something to byte into instead of sticking out and becoming dangerous.
Here is a close up of the latches. They are heavy duty from home depot.
Instead of buying more latches, I made this slide in door cover out of wood.
This will allow us to keep the chickens in the coop whenever we need to.
That is my son Justin opening the door
There is the chickens ramp and enterence into the coop.
Here is the view inside from the back with the doors open.

Here you can see how we mounted the latches.
Here is a view of the floor.
The screen was stapled down with a staple hammer.
Notice the floor in the back to keep the droppings off the food and water below.
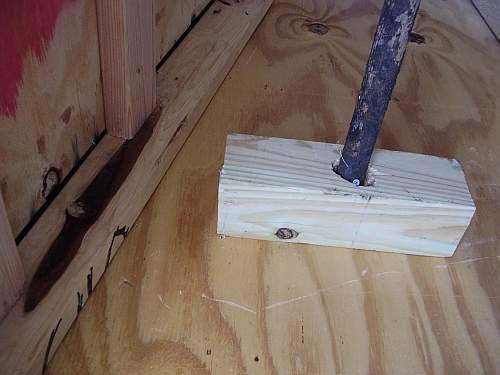
Here is the mounting of the ramp to the coop entrance.
I used 2 fence boards and connected them using some wood from a pallet.

Here is how the perch bar was mounted.
There were some roofing nails sticking out so the kids hammered
them all down into the wood to prevent the chickens from getting cut.
Here is a view of the nestboxes.
They weren’t designed in the original plans.
Instead we just sort of stuck wood where it needed to be to make the nests.
Here is a view of the doors to the front opening up.
I used rubber garage door trim to try and get the water to roll off the shingles.
This may leak and may have to be redesigned.
I’ll have to wait iand see.
To hold the doors open, we used some 1 foot 2xs4’s
Here is tone of the doors in the closed position.
We used some felt that was lying around in the garage from an old pond that we filled in.
It made some nice feltpaper.
A view of the concreated legs.
A view from the bottom of the coop.
Notice the 2 hooks for hanging feed buckets or water.

A view with the doors open in the back.
The nestboxes from above
Justin inside of the coop.
We got the doors built in this picture.
This will allow us to service the food and water by opening these doors in the front of the coop without entering the gated area.
Here is the view with the doors open.
Here is our homemade latch being opened.
Notice the knobs from the 10-pack I mentioned earlier.
Here are the roof rafters.
Here are some views of the back with the perches screwed down and the doors closed.
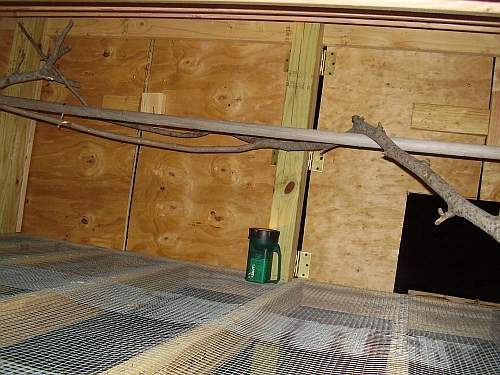
Here are all the perches.
I read that leaving only 1 foot above the perches (rooster chooses top perch I think?) would keep the rooster from being able to crow as loud.
I’ll try it.
I screwed some branches to the walls and to the main perch branch. This should give them plenty of room.