This project started in December initially as just an expansion to the existing coop. A little background. I inherited my small flock just about a year ago when my neighbors moved and could not take the chickens with them. I received from them 8 hens a 4'x4' coop, and 9'x9' run with no cover. The neighbors said this was easy just feed them and give them water and you get eggs. I immediately purchased a 10'x10' canopy to cover the run and last fall did allot of run enhancements to add security. I lost my first hen in mid September to what I now believe to have been either a respiratory infection or gape worms. It was shortly after that hard lesson that I found the BackYard Chickens and started educating myself on disease, environment and everything I could learn about chickens. I quickly found out a 4'x4' coop was not adequate for now 7 hens but did not have the time to build a new one for winter so I had to make do the best I could. I did cut ventilation into the existing coop as the previous owner had absolutely no ventilation. I did enclose the run in plastic thru the cold Kansas winter to allow for basically a coop extension to get them through the winter.
This is what I started with:

After a few upgrades last fall to the run and some paint on the coop

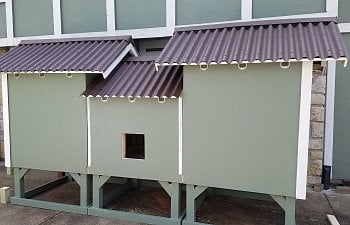
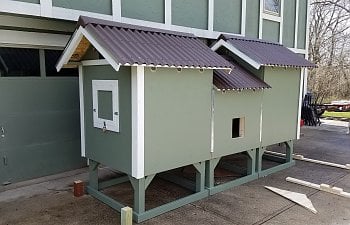
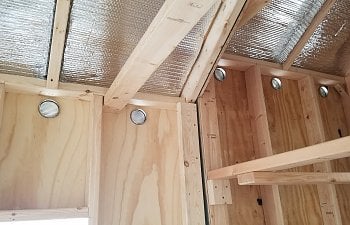
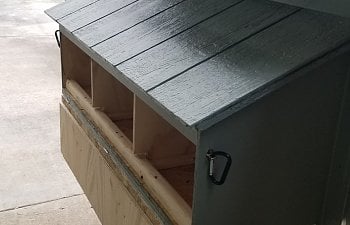
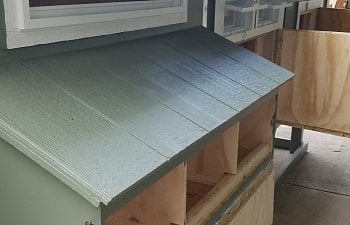
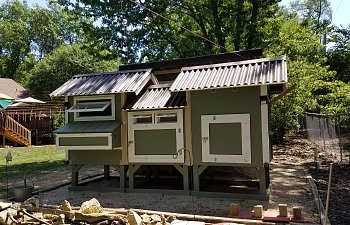
In December of last year my brother and I started on the coop project. Originally I was just planning on build a 4'x4' addition and connect it to the existing coop. After building the addition and trying to figure out how to deal with connecting it as standard construction was not used on the existing coop. I then decided to continue building and completely replace the existing coop with a new one. At this point I had lost another girl to fatty liver disease and was down to 6 and planned on adding some more new girls in the spring. So we moved forward and built another 2 sections each 4'x4' to make a total coop of 12'x4'. Each section sat on a 2 foot high base. This was build in 6 section (3 bases and 3 tops) which allowed us to build it in the garage and then move 6 individual piece that would eventually be bolted together with carriage bolts. I installed real windows and a large double screened window on one end with each section having its own access door. The nesting box opens from the side and there is a total of 24 feet of roosting space. At the last minute I lined the floor with linoleum for easy clean up, I bought the cheapest I could get (funny the guy at Menards was trying to sell me a better quality one then I told him it was going in a chicken coop, that face was classic). Here is how the coop turned out before it was moved around back and set in its permanent location


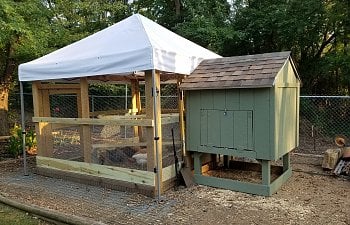
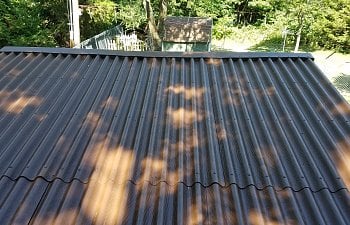
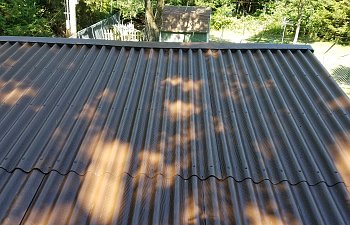
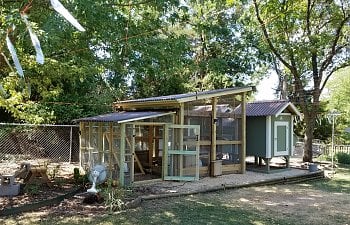
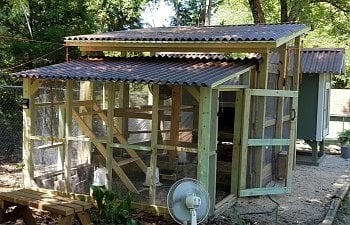
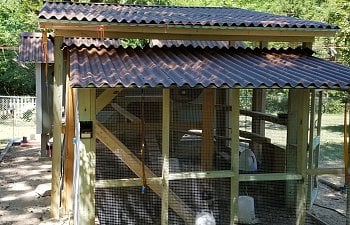
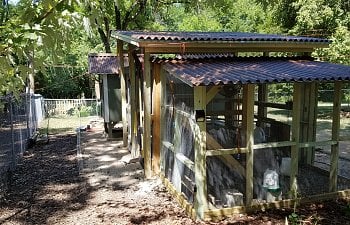
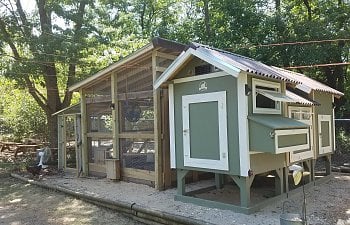
The coop was set into its permanent home in early June. Then I started looking at my next project which I originally thought would be in the fall and that was to add to and further reinforce the run. I received 5 new chick in mid March and after looking at run space figured I needed to do that project sooner than later. So we built a 5'x8' addition to attach the the current 9'x9' run and then reinforced the existing run with a new exoskeleton and permanent roof, using Odura roofing material which is the same on the coop and a dream to work with. This project finally came to completion this past Sunday when we installed the roofing material. Here is the final completed project:


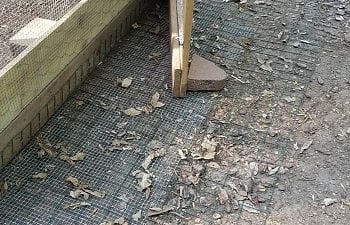
I have added a 2 layer predator apron around the entire outside of the run, the first layer is 2' of 1/2" hardware cloth which actually runs under the run walls and folds up and staples to the inside, the second layer is 3' wide 1"x2" PVC coated welded wire fence which is stapled to the outside of the run walls. The hardware cloth overlaps 2' at the corners and the pvc wire overlaps 3' at the corners. I then secured it to the ground with close to 300 heavy duty landscape staples. These pictures were from the initial run, I extended this barrier around the new 5x8 add on section as well.


I wish I had taken more time to document the process in pictures but once I start working I just go and forget about the camera.
I am almost said we are finally done this was such a fun project and gave me and my brother allot of quality time together.
Before:

After:

This is what I started with:
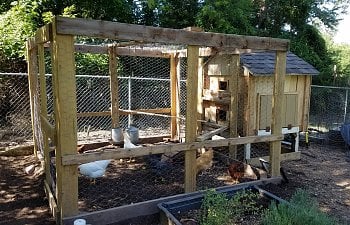
After a few upgrades last fall to the run and some paint on the coop
In December of last year my brother and I started on the coop project. Originally I was just planning on build a 4'x4' addition and connect it to the existing coop. After building the addition and trying to figure out how to deal with connecting it as standard construction was not used on the existing coop. I then decided to continue building and completely replace the existing coop with a new one. At this point I had lost another girl to fatty liver disease and was down to 6 and planned on adding some more new girls in the spring. So we moved forward and built another 2 sections each 4'x4' to make a total coop of 12'x4'. Each section sat on a 2 foot high base. This was build in 6 section (3 bases and 3 tops) which allowed us to build it in the garage and then move 6 individual piece that would eventually be bolted together with carriage bolts. I installed real windows and a large double screened window on one end with each section having its own access door. The nesting box opens from the side and there is a total of 24 feet of roosting space. At the last minute I lined the floor with linoleum for easy clean up, I bought the cheapest I could get (funny the guy at Menards was trying to sell me a better quality one then I told him it was going in a chicken coop, that face was classic). Here is how the coop turned out before it was moved around back and set in its permanent location
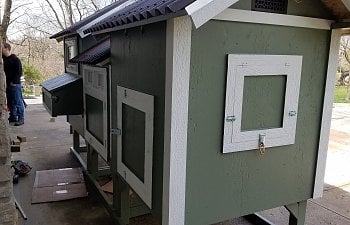
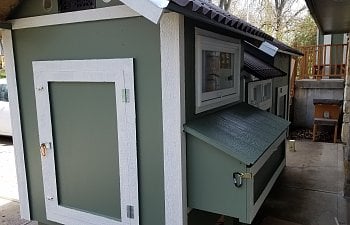
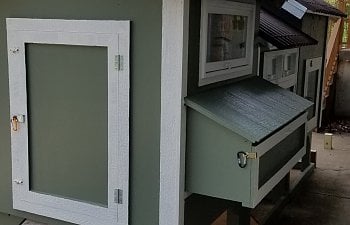
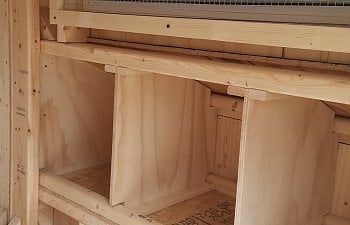
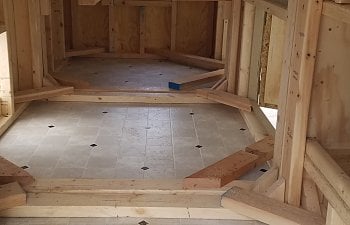
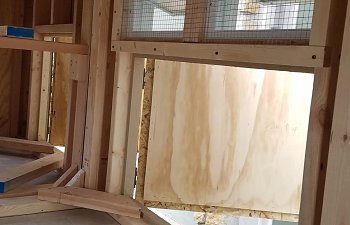
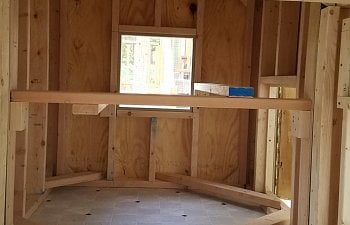
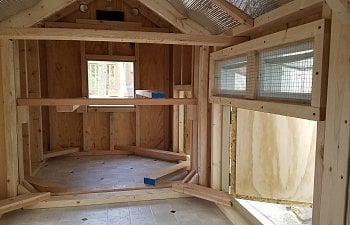
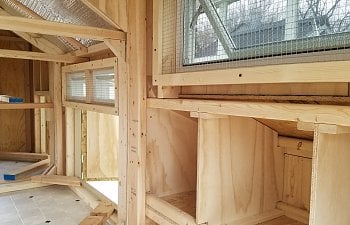
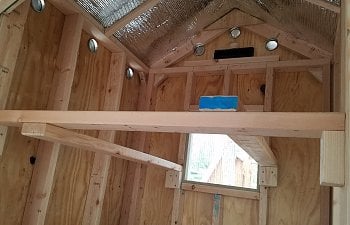
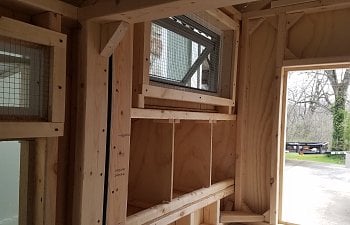
The coop was set into its permanent home in early June. Then I started looking at my next project which I originally thought would be in the fall and that was to add to and further reinforce the run. I received 5 new chick in mid March and after looking at run space figured I needed to do that project sooner than later. So we built a 5'x8' addition to attach the the current 9'x9' run and then reinforced the existing run with a new exoskeleton and permanent roof, using Odura roofing material which is the same on the coop and a dream to work with. This project finally came to completion this past Sunday when we installed the roofing material. Here is the final completed project:
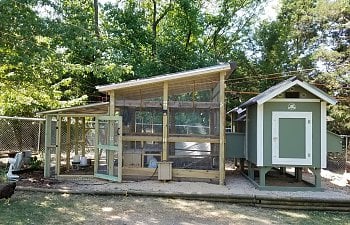
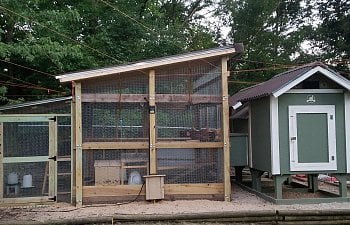
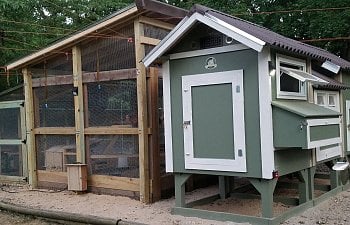
I have added a 2 layer predator apron around the entire outside of the run, the first layer is 2' of 1/2" hardware cloth which actually runs under the run walls and folds up and staples to the inside, the second layer is 3' wide 1"x2" PVC coated welded wire fence which is stapled to the outside of the run walls. The hardware cloth overlaps 2' at the corners and the pvc wire overlaps 3' at the corners. I then secured it to the ground with close to 300 heavy duty landscape staples. These pictures were from the initial run, I extended this barrier around the new 5x8 add on section as well.
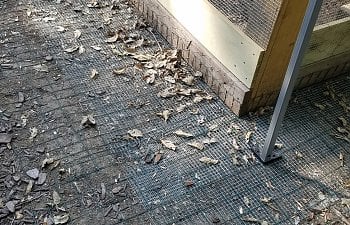
I wish I had taken more time to document the process in pictures but once I start working I just go and forget about the camera.
I am almost said we are finally done this was such a fun project and gave me and my brother allot of quality time together.
Before:

After:


 You & your brother did a nice job on providing a more secure and roomier place for your flock!
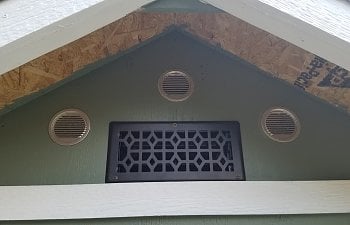
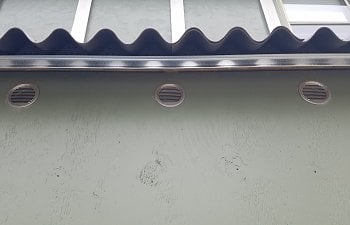
I am not sure if you are asking if the round ventilation holes are predator proof or the entire package. So I will cover both. The round ventilation are metal and they have been epoxied into their holes. As far as the entire build the 3 commercial windows has both standard window screen and a additional screen of hardware cloth that has been attached to a separate frame and mounted. The large end made window at the one end has hardware cloth sandwiched between the coop frame and the plywood with an additional standard screen framed and screwed in. All vents are either screwed or epoxied into place. Every access door on the coop has 2 barrel bolts and a security swivel hasp with a carabiner securing it. The door to the run has 4 points of security starting with 2 barrel bolts, a swivel security hasp with carabiner, and gate flip latch. The run is 100% enclosed with 1/2" hardware cloth (even under the eaves of the roof) that has been attached with hundreds of 7/8" crown staples. I have added a 2 layer predator barrier around the entire outside of the run, the first layer is 2' of 1/2" hardware cloth which actually runs under the run walls and folds up and staples to the inside, the second layer is 3' wide 1"x2" PVC coated welded wire fence which is stapled to the outside of the run walls. The hardware cloth overlaps 2' at the corners and the pvc wire overlaps 3' at the corners. I then secured it to the ground with close to 300 heavy duty landscape staples. I am adding a picture of the predator barrier to my story. Thanks