***More pictures and details to be added later***
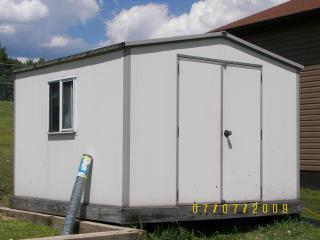
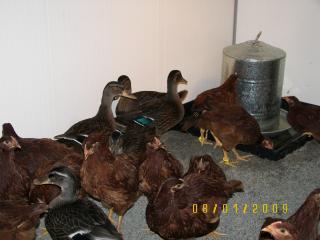
Our coop has evolved throughout the years. It had it's beginning as a Play House for our daughter back around 1999. When she grew out of it, it then was called the Club House because our son was using it and Play House just didn't seem right. Once we built him the Hunter's Fort, then it evolved into the Shed. Then Alan & I got the idea of raising chickens. Should we buy a new shed, revamp this shed or build a pole barn? Well, I think we took the revamp route because although we want a pole barn, it's just not in the cards financially right now and also, I really wanted it close to the house. The pole barn would be farther up the hill with no water and we would need a VERY LONG extension cord. So the chickens came on June 11th 2009. Along with a surprise for me - 5 Mallard ducklings. For the first few weeks, them being in the garage wasn't a big deal. But then they grew. And grew. Better get to work. The Play House/Club House/ Shed as it was. It came from Lowe's for approximately $500. It's all vinyl and Alan assures me this makes it well insulated. Put hardware cloth over the sliding windows to keep them from getting out or anything else getting in and installed additional locks to the doors for the same reason.
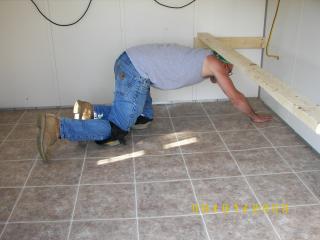
Vinyl Flooring going down. From Lowe's for $45.
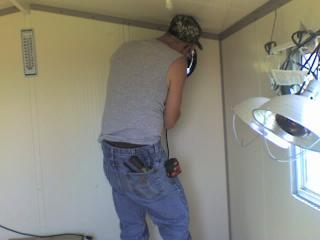
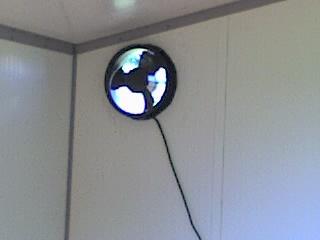
Fans being installed - 1 pulls the air into the coop and 1 pulls it out of the coop. These were free. Alan brought 3 computer cabinets home from work with these fans in the top of them. We use the cabinets in the house to store hunting clothes. The fans he took out & had in the attic. Never know when you might need a fan, he said.
The "sand" floor. I love this. It has made it so much cleaner and way more economical. Probably could've gotten cheaper in bulk but it was a spur of the moment thing so we bought bags at Busy Beaver. Cost was $ We finished putting it down at 10 pm and put the chicks in right away. Boy I wish I could keep it this CLEAN! Look at those beautiful creamy walls.

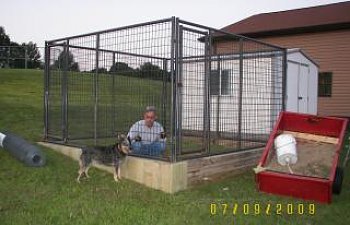
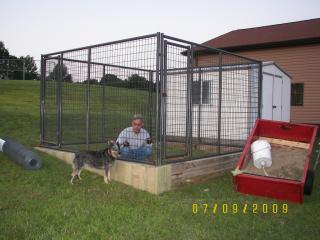
Building the run. This was the most costly. Had to buy poultry netting (which was terrible to find. Everyone had it but not in the dimensions I wanted), treated lumber, screws & staples, The main build of it was originally a dog run for outside dogs that had passed away. We had dismantled it and it was leaning against the garage for a year or so. It needed some work, so he cut and welded where needed. The 6x6 treated posts used as a foundation were all part of the original kennel but we did need to buy a few more. After putting down the foundations and assembling the kennel, we then wrapped it in the poultry netting and added additional 2x4 lumber where the gates left larger openings. The roof was made by making a frame larger than the dimensions of the run and then notching them out to sit down on top of the framing. It has poultry netting stapled over the whole frame. This was because of the Red Tailed Hawks and Bald Eagle that fly over checking our chicks out. Total cost of new materials $ That's Alan w/ a chicken on each knee and our Blue Heeler Sydney checking it all out.
The gate. No animal alive is going to be able to get through this door. It's treated decking w/ 2x4 Z bracing that is slid between the wall of the coop and steel angle iron.
Added poop boards to the roosts. The ducks kept getting pooped on at night and it'll be easier to clean the boards than trying to get in under the roost for poop duty.
The finishing touches. I added shutters to the windows and a flower box for a cost of $50 and the patio blocks out front were from the original kennel. Don't know what the cost of these are today or when originally bought.