Our coop and run took about a month to finish for our new additions. We used the plans from Purina Mills and created our cute little 4 x 4 coop and added an 8 x 4 attached run.
A good part of what we needed came from reclaimed lumber and leftover supplies from various projects. Before building, I estimated that the coop, run, and finishing touches would cost about $600. After scrounging through what we had left over from other projects, acquiring some used materials from relatives and the local used lumber store (Urban Miners), and several trips to Home Depot and Lowe's, our final tally was about $380.
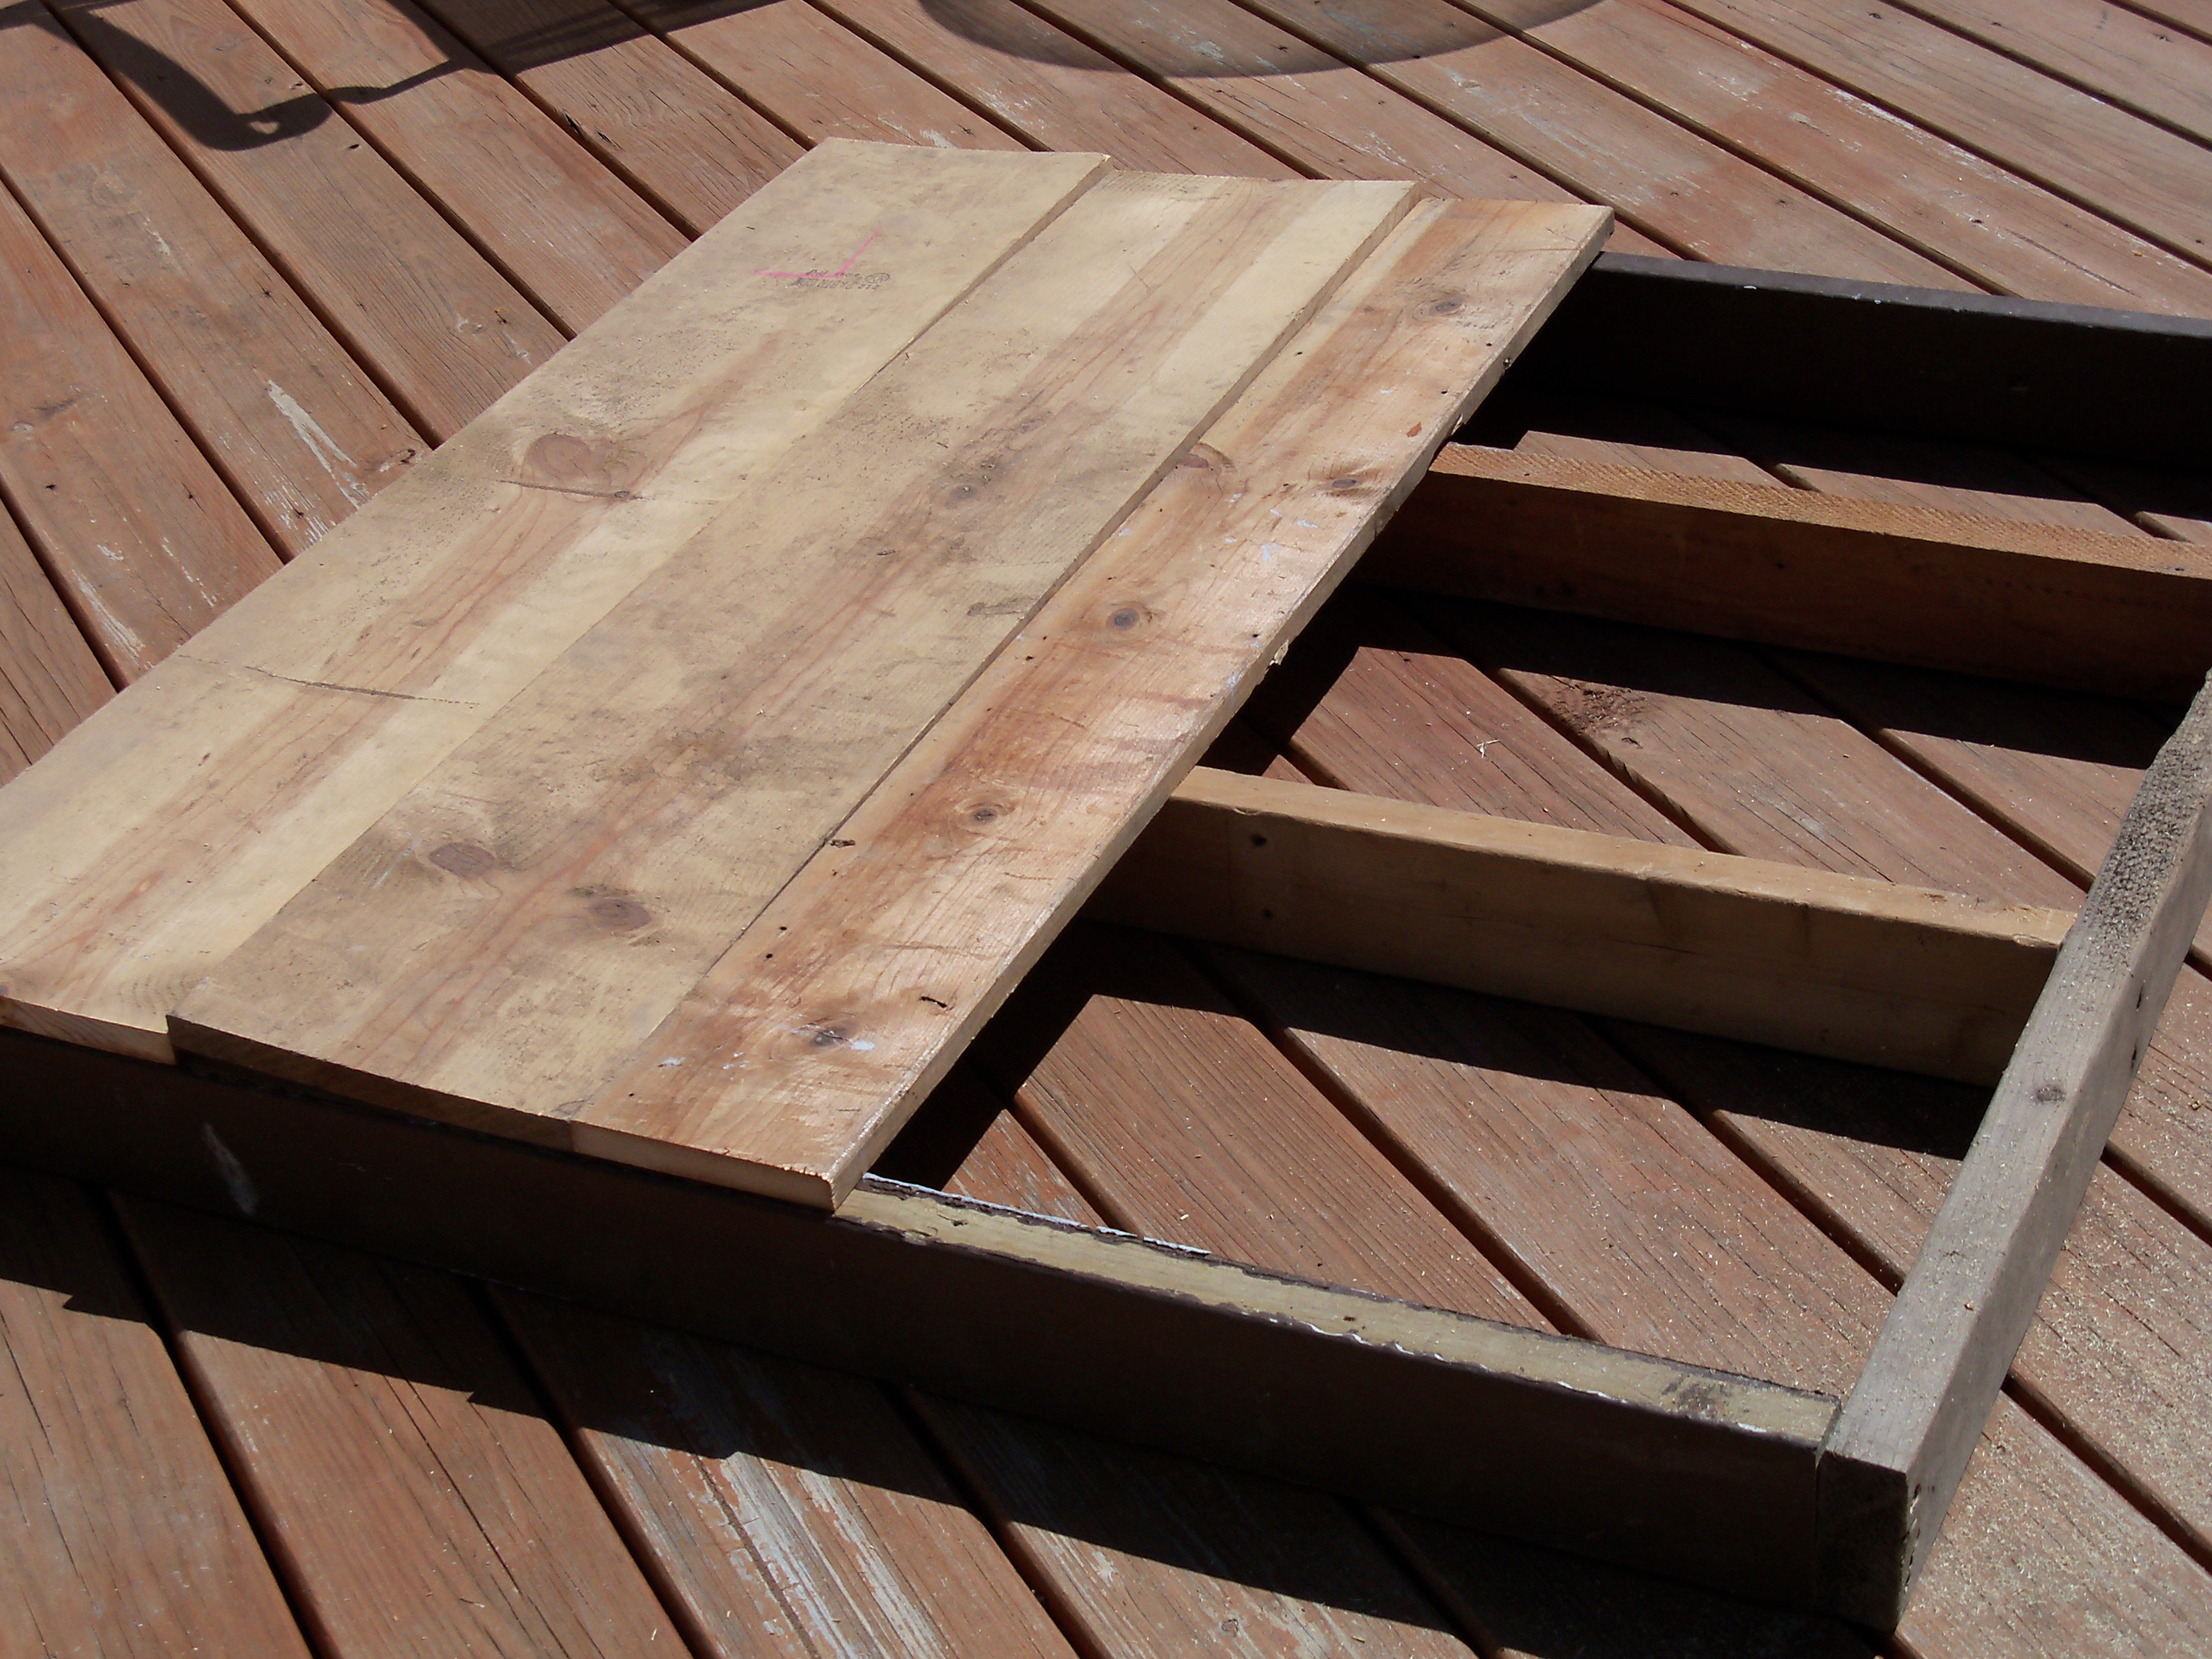
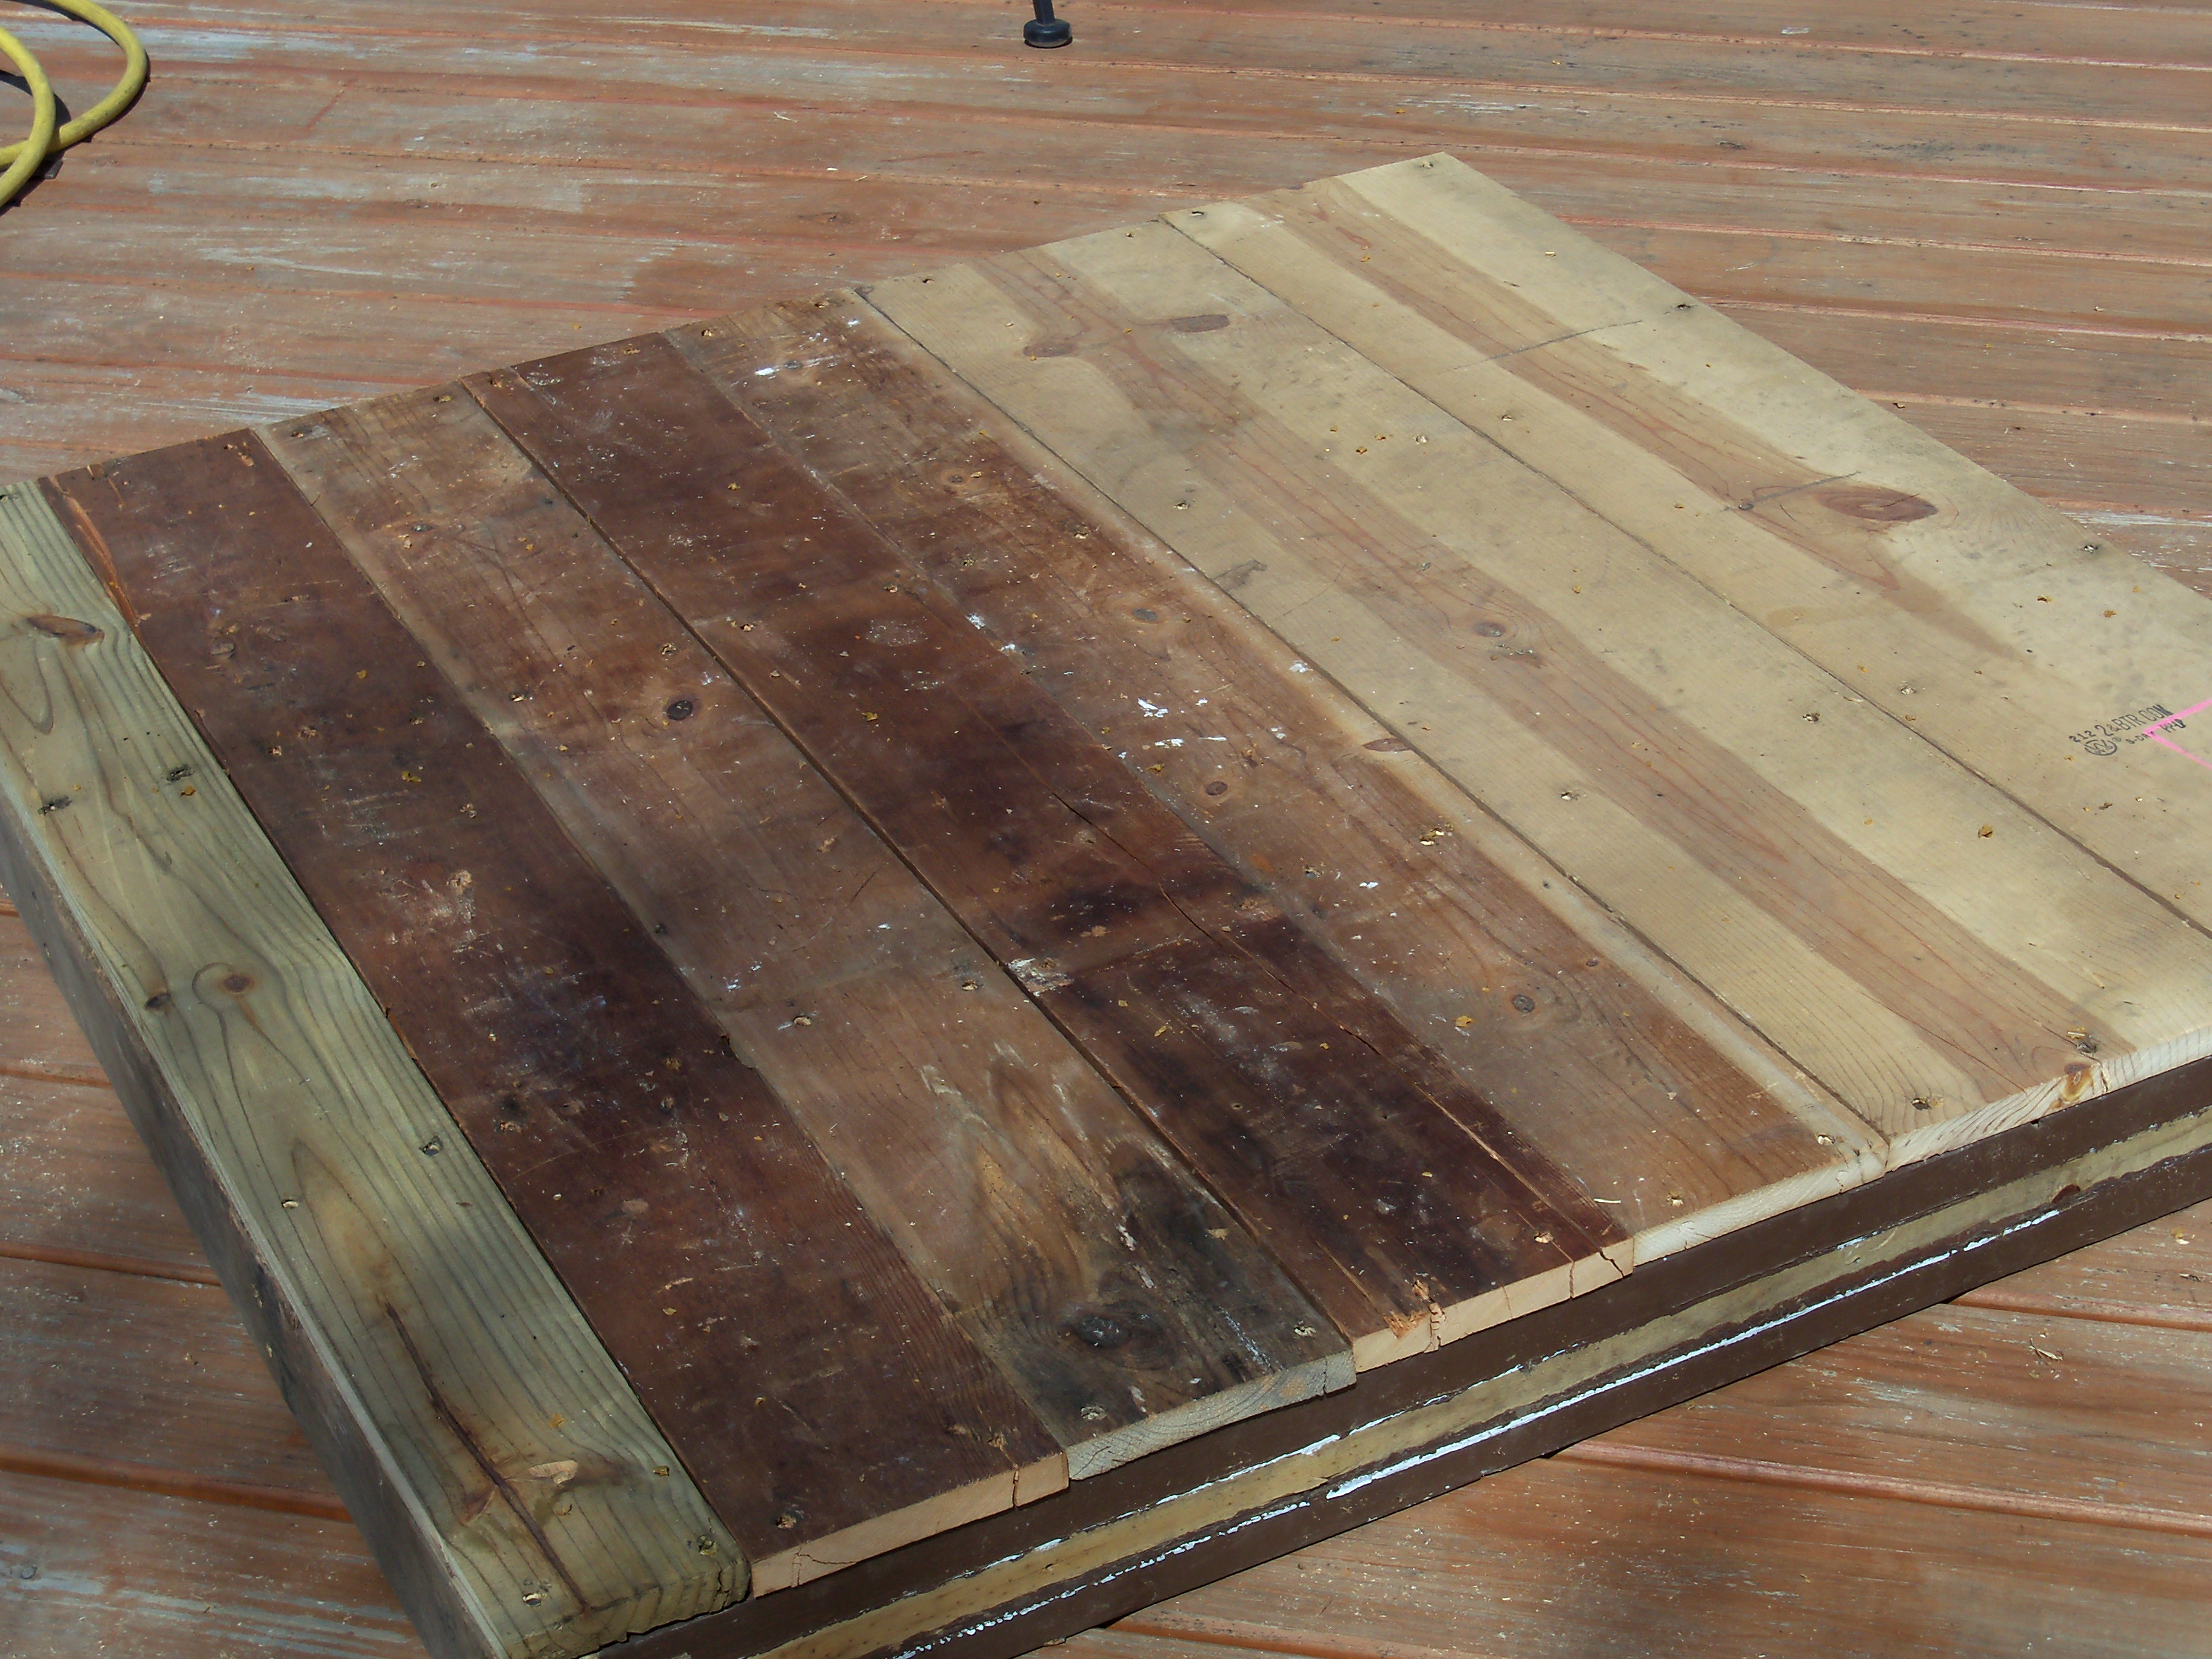
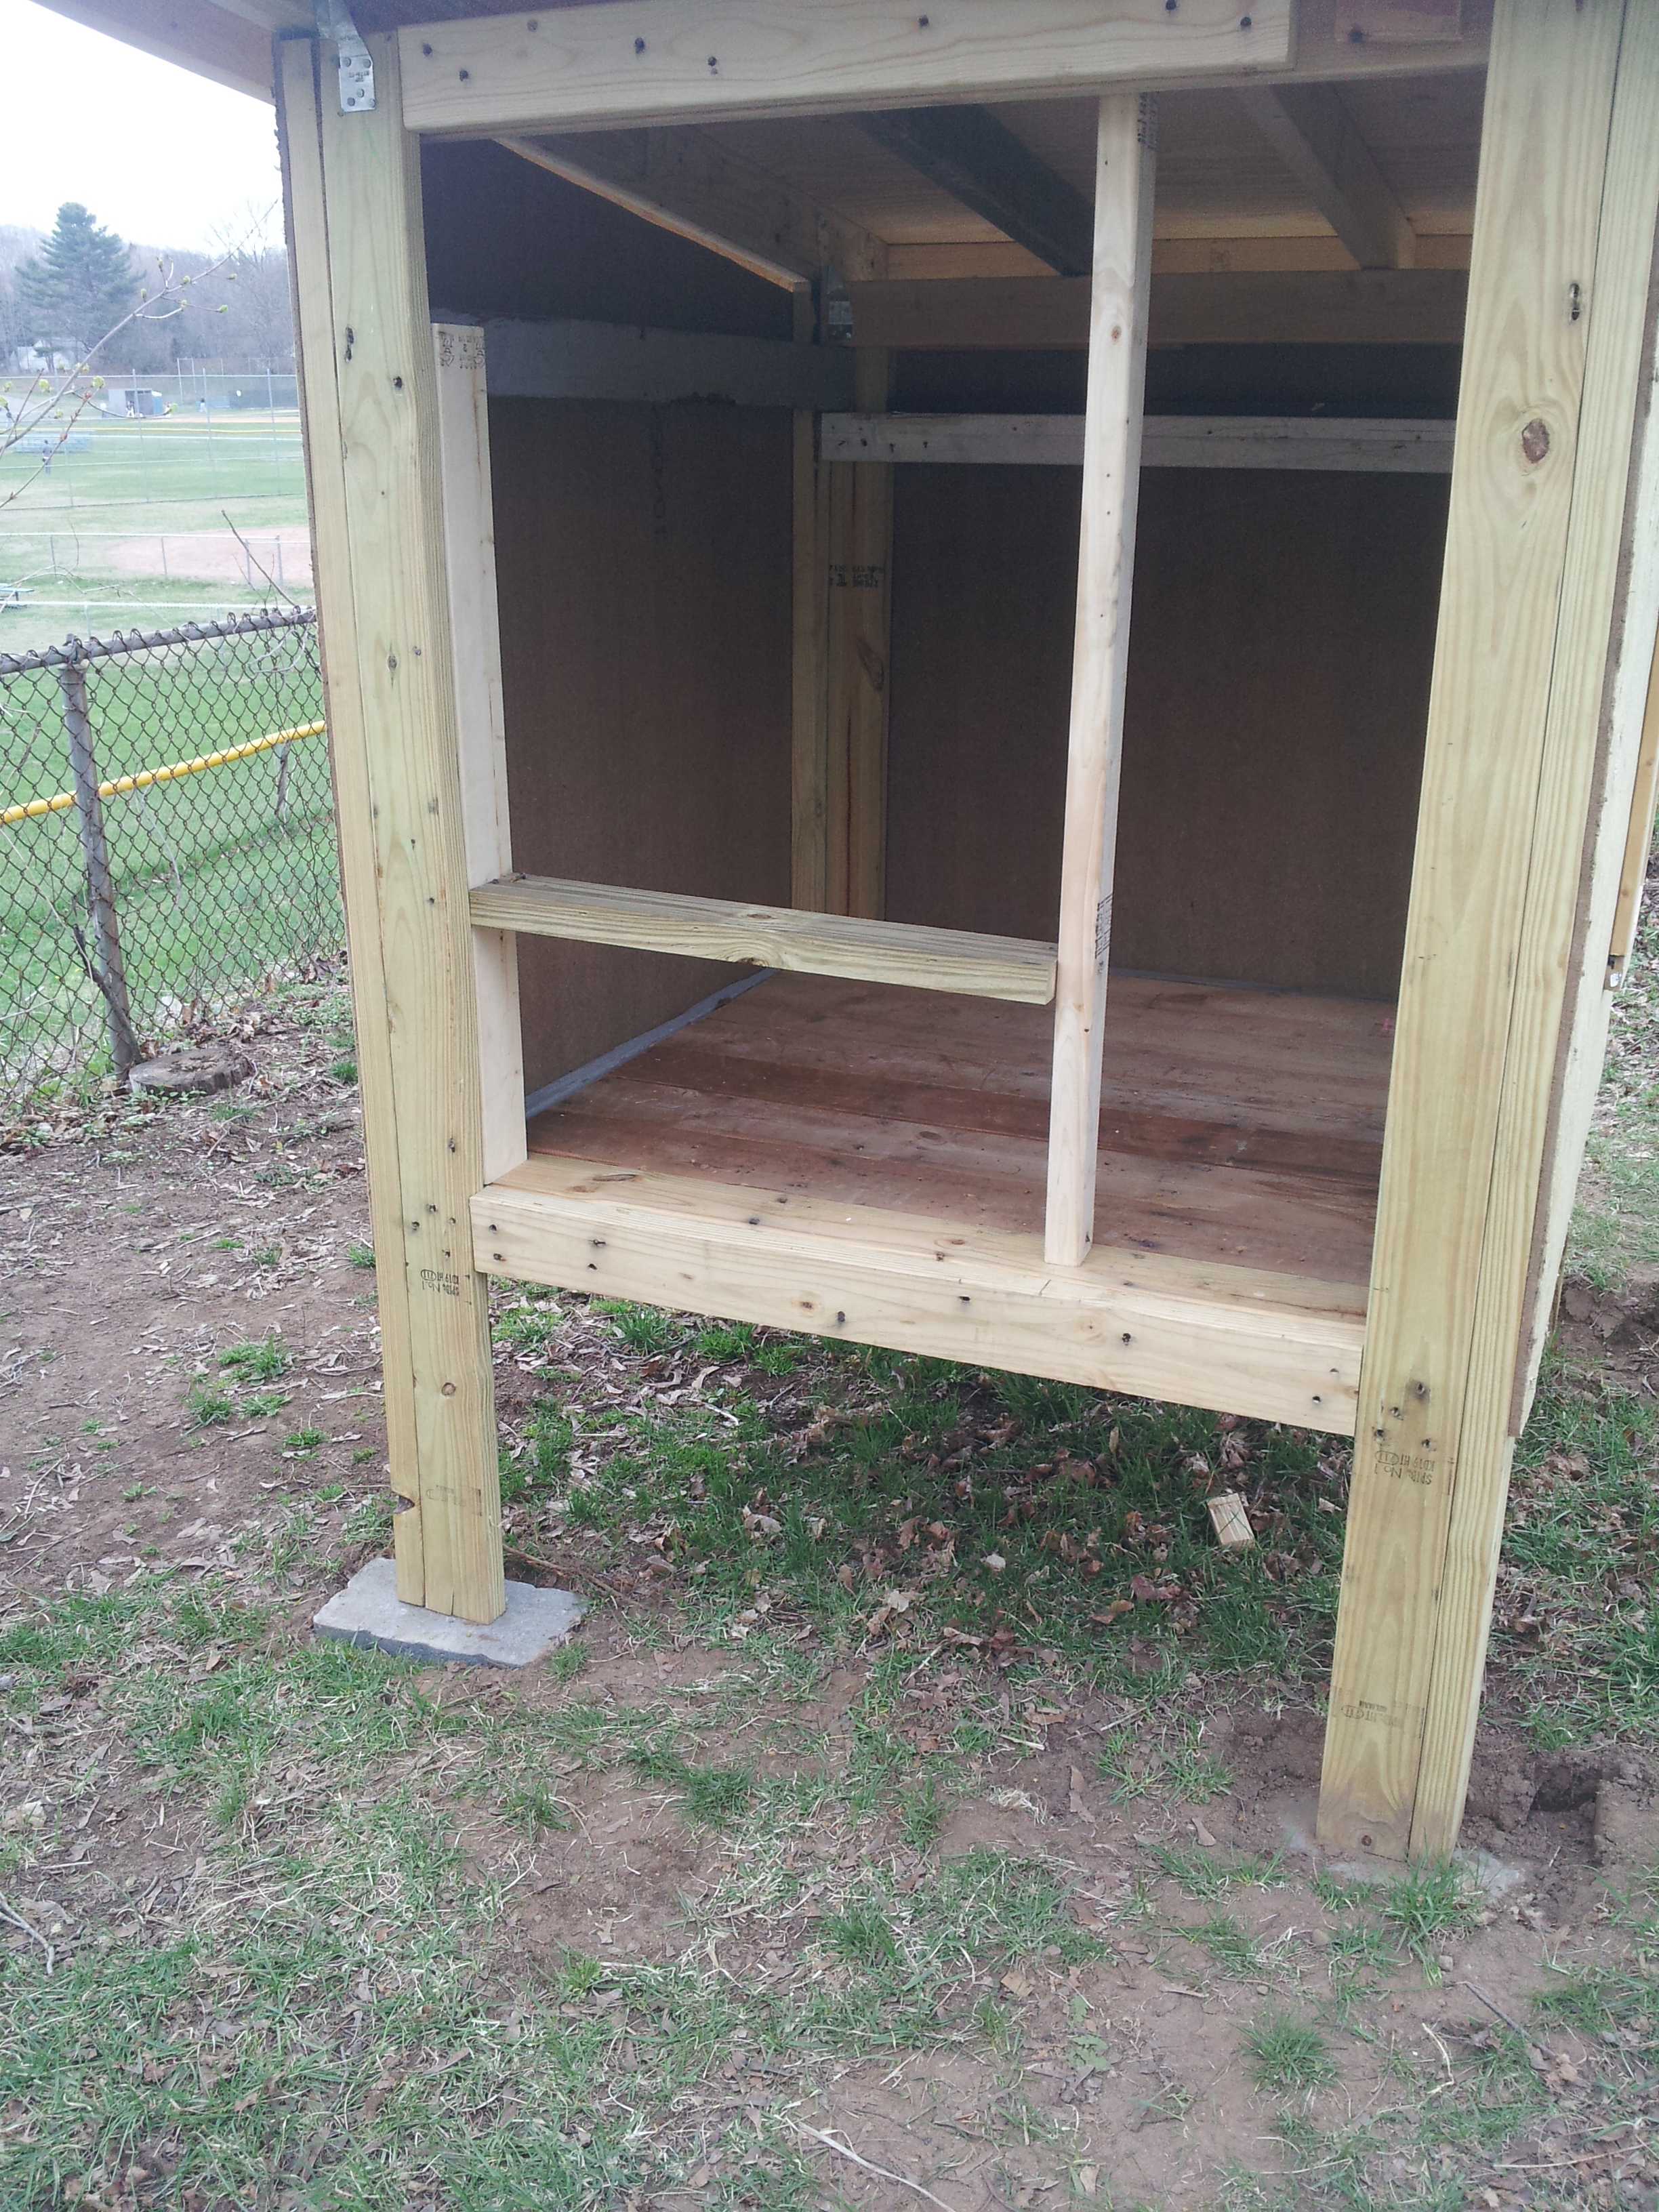
The floor was built first mostly with reclaimed lumber.
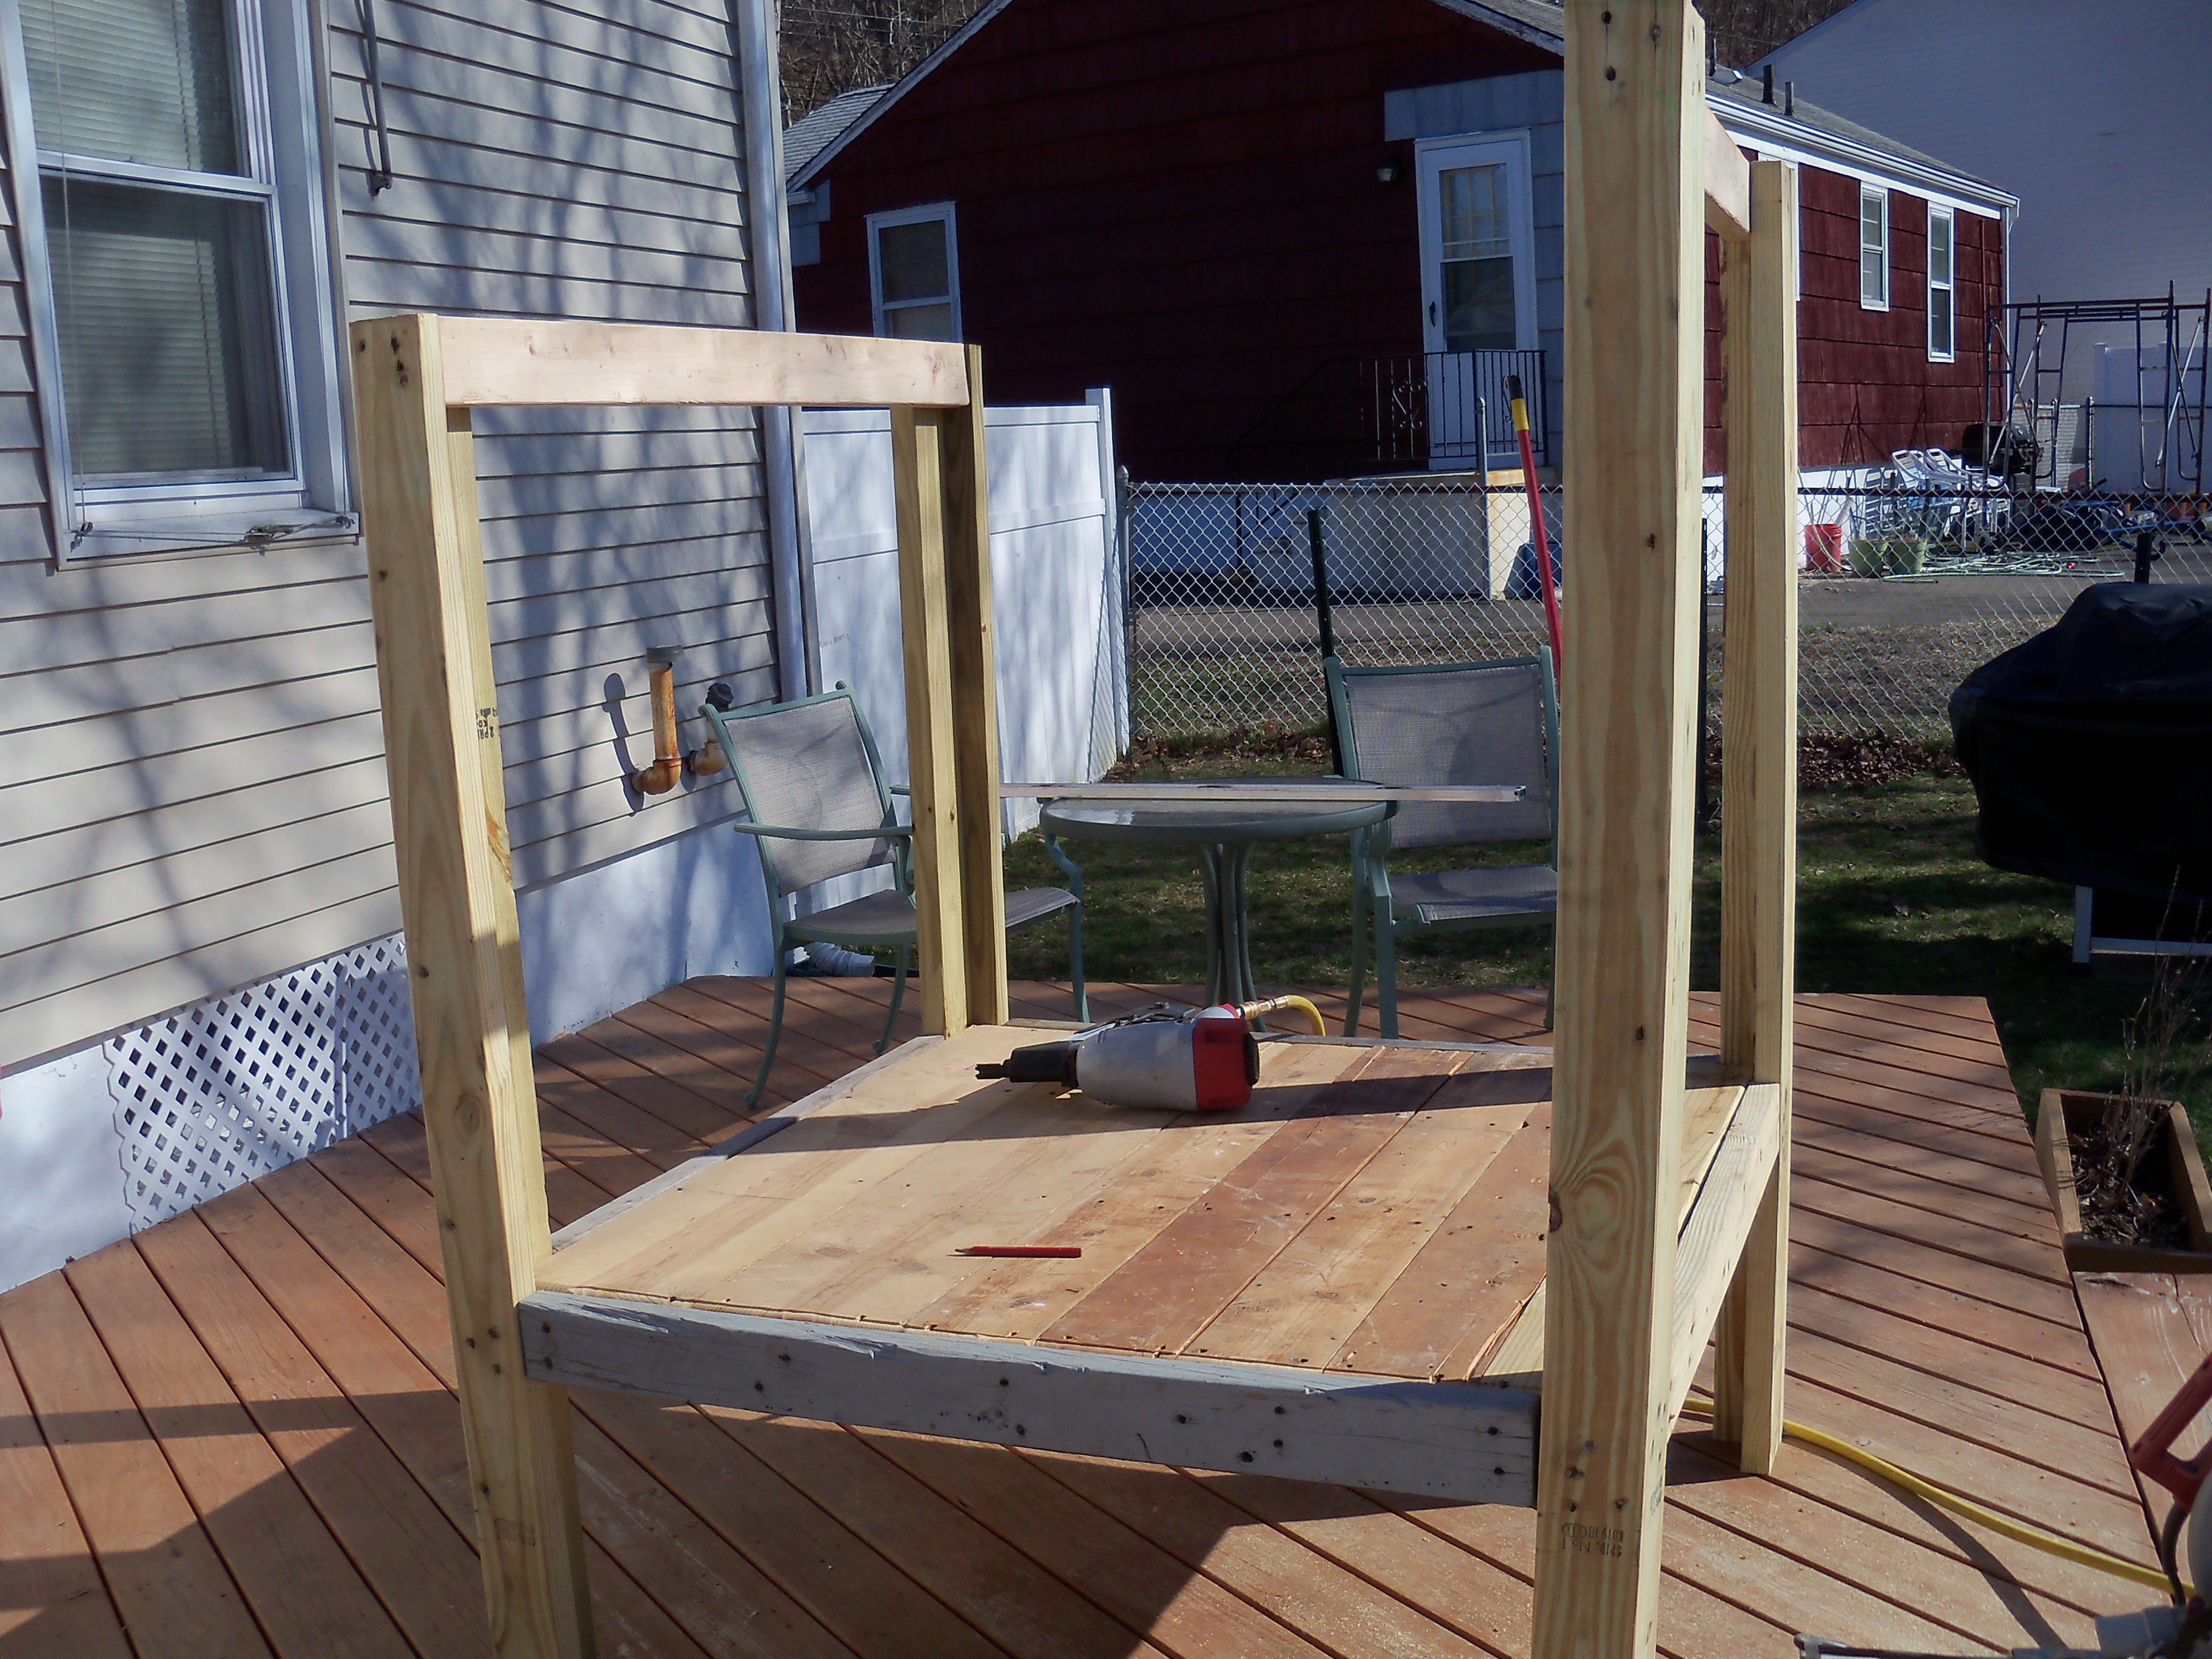
This was attached to pressure treated 2 x 4’s (nailed in an “L” shape).
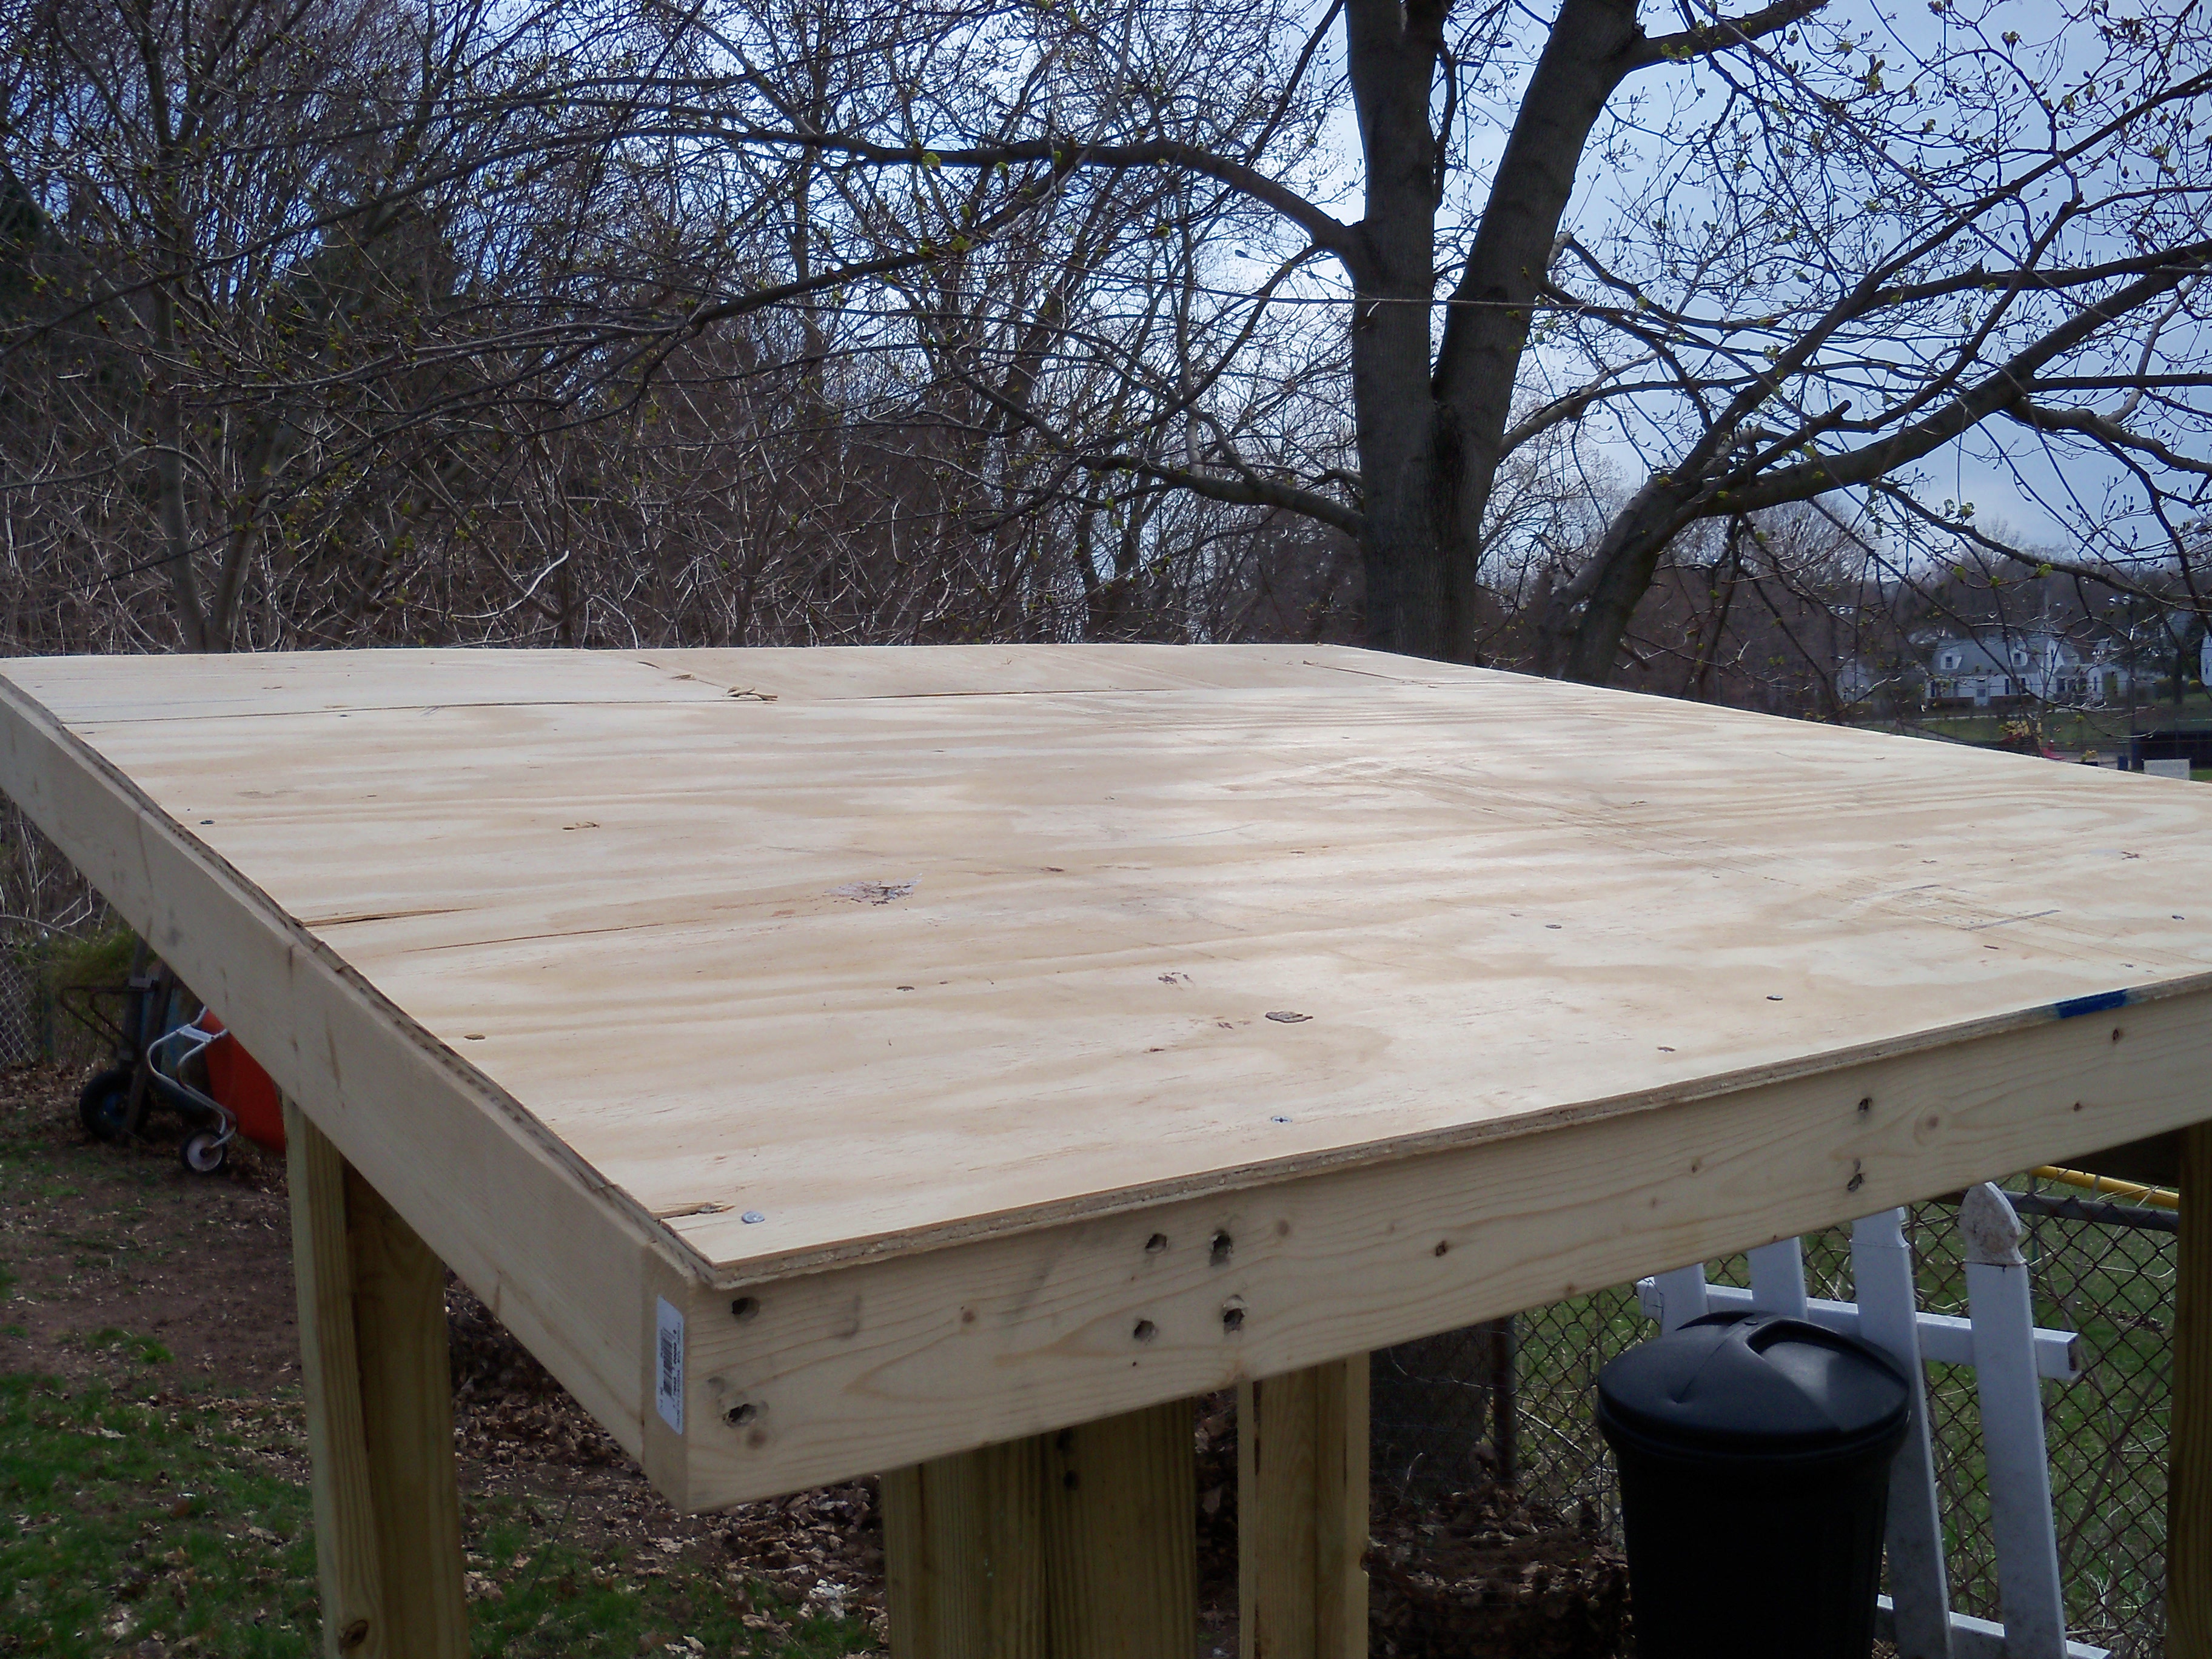
After moving the coop to its permanent home in the backyard, the roof was added, again with some of the reclaimed lumber.
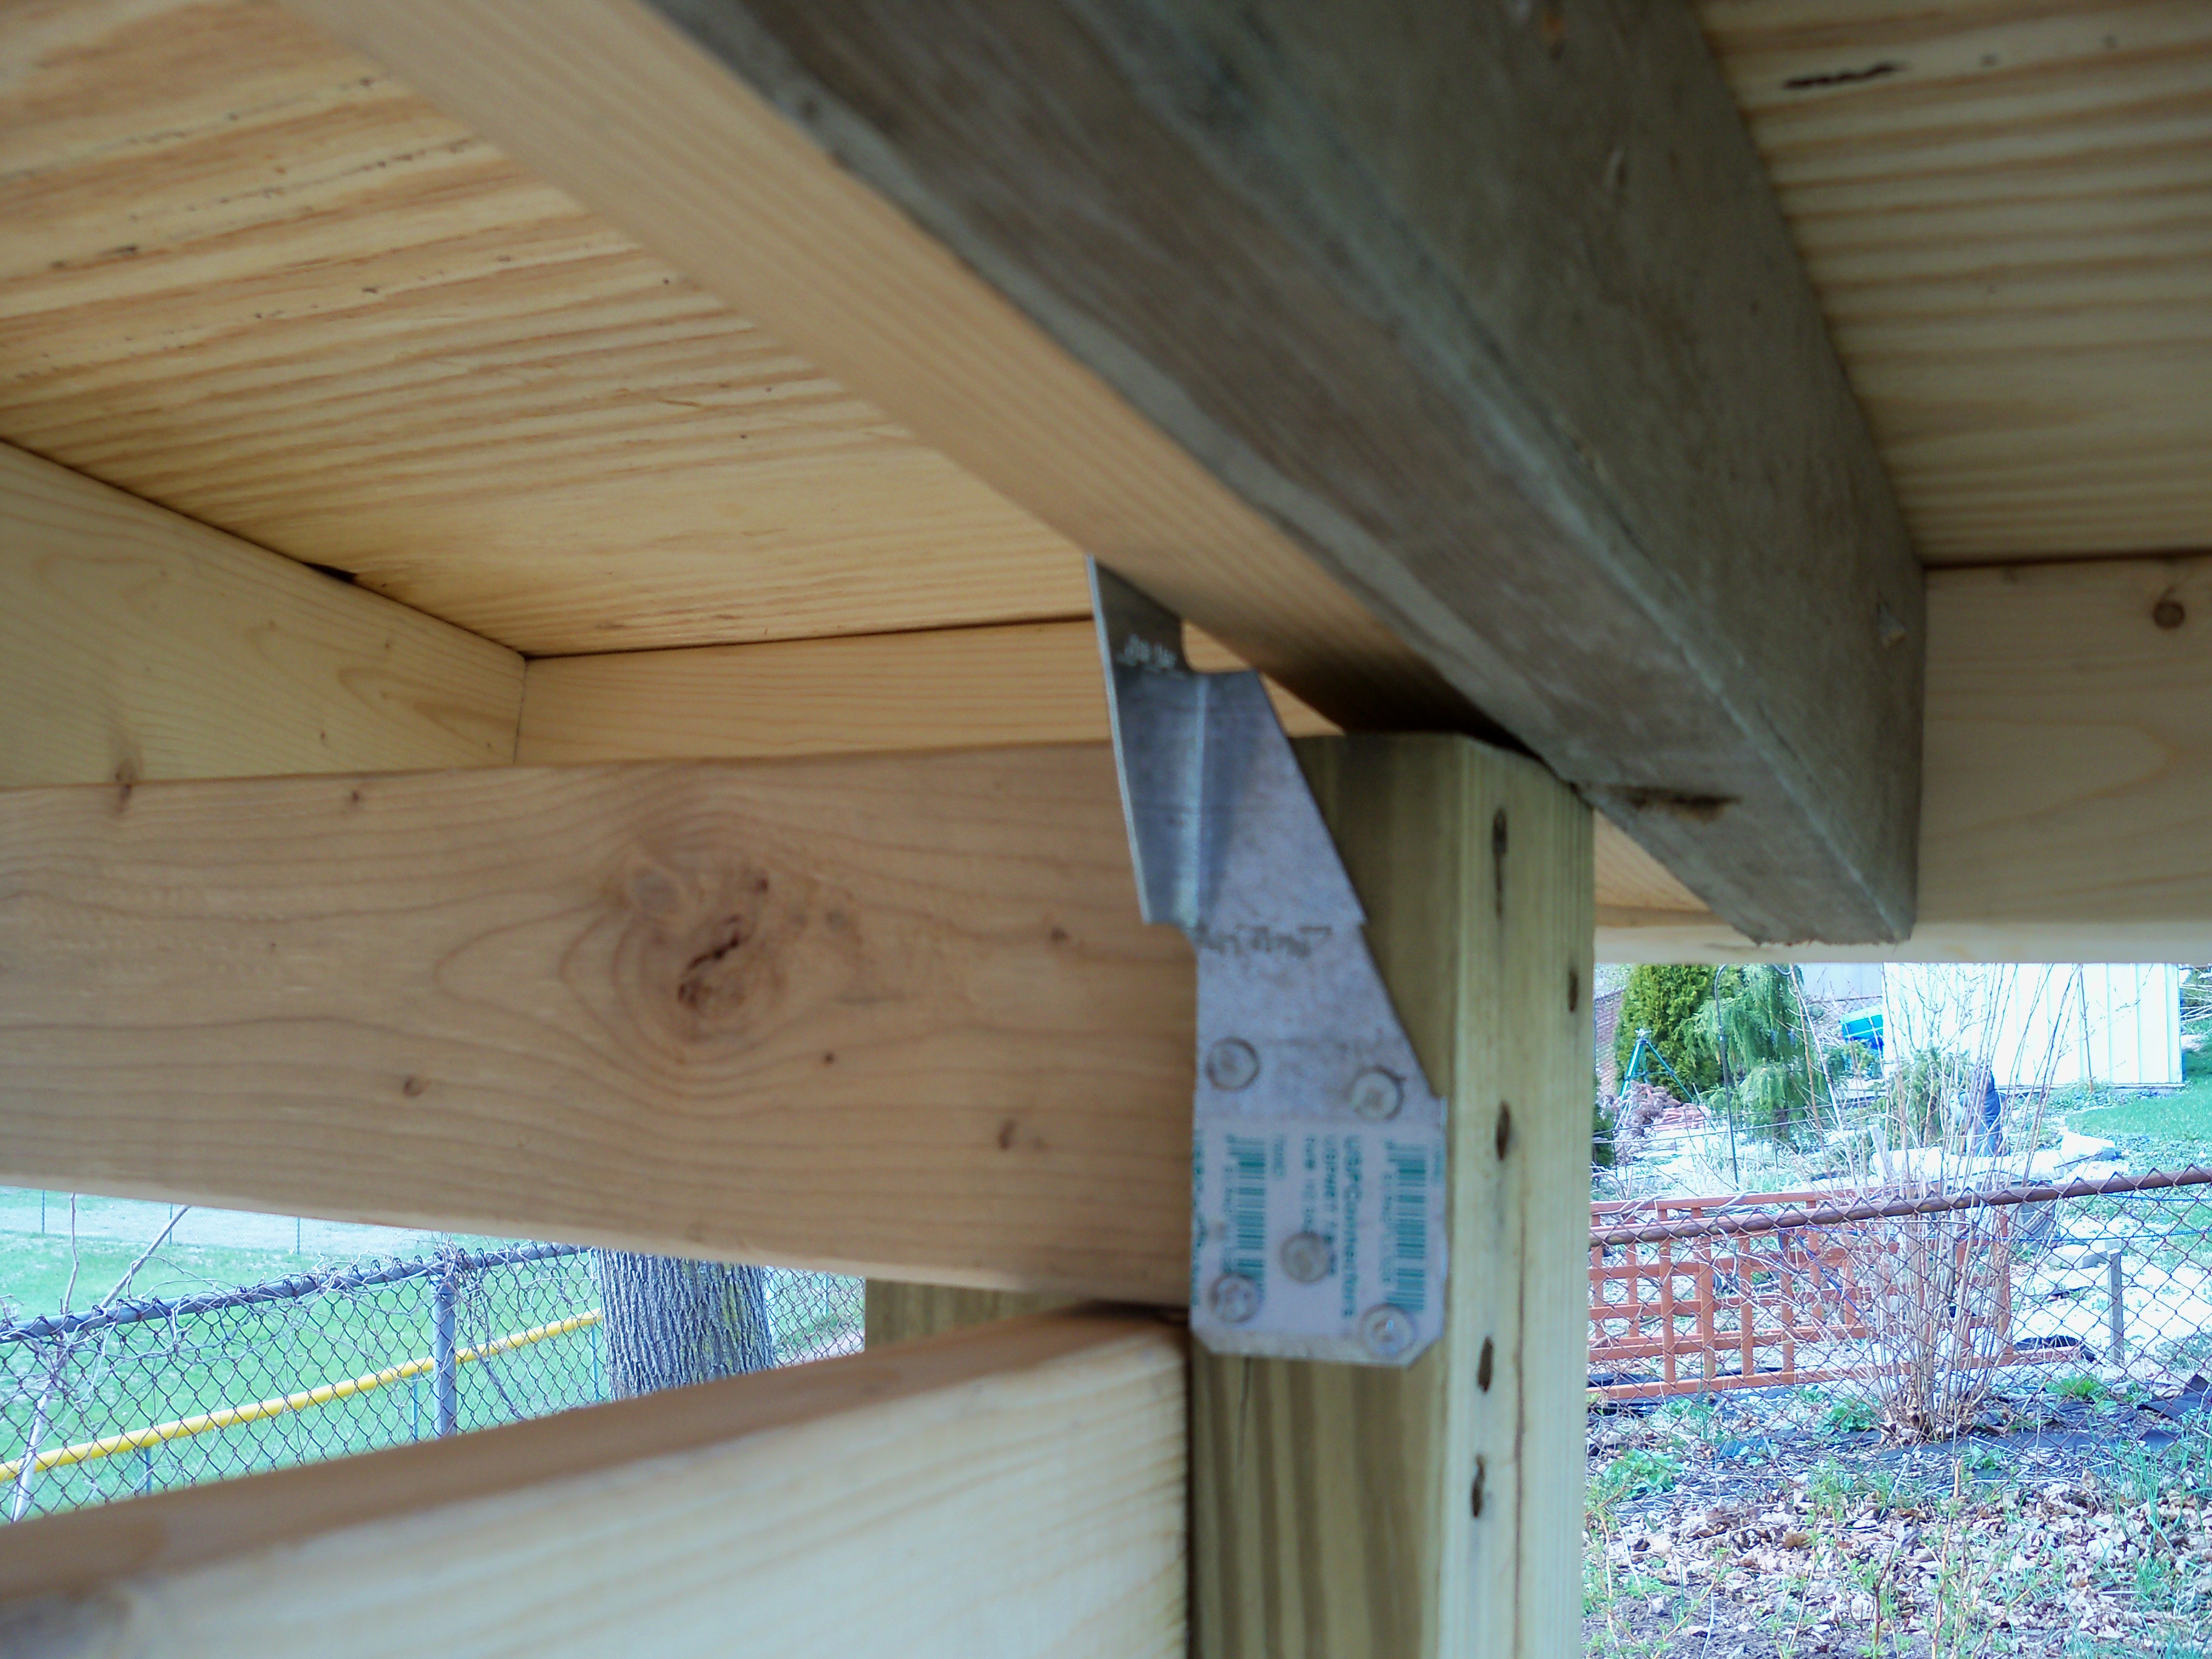
We used only 3/8 inch plywood (should have been ½ inch or more) on the roof and found that it warped after a night’s rain. To help secure it to the frame, we added “hurricane nails” on each of the corners.

Before continuing on, we placed the coop onto four leftover patio bricks set into the ground.
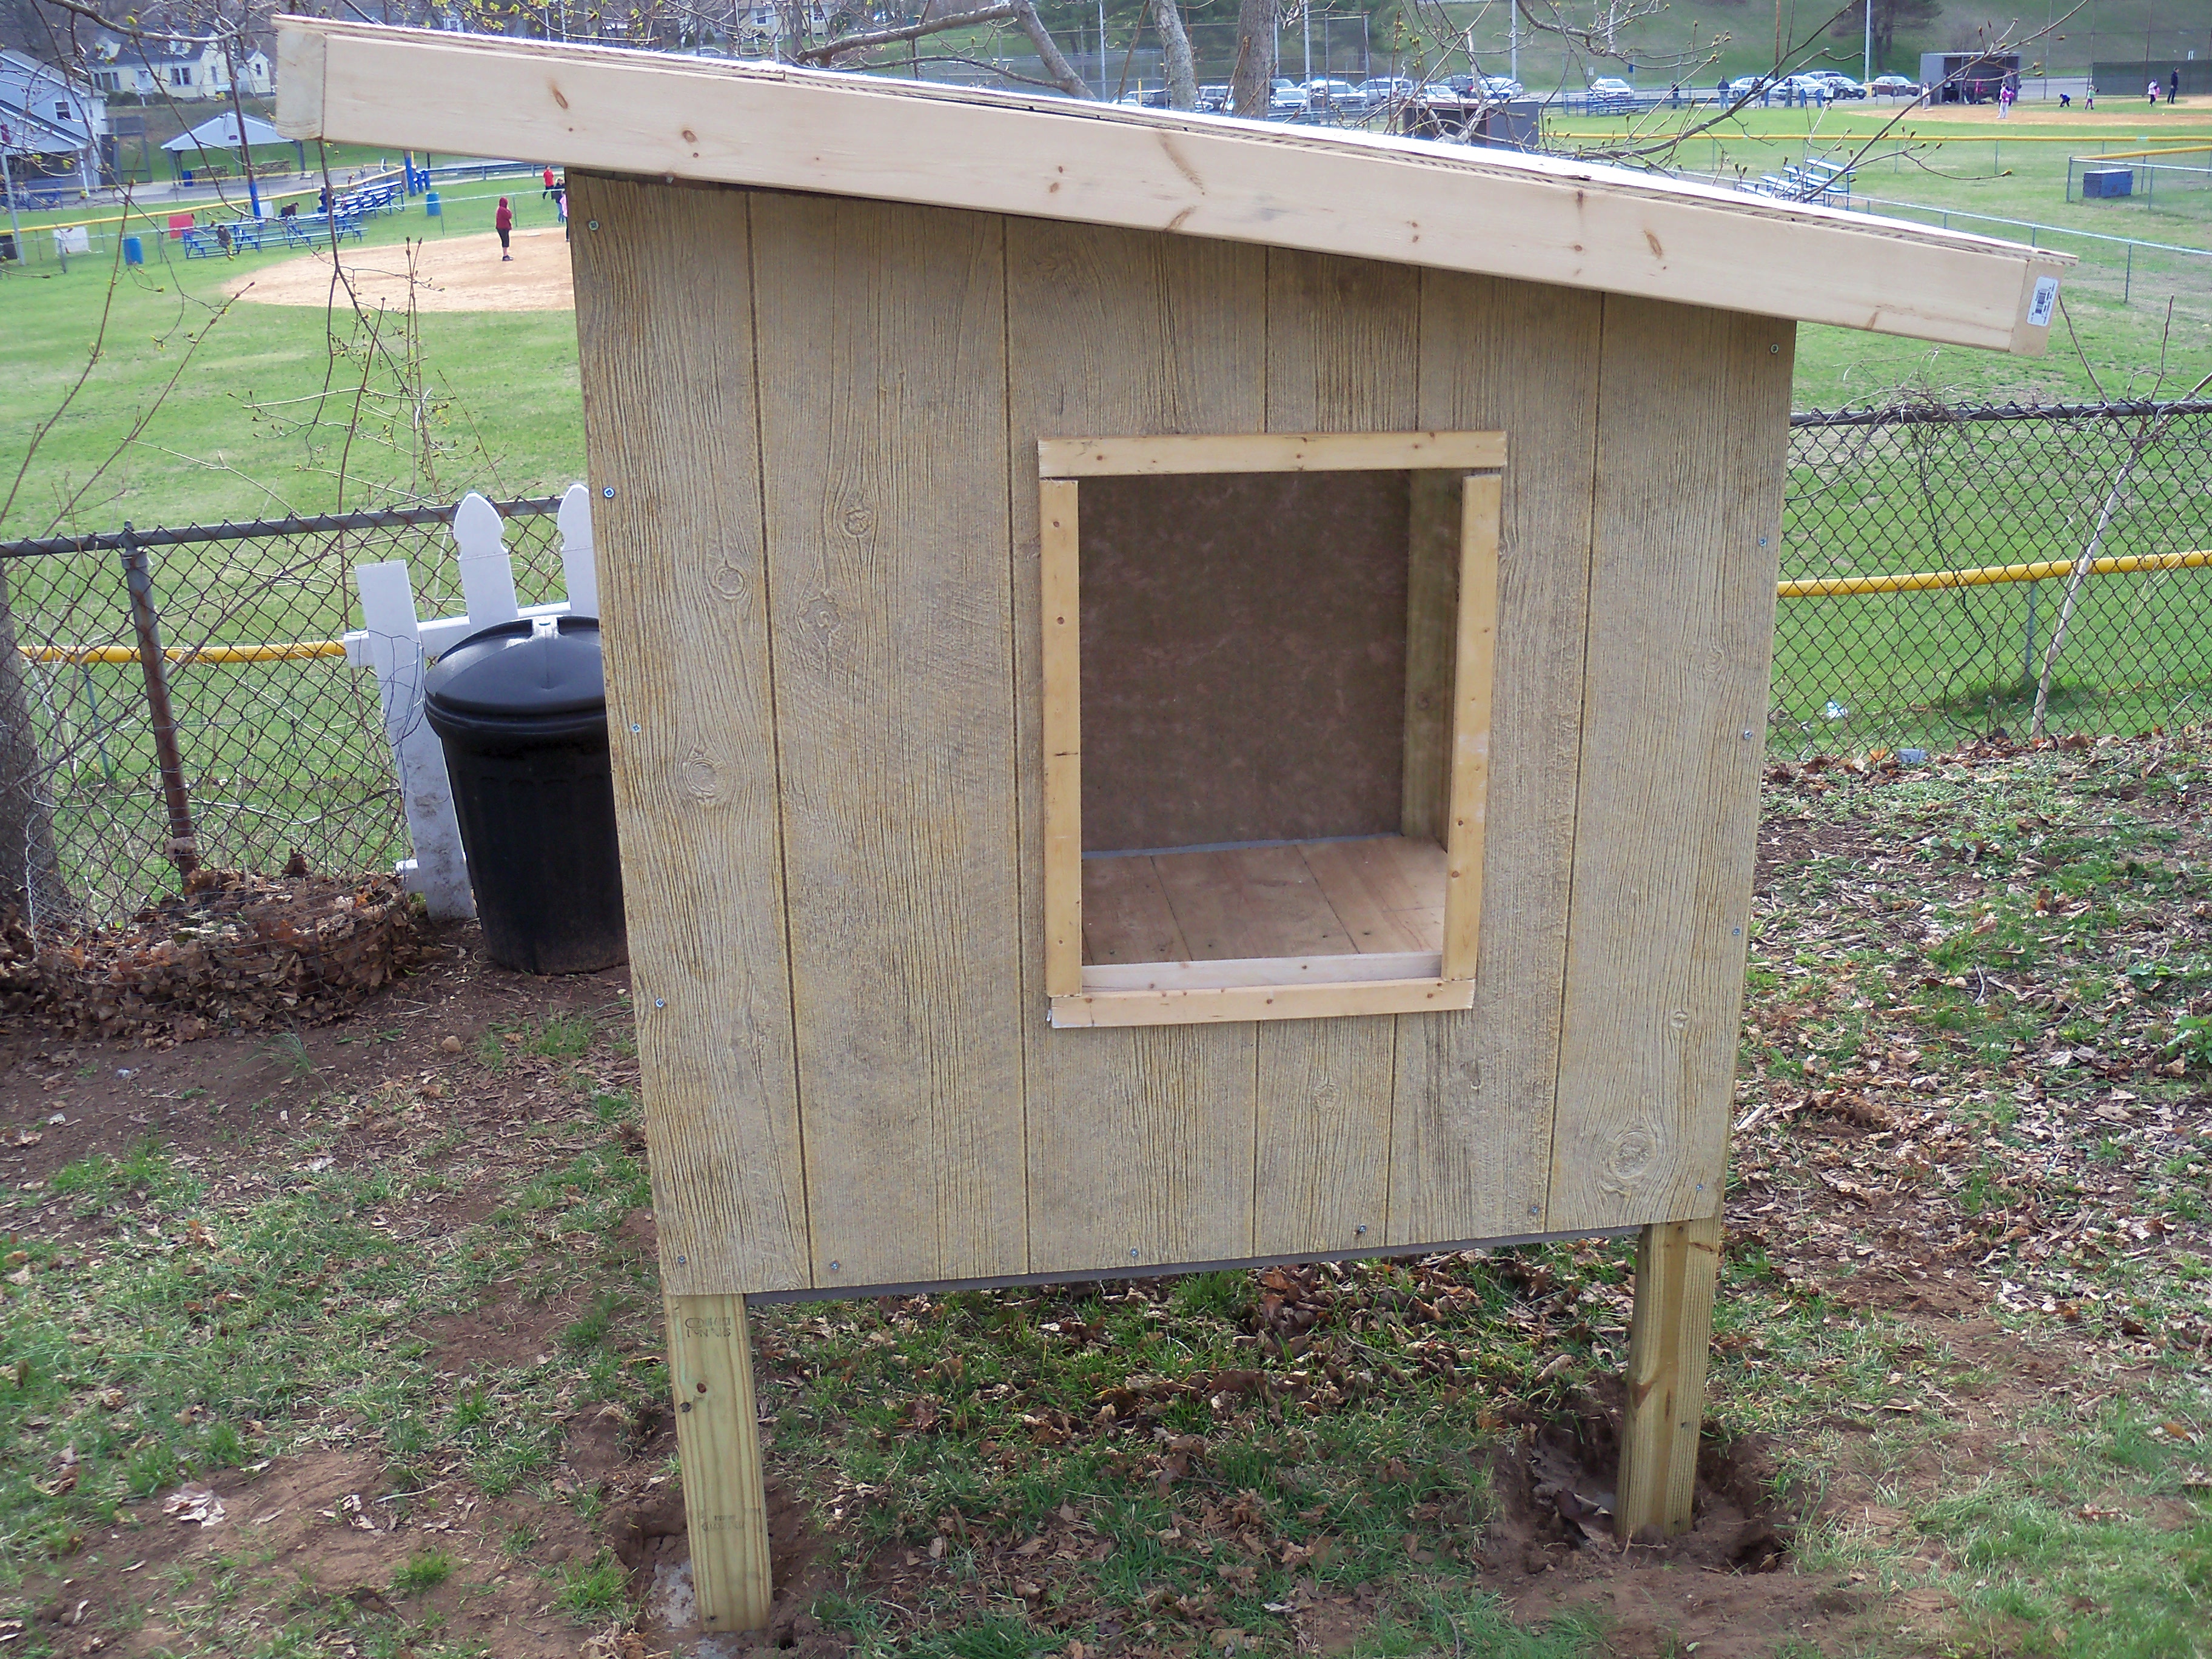
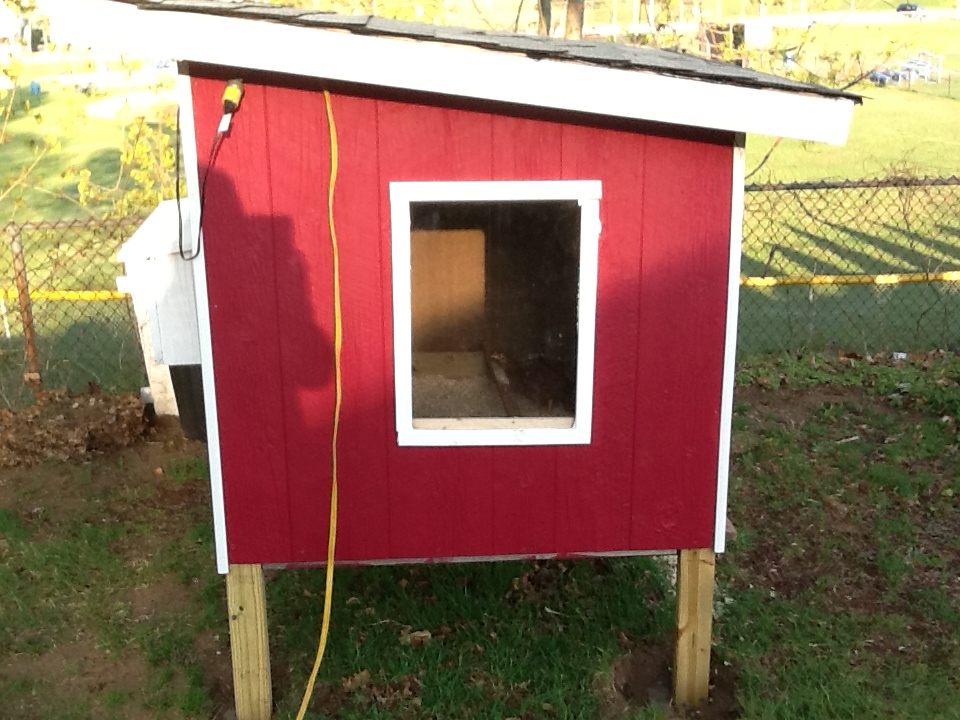
For the front, back, and sides we used T-111 siding panels. We added a plexiglass window to the east side for the chicks to get the morning light. Not added yet but soon will be interior shades for privacy at night. My parents replaced their window treatments and have lots of wooden shades headed to the curb. I’m sure I can cut them down. Exterior shutters are also a future thought.
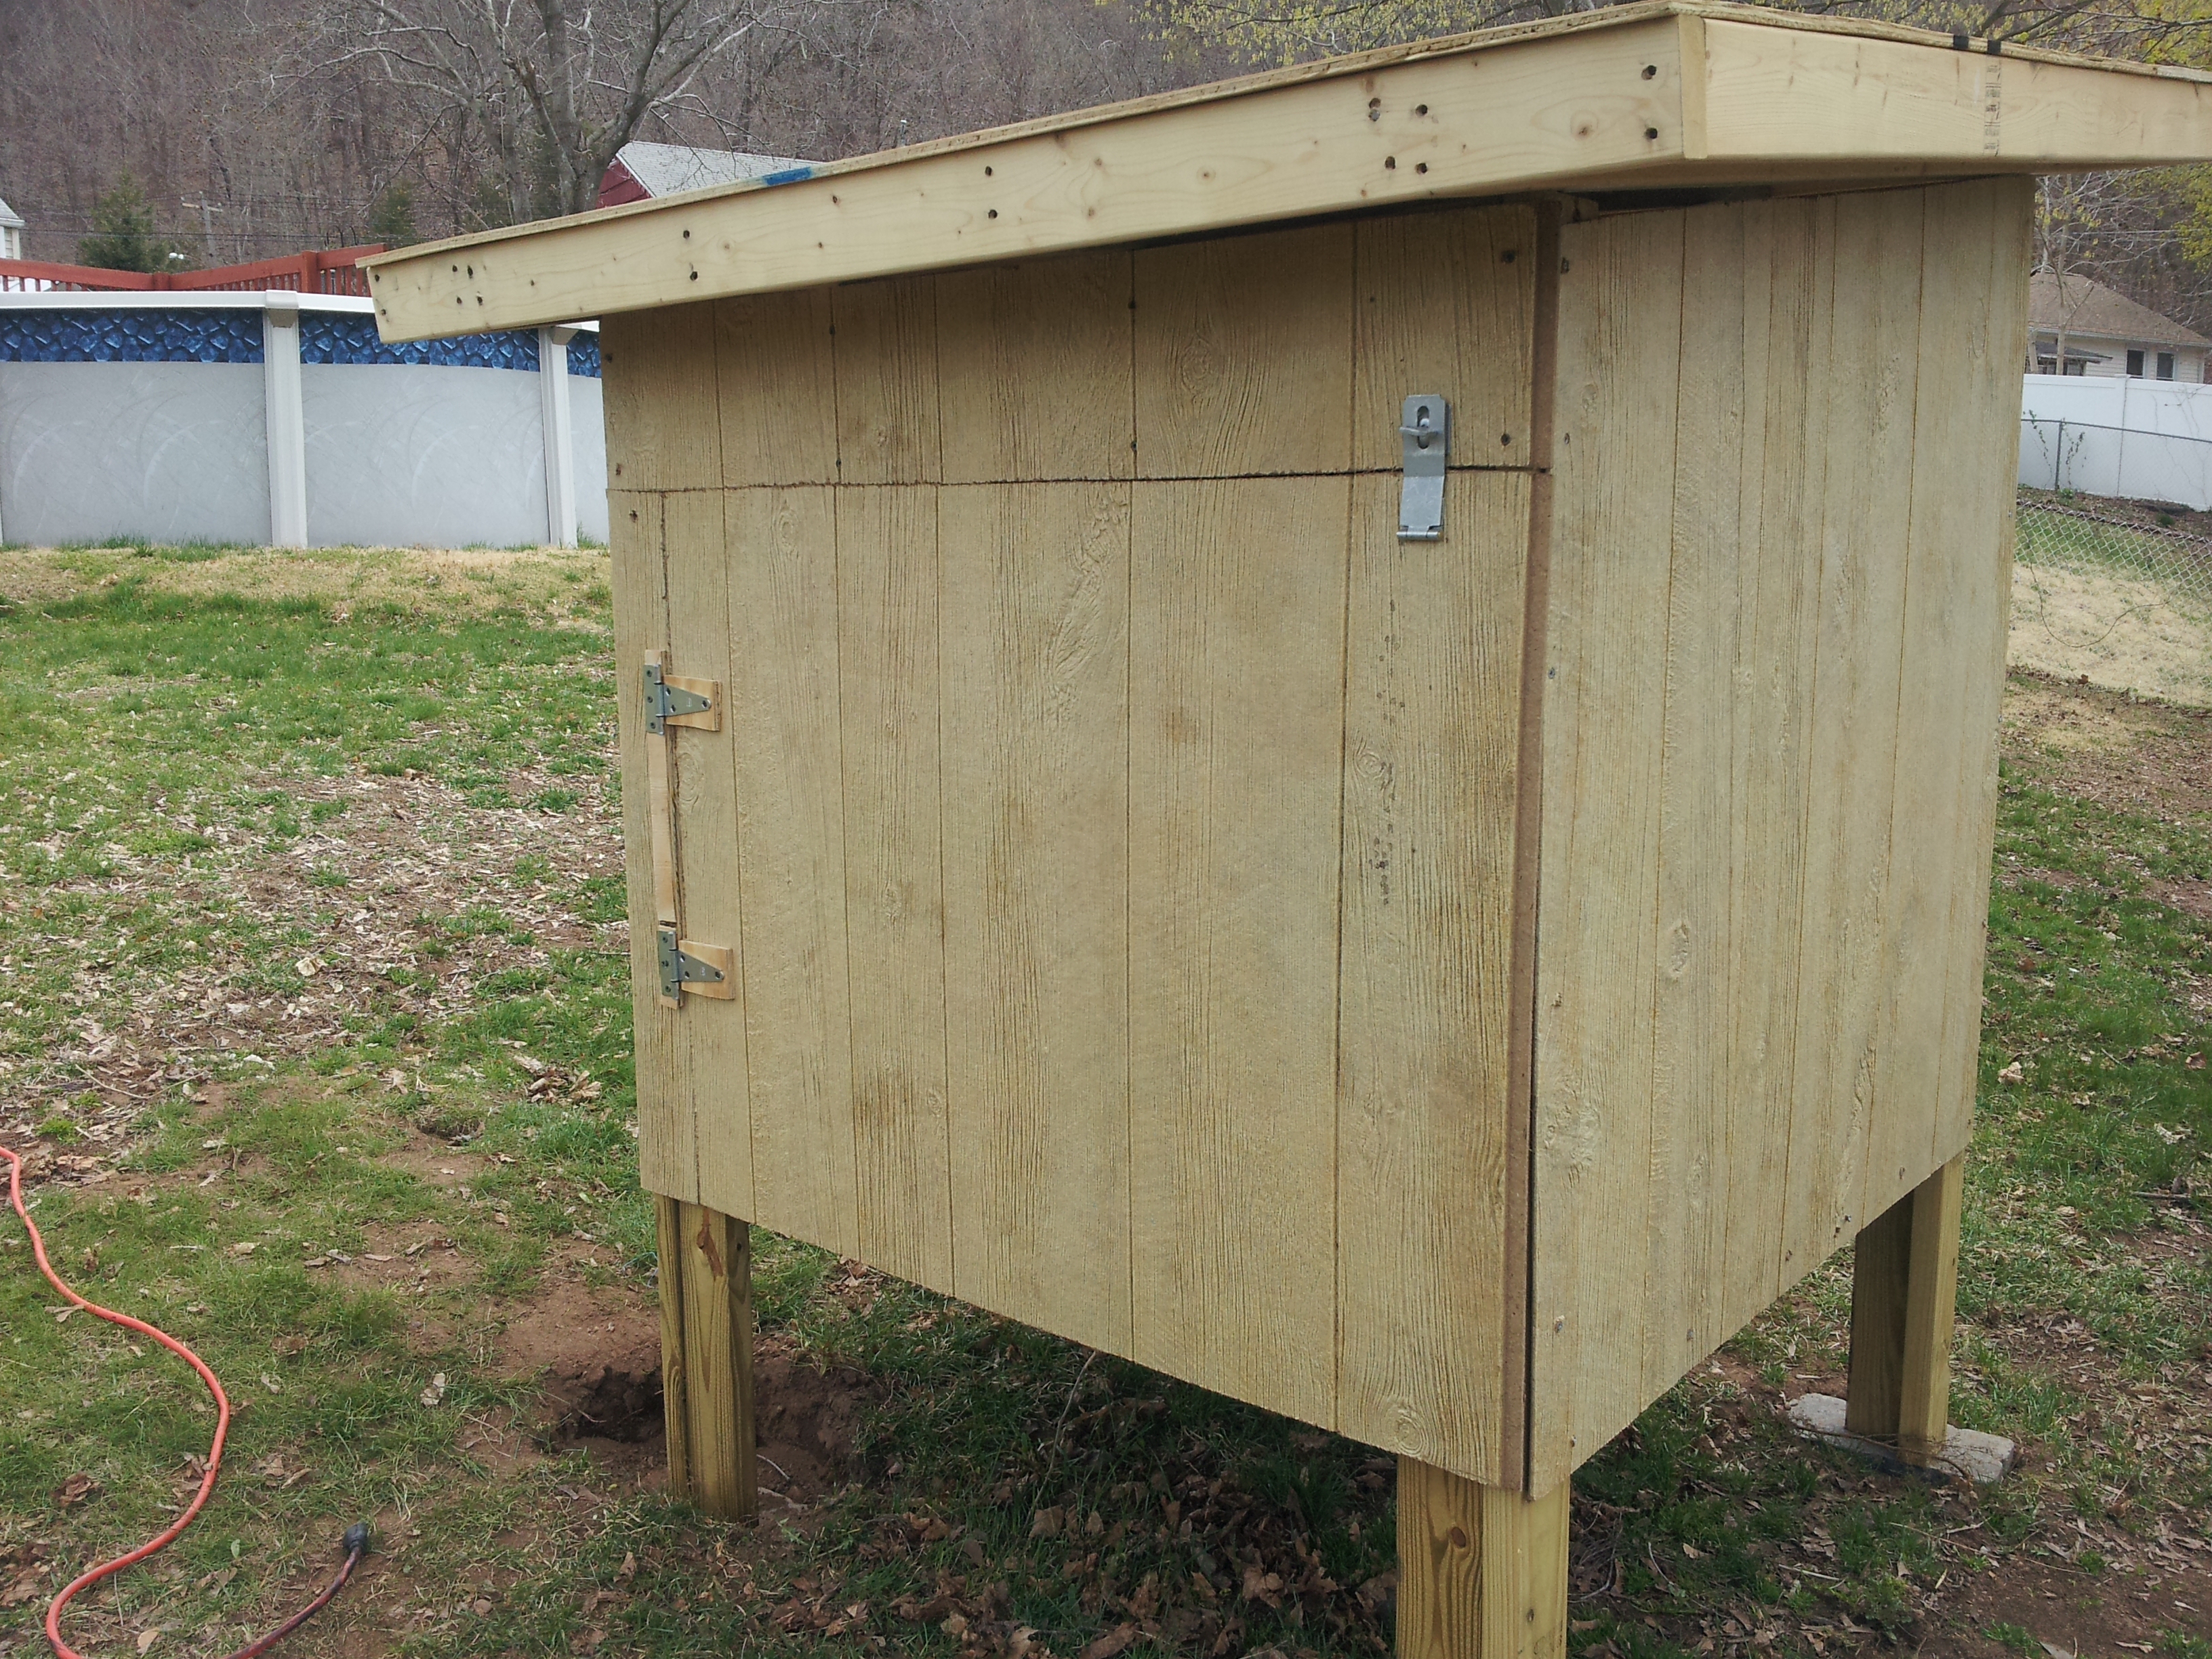
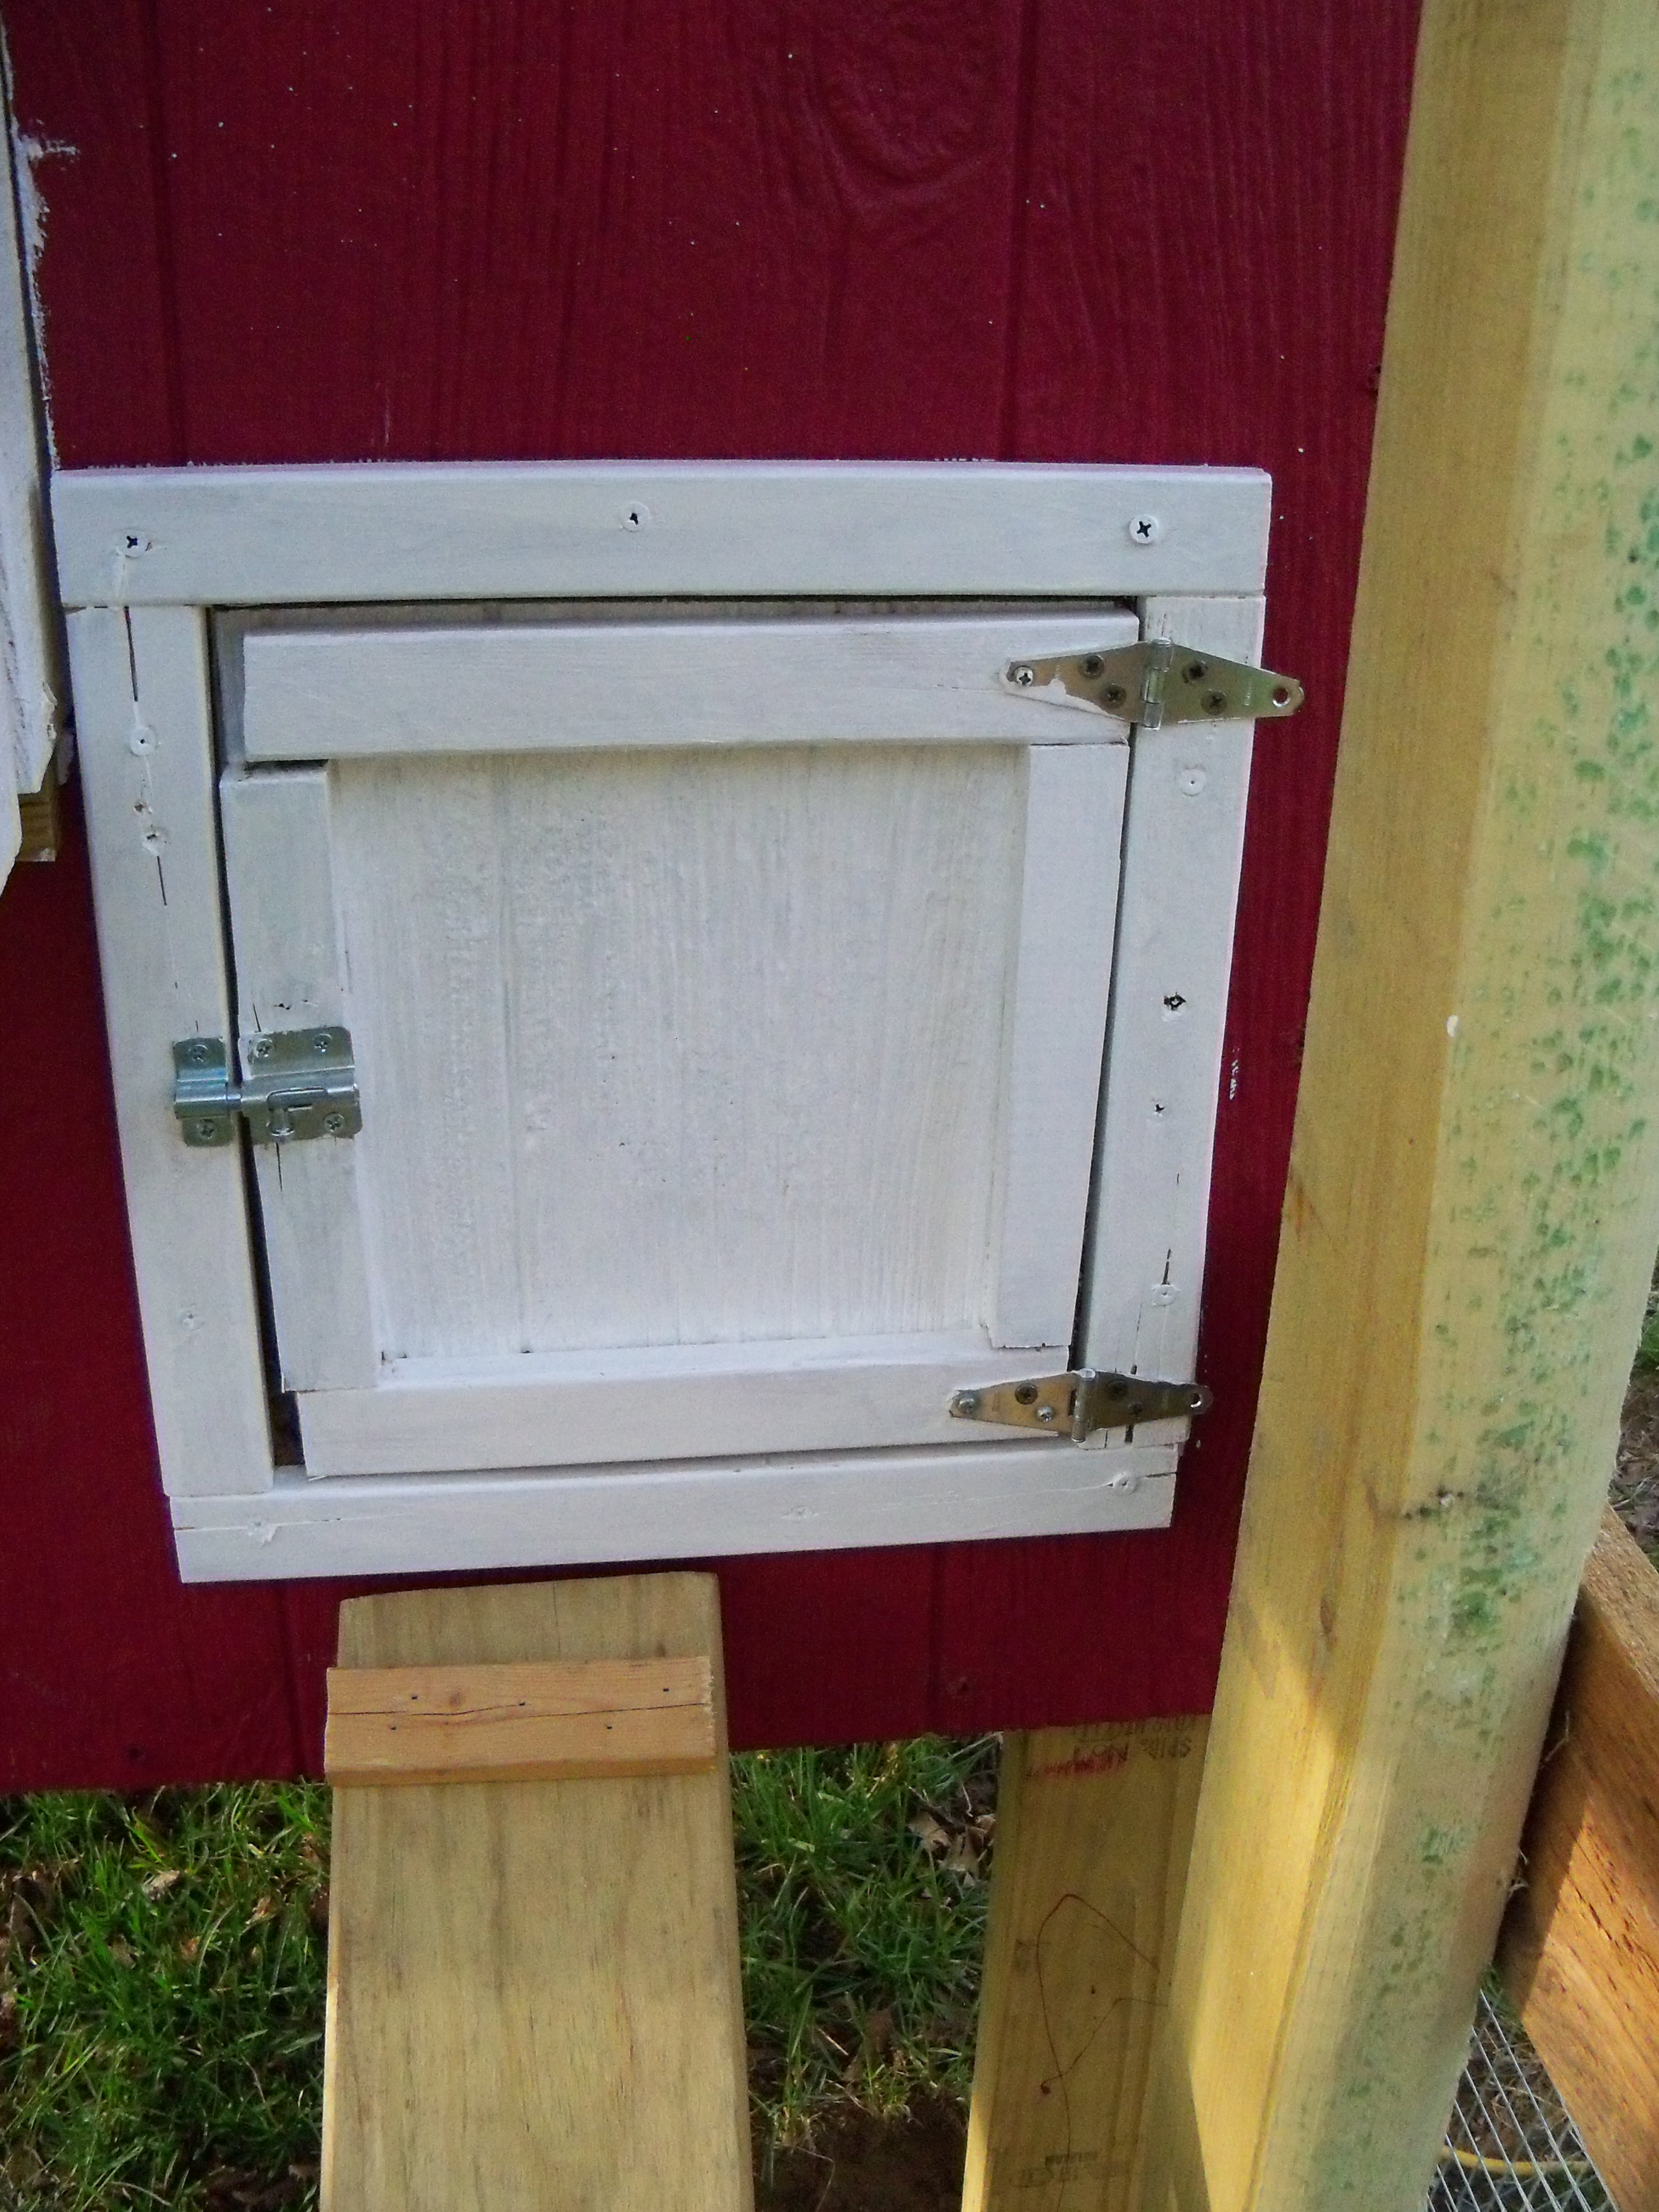
The original plans called for a “drop-down” door in the back for cleaning. I preferred to have the door swing open to the side. Changes I would consider for the future would be making the door a little smaller and using some kind of brace on the inside. The T-111 is starting to warp and does not close perfectly flat. We also added a second lock on the bottom for extra security.
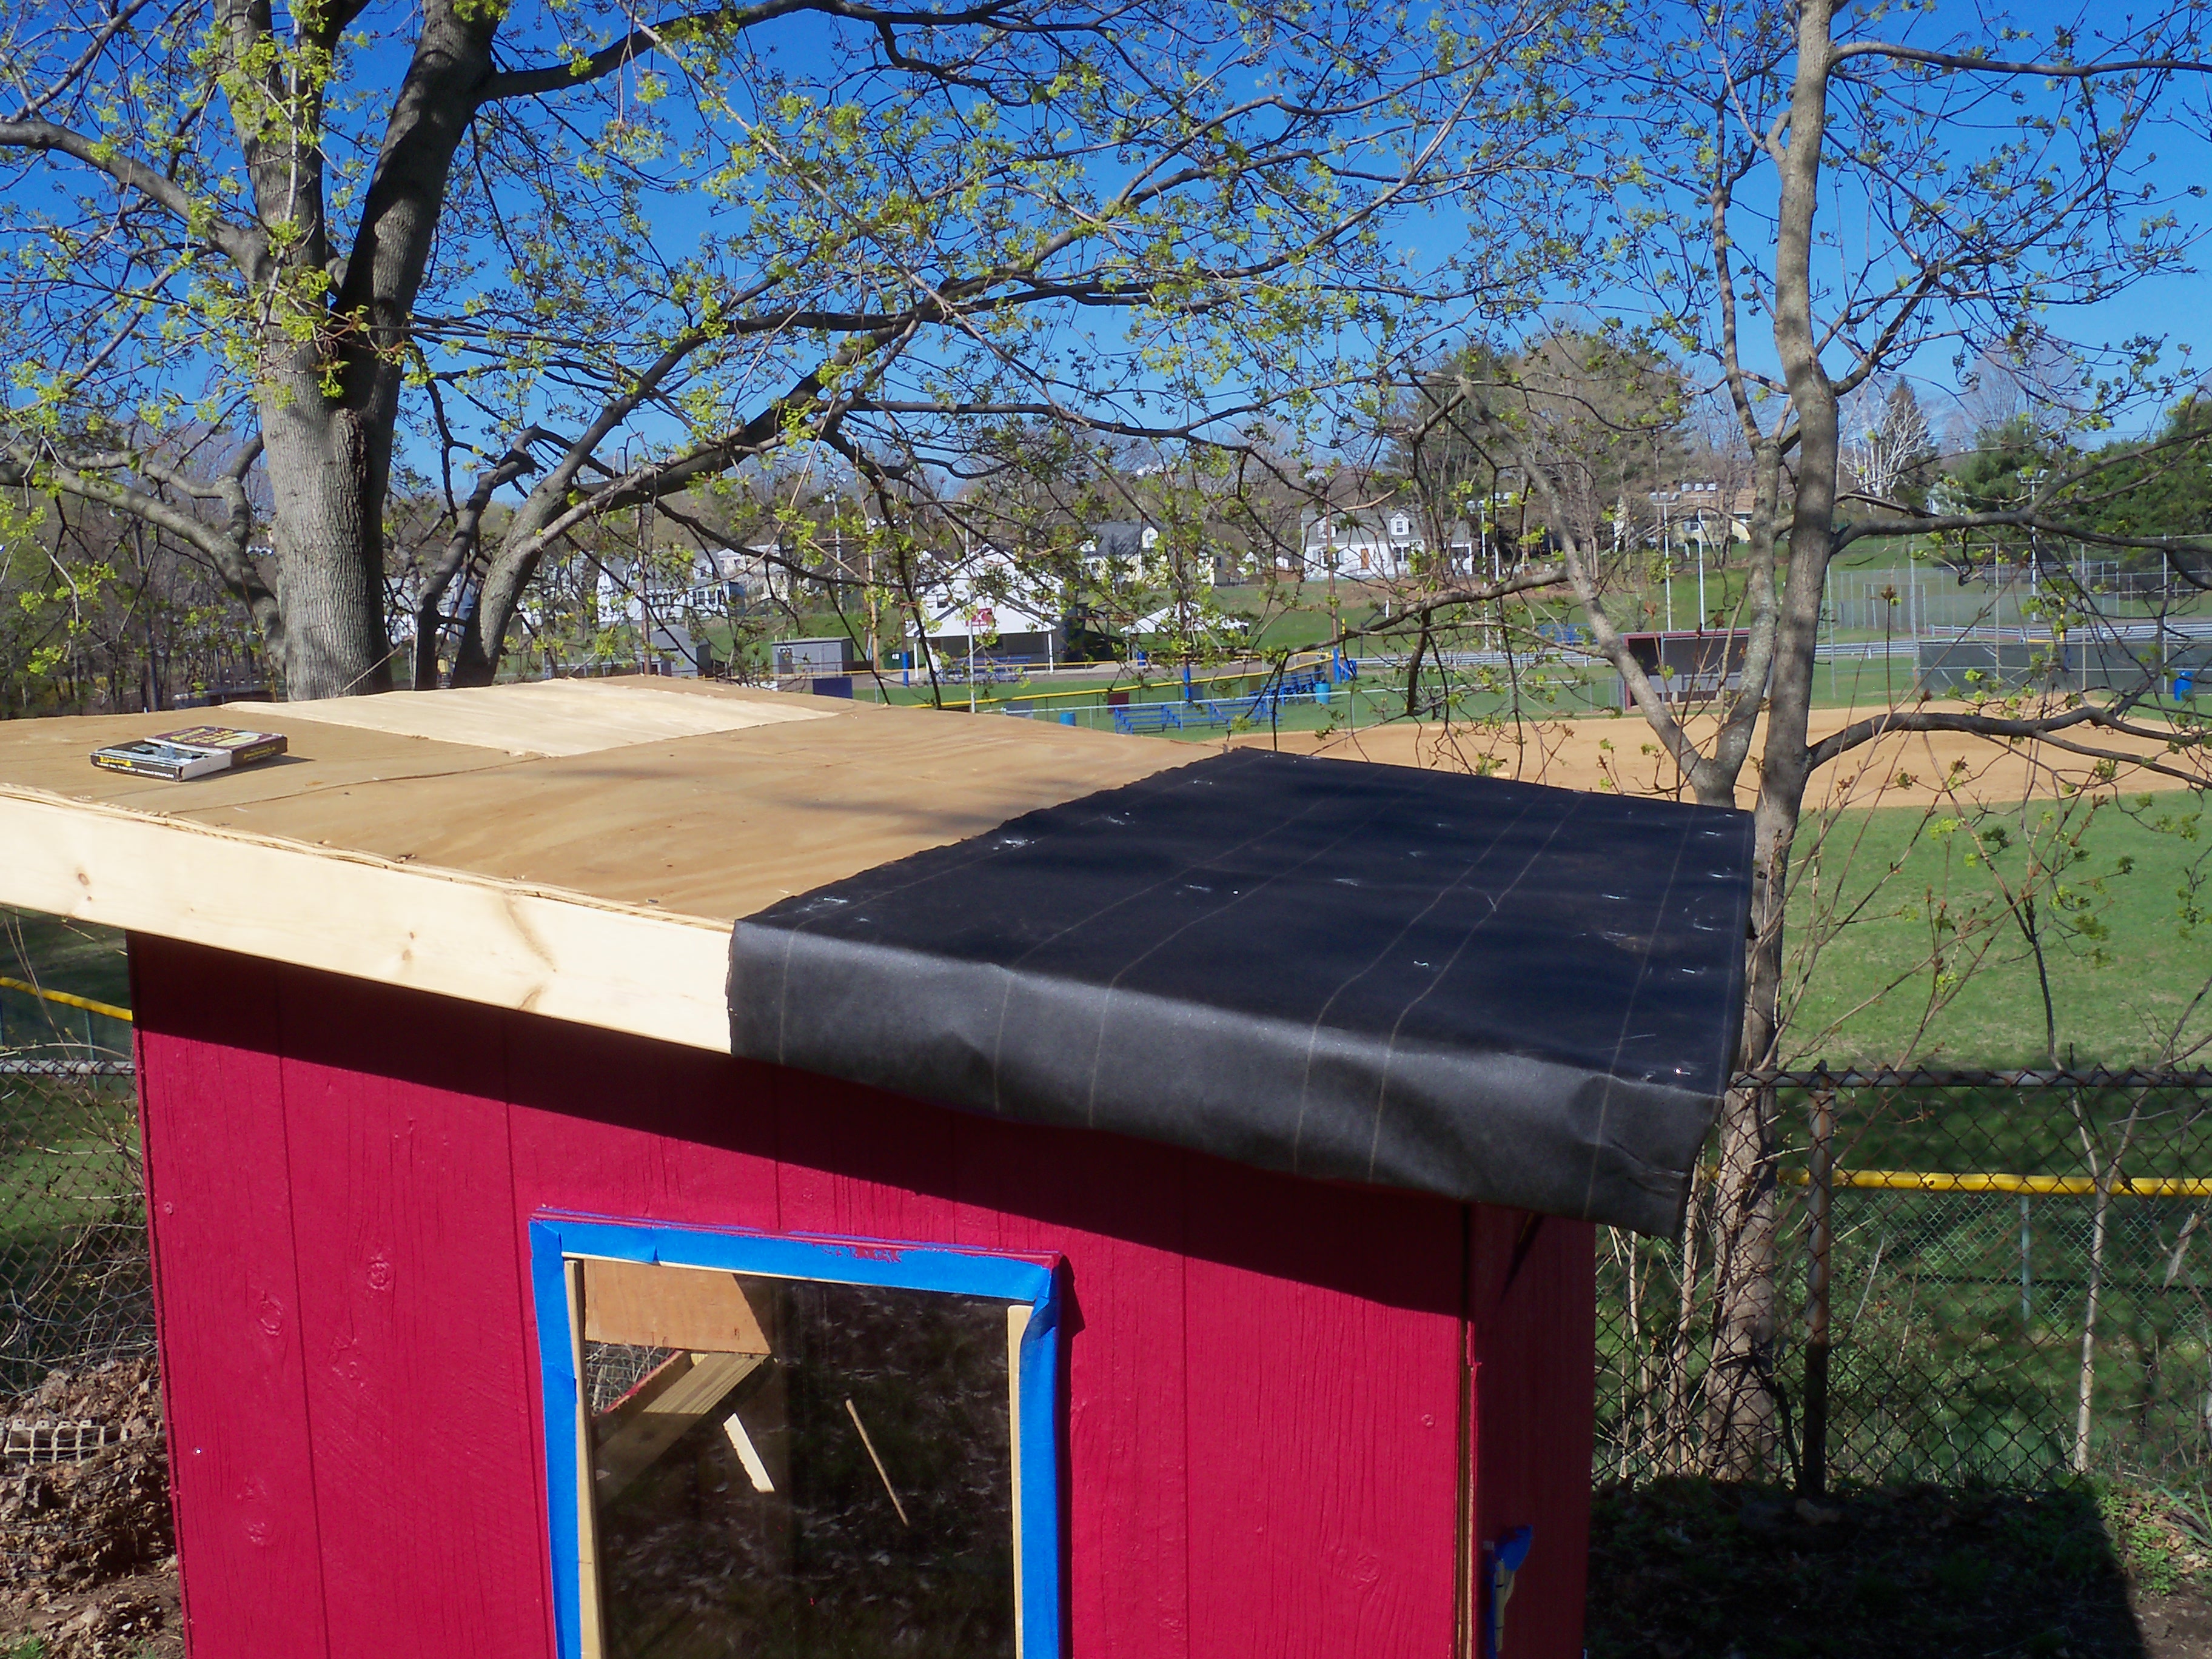
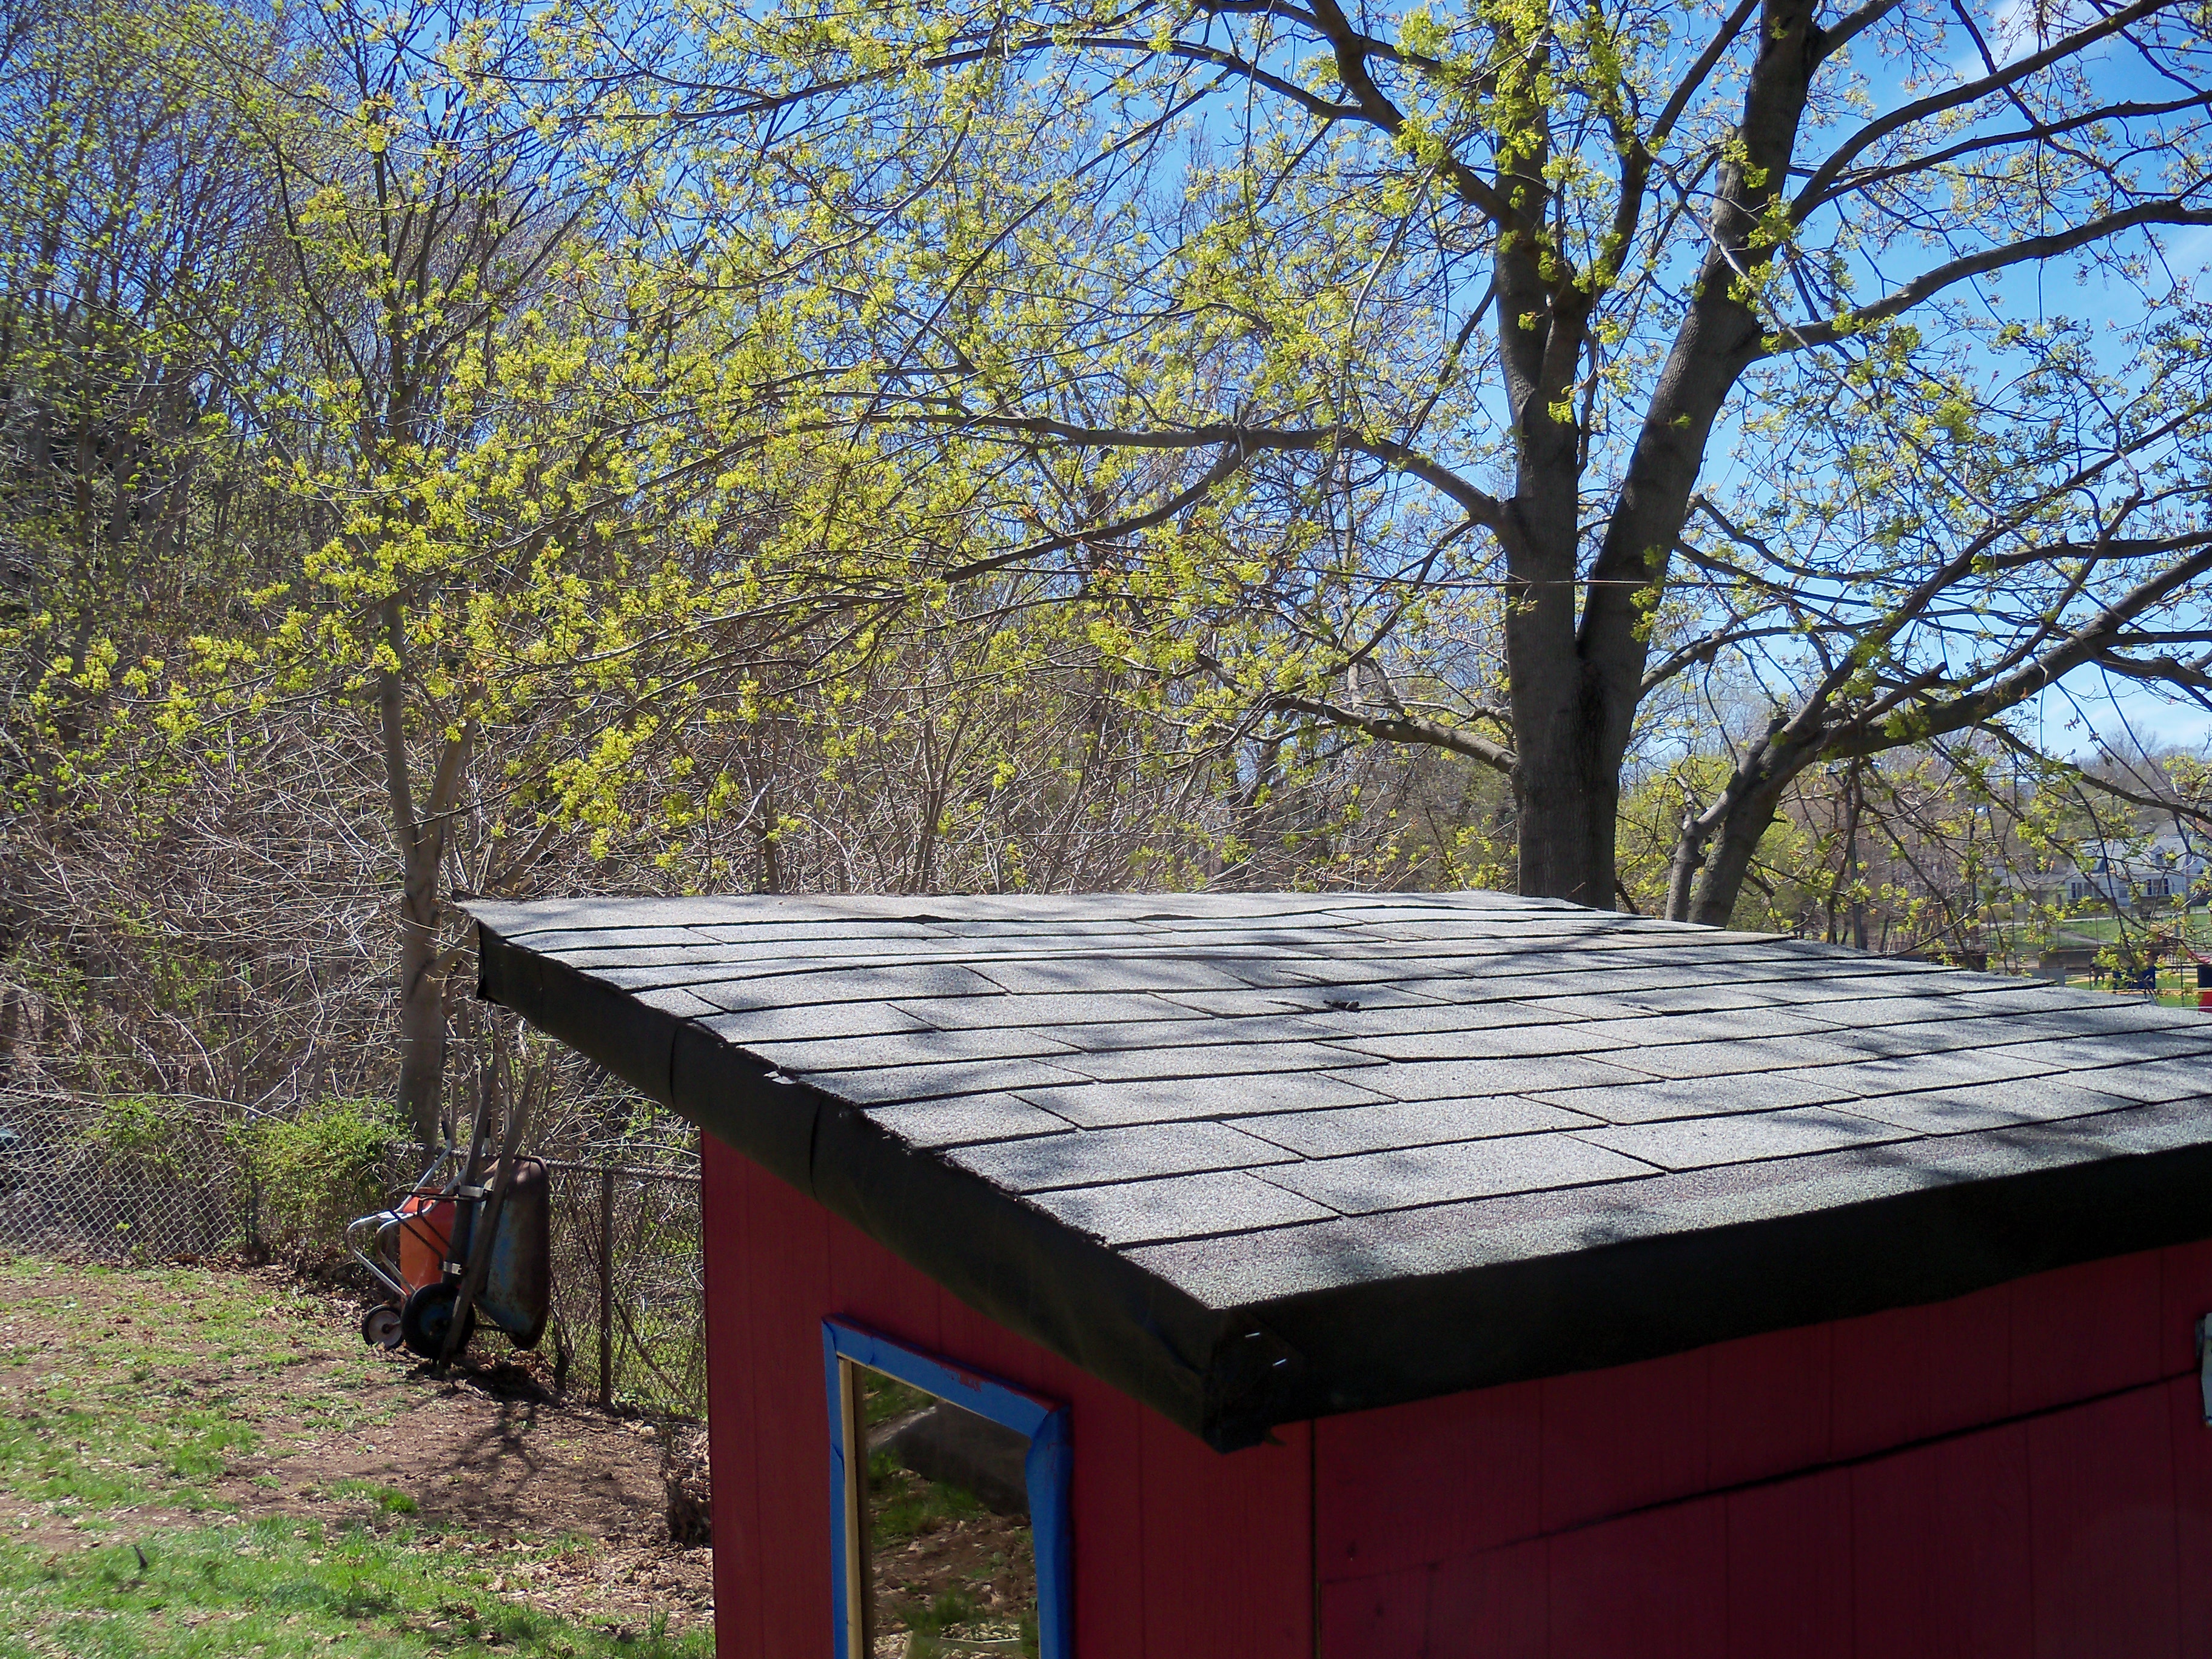
Roofing paper inherited from my parents was stapled to the plywood and leftover shingles nailed on top of that.

I did not like the original design of the external nest box since it did not seem to have a lot of support. We decided to add some support by nailing in a few braces before adding the front panel on. Plywood was used on the sides of the nest box and leftover planks for the rest of the box.
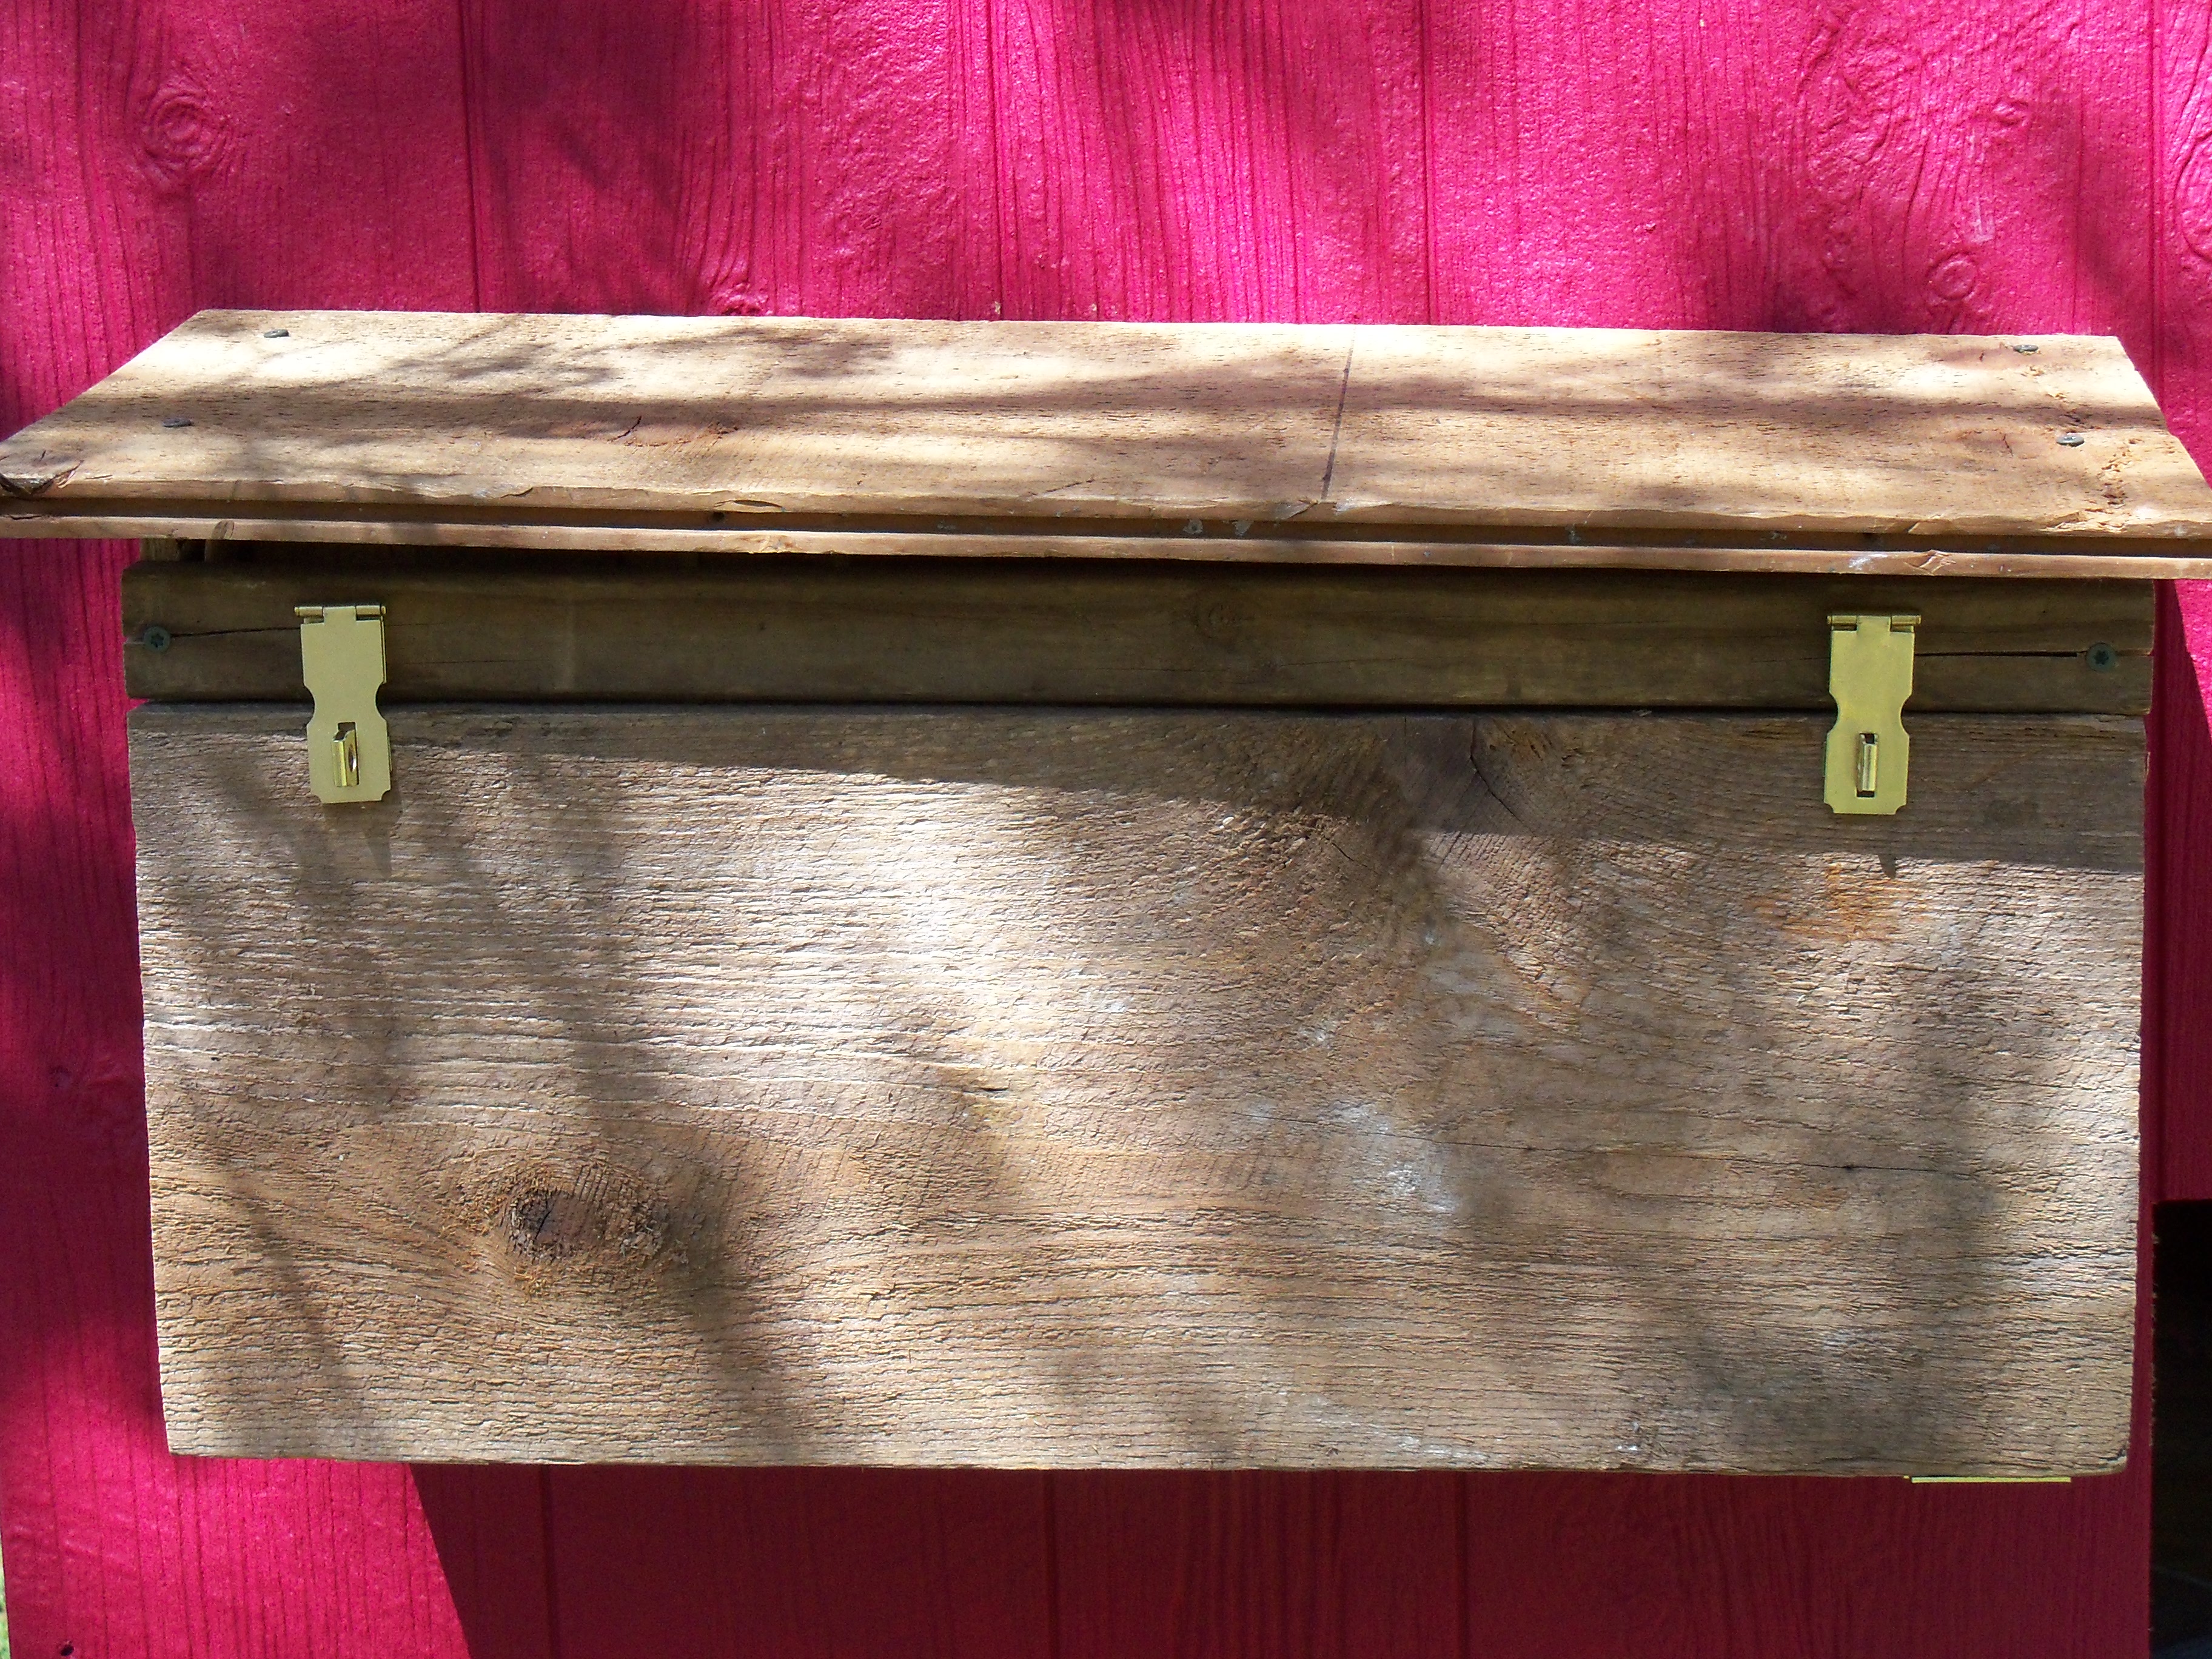
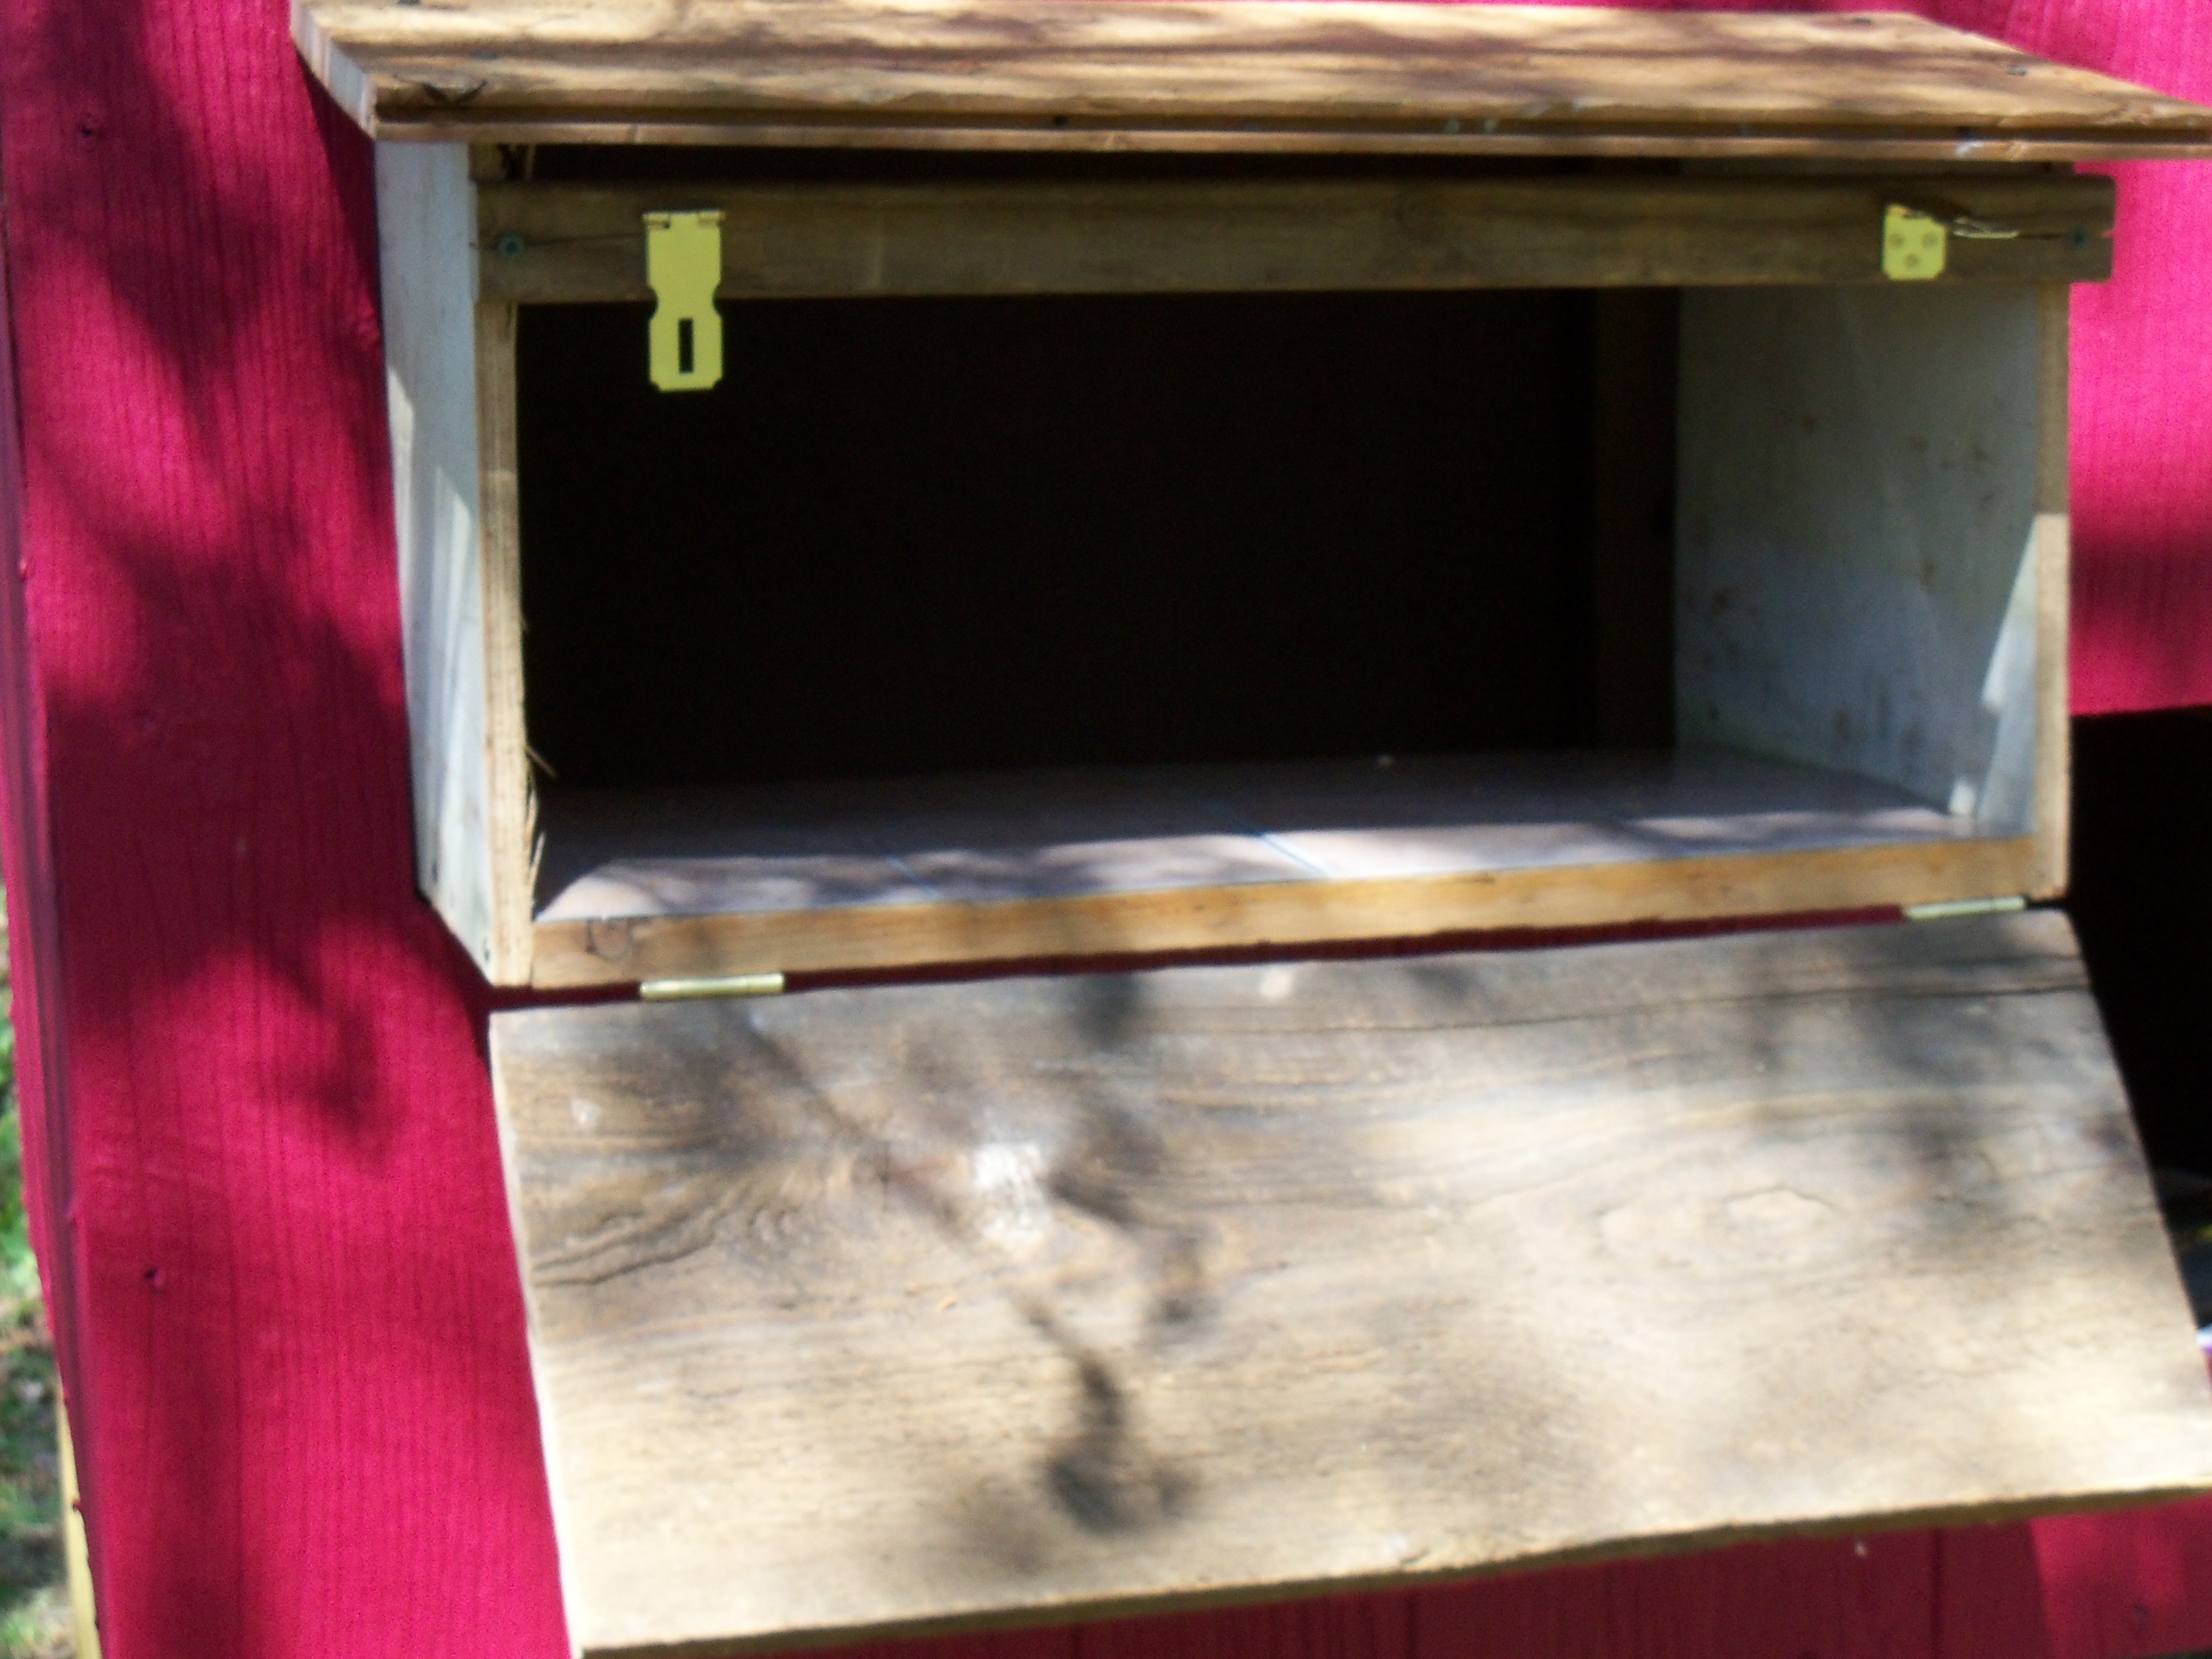
Instead of the top opening, I made the front drop down for gathering eggs.
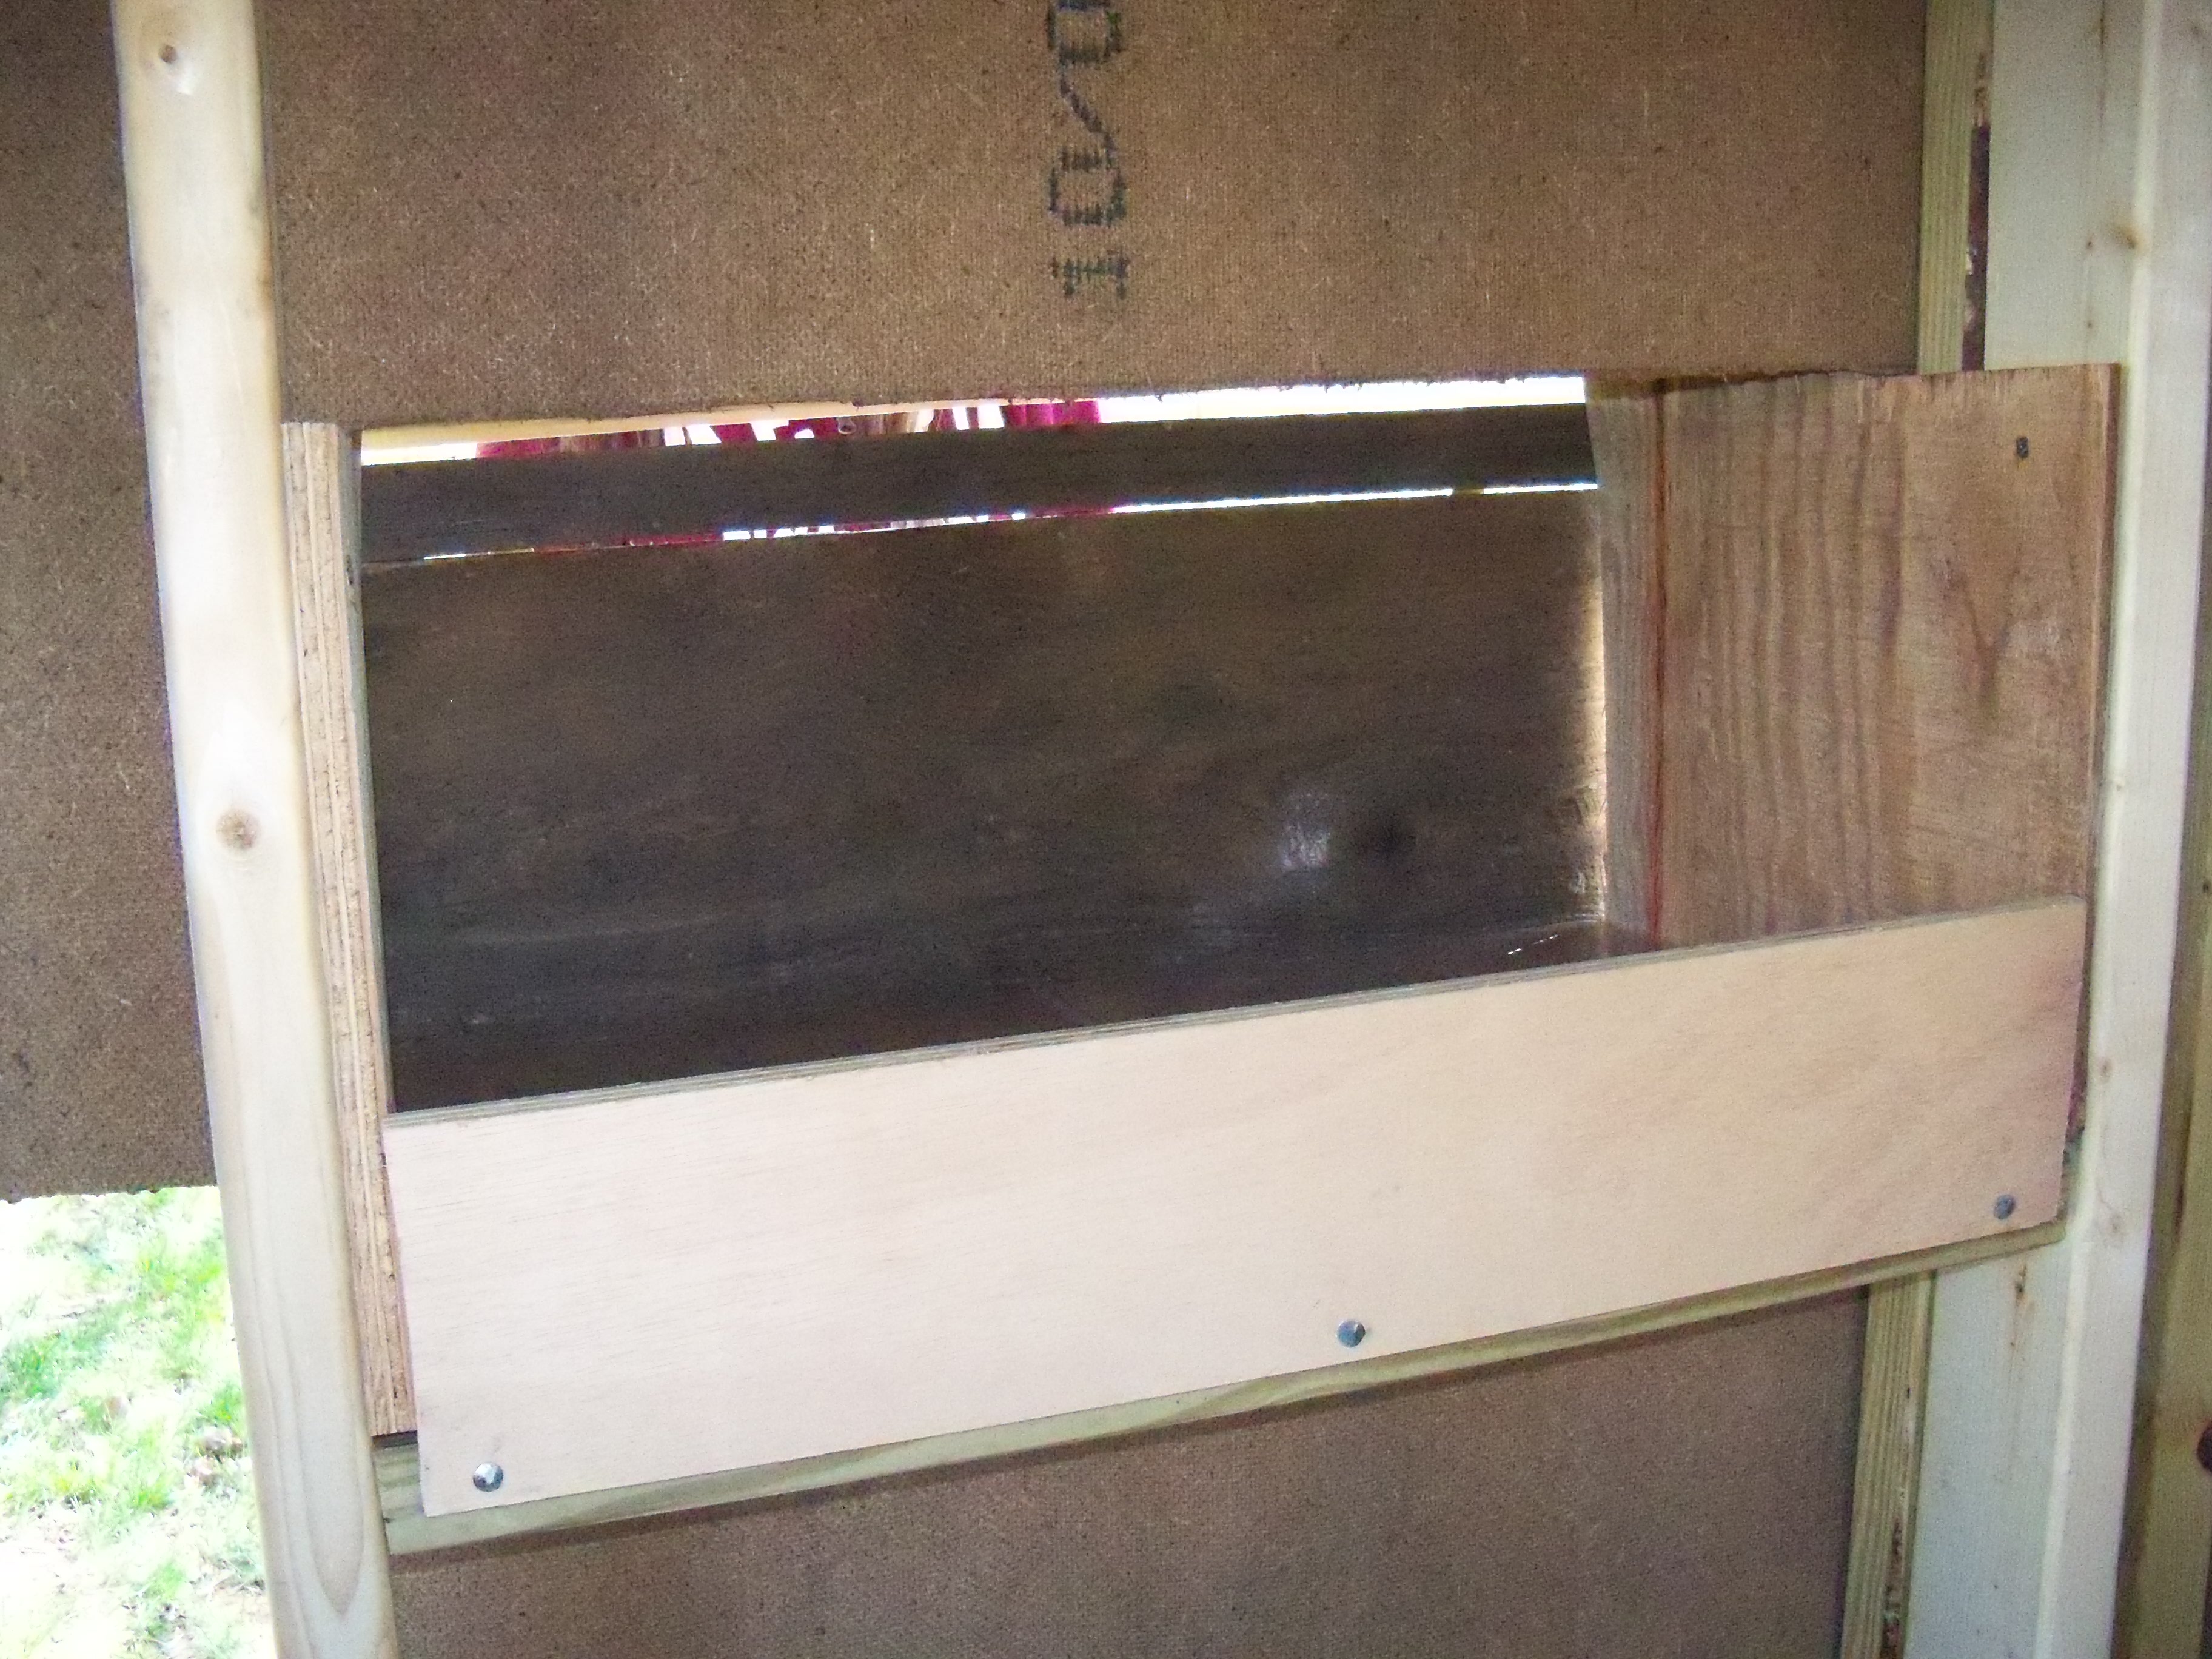
Inside, I added a piece of wood to give the box more privacy for the hens. I also patched up any potential drafts with leftover wood pieces.
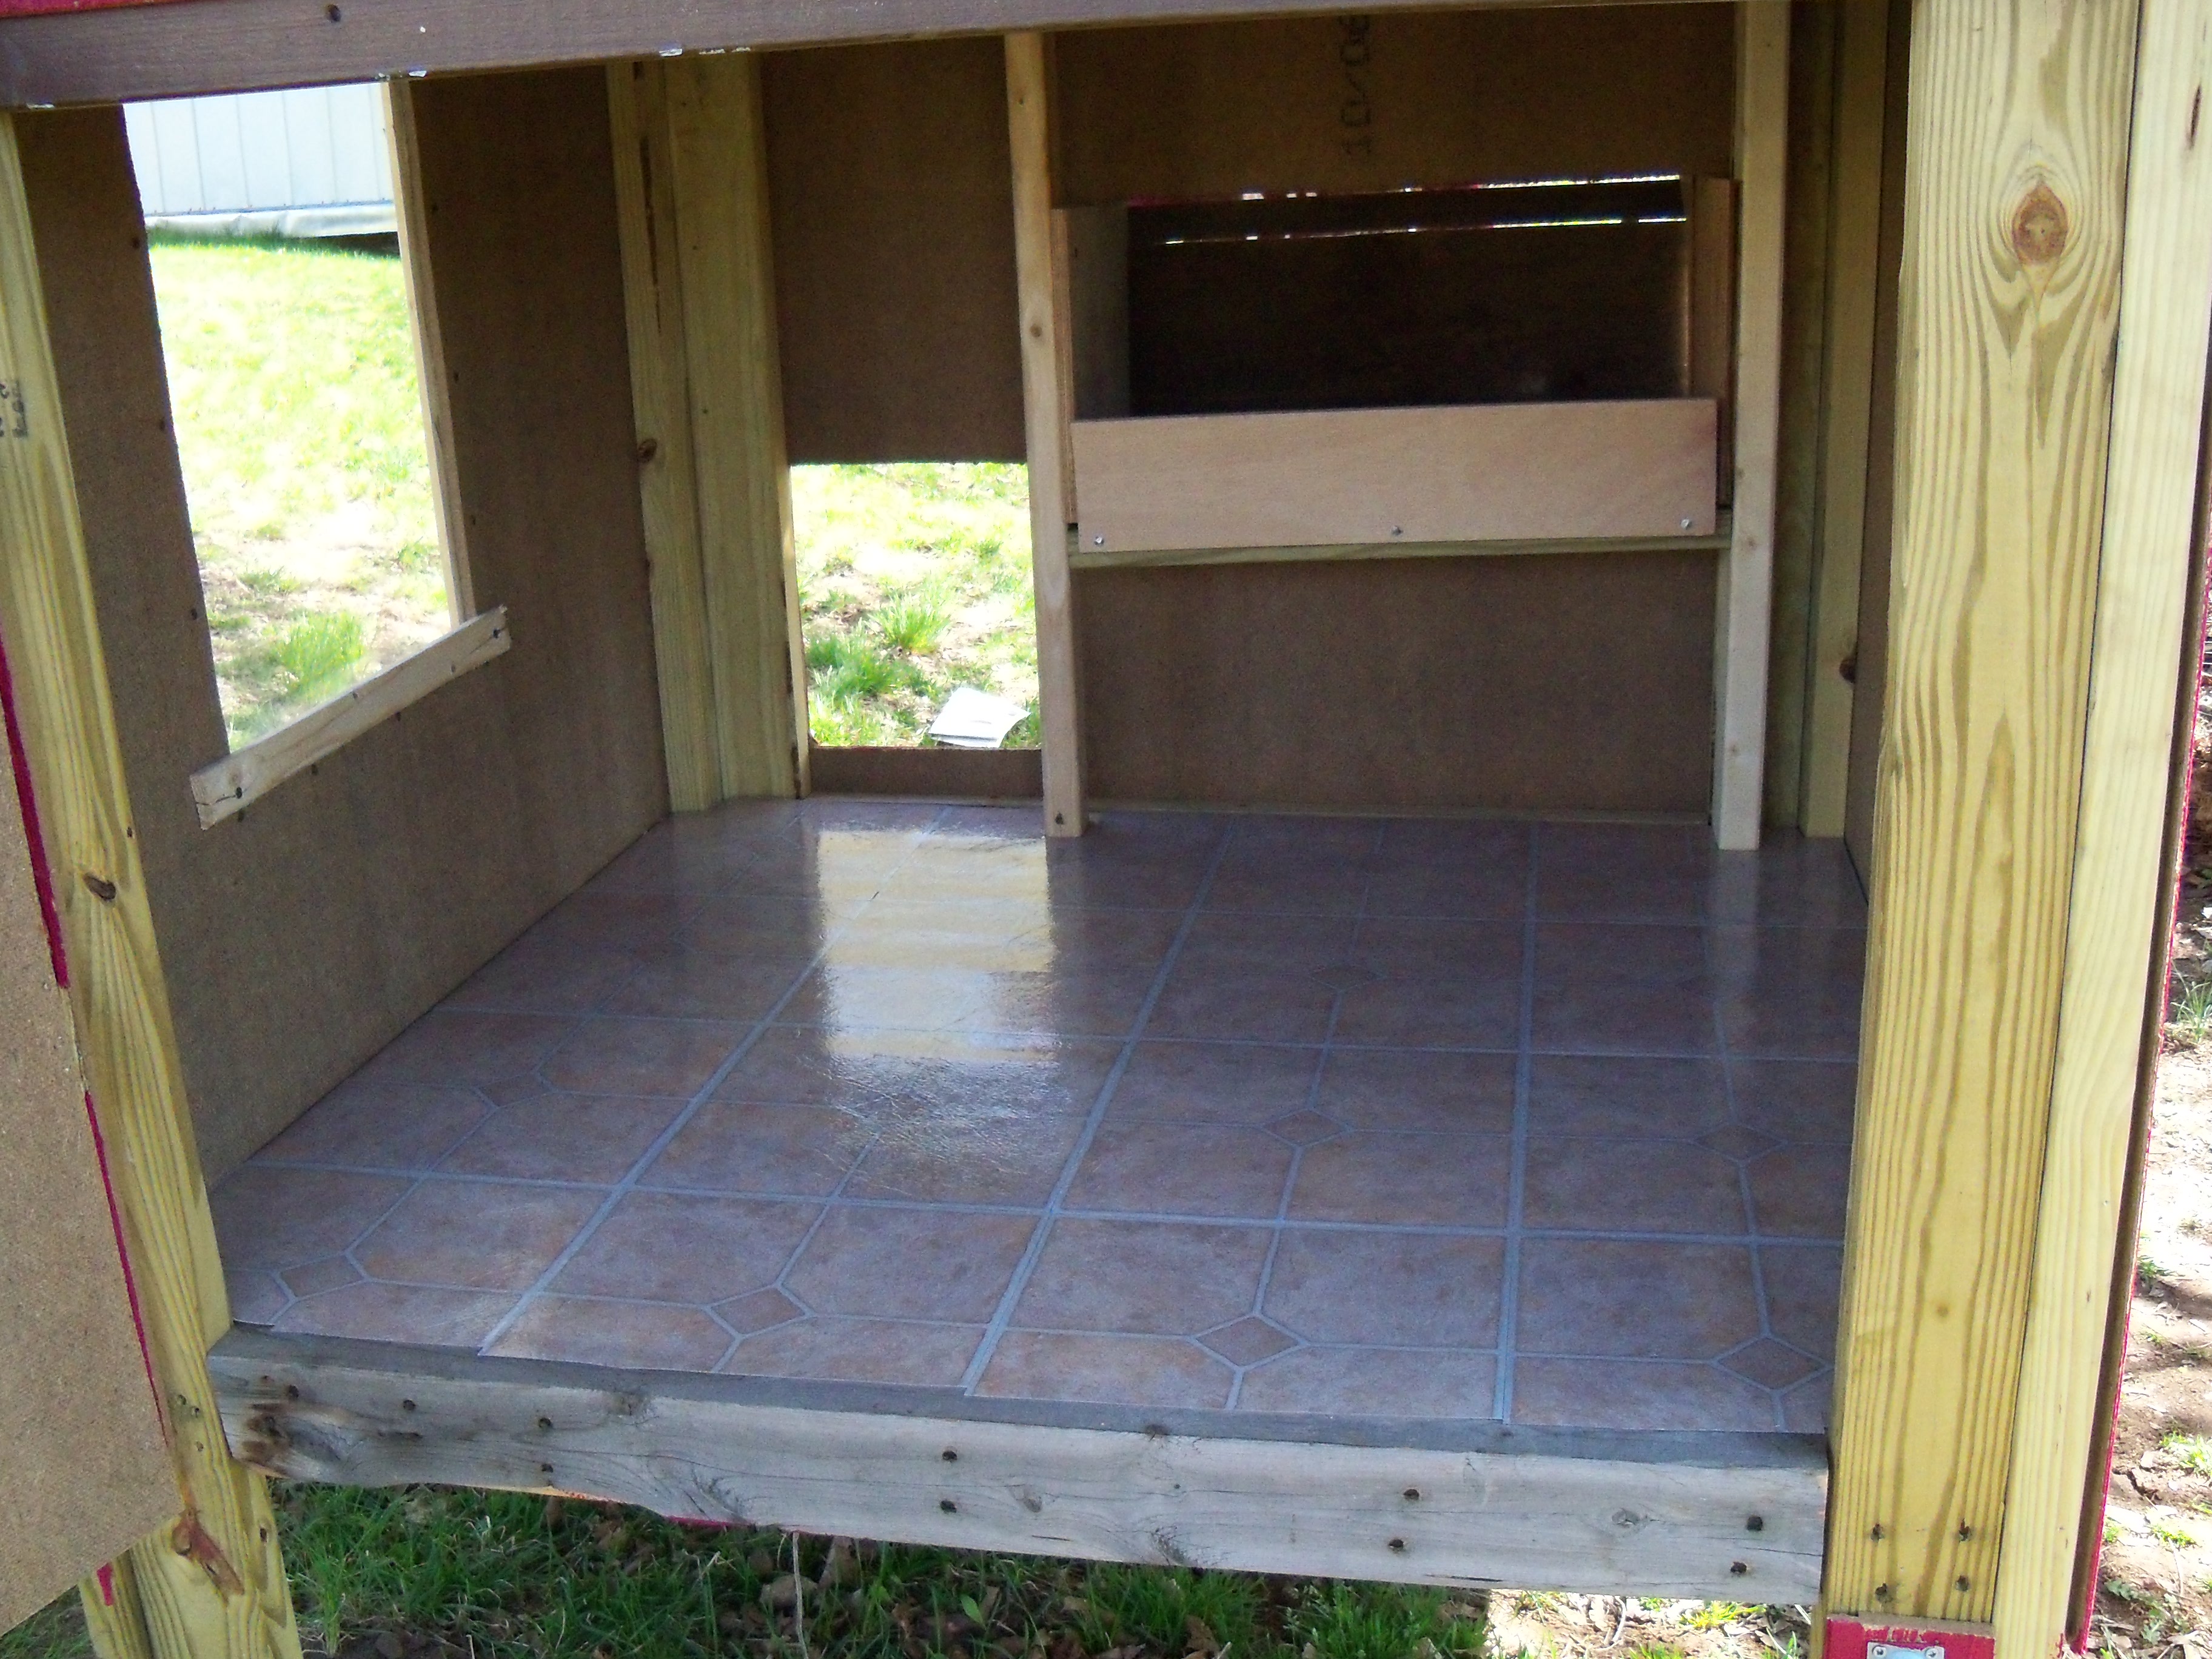
For easy clean-up, we found the least expensive stick tiles and covered the bottom of the coop and nest box with these. Gotta look pretty for my girls!!
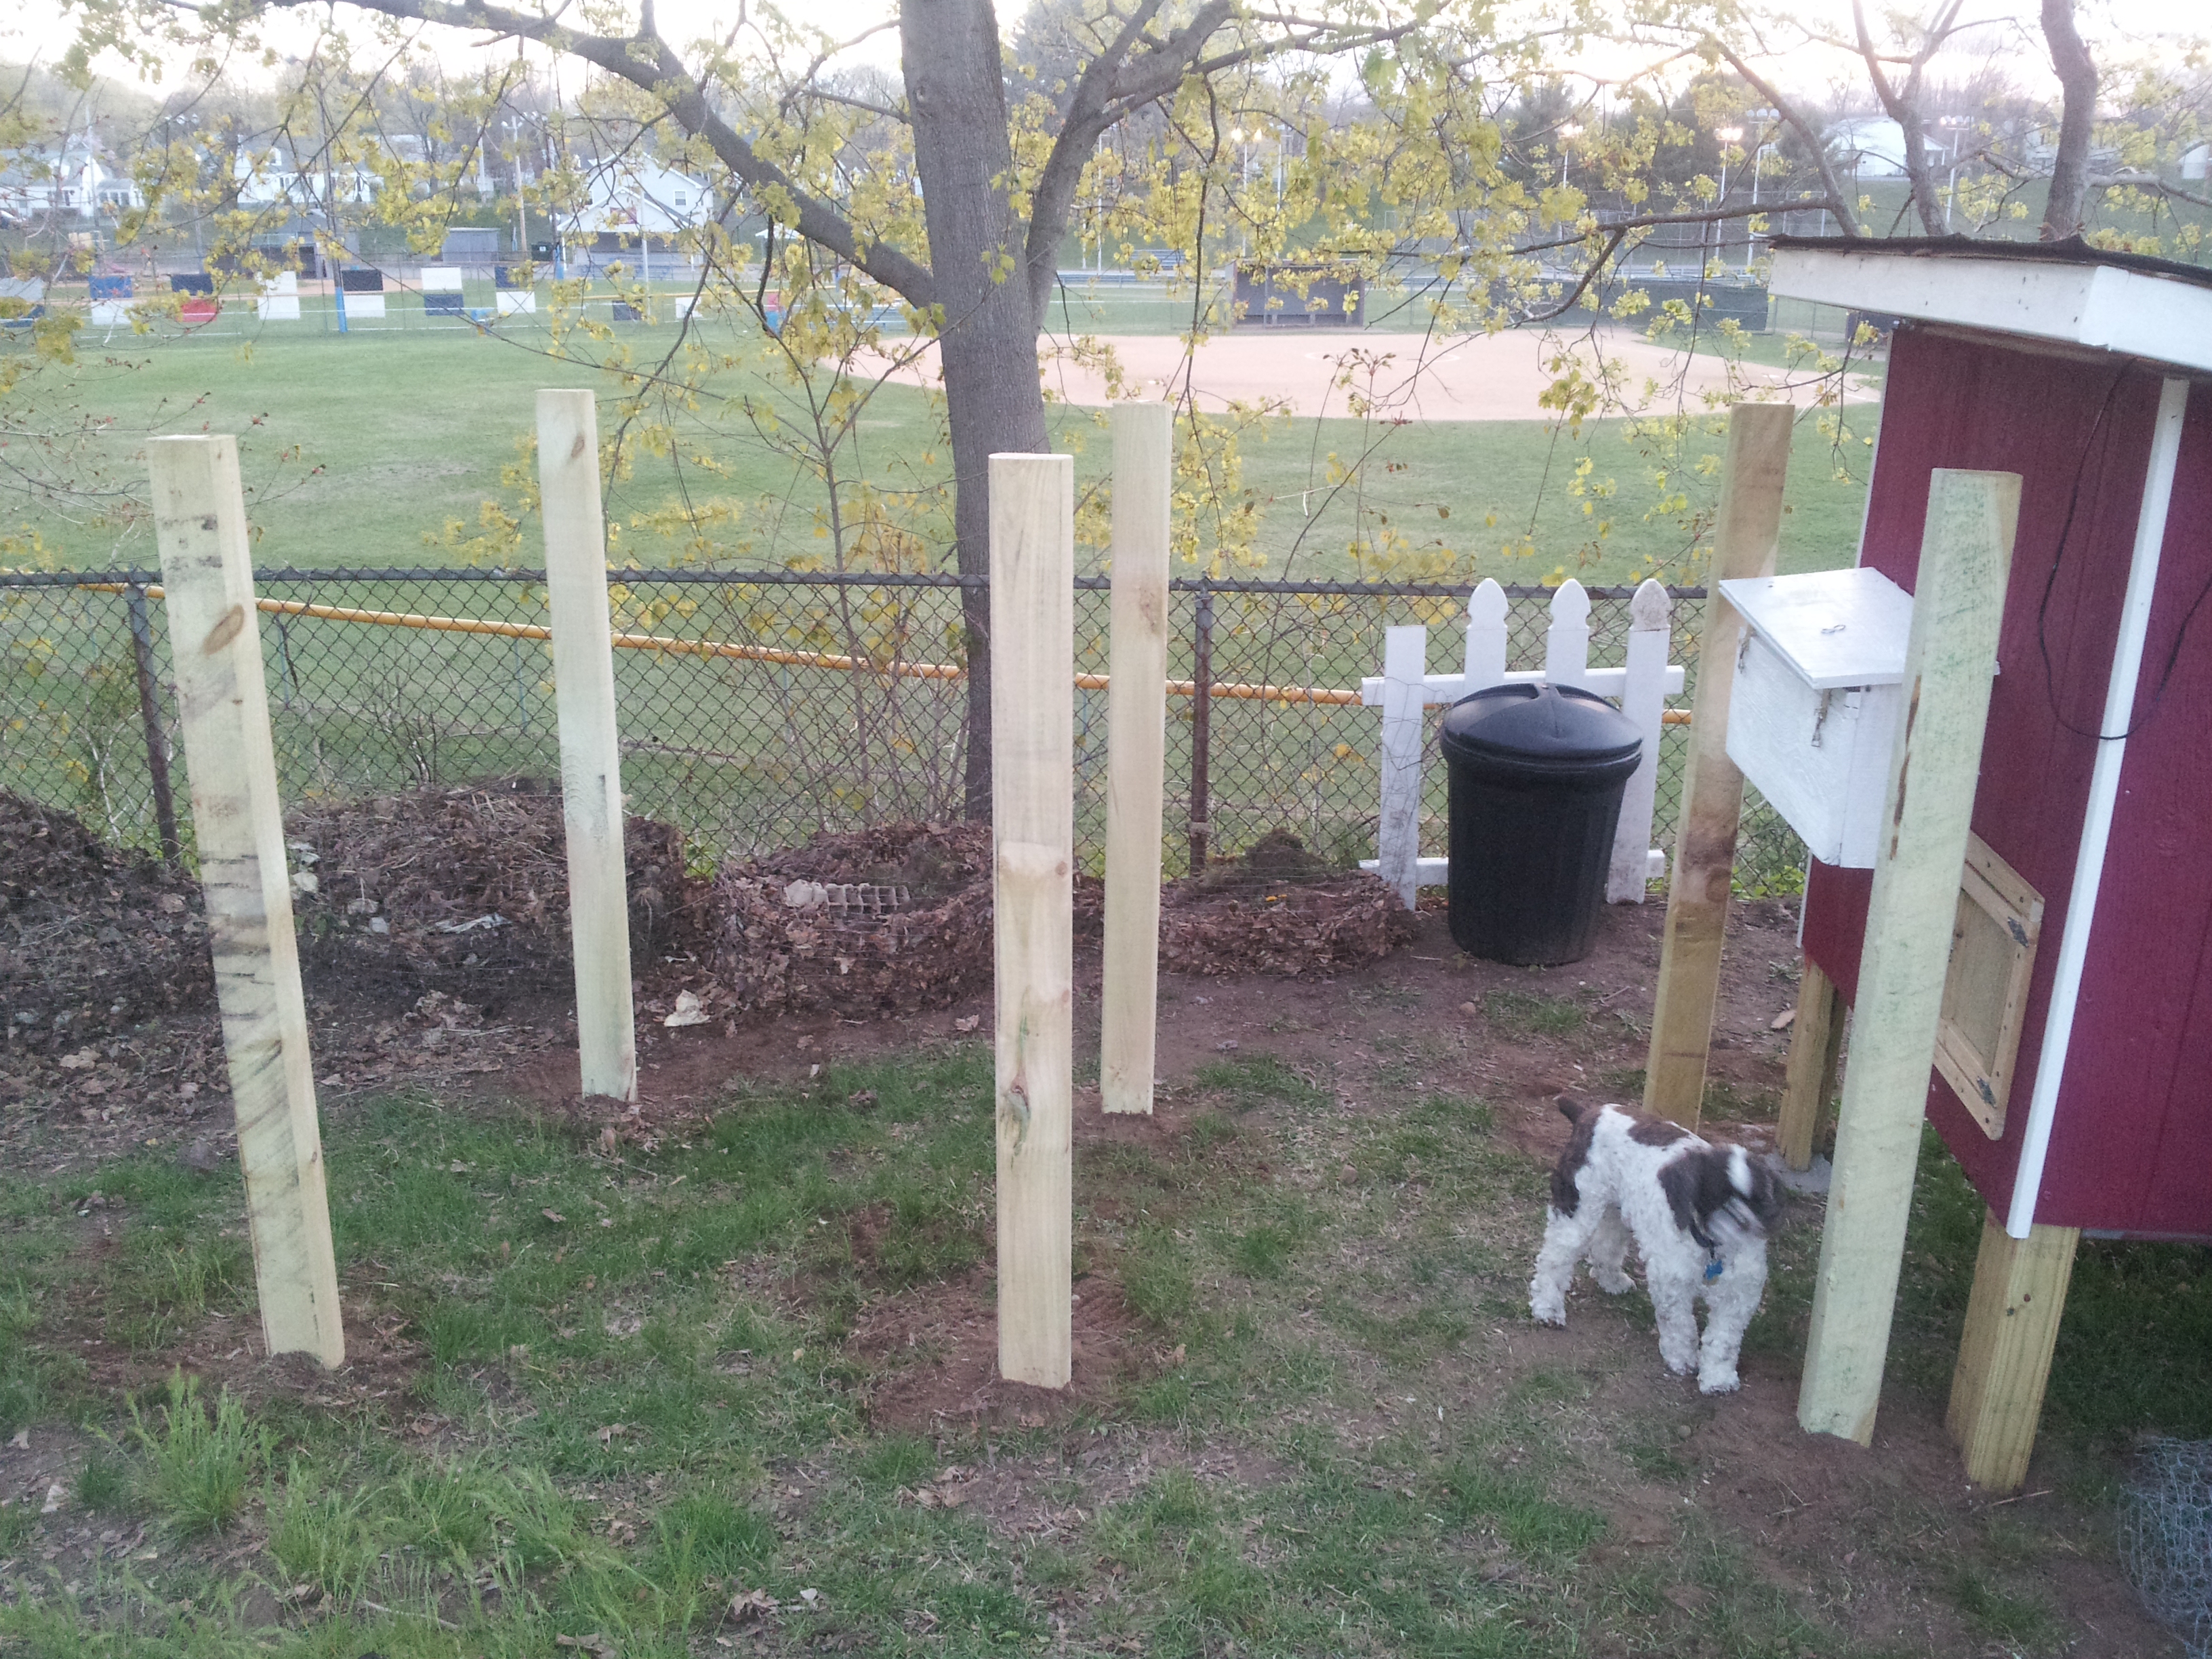

For the run, we started with six landscaping posts, instead of 4x4 lumber (they are half the price). The top and middle rails consisted of more reclaimed lumber to which we nailed hardware cloth on the bottom half (most of my building wounds came from this!). After reading other opinions on what to do with the wire, we decided to have it bury about a foot of wire on the outside of the run to prevent any “extra company”! With the price of the hardware cloth (ouch!) and how much it hurts to work with (double ouch!) we decided to put regular chicken on the top half and across the top.
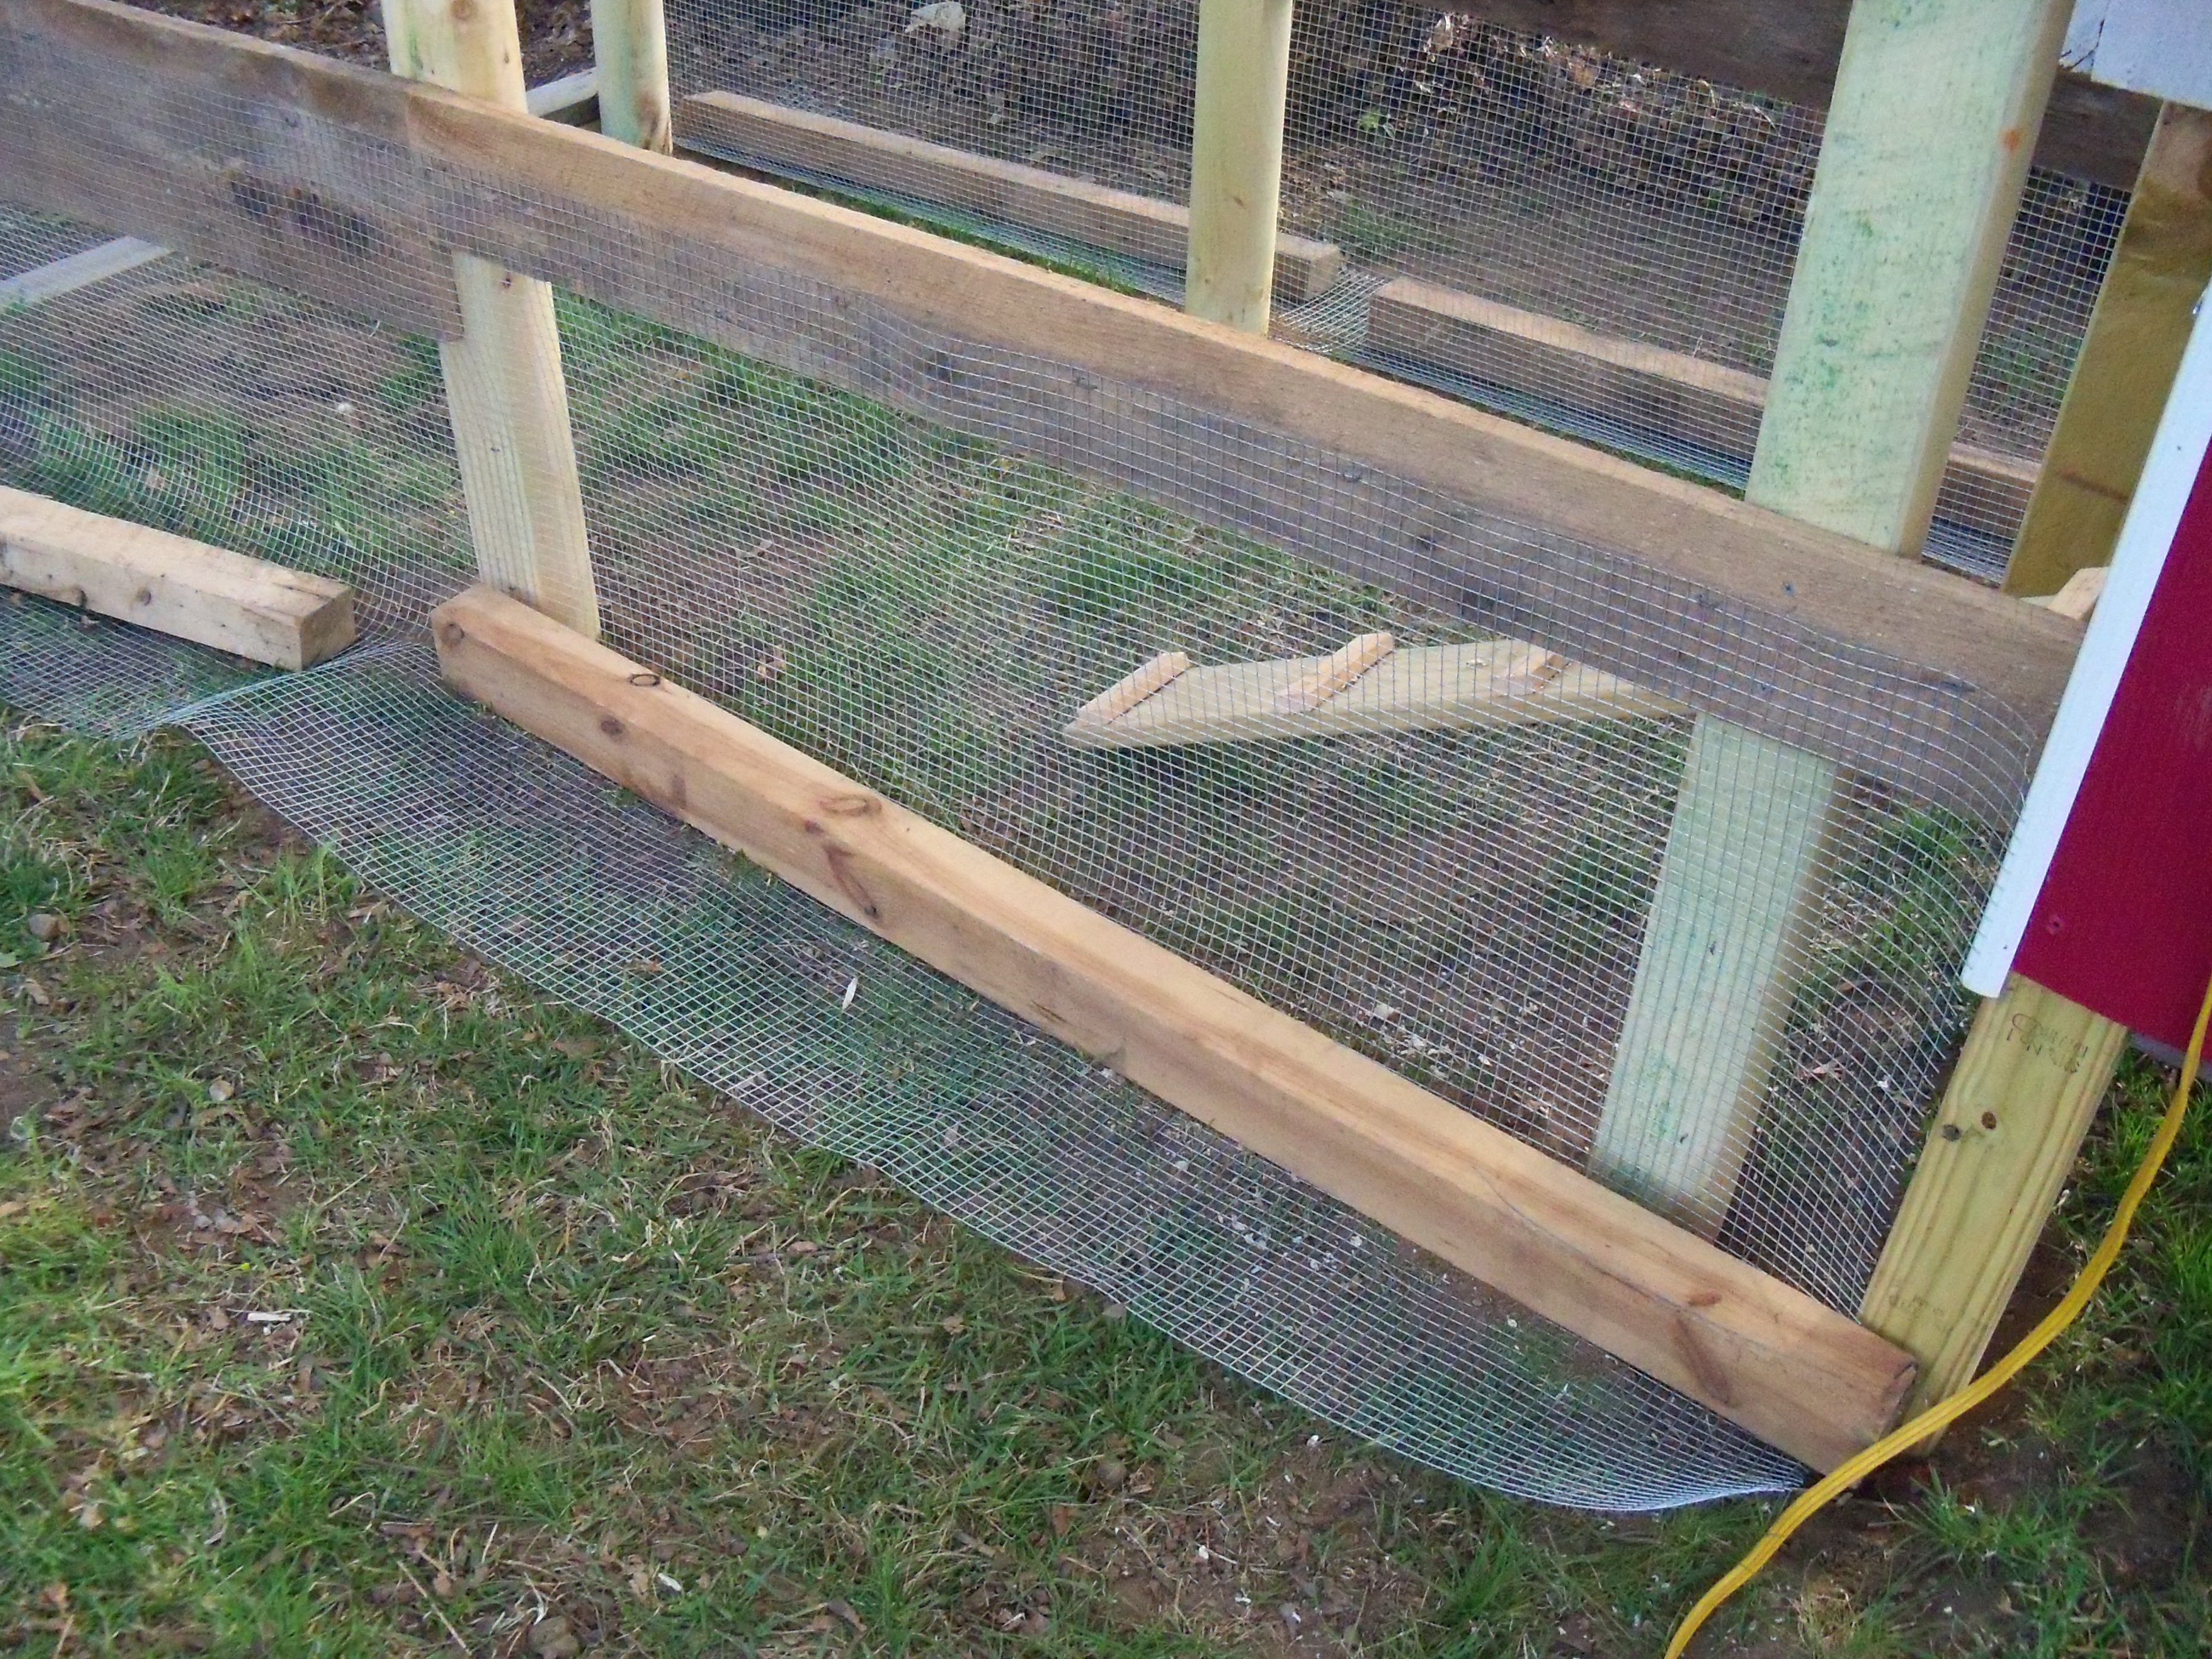
Once buried, we placed 4x4’s across the bottom and screwed them in.
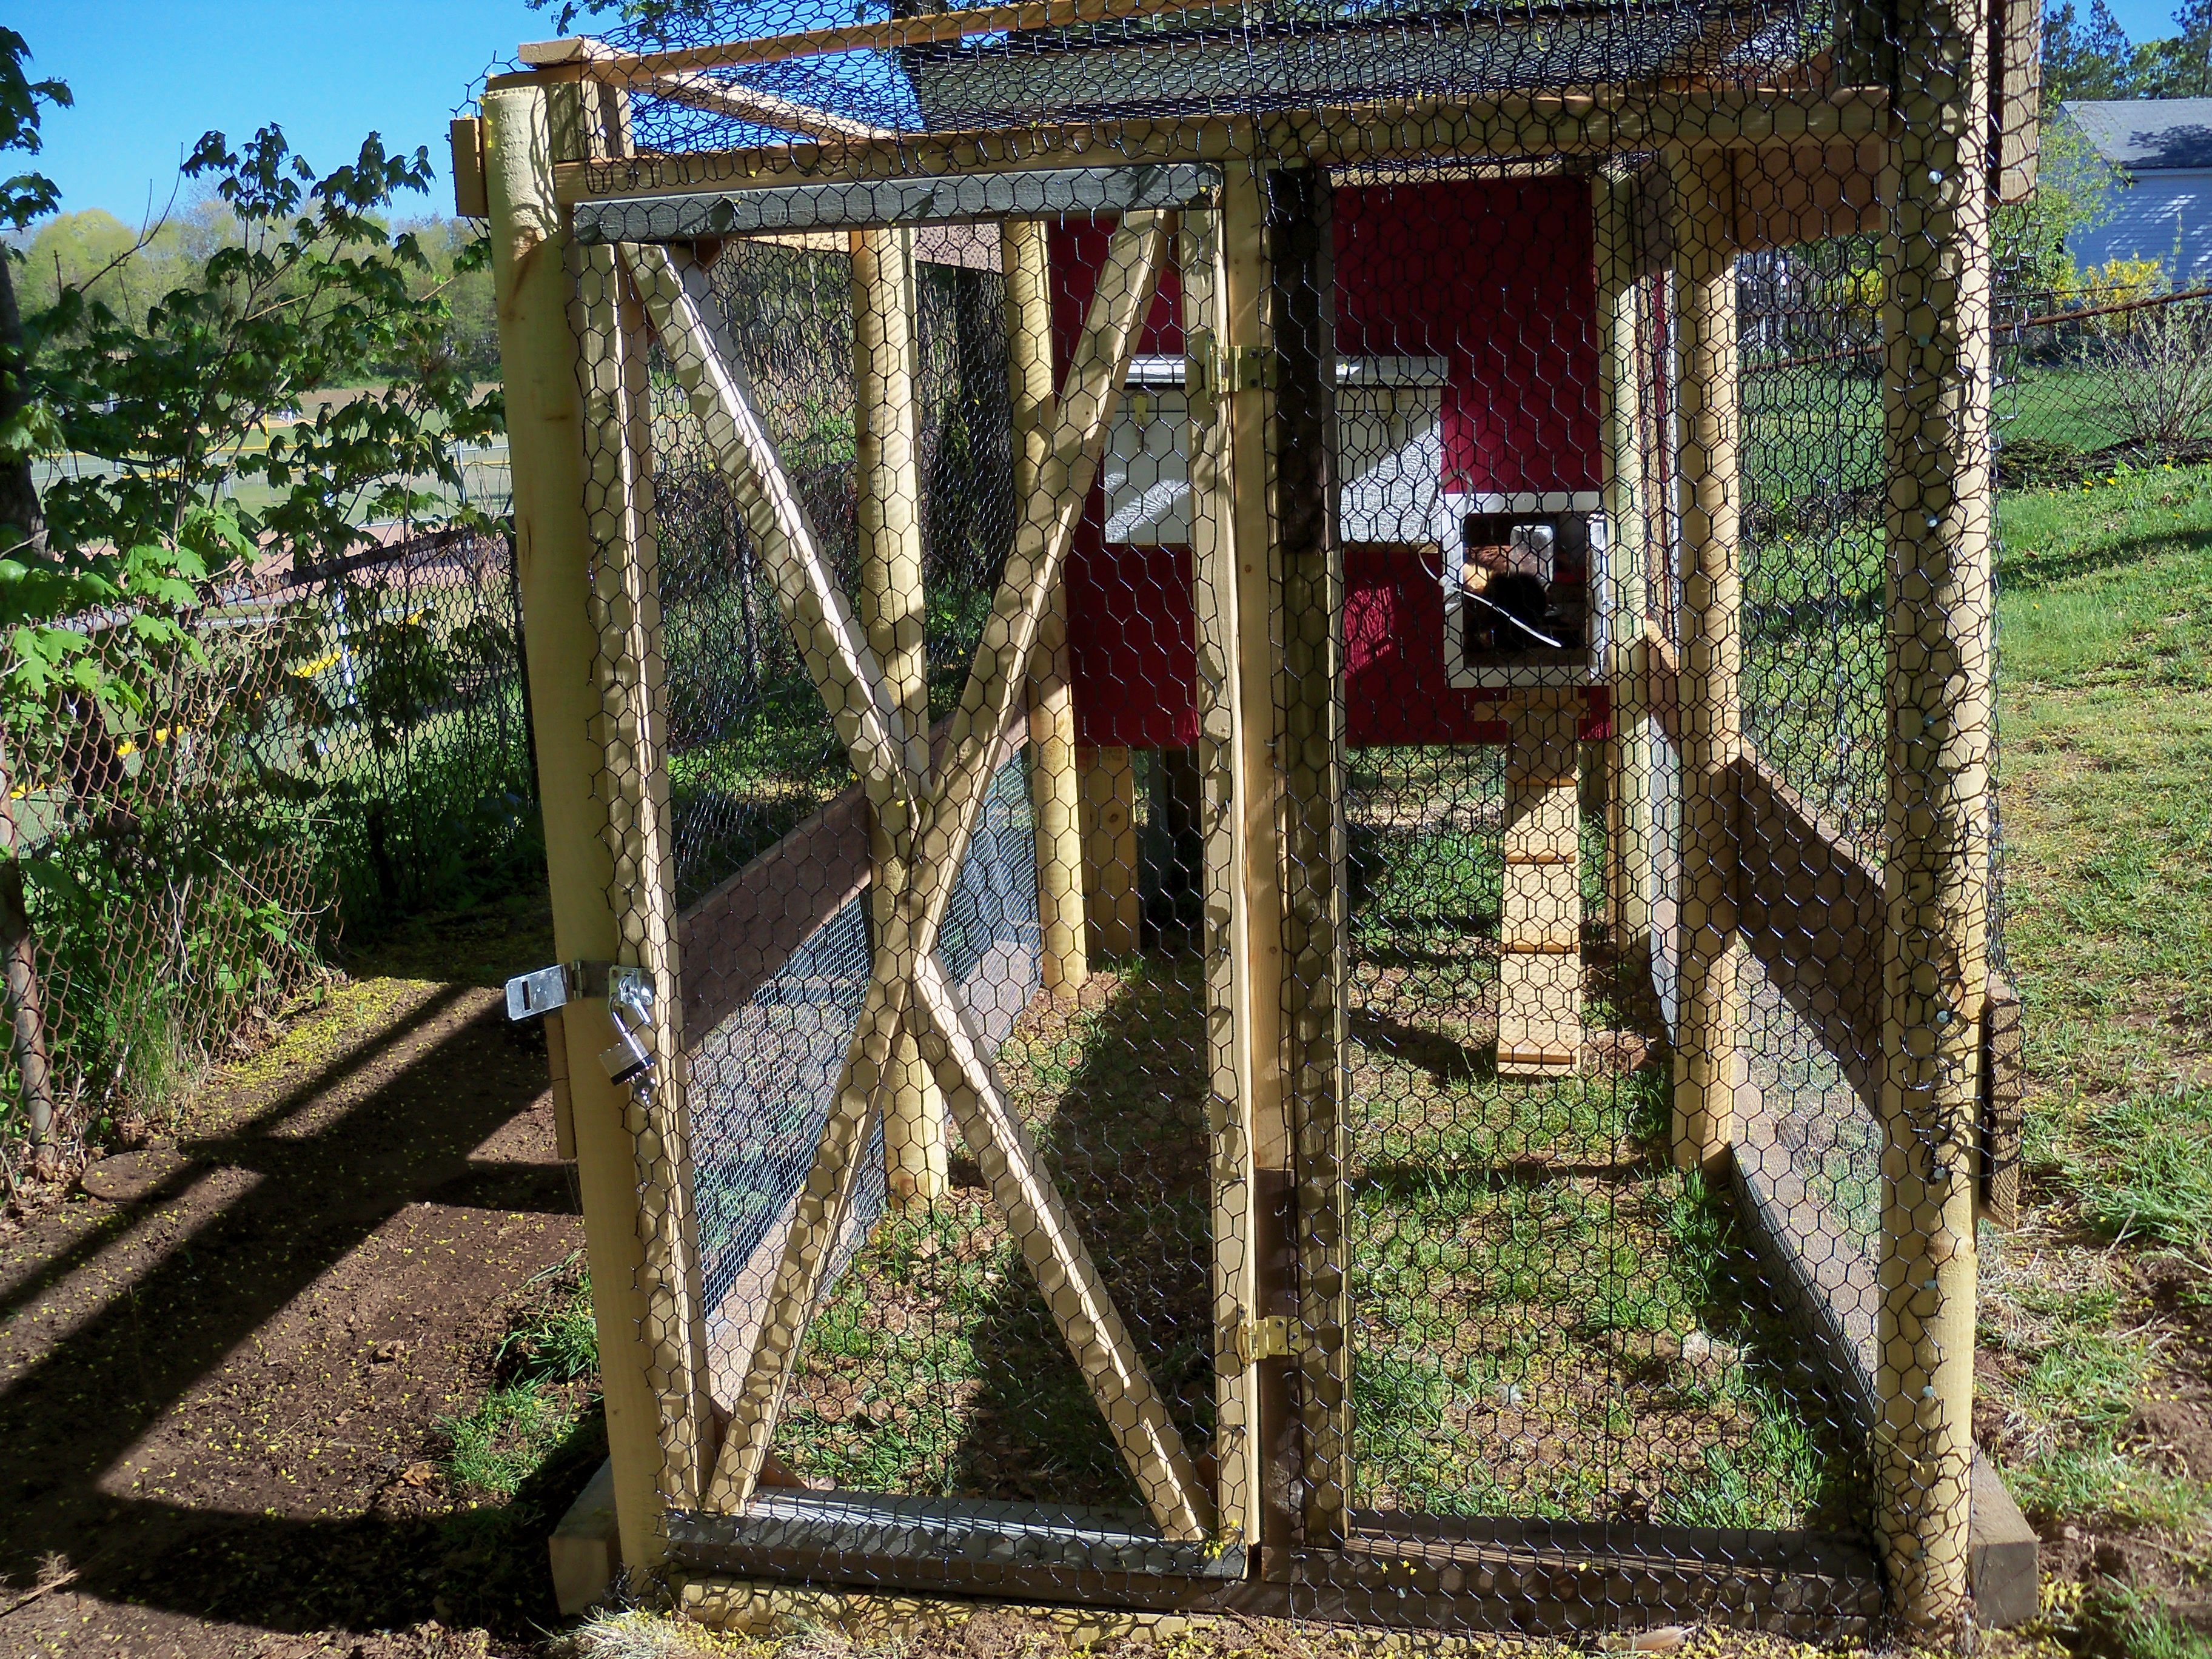
My dad being ever-so-handy and full of ideas installed the gate for us.
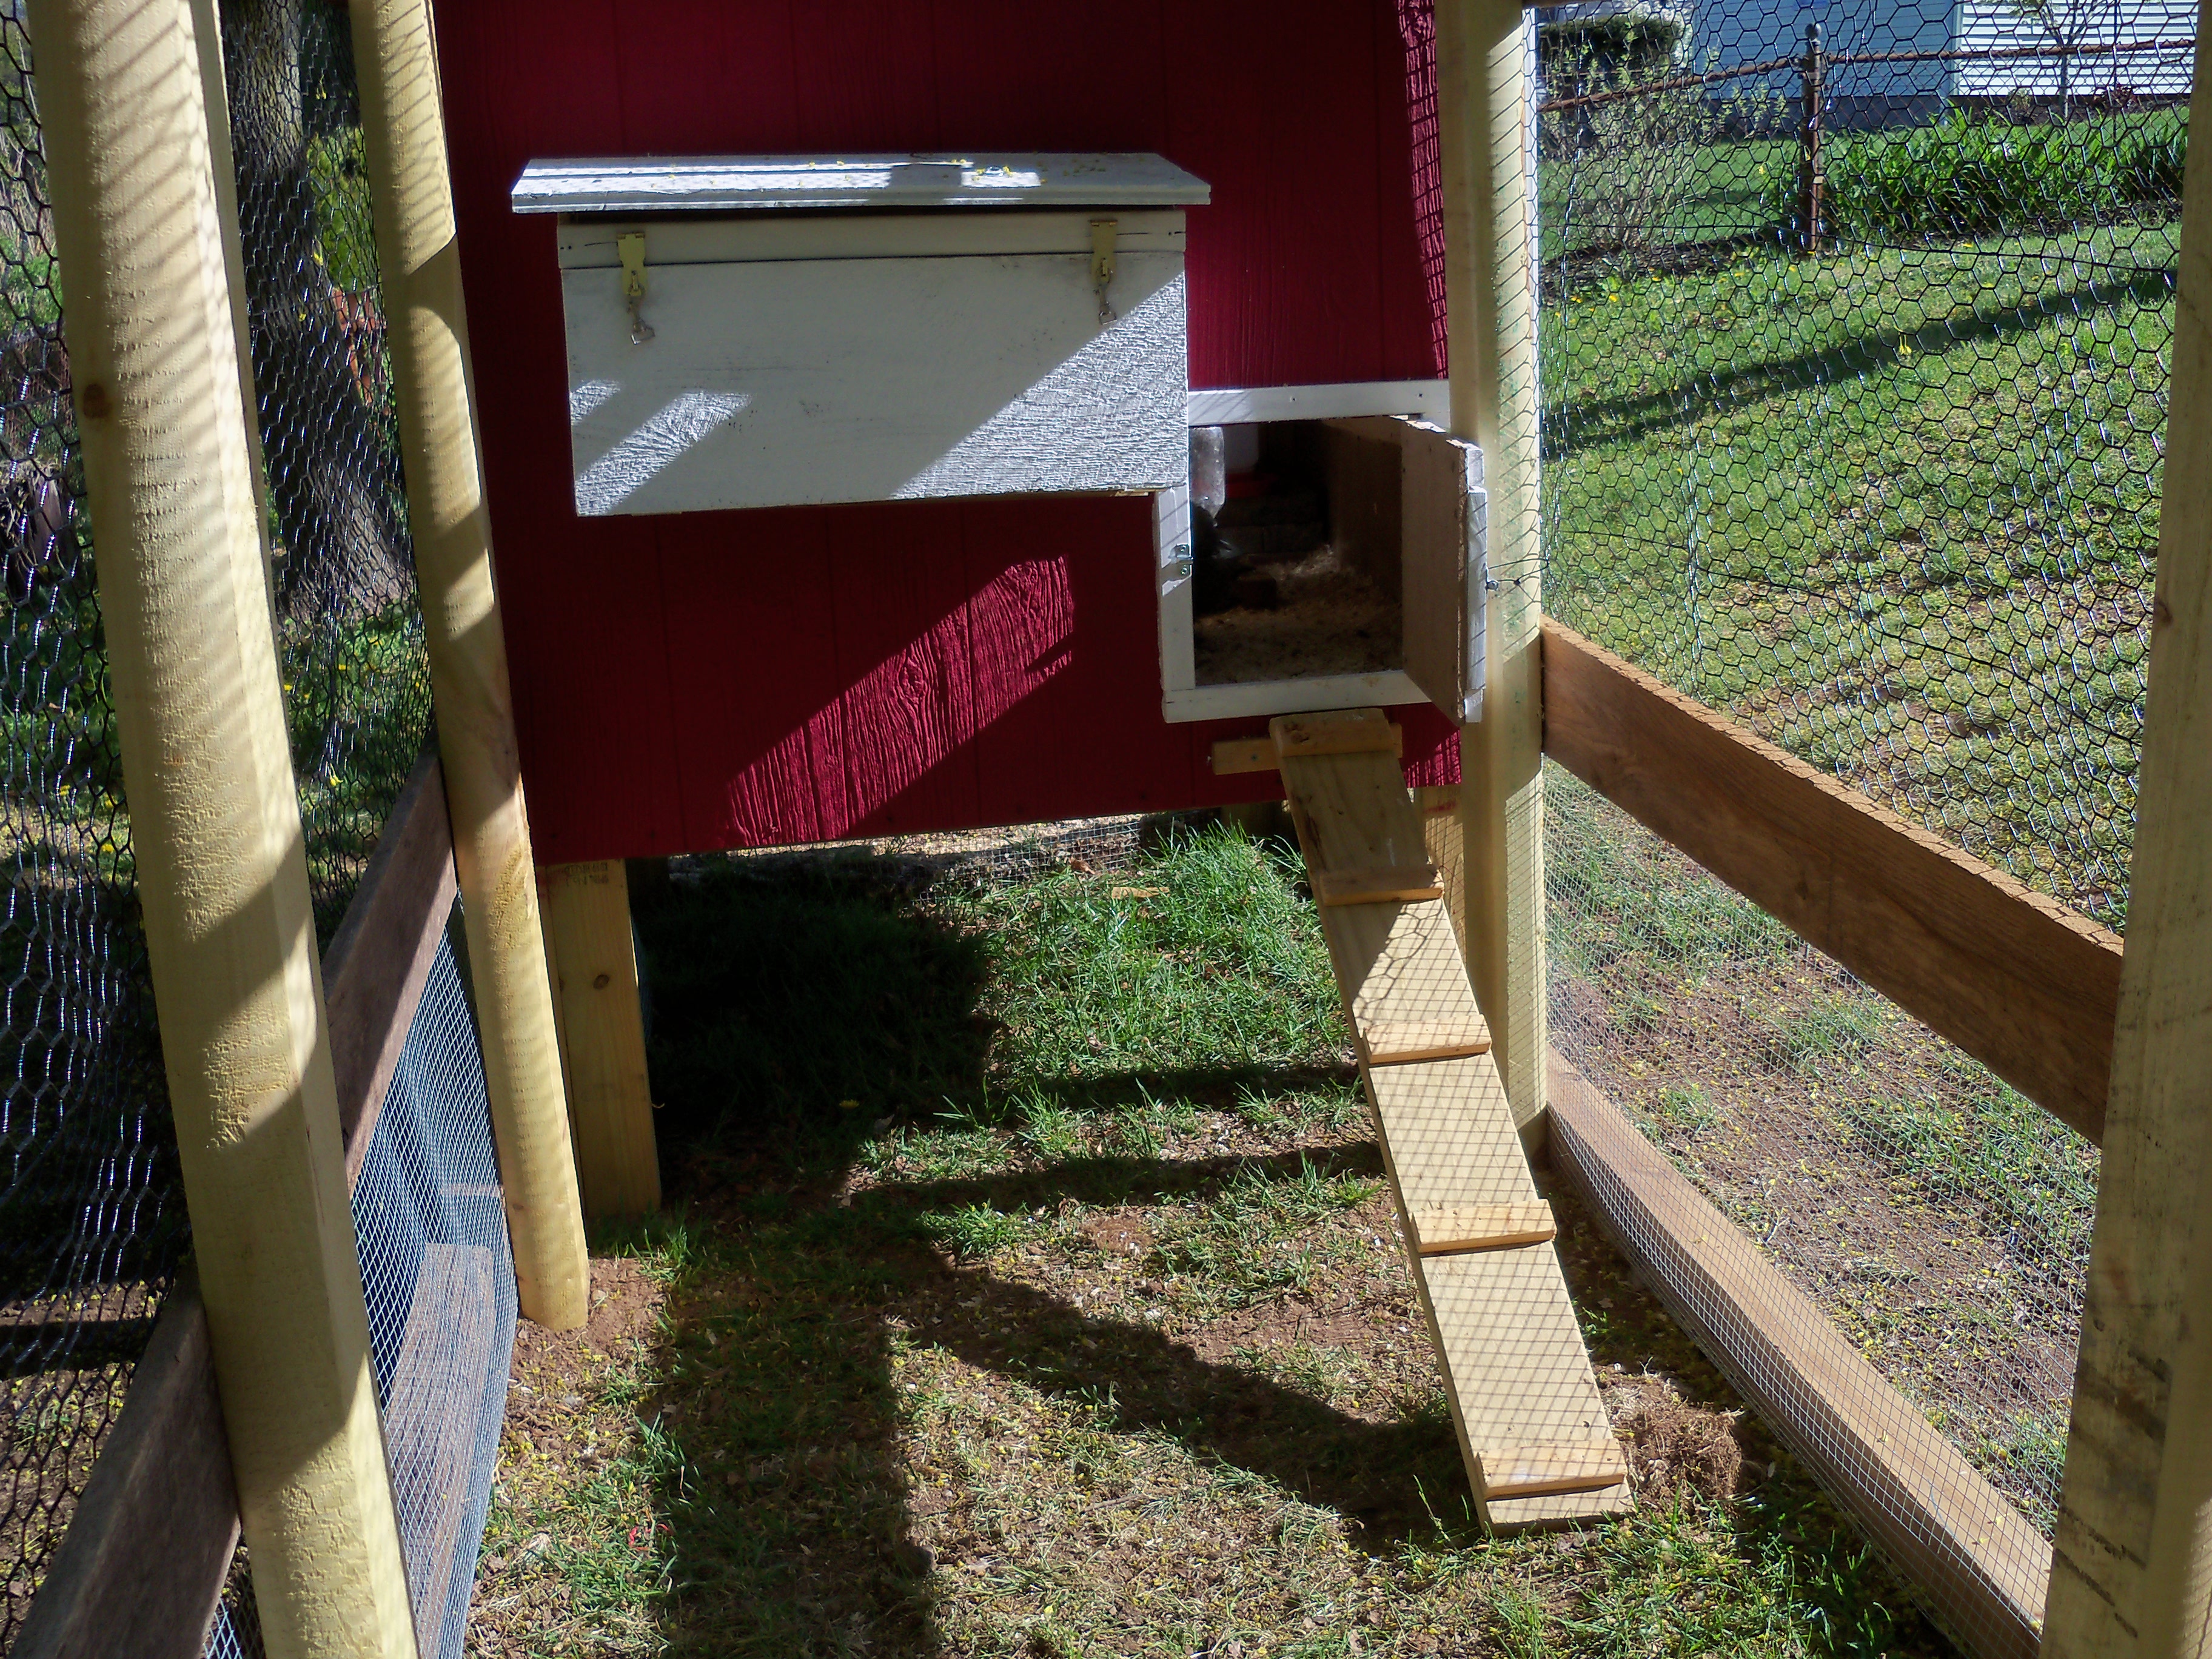
We gave the chicks a door and ramp for access to the run.
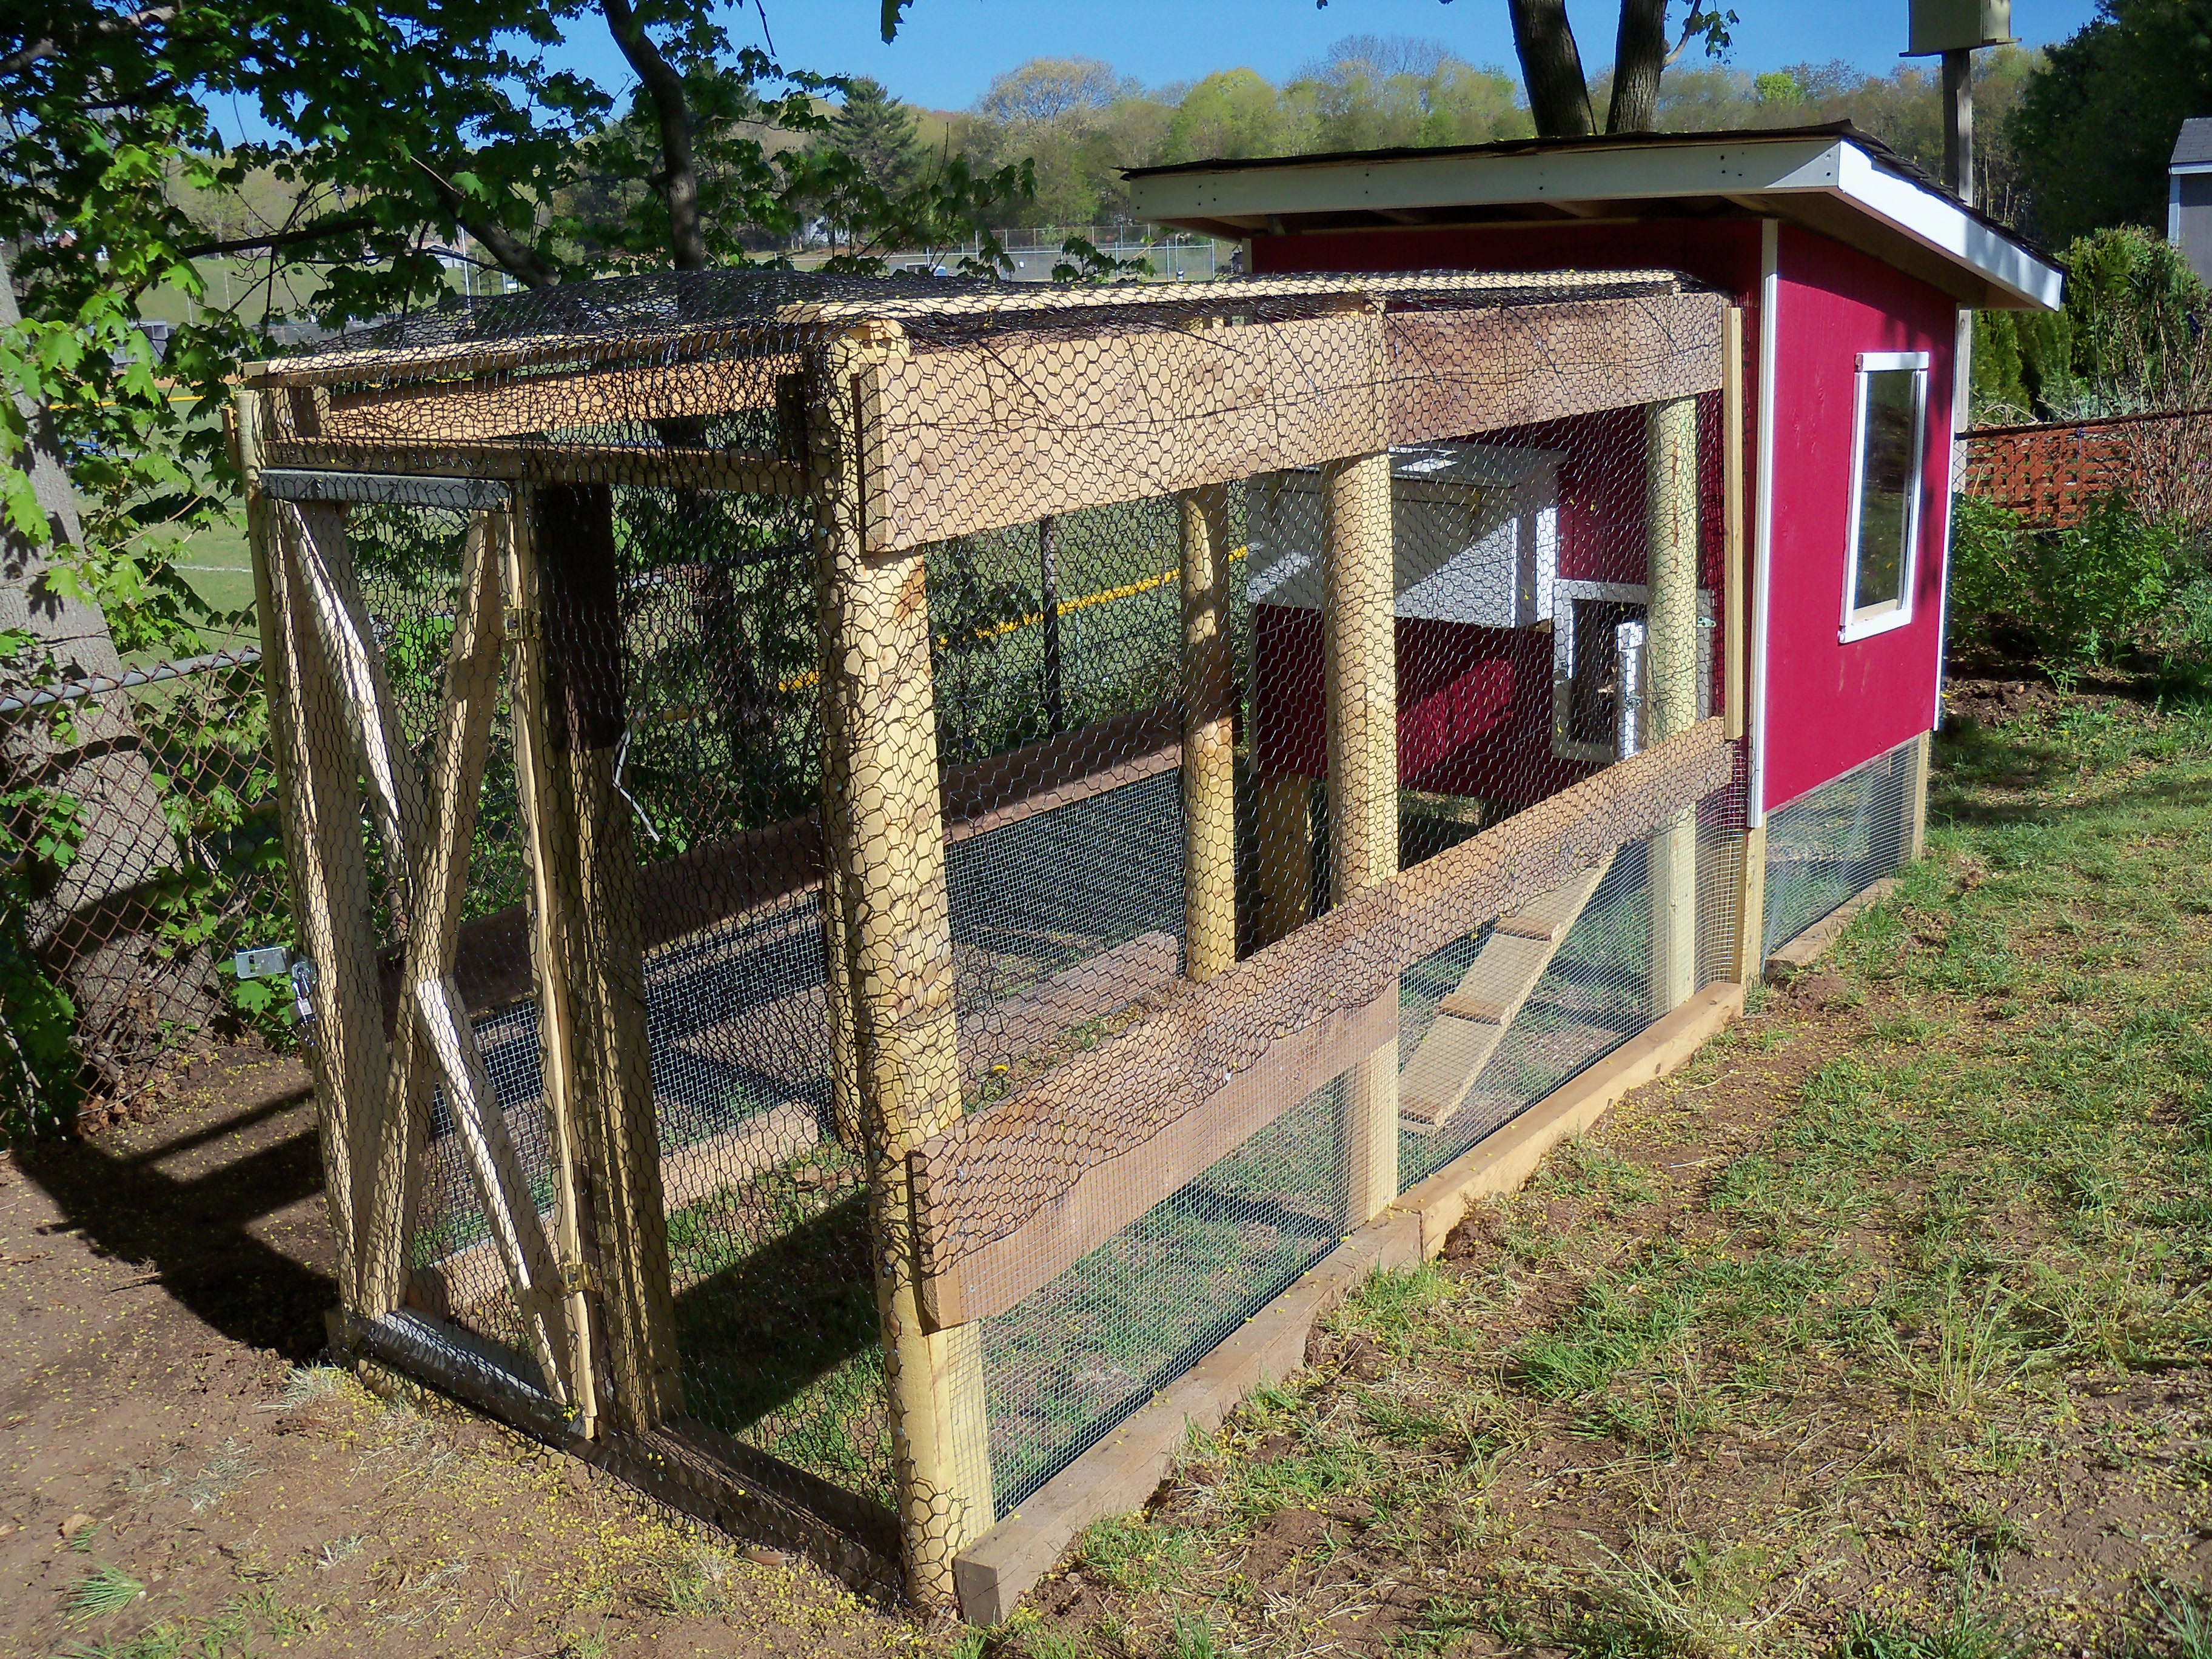
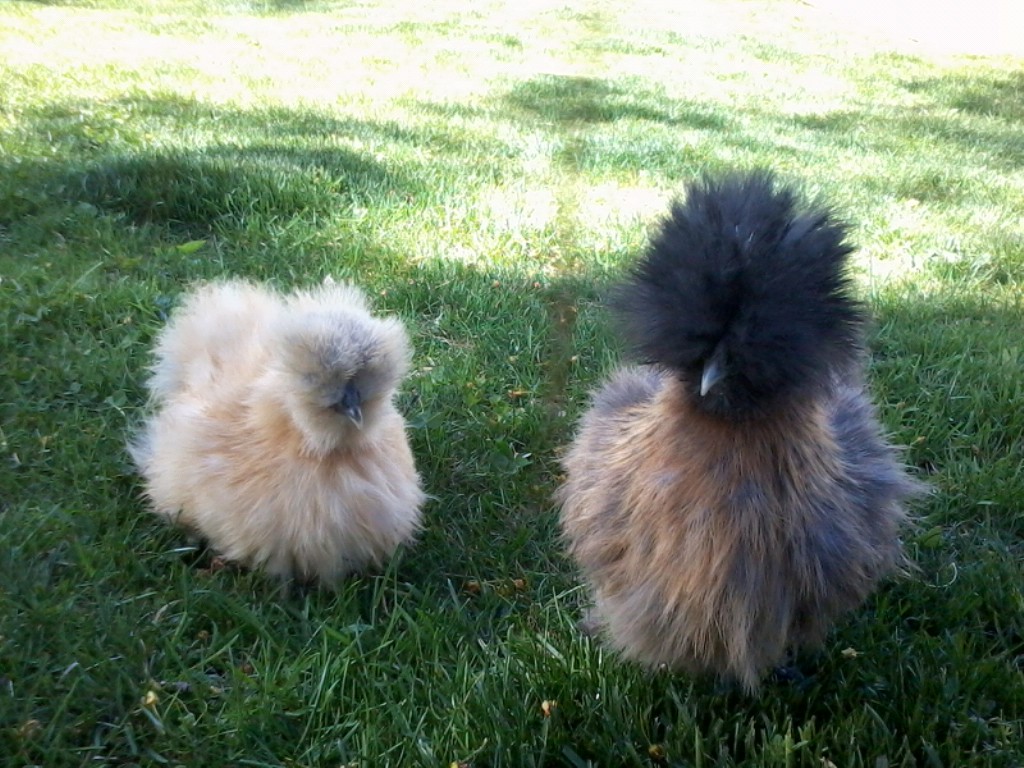
The final product is an adorable Ruby Red painted (by my wonderful daughter!) coop with lots of outdoor space next to as well as underneath the coop for our 4 Rhode Island Reds and 2 new additional Silkies.