To build or to buy...
(This page is currently under construction)
(This page is currently under construction)
So as I mentioned on the other page I started building my "coop" but when we got the chooks we understood their needs way better and had realized we have a very strong run now... We got a rabbit hutch my bro had been using for a duck and two chickens and now use that. They were 11 weeks then and still a bit on the small side. Now it's been about a month and they have gotten much bigger and I'm sure they would like some spacious quarters that better suit them. I was thinking about buying one due to the fact that I really have no true carpentry skills but that's a fortune so I decided to try to find as much wood as we could. I had almost given up until I found a ton of 2x4's and sheets of osb from the construction of a retail store in town.
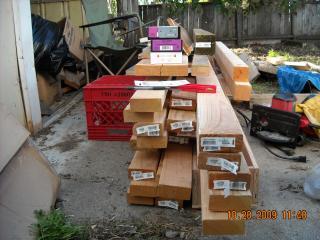
All I ended up having to buy was nothing more than a few things like hinges, screws, a couple 4x4's, which by the way happens to be 3 1/2 x 3 1/2 and 2x4's likewise... Good thing I actually measured before just assuming lol.
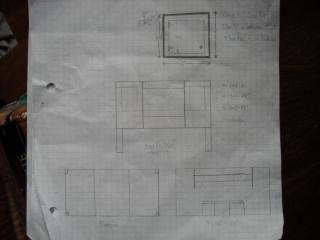
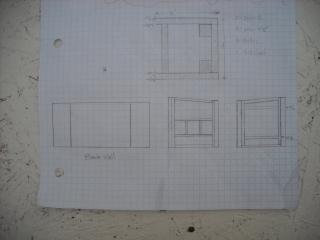
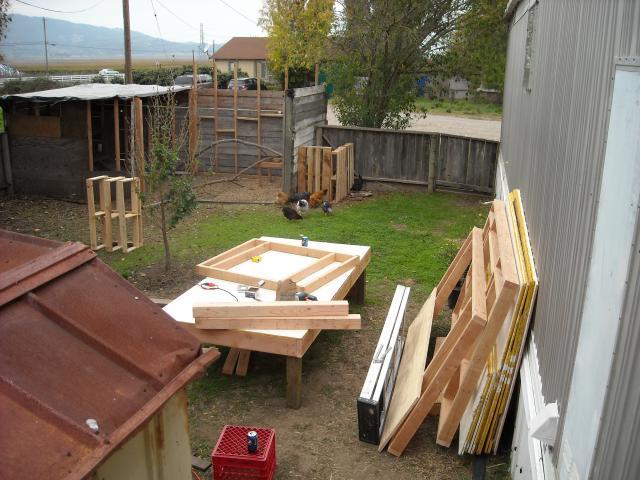
So once I got my materials together I drew up a plan utilizing the materials at hand and got to work!
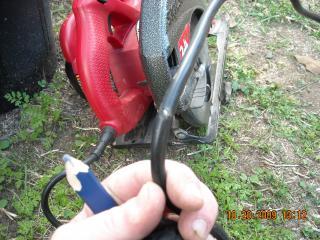
Ok so I got two cuts into building this and I almost sawed the cord right off!
Oh man this is going to be a long project... The days that I did get to work on it were far and few between work and life so it really did seem to drag on forever and many days went far into the night. Some started at night as well... xD
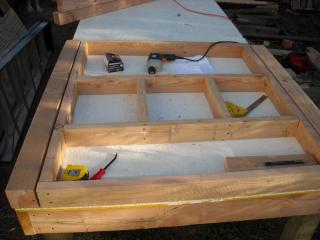
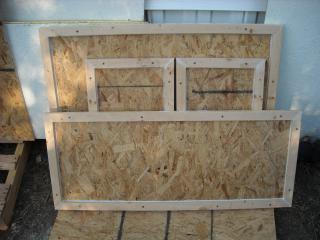
I had found this great plan for nesting boxes online and decided to build it, more or less...

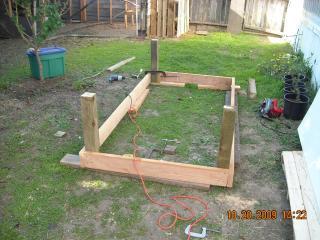
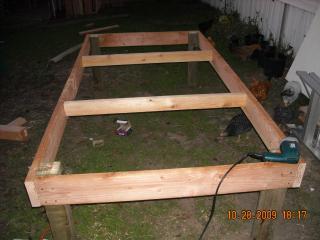
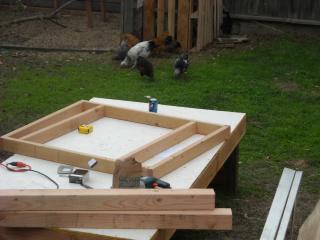
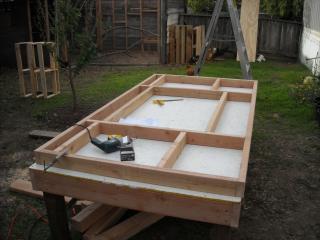
So at this point I have all the frame pieces together. This kinda puts things in perspective. I'm putting this coop where the plywood is up against the run off there in the top left corner of the pic.
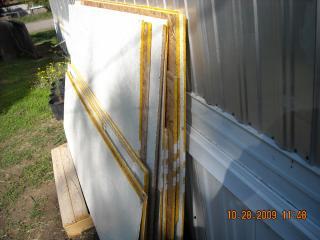
Time to clear the "table", spread on the adhesive and apply the vinyl. After the vinyl had a day to dry and after I leveled the ground and put down the cement pavers the DW and I moved the bottom into place.
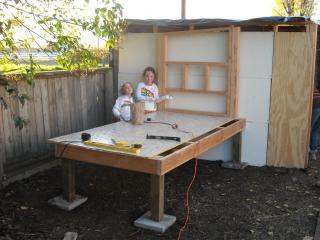
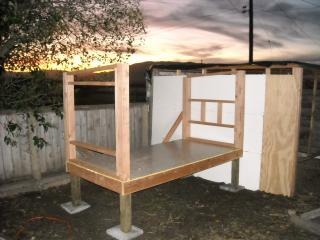
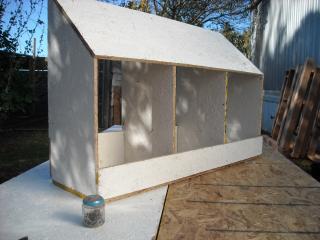
The next two pices went up real nice and away we go! I borrowed a jigsaw and started getting the OSB cut and hung.
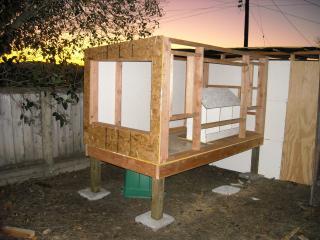
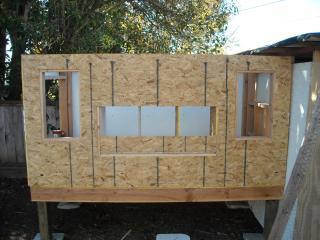
Next came the trim and thank goodness too. I love trim!! I just hate to work with it... It was great for covering up all my crooked cuts! I never did mention that I did this whole coop with no levels, table saws, knowledge, etc... My circular saw, a cheap square, a pencil, a borrowed drill and jigsaw and that's pretty much all the tools I used. I borrowed two big 8" U-clamps which I still need to return to my neighbor and that's really it.
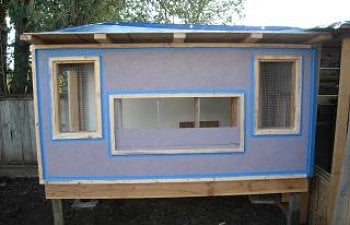
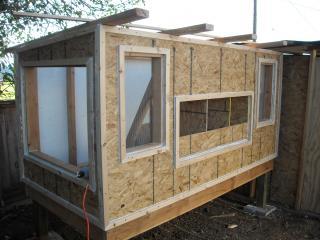
Anyways, here is the coop all trimmed out and caulked but still no plan for a roof. As mentioned on the other page, the corrugated steel, etc. is way too expensive for our blood so I digress and will someday come up with something...
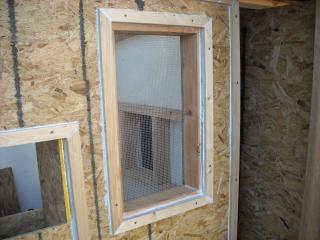
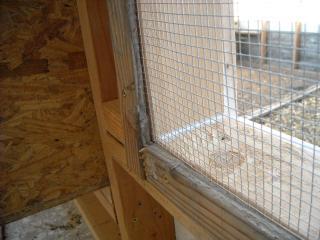
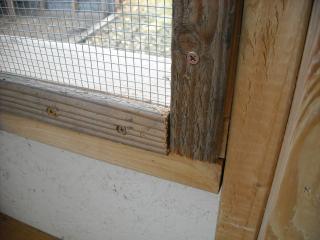
I attempted to saw a bit off an old 2x6 to make some trim for the inside to attach the hardware wire to the inside of the window frame. I didn't want the chickens to hurt themselves on the sharp edges while screwin around in there.
Next on the honey do list was to head to the hardware store and choose paint. As I wandered off to the land of hinges and wood screws I left DW to choose the colors. With that taken care of we headed home and got to taping. After taping off painting got underway.
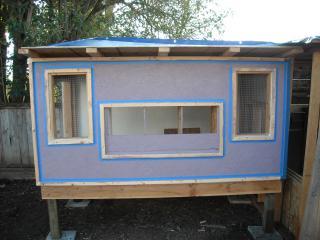
Now that the body is painted the trim got some attention.
To be continued...