In anticipation of getting some very high quality Rhode Island Reds from none other than the president of the Rhode Island Red Club of America, I built a 12' x 16' coop for the upcoming breeding season. I thought it would be big enough for the number of birds I'd raise the first season, but I missed it by half. Oh well, on with the show... these are thumbnails, so click the pictures to view full-size.
I started by setting 4 corner posts (4" x 4" x 10' treated).

Since I would be doing 99.5% of the work by myself and I knew it was going to take some time to finish, so I decided to put the roof on first.

Once the roof was on, it was time to start on the floor. 2" x 6" floor joists support the 3/4" Sturdi-Flor panels. Since there would be no shade from mid-morning until sunset, and rather than waste the space underneath the coop, I chose to elevate it so the birds could enjoy the shade it provided.

I added a few more posts all the way around to create additional support for the floor and walls.

Then came the wall studs.


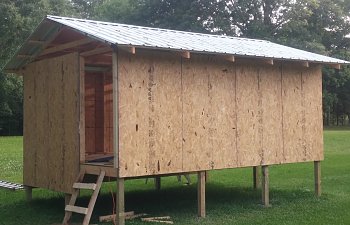
Besides setting the corner posts, I also used an extra pair of hands to hold the side panels in place long enough to get a couple of screws in to hold them in place. After installing all the panels, I finished screwing them down securely.

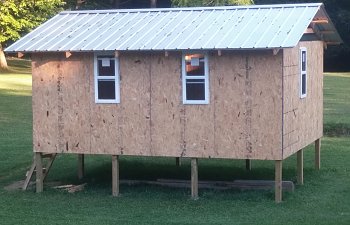
I found five vinyl single-pane windows on sale at Lowe's.

Of course, no elevated coop would be complete without an observation deck... so I added one to it. This also created additional shade for these brutal southern summers.

This is how it looks today.
![20170724_132516[1].jpg 20170724_132516[1].jpg](data:image/svg+xml;charset=utf-8,%3Csvg xmlns%3D'http%3A%2F%2Fwww.w3.org%2F2000%2Fsvg' width='350' height='225' viewBox%3D'0 0 350 225'%2F%3E)
![20170724_141711[1].jpg 20170724_141711[1].jpg](data:image/svg+xml;charset=utf-8,%3Csvg xmlns%3D'http%3A%2F%2Fwww.w3.org%2F2000%2Fsvg' width='350' height='225' viewBox%3D'0 0 350 225'%2F%3E)
![20170724_141624[1].jpg 20170724_141624[1].jpg](data:image/svg+xml;charset=utf-8,%3Csvg xmlns%3D'http%3A%2F%2Fwww.w3.org%2F2000%2Fsvg' width='350' height='225' viewBox%3D'0 0 350 225'%2F%3E)
This video is a brief walk-through of the semi-completed coop. While I like the outside of the coop, I'm even happier with the inside.
I started by setting 4 corner posts (4" x 4" x 10' treated).
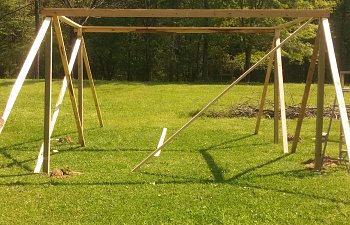
Since I would be doing 99.5% of the work by myself and I knew it was going to take some time to finish, so I decided to put the roof on first.
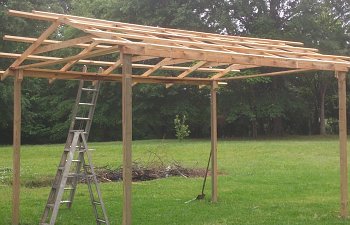
Once the roof was on, it was time to start on the floor. 2" x 6" floor joists support the 3/4" Sturdi-Flor panels. Since there would be no shade from mid-morning until sunset, and rather than waste the space underneath the coop, I chose to elevate it so the birds could enjoy the shade it provided.
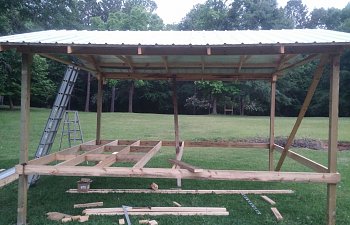
I added a few more posts all the way around to create additional support for the floor and walls.
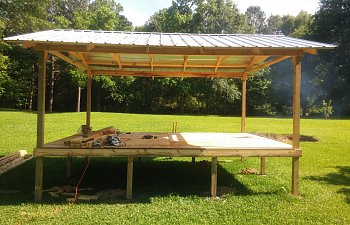
Then came the wall studs.
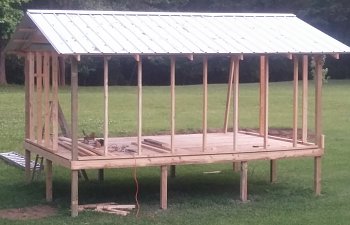
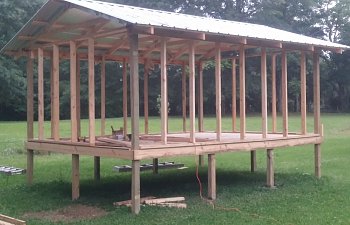
Besides setting the corner posts, I also used an extra pair of hands to hold the side panels in place long enough to get a couple of screws in to hold them in place. After installing all the panels, I finished screwing them down securely.
I found five vinyl single-pane windows on sale at Lowe's.
Of course, no elevated coop would be complete without an observation deck... so I added one to it. This also created additional shade for these brutal southern summers.
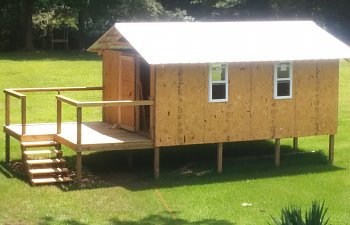
This is how it looks today.
![20170724_132516[1].jpg 20170724_132516[1].jpg](https://www.backyardchickens.com/data/attachments/1096/1096944-9458a938cb99bb204806d710db9616b8.jpg)
![20170724_141711[1].jpg 20170724_141711[1].jpg](https://www.backyardchickens.com/data/attachments/1096/1096947-6b5c745e1e0afca0381f45c01ade3e14.jpg)
![20170724_141624[1].jpg 20170724_141624[1].jpg](https://www.backyardchickens.com/data/attachments/1096/1096954-cb9b09917fcdb0bcd0df0172d00f74e8.jpg)
This video is a brief walk-through of the semi-completed coop. While I like the outside of the coop, I'm even happier with the inside.

