Welcome to our Coop Page!
Chelsea's Coop
While on a trip to Virginia, we stopped at a local Tractor Supply and a swap meet for chickens and ducks was going on. Our nine year old daughter put on the sad eyes and begged for a pet chicken. Not knowing anything about the care, we originally told her no, only to change our minds when we returned to New Jersey.
We agreed to allow her three chickens and no roosters. They couldn't annoy the neighbors, no smell, and the coop had to be pleasing to look at. If these criteria were not met, the chickens would have to go.Chelsea's Coop
While on a trip to Virginia, we stopped at a local Tractor Supply and a swap meet for chickens and ducks was going on. Our nine year old daughter put on the sad eyes and begged for a pet chicken. Not knowing anything about the care, we originally told her no, only to change our minds when we returned to New Jersey.
That said, we shopped the local chain hardware store in their scrap lumber department for as much material as we could get. Fifty cents a four foot board is a lot cheaper than buying conventional sized lumber. Two by fours and trim were ripped down from 2x10's with a table saw. The roofing was donated from a friend. The most expensive material was the hardware cloth to secure the run and coop.
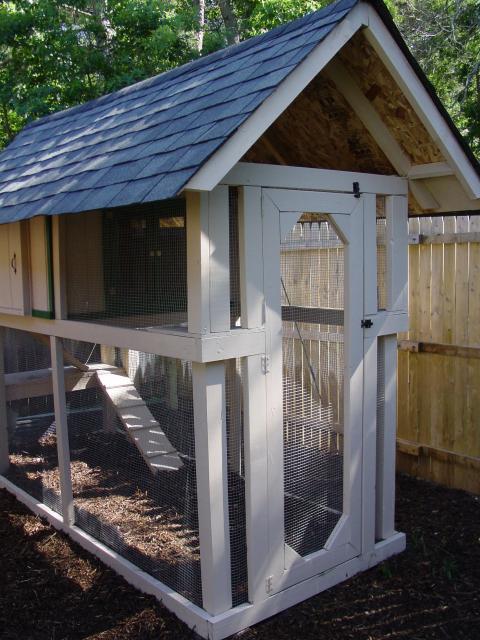
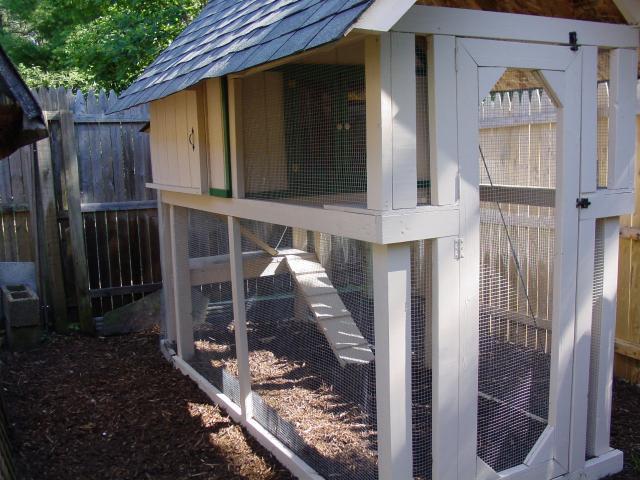
As for plans, I should have bought them. The coop was designed using different aspects of other coops in this forum. (Thanks to all of you that submitted plans.) Basically, we wanted the coop to have a run underneath, be tall enough to work under and have a walk in people door to the run.
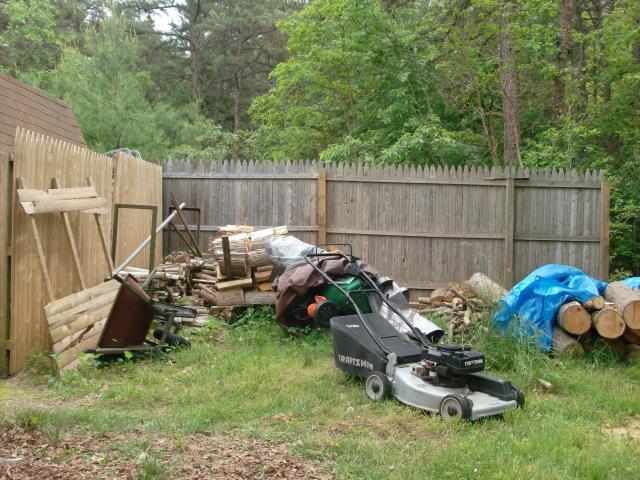
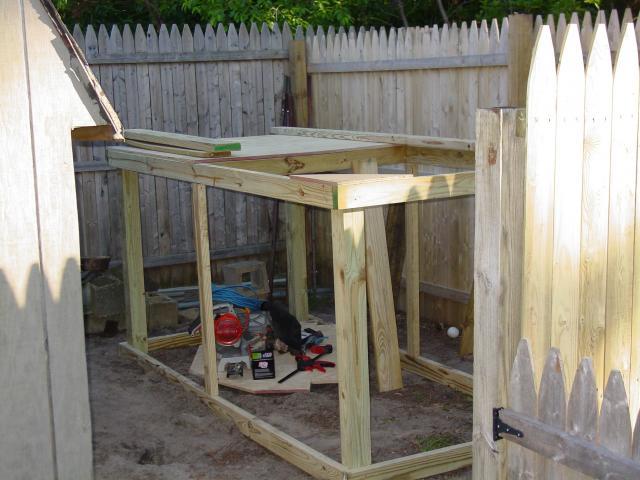
We started off strong. I picked an area behind the fence that I could clear. Moved the fence and started building on a nearby fire pit deck.
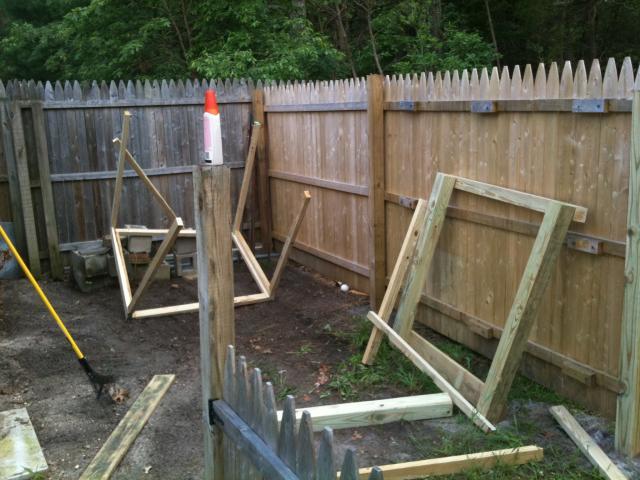
That’s when I noticed that a four foot wide frame would not fit into a three foot wide opening. While trying to lift the frame over the fence, I also found out that you can not use 16 gauge finish nails for framing. When everything had fallen apart, it was back to the drawing board. I decided to use regular nails and a hammer on the next design.
Another good idea is to build it in place. Something this big is not designed to be moved.
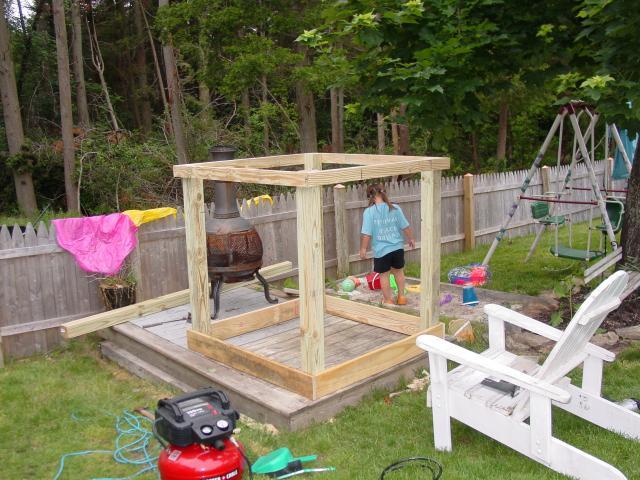
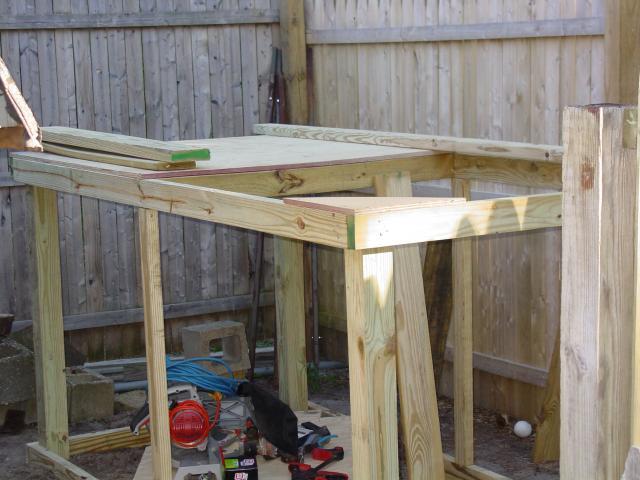
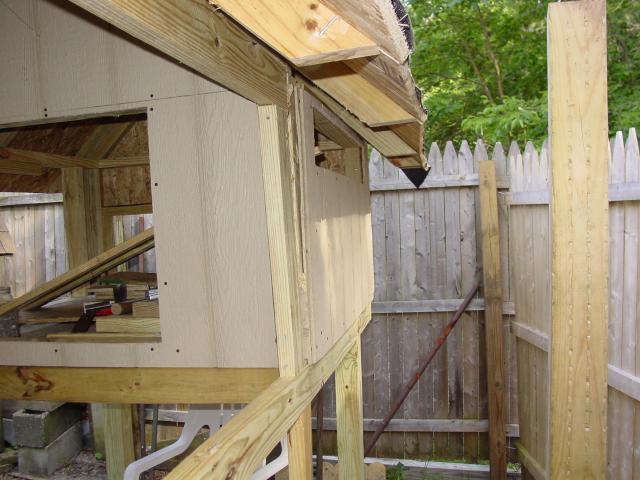
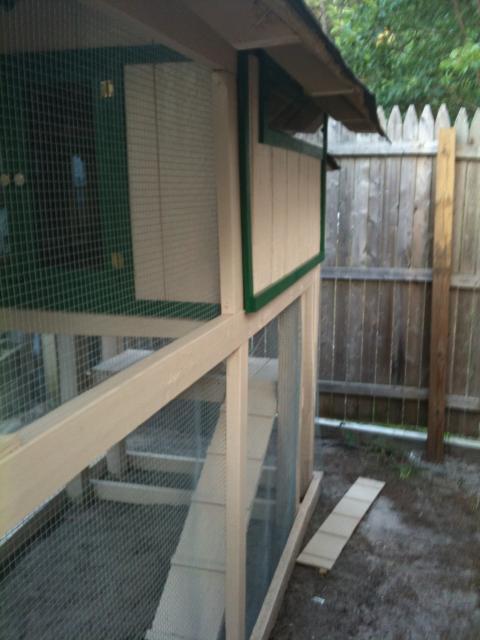
Next idea was to anchor it down with 4x4 corners, buy 2x4x8’s for the sides to add stability. The coop will sit 4 feet high with the run underneath and extend four feet further. We also decided to extend the roof the full length of the run to help with sun and shade.
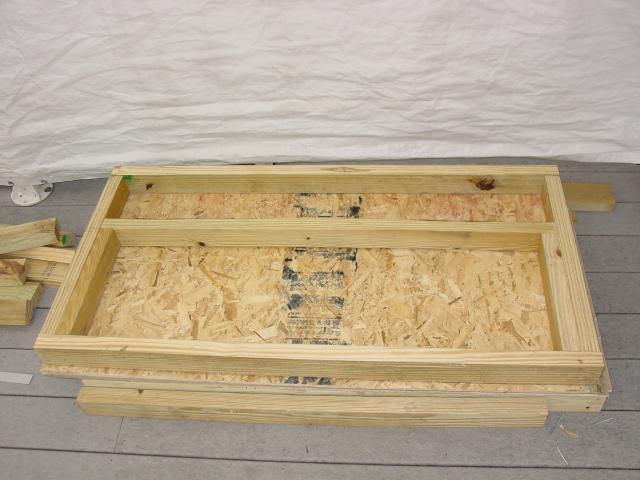
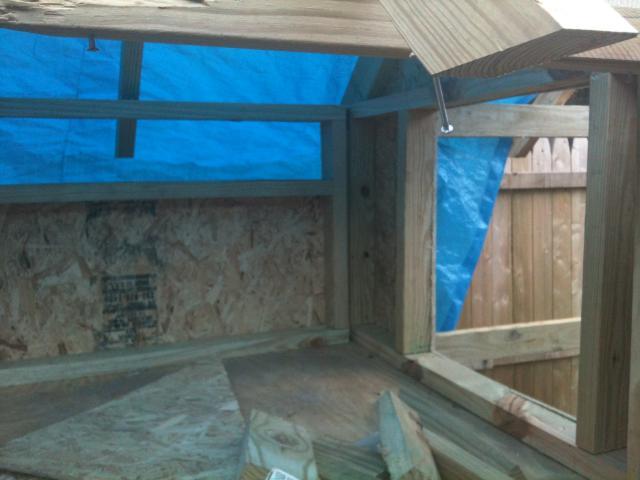
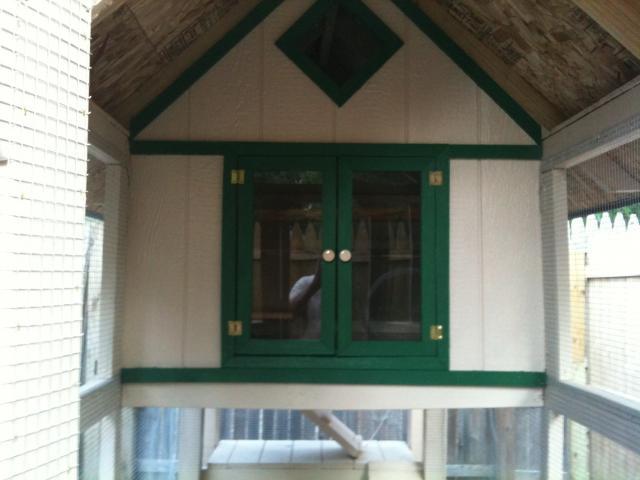
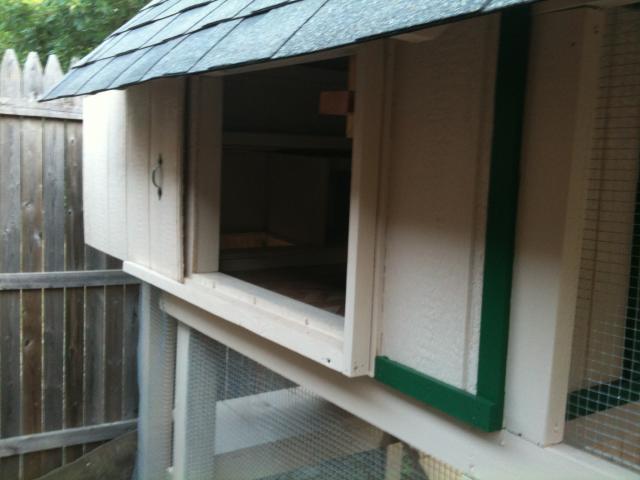
The walls are built from ripped 2x3’s with exterior shed siding I found in the scrap bin at the store. I planned an opening for the nest boxes, clean out, large screen doors and a 4” x 36” window.
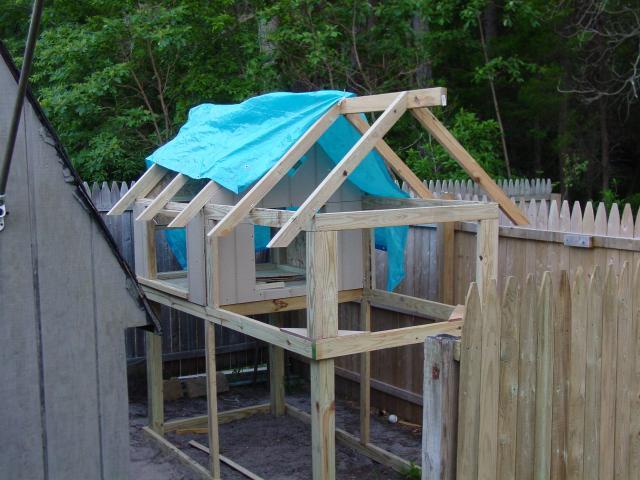
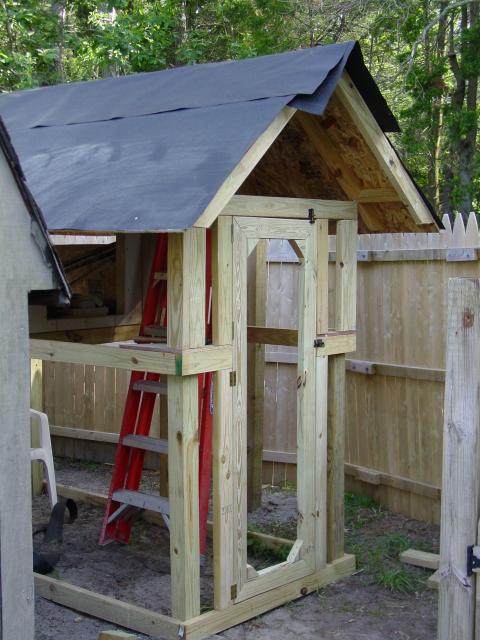
Next was the roof, shingles and trim. The tar paper was bought while the shingles came from a buddy who just finished repairs on his house. The OSB for the roof again came from the scrap bin.
At this point, things went pretty quick. The painting, hinges and handles were completed.
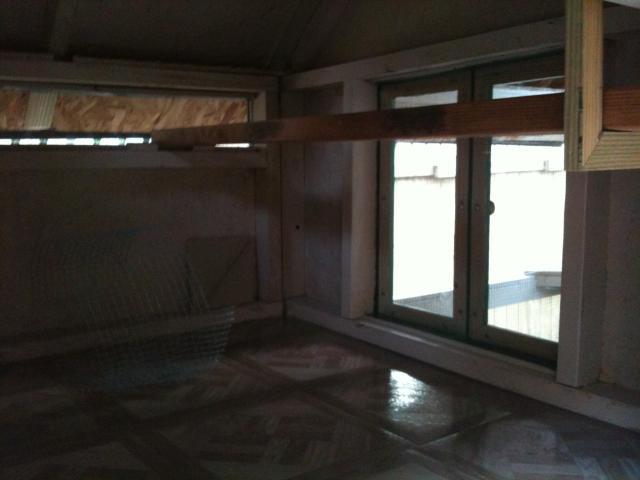
My wife wanted shutters put on the inside window. I used plexi-glass to make the shutters and a removable screen of hardware cloth. The sliding cleanout door has a lock on the back and I made a removable plexi-glass window for the small window on the side.
I had a problem with the height of the coop and the length of the ladder. The original plan was a pop door in the floor. The height of the coop would require the ladder to extend all the way to the people door, thus taking up too much run space. The entrance hole in the coop was also too large.
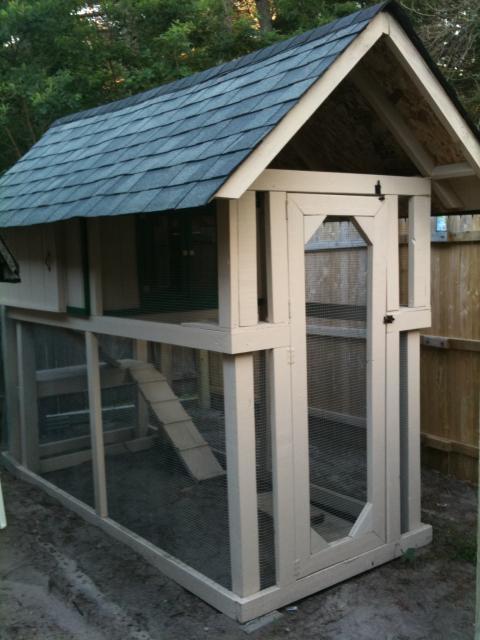
I modified plans for the nest box off the Purina Mills site. Using the full width of the coop, I built two nest boxes and used the rest of the space for the pop door. This adds 14 inches to the back of the coop and creates an overhang to shelter the ladder from the weather. With a landing half way up, I can turn the ladder and keep the birds sheltered while entering and exiting the coop. Hinges and a pulley system were added to secure the second half of the ladder to the floor of the coop.


Once completed, mulch was added to the run and surrounding area. Hardware cloth was added above the people door. We still have to finish the sod and sprinklers on the outside of the run. Solar lighting has been added to the top of the fence line and lights the area up at night. I also plan a motion security light to deter predators.
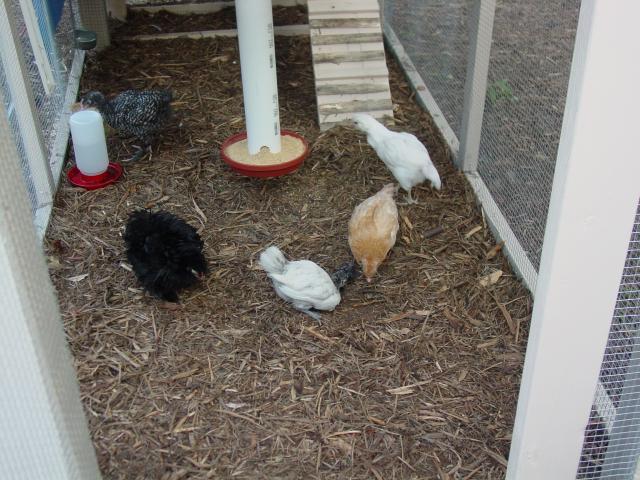
We brought the birds home on July 19th. We planned on three but came home with five. Two EE’s, one Polish, one Frizzle and one cuckoo maren. All are seven weeks old except for the Frizzle which is three months.
Since they have been home, I’ve needed to make some modifications. The ladder is at a 40 degree angle and needed more slats added to the ramp. The original spacing of 5 inches was too far.
I didn’t realize chickens were afraid of the dark so I have to shine a light in the coop in the evenings to get them to go in. I plan on an interior light on a sensor for dusk.
The roost board was too high for young chicks. I have added two more boards at lower steps to act as a ladder to reach the upper roost.
Things I like about the coop:
- The height allows for me to walk in and clean. I have easy access to the birds.
- The cost was lower due to recycled lumber.
- Easy access to the coop for cleaning and maintenance.
- Completely wrapped in hardware cloth to keep out predators.
- Buy an actual plan. I spent too much time correcting mistakes.
- Wire the coop for electric before the birds occupy it.
- Never plan on “only three chickens”.
UPDATE: We are into week five of owning chickens.
- I'm glad I went with the mulch for the run. I changed the mulch after three weeks. It was looking thin and dirty. Since I get it free from the township, cost was not a factor.
- The security lighting is working well, the interior rope lighting is on a dusk to dawn timer but set to go off two hours after dusk.
- The wireless security camera works great. I wish I had spent the extra money for a network camera but it is still fun to watch them argue for the roosting spots.
- The door in the floor works fine. The birds adapted to it quickly.
