Chickens Go Green 2008
To read more about this green coop and join the discussion click here: https://www.backyardchickens.com/forum/viewtopic.php?id=90535
In June of 2008 I made a joke that our new house was so far out in the country I needed to get chickens to fit in! My husband laughed, and I realized this was more of a challenge then a joke. I decided if I dragged out the joke, you know, bought some chicken pillows, showed him some research I did on chickens on the net, then perhaps I'd really freak him out! The best laugh EVER! Only...... I found a breed finder, found silkie chickens and just fell in love. By august I really had 5 chickens of my own. Now the dear husband needs to help me house them. ARGH!
Step one in chicken coop building.... beg randon people and check craigslist often for FREE STUFF! Just because its free and someone elses garbage doesn't mean its not the best wood you've ever used.
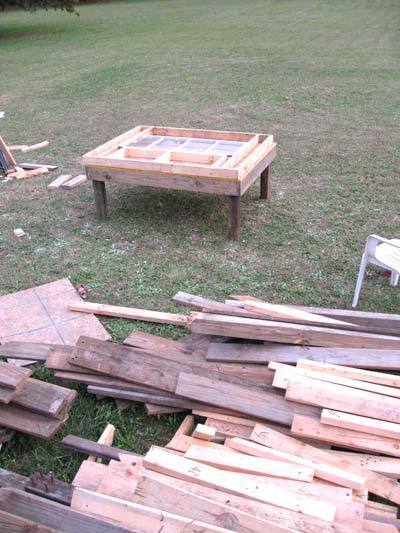
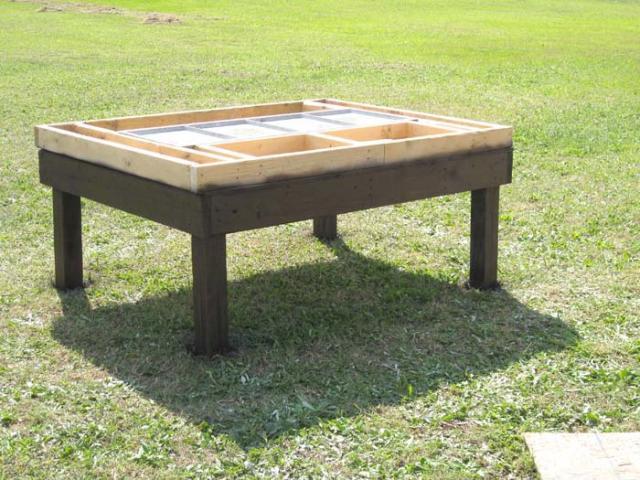
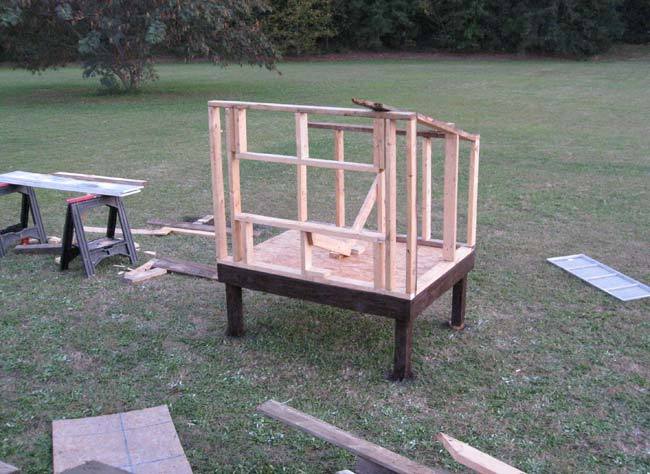
So needless to say, we got some freebies.... mostly 2x4's, some windows, some plywood, some roofing shingles, and tar paper. In fact, we were given so much, this cost a grand total of $93. Now the first thing to do it put together the base, a 4'x5' platform to hold up the walls, and surround the underneath run design.

Here's the platform and the PILE of scrap woods we got from Craigslist and the giave aways. Not saying we're cheap... but we're CHEAP! LOL
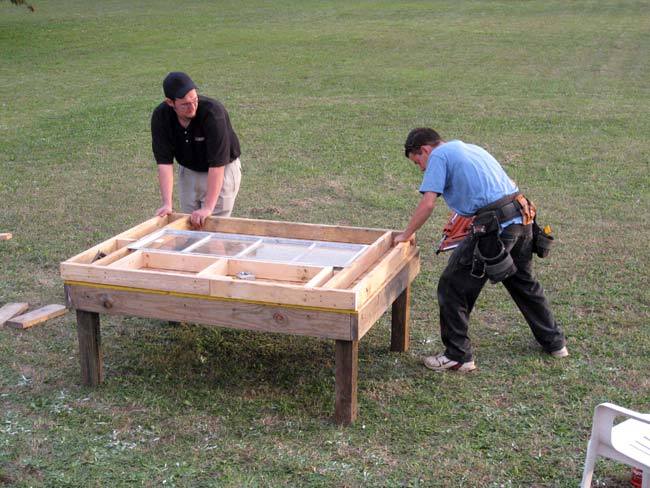
Hubby got a few days help on this, but after day 2 it was just him and I!
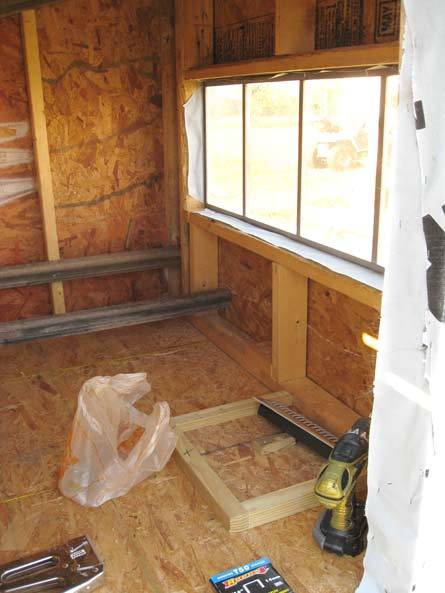
So we have the wall done that will have the window in it, we hadn't had much time to work, but that morning I did get a can of spray paint and chose the trim color.... Brown.
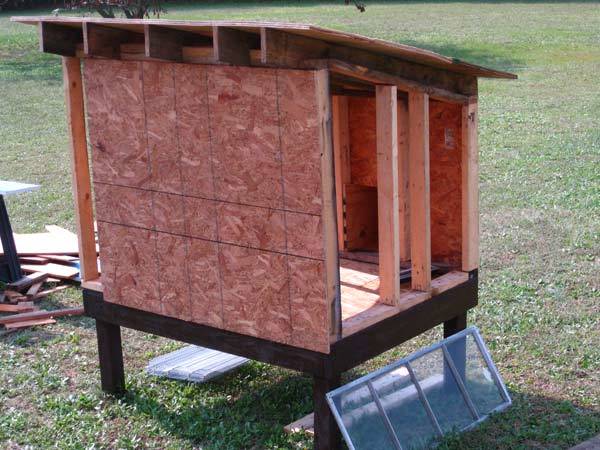
Now that the sides have come together, we get the walls up! Its done with more left over 2x4 we picked up from another chicken coop donator on Craigslist.
Now all the fun stuff begins, the details. First putting up the cottage style roof with exposed beams. Chickens shouldn't miss out on stylish design! Then Plywooding the walls:
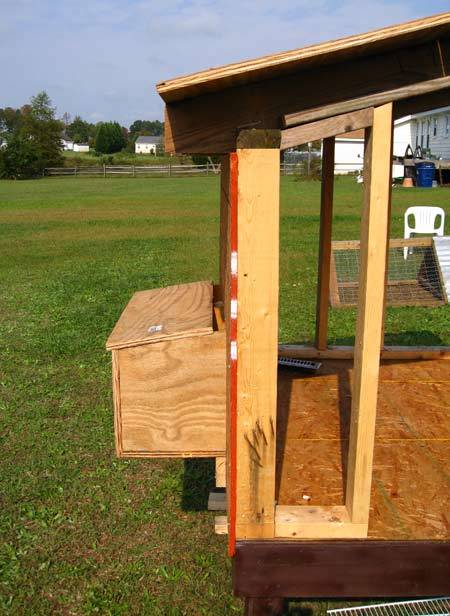
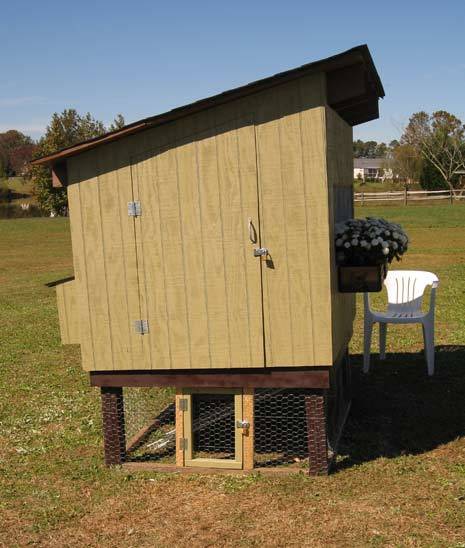
Convinced hubby to do an exterior nesting box with I have been extremely grateful for when collecting my morning eggs!
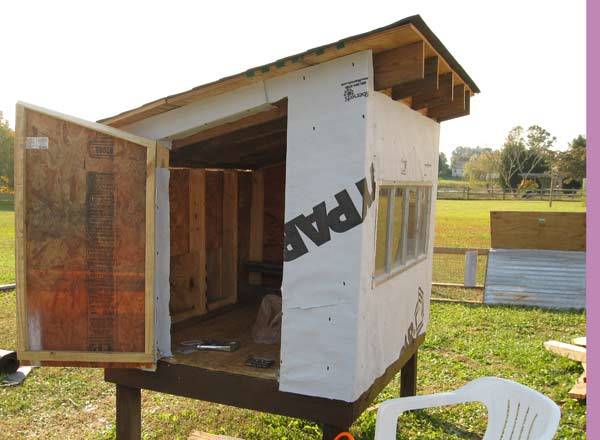
We house wrapped the coop before we added siding, it helps keep it extra dry and warms in slightly in the colder months. We were lucky to get it like we did, it was another recycled freebie. Not looking so bad for being so cheap!
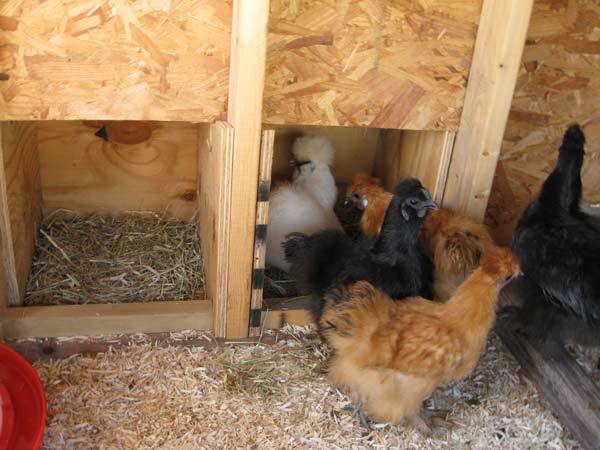
Now we added roosts and an escape hatch for the chickens. This coop is for 5 silkies, who are reasonably small. They'll use the escape hatch to get into the temporary run underneath the coop. However, being silkies they rarely use the roosts at all.
We used rough pine panel siding, it was cheap and easy to paint. We had to pay for this as we couldn't manage to find any free siding out there in time.
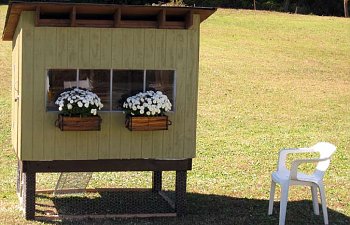
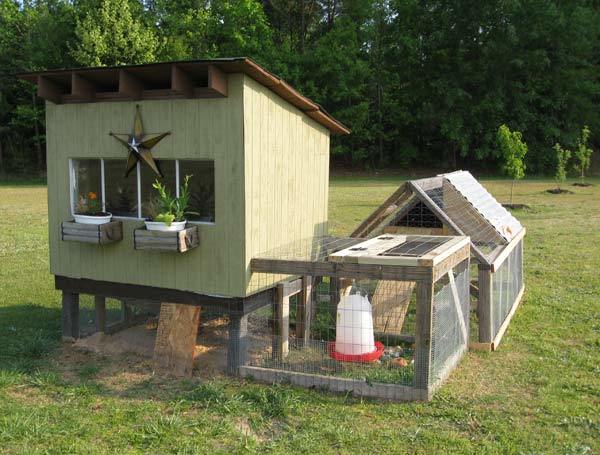
So this is our finished Chickens Go Green Coop!
Added some flower boxes for the cottage character!
The girls (and Roo) are just thrilled with their new lifestyle. I don't think they'd have things any other way.
Special Thanks to my wonderful Husband.
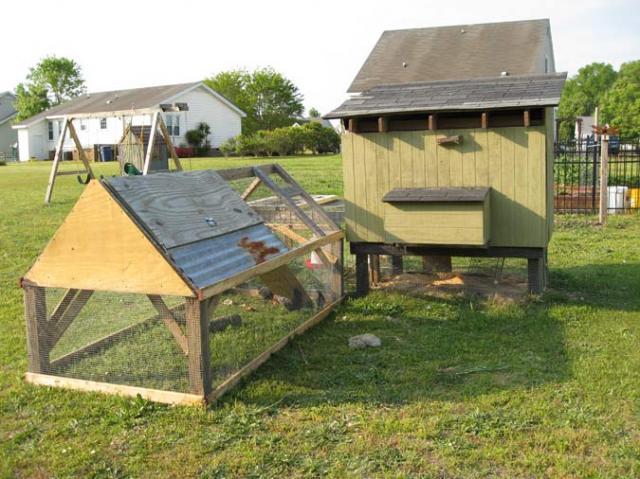
2010 Update:
We have extended the coop's run, and we're even turned the extra tractor coop into a stand alone coop for our new Japanese Bantams.
Ask questions about this coop by joining our community here: https://www.backyardchickens.com/forum/viewtopic.php?id=90535
To read more about this green coop and join the discussion click here: https://www.backyardchickens.com/forum/viewtopic.php?id=90535
In June of 2008 I made a joke that our new house was so far out in the country I needed to get chickens to fit in! My husband laughed, and I realized this was more of a challenge then a joke. I decided if I dragged out the joke, you know, bought some chicken pillows, showed him some research I did on chickens on the net, then perhaps I'd really freak him out! The best laugh EVER! Only...... I found a breed finder, found silkie chickens and just fell in love. By august I really had 5 chickens of my own. Now the dear husband needs to help me house them. ARGH!
Step one in chicken coop building.... beg randon people and check craigslist often for FREE STUFF! Just because its free and someone elses garbage doesn't mean its not the best wood you've ever used.
So needless to say, we got some freebies.... mostly 2x4's, some windows, some plywood, some roofing shingles, and tar paper. In fact, we were given so much, this cost a grand total of $93. Now the first thing to do it put together the base, a 4'x5' platform to hold up the walls, and surround the underneath run design.
Here's the platform and the PILE of scrap woods we got from Craigslist and the giave aways. Not saying we're cheap... but we're CHEAP! LOL
Hubby got a few days help on this, but after day 2 it was just him and I!
So we have the wall done that will have the window in it, we hadn't had much time to work, but that morning I did get a can of spray paint and chose the trim color.... Brown.
Now that the sides have come together, we get the walls up! Its done with more left over 2x4 we picked up from another chicken coop donator on Craigslist.
Now all the fun stuff begins, the details. First putting up the cottage style roof with exposed beams. Chickens shouldn't miss out on stylish design! Then Plywooding the walls:
Convinced hubby to do an exterior nesting box with I have been extremely grateful for when collecting my morning eggs!
We house wrapped the coop before we added siding, it helps keep it extra dry and warms in slightly in the colder months. We were lucky to get it like we did, it was another recycled freebie. Not looking so bad for being so cheap!
Now we added roosts and an escape hatch for the chickens. This coop is for 5 silkies, who are reasonably small. They'll use the escape hatch to get into the temporary run underneath the coop. However, being silkies they rarely use the roosts at all.
We used rough pine panel siding, it was cheap and easy to paint. We had to pay for this as we couldn't manage to find any free siding out there in time.
So this is our finished Chickens Go Green Coop!
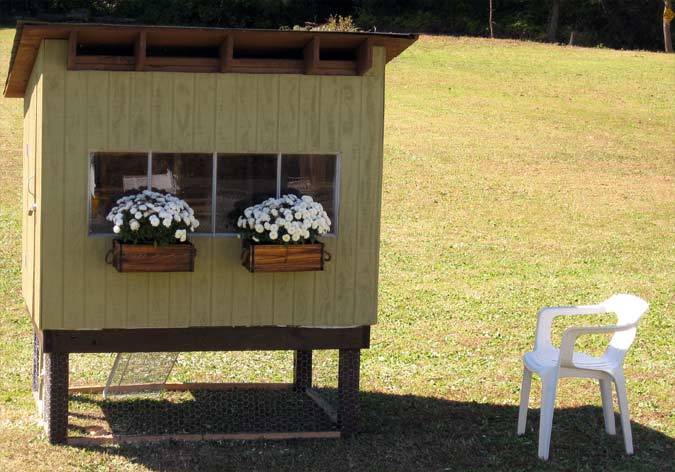
Added some flower boxes for the cottage character!
The girls (and Roo) are just thrilled with their new lifestyle. I don't think they'd have things any other way.
Special Thanks to my wonderful Husband.
2010 Update:
We have extended the coop's run, and we're even turned the extra tractor coop into a stand alone coop for our new Japanese Bantams.

Ask questions about this coop by joining our community here: https://www.backyardchickens.com/forum/viewtopic.php?id=90535