Yesterday I started building Coop Number 3. I'll post pics as I progress and then convert it all into a coop page. The coop will be an 8' square with a shed type roof.
All contruction pics will be posted at:
http://s131.photobucket.com/albums/p310/mrtruman1978/Coop Number 3/
DAY ONE
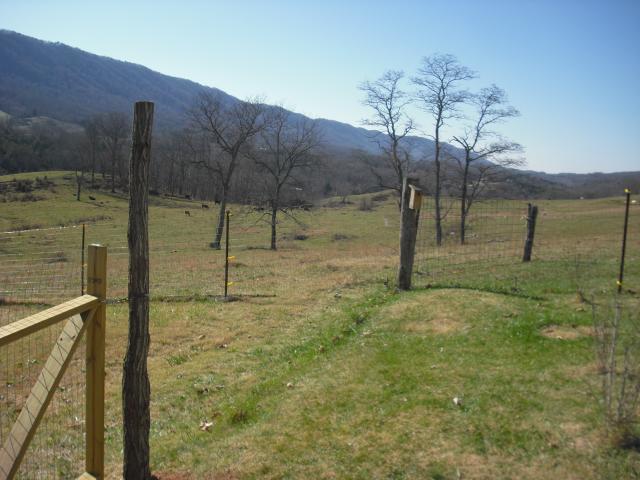
This is the site before any contruction has begun. The front of the coop, where the people door will be, will face into our backyard so that we can enter the coop without entering the chicken yard.
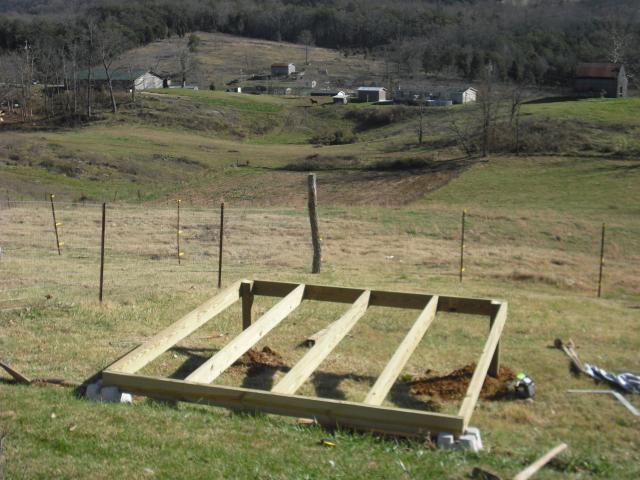
The frame for the floor is now in place. The area under the floor will be left open so the chickens can use it for cover and shade. The pop door will open into the chicken yard that you can see in the background of this picture.
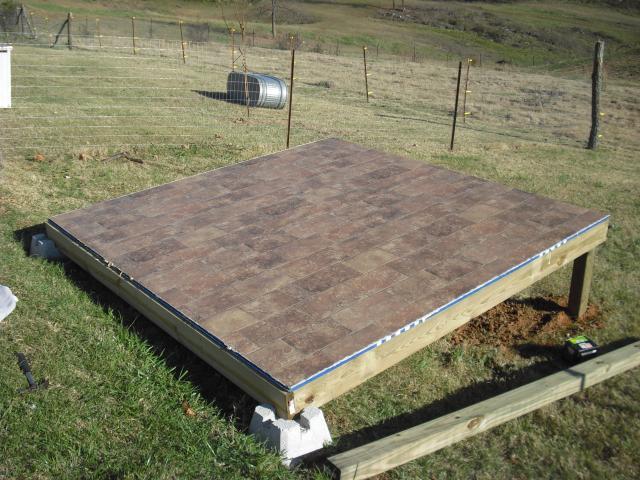
The last bit I accomplished today was getting the vinyl glued down. The walls will sit on the vinyl to help hold it in place.
DAY TWO
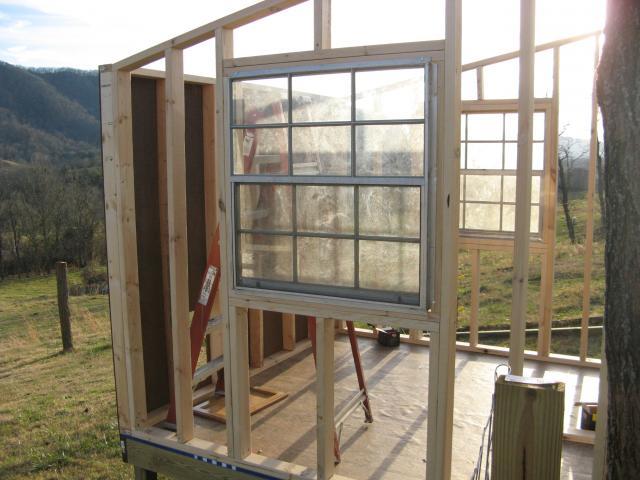
Today we got all four walls up, both windows installed and siding on three sides.
The windows were recycled from my uncles house and have been collecting dust in a storage building for years. They face east and west and should help with summer time cooling.
Callie was our supervisor today and inspected all work.

Day Three
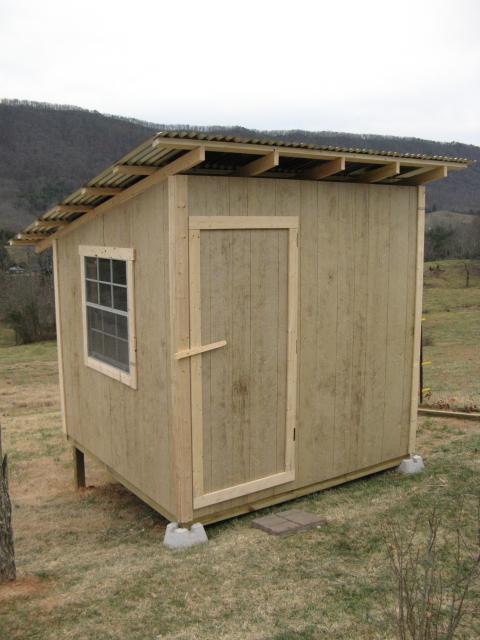
No rain and a day off finally allowed us to work on the coop. Today we got the siding on the last wall, got the roof put on, most of the trim on the walls and the door built.
The current door latch is a temporary fix so we could get the girls moved into the coop tonight.
We still have to trim out the roof and then the major exterior construction will be complete. Then we can focus on accesorizing the interior.
February 2010
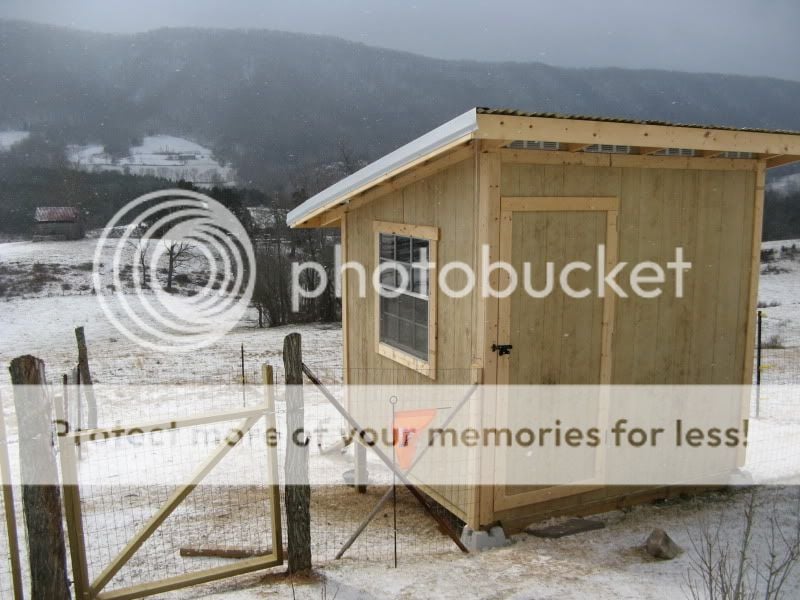
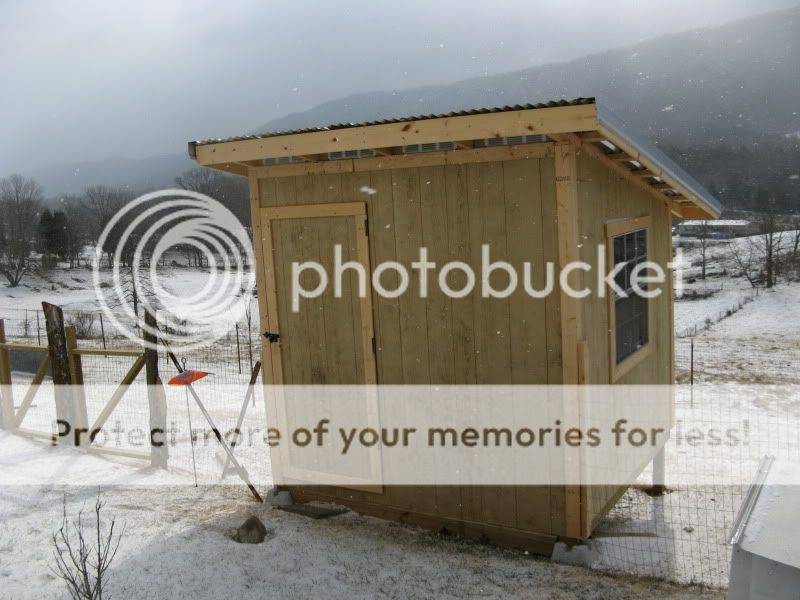
Finally got the roof trim on and the fence attached. The coop will be white with a slate gray trim when Spring finally arrives and I can paint. Still debating on the landscaping for the chicken yard and the front of the coop. Largely depends on whats on sale or free.
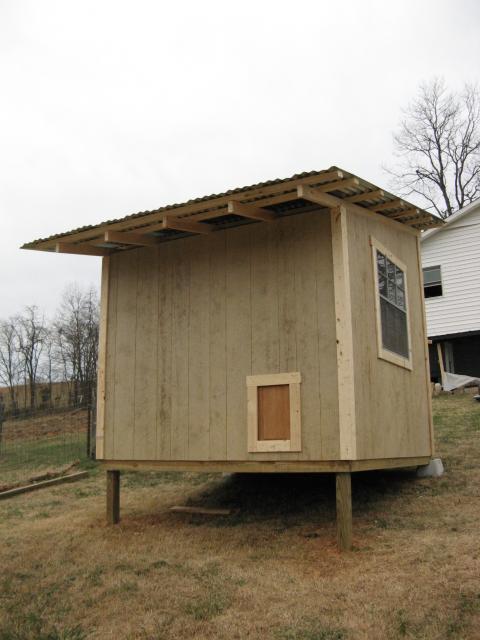
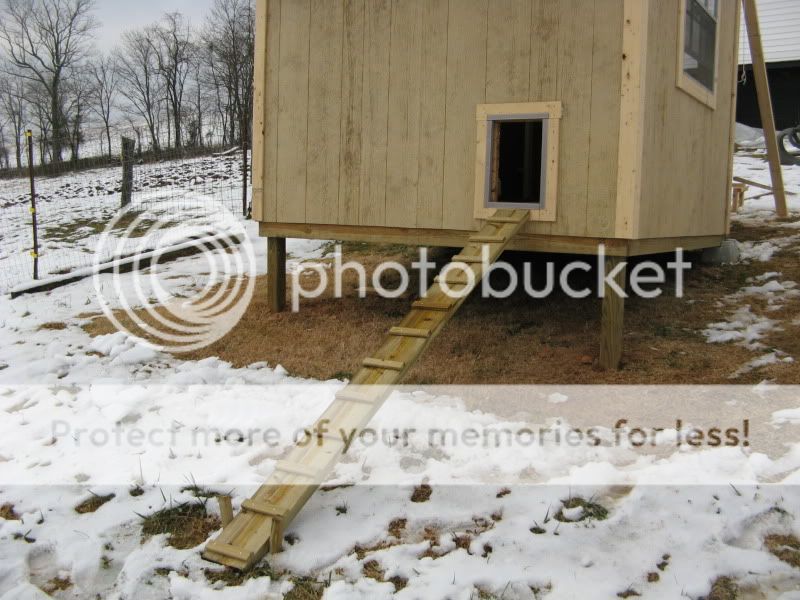
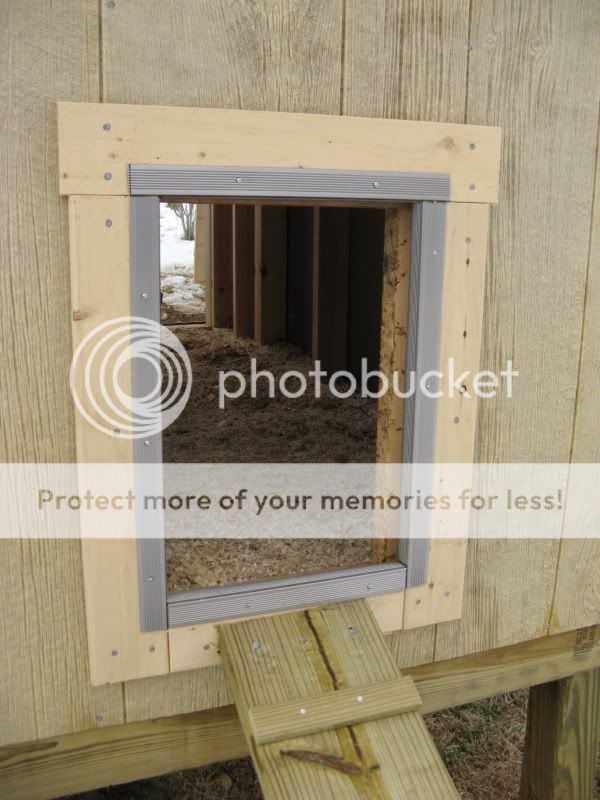
We decided to trim the popdoor with threshhold trim to keep down wear and tear on the sides of the door. It took a few weeks for the cochins to learn to use the ramp and popdoor, but I think they have it figured out now.
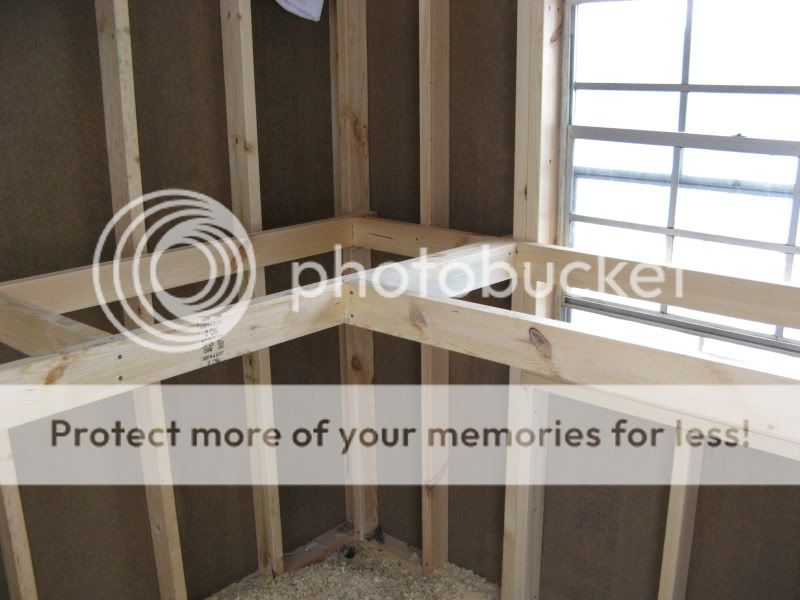
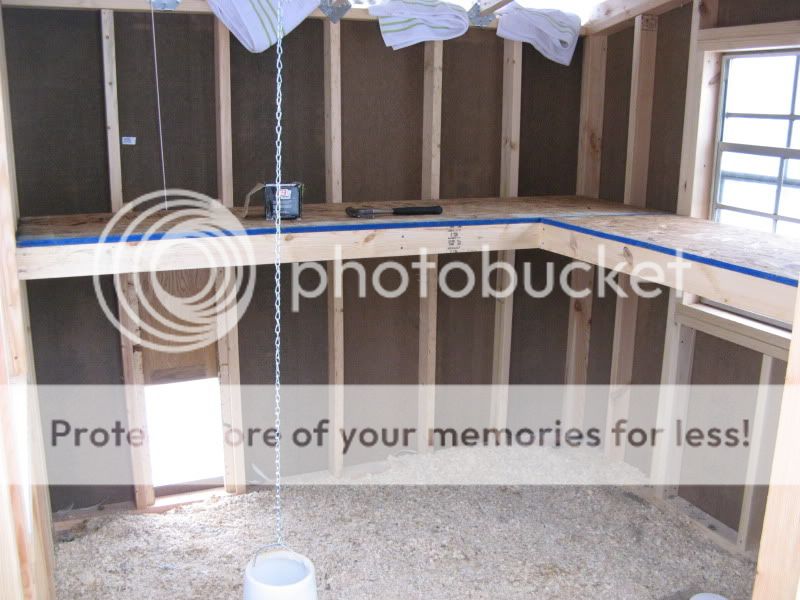
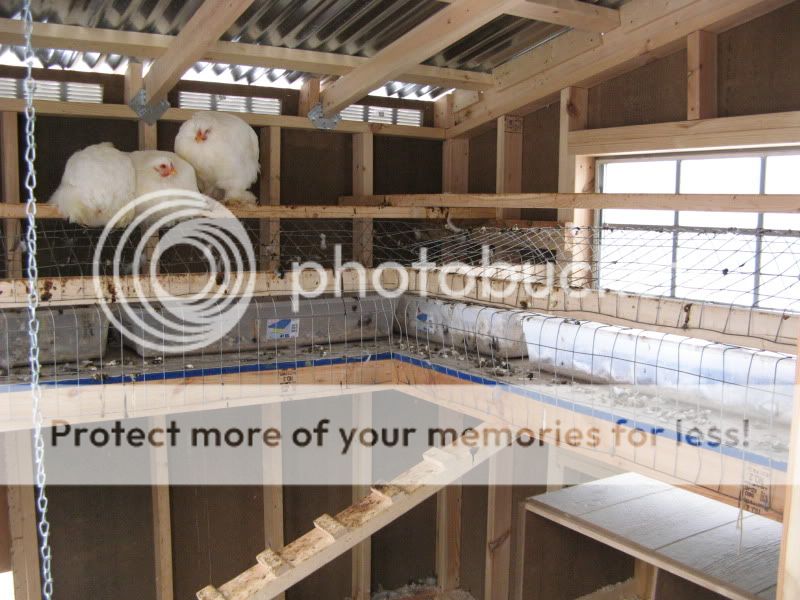
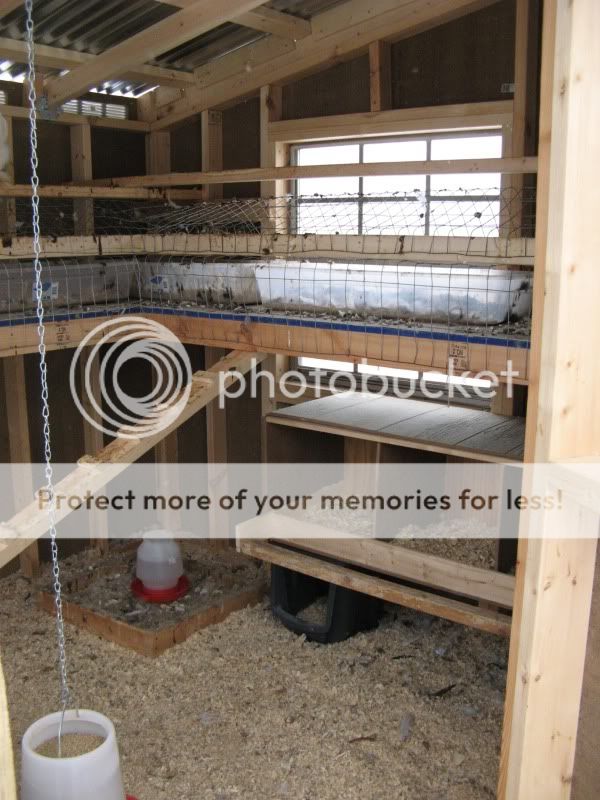
We built a roost/poop board system that will hopefully make clean up easier. The poop board is covered in left over vinyl from the floor. We use plastic totes made for underbed storage on the boards to catch the droppings from the roost. We also covered the board with wire so that the chickens, especially the cochins, can't get to the poop.
The nest box was made from left over siding from the coop and some assorted scrap from other projects. The two bins underneath are from Target.
PAINT!
Spring has returned so we finally got the exterior of the coop painted. We still have to paint the trim around the windows and door, but we are almost there.
All contruction pics will be posted at:
http://s131.photobucket.com/albums/p310/mrtruman1978/Coop Number 3/
DAY ONE
This is the site before any contruction has begun. The front of the coop, where the people door will be, will face into our backyard so that we can enter the coop without entering the chicken yard.
The frame for the floor is now in place. The area under the floor will be left open so the chickens can use it for cover and shade. The pop door will open into the chicken yard that you can see in the background of this picture.
The last bit I accomplished today was getting the vinyl glued down. The walls will sit on the vinyl to help hold it in place.
DAY TWO
Today we got all four walls up, both windows installed and siding on three sides.
The windows were recycled from my uncles house and have been collecting dust in a storage building for years. They face east and west and should help with summer time cooling.
Callie was our supervisor today and inspected all work.
Day Three
No rain and a day off finally allowed us to work on the coop. Today we got the siding on the last wall, got the roof put on, most of the trim on the walls and the door built.
The current door latch is a temporary fix so we could get the girls moved into the coop tonight.
We still have to trim out the roof and then the major exterior construction will be complete. Then we can focus on accesorizing the interior.
February 2010
Finally got the roof trim on and the fence attached. The coop will be white with a slate gray trim when Spring finally arrives and I can paint. Still debating on the landscaping for the chicken yard and the front of the coop. Largely depends on whats on sale or free.
We decided to trim the popdoor with threshhold trim to keep down wear and tear on the sides of the door. It took a few weeks for the cochins to learn to use the ramp and popdoor, but I think they have it figured out now.
We built a roost/poop board system that will hopefully make clean up easier. The poop board is covered in left over vinyl from the floor. We use plastic totes made for underbed storage on the boards to catch the droppings from the roost. We also covered the board with wire so that the chickens, especially the cochins, can't get to the poop.
The nest box was made from left over siding from the coop and some assorted scrap from other projects. The two bins underneath are from Target.
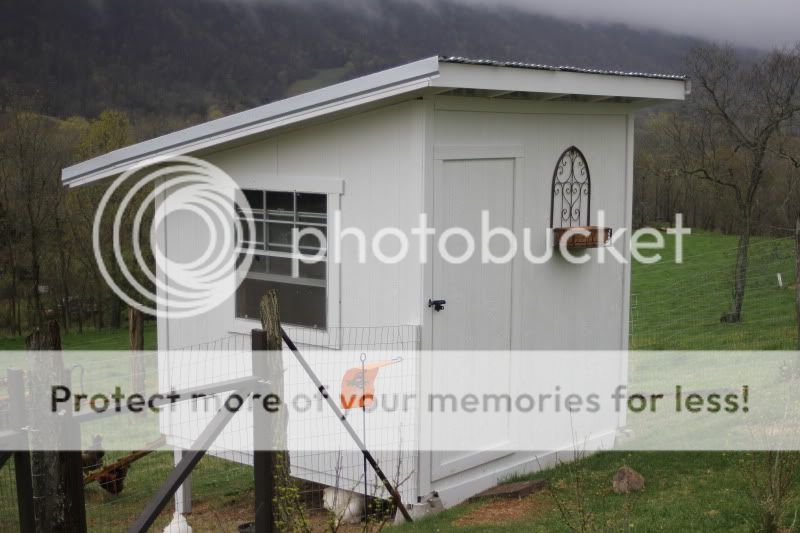
PAINT!
Spring has returned so we finally got the exterior of the coop painted. We still have to paint the trim around the windows and door, but we are almost there.
Last edited by a moderator:


