Kafen
Chirping
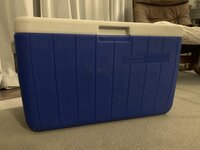
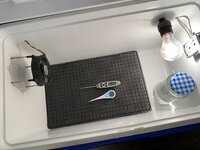
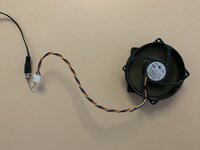
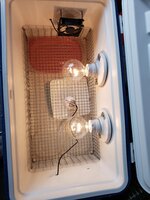
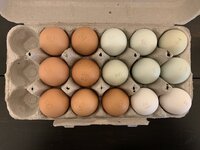
Given how difficult it has been to find baby chicks, I decided that I wanted to try my hand at incubating eggs! It’ll be good for me to be able to do since I want to raise a new batch of chicks every year to be more self sufficient. But I don’t have an incubator and can’t shell out for the one I’d like at the moment. I do however have an old cooler and a broken lamp. I figured that was enough to get me started. Add a fan from an old computer we have downstairs (hubby hoards electronic parts looooong after they’ve broken and it’s come in useful now!) and a water heater thermostat (I’d like to use a wafer, but sourcing one was difficult) and we should be good to go right? Well we’ll see how the build and subsequent incubation goes!
Here’s my inspiration/research for this type:
https://www.backyardchickens.com/articles/authors/quintinp.70328/
First day:
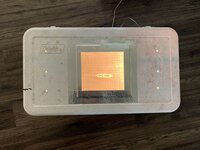
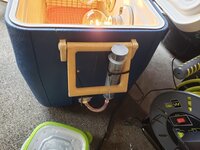
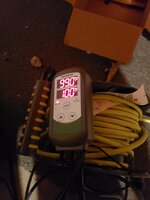
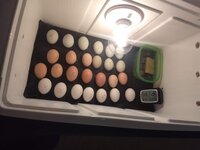
After being on all night, it is only sitting around 77F (our house is 70F). The light spends most of its time off. Clearly that’s not even close to enough. I’ll try increasing the thermostat first (even though it’s set to ~100F right now). We still need to install the fan and I wanted to add some heat sinks too. It has a 60W bulb in it right now and I could always get a 100W instead. But I feel like that was pretty good for the first day! More updates to follow.
Here’s my inspiration/research for this type:
https://www.backyardchickens.com/articles/authors/quintinp.70328/
First day:
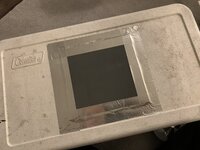
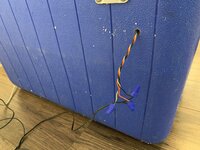
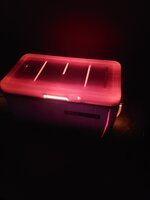
- Cut and tape in viewing window
- Drill ventilation holes
- Drill and install light socket
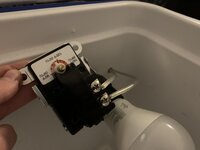
- Wire light and thermostat (we didn’t use a different wire for this, but split one of the wires from the lamp so that it ran through the thermostat instead)
- Plug in an let sit overnight
After being on all night, it is only sitting around 77F (our house is 70F). The light spends most of its time off. Clearly that’s not even close to enough. I’ll try increasing the thermostat first (even though it’s set to ~100F right now). We still need to install the fan and I wanted to add some heat sinks too. It has a 60W bulb in it right now and I could always get a 100W instead. But I feel like that was pretty good for the first day! More updates to follow.