A month and a half ago I posted plans for a small 4 x 4 coop for three New Hampshire Reds and got some good feedback. After three weeks of building and a few weeks of waiting, I now have three New Hampshire Red chickens, about two months old.
This is a link to the design topic. https://www.backyardchickens.com/forum/viewtopic.php?id=411868&p=1
As I was the laborer and my husband the main builder (we are graphic designers, not builders and neither of us had a clue what we were doing) I didn't take as many photos as I would have liked to, but here are a few. A lot of the materials were left over from our new house so lumber dimensions weren't standard. The colorsteel flashing was left over from our shed and the roofing steel were seconds from a local hardware store.
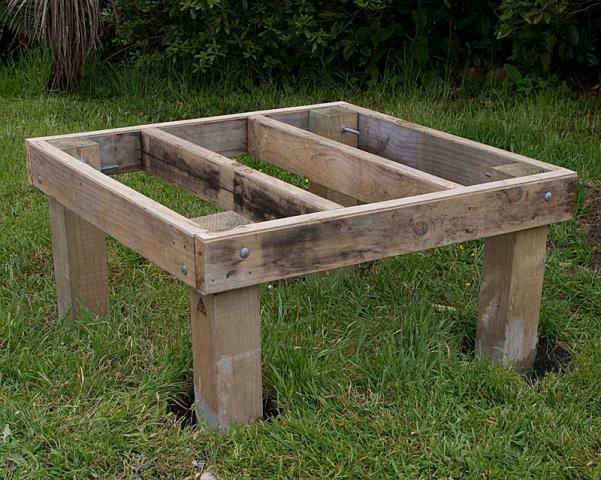
The base was made from 125mm x 125mm treated posts and set in concrete. The frame around the posts was bolted on with bolts we had on hand.
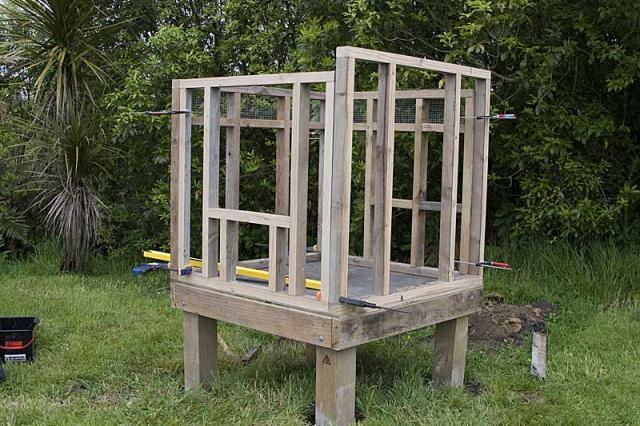
Each side of the frame was pre-made in our workshop and assembled on site.
The walls are 12mm (about a half inch) plywood.
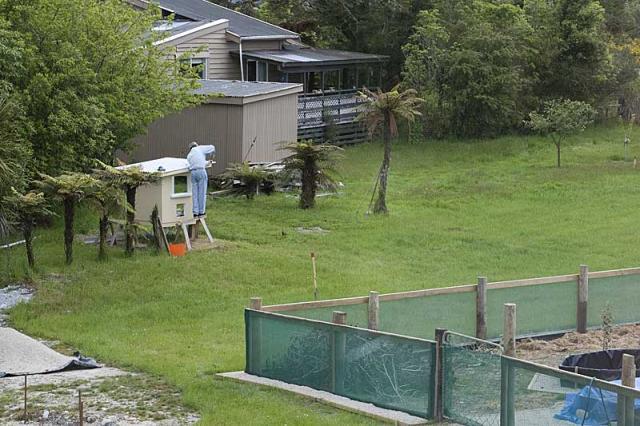
This photo of my husband was taken from our bedroom. It shows the coop in relation to some other sheds and an old cottage.
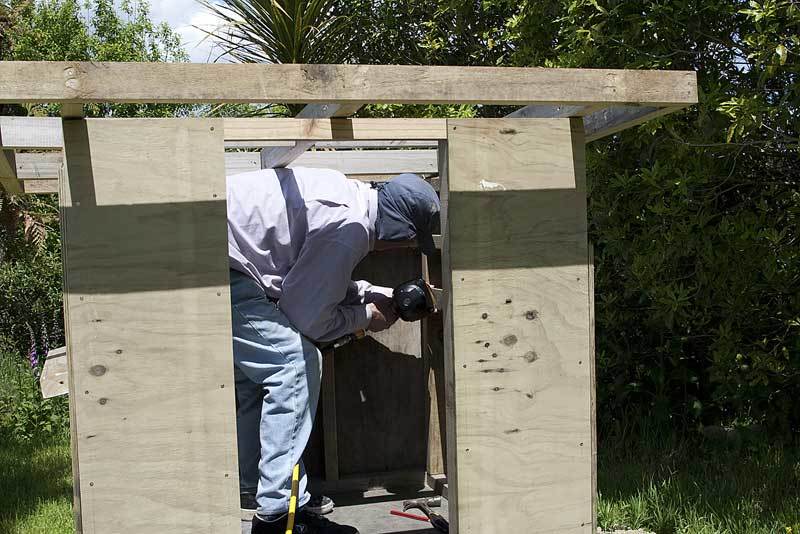
Nailing inside the coop.
We thought we were nearly finished at this stage. Many "one more days" became a week.
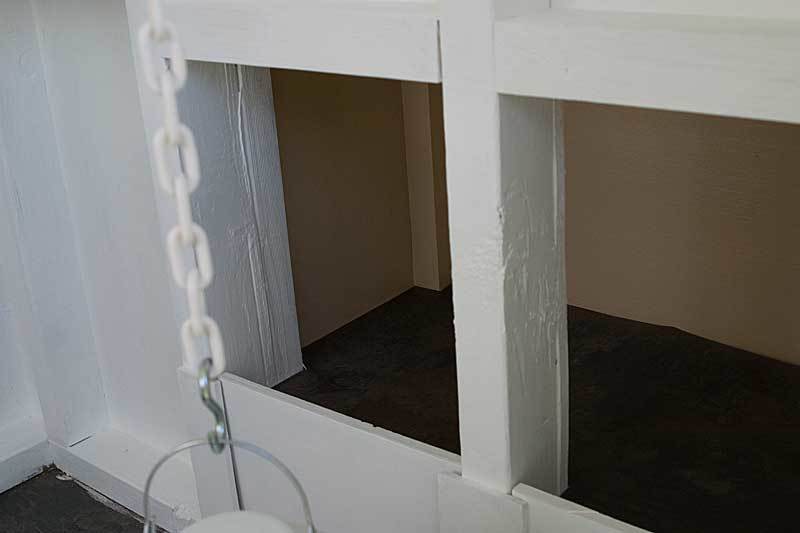
Nest box from inside.
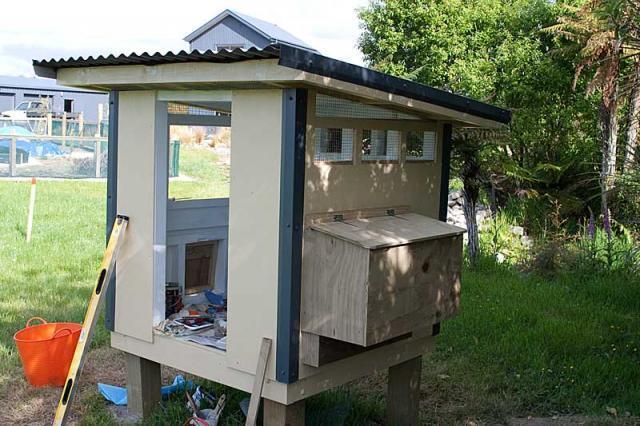
Nest box from outside.
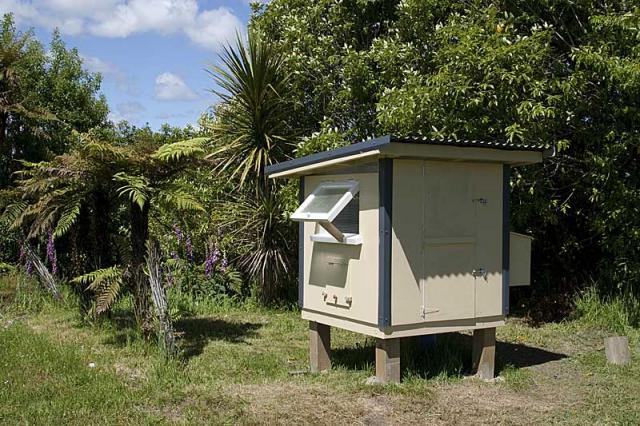
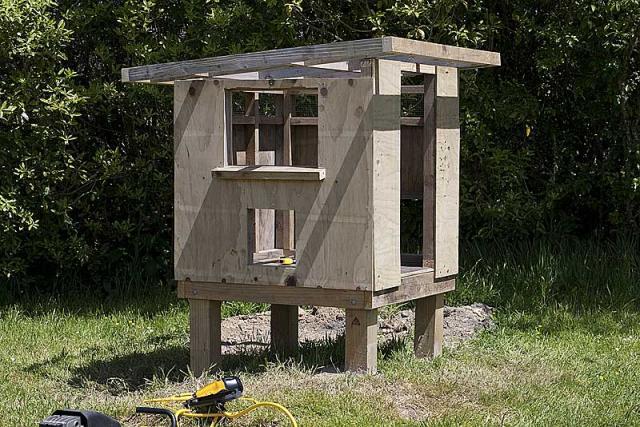
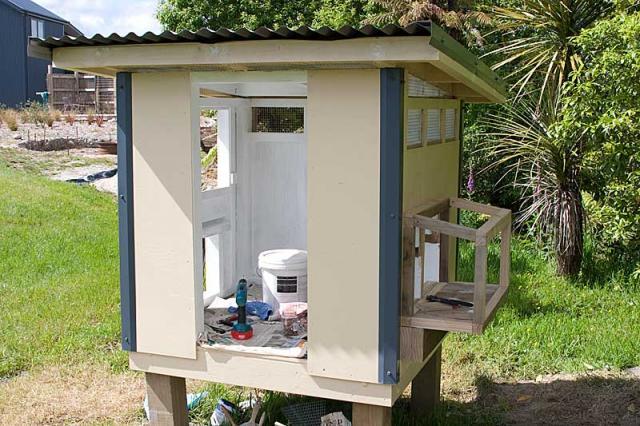
The finished coop without the run or ladder.
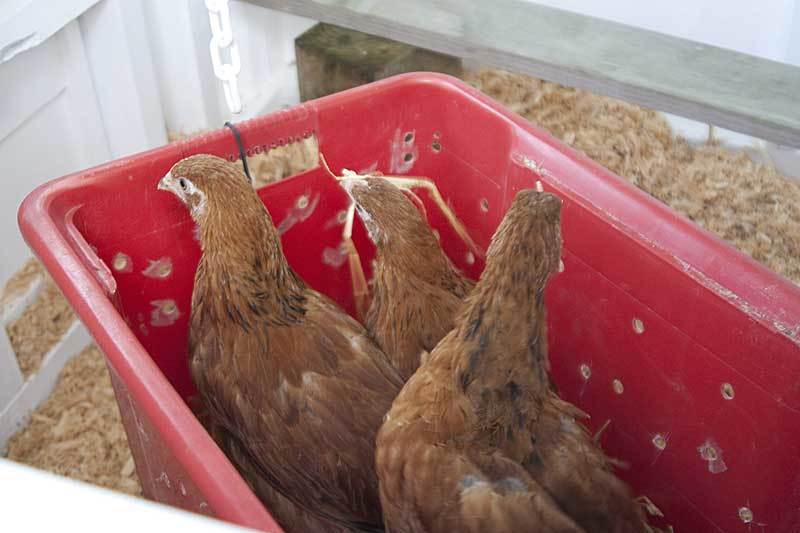
The three girls in the box we brought them home in.
Changes to original coop.
The window was from a second hand shop. It runs parallel to a road so we put a black plastic blind over it to keep car lights from bothering them while they sleep. After decidign to try the deep litter method we changed our mind about the distance from the floor for the next box so we had to cut a bigger hole after the coop was put together. It might have been easier to paint before putting up the hardware cloth in the ventilation holes. We will probably need to put covers on them eventually to keep rain out. So far we are pretty happy with the coop and the chickens. We can see them through binoculars from our bedroom window.
This is a link to the design topic. https://www.backyardchickens.com/forum/viewtopic.php?id=411868&p=1
As I was the laborer and my husband the main builder (we are graphic designers, not builders and neither of us had a clue what we were doing) I didn't take as many photos as I would have liked to, but here are a few. A lot of the materials were left over from our new house so lumber dimensions weren't standard. The colorsteel flashing was left over from our shed and the roofing steel were seconds from a local hardware store.
The base was made from 125mm x 125mm treated posts and set in concrete. The frame around the posts was bolted on with bolts we had on hand.
Each side of the frame was pre-made in our workshop and assembled on site.
The walls are 12mm (about a half inch) plywood.
This photo of my husband was taken from our bedroom. It shows the coop in relation to some other sheds and an old cottage.
Nailing inside the coop.
We thought we were nearly finished at this stage. Many "one more days" became a week.
Nest box from inside.
Nest box from outside.
The finished coop without the run or ladder.
The three girls in the box we brought them home in.
Changes to original coop.
The window was from a second hand shop. It runs parallel to a road so we put a black plastic blind over it to keep car lights from bothering them while they sleep. After decidign to try the deep litter method we changed our mind about the distance from the floor for the next box so we had to cut a bigger hole after the coop was put together. It might have been easier to paint before putting up the hardware cloth in the ventilation holes. We will probably need to put covers on them eventually to keep rain out. So far we are pretty happy with the coop and the chickens. We can see them through binoculars from our bedroom window.
Last edited:


