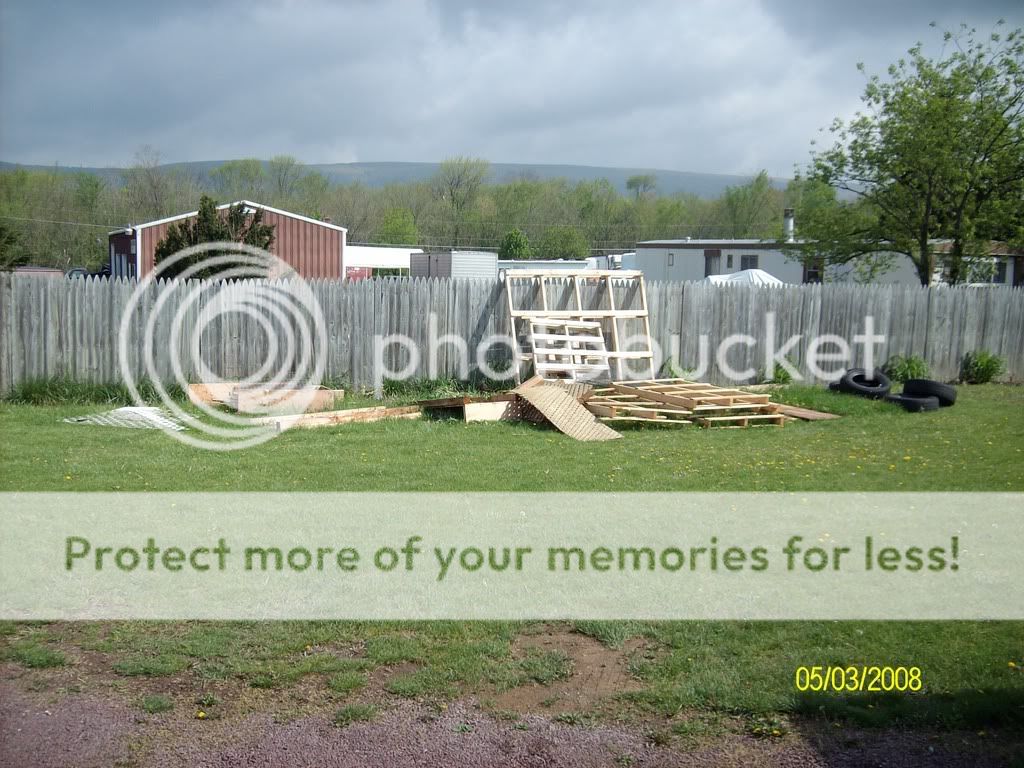
I spent several months scrounging wood from dumpsters and local businesses. The windows were bought at an auction ($13 for 5 of them) same with the plywood, $64 for 35 sheets, paint $3/gal and a huge box maybe 25lbs of finishing nails for $2. We have to buy some new stuff but most was rescued from the burn or bought cheaply at local auctions. The dimensions are 6'x8'.
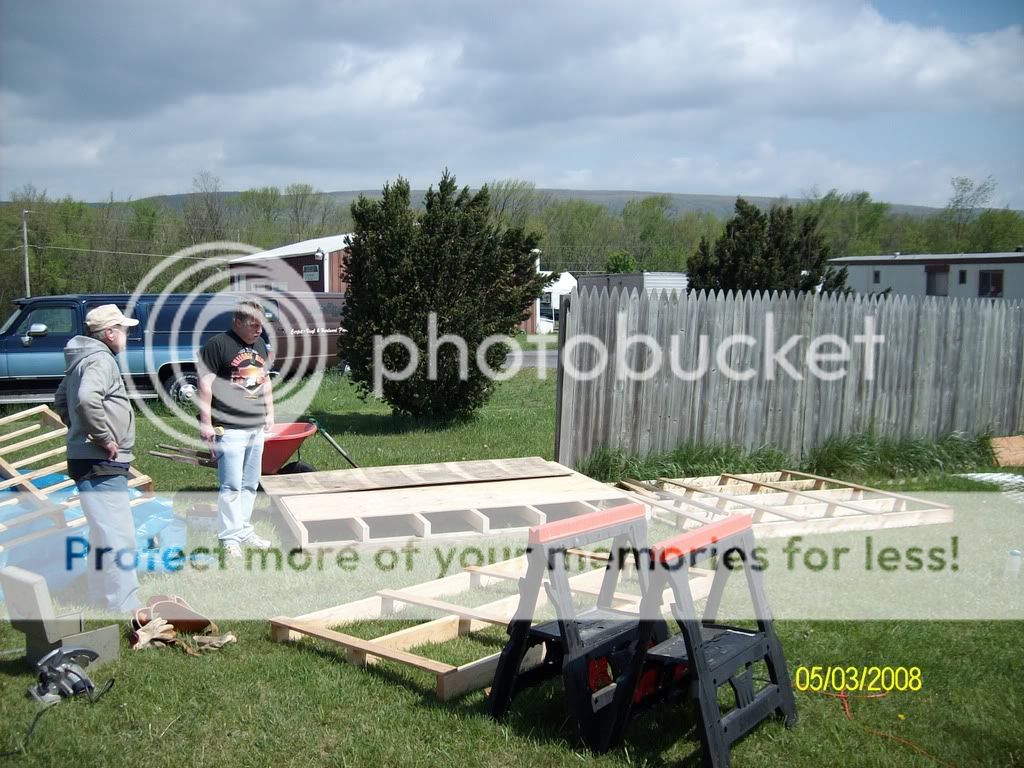
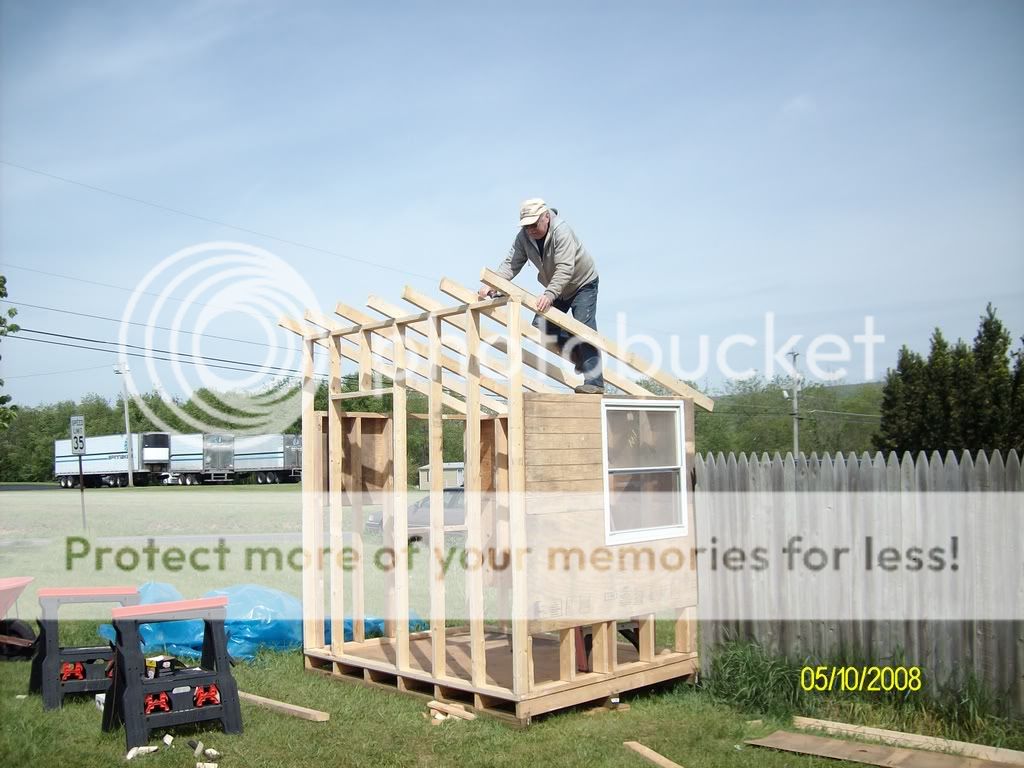
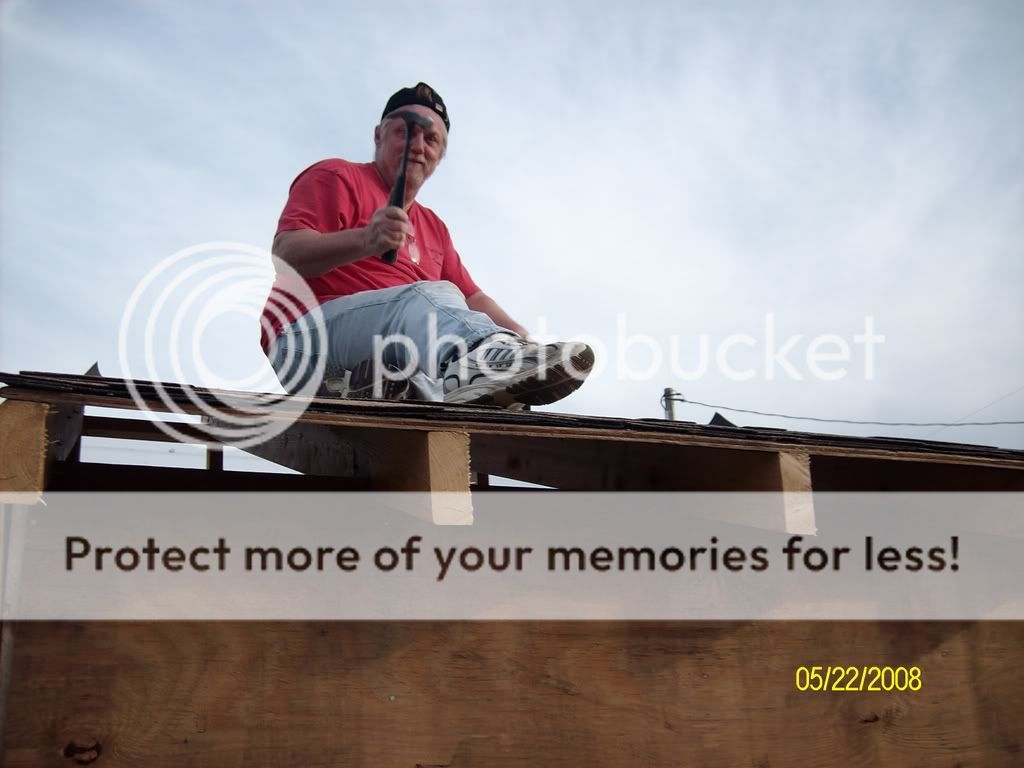
My friend with the hat, happens to be a woodworker and happens to OWE ME BIG TIME
 . I don't think he expected the favors called in on a chicken coop! He gave alot of technical advice and explanations to us nonbuilders why what were planning to do here & there wasn't going to work.
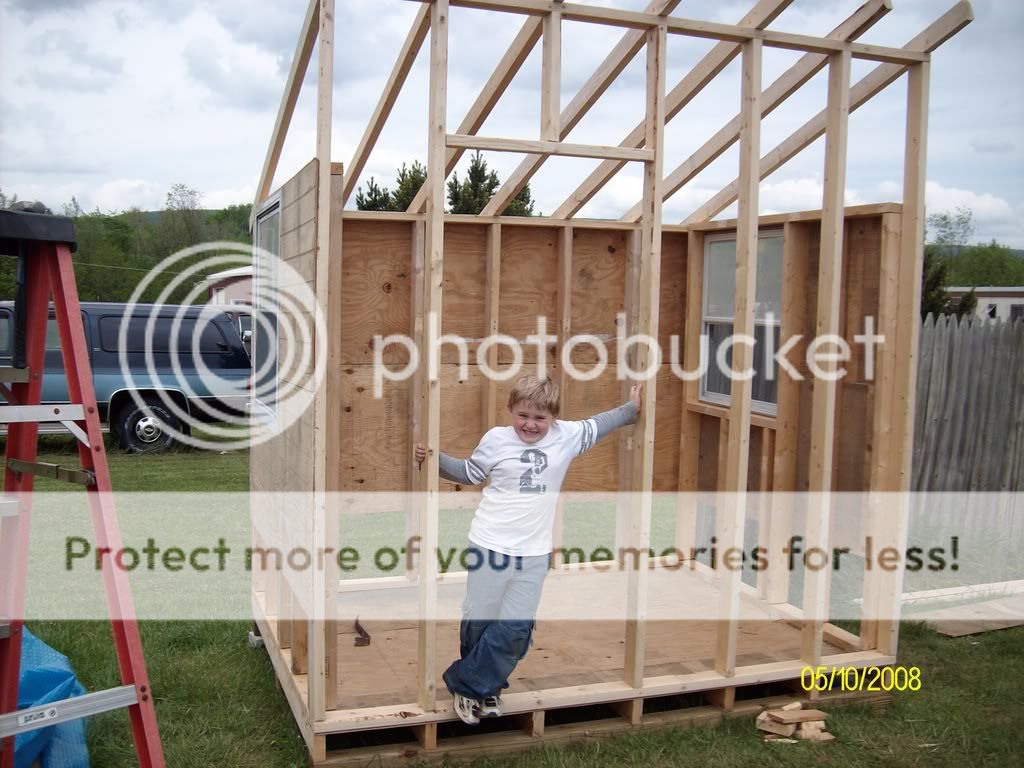
The walls going up.
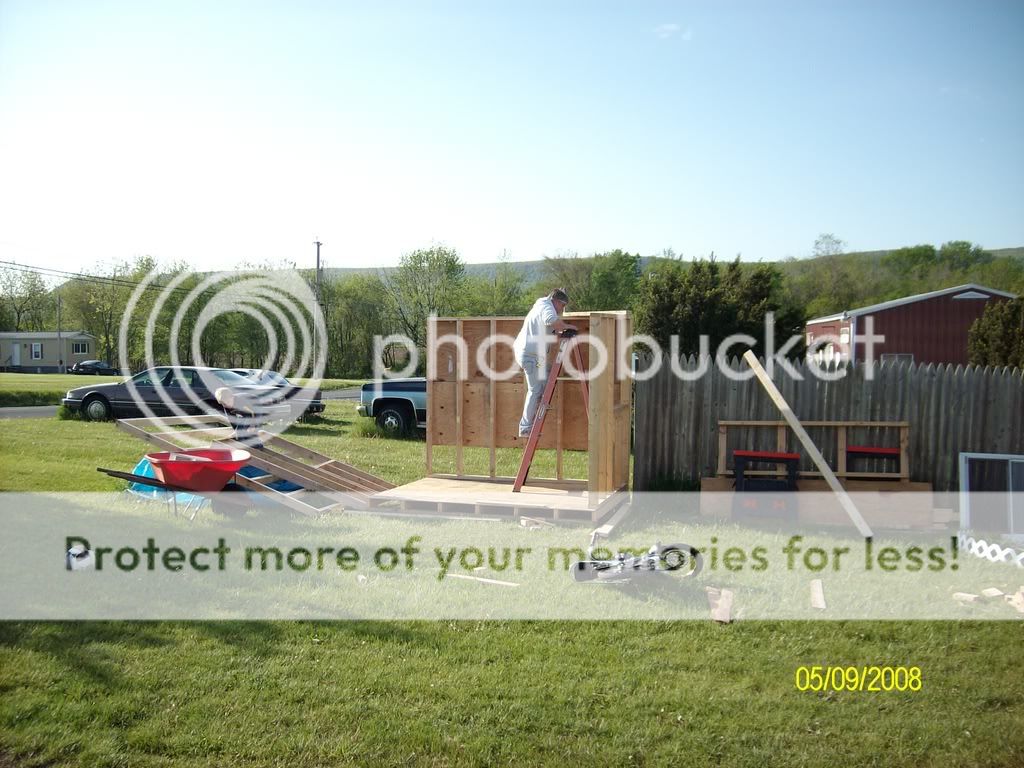
DH & I were proud we framed the windows ourselves !
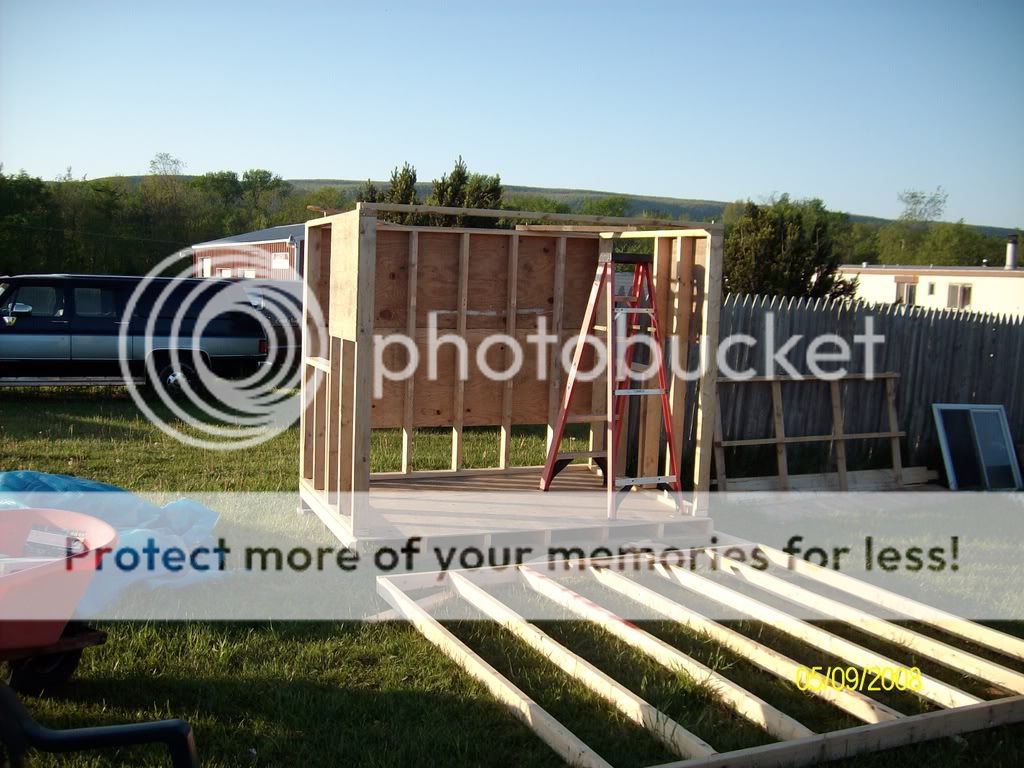
The roof getting started (expert doing the work
 )
)
The door is framed.....we made one out of the thickest sheet of plywood.
I really wanted lots of light, I loved other pics posted of using the clear panels as skylights but got blank stares when I brought it up? So We went with having it on the top of the south wall. It really lights up the coop, the only thing I would have changed is painting the studs that are visible. But I am very happy with the light it lets in.
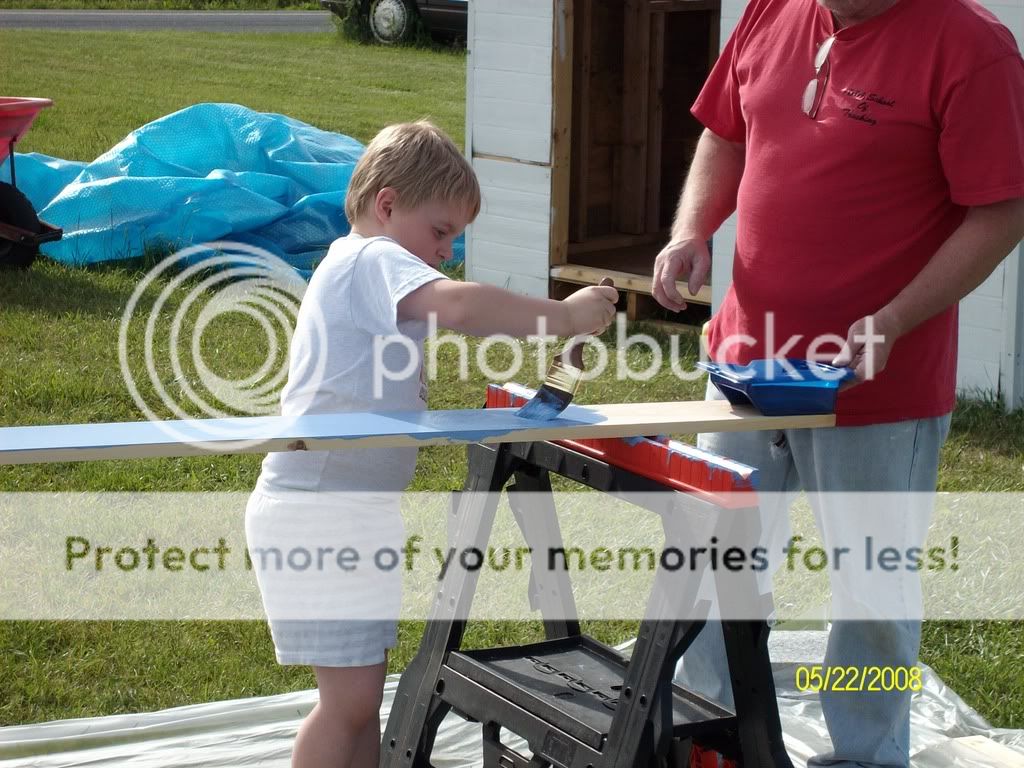
The painting crew...
DH putting on the shingles which along were the black paper were free. Neither of us ever laid shingles before, we've had some good t-storms & no leaks

My son testing the pop door opening.

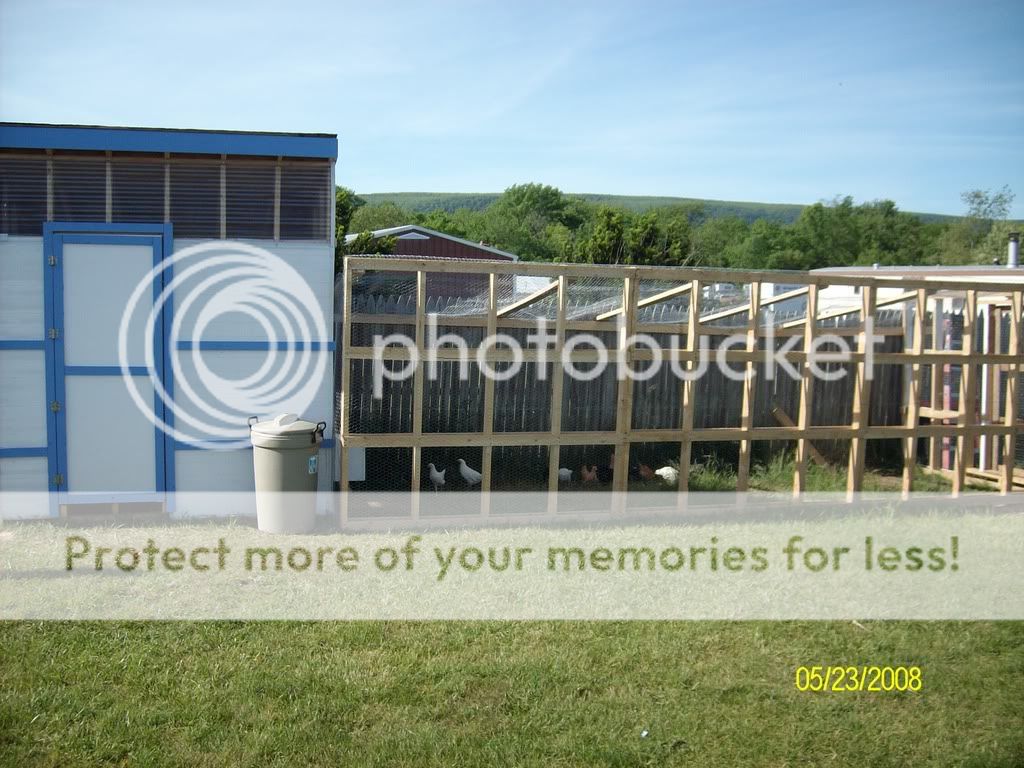
The run consists of 4 pallet walls of which I have free supply from a business down the road. They come from Germany so the sizes are a little off as they make walls withing sea containers with them. We broke quite a few apart to use as studs in the coop. These we left whole to use as the walls of the run. We utilized our exisiting fence as the rear wall. We're going to attempt a large shed out of them as they just get burned if not used by someone!
This is the girls out in their new run for the first time, I still have to make a little ramp but they jump in and out with no effort. The garbage can is for storing their feed.
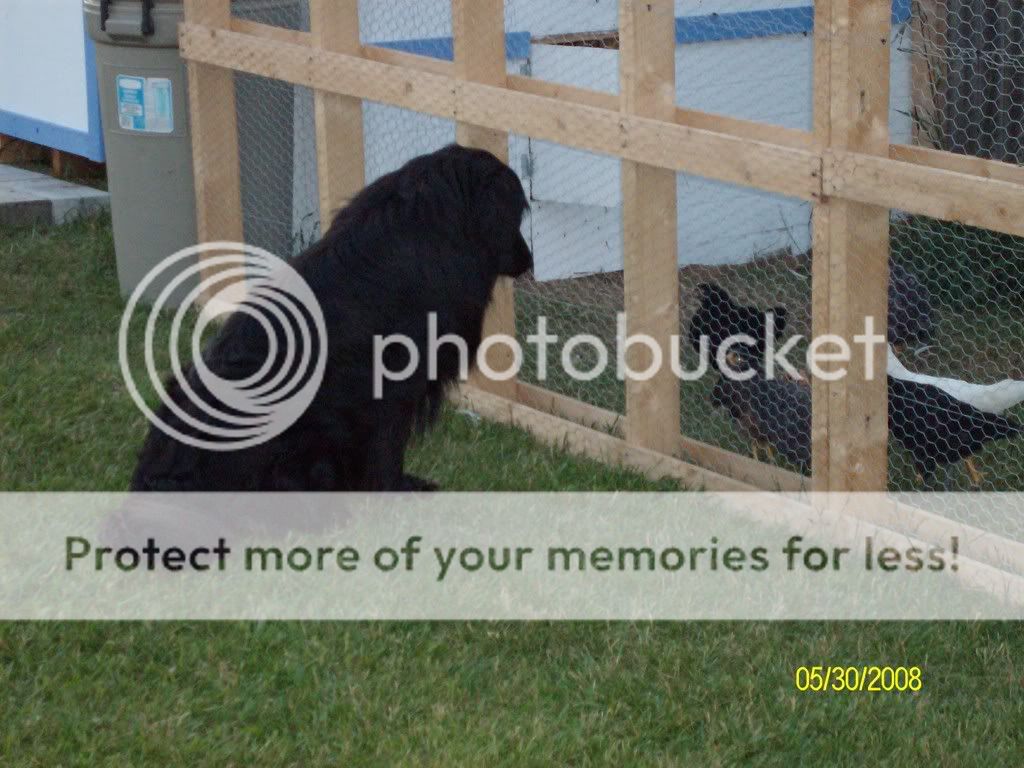
Chicken soup, chicken fingers, fried chicken, chicken 'n dumplings, chicken gumbo.......I think Raven was planning the weeks' menu. He's been good so far (supervised) but I don't think we'll be free ranging anywhere around him
My friend with the hat, happens to be a woodworker and happens to OWE ME BIG TIME
The walls going up.
DH & I were proud we framed the windows ourselves !
The roof getting started (expert doing the work
The door is framed.....we made one out of the thickest sheet of plywood.
I really wanted lots of light, I loved other pics posted of using the clear panels as skylights but got blank stares when I brought it up? So We went with having it on the top of the south wall. It really lights up the coop, the only thing I would have changed is painting the studs that are visible. But I am very happy with the light it lets in.
The painting crew...
DH putting on the shingles which along were the black paper were free. Neither of us ever laid shingles before, we've had some good t-storms & no leaks
My son testing the pop door opening.
The run consists of 4 pallet walls of which I have free supply from a business down the road. They come from Germany so the sizes are a little off as they make walls withing sea containers with them. We broke quite a few apart to use as studs in the coop. These we left whole to use as the walls of the run. We utilized our exisiting fence as the rear wall. We're going to attempt a large shed out of them as they just get burned if not used by someone!
This is the girls out in their new run for the first time, I still have to make a little ramp but they jump in and out with no effort. The garbage can is for storing their feed.
Chicken soup, chicken fingers, fried chicken, chicken 'n dumplings, chicken gumbo.......I think Raven was planning the weeks' menu. He's been good so far (supervised) but I don't think we'll be free ranging anywhere around him
Last edited:


") Your chickens seem to think so too!
Your chickens seem to think so too!