- Mar 10, 2011
- 6
- 0
- 7
Hi folks!
I hope this post helps someone.
Well it started with some chicks I ordered and then someone gave me 5 full grown ladies. I Built 3 temporary coops out of some scrap shipping crates from a local factory. I figured I will craigslist them after the permanent coop is built and recovery some of my costs. All in all, we will have 36 hens. We will probably settle down to about 24, after getting some production out of them, and then do some meaties.
The goal is a zero dollar permanent coop. The younger kids want a "secret clubhouse" (4 kids, Megan age 20, 3 young - Chavvah age 7, Olivia age 6, Zechariah age 5) and I need a man-cave for storage and tinkering. We live on a .25 acre lot. I chose the left side of the house cause we hadn't started on that side of our fixer-upper. I like the half monitor style so I picked parts of that and also parts of a "farm barn gambrel" to accomodate a loft for storage and the secret clubhouse. I will do more on the permanent coop in a later post.
Local code only allows 140 square feet without setbacks and all kind of nonsense. My closest neighbors would rather my junk be hidden, so they aren't complaining. I made a floor plan of 12 x 16 out of 2- 8 x 12 separate buildings pushed tight together but completely separate to avoid the building inspector.
The cost for the temporary coops was the wire, fastners, paint, wheels, and some hardware. The windows, doors, wood, etc. was all extra or found. I built three different coops to house the adults, juveniles and chicks at various ages.
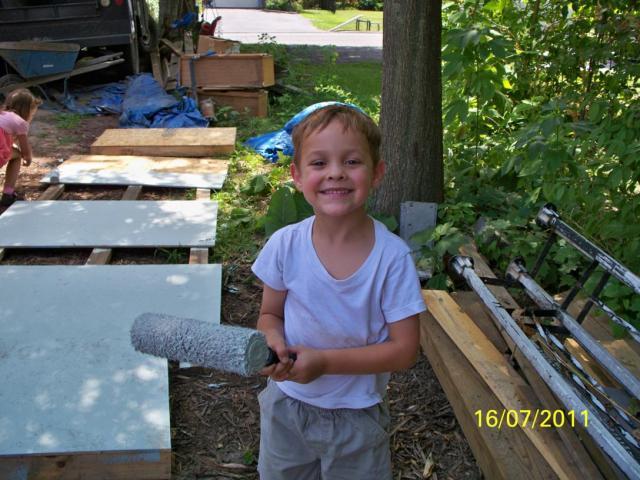
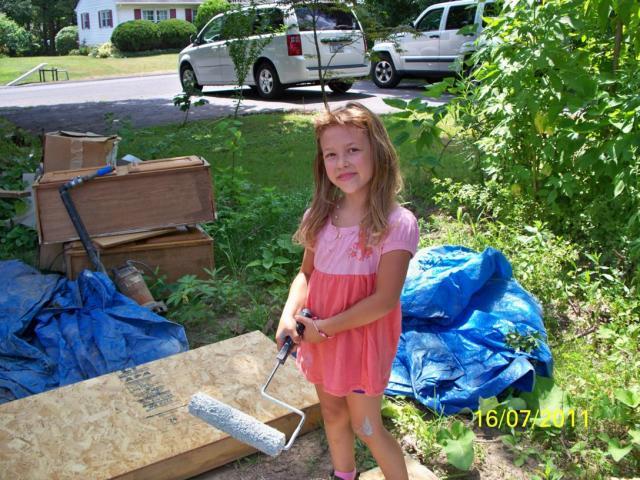
First one of the temporary coops. This happens to be the second coop. In the background you can see the first temp coop and the permanent one has the blue tarp covering the sheathing. The design is mostly dictated by the lumber sizes and some window sashes.
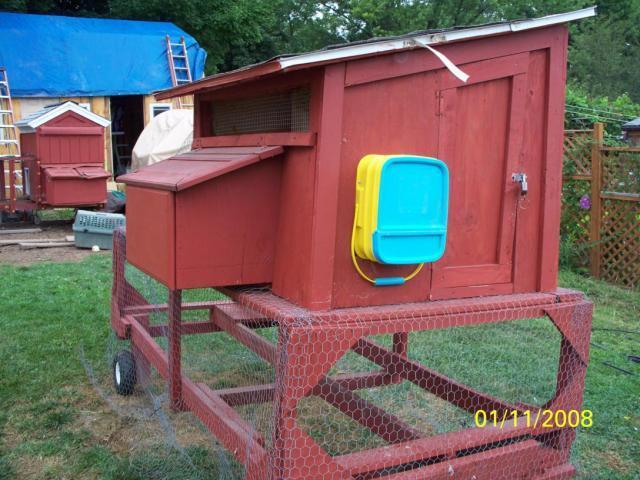
I put it on casters so I could move it around with all the construction and traffic.

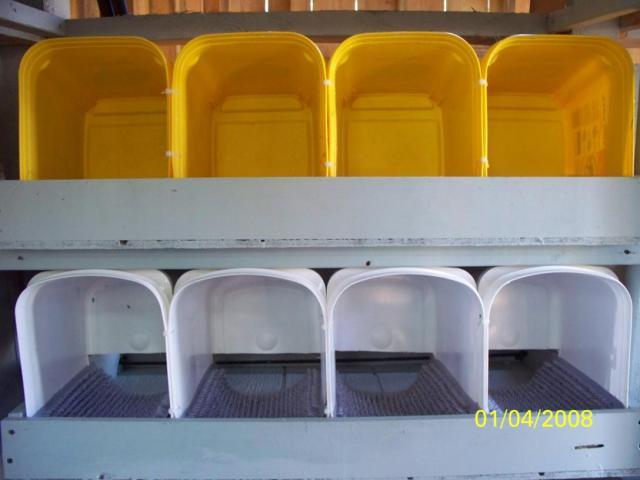
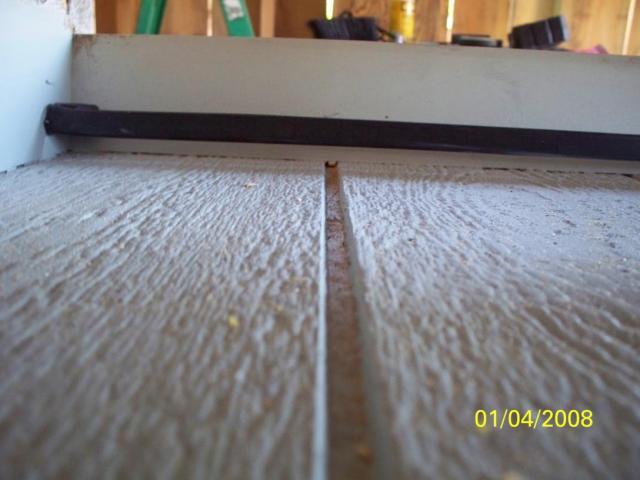
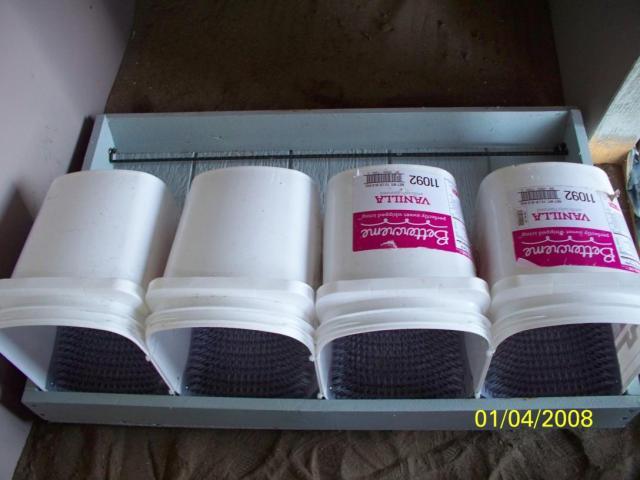
I added some roll out nest boxes made from some Sam's Club frosting buckets, which they will give as many as you need.
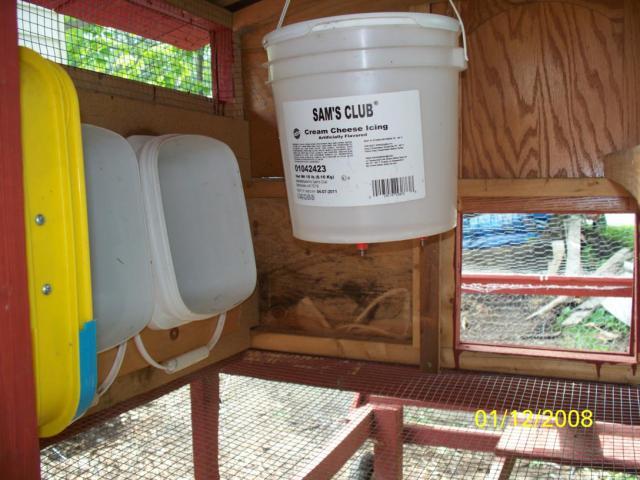
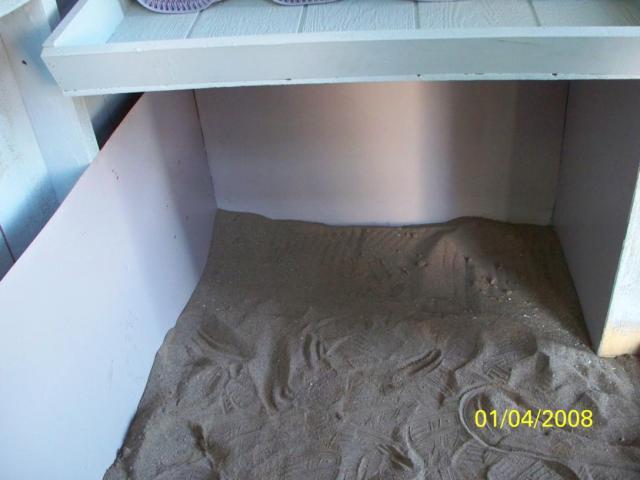
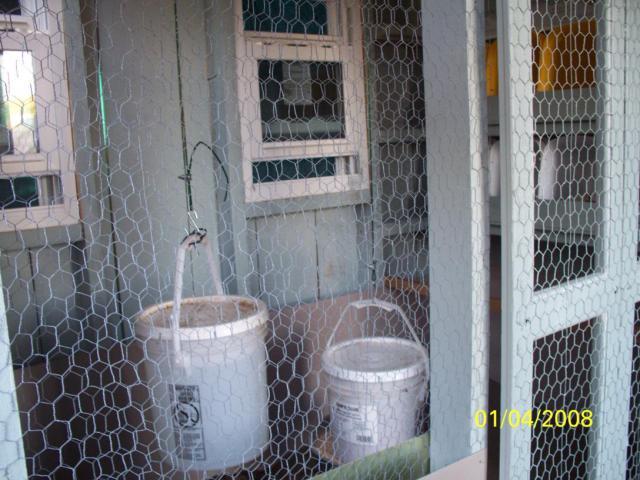
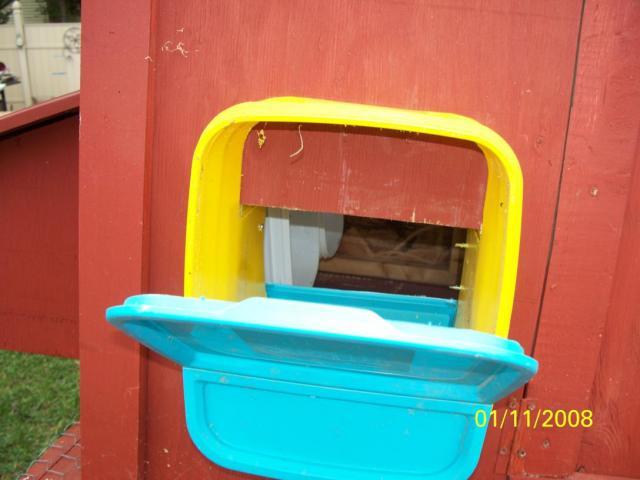
I wanted a "Happy Meal" drive by feed hopper so a couple of cat littler boxes back to back make a nice poop proof bin.
I used hardware cloth for the bottom and vent window. The fron opens up for cleaning, although 90% of the droppings just fall through.
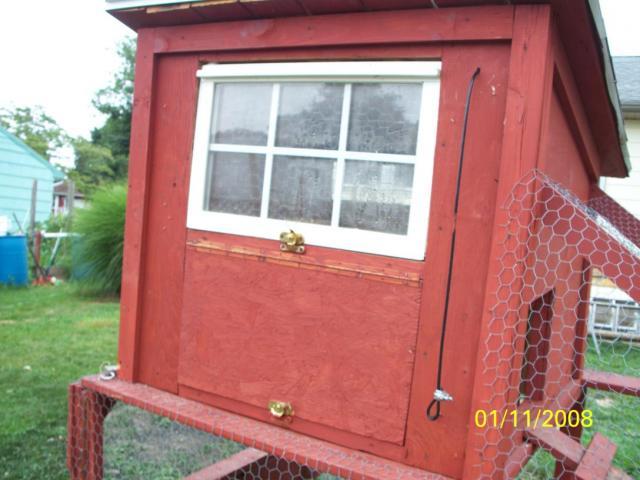
The chickens have been moved out of this one, so I powerwashed it clean and posted on craigslist and hope to move it out soon.
I will post the other two as well as some of the construction photos on the main coop/mancave/secret clubhouse.
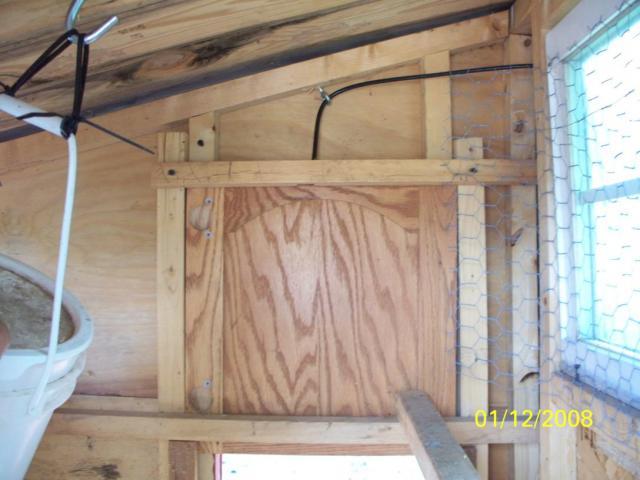
I work as a Home Improvement salesperson, so I have access to some customer job takeouts and sometimes I will buy mis-measures real cheap. So i used a kitchen cabinet door for the pop door.
Yosef
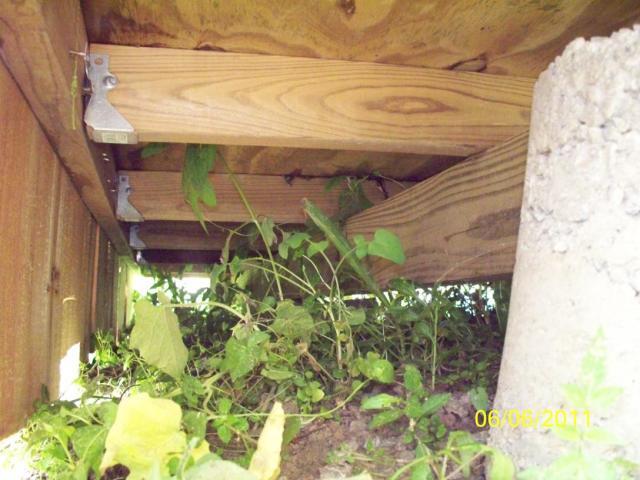
Here are some of the construction pics for the permanent coop. I didn't take many of the foundation. but it is 2 x 4 PT on 24" centers, supported by 4 x 6 PT at three intervals. On top of that is 5/8" PT plywood and on top of that is 1 x 8 rough sawn pine. Very sturdy. I bought 4 cull piles of lumber from Lowes for less then 1/2 price of the normal cost. Within the three piles was more then enough to do the foundation and later the battens on the siding and the roost and nest box materials.
Here are some pics of the foundation:
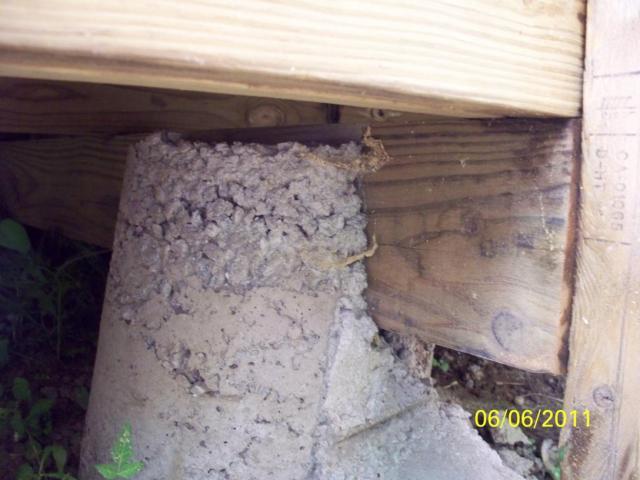
I used a Sam's Club frosting bucket (which are free) to make a concrete base for the 4 x 6's. A friend used his backhoe to tamp down the earth real good around the foundation which is 2- 8 x 12 sections sharing a center 4 x 6.
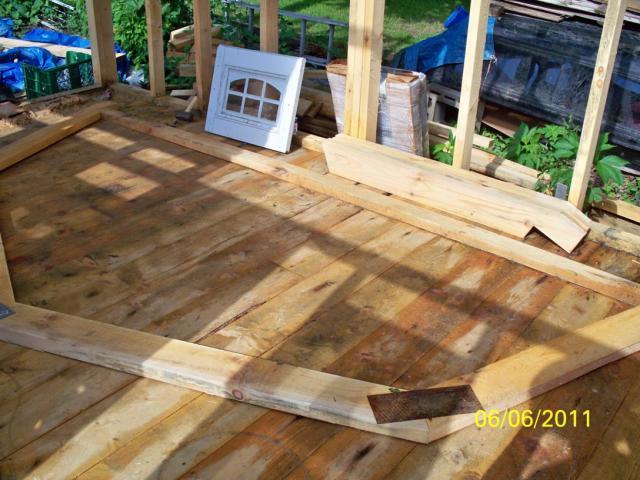
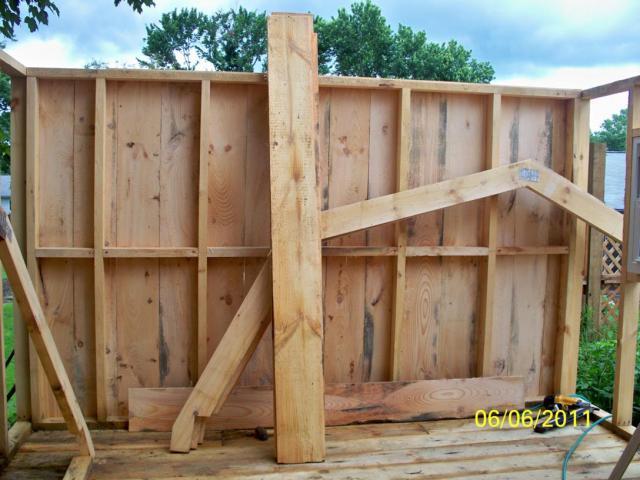
I decked it with 1 x 8's sawn by a local sawmill. the walls are 2 x 4 x 7'.
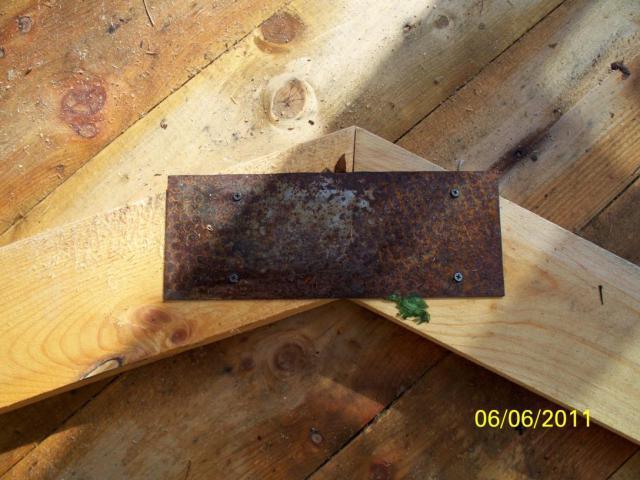
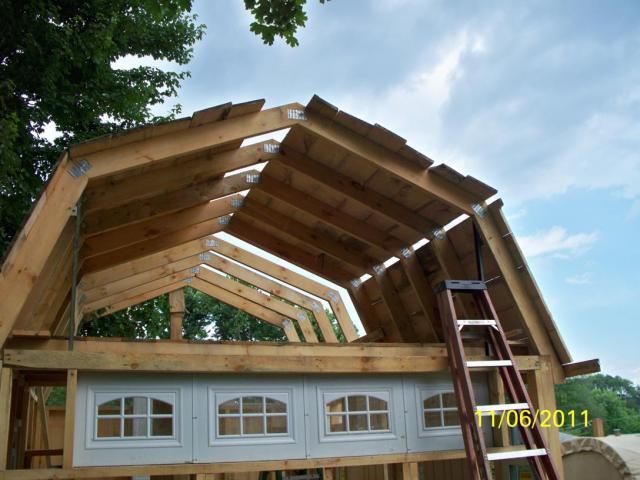
I also made a jig to make the rafters as trusses. They are made from 2 x 6 and have a center height of about 5'.
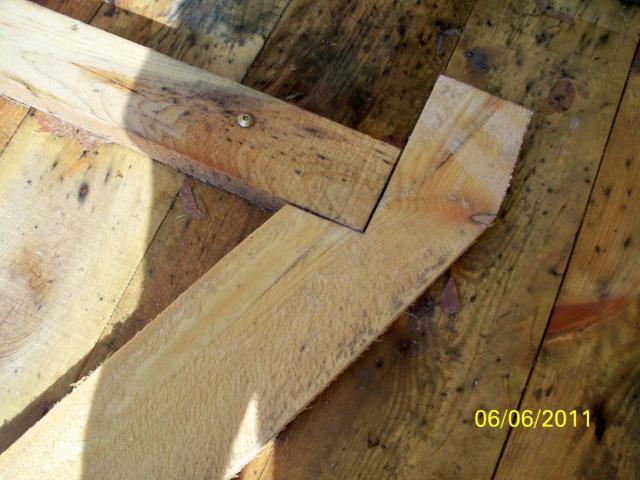
Since I often work alone, I used a piece of plate steel to hold the joint together long enough to flip it over and then use a Simpson plate tie.
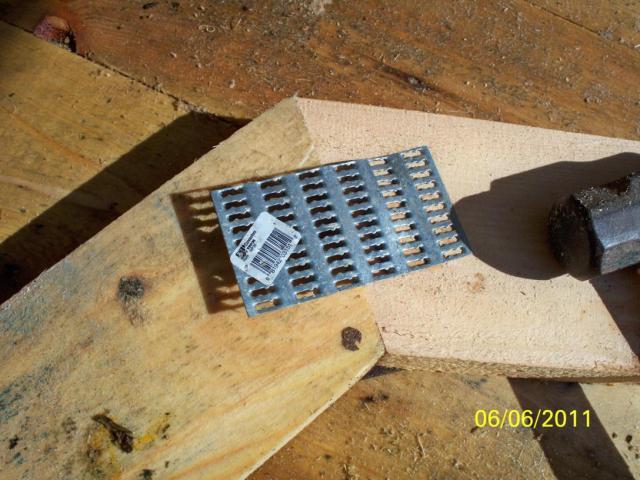
Fully assembled my DW helped hoist them up while I nailed them in place.

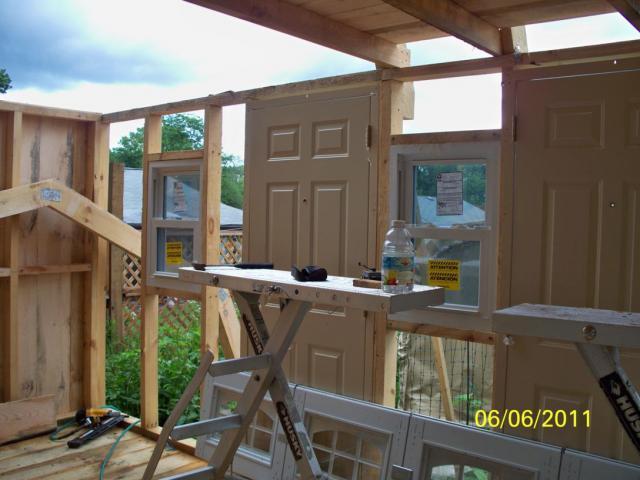
I bought a bunch of doors (which are way too nice for a coop!) for dirt cheap. The windows were free (actually hurricane glass and would be about $1200 each if purchased).
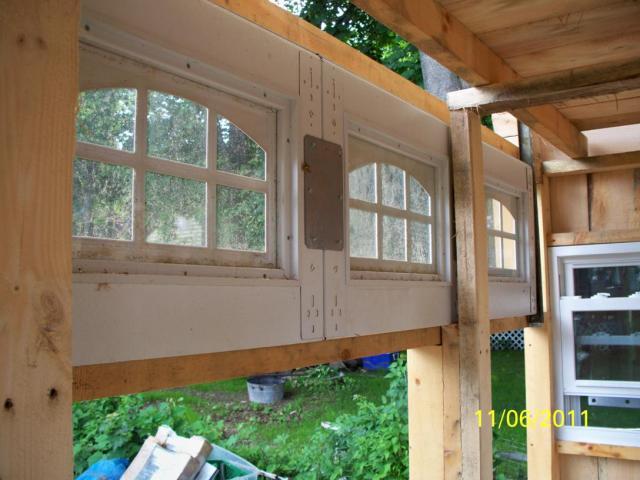
The roof is sheathed in 1 x 10 and 1 x 8 rough sawn. I took a bunch of unused garge door samples and made a one section windowed garage "door" at the 5 1/2 foot height to allow the southern exposure winter sun to shine on the nest boxes. The summer sun is blocked most of the day thanks to a very large Catalpa tree and a neighbors Oak.
I added a 2 x 4 ceiling joist and 1 x 8 loft floor. I left 5" space so the "garage door" window will lift into the loft space for ventilation.
More another day....
Yosef
I hope this post helps someone.
Well it started with some chicks I ordered and then someone gave me 5 full grown ladies. I Built 3 temporary coops out of some scrap shipping crates from a local factory. I figured I will craigslist them after the permanent coop is built and recovery some of my costs. All in all, we will have 36 hens. We will probably settle down to about 24, after getting some production out of them, and then do some meaties.
The goal is a zero dollar permanent coop. The younger kids want a "secret clubhouse" (4 kids, Megan age 20, 3 young - Chavvah age 7, Olivia age 6, Zechariah age 5) and I need a man-cave for storage and tinkering. We live on a .25 acre lot. I chose the left side of the house cause we hadn't started on that side of our fixer-upper. I like the half monitor style so I picked parts of that and also parts of a "farm barn gambrel" to accomodate a loft for storage and the secret clubhouse. I will do more on the permanent coop in a later post.
Local code only allows 140 square feet without setbacks and all kind of nonsense. My closest neighbors would rather my junk be hidden, so they aren't complaining. I made a floor plan of 12 x 16 out of 2- 8 x 12 separate buildings pushed tight together but completely separate to avoid the building inspector.
The cost for the temporary coops was the wire, fastners, paint, wheels, and some hardware. The windows, doors, wood, etc. was all extra or found. I built three different coops to house the adults, juveniles and chicks at various ages.
First one of the temporary coops. This happens to be the second coop. In the background you can see the first temp coop and the permanent one has the blue tarp covering the sheathing. The design is mostly dictated by the lumber sizes and some window sashes.
I put it on casters so I could move it around with all the construction and traffic.
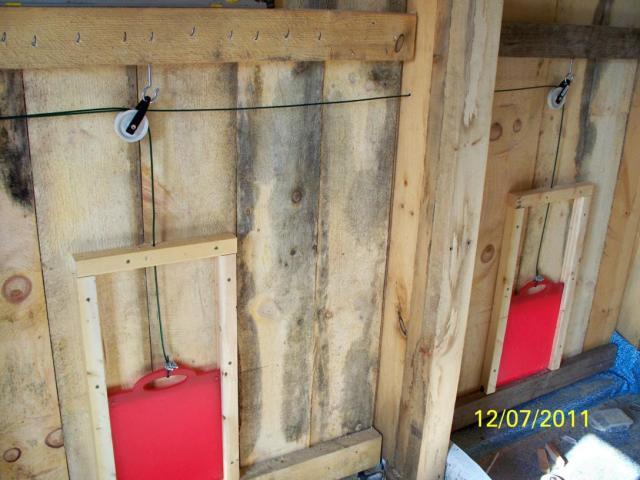
I added some roll out nest boxes made from some Sam's Club frosting buckets, which they will give as many as you need.
I wanted a "Happy Meal" drive by feed hopper so a couple of cat littler boxes back to back make a nice poop proof bin.
I used hardware cloth for the bottom and vent window. The fron opens up for cleaning, although 90% of the droppings just fall through.
The chickens have been moved out of this one, so I powerwashed it clean and posted on craigslist and hope to move it out soon.
I will post the other two as well as some of the construction photos on the main coop/mancave/secret clubhouse.
I work as a Home Improvement salesperson, so I have access to some customer job takeouts and sometimes I will buy mis-measures real cheap. So i used a kitchen cabinet door for the pop door.
Yosef
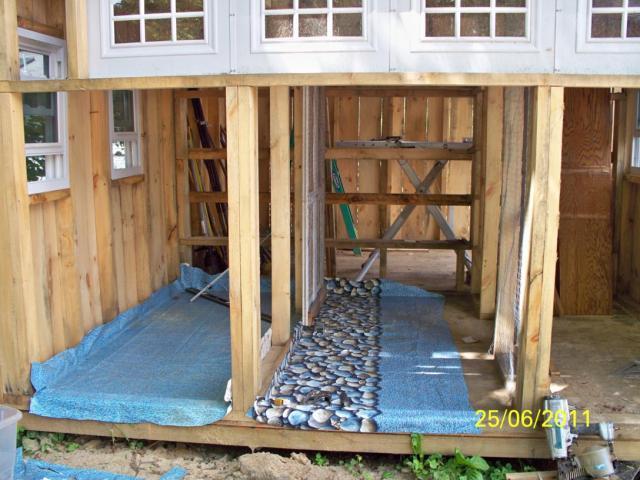
Here are some of the construction pics for the permanent coop. I didn't take many of the foundation. but it is 2 x 4 PT on 24" centers, supported by 4 x 6 PT at three intervals. On top of that is 5/8" PT plywood and on top of that is 1 x 8 rough sawn pine. Very sturdy. I bought 4 cull piles of lumber from Lowes for less then 1/2 price of the normal cost. Within the three piles was more then enough to do the foundation and later the battens on the siding and the roost and nest box materials.
Here are some pics of the foundation:
I used a Sam's Club frosting bucket (which are free) to make a concrete base for the 4 x 6's. A friend used his backhoe to tamp down the earth real good around the foundation which is 2- 8 x 12 sections sharing a center 4 x 6.
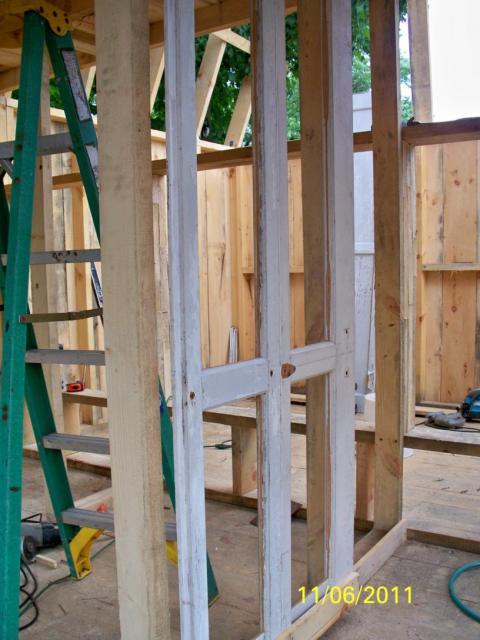
I decked it with 1 x 8's sawn by a local sawmill. the walls are 2 x 4 x 7'.
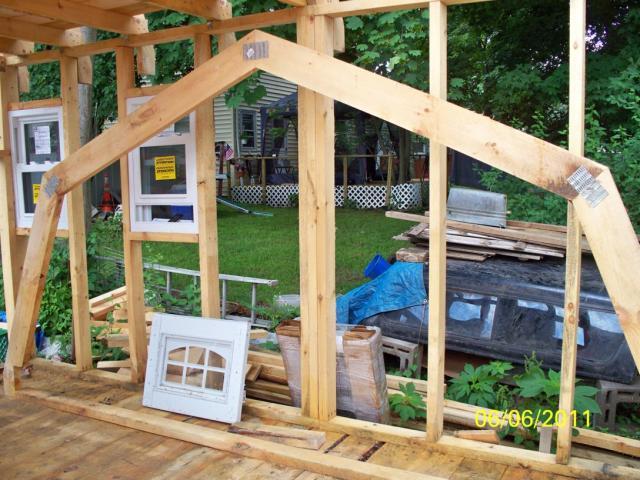
I also made a jig to make the rafters as trusses. They are made from 2 x 6 and have a center height of about 5'.
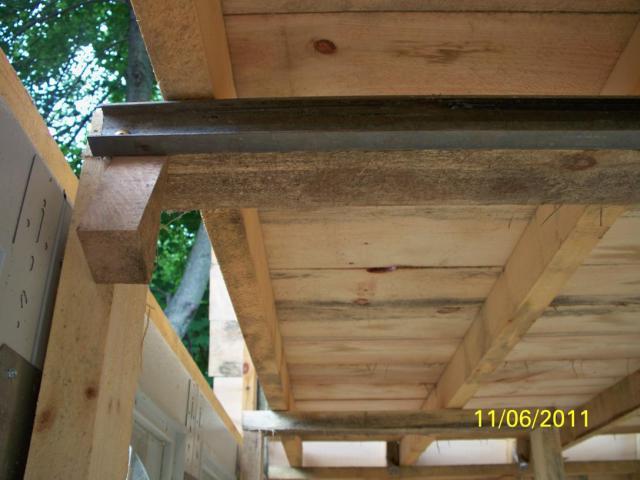
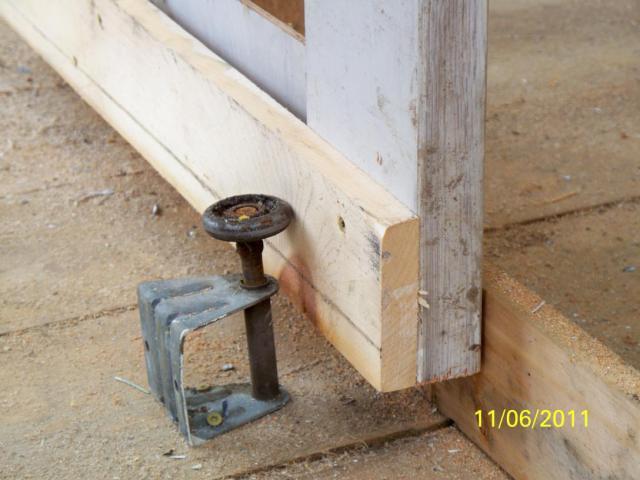
Since I often work alone, I used a piece of plate steel to hold the joint together long enough to flip it over and then use a Simpson plate tie.
Fully assembled my DW helped hoist them up while I nailed them in place.
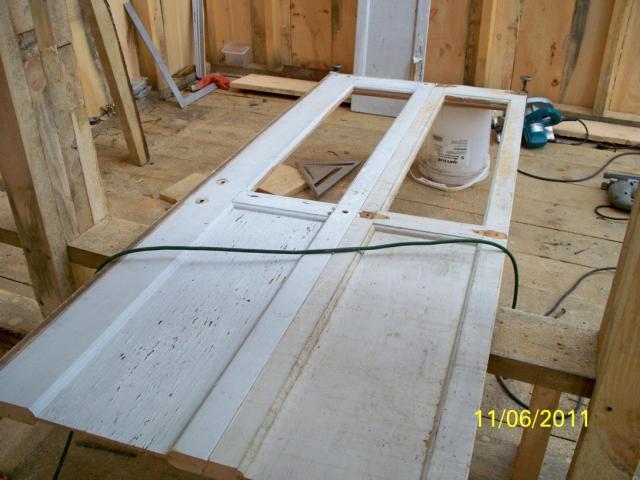
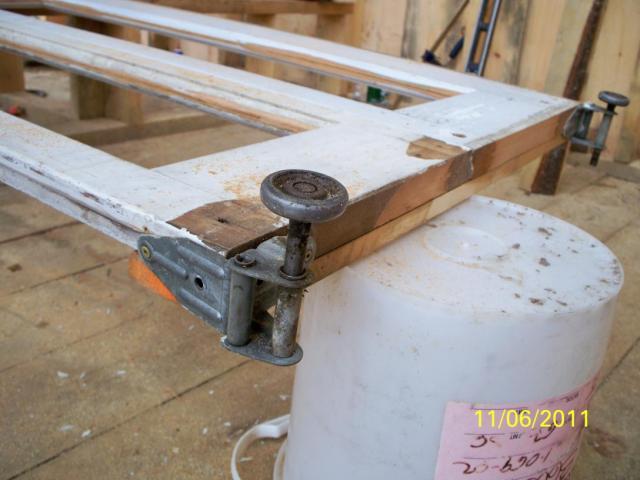
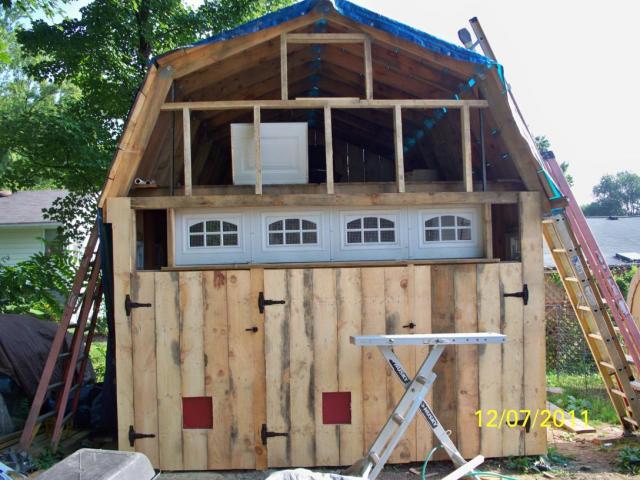
I bought a bunch of doors (which are way too nice for a coop!) for dirt cheap. The windows were free (actually hurricane glass and would be about $1200 each if purchased).
The roof is sheathed in 1 x 10 and 1 x 8 rough sawn. I took a bunch of unused garge door samples and made a one section windowed garage "door" at the 5 1/2 foot height to allow the southern exposure winter sun to shine on the nest boxes. The summer sun is blocked most of the day thanks to a very large Catalpa tree and a neighbors Oak.
I added a 2 x 4 ceiling joist and 1 x 8 loft floor. I left 5" space so the "garage door" window will lift into the loft space for ventilation.
More another day....
Yosef