November 2012 update - we lost two girls over the thanksgiving weekend to a Cooper's Hawk. He almost killed our Salmon Faverolle (named Sammy of course) but I shooshed him/her away. The hawk plucked almost all of the hairs off Sammy's neck. So now the chicken yard is 100% enclosed in chicken wire. This is a picture of the hawk taken with a zoom lense. Mean bugger.

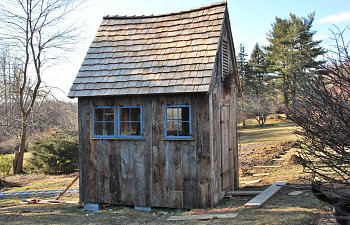
The Huhn Hut is a 10' x 8' chicken coop I built for my wife to house 12-15 chickens. We purchased an old farm in northern Bucks County last summer and wanted our new cooop to blend with our 1780 farmhouse and 1800 barn. The goal was to create a coop that looked like it has been a part of the property for a very long time. The design was inspired by Kriquet's Kyckling Tradgard which was inspired by Chicky Schnoodle Shack which was inspired by Cezanne's Coop design. The swoopy roof was a key part of the Hansel & Gretel design and we decided on a 5' 6" rise to match the substantial size of the coop. The cedar shakes are premium grade 18" x 7/8" tapersawn red cedar shakes that we purchased on Craigslist from a Russian roofer for $200. The siding is reclaimed hemlock from a 1900 collapsed barn in the Adirondacks, and the windowns are also reclaimed from the same barn (free...they were heading to a landfill). The front and back doors are 1800s barn doors from our property and they were hung with old fashioned pintles from a Architectural Antiques in Bucks County. The rake in the gable is constructed with spare rafters we found in our barn, and the front door surround is made of old hand-hewn chestnut beams also from our barn. Except for the shakes and $20 for pintles the entire exterior is from reclaimed (free) materials.
A 20' x 20' chicken run will be on one side of the coop and a large garden will be on the other side. We'll be able to open the pop door to let the chickens graze the garden for bugs. Our compost area is out the back of the coop. The entire garden/run is being fenced with rough cedar posts and deer fencing.
Our chicks arrive April 2.
The collapsed barn in the Adirondacks.
The foundation is set on concrete blocks on compacted gravel pads dug 6" deep. The land has a gentle slope so it took some time to get the foundation level.
That's my Swissy Gus on the new decking.
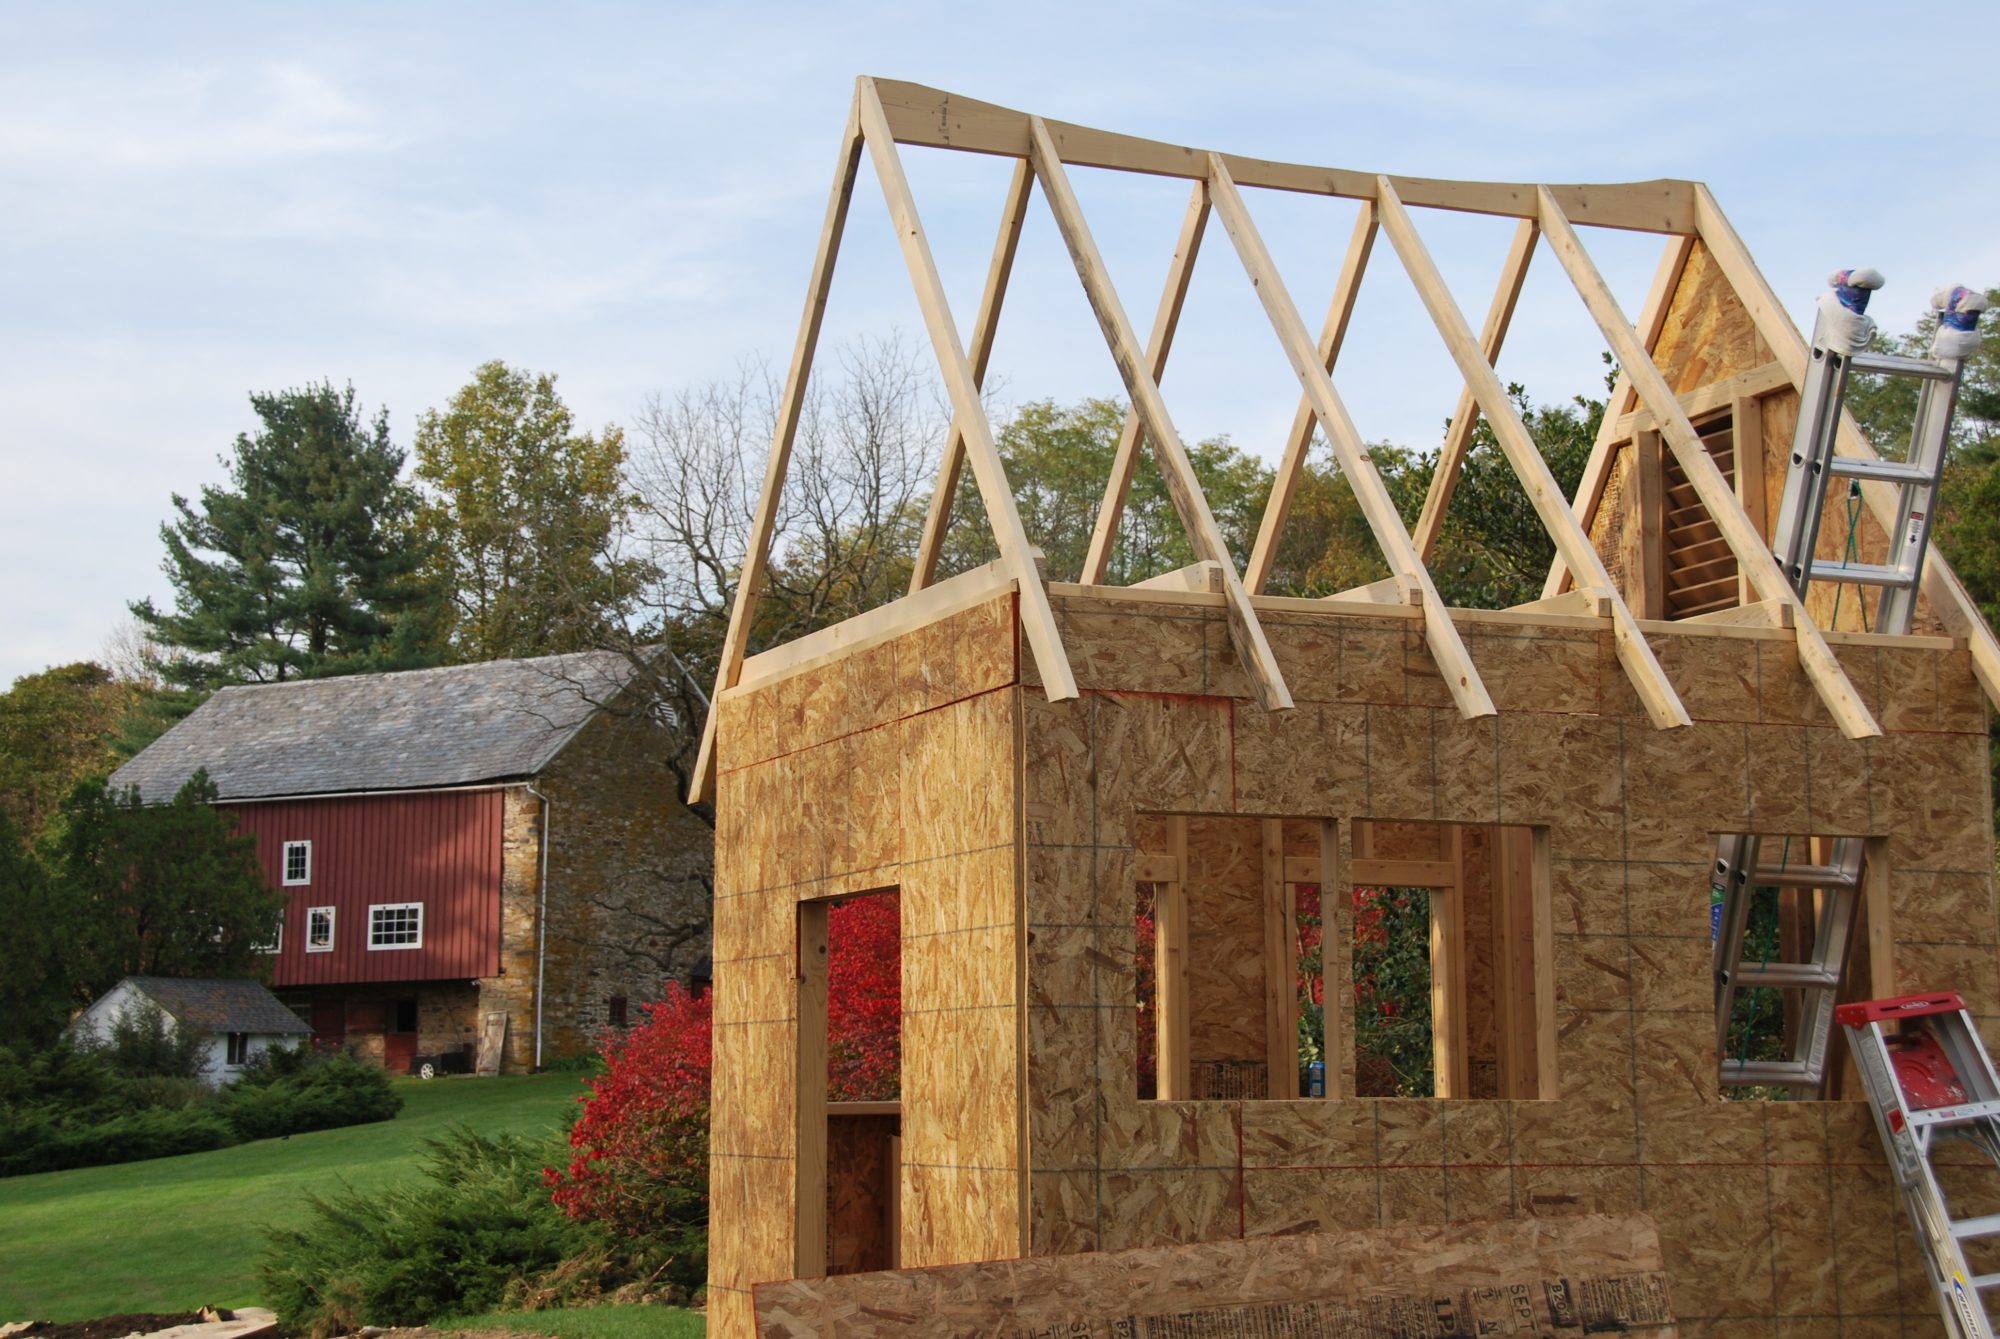
All four walls are framed and the front door is framed with old barn beams. Ready for the roof. The walls are sheathed in
OSB panels.
Framing the roof at sunset.
Everything started to get more complicated with the swoop in the roof. Each rafter had a different angle cut, and the roof sheathing also needed to bend. It basically meant there were very few 90 deg cuts.
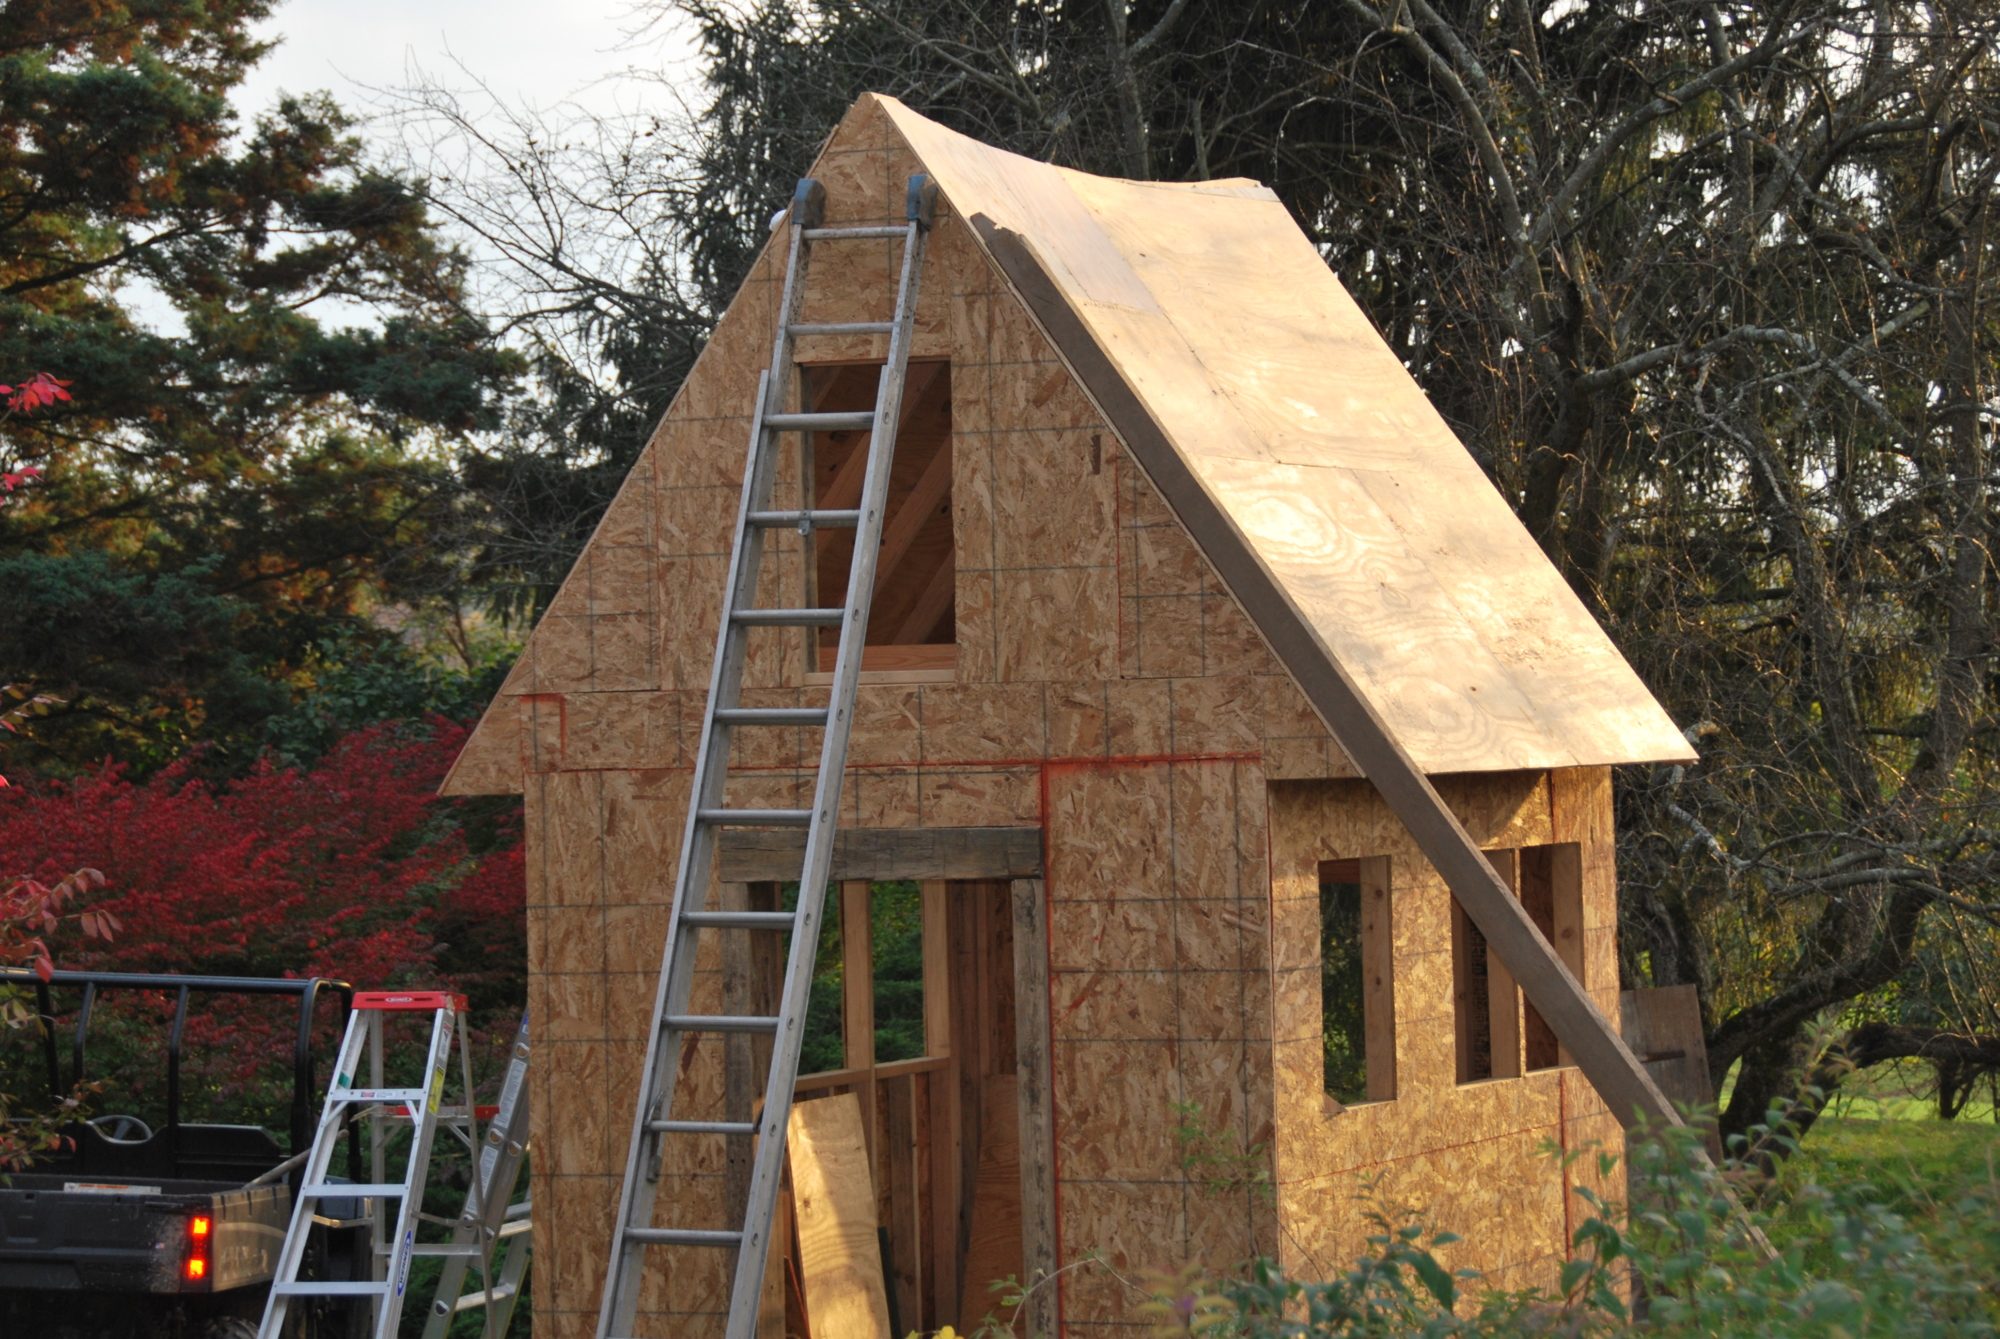
You can see the bend in the roof now that the plywood sheathing is up. The front and back gables have large vents. There is also a ridge vent so that we have adequate ventilation. One of the old rafters is leaning on the roof, and I'll use it as a rake (hope I have my roofing terms right.)
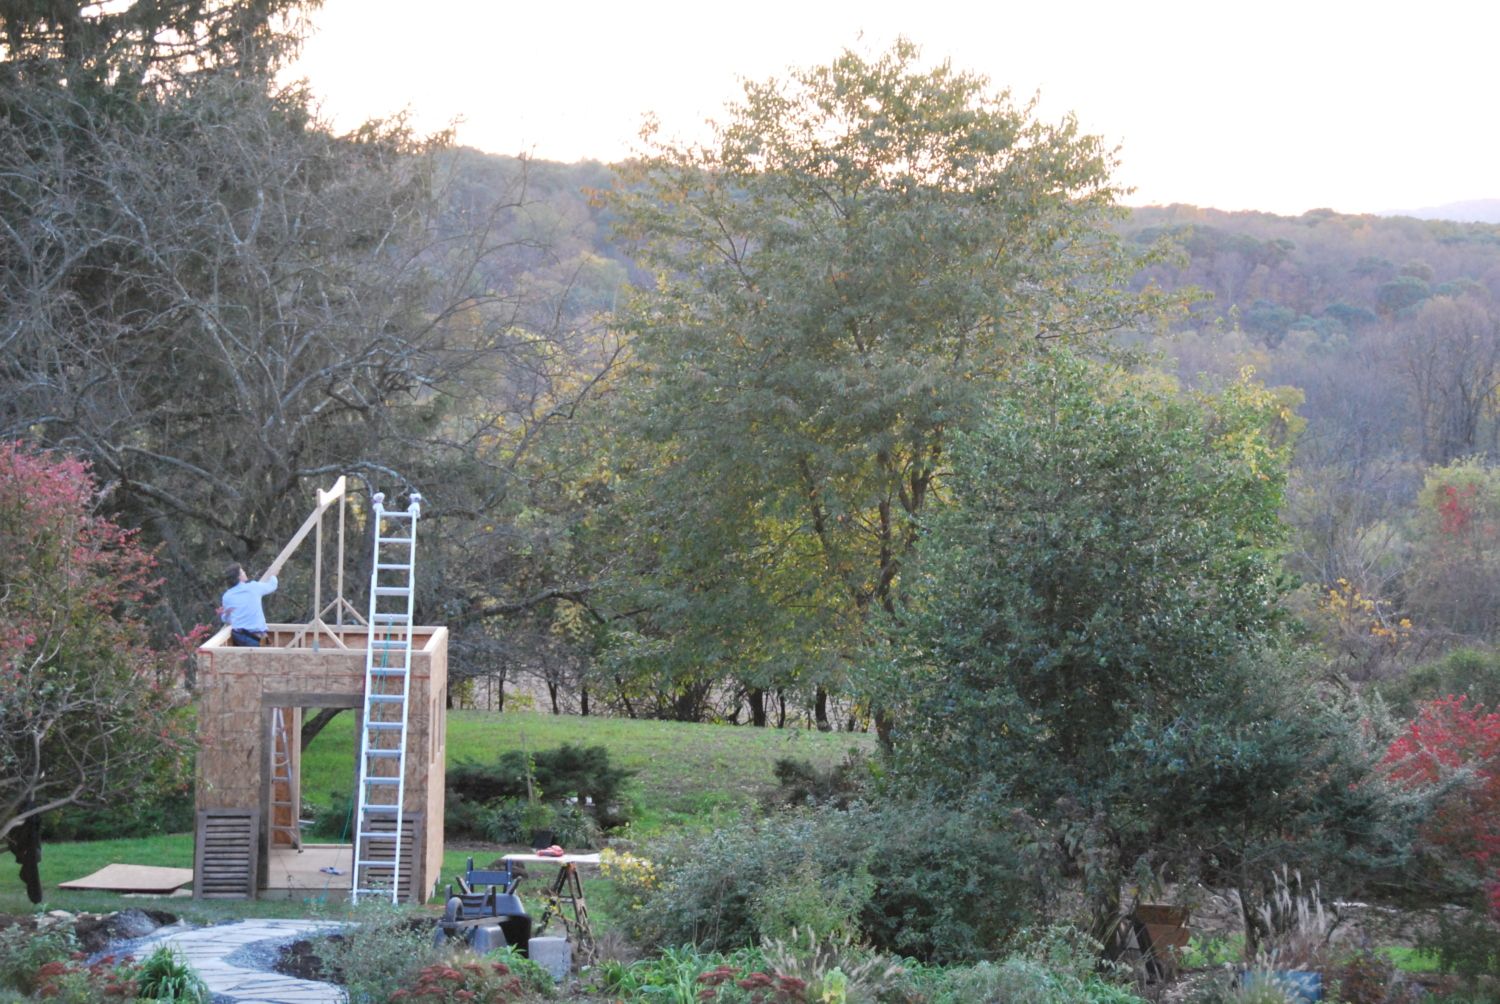
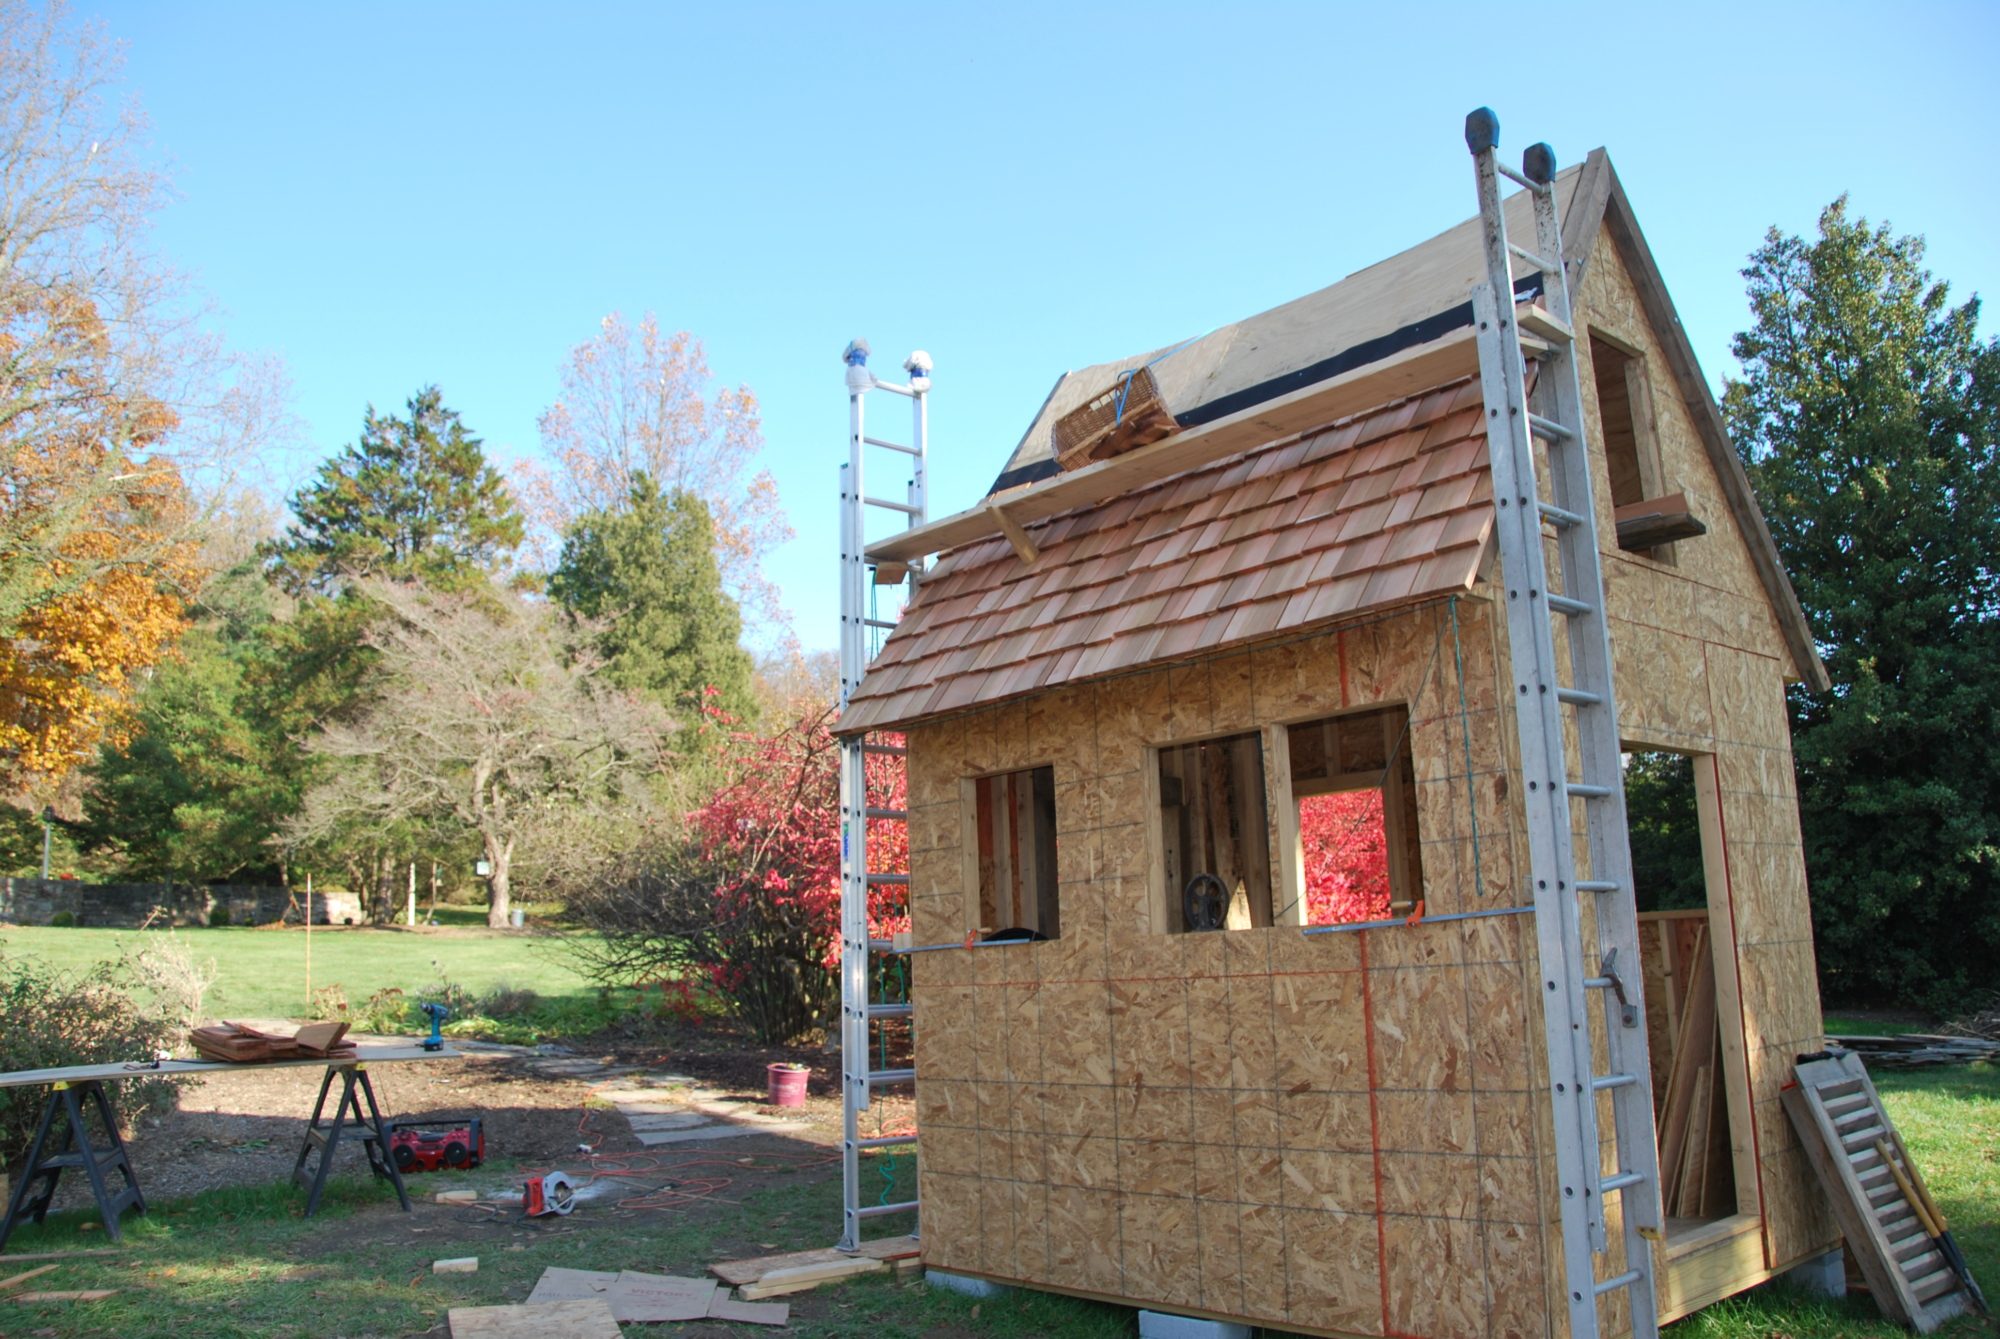
Time to put up the cedar shakes! I needed to make my own scaffolding because the ladders wouldn't reach the top. And the steep pitch (16 in 12) made it impossible to stand on the roof. This was my least favorite part of the entire project and I destroyed my elbows and shoulders going up and down the ladders with shakes.
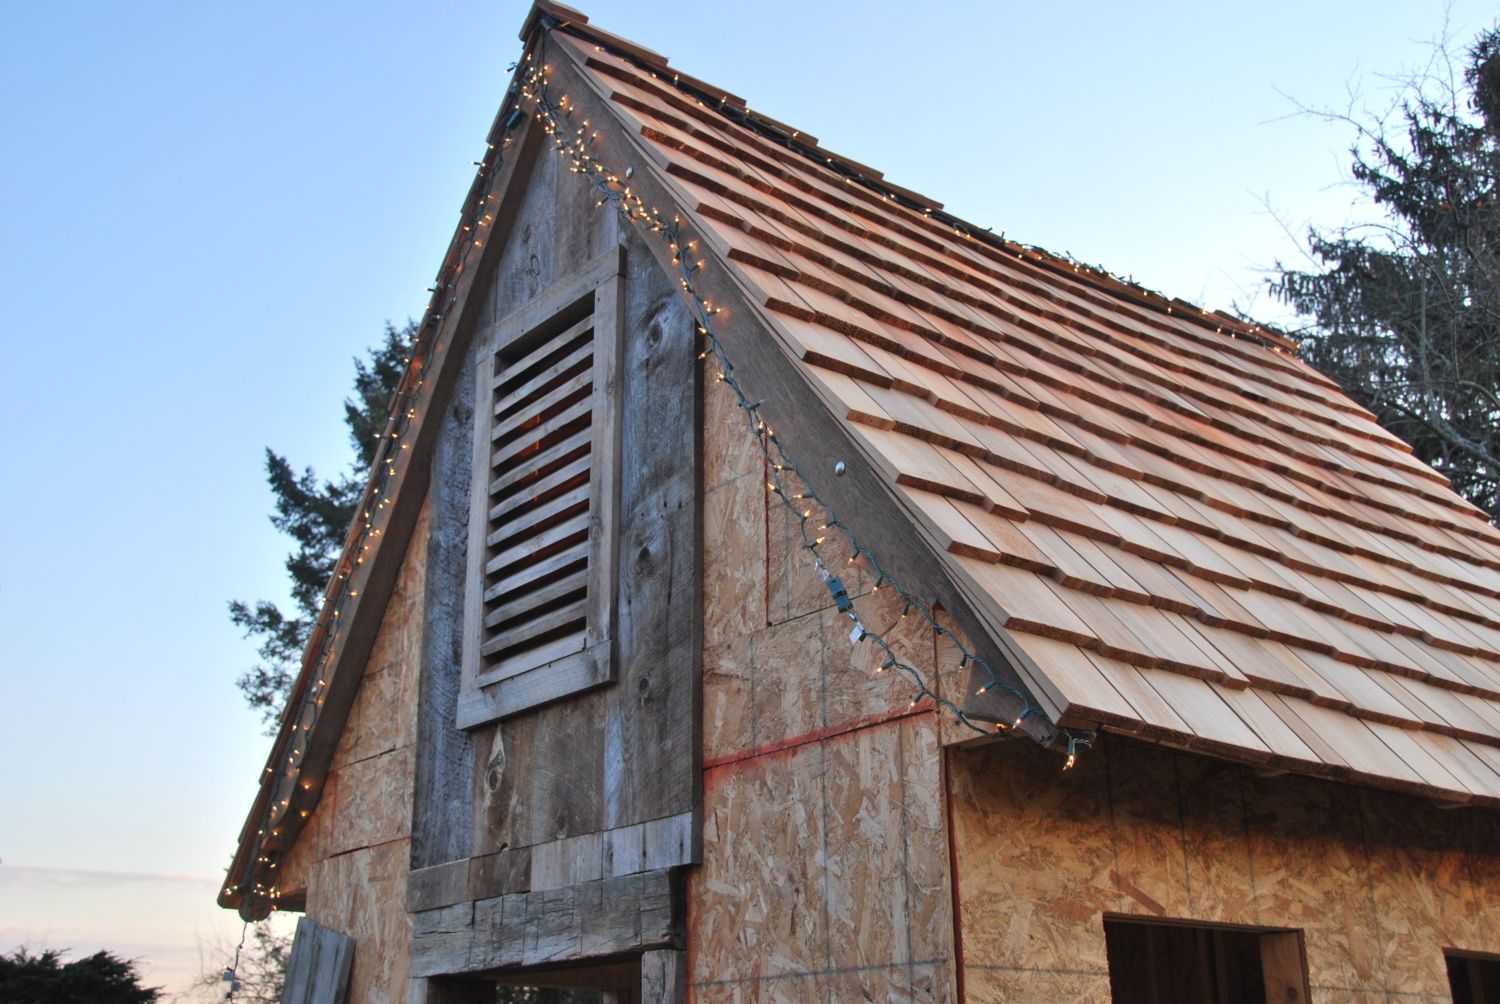
The cedar roof is done and the coop is ready for the siding. I used a 9" Trimline ridge vent, although I am not sure I would do it again. This was my first roof so I have no idea what I'm doing, and the cut for the vent was more difficult than I expected. It's solid and water tight though. The old roof rafter is supposed to look like it's part of the structure but in reality it is just a cosmetic piece of trim. The siding is 1" thick and is flush with the front door surround.
The front door is hung on reclaimed pintles that are driven 6" into the old beams. It took sorting through over 100 pintles to find the two that fit on our old barn door.
Still some minor work left but the exterior is finished.
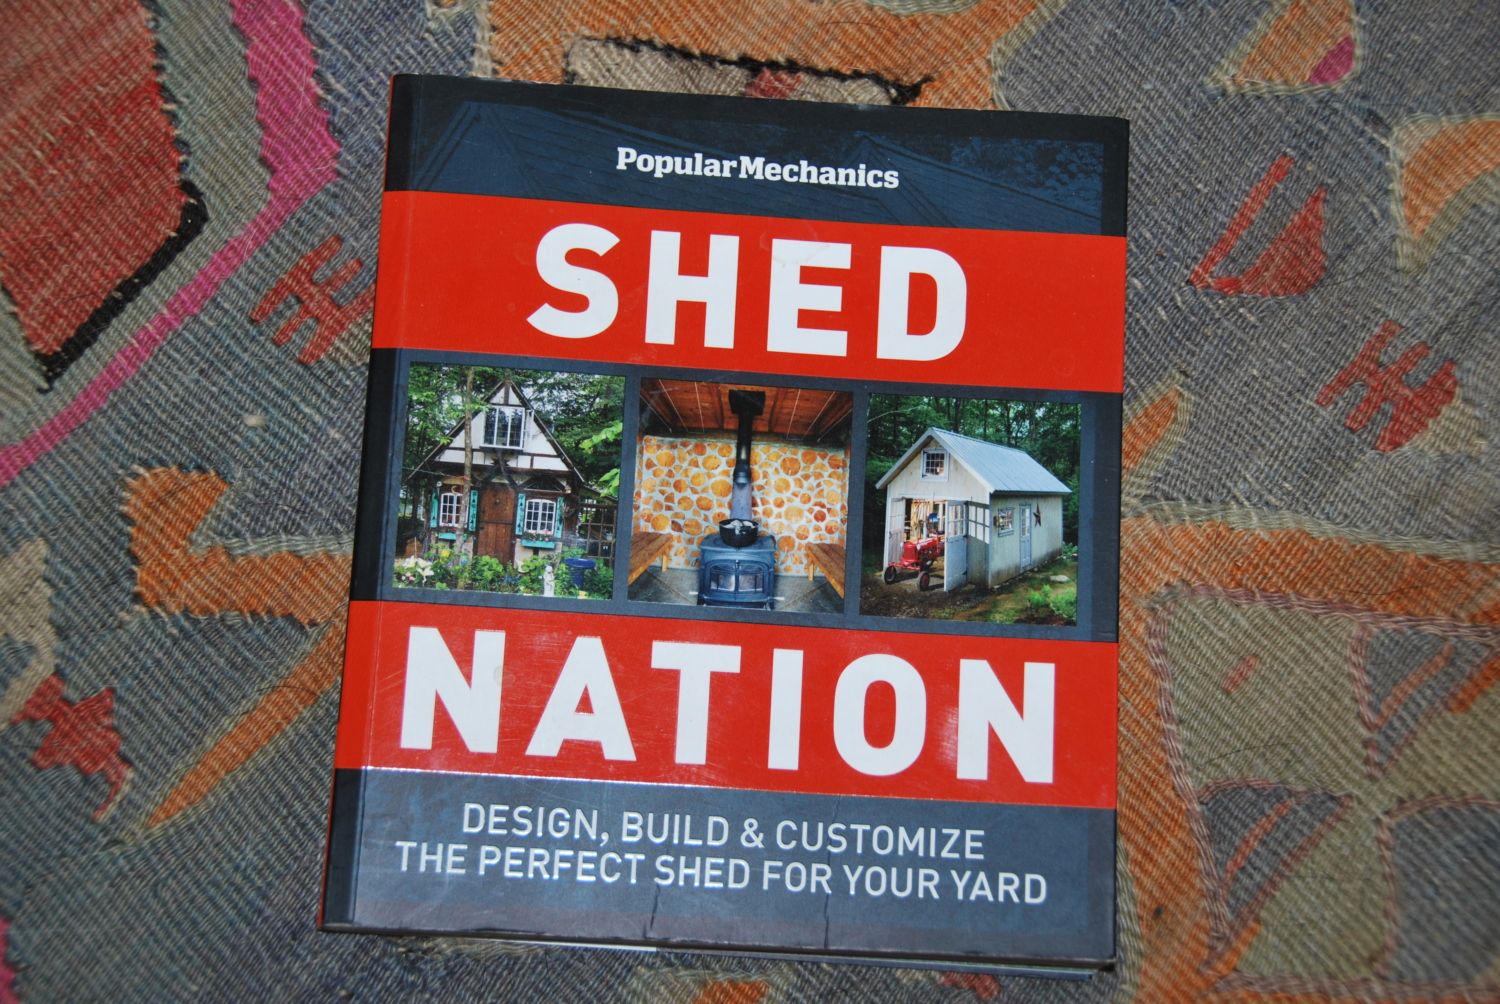
This book was a huge help since we were making something a bit more custom. I would highly recommend buying this book if you are building anything bigger and 4x6.
Just finished cutting the stones for the floor. I know it's not a traditional coop floor material but we wanted something nonpermeable and long lasting. We found the stones in a pile on the property so they were also free. They're going down on top of 1/2" Wonderboard on top of 3/4" plywood.
Free Pennsylvania bluestone!
Digging an apron for chicken wire. The fence goes around the chicken run and a vegetable garden so we need to protect against predators and lettuce munchers.
The floor is done and Gus approves. Ah, cool.
We put the deer fencing up today.
The Huhn Hut is a 10' x 8' chicken coop I built for my wife to house 12-15 chickens. We purchased an old farm in northern Bucks County last summer and wanted our new cooop to blend with our 1780 farmhouse and 1800 barn. The goal was to create a coop that looked like it has been a part of the property for a very long time. The design was inspired by Kriquet's Kyckling Tradgard which was inspired by Chicky Schnoodle Shack which was inspired by Cezanne's Coop design. The swoopy roof was a key part of the Hansel & Gretel design and we decided on a 5' 6" rise to match the substantial size of the coop. The cedar shakes are premium grade 18" x 7/8" tapersawn red cedar shakes that we purchased on Craigslist from a Russian roofer for $200. The siding is reclaimed hemlock from a 1900 collapsed barn in the Adirondacks, and the windowns are also reclaimed from the same barn (free...they were heading to a landfill). The front and back doors are 1800s barn doors from our property and they were hung with old fashioned pintles from a Architectural Antiques in Bucks County. The rake in the gable is constructed with spare rafters we found in our barn, and the front door surround is made of old hand-hewn chestnut beams also from our barn. Except for the shakes and $20 for pintles the entire exterior is from reclaimed (free) materials.
A 20' x 20' chicken run will be on one side of the coop and a large garden will be on the other side. We'll be able to open the pop door to let the chickens graze the garden for bugs. Our compost area is out the back of the coop. The entire garden/run is being fenced with rough cedar posts and deer fencing.
Our chicks arrive April 2.

The collapsed barn in the Adirondacks.
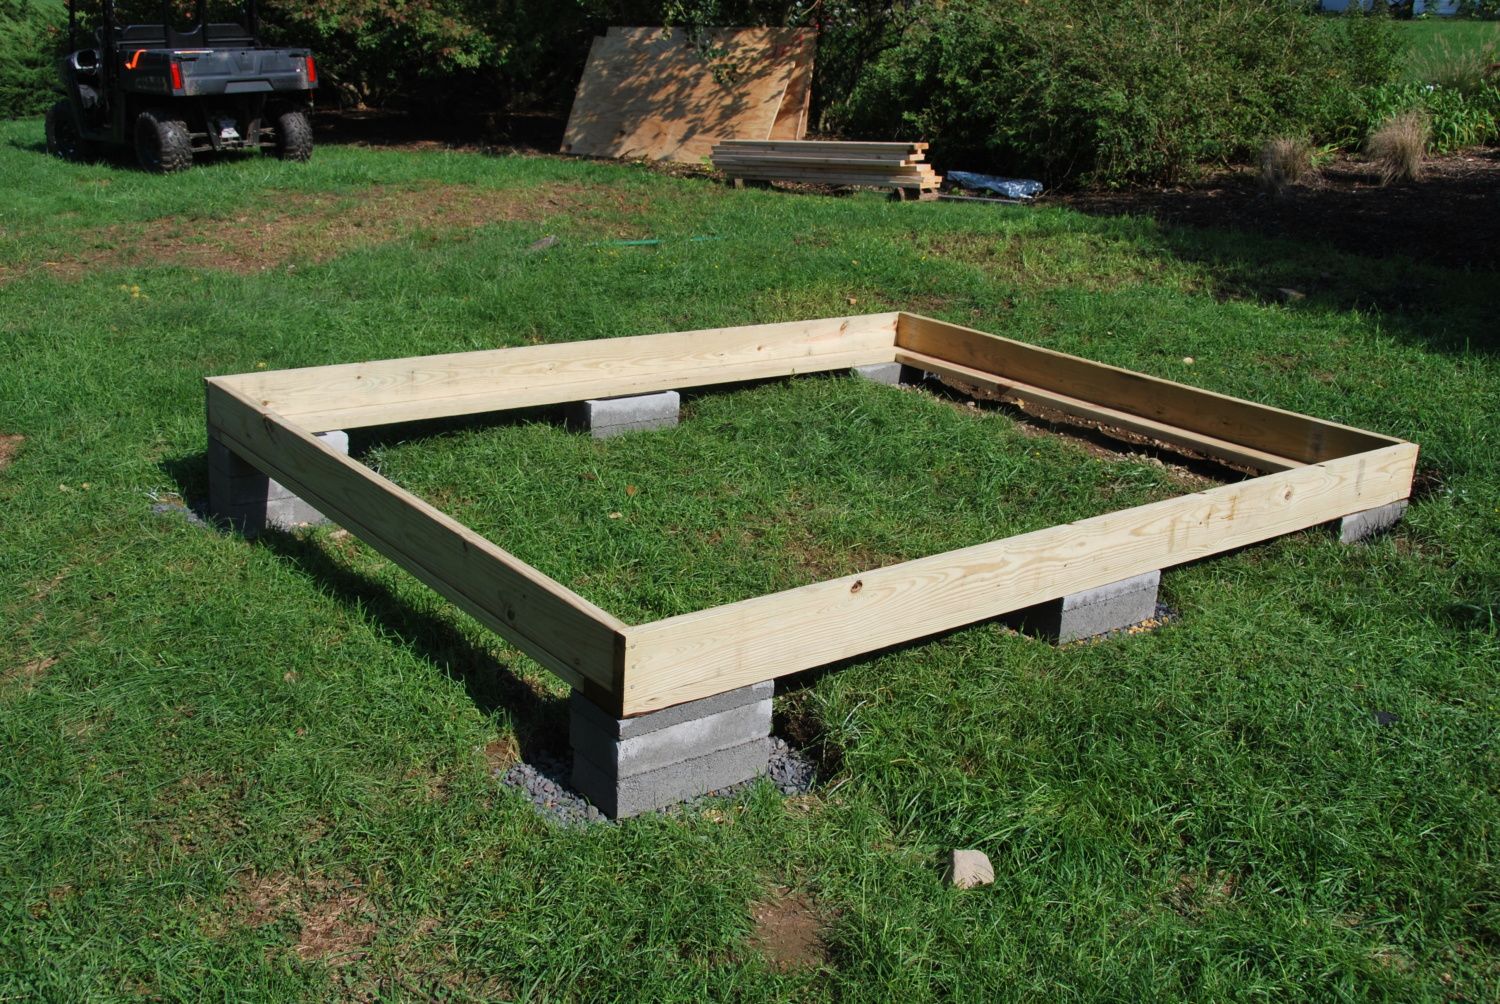
The foundation is set on concrete blocks on compacted gravel pads dug 6" deep. The land has a gentle slope so it took some time to get the foundation level.
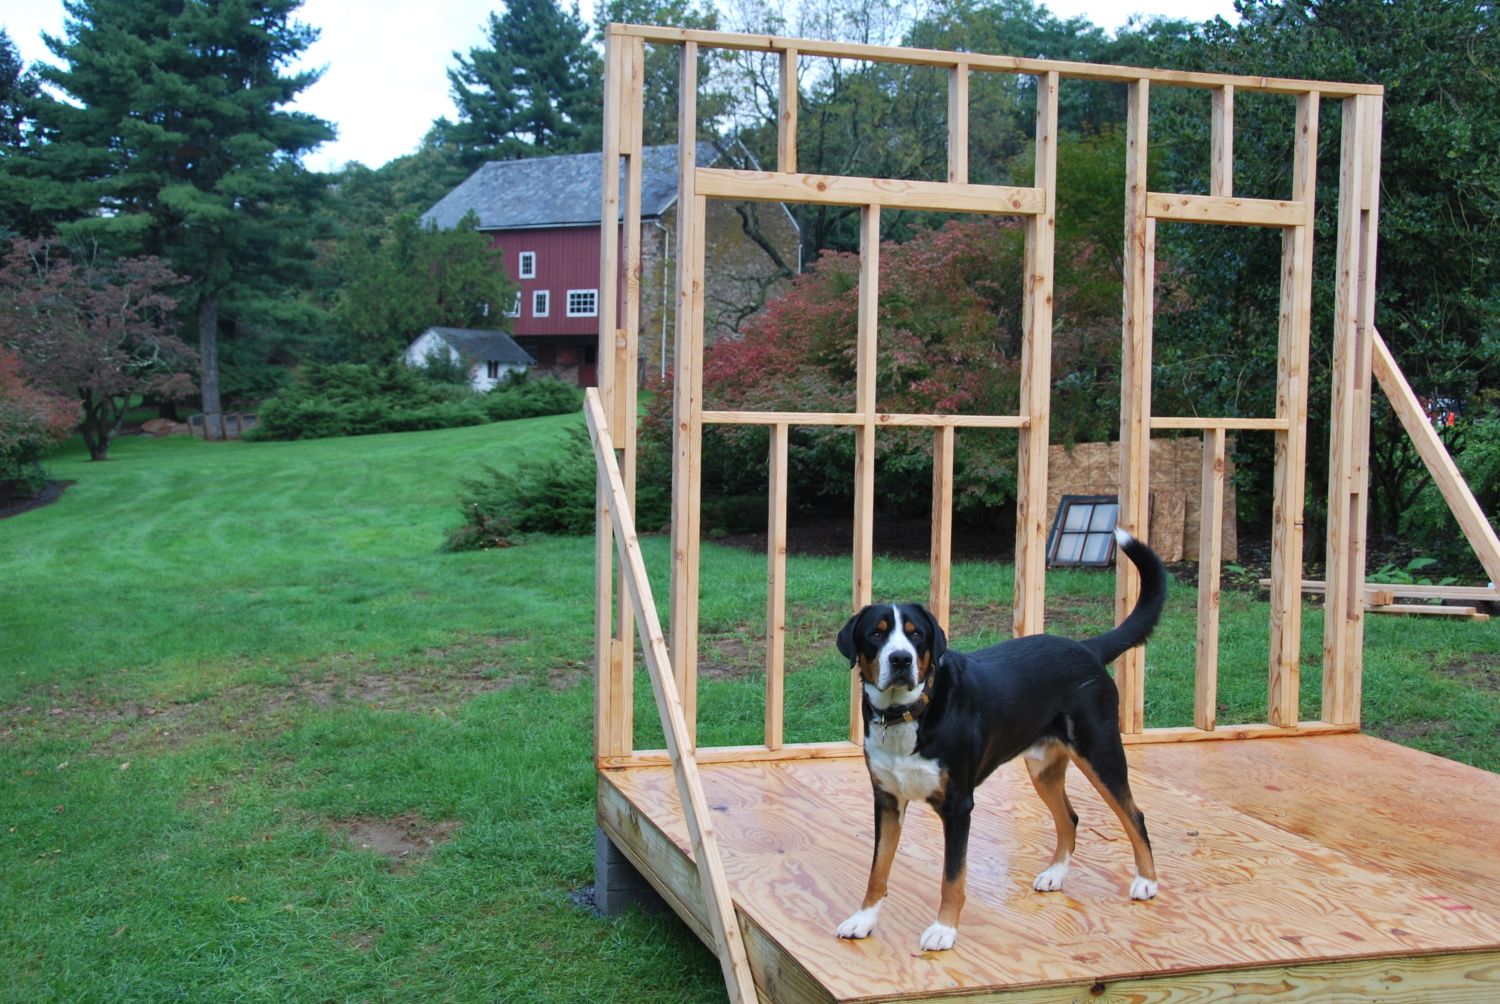
That's my Swissy Gus on the new decking.

All four walls are framed and the front door is framed with old barn beams. Ready for the roof. The walls are sheathed in
OSB panels.
Framing the roof at sunset.
Everything started to get more complicated with the swoop in the roof. Each rafter had a different angle cut, and the roof sheathing also needed to bend. It basically meant there were very few 90 deg cuts.
You can see the bend in the roof now that the plywood sheathing is up. The front and back gables have large vents. There is also a ridge vent so that we have adequate ventilation. One of the old rafters is leaning on the roof, and I'll use it as a rake (hope I have my roofing terms right.)
Time to put up the cedar shakes! I needed to make my own scaffolding because the ladders wouldn't reach the top. And the steep pitch (16 in 12) made it impossible to stand on the roof. This was my least favorite part of the entire project and I destroyed my elbows and shoulders going up and down the ladders with shakes.
The cedar roof is done and the coop is ready for the siding. I used a 9" Trimline ridge vent, although I am not sure I would do it again. This was my first roof so I have no idea what I'm doing, and the cut for the vent was more difficult than I expected. It's solid and water tight though. The old roof rafter is supposed to look like it's part of the structure but in reality it is just a cosmetic piece of trim. The siding is 1" thick and is flush with the front door surround.
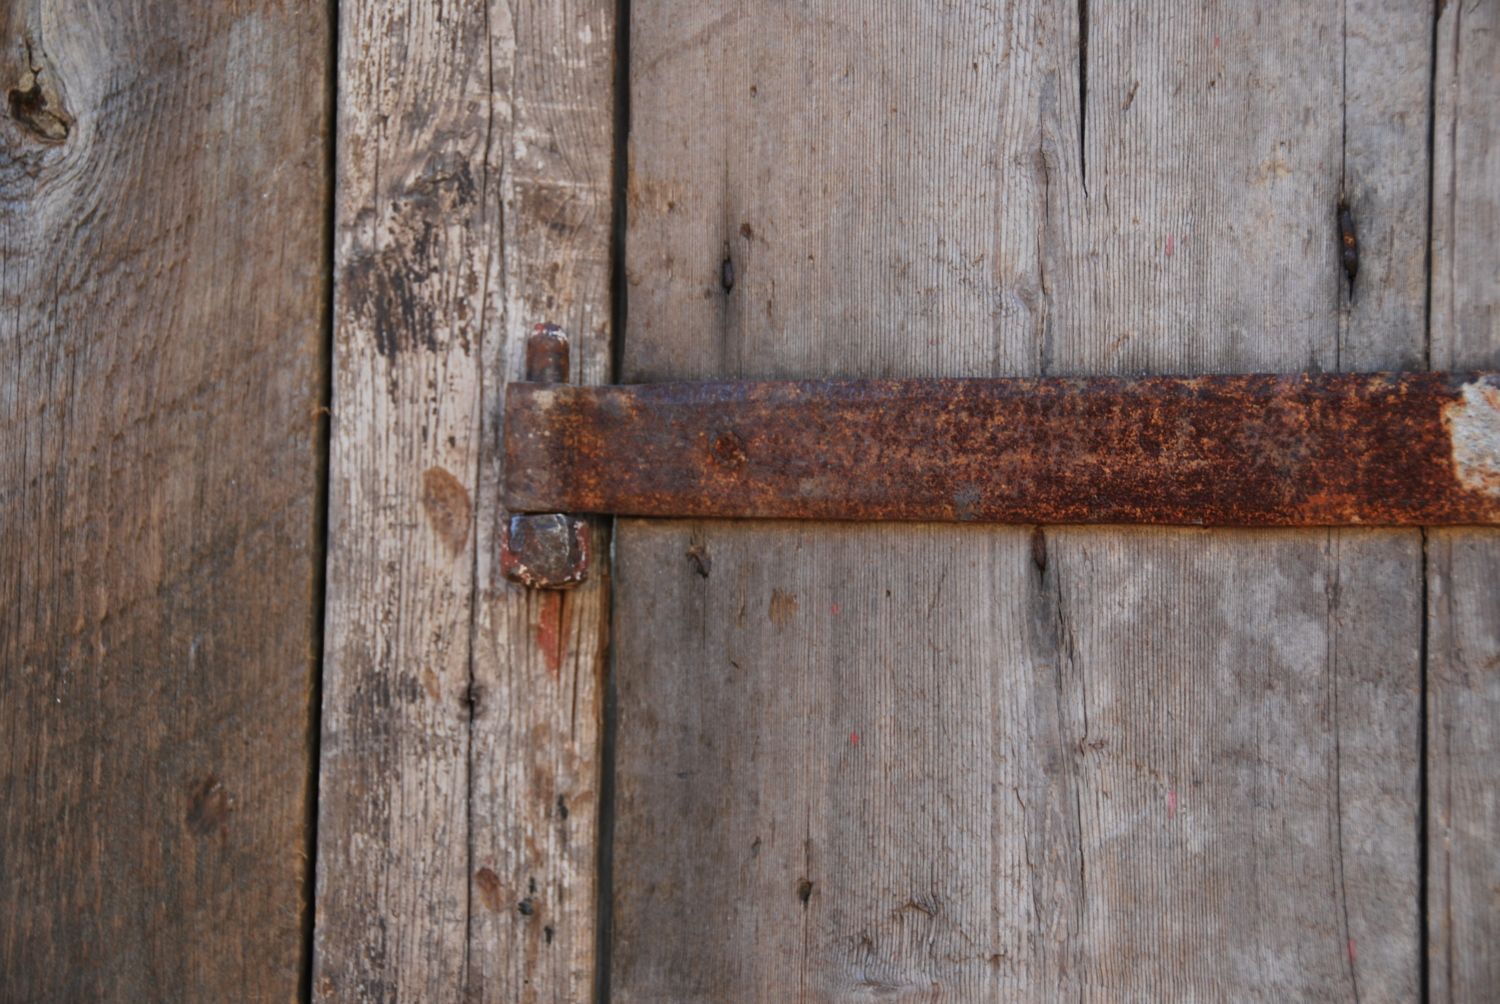
The front door is hung on reclaimed pintles that are driven 6" into the old beams. It took sorting through over 100 pintles to find the two that fit on our old barn door.
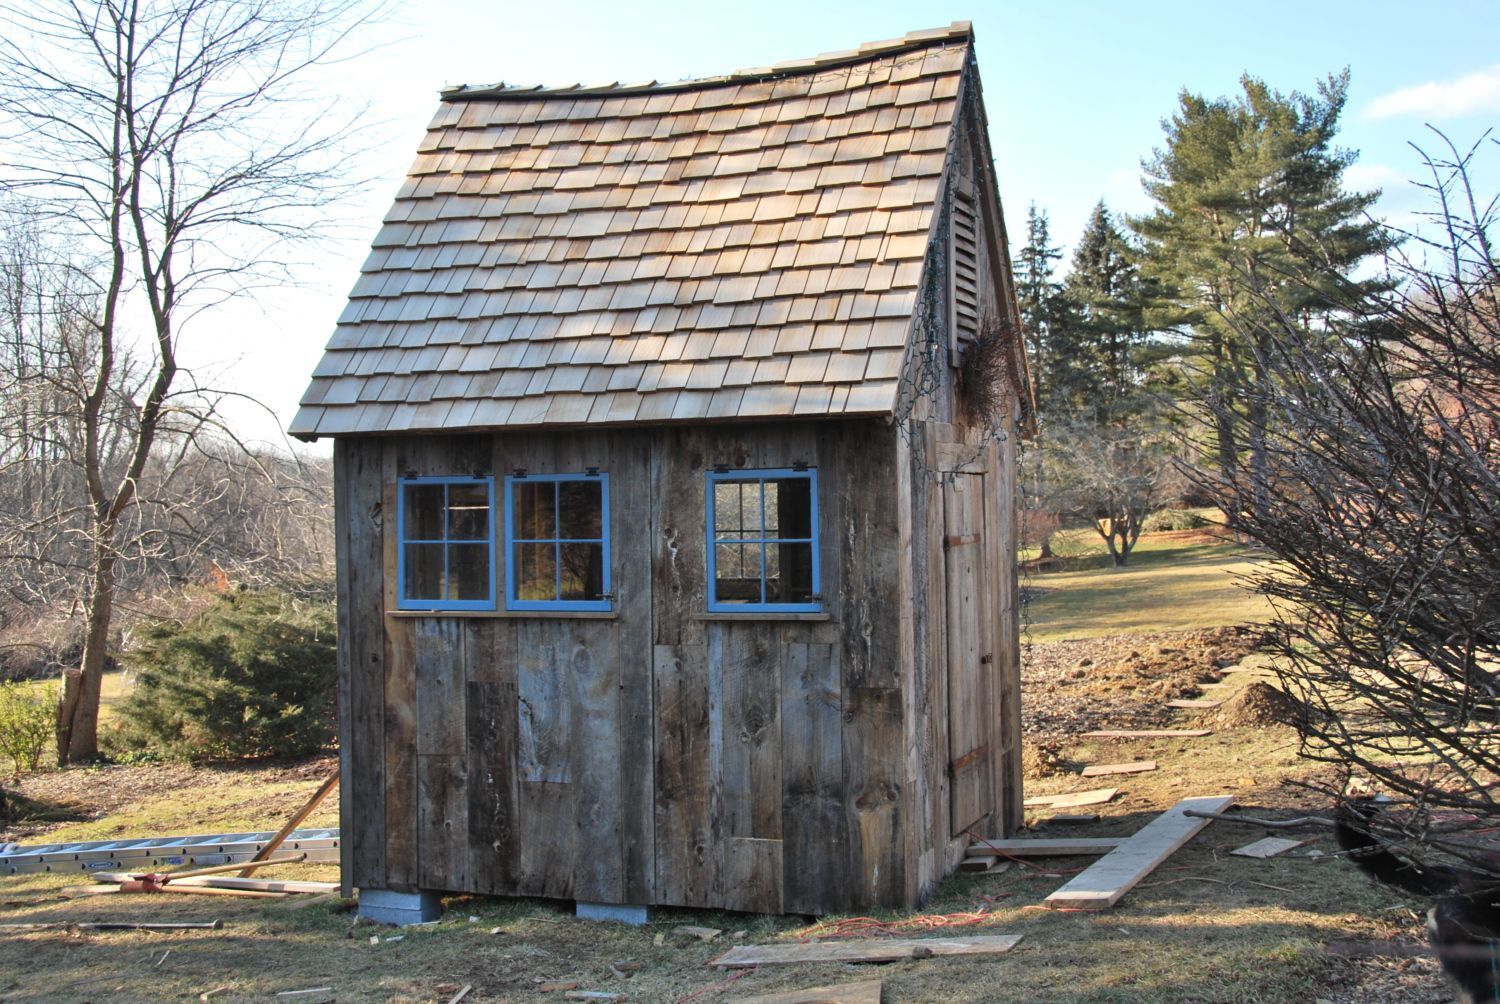
Still some minor work left but the exterior is finished.
This book was a huge help since we were making something a bit more custom. I would highly recommend buying this book if you are building anything bigger and 4x6.
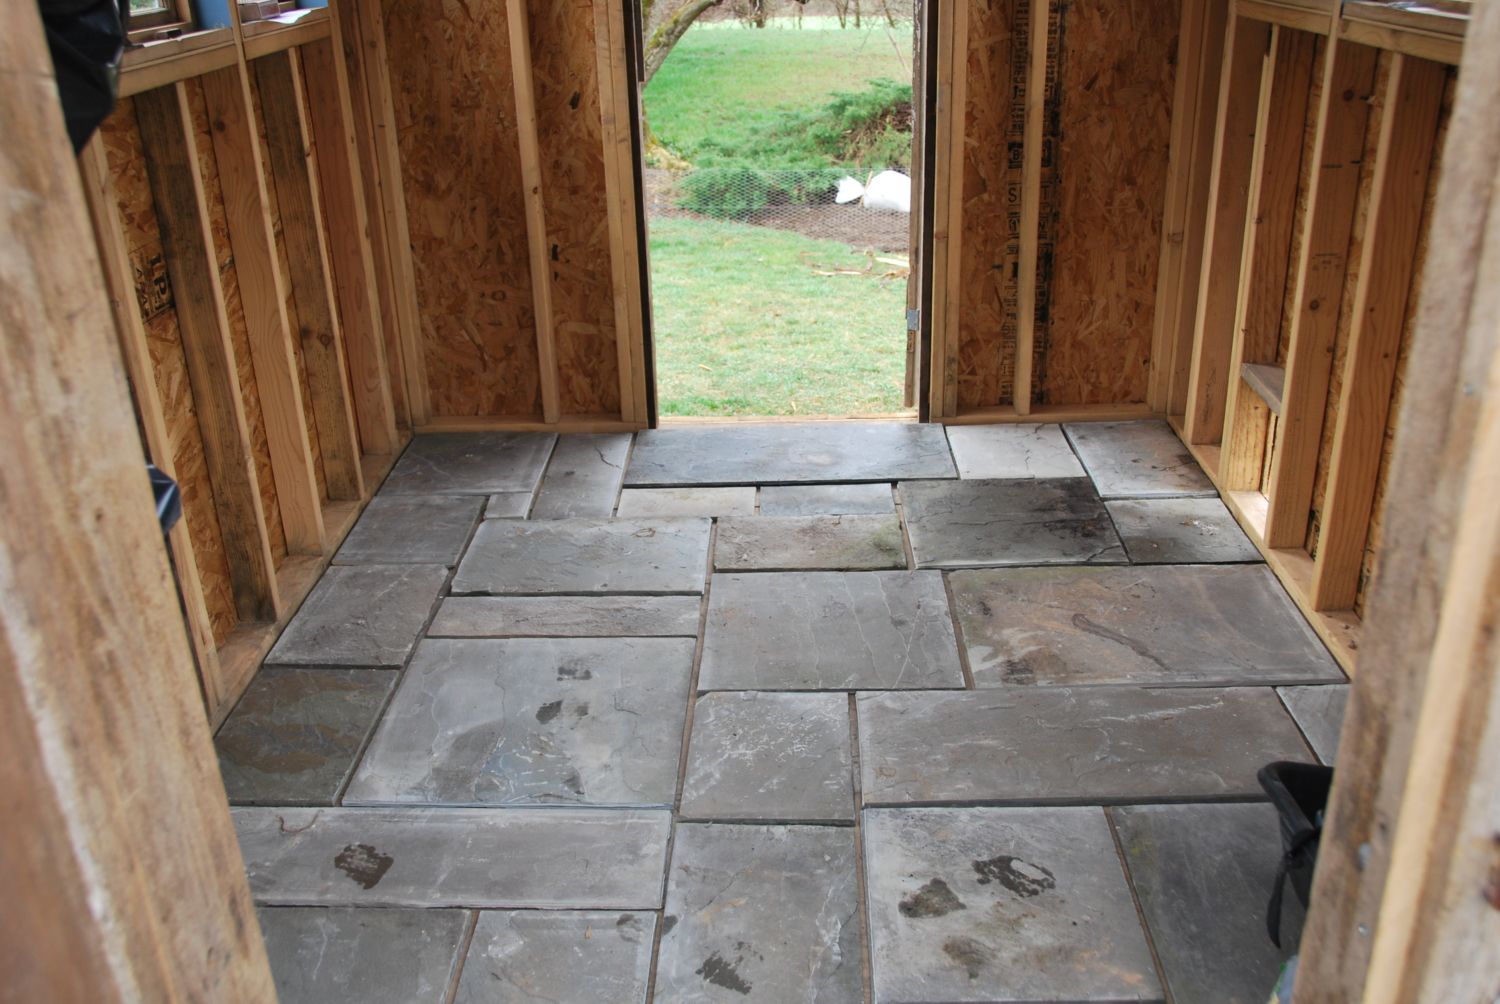
Just finished cutting the stones for the floor. I know it's not a traditional coop floor material but we wanted something nonpermeable and long lasting. We found the stones in a pile on the property so they were also free. They're going down on top of 1/2" Wonderboard on top of 3/4" plywood.
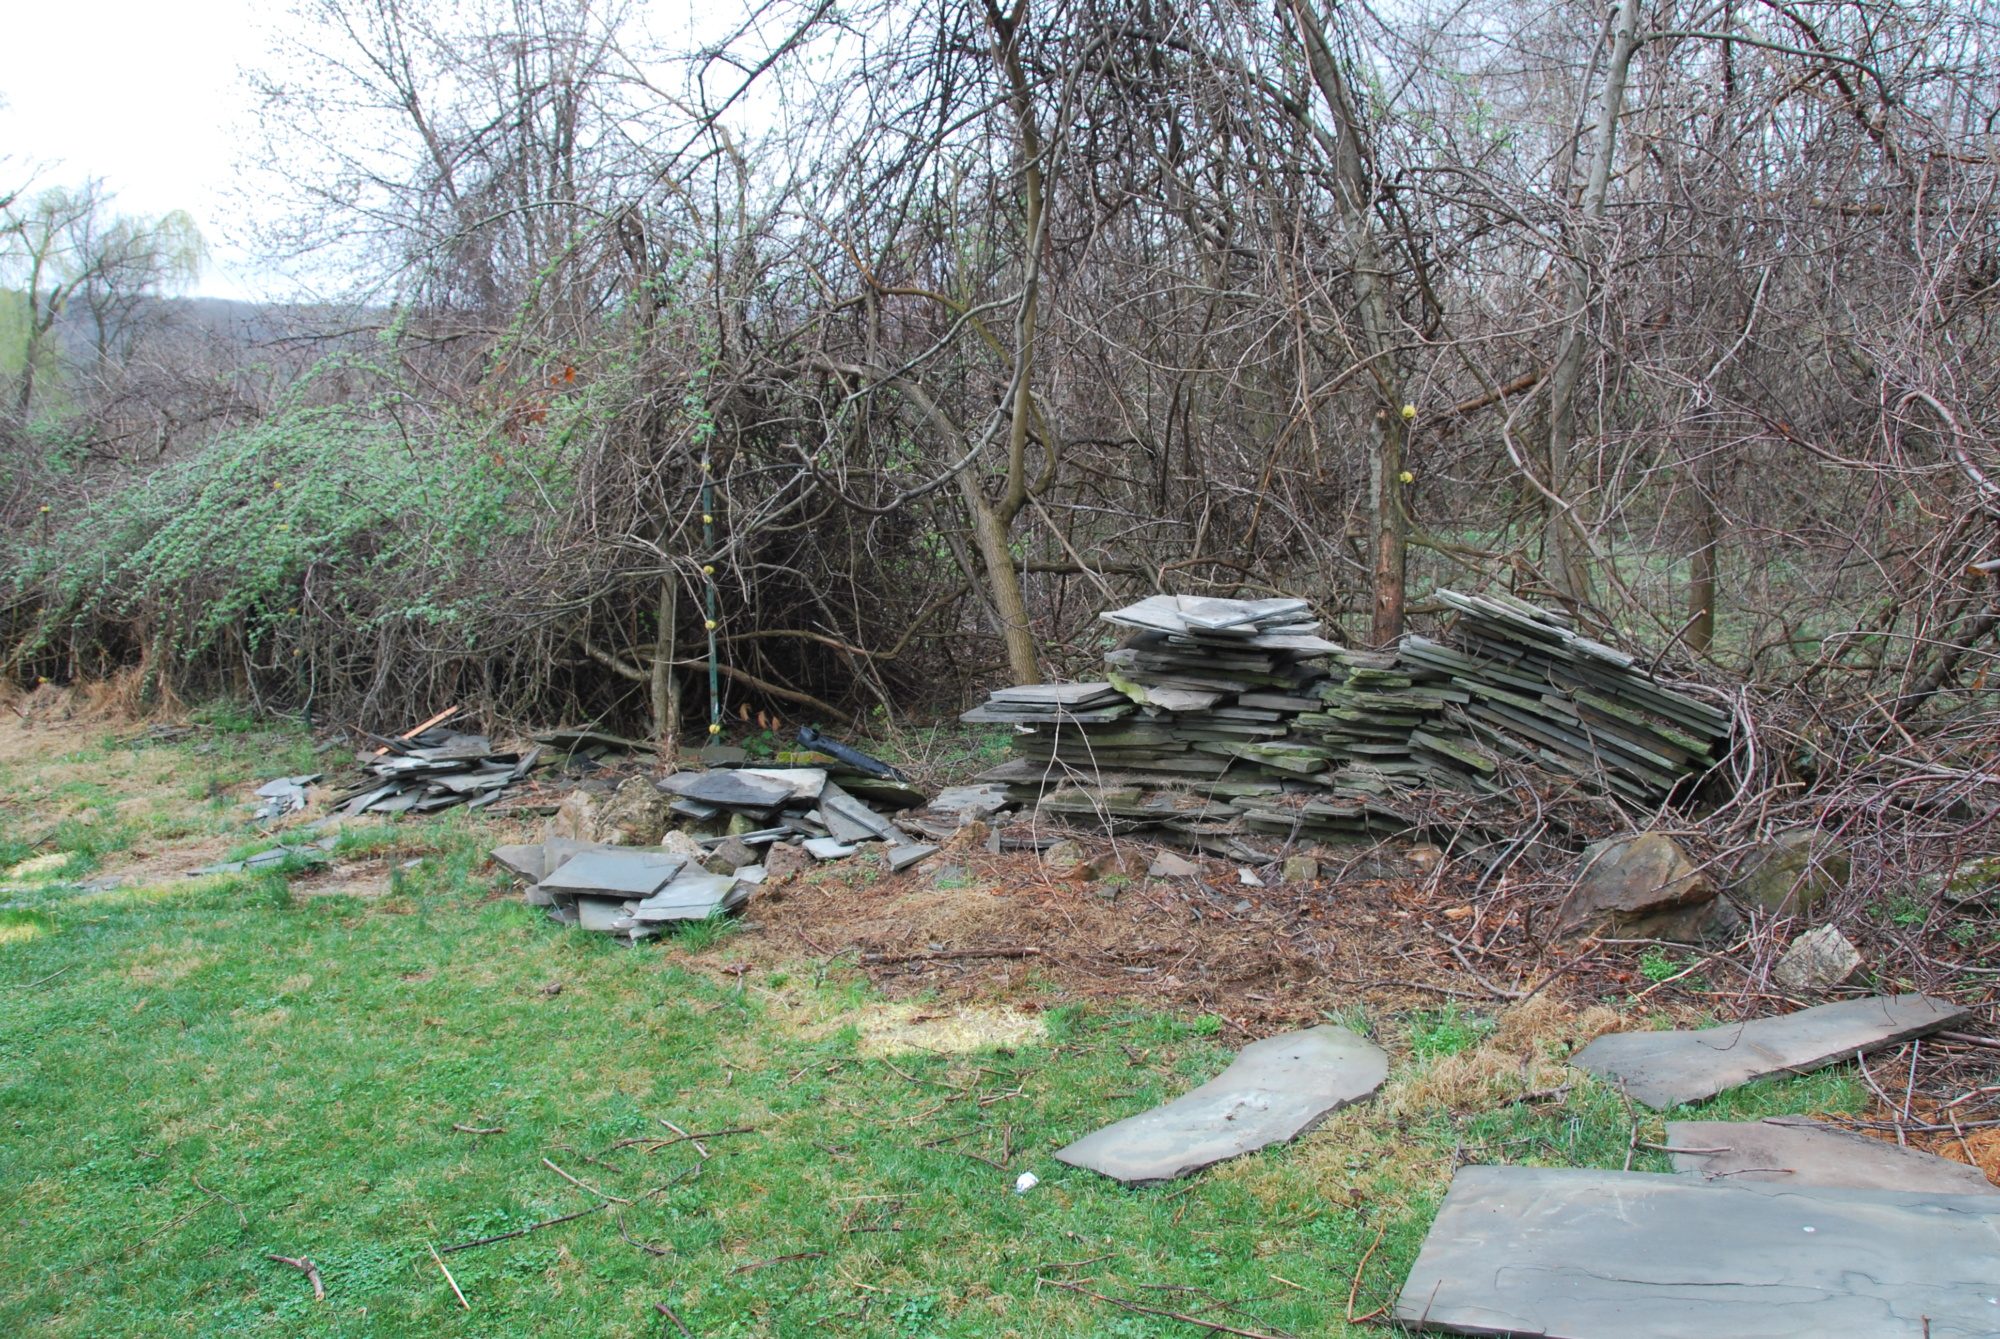
Free Pennsylvania bluestone!
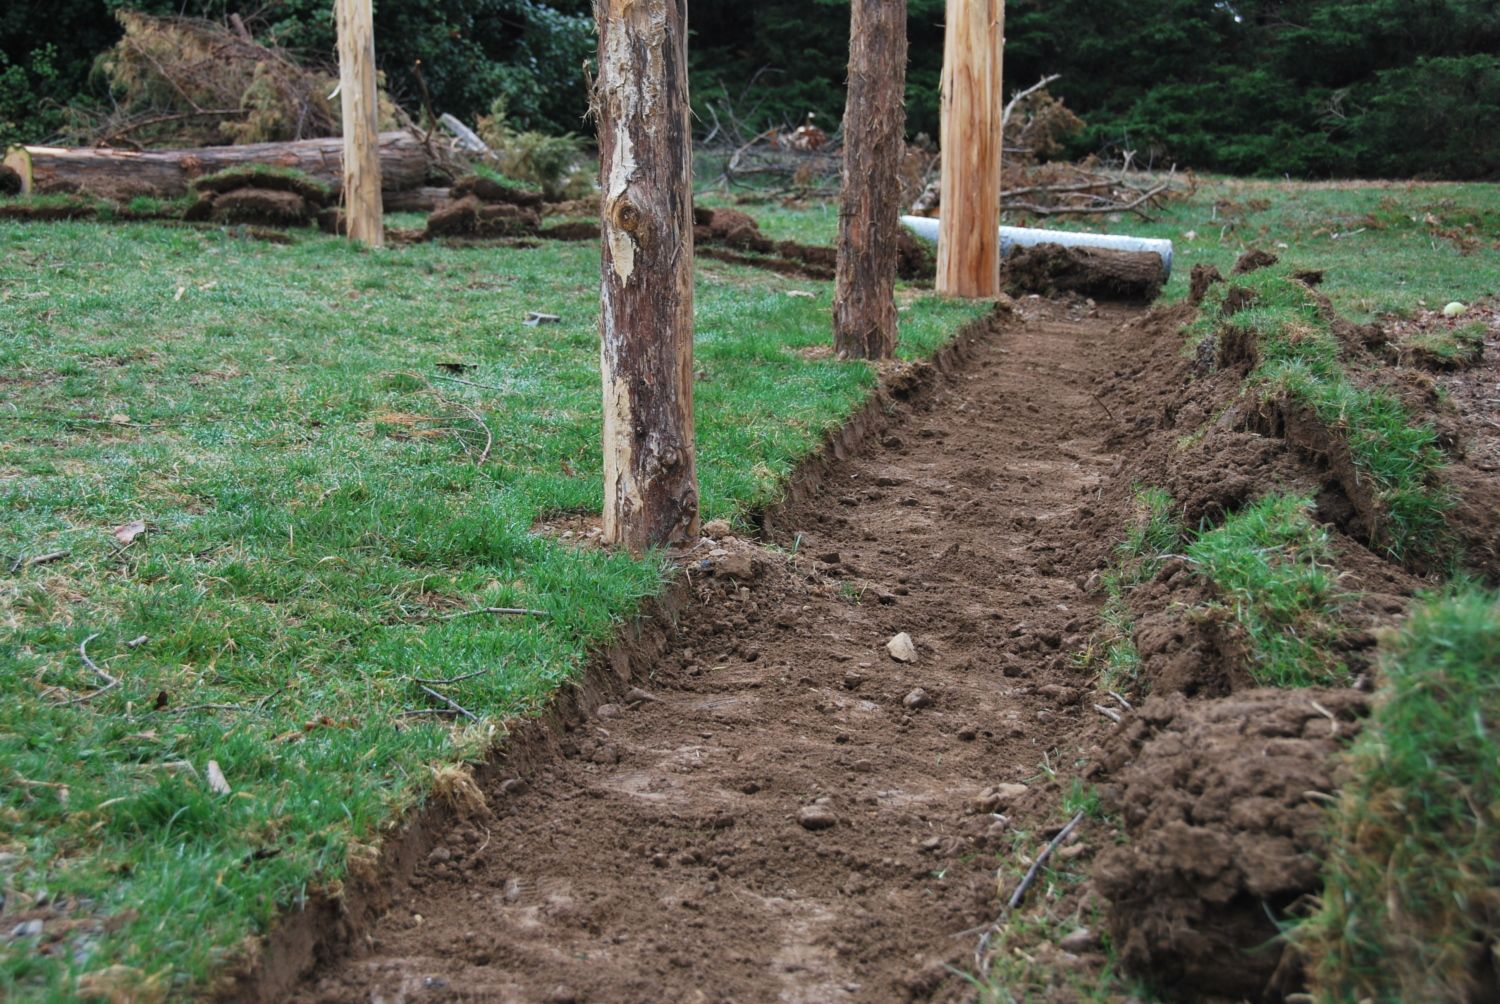
Digging an apron for chicken wire. The fence goes around the chicken run and a vegetable garden so we need to protect against predators and lettuce munchers.
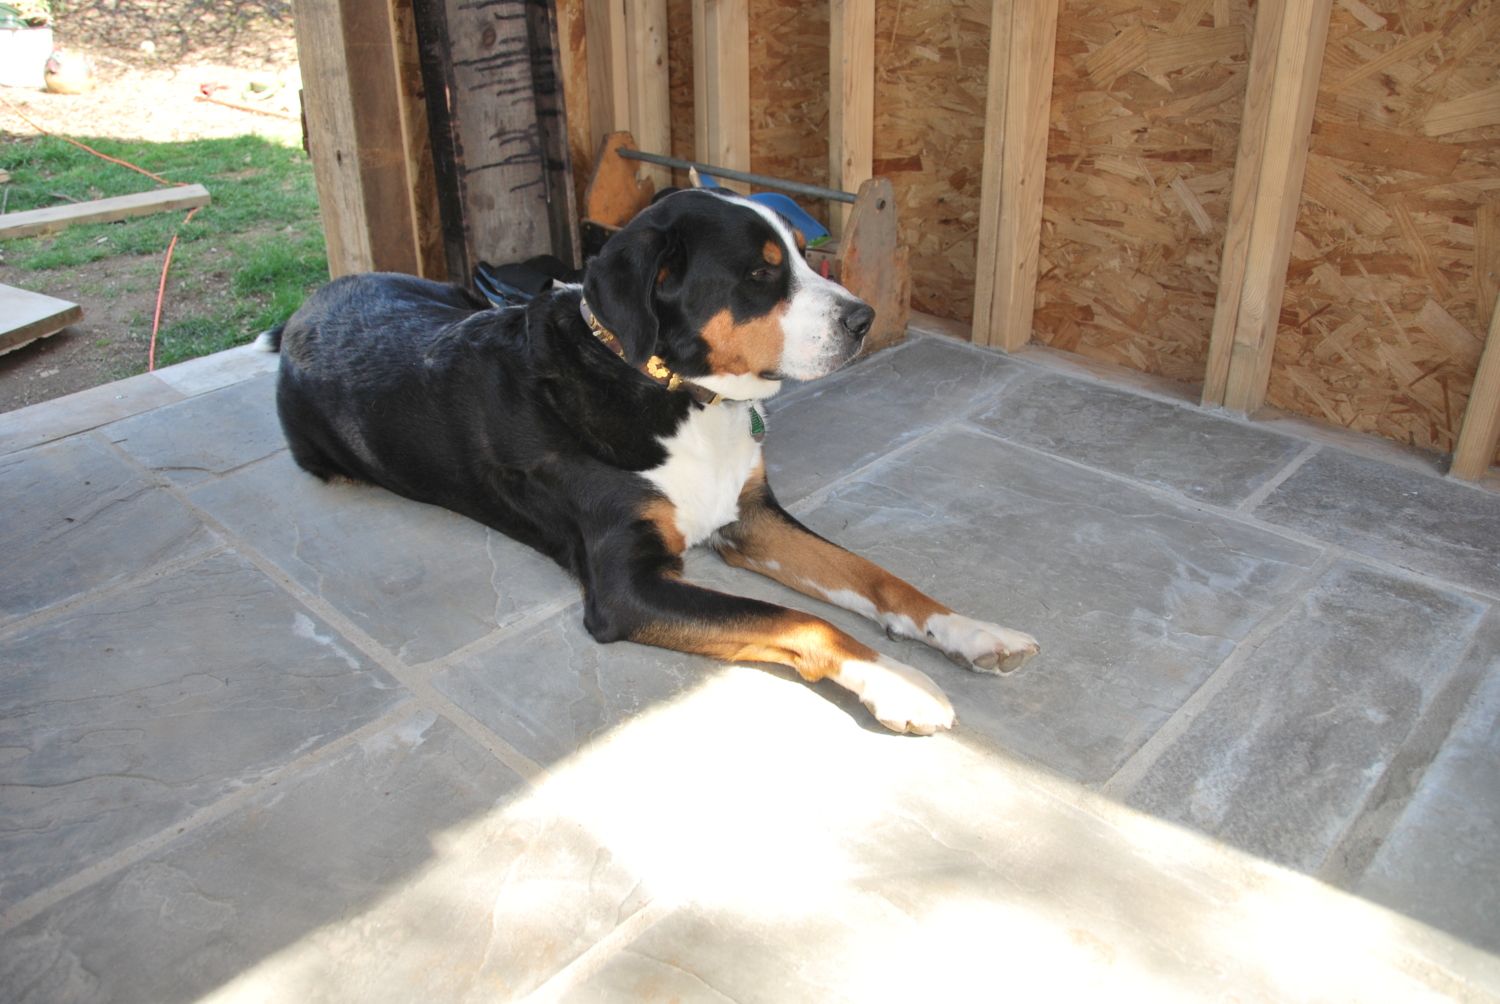
The floor is done and Gus approves. Ah, cool.
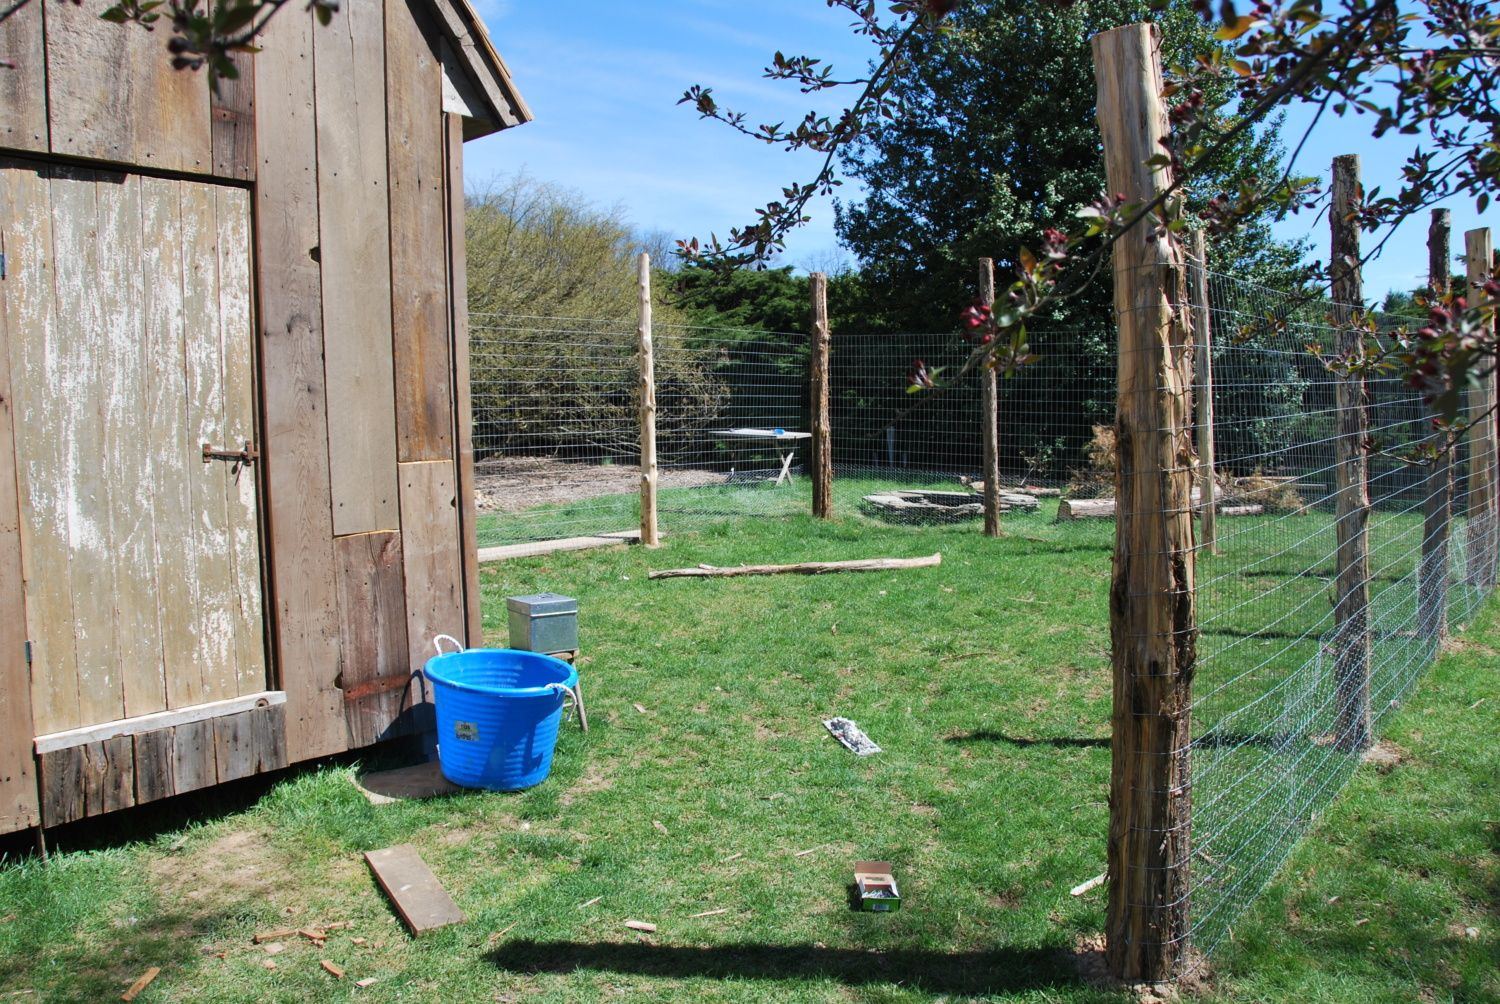
We put the deer fencing up today.