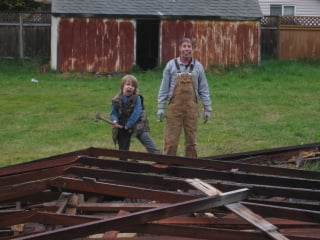
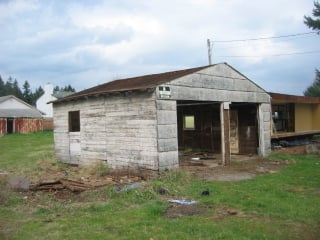
This is where it all began....from a garage we tore down for materials

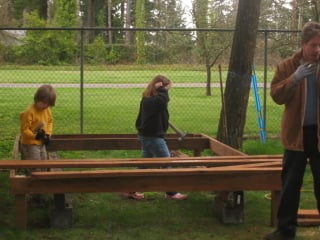
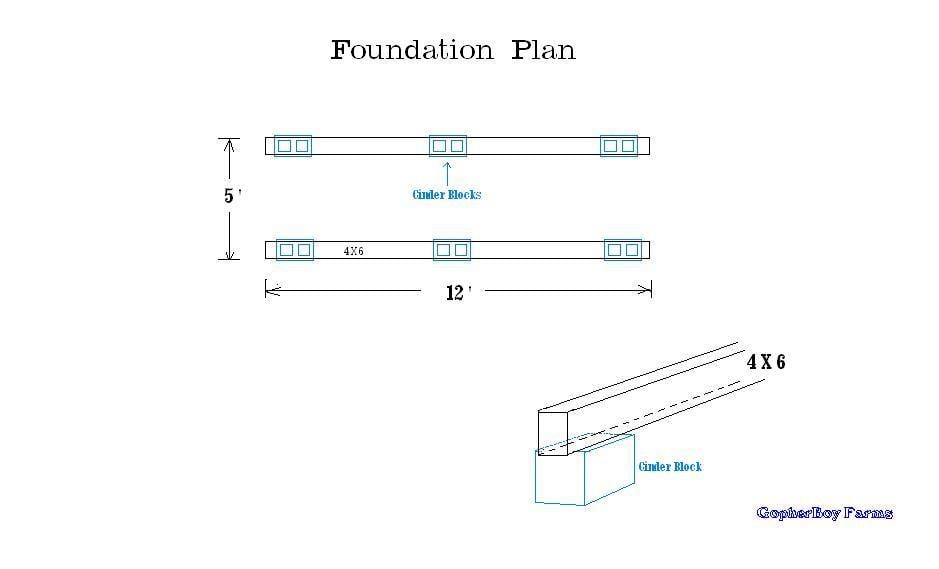
Preasure treated wood on cinder blocks (all from garage tear down)
made the floor 8X12
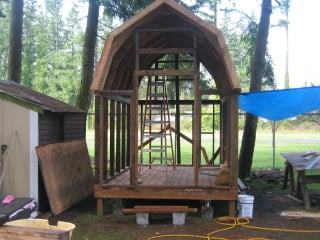
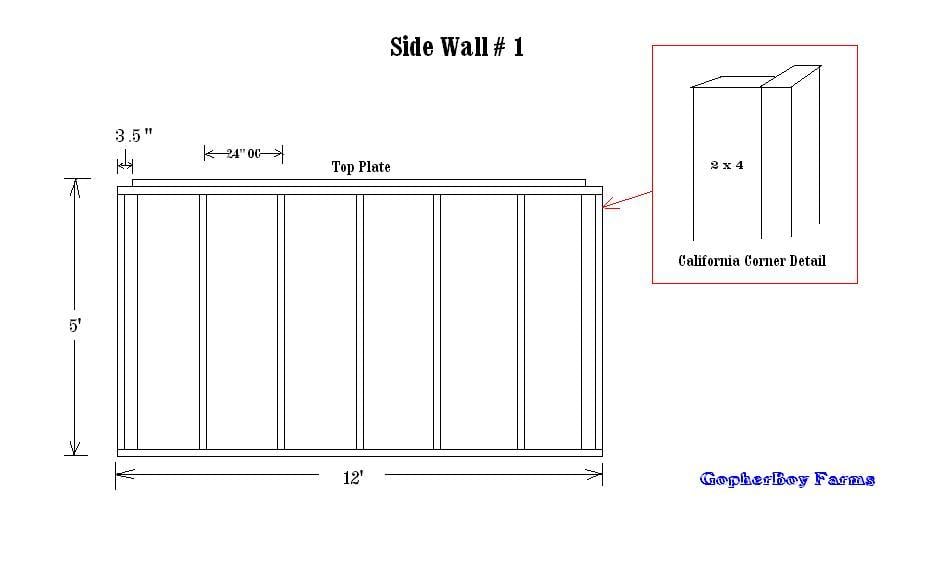
Raising the fist wall (5 foot walls)
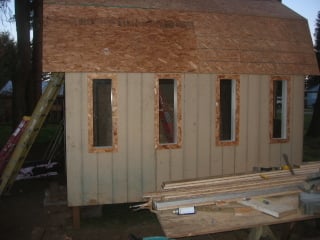
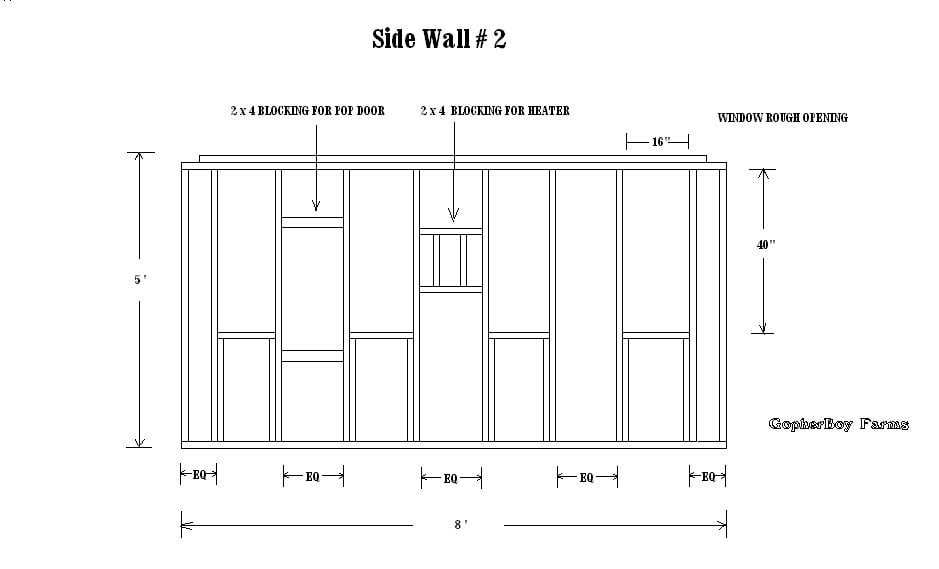
2nd Wall (wall w/4 windows)
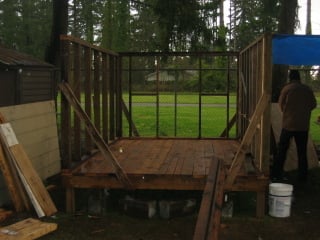
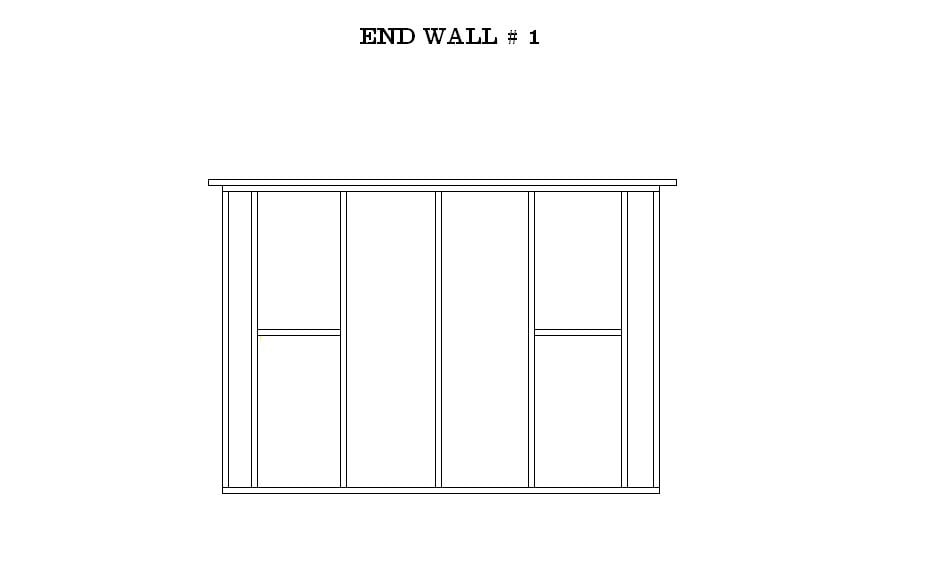
Back wall (2 windows)
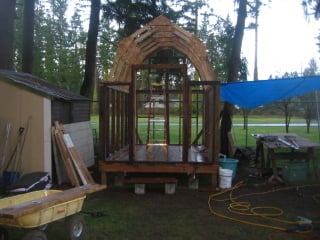
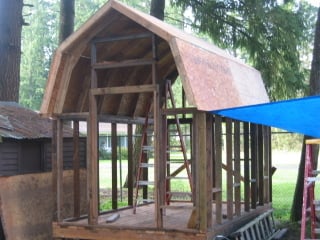
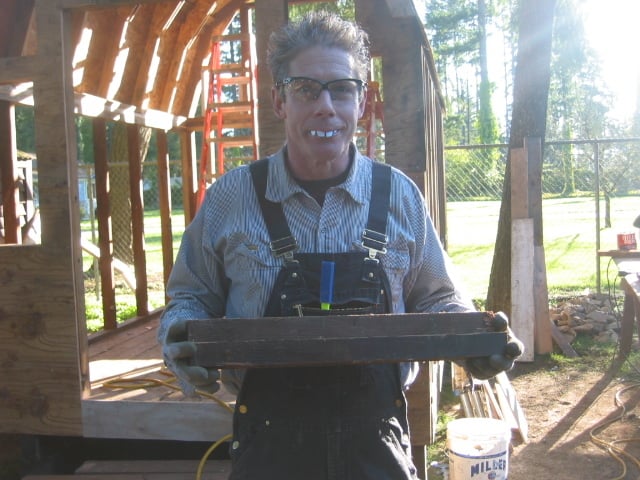
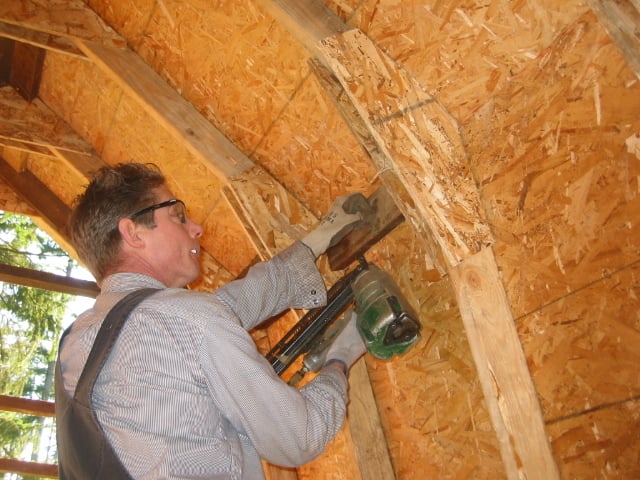
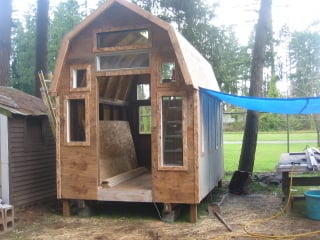
And the man that made it all happen!! GopherBoy aka Lance...and the first roof truss(sp) with 3 windows and a nice screened vent
The roof is a gambrel roof and is 3foot 6 inchX 3foot 6 inch
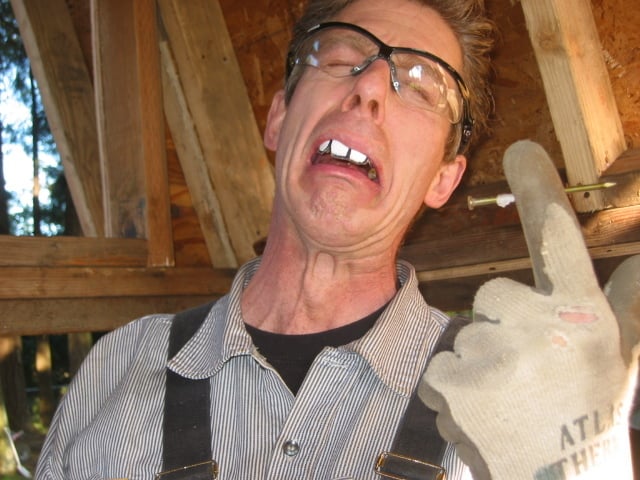
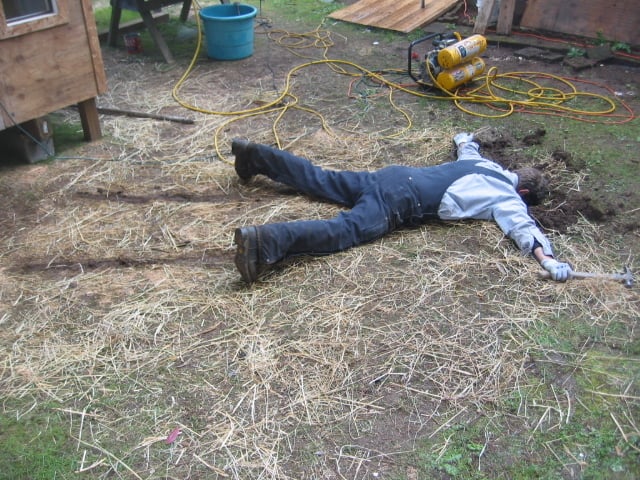
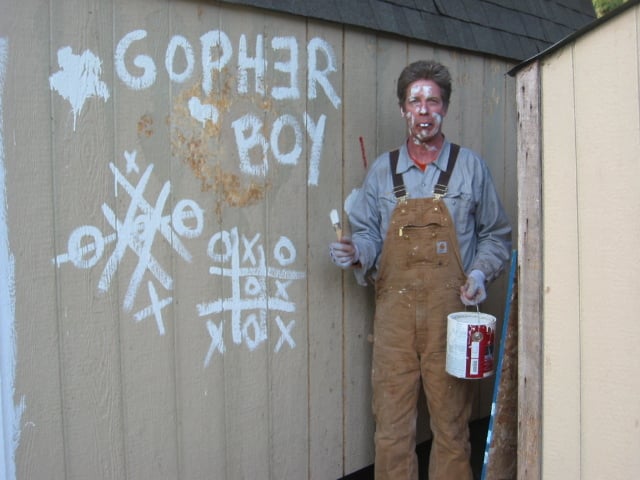
It's never good when GopherBoy comes to work for the day.....
at least the blocking got cut
And, it started to get installed
But ooops accidents tend to happen
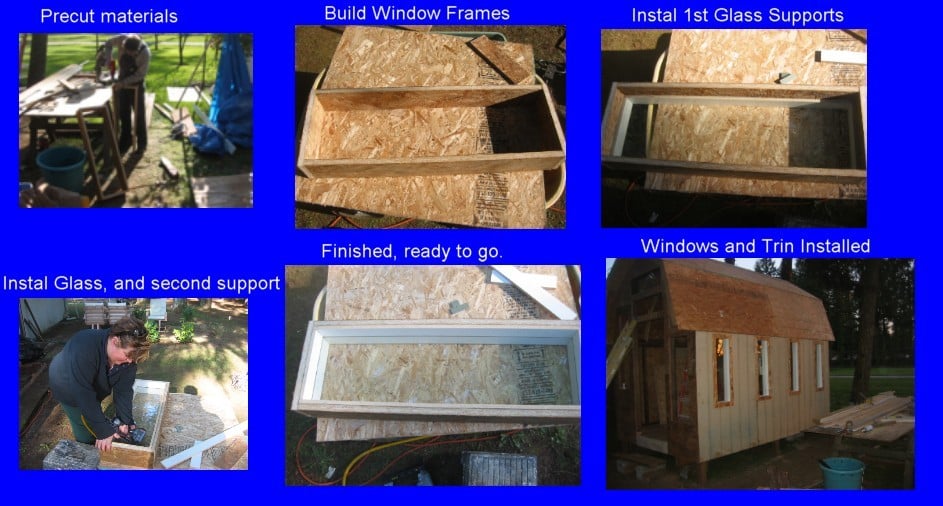
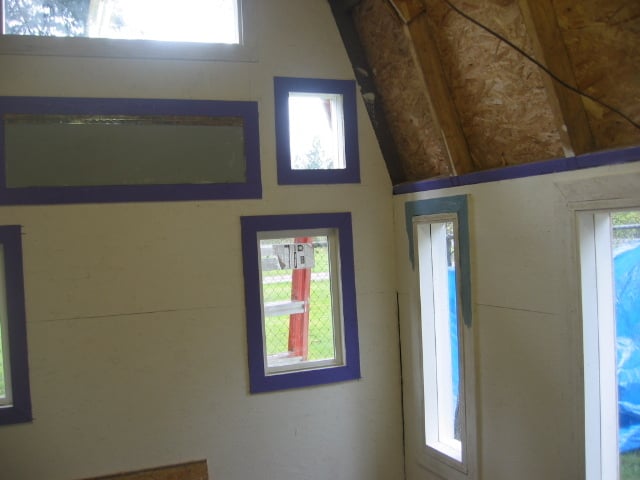
We wanted lots of windows, and lots of light for the chickens so we made our own windows from glass we had around the house...
here is how we did it...
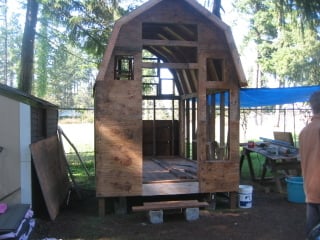
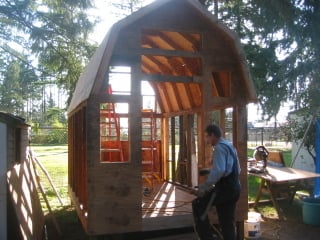
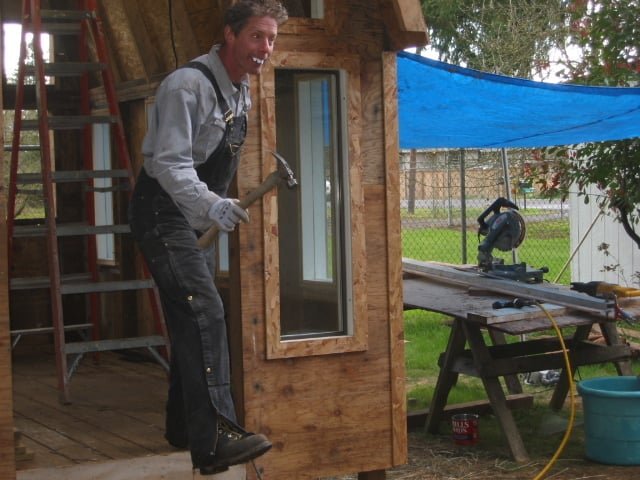
What we call the "church windows" all trimmed out with with OSB since that is what we had
The front has 2 windows, one on each side of the door..2 above on both sides of the door, and a screened vent above the door and a window at the very top
This is what happens when you forget that THERE ARENT ANY STEPS YET!!
Don't forget to build steps!!
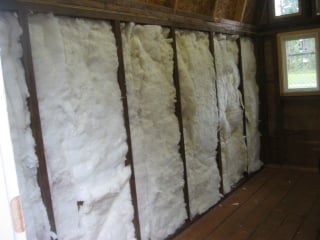
Inside we finaly decided to insulate all the walls...the insulation was from a remodel job.
Rather then it doing in the trash..we reused it!
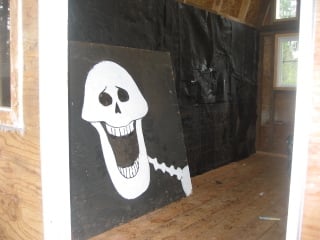
Then we used the tar paper to hold in the insulation(tar paper from the garage we tore down) this pic shows OSB that we got from a local store that was going to sent it to the dump after they used it for a Halloween display...we just turned it around and used it for walls ....6 pieces of it
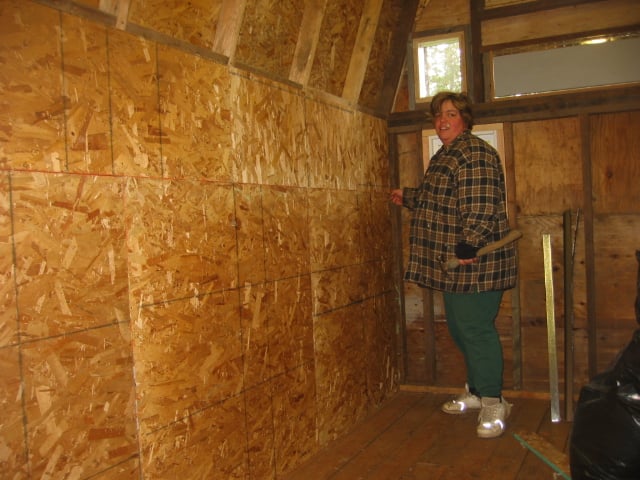
Finishing nailing off all the OSB on the first wall
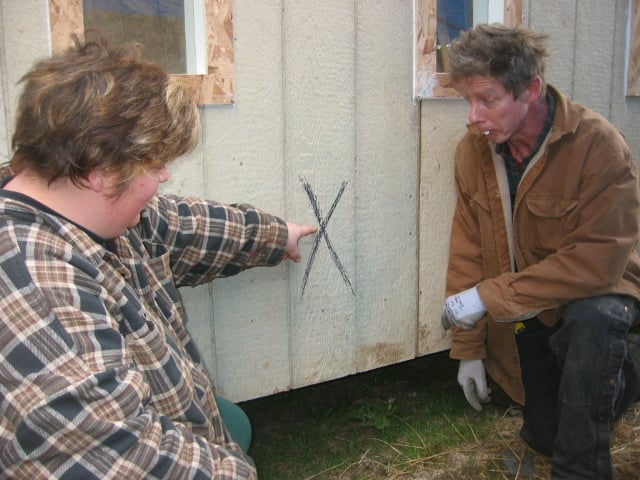
worked on the pop door today.....
This is the pop door handle outside
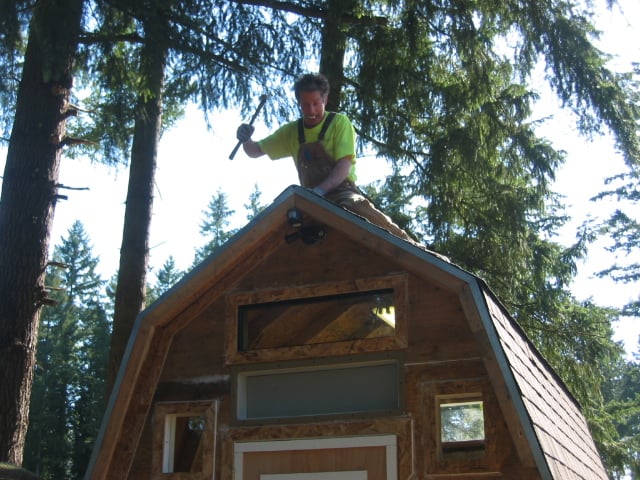
At this point half the roofins is done with the broken open bundles we bought for HALF PRICE!!!
The the other side needs to be finished...
the back side is getting roofed by GopherBoy with the roofing the neighbor gave us...
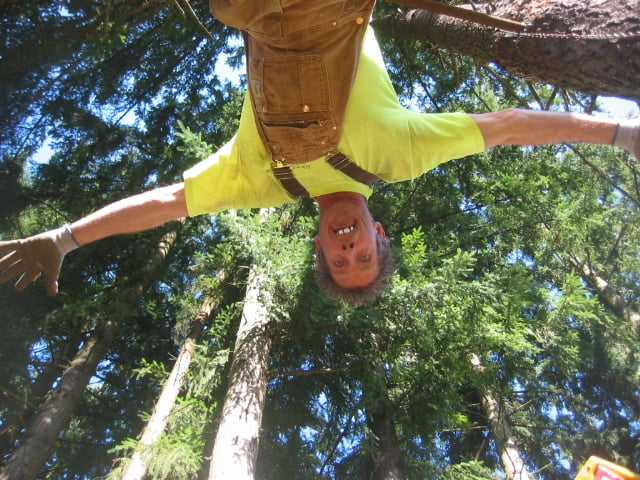
This is a long ways up.....
and a long way to fall....
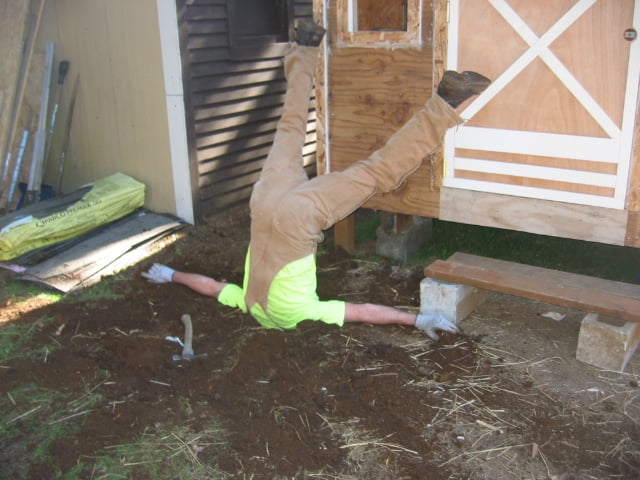
OH NO...ouch!
Primer on the outside of the coop...also you can see the motion lights above the door, and the start of the porch light being wired in
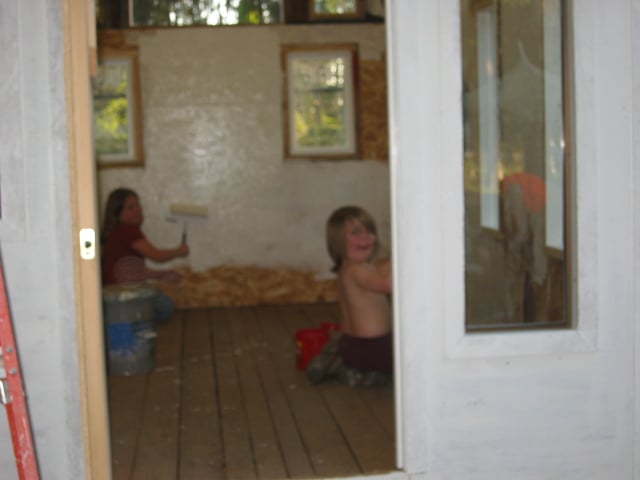
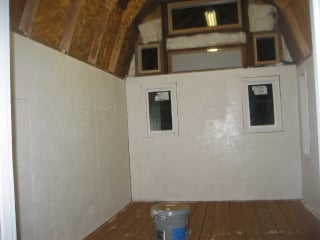
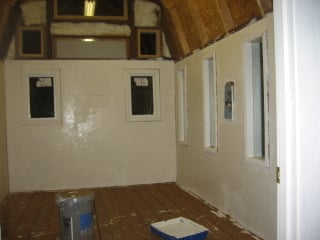
Inside getting painted! 5 windows total on back wall, plus screened closing vent, 4 windows on right wall
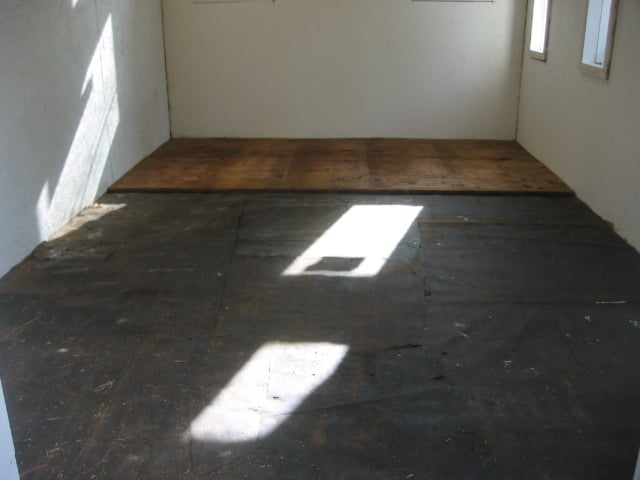
We finished putting the floor in yesterday by covering the preasure treated floor w/ tar paper
and then laying the plywood...this shows the starting point
..
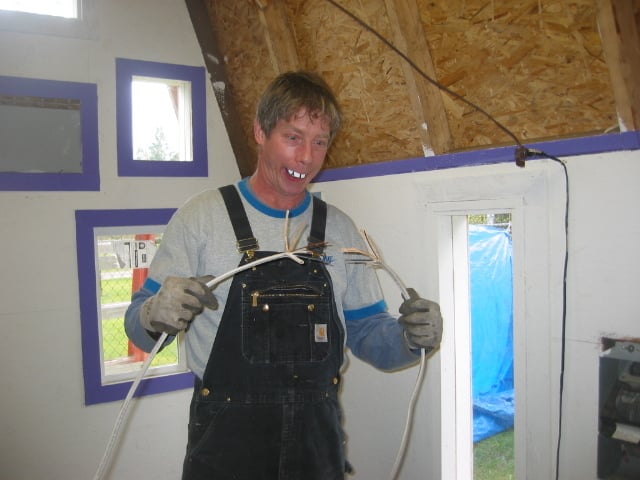
since its been cold here the last few days, and will be colder this weekend GopherBoy thought he would work on the electrical. So with the fire station and EMTs on stand by he went to work wiring in the coop heater.....
He found out fast what happens when two live wires touch
lucky for us nothing got burned up but GopherBoy...
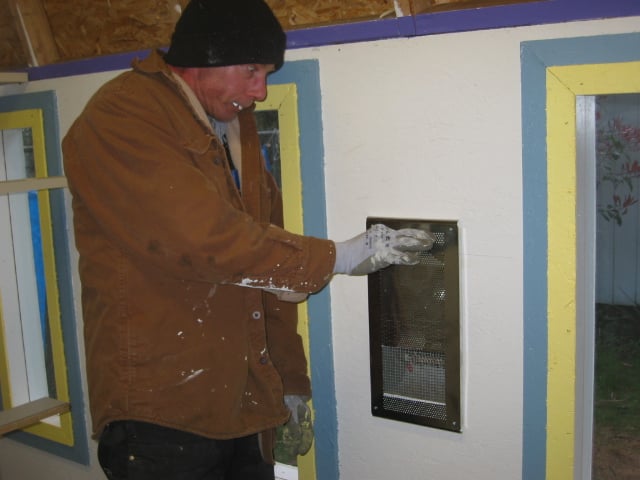
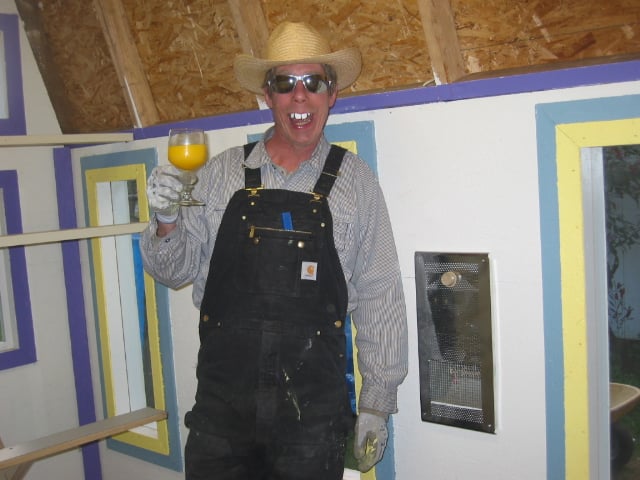
On a better note.......we have a working heater and picked colors for the inside trim.........
PURPLE BLUE/GREY and YELLOW!
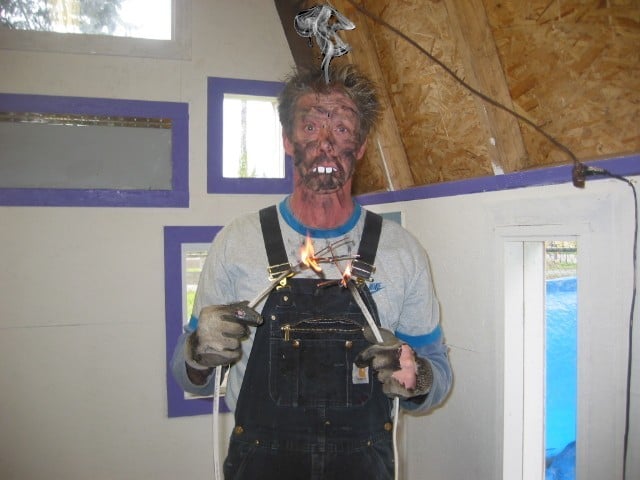
Lets turn up the temp on this nice wall heater
moments later..........
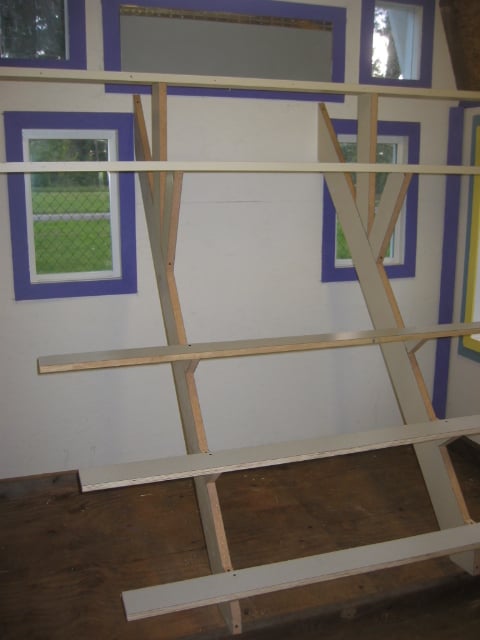
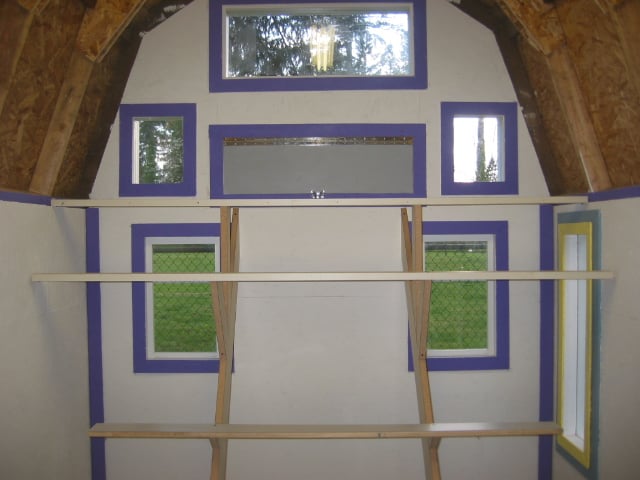
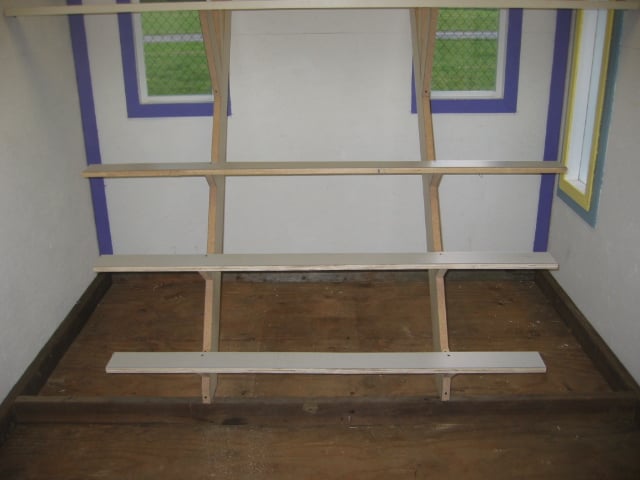
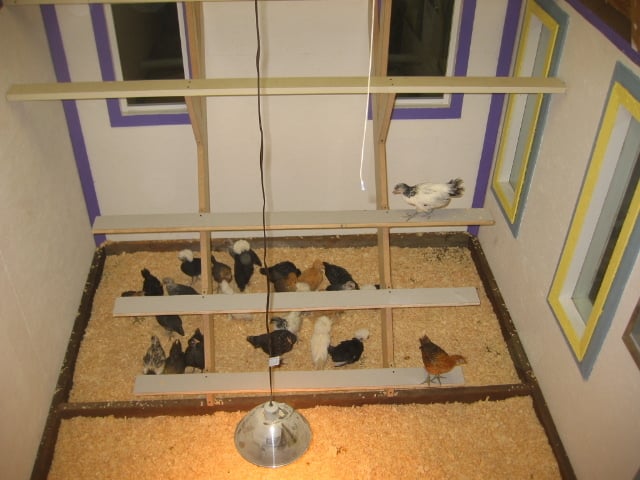
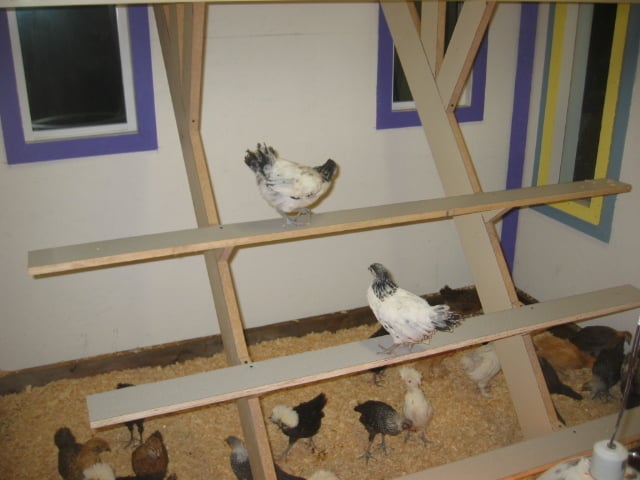
Warm and cozy we figured out the lay out of the roosts...
The roosts are 3 ¾ wide and made out of shelves that got pulled from the trash and then ripped down to size.
there are 2 higher roosts,
and 3 lower and closer together lower roosts
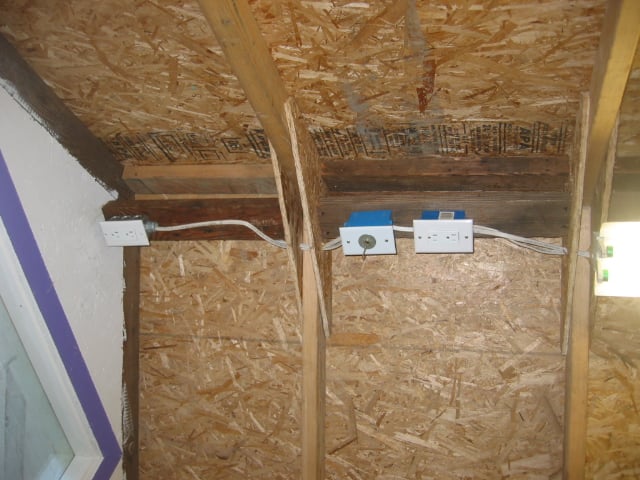
This view is looking up at the ceiling. The pull chain in the middle outlet controlls the back outlet where we will be installing a fan.
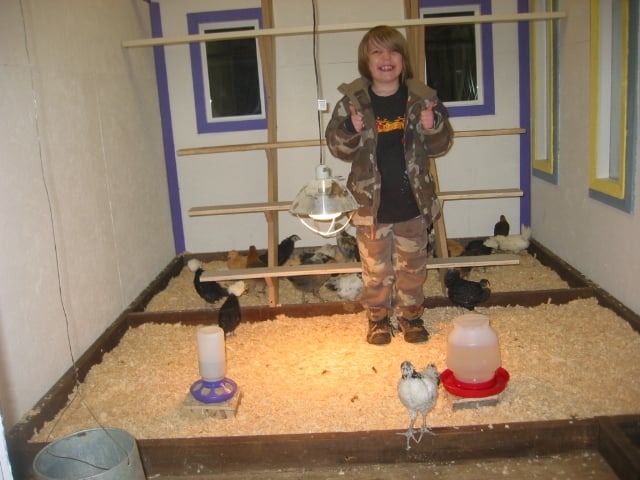
Well here they are...the chickens are IN THE COOP!!!!
YIPPIE!!! We are all so happy and soooooo tired!
The front is almost all painted also, needs the tape taken off
and maybe a touch-up or two since this is oil based paint it's been taking longer then I thought.
All that is left to paint is one side and finish the back,
but what has GopherBoy gotten done?
guess he needs more supervision next time
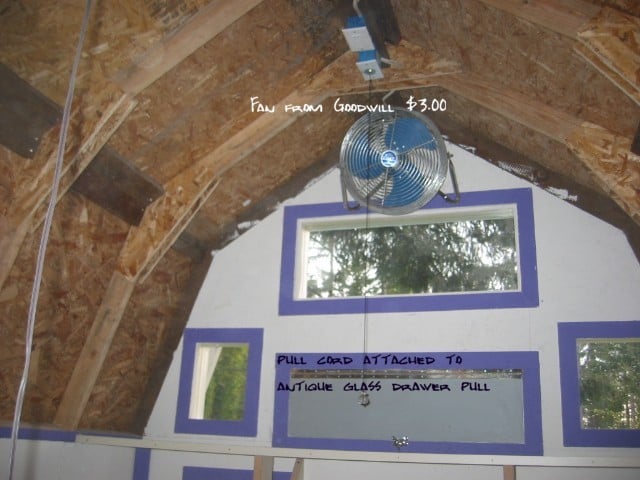
we went to Goodwill and got a GREAT fan for $3.00.
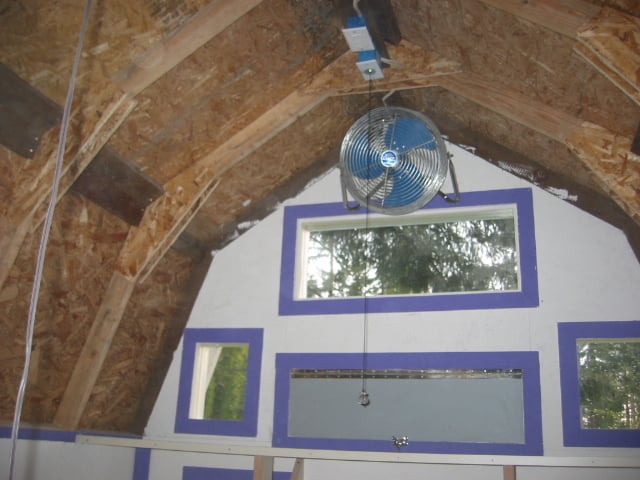
It was installed on the back wall and plugged into one of the ceiling outlets that is controlled by a pull cord.
(Pull cord is fashioned with one of BeaverGirls antique glass drawer pulls)
We have vents that open or lock on both sides of the coop so the fan will circulate nice breeze through the coop
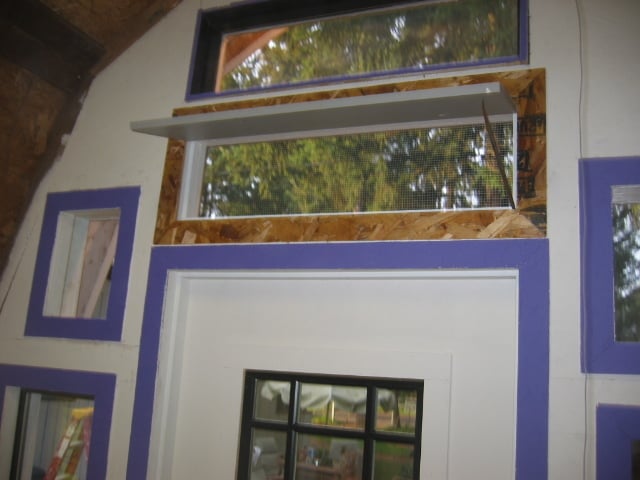
ok...I need to still paint the trimm on this vent
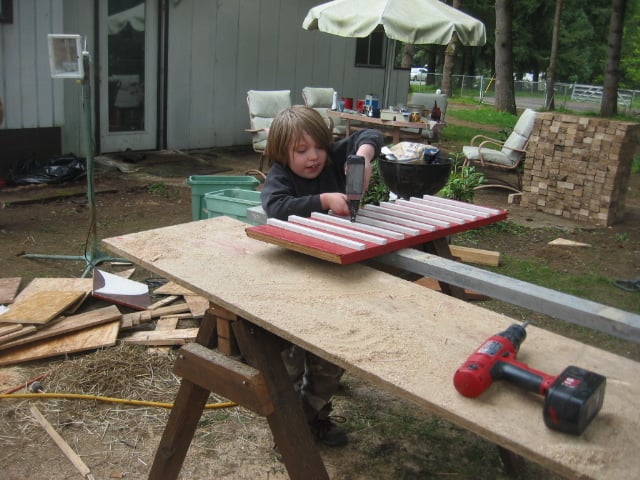
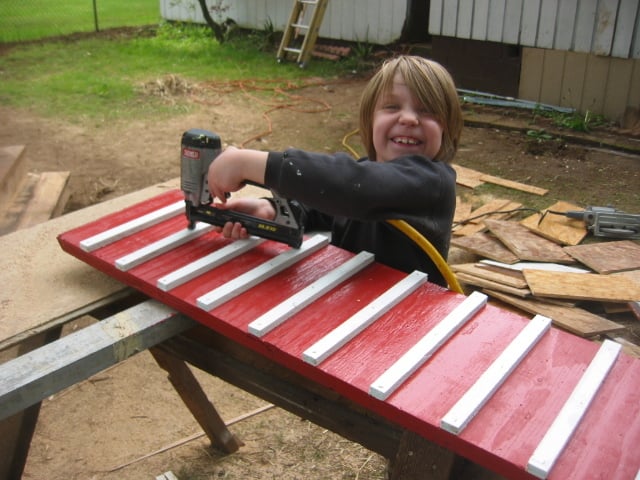
This is the boy child nailing the rungs on the chicken ramp
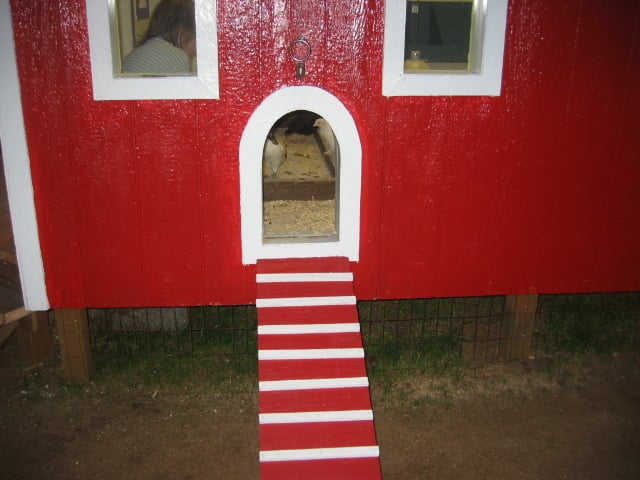
Here it is installed
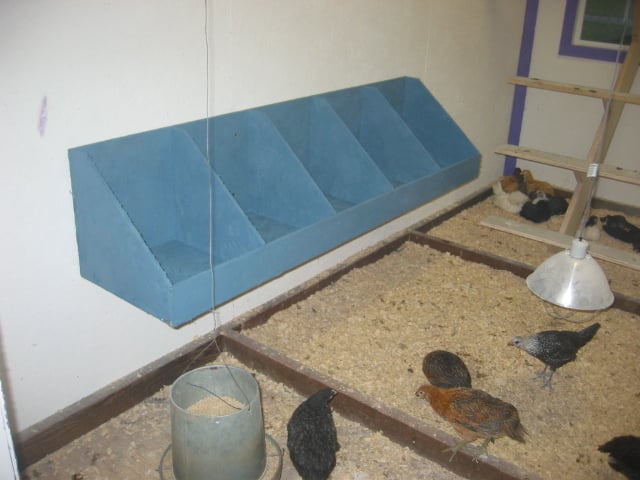
Nest boxes we made out of OSB, they are 12X12X14 with a 3 inch lip to keep the straw in
And painted blue to match the window trim on the wall across from them
They need straw in them (but dont think the girls will be laying any eggs just yet)
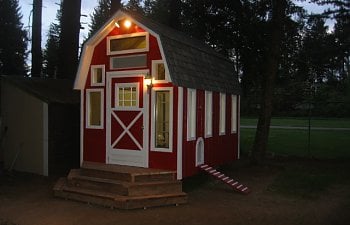
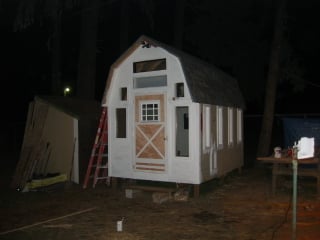
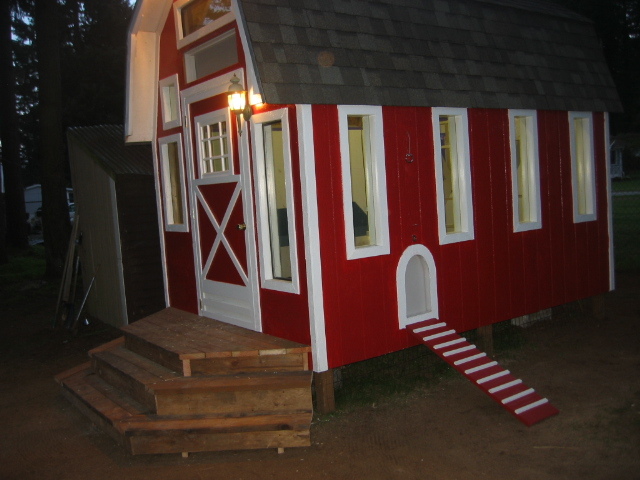
The chickens have a beautiful porch, really nice porch light and motion sensor flood lights
I think it was well worth it.....we think it turned out GREAT!
I thought we where all finished but we forgot last night to put the stainless steel kick plate on the door....so here is a picture of that (and this picture is in daylight)
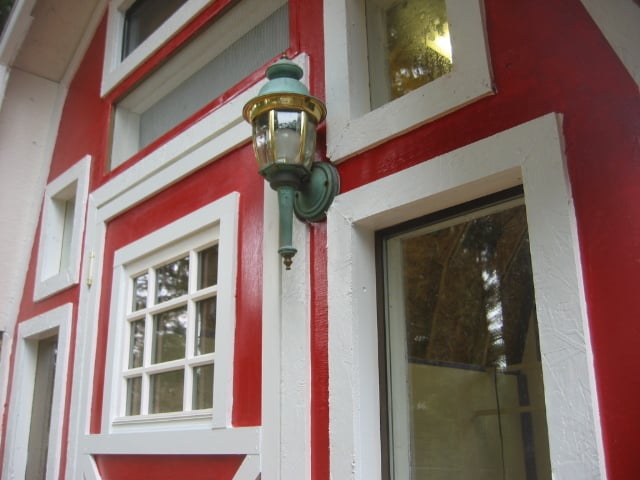
and the porch light that we thought was perfect for the coop
And the plans for the coop are:
Preasure treated wood on cinder blocks (all from garage tear down)
made the floor 8X12
Raising the fist wall (5 foot walls)
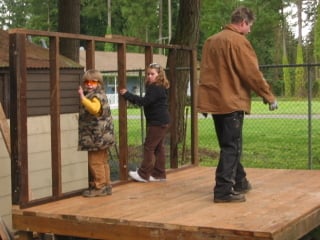
2nd Wall (wall w/4 windows)
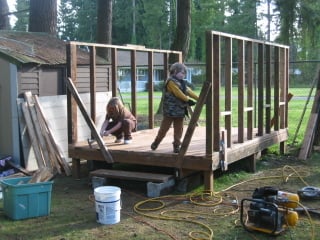
Back wall (2 windows)
And the man that made it all happen!! GopherBoy aka Lance...and the first roof truss(sp) with 3 windows and a nice screened vent

The roof is a gambrel roof and is 3foot 6 inchX 3foot 6 inch
at least the blocking got cut
And, it started to get installed
But ooops accidents tend to happen
We wanted lots of windows, and lots of light for the chickens so we made our own windows from glass we had around the house...
here is how we did it...
What we call the "church windows" all trimmed out with with OSB since that is what we had
The front has 2 windows, one on each side of the door..2 above on both sides of the door, and a screened vent above the door and a window at the very top
This is what happens when you forget that THERE ARENT ANY STEPS YET!!
Don't forget to build steps!!


Inside we finaly decided to insulate all the walls...the insulation was from a remodel job.
Rather then it doing in the trash..we reused it!
Then we used the tar paper to hold in the insulation(tar paper from the garage we tore down) this pic shows OSB that we got from a local store that was going to sent it to the dump after they used it for a Halloween display...we just turned it around and used it for walls ....6 pieces of it
Finishing nailing off all the OSB on the first wall
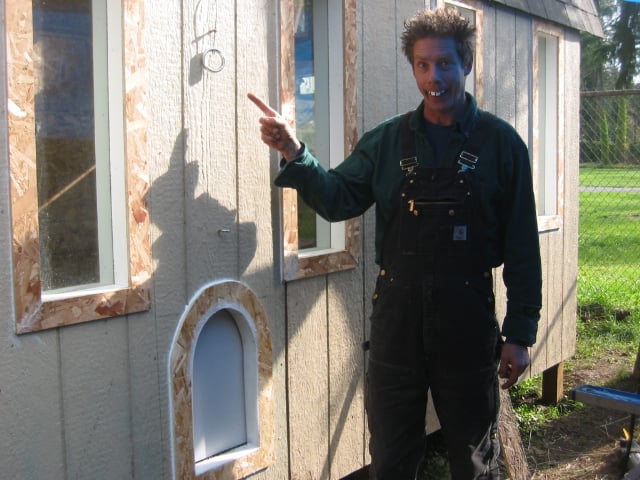
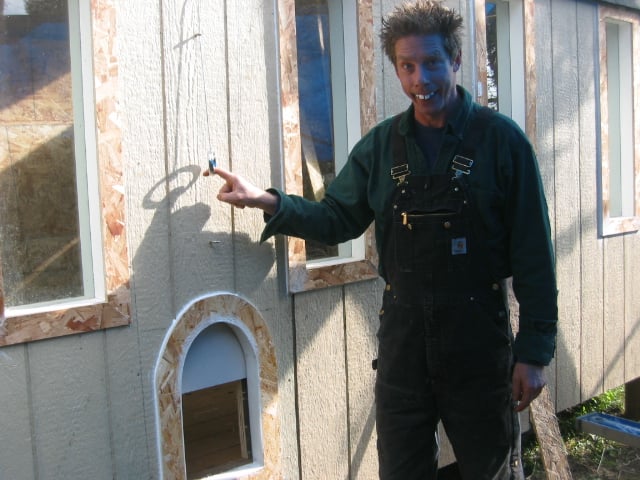
worked on the pop door today.....

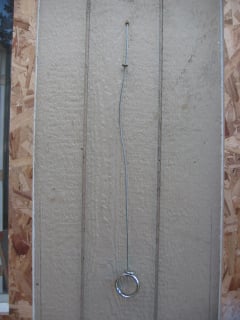
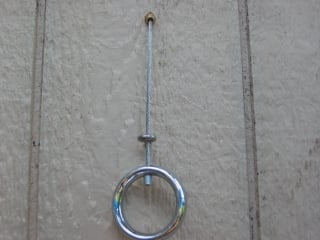
Pull this ring and the door slides open!
its opening............
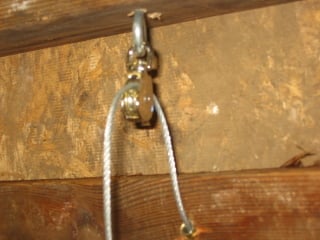
and there is a hook screwed to the wall that you slide the cabel into to hold it open.
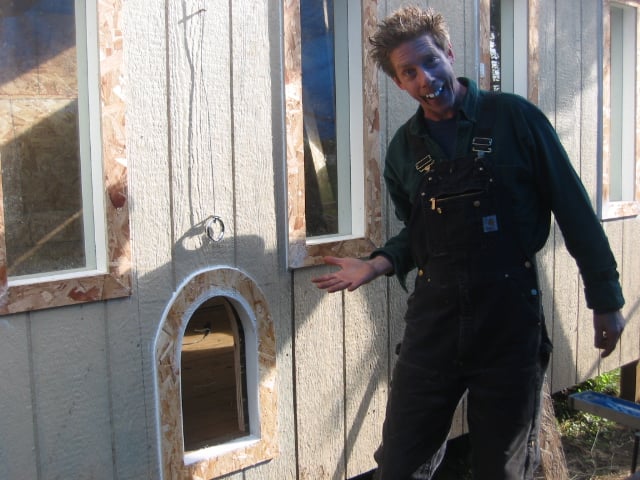
NOW ITS OPEN!!!!
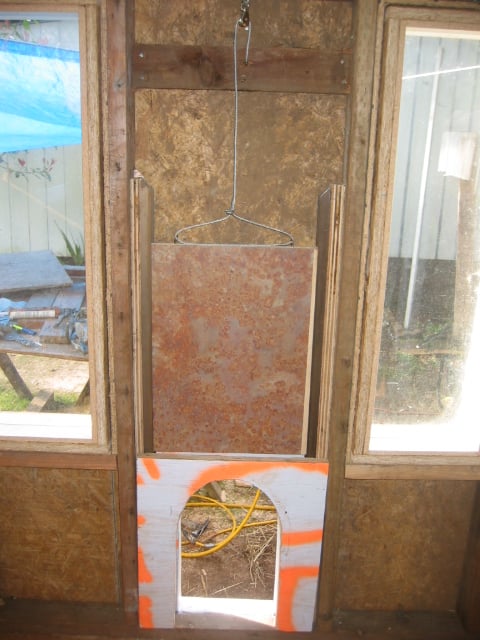
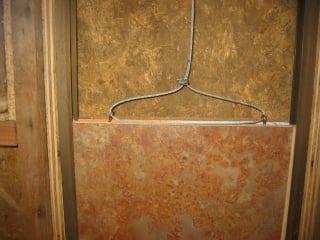
this is the pop door inside...on a pully and airplane cable
its opening............
and there is a hook screwed to the wall that you slide the cabel into to hold it open.
NOW ITS OPEN!!!!
this is the pop door inside...on a pully and airplane cable
This is the pop door handle outside
At this point half the roofins is done with the broken open bundles we bought for HALF PRICE!!!
The the other side needs to be finished...
the back side is getting roofed by GopherBoy with the roofing the neighbor gave us...
This is a long ways up.....
and a long way to fall....

OH NO...ouch!
Primer on the outside of the coop...also you can see the motion lights above the door, and the start of the porch light being wired in
Coltin (WeaselBoy) painting
Kid helpers
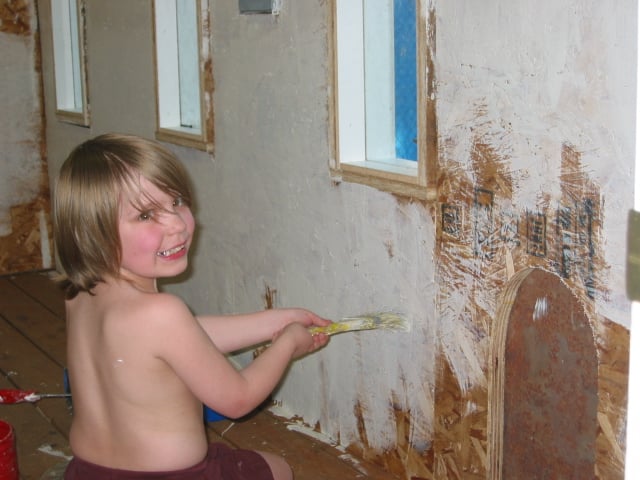
Kid helpers
We finished putting the floor in yesterday by covering the preasure treated floor w/ tar paper
and then laying the plywood...this shows the starting point
..
He found out fast what happens when two live wires touch

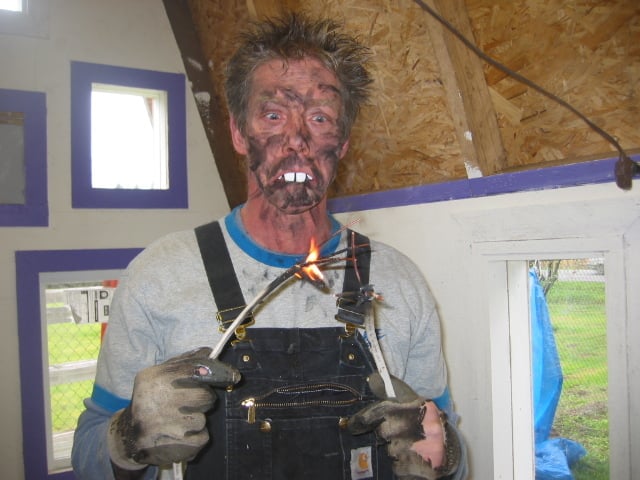
lucky for us nothing got burned up but GopherBoy...
On a better note.......we have a working heater and picked colors for the inside trim.........
PURPLE BLUE/GREY and YELLOW!
Lets turn up the temp on this nice wall heater
moments later..........
Warm and cozy we figured out the lay out of the roosts...
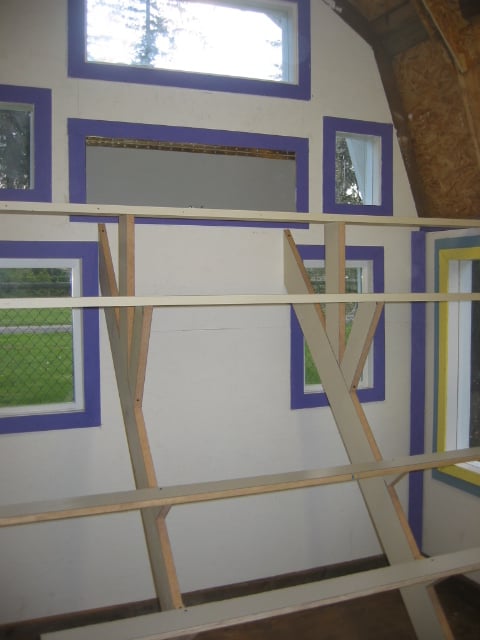
The roosts are 3 ¾ wide and made out of shelves that got pulled from the trash and then ripped down to size.
there are 2 higher roosts,
and 3 lower and closer together lower roosts
This view is looking up at the ceiling. The pull chain in the middle outlet controlls the back outlet where we will be installing a fan.
Well here they are...the chickens are IN THE COOP!!!!
YIPPIE!!! We are all so happy and soooooo tired!
The front is almost all painted also, needs the tape taken off
and maybe a touch-up or two since this is oil based paint it's been taking longer then I thought.

All that is left to paint is one side and finish the back,
but what has GopherBoy gotten done?
guess he needs more supervision next time
we went to Goodwill and got a GREAT fan for $3.00.
It was installed on the back wall and plugged into one of the ceiling outlets that is controlled by a pull cord.
(Pull cord is fashioned with one of BeaverGirls antique glass drawer pulls)
We have vents that open or lock on both sides of the coop so the fan will circulate nice breeze through the coop
ok...I need to still paint the trimm on this vent
This is the boy child nailing the rungs on the chicken ramp
Here it is installed
Nest boxes we made out of OSB, they are 12X12X14 with a 3 inch lip to keep the straw in
And painted blue to match the window trim on the wall across from them

They need straw in them (but dont think the girls will be laying any eggs just yet)
The chickens have a beautiful porch, really nice porch light and motion sensor flood lights
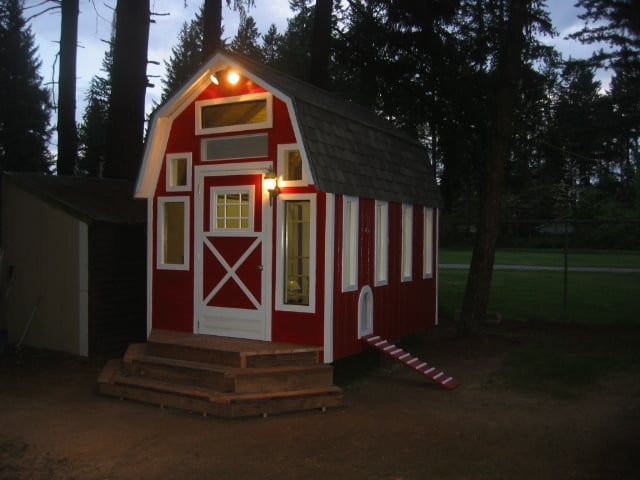
I think it was well worth it.....we think it turned out GREAT!
I thought we where all finished but we forgot last night to put the stainless steel kick plate on the door....so here is a picture of that (and this picture is in daylight)

and the porch light that we thought was perfect for the coop


You can do a lot with materials that whold otherwise be "trash" this is how GopherBoy did it:
I would drive by job sites and ask if I could have stuff out of there scrap would piles.
We would look for free stuff on craigs list and go get it.
I asked my nieghbor if they had a window and they did, the others where build out of tempered glass shelving, and two we bought from the re build it center for 2 bucks apeice.
I was doing a remodel on a hospital and got the door, insulation, wire and some sheet goods.
I bought broken up bundles of roofing from lowes at half price,I only had enough to do one side then the rich guy who owns the neighboring property drove by and asked me if I needed more because he had bundles laying around he didnt want to take back and I lent his son the big gopher boy tire so he gave them to me.
The ventalators and pop door I made from shelves I dug out of the trash. The piano hindge we had setting behind our bedroom door for 4 years,
When we went to tear down the garge that was listed on craigs list I asked if I could have the preasure treated deck and cinder blocks. We found 5 galons of paint in the garage,
I even rolled up the tar paper from the roof.
The gun nails and fasteners I had sitting around in the garage from when I used to do remodels.
One of the most expensive things was the little window that tiff picked out from the rebuild it center ($15), I put it in the front door. At the same time we got a little heater, porchlight,floresent light for ten bucks.
The hardest thing was when I drove 30 miles and took down 200 feet of cyclone fenceing and dug the posts up with the cement on them and drug all that stuff 500 yards to my truck after getting throuh the black berrys.
So in short...the coop desighned itself from what I had to use. I have detailed plans I will be submiting that I hope will give others ideas.
My sugestions are free stuff listings, placing want adds, auctions, rebuilt, recycleing places.
Ok...so we had piles of what looked like junk laying around but it got used.
Thank you for your interest, this website has been just as fun as building our coop and raising our chickens.
We have never done this befor I hope we are doing it right.
Gopher Boy