The "Scratch Pad" - Murphy Coop - Purina Mills Design
Materials list and free plans can be found here: http://poultry.purinamills.com/NUTRITIONMANAGEMENT/HenHouseHutchDesign/default.aspx
I learned a lot from this site so I want to give back by showing my Purina Mills design. The chickens are for my family's enjoyment. I first purchased six assorted "pullets" from Tractor Supply (TSC) "Chick Days". Four of the six turned out to be roosters. This was very disappointing finding this out after my boys spent four months hand rasing them. We had to re-home the roosters (very easy by posting ads on craigslist). I was able to find good homes for all four of them. This left us with two. I then found a local farmer that sold me four young hens. We really enjoy them. Their names are Parker, Lucy, Cletus, Nozar, and Taylor (Swift). I updated this page 6 months later after I learned more so some of the pictures of the coop look different.
I used OSB for the siding because I have free access to a small supply of it. I have found that if you paint it well it will last for many years. In addition, I like to dress the edges with cedar fence boards. I think it makes it look great and allows me to seal the OSB edges with caulk and make it water tight. I also added a window to the design to give the girls some light and a room with a view.I learned a lot from this site so I want to give back by showing my Purina Mills design. The chickens are for my family's enjoyment. I first purchased six assorted "pullets" from Tractor Supply (TSC) "Chick Days". Four of the six turned out to be roosters. This was very disappointing finding this out after my boys spent four months hand rasing them. We had to re-home the roosters (very easy by posting ads on craigslist). I was able to find good homes for all four of them. This left us with two. I then found a local farmer that sold me four young hens. We really enjoy them. Their names are Parker, Lucy, Cletus, Nozar, and Taylor (Swift). I updated this page 6 months later after I learned more so some of the pictures of the coop look different.


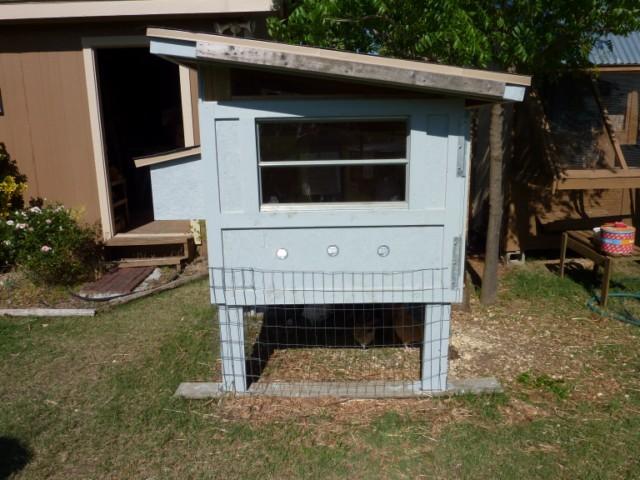
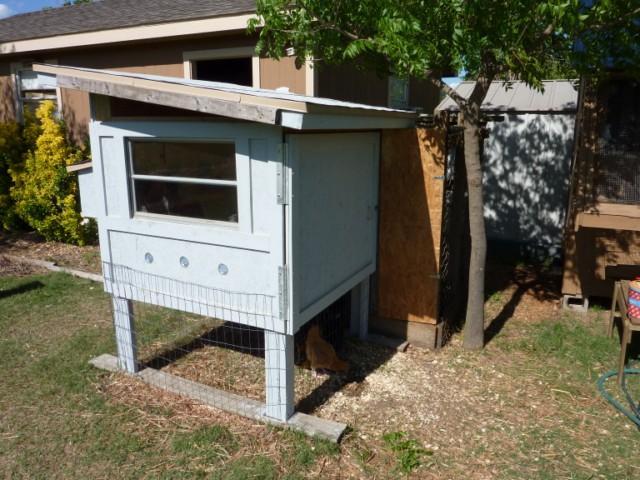
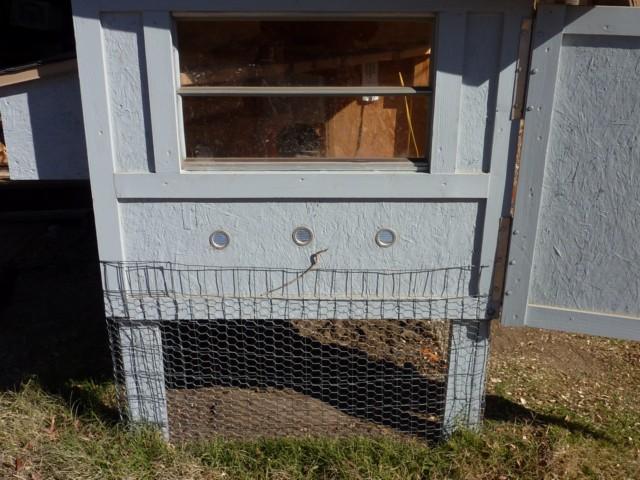
This is the window side of the coop (above). The small silver holes are ventilation holes with vent caps. We live in Dallas, Tx so it can get very hot here. The bottom of the coop is wrapped with 2x4 wire that extends down into the ground about 6 inches. The wire is well stapled to the coop to keep out the bad guys.
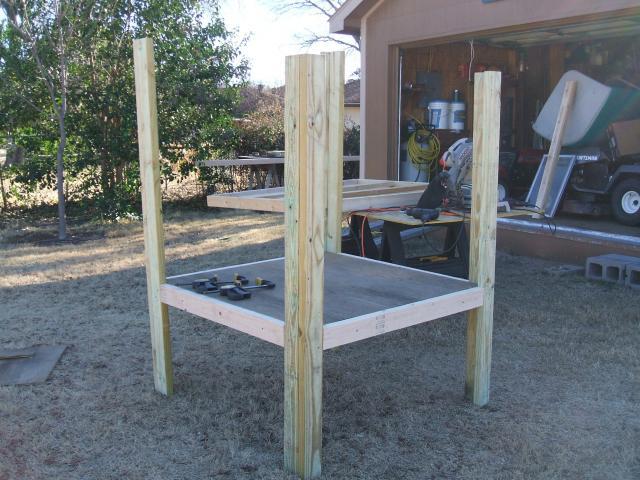
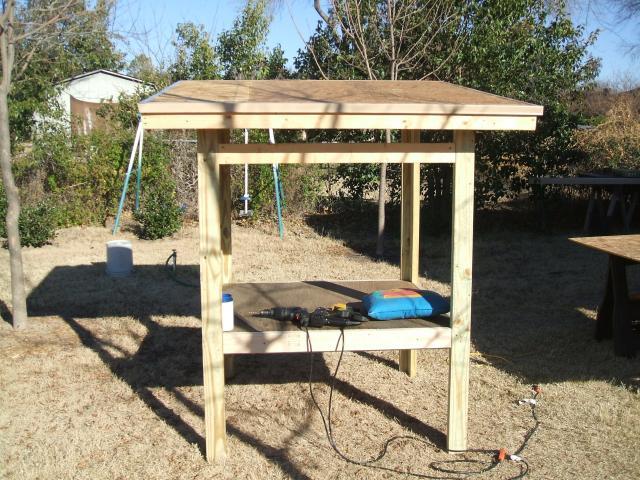
Here is the start of the build (above). The four corner posts are really two 2x4's (pressure treated) and screwed into a V. The floor of the coop as you can see is 3/4 plywood set into the 2x4 frame.
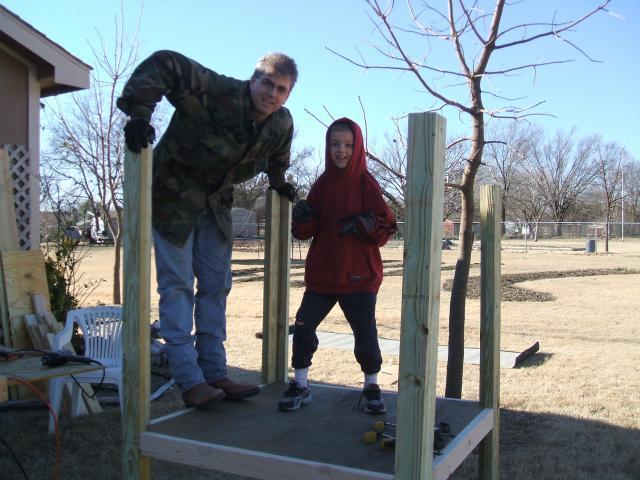
Me and my youngest son Ryan celebrate the frame completion by dancing (above). It is very solid. Notice two of the four corner posts are shorter than the other two to create slope for the roof.
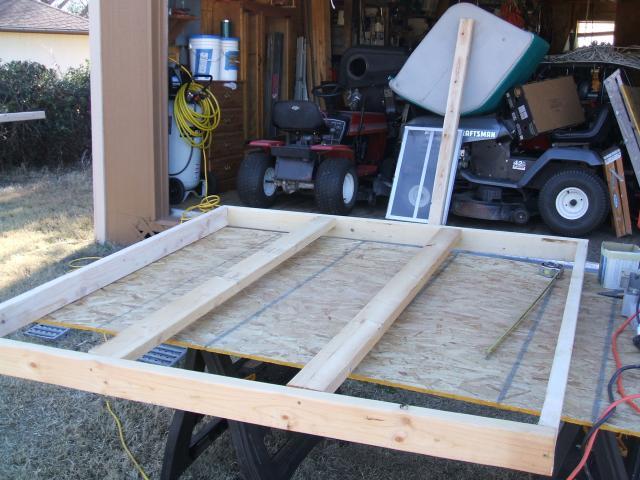
Here is the framed roof. It is 2x4's on edge for the frame (above). The two 2x4 in the middle are not on edge but laying flat so it will "sit" on the posts and allow me to screw down the roof decking.
The finished frame and roof (before shingles) (above). The roof is OSB with a metal drip edge. The roof also has a very nice slope to ensure good rain runoff. Also, I am beginning the framing for the siding.
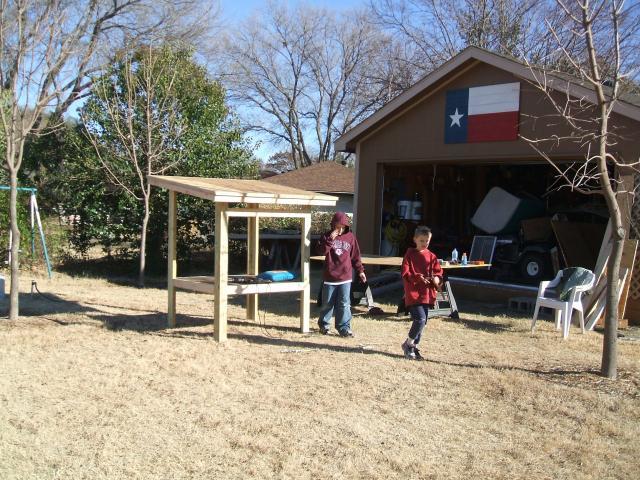
Here the framing is complete and my boys are enjoying the cool spring day (above).
Side view (above).
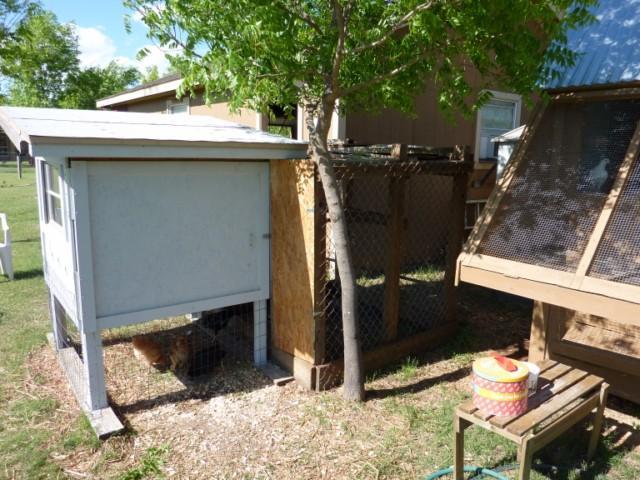
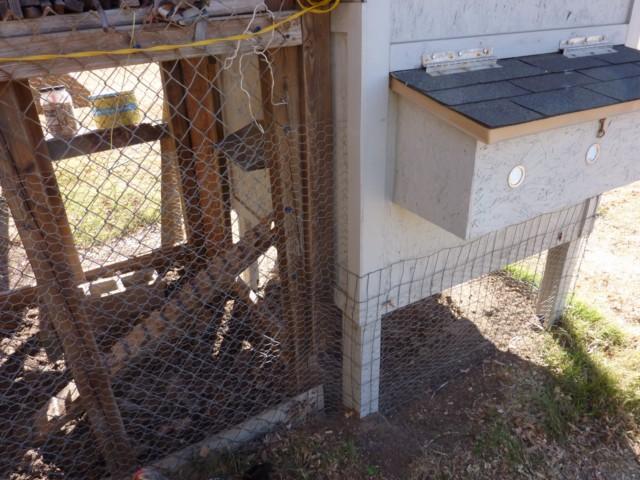
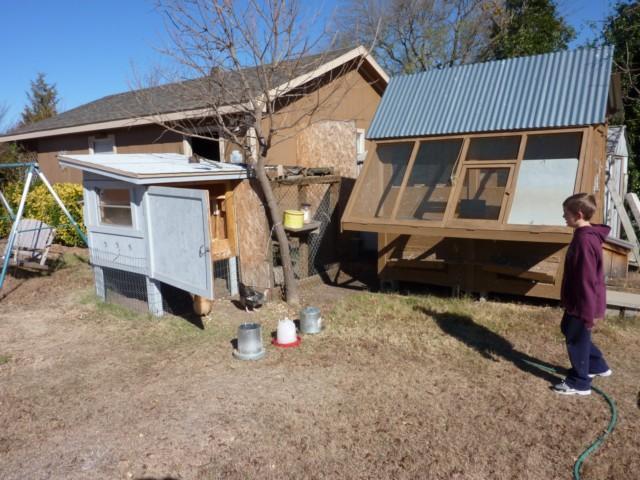
The back side showing the run (above). The brown coop is a homing pigeon coop. It is not attached to the chicken coop. If you look close you can see a white dove in the aviary of the brown pigeon coop. The chicken run is wrapped with chain link fencing and has a plank wooden roof to keep the hawks away.
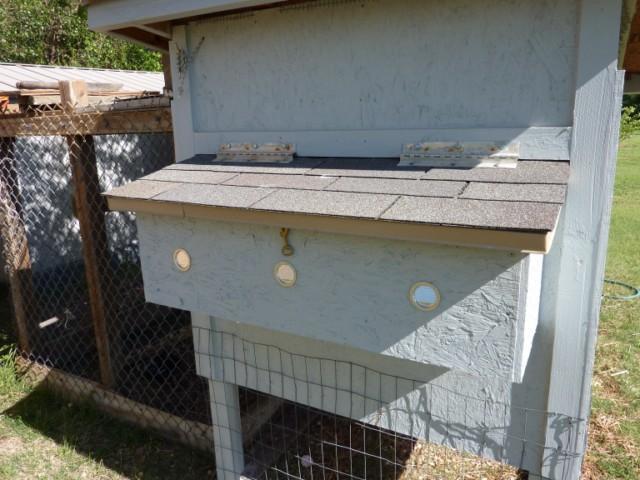
This is the front side showing the nest boxes (above). There are three of them with a hinged roof. The silver buttons are ventilation holes with vent caps. The hinges are large aluminum hinges off of an old boat seat. Also, I put a "lock" on the nest box top to keep any bad guys from lifting up the nest box top without unclipping the hook.
A few months later I took some more pictures to show the changes that I have made (below for details):
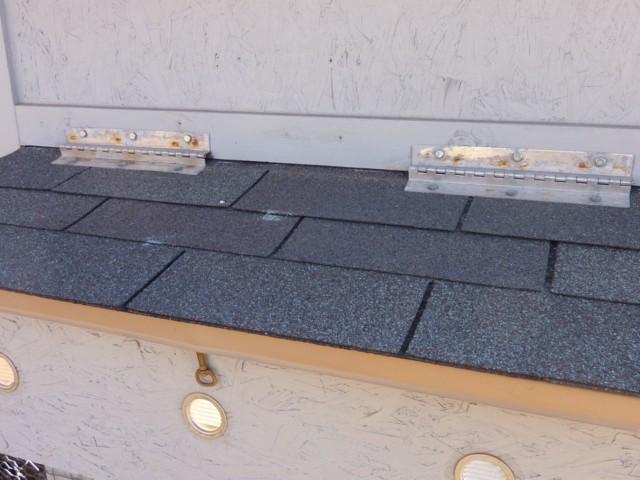
A close up of the hinges (above). They have a 90 degree bend on each one so they work perfectly for this application.
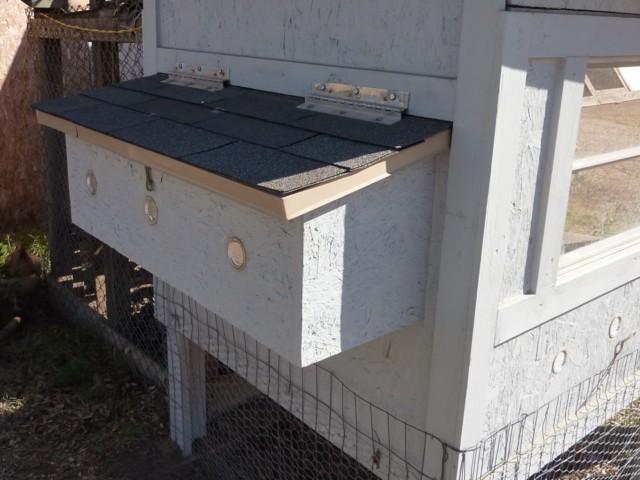
A close up of the corner detail (above).
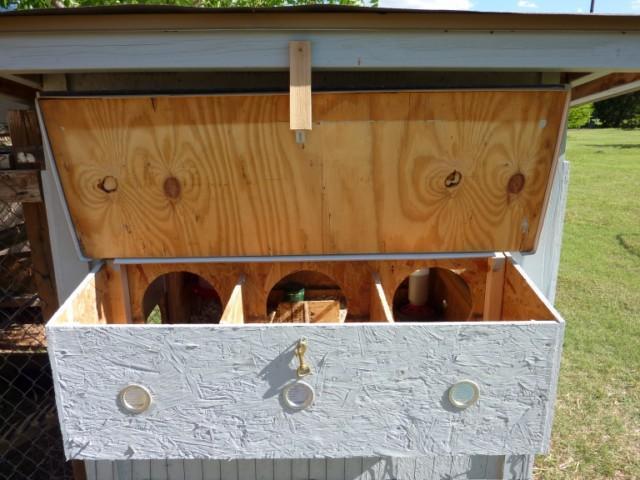
Here is the nest boxes with the lid open (above). The lid is 3/4 plywood. It has a metal drip edge and is shingled.
I added chicken wire on top of the welded 2x4 mesh (above). We have seen several racoons and skunks in the area and I wanted to keep them from being able to reach in and grab something. I also found it is keeping the house sparrows out.
Another picture of the chicken wire wrapping all the mesh and chain link (above).
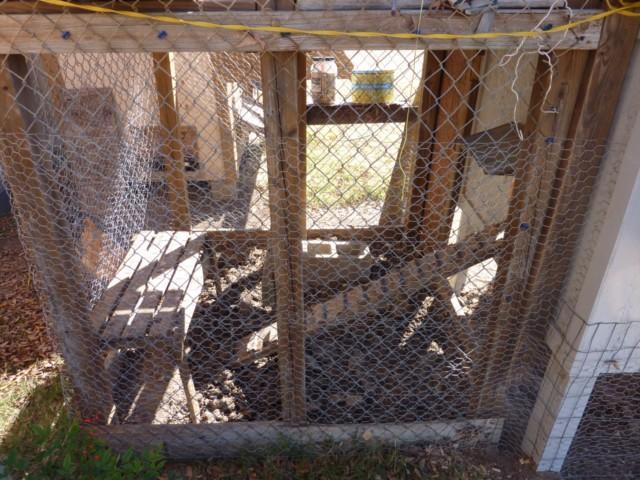
I keep a wooden platform in the run for them to get up on and away from the others when they want. There is also a roost pole accross the entire run (above).
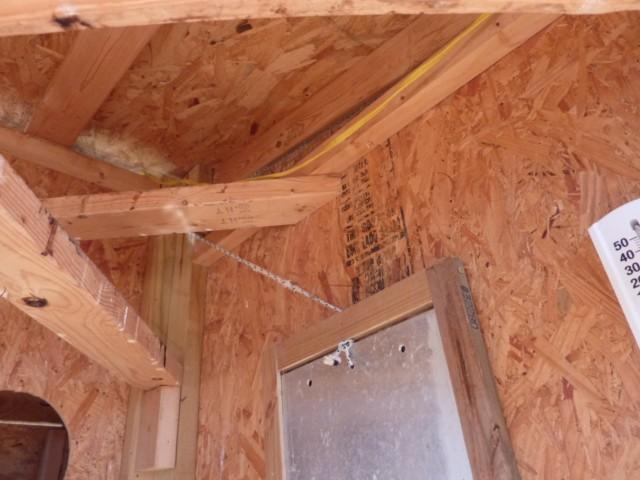
Inside the coop I added a manually operated coop door. It is an aluminum plate inside a frame. The rope at the top goes to the front of the coop and allows easy opening/closing of the door (above).
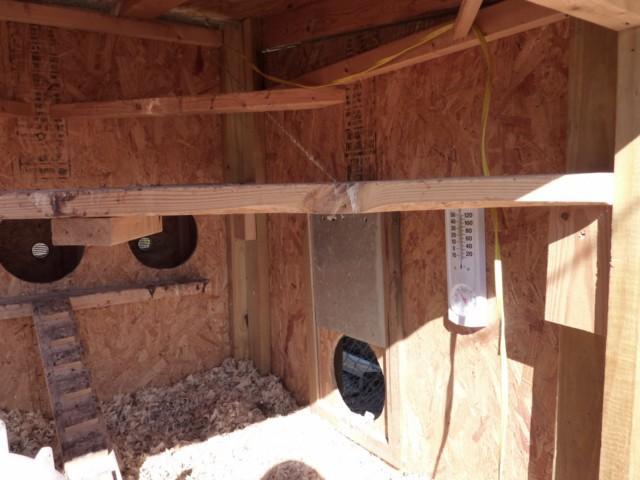
I added perches accross the inside of the coop at various levels (above).

This is a better look at the perches at various levels and the door that opens/closes (above).
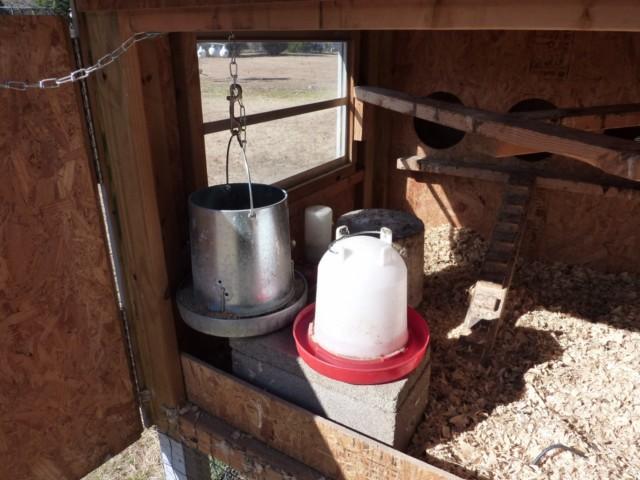
I also added a large hanging feeder inside the coop (above). The waterer is sitting on a cinder block (concrete).
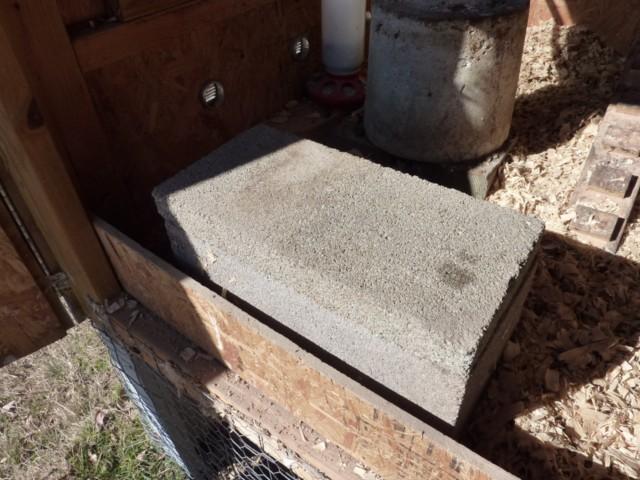
This is a better look at the cinder block "heater" that I added (above). It is a cinder block that has a stepping stone on the top as a cover. Inside one cavity of the cinder block I added a light bulb. The light bulb puts off just enough heat to keep the concrete block warm. The waterer then sits on top of the concrete and keeps it just warm enough not to freeze.
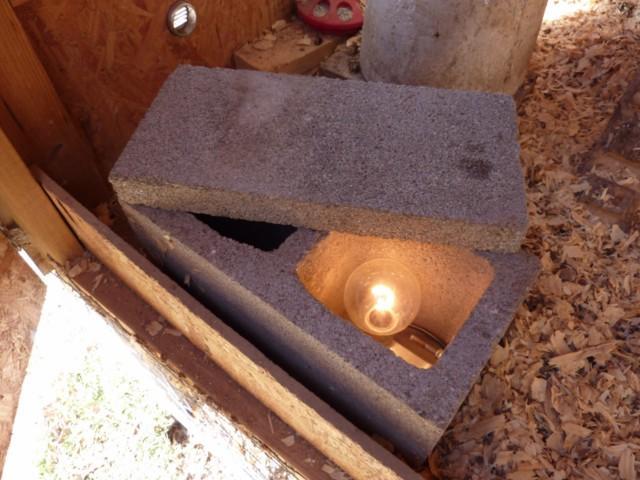
If you slide the stepping stone off you can see the light bulb inside (above). It is attached to the concrete block with a home made aluminum bracket that is screwed into the side of the concrete block. Also I drilled a hole in the side of the block to allow the electrical cord to enter. I then attached it to a bulb base and connected the electrical.
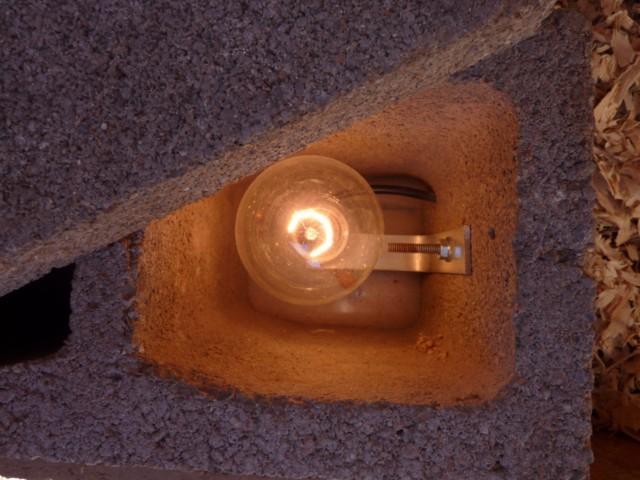
Here is a better look at how it is attached (above). There is an aluminum plate on the bottom of the cinder block to keep any wood from coming into contact with the heat or electrical components.
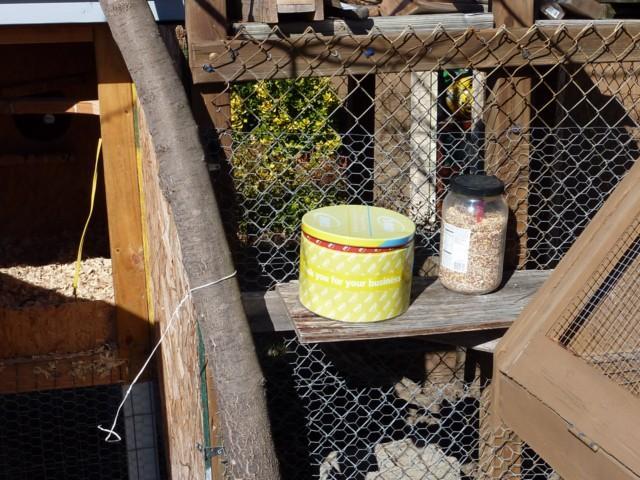
I also added a shelf to the side of the coop (above). I keep their feed and scratch in containers easily assessible when I need it. It is very handy to have the food near.
Daily chores (above)..........

