RANCHO CHICKACABRA
I just finished my coop (aka Rancho Chickacabra), so I thought I would post the progress. I spent hours perusing all the coop designs on BYC and came up with a hodge-podge design of all the elements I liked best. I hope this helps anyone looking for ideas. Total cost of all materials: $440.00. Be sure to check your lumber/hardware store's "culled" pile of lumber. Previously cut dimensional lumber and plywood goes for pennies on the dollar and can save you a wad of cash. The metal roofing is not included in the cost as I already had scrap pieces left over from my patio roof.
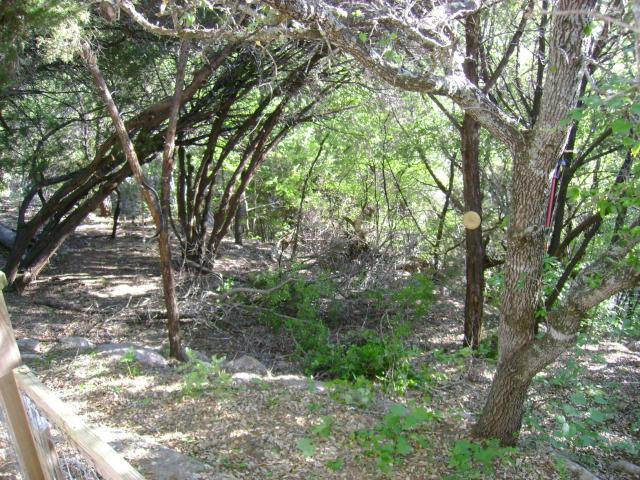
Step 1: Site selection and cedar clearing complete.

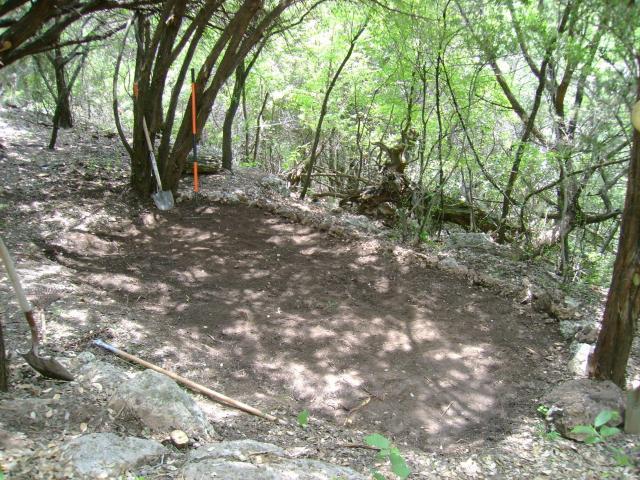
Step 2: Sloping area leveled.
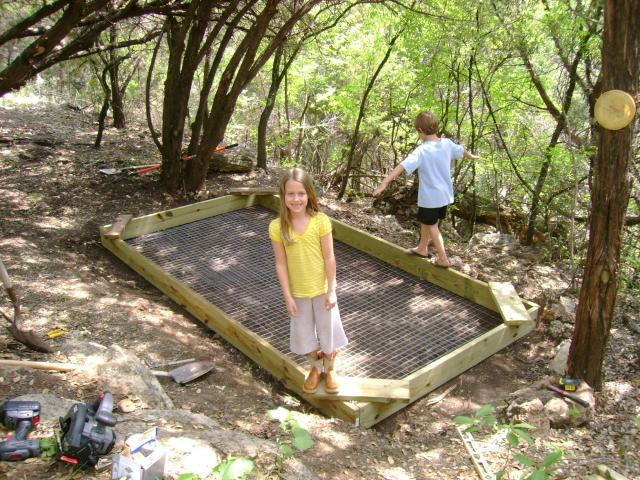
Step 3: Base of run complete. Underside wired to keep out digging predators.
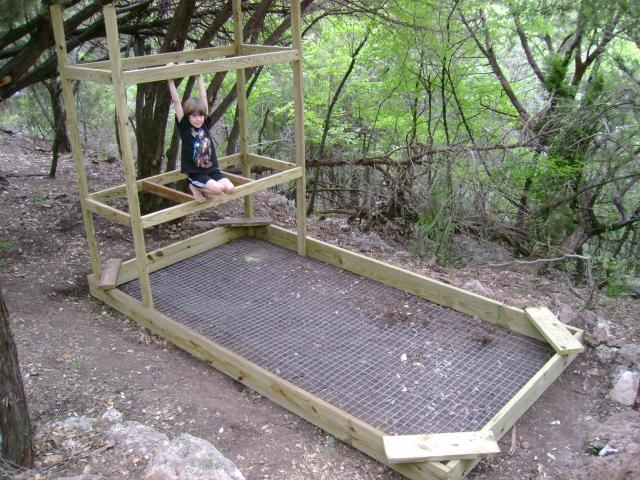
Step 4: Coop framed.
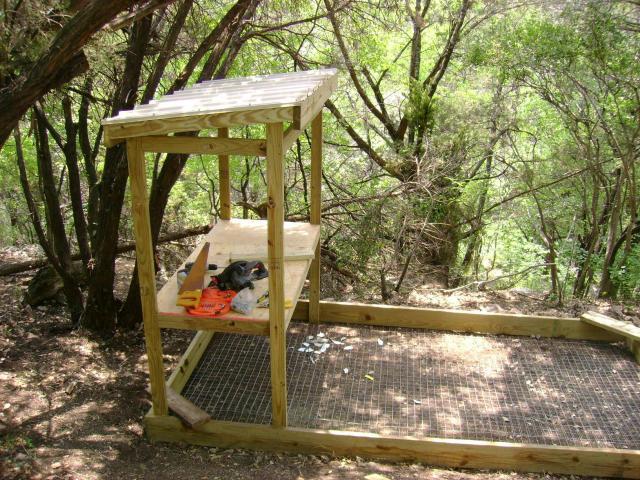
Step 5: Coop floor and roof installed.
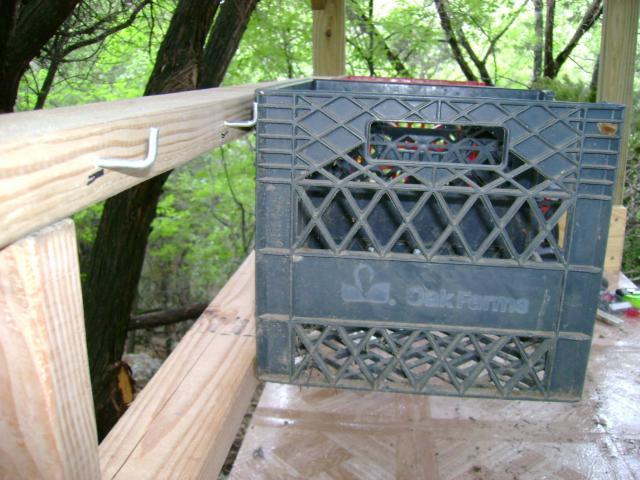
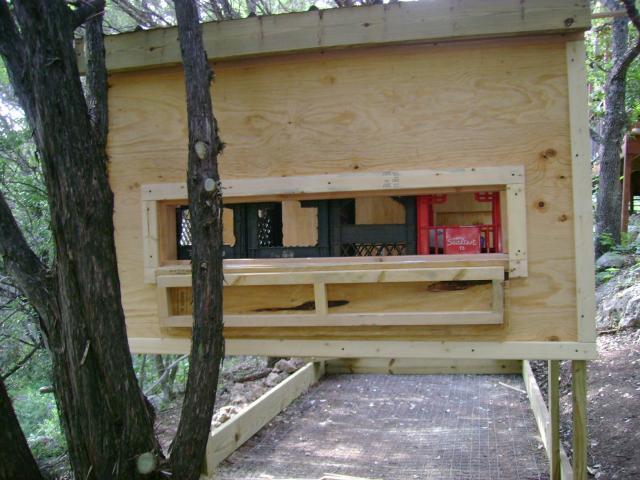
Step 6: Roosting boxes (milk crates) installed. I used the crates upright, cutting entries and egg removal areas on front and back. I used them upright to keep the chickens from sitting on top of them and pooing all over them. I also installed cheap tile on the floor for easy cleanout. I plan on using the Deep Litter Method (DLM), so the removable 1x8's on the sides of the floor will allow easy removal of litter.
Side view of roosting box/crates. Hanging on metal hooks for easy removal and cleaning.
Step 7: Front door framed.
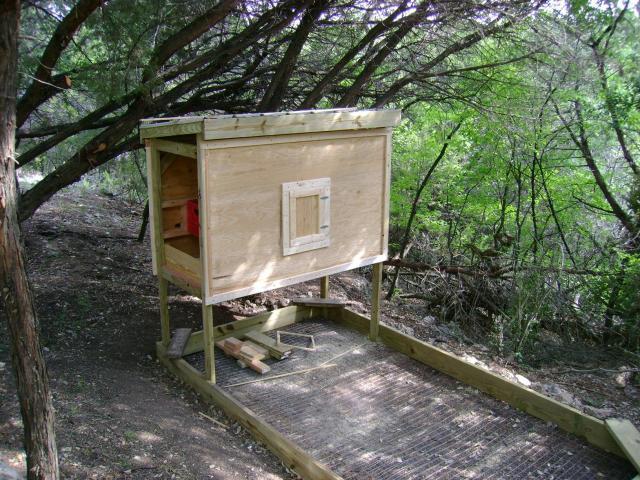
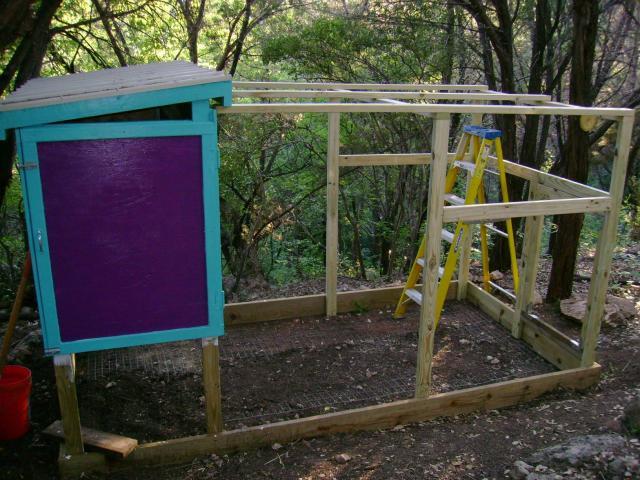
Step 8: Front siding and door installed.
Step 9: Rear siding and door installed.
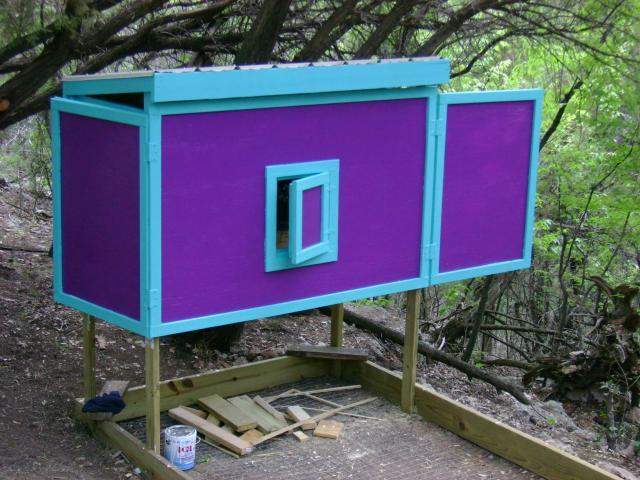
Egg extraction hatch.
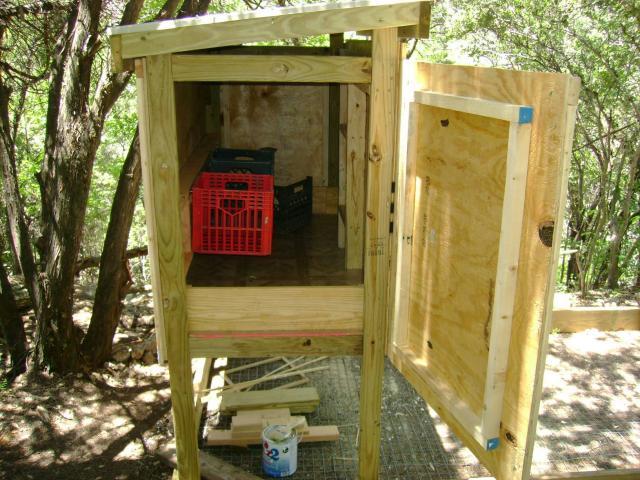
Step 10: Side doors installed for easy cleanout. The 1x8 near the floor holds in the litter, but pulls out to allow soiled litter removal.
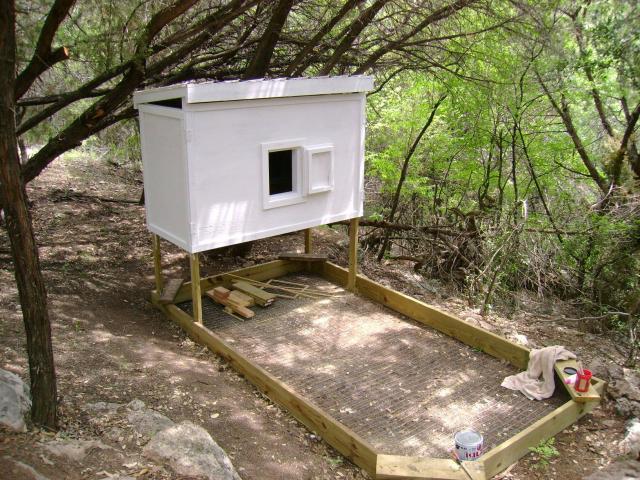
Step 11: Two coats of primer applied to seal wood.
Step 12: NEON paint applied. I wanted burnt orange and white (Longhorns), but Chloe wanted pinks and other colors similar to "Hannah Montana's" coop. We compromised with neon . . .
Step 13: Run framed.
Another view of run framing.
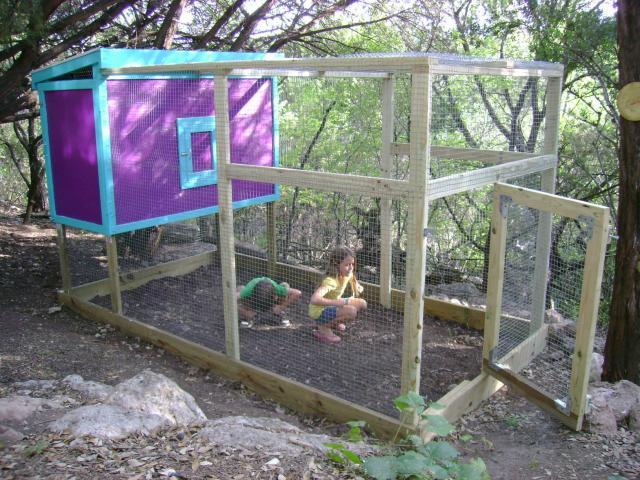
Step 14: Wire caging (1x1-inch welded) installed on all sides. Foxes, raccoons, and coyotes common in the area. A mountain lion was even sited on our road a few days ago. Hopefully the welded wire can keep them all out . . .
Step 15: Interior vents also covered with wire caging.
I just finished my coop (aka Rancho Chickacabra), so I thought I would post the progress. I spent hours perusing all the coop designs on BYC and came up with a hodge-podge design of all the elements I liked best. I hope this helps anyone looking for ideas. Total cost of all materials: $440.00. Be sure to check your lumber/hardware store's "culled" pile of lumber. Previously cut dimensional lumber and plywood goes for pennies on the dollar and can save you a wad of cash. The metal roofing is not included in the cost as I already had scrap pieces left over from my patio roof.
Step 1: Site selection and cedar clearing complete.
Step 2: Sloping area leveled.
Step 3: Base of run complete. Underside wired to keep out digging predators.
Step 4: Coop framed.
Step 5: Coop floor and roof installed.
Step 6: Roosting boxes (milk crates) installed. I used the crates upright, cutting entries and egg removal areas on front and back. I used them upright to keep the chickens from sitting on top of them and pooing all over them. I also installed cheap tile on the floor for easy cleanout. I plan on using the Deep Litter Method (DLM), so the removable 1x8's on the sides of the floor will allow easy removal of litter.

Side view of roosting box/crates. Hanging on metal hooks for easy removal and cleaning.
Step 7: Front door framed.

Step 8: Front siding and door installed.
Step 9: Rear siding and door installed.

Egg extraction hatch.
Step 10: Side doors installed for easy cleanout. The 1x8 near the floor holds in the litter, but pulls out to allow soiled litter removal.
Step 11: Two coats of primer applied to seal wood.
Step 12: NEON paint applied. I wanted burnt orange and white (Longhorns), but Chloe wanted pinks and other colors similar to "Hannah Montana's" coop. We compromised with neon . . .
Step 13: Run framed.
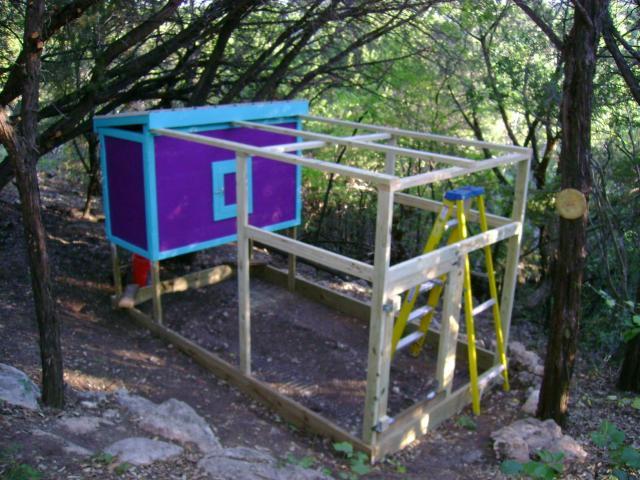
Another view of run framing.
Step 14: Wire caging (1x1-inch welded) installed on all sides. Foxes, raccoons, and coyotes common in the area. A mountain lion was even sited on our road a few days ago. Hopefully the welded wire can keep them all out . . .
Step 15: Interior vents also covered with wire caging.

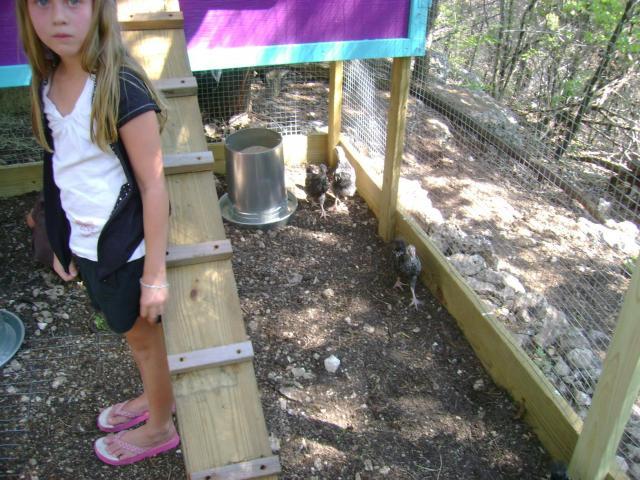
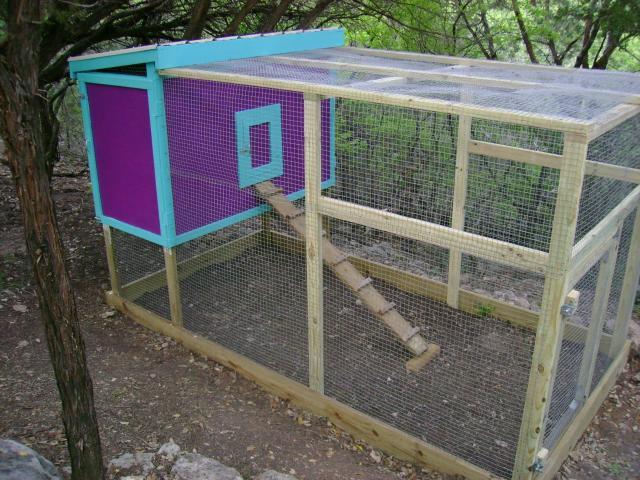
Step 16: Ramp installed and coop complete.
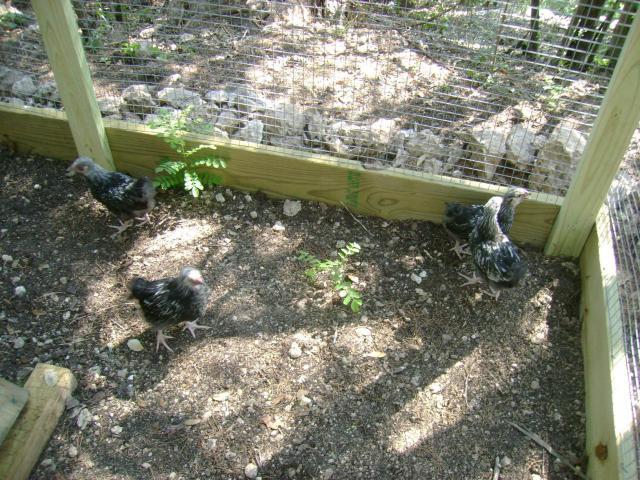
Step 17: Wyandotte pullets are here.
Step 17: Wyandotte pullets are here.