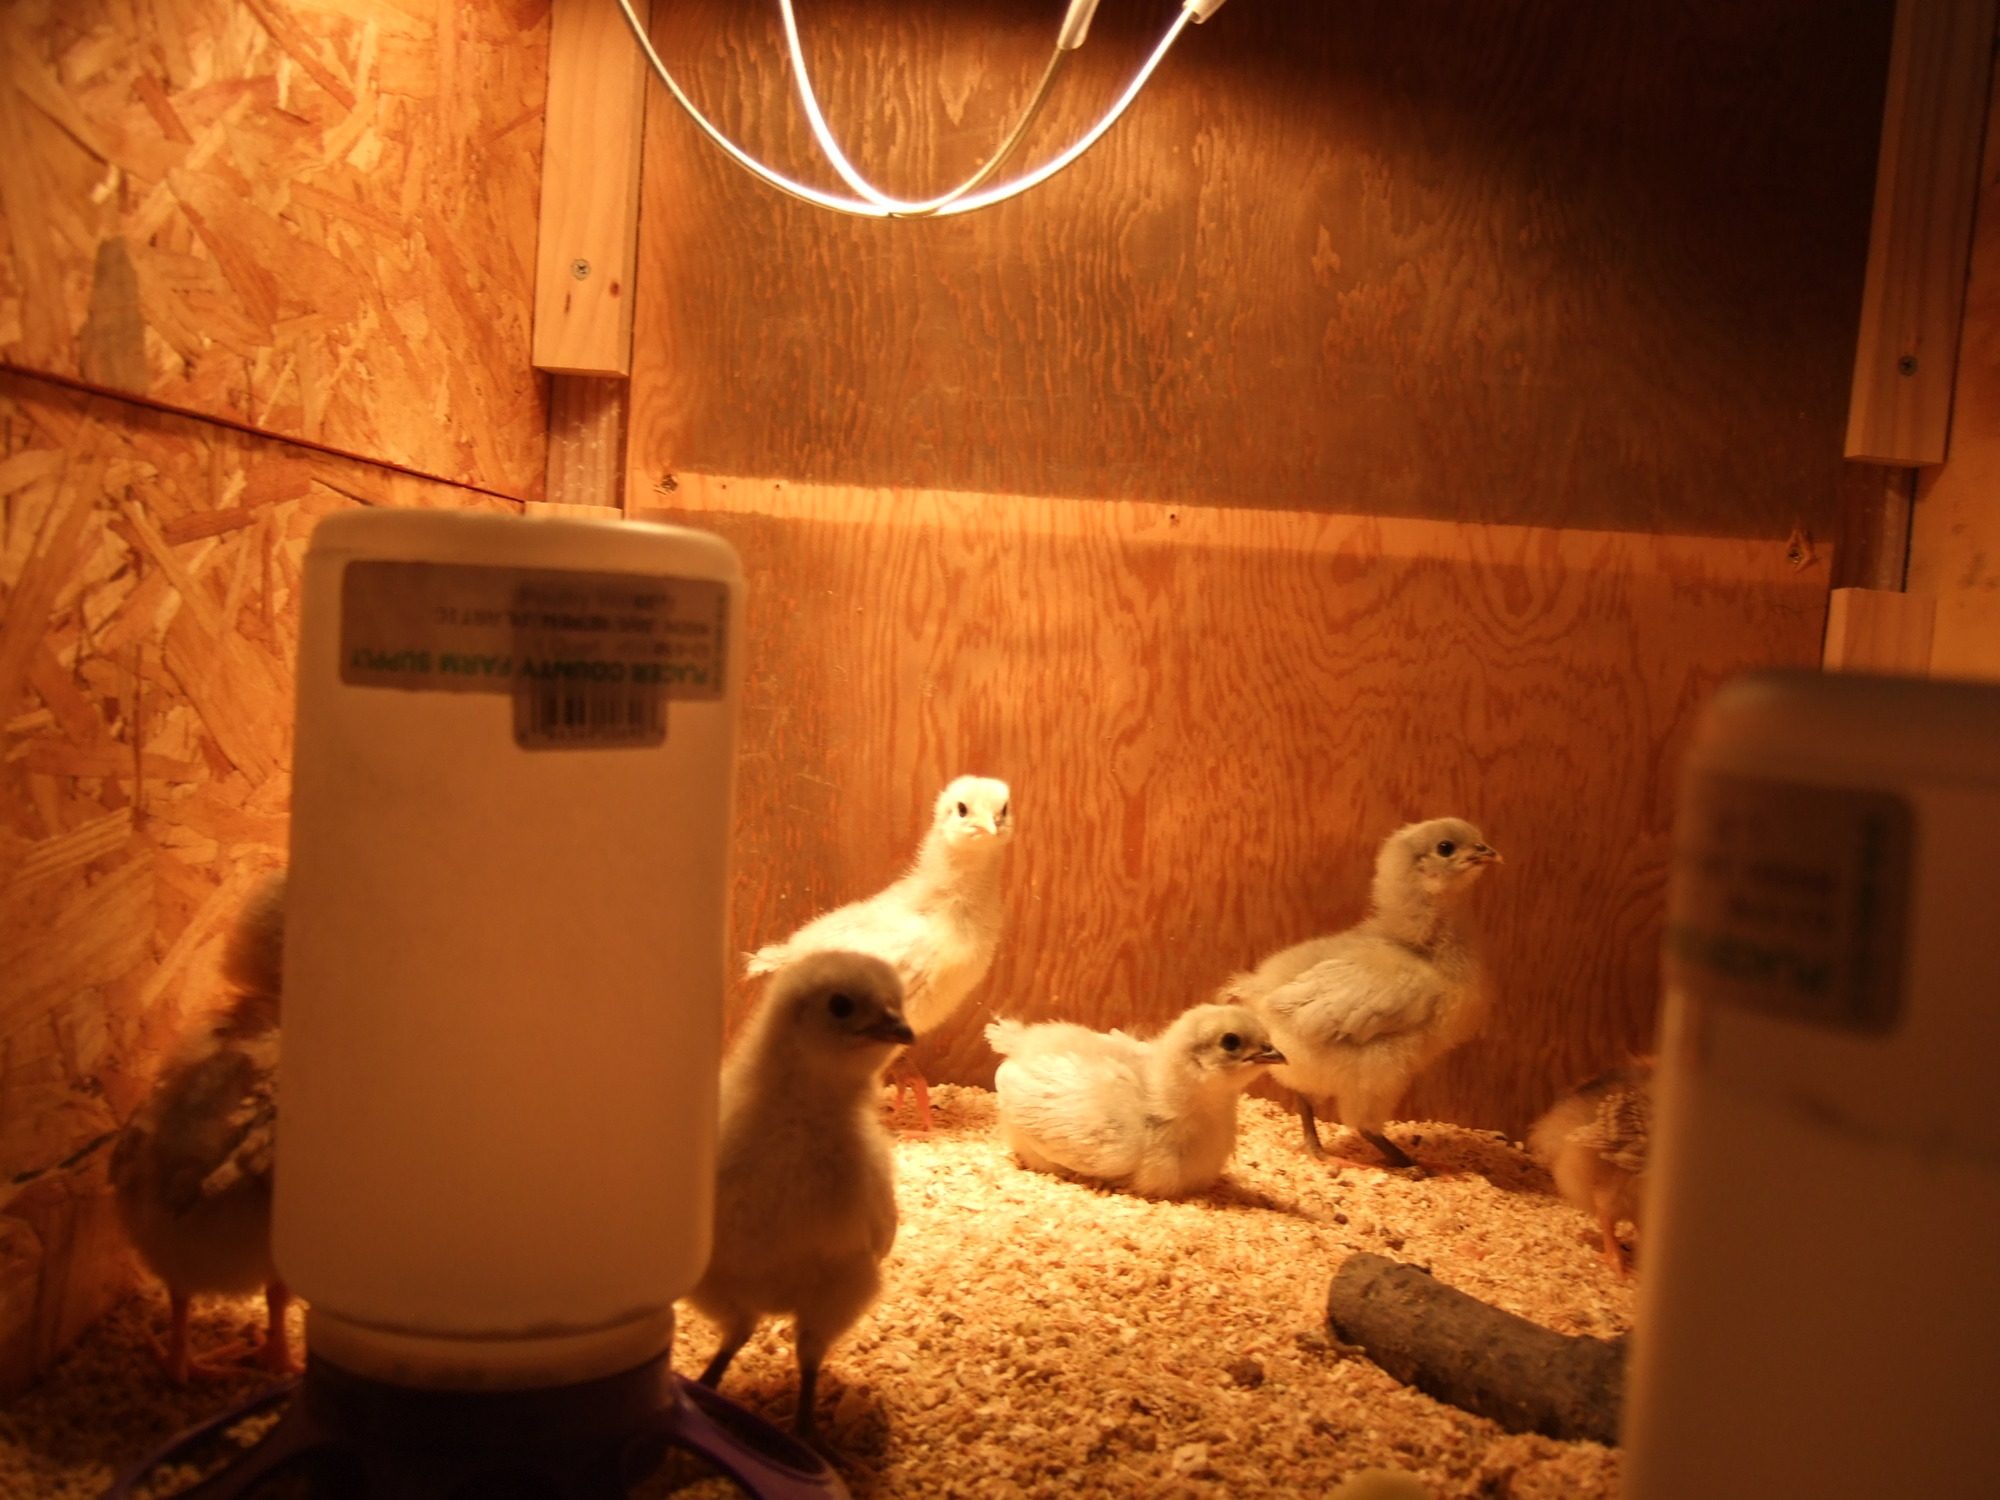
So it was time to get chickens. Cute little poop buckets, but I gotta build a Coop and run. Piece of cake. The birds are small. Really small. I suppose we took our time. That was mistake #1.
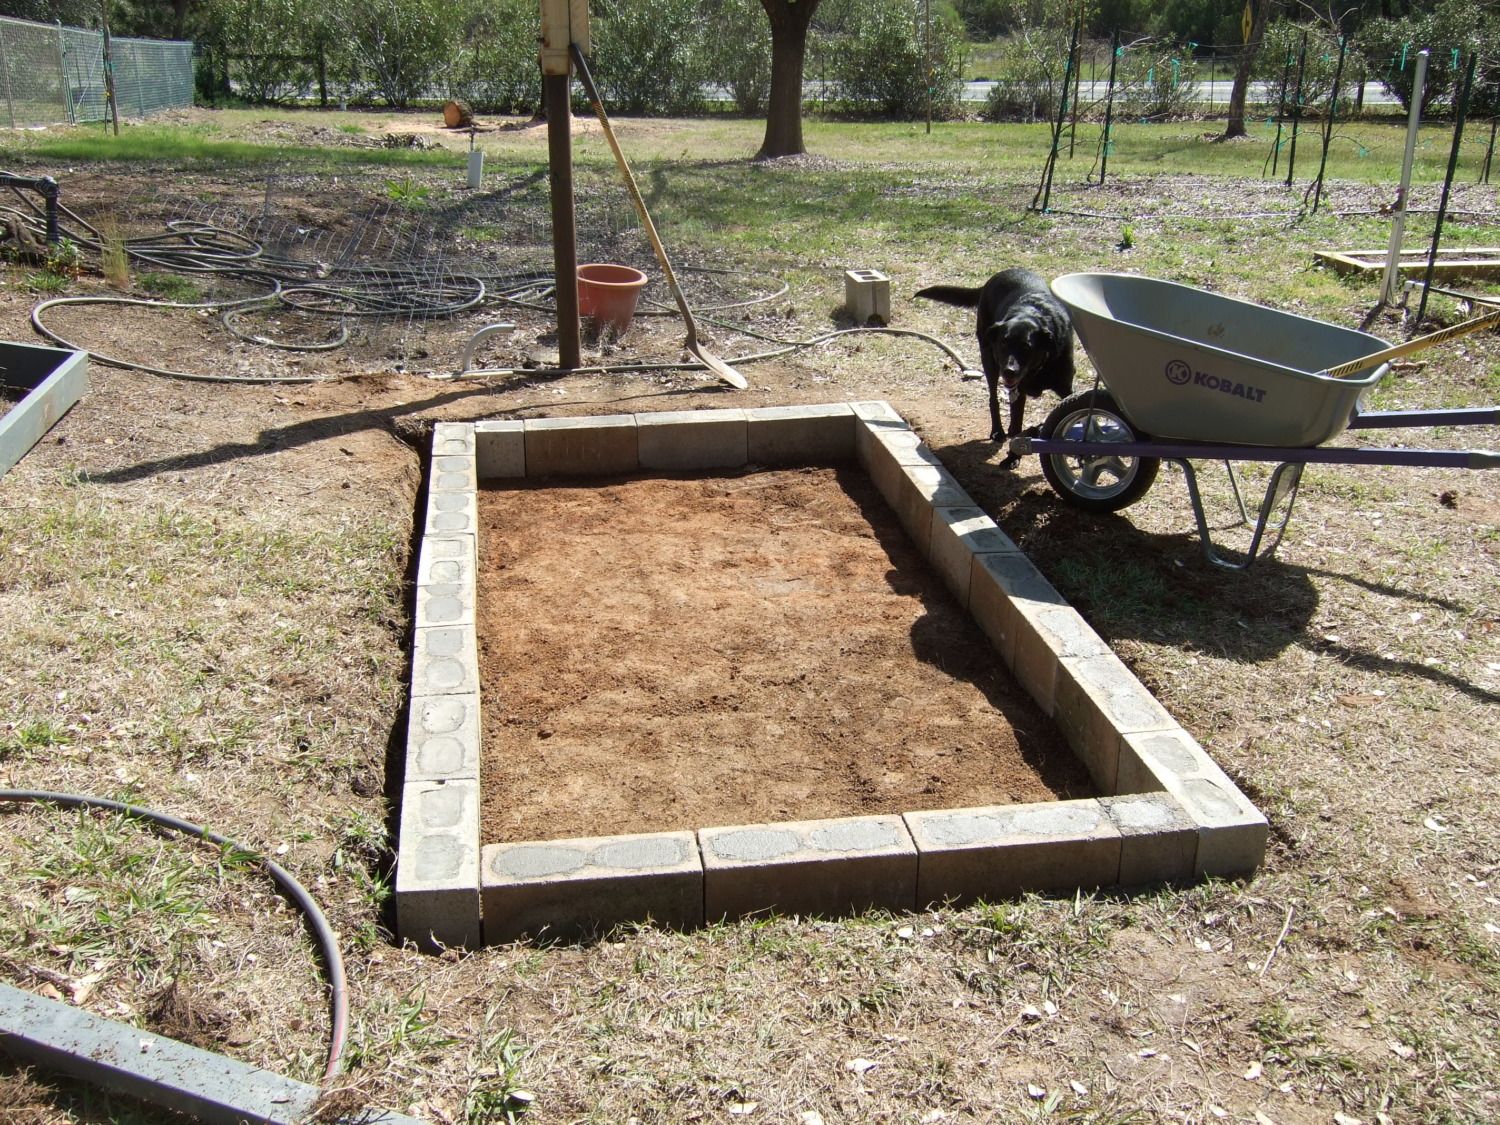
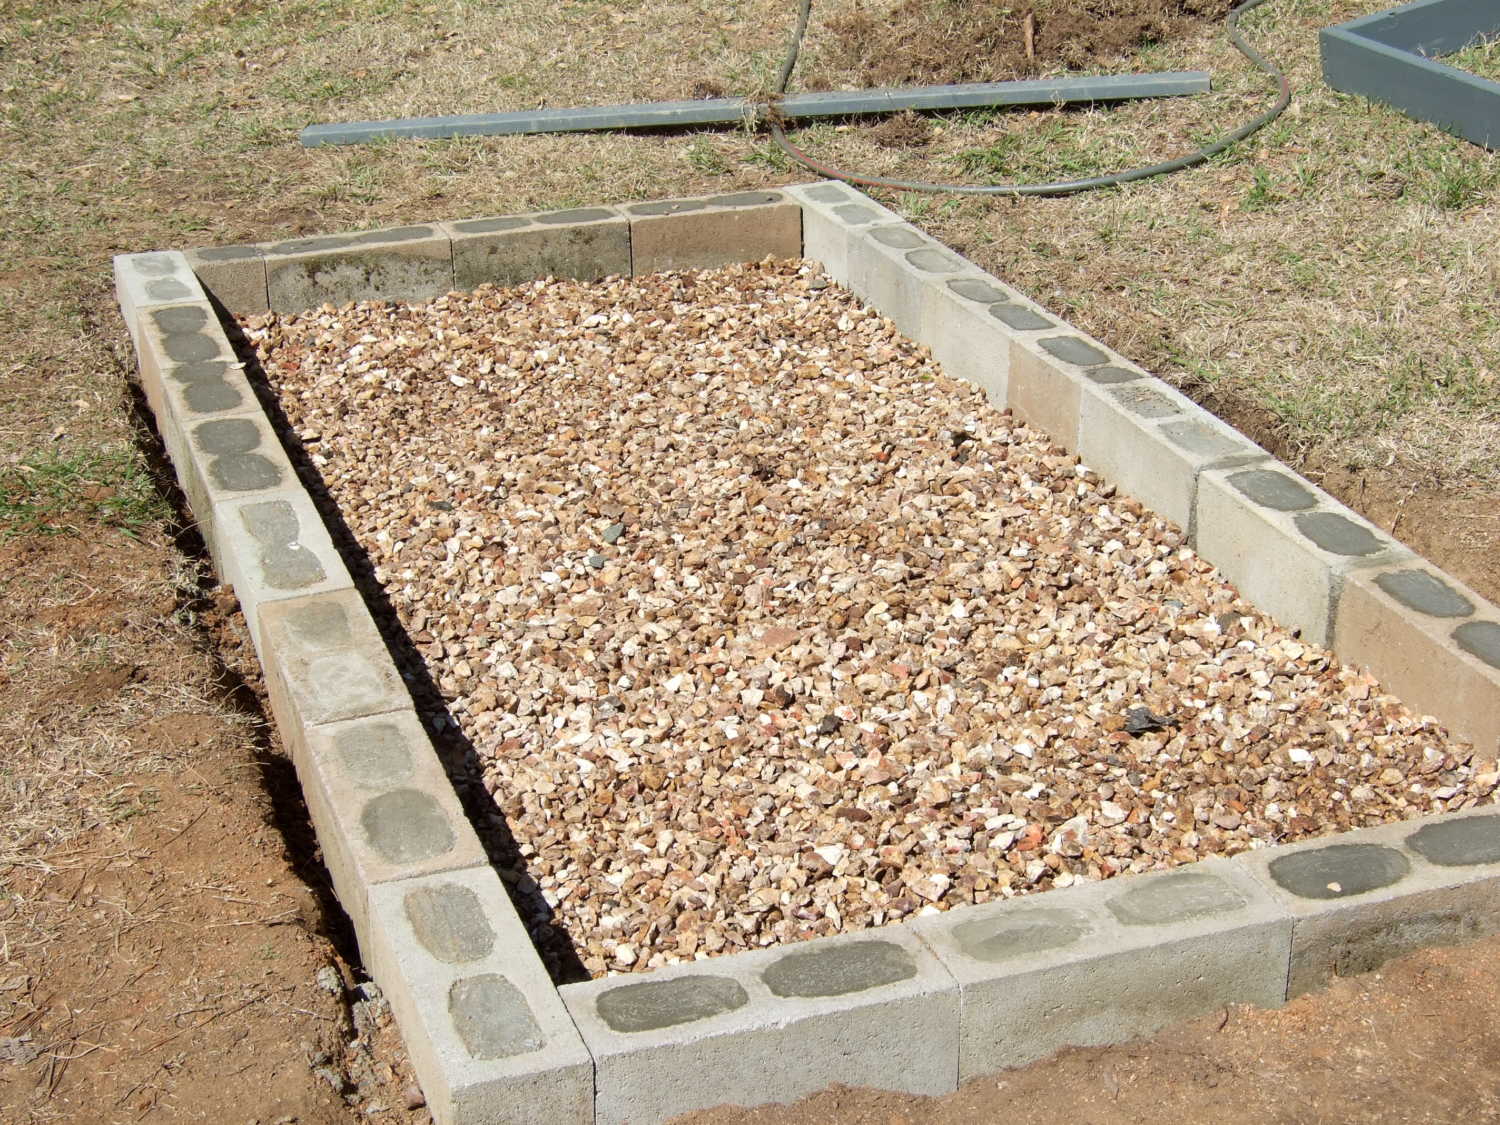
We dug down into the DG (decomposed granite) and set the foundation. Lots of predators out here in the west. Animals, too, so we wanted to make this the predator proof king of coops. We used concrete blocks from another project that I never finished. Actually, I never started it, but at least I used the blocks. I hammered rebar down through the openings, then mixed a bunch of cement and filled the holes. Lots of wind in this little valley, and I didn't need Dorothy and Toto flyin' around the county. What made this job really hard was the supervision. She thinks she's hiding behind the wheelbarrow, but I saw her!
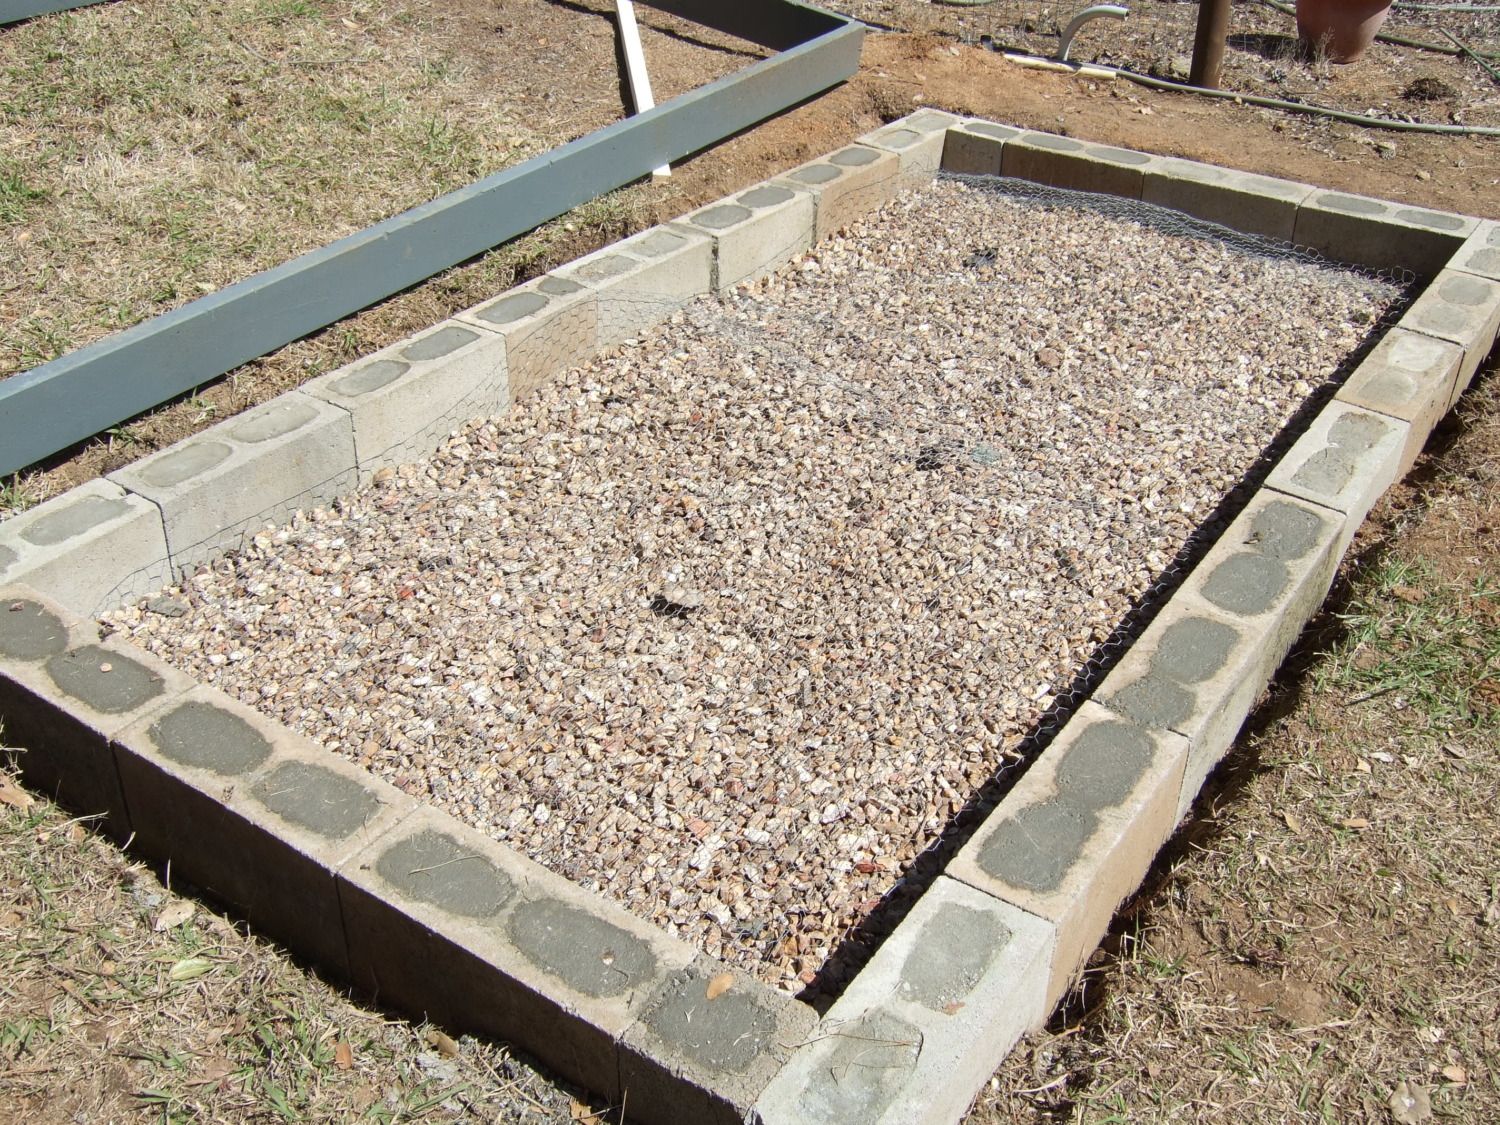
Then a little fill sand, some rocks, some chicken wire, some more chicken wire, some landscape cloth, some more rocks, and the pressure treated 2x6's for the base. This thing ain't going nowhere!!!!

The dimentions are 5' x 10'. In hindsight I would have gone 6' by 12', but it is what it is. I pretty much winged this project with few notes or diagrams. I trusted many members of BYC to provide me with pictures of what they had done, and I more or less copied that. But if you must see my notes and diagrams,,,here they are.
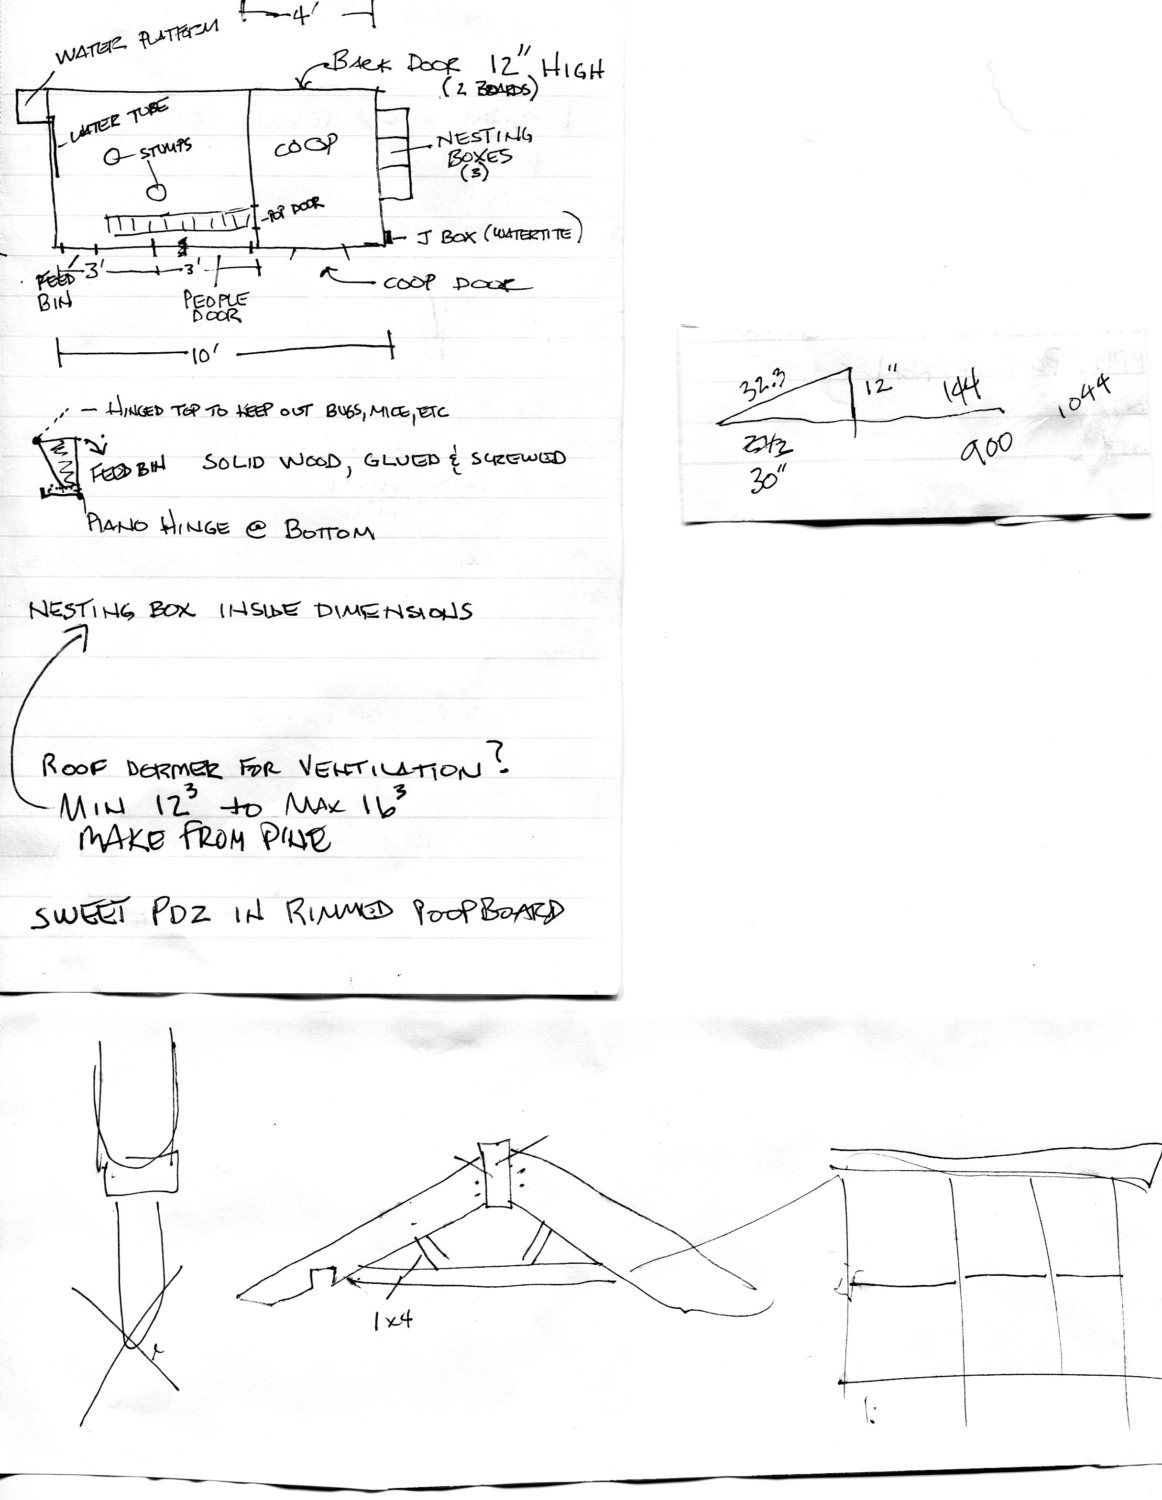
Pretty impressive, eh. Notice how the overall design doesn't even match the finished project!!
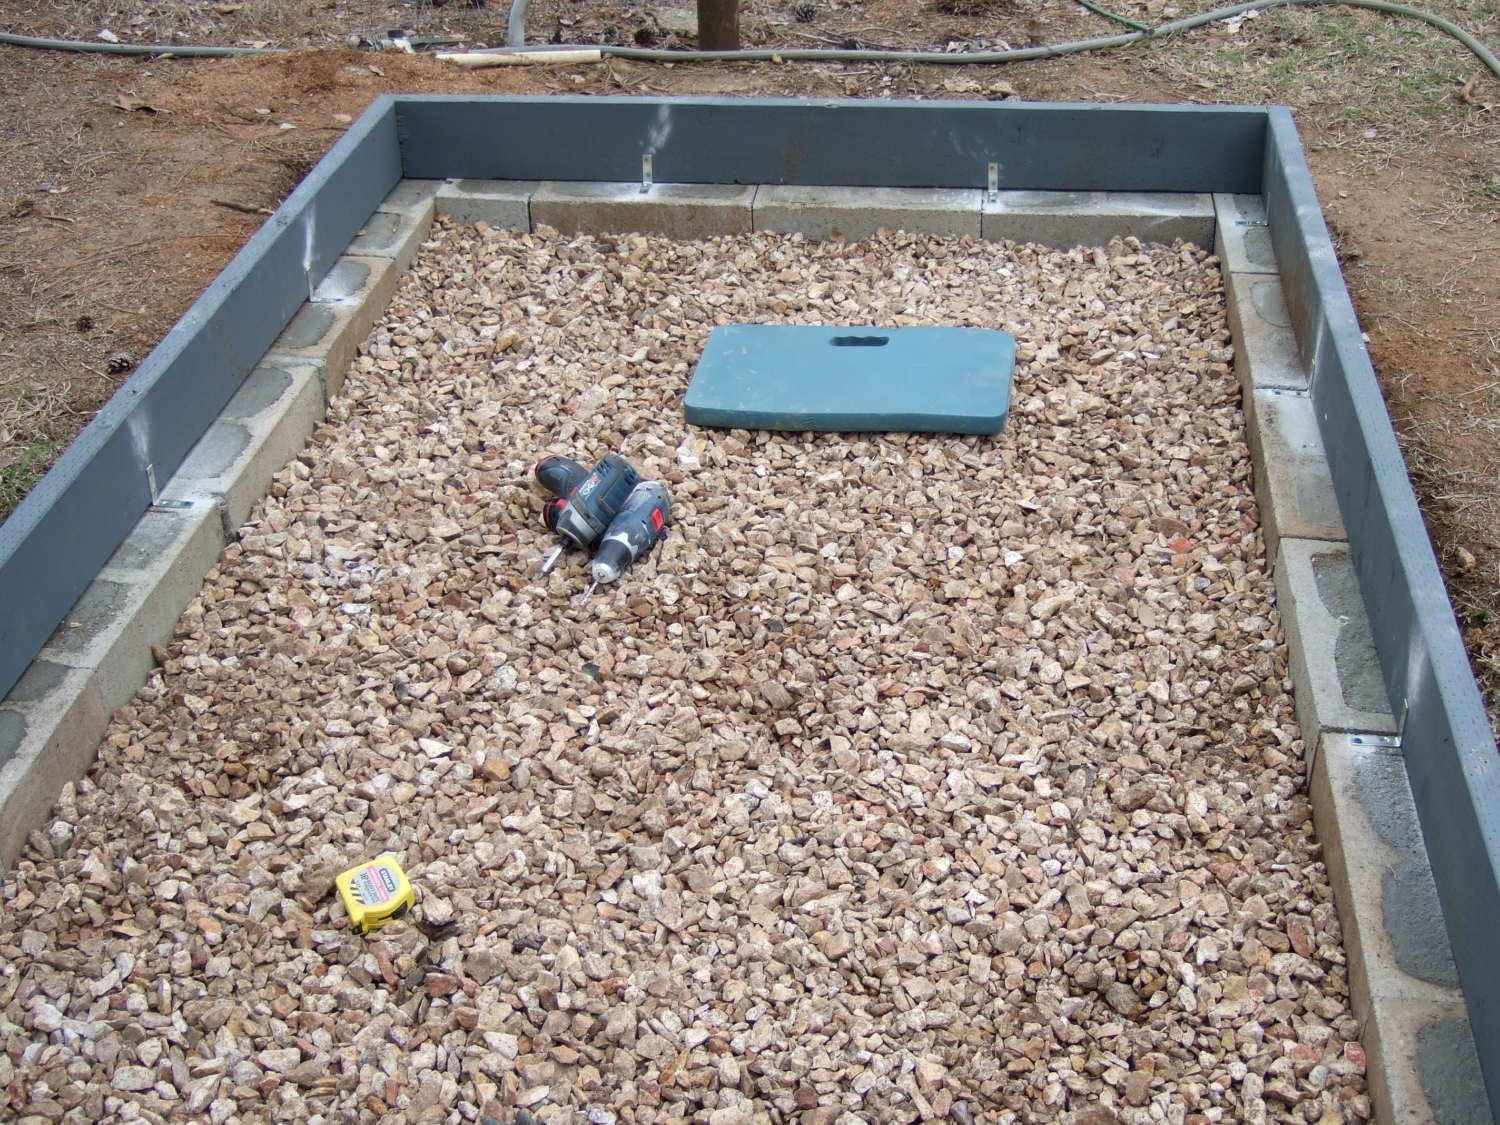
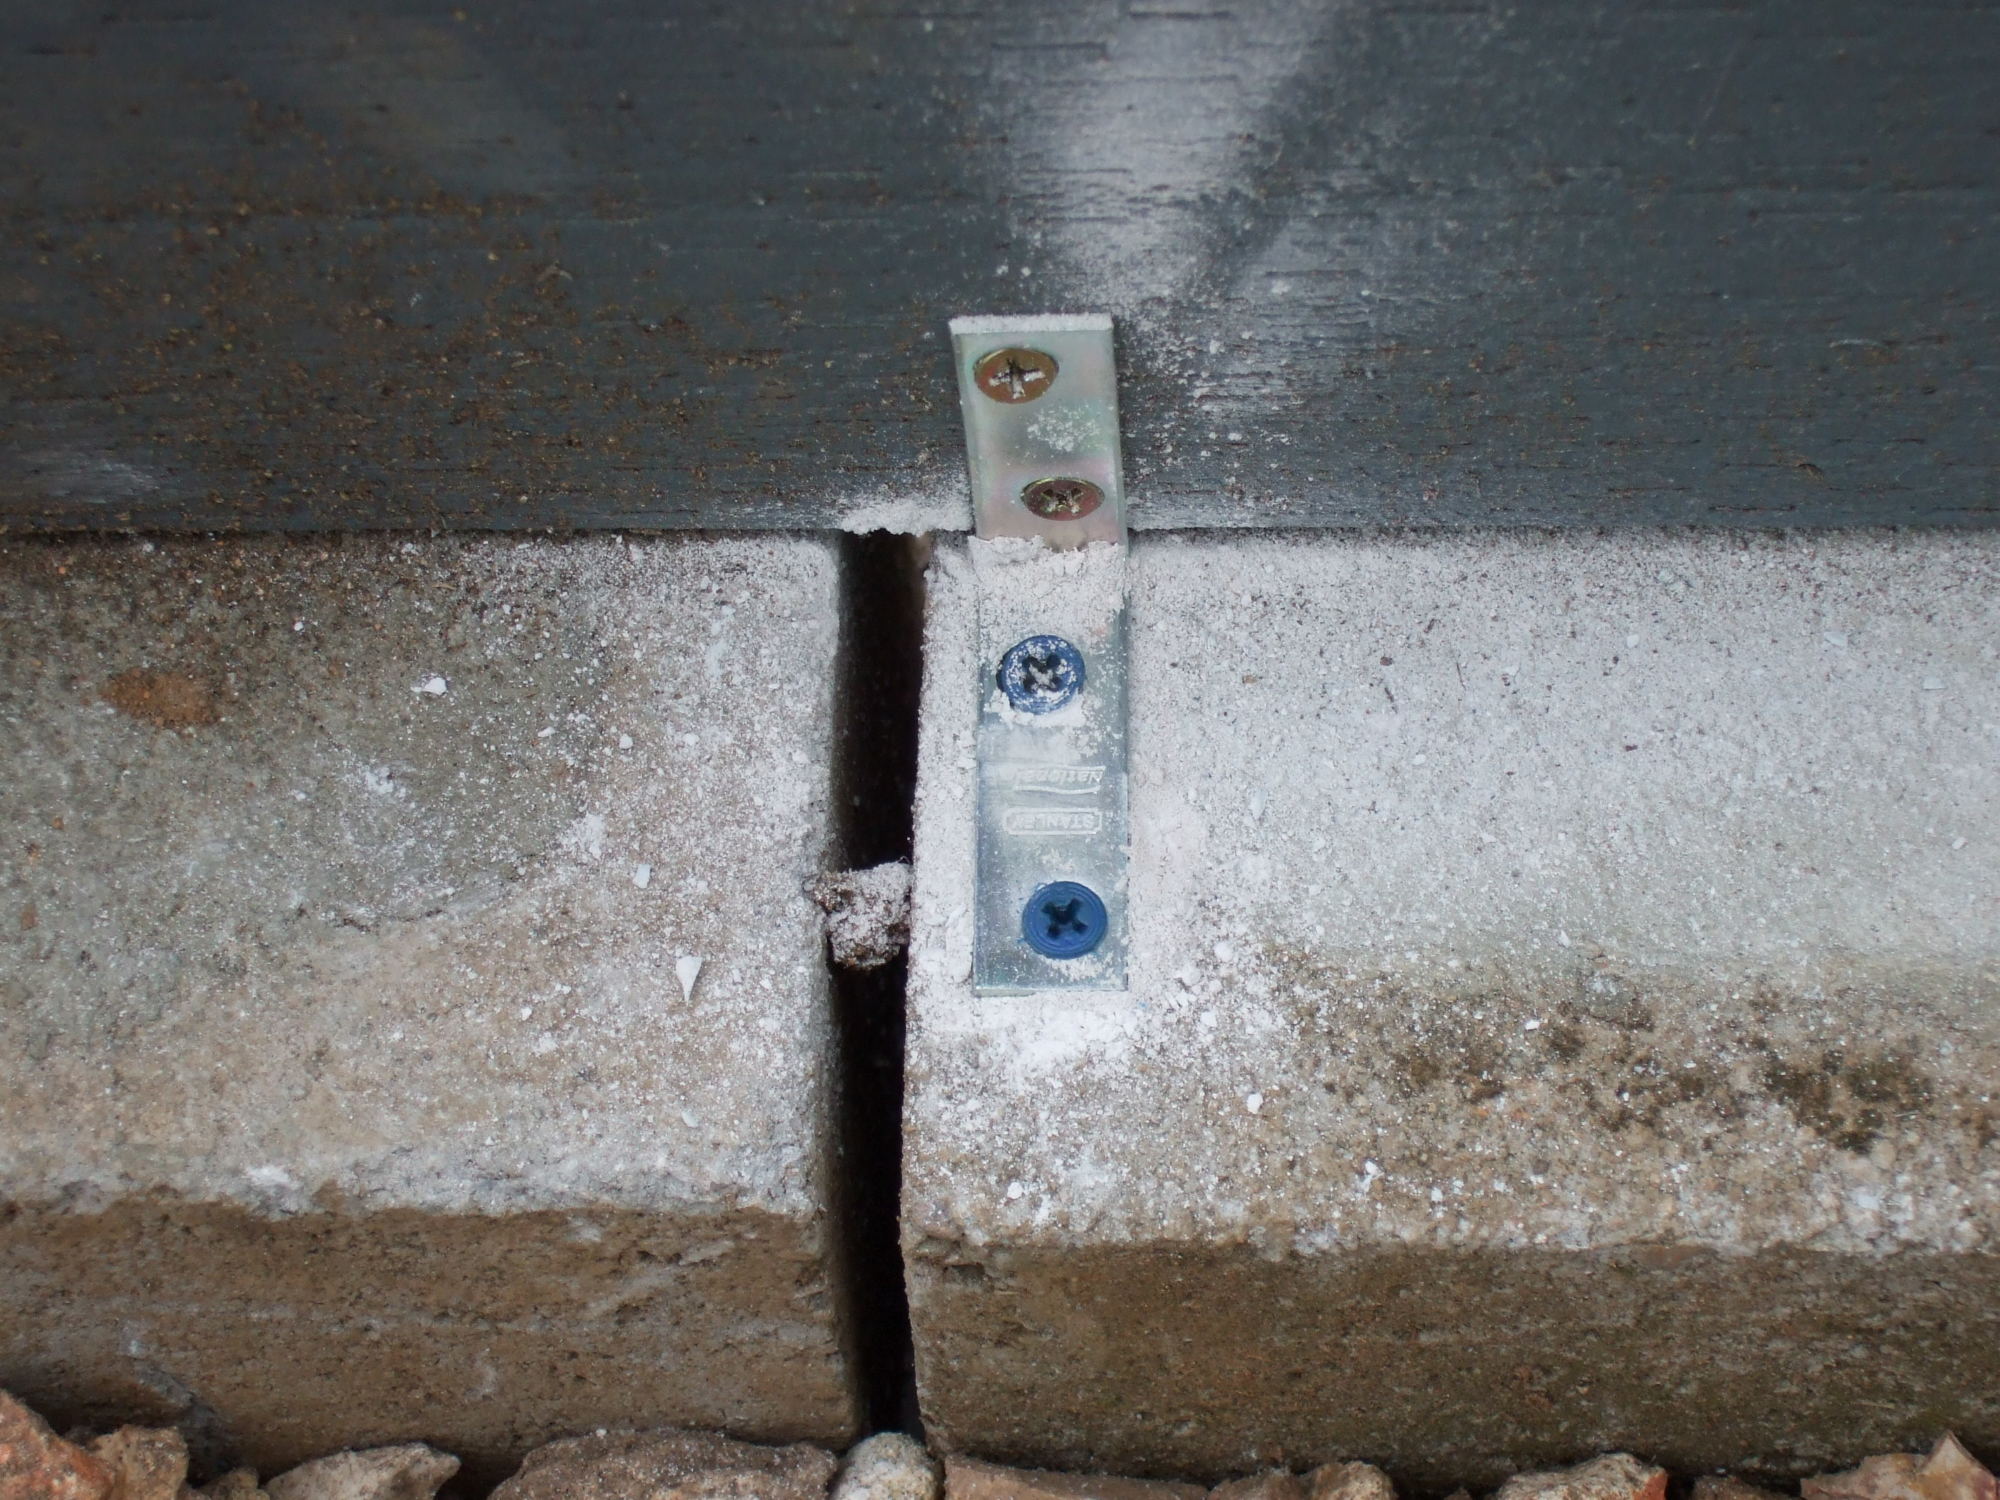
So it's time to fasten the base to the block. I used Tapcot fasteners and small 'L' brackets. A masonry bit and any electric drill will drill into the block. These fasteners are a great invention.
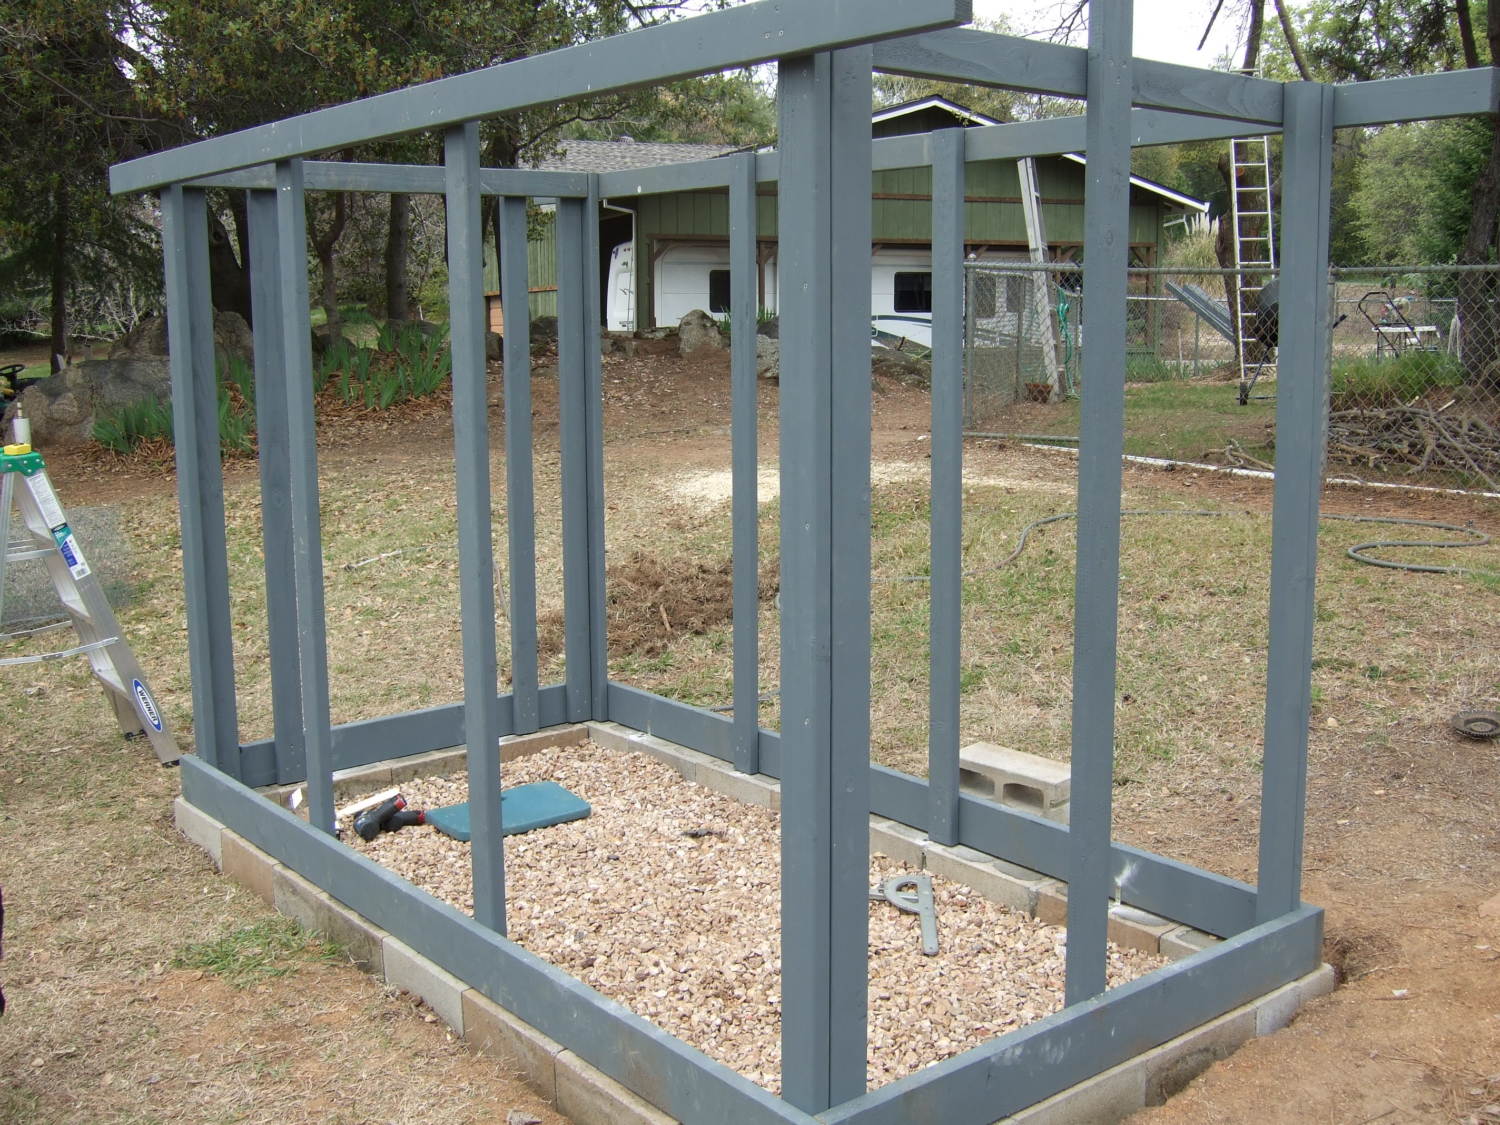
Ahhhh, time for the walls to go up. Notice how much wood I used. I felt sorry for Lowes, so bought waaaay more than I needed. By the way. I use screws, not nails. More expensive, more forgiving. You decide!
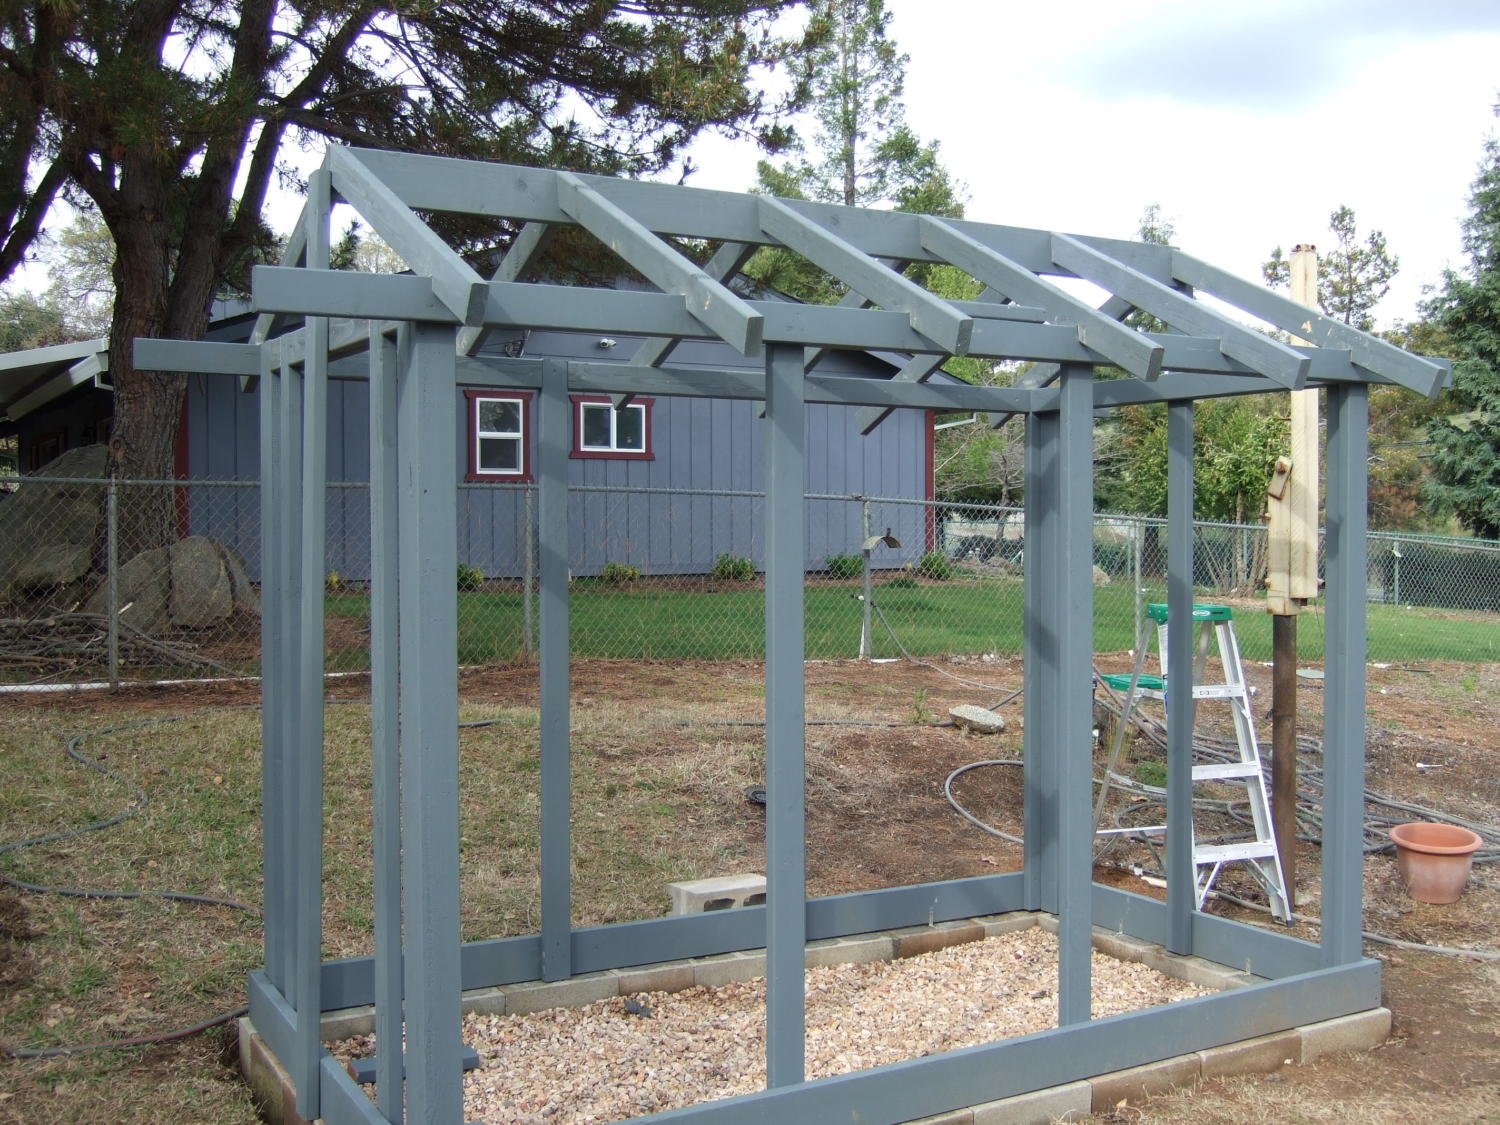
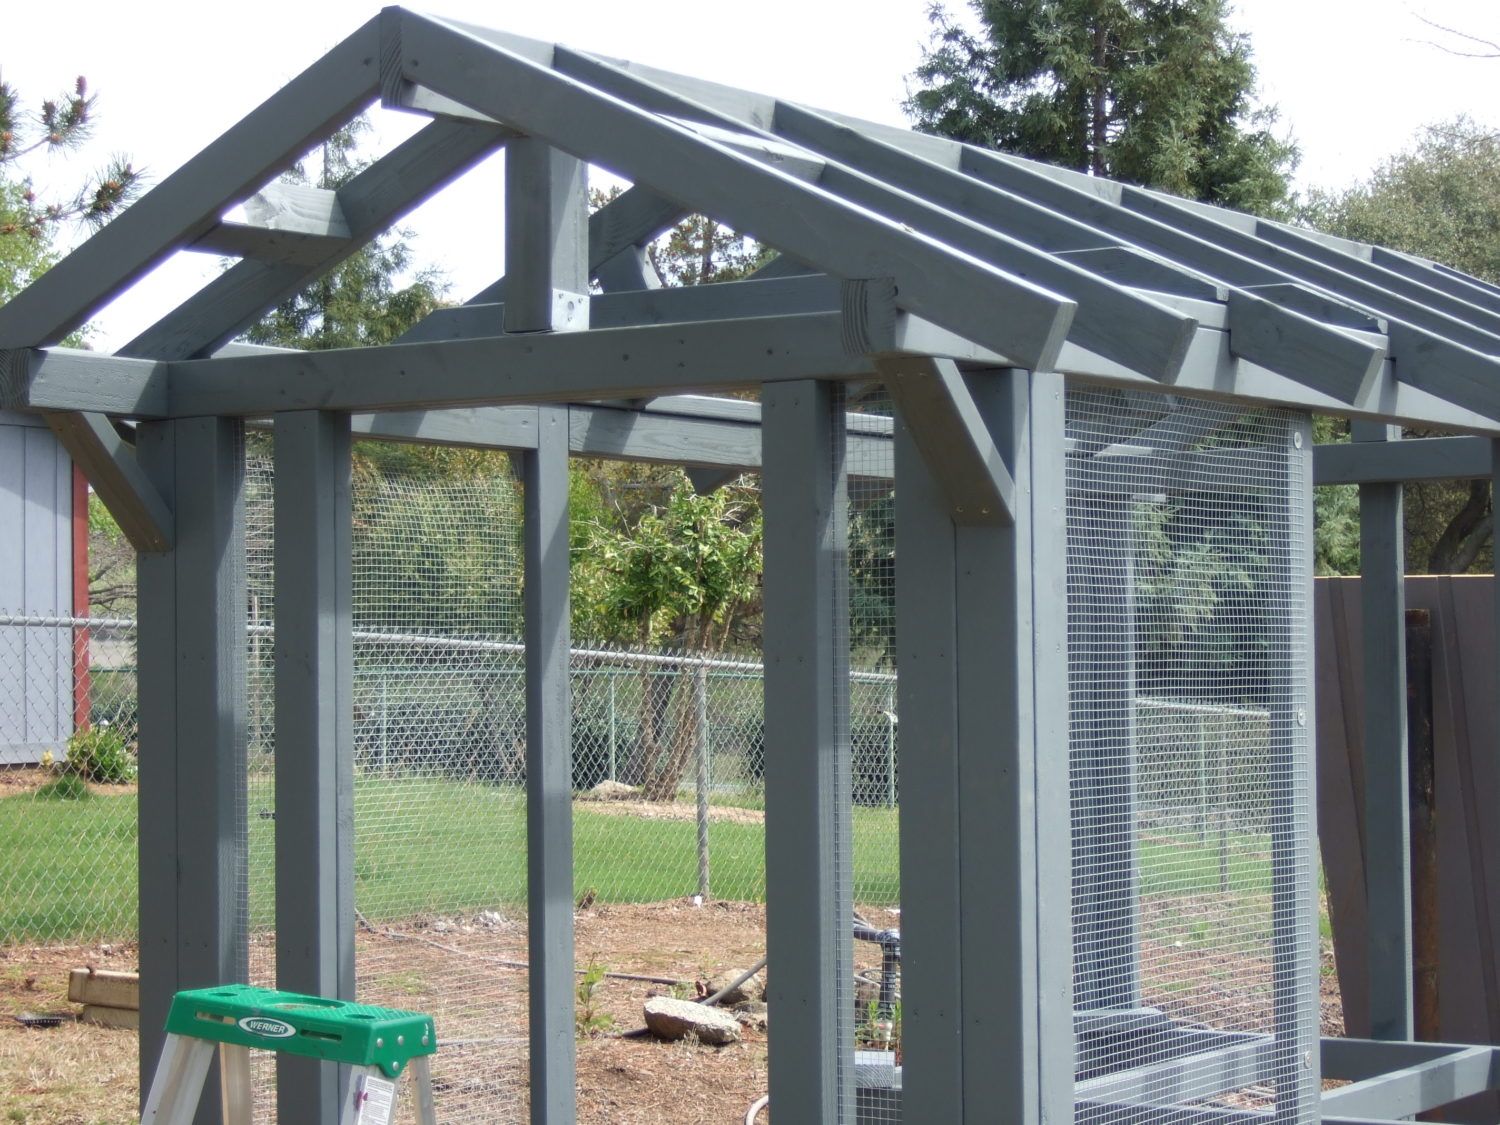
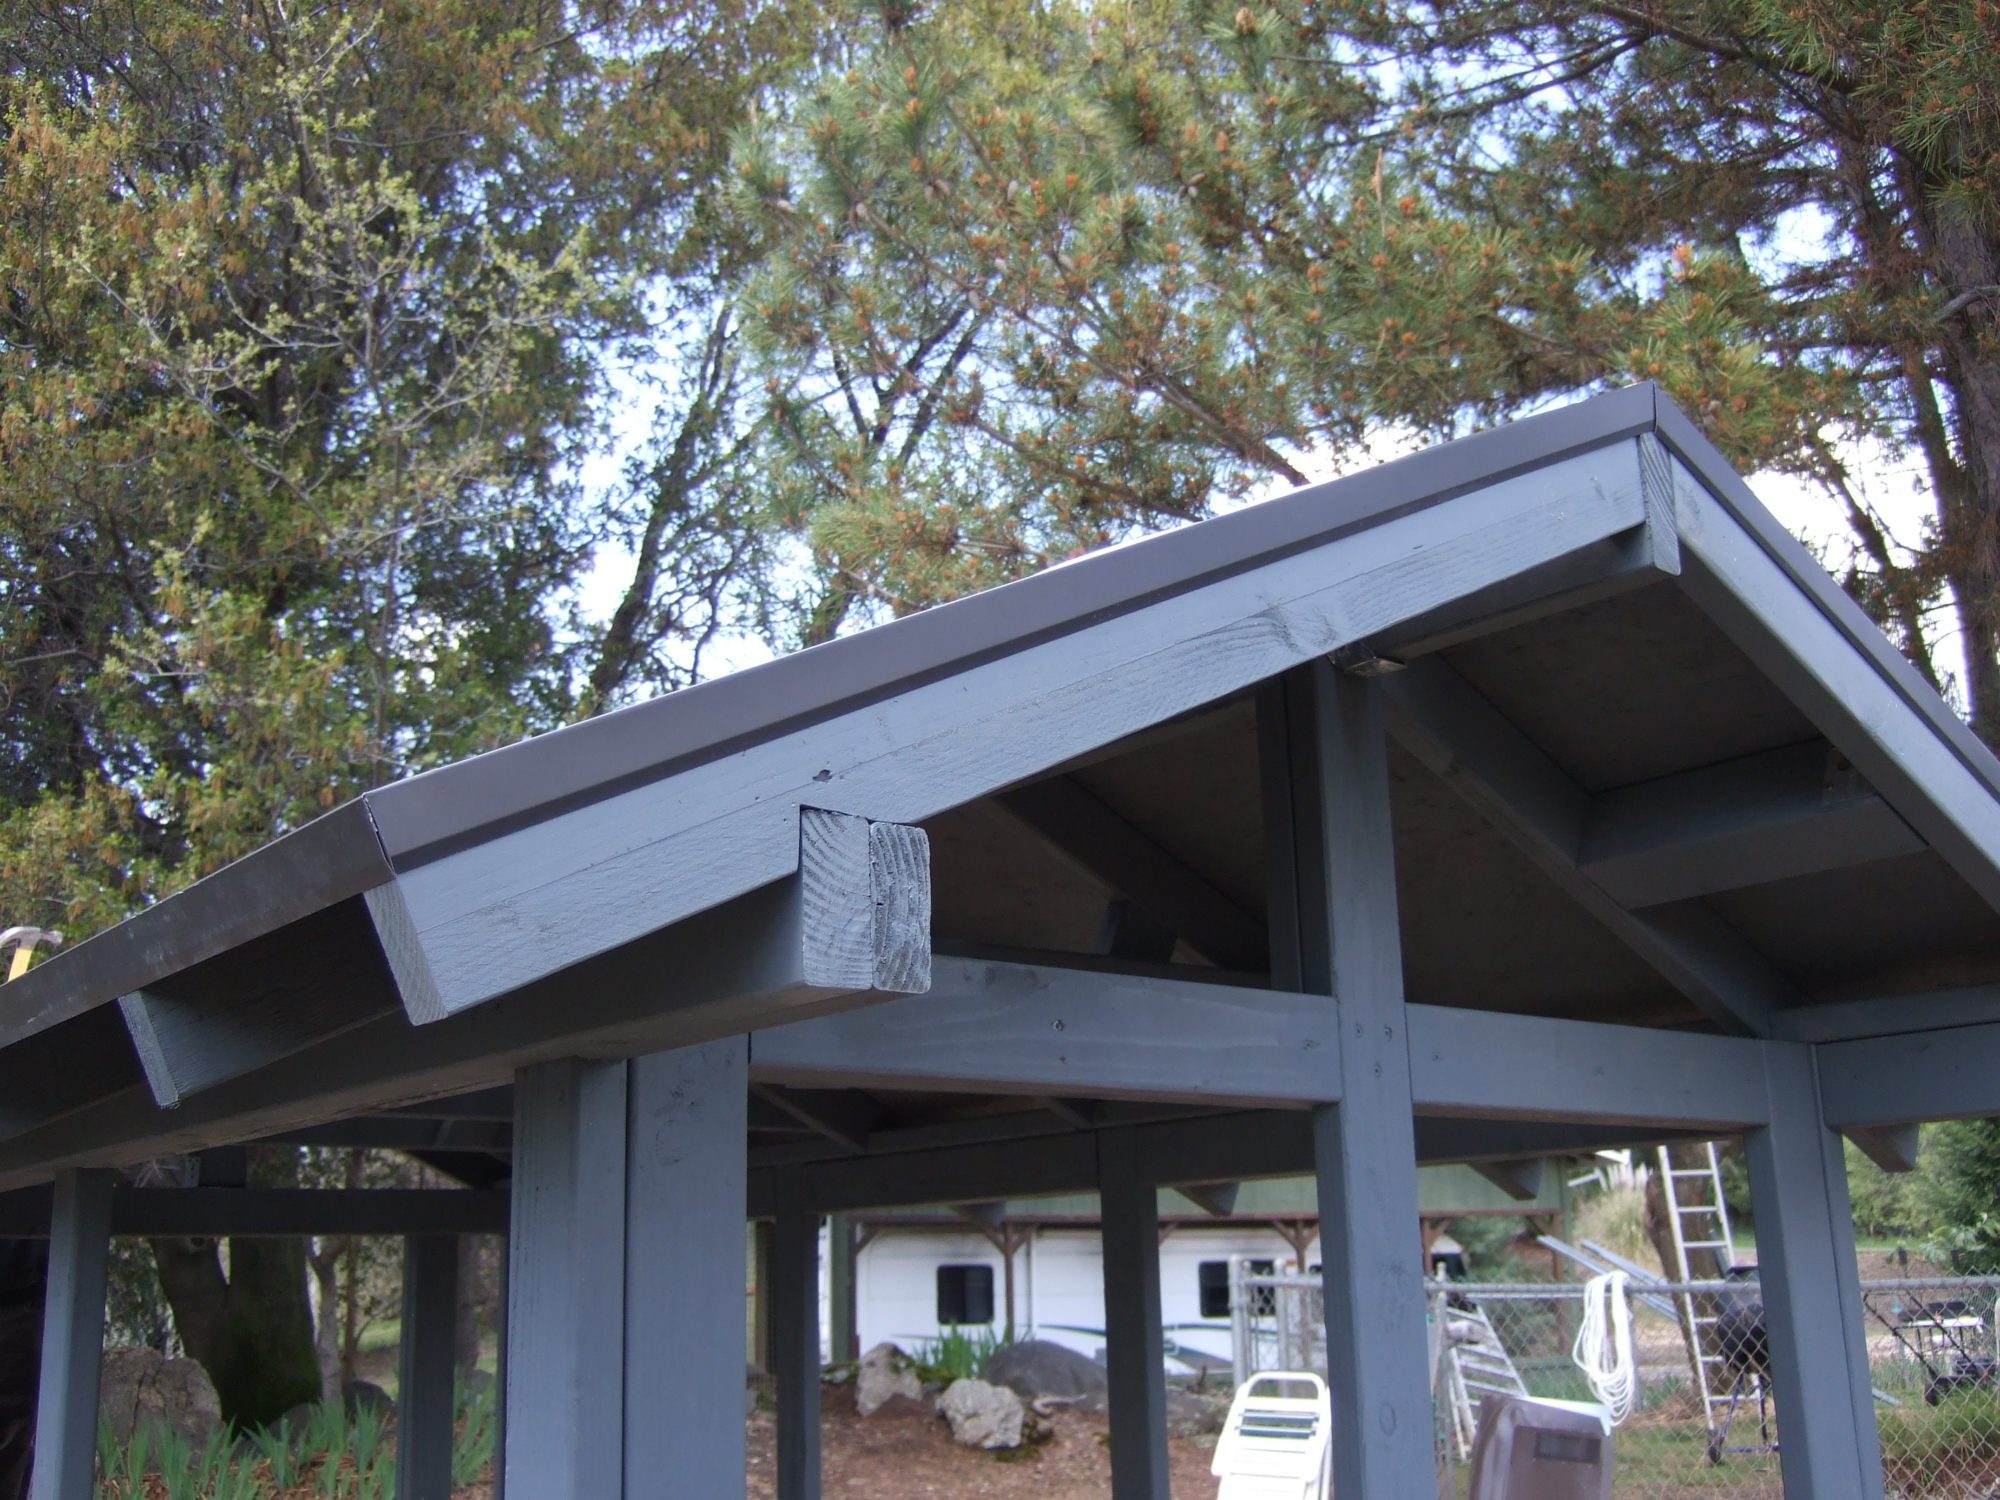
After I started the roof I decided I like the gable ends,,,,but I'd already cut the ridge board shorter. More on this fiasco later. I did, however, decide that 26 degrees was the angle of the pitch in the roof. It was an easy decision. Ya just figure the height of the ridge and the height of the walls, and see what the angle is. What??? You thought I was a construction guy???
Then the coop floor and some hardware cloth. There really is NO reason this stuff should cost as much as it does, but I discussed it with the birds and they insisted on the higher level of security.
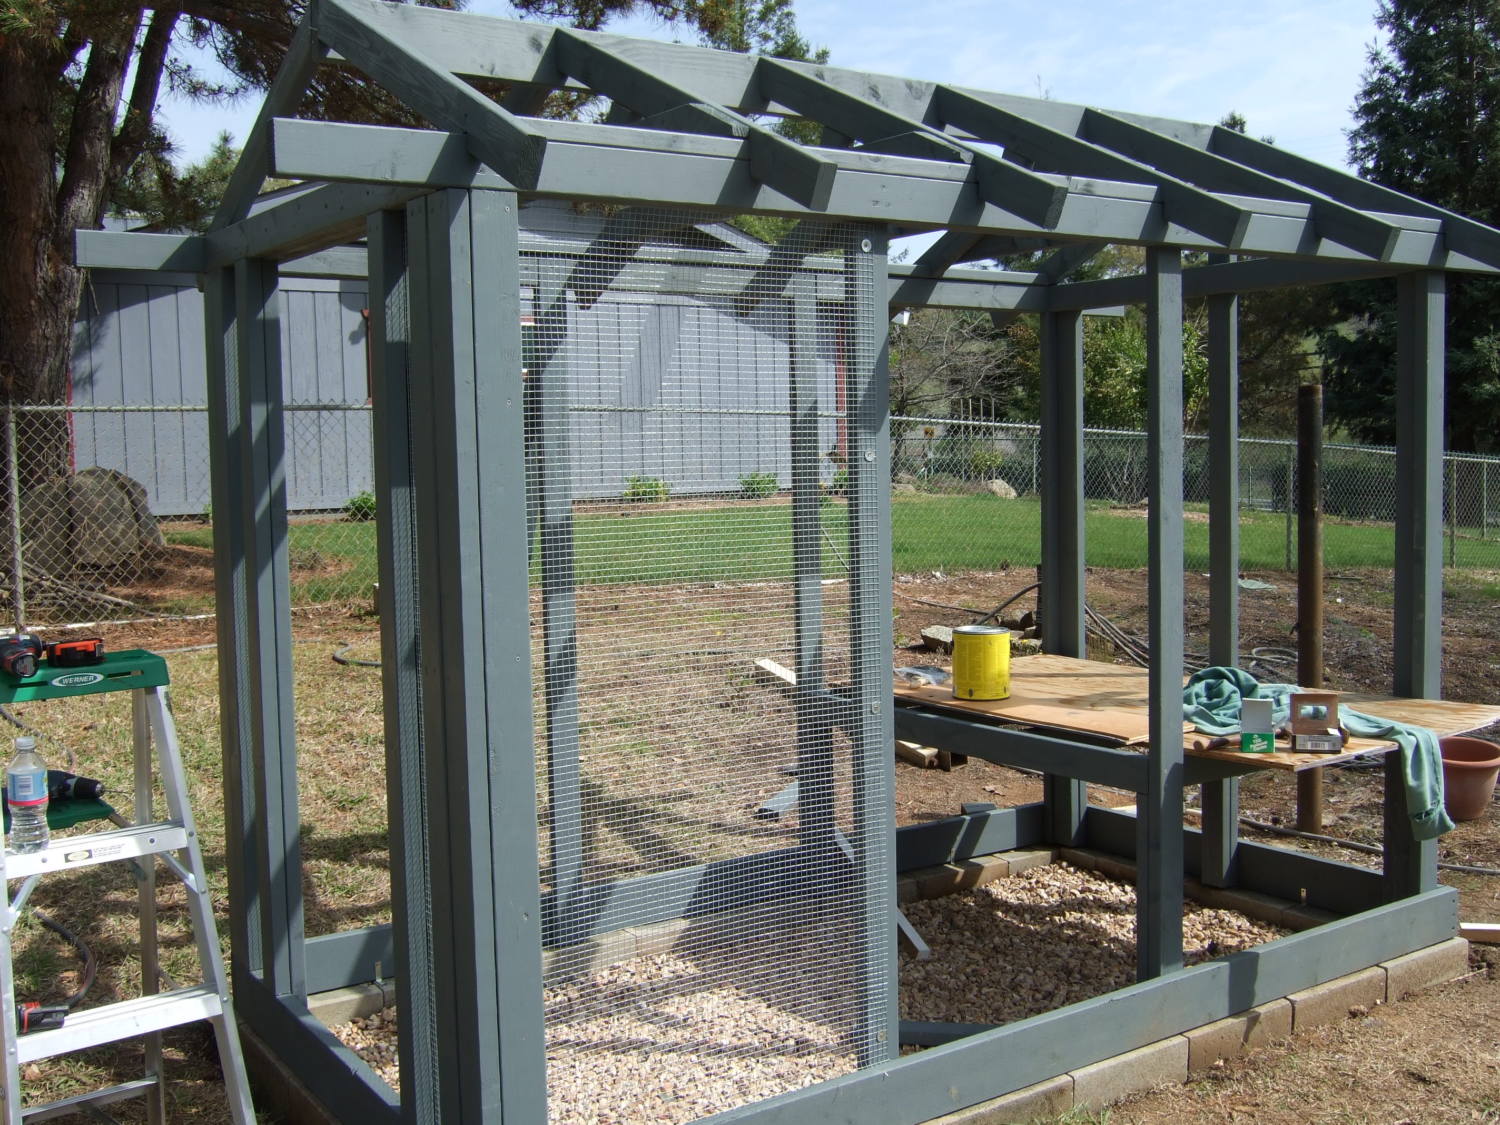
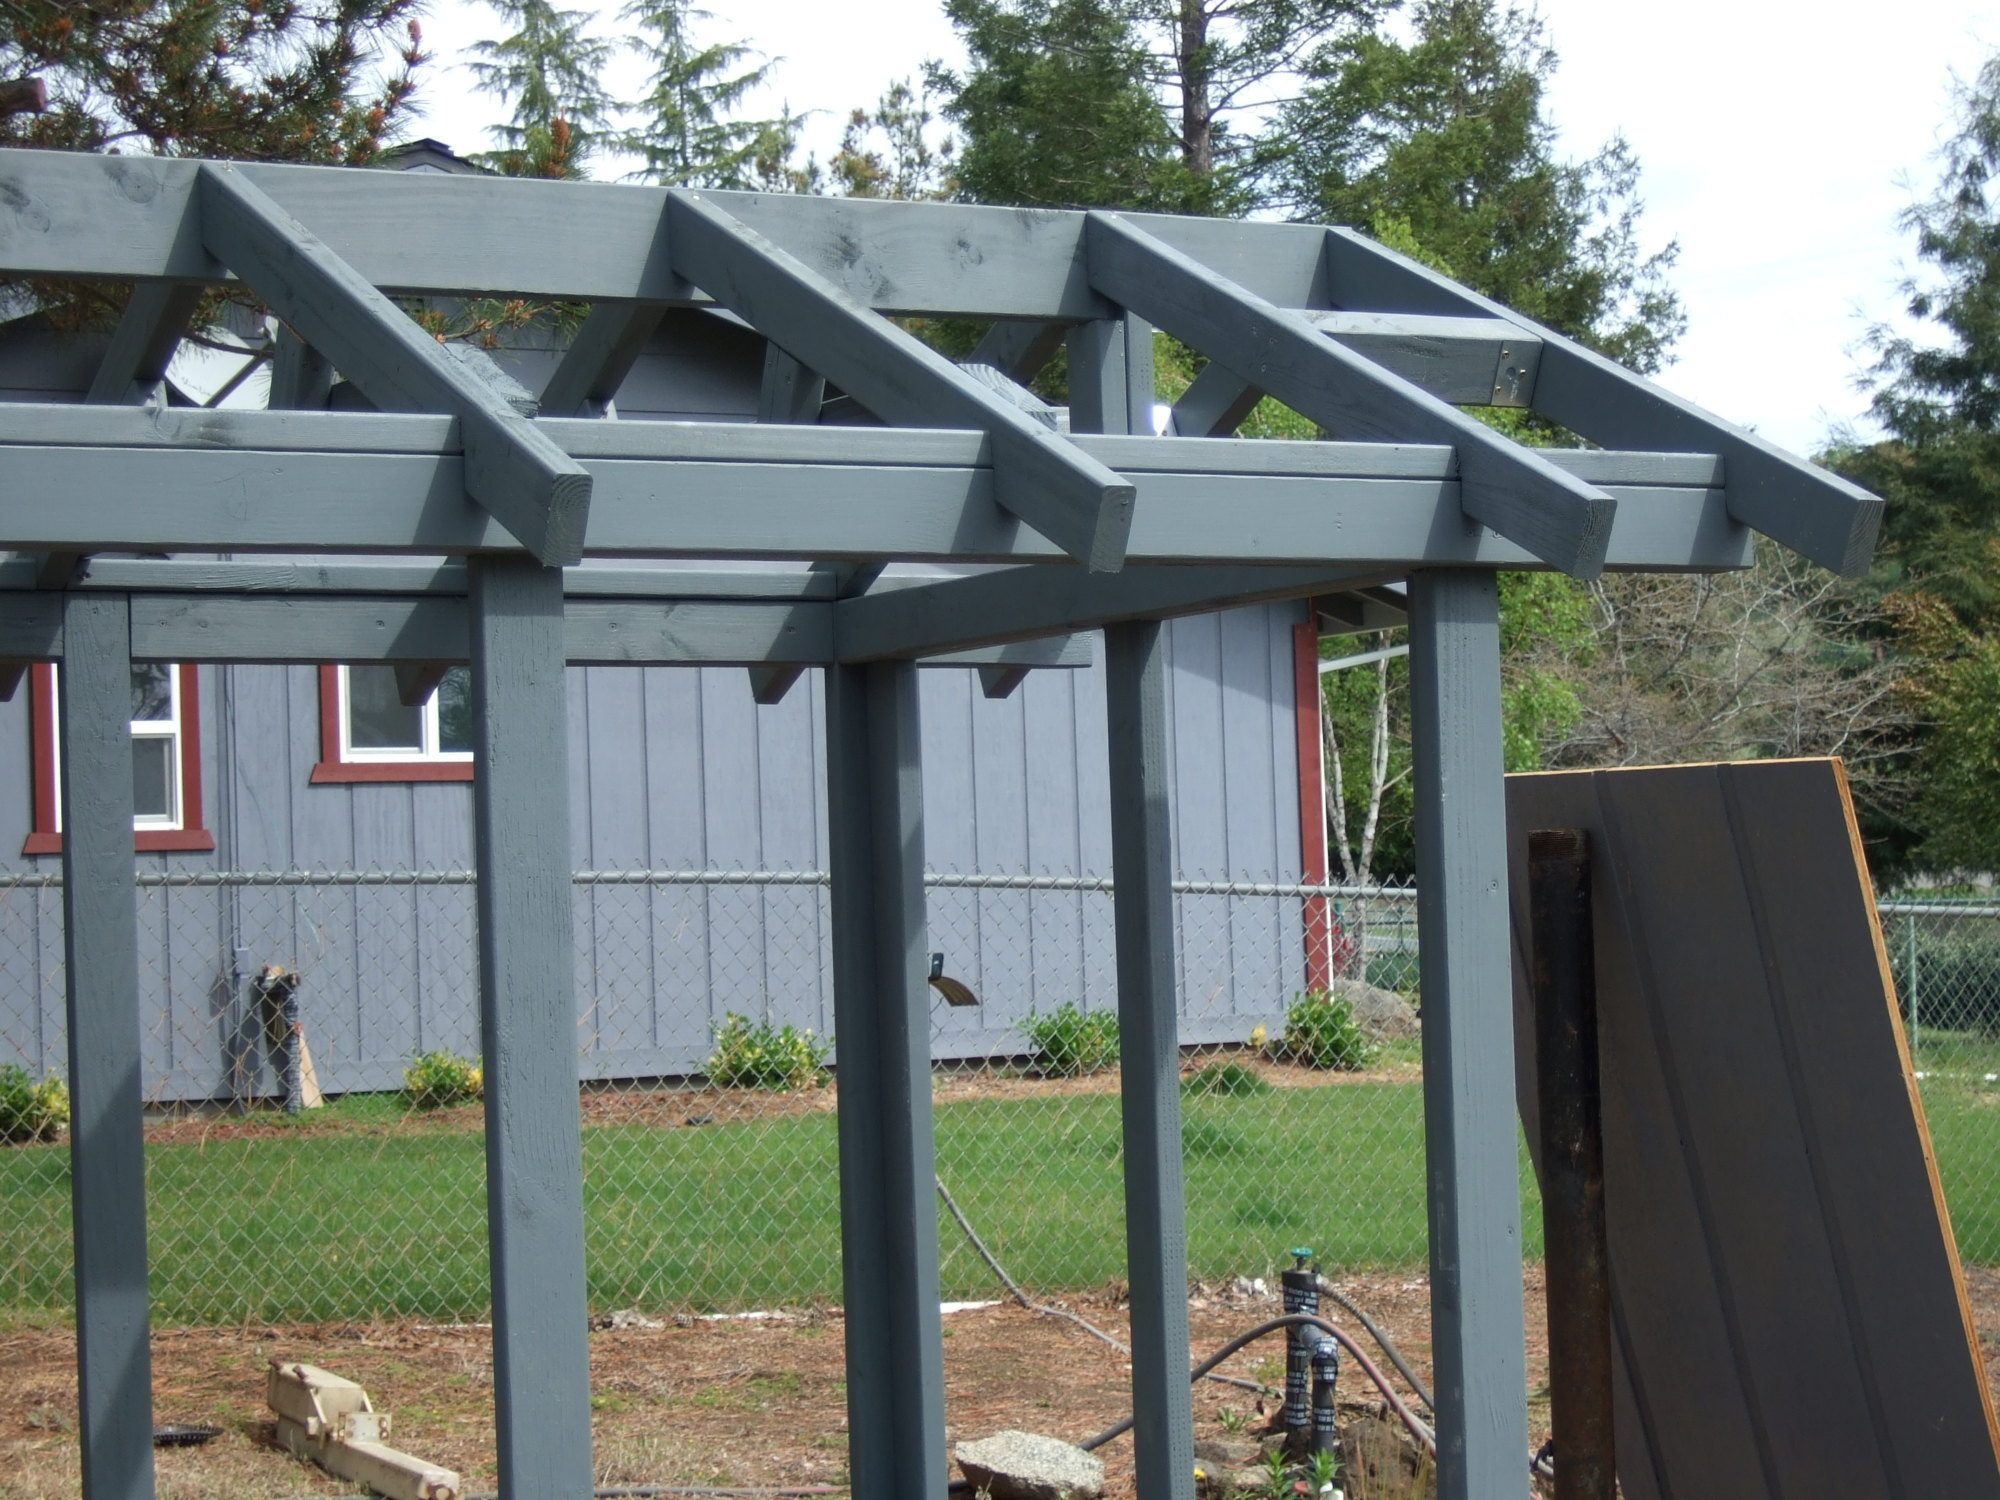
And with some 2x6 hangers and 4x4 hangers, I added the gable ends.
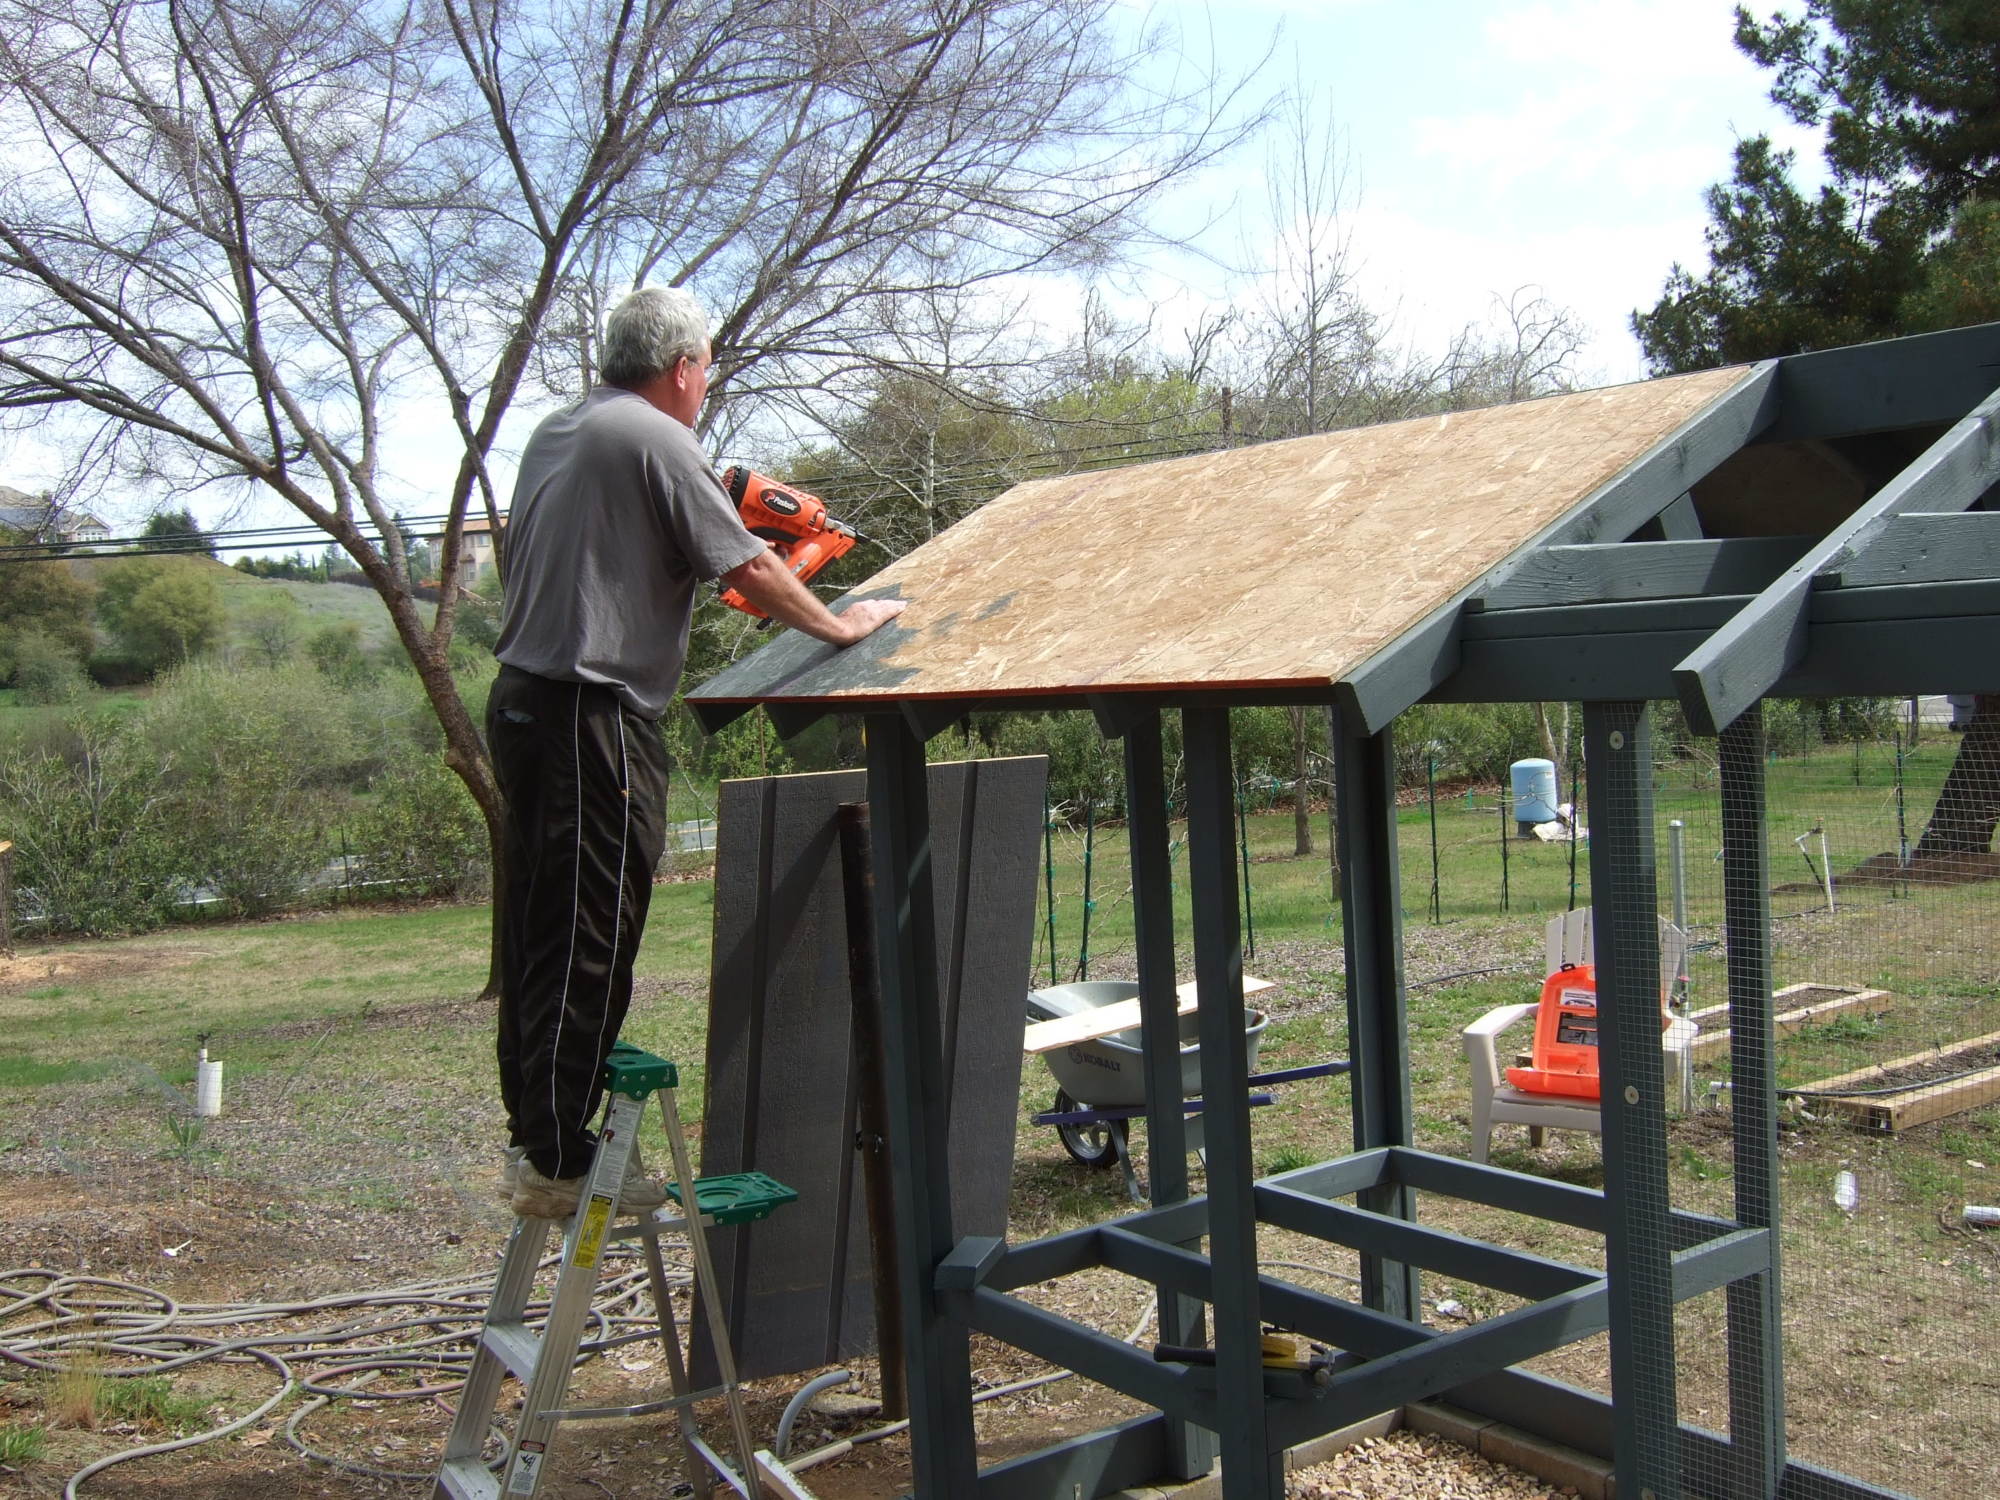
Then the roof sheathing. I finally got to use my Pasload cordless nailer. I'll probably use it again in 4 or 5 years!!!
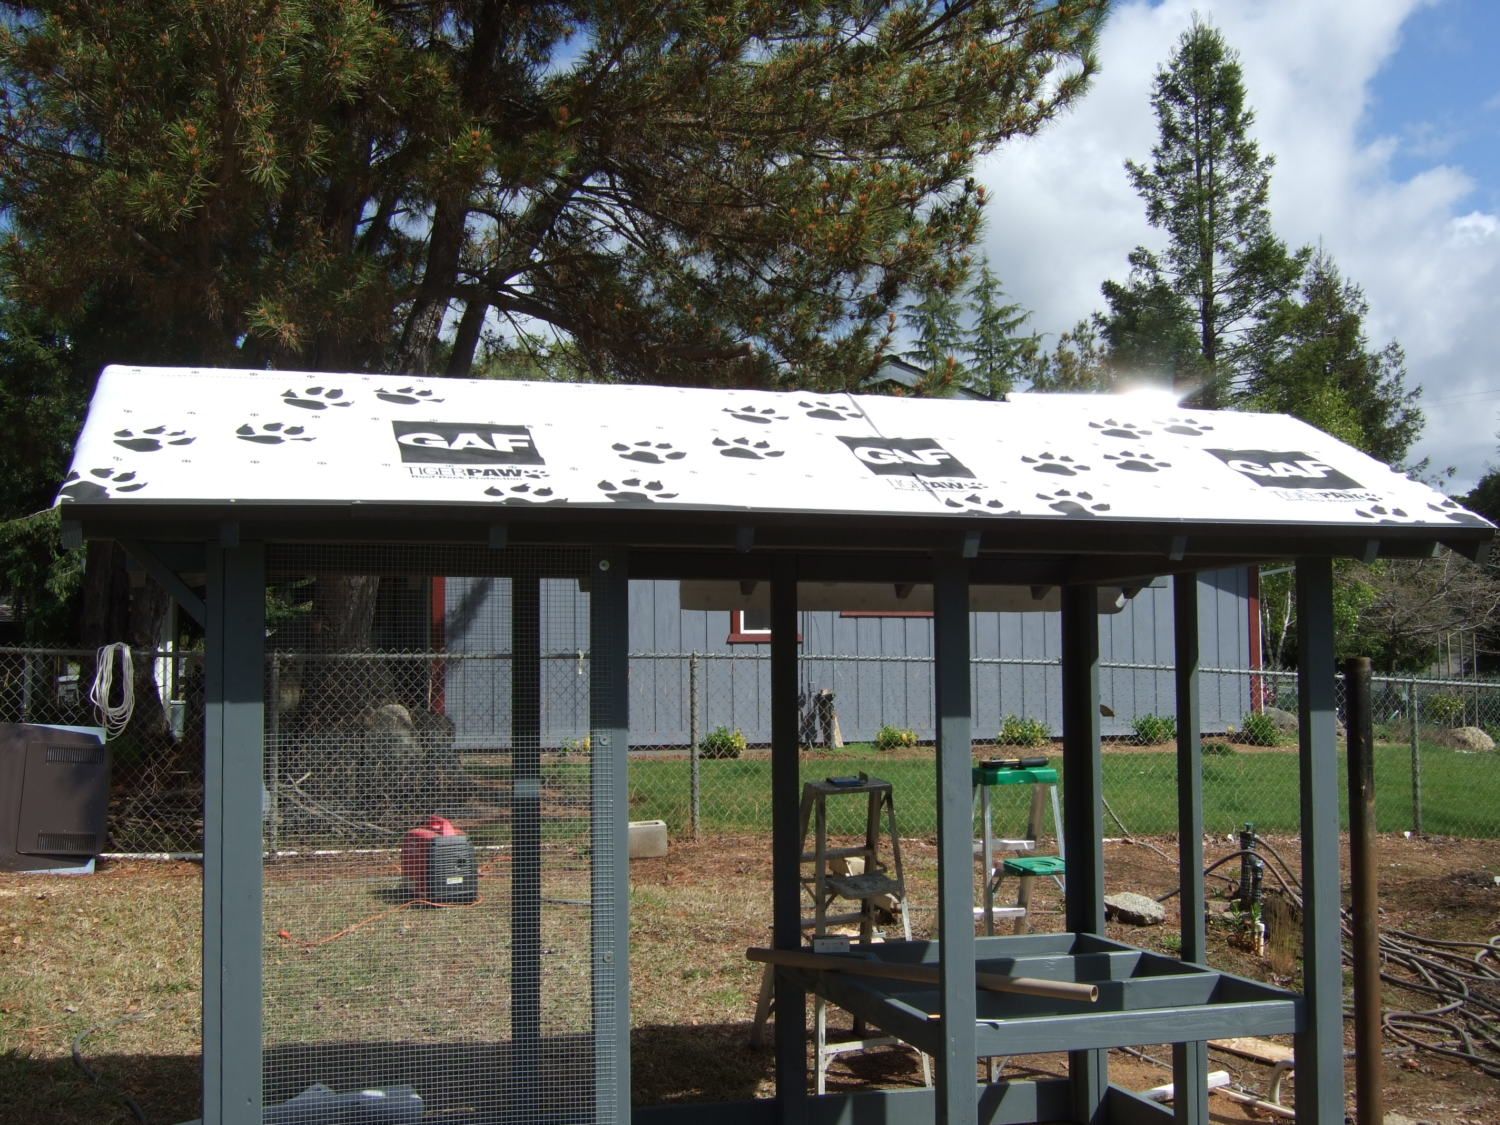
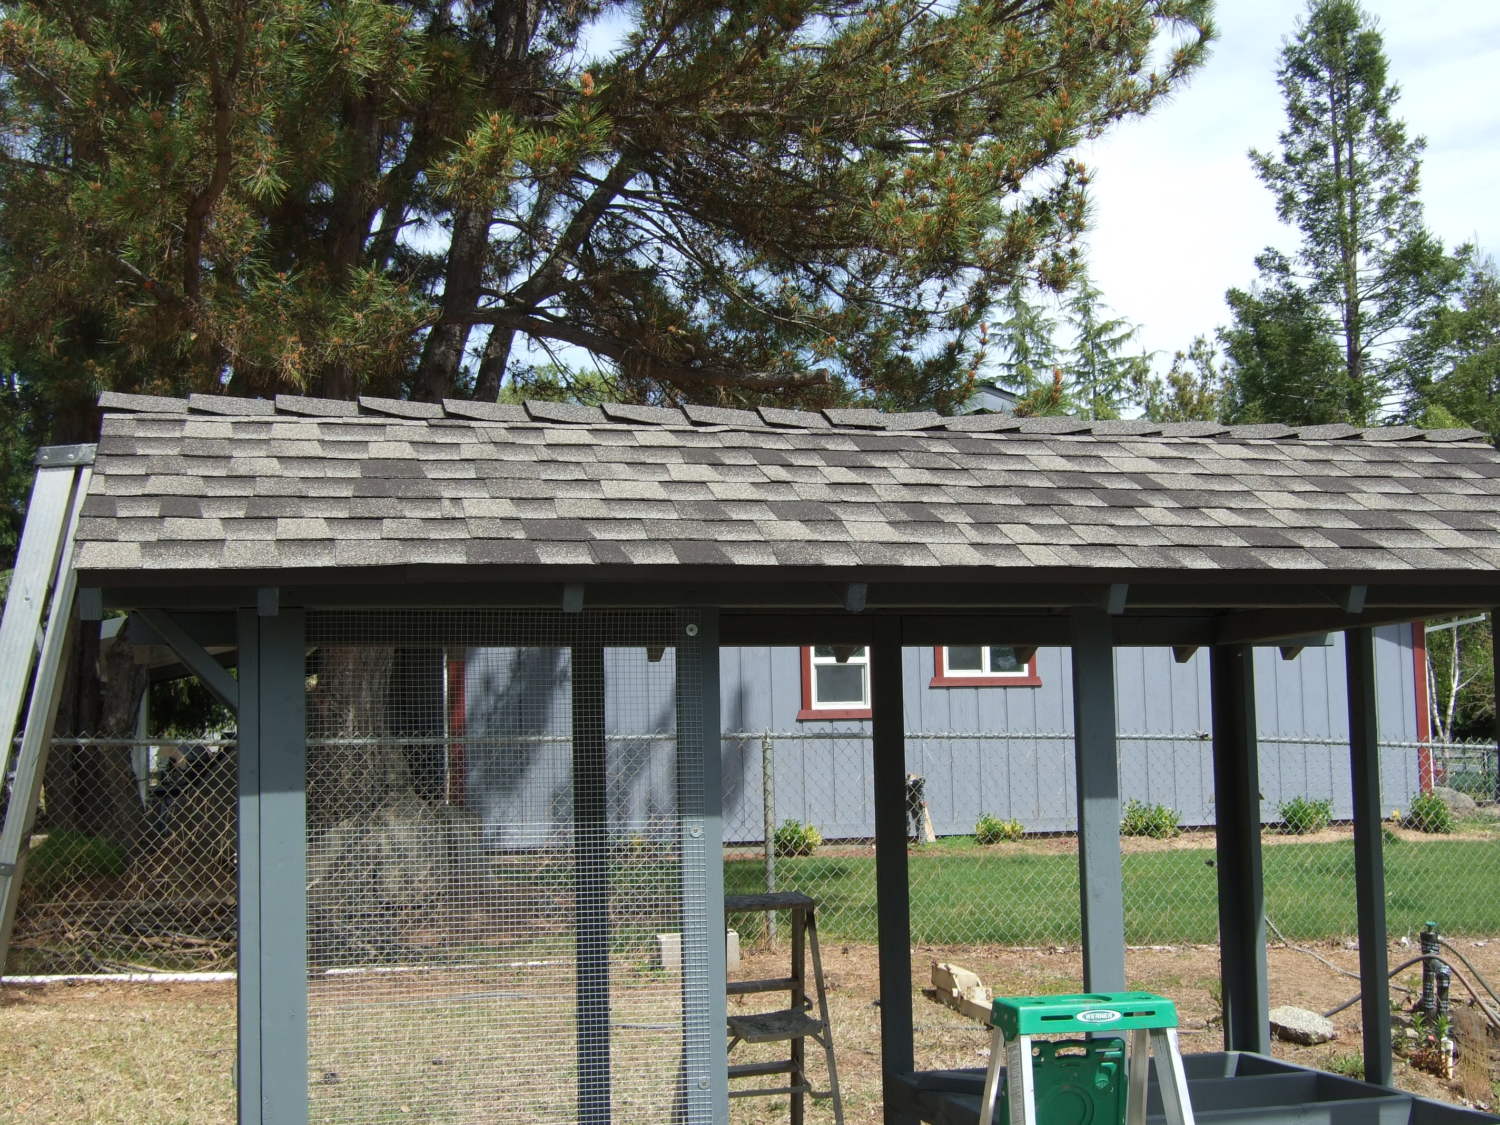
The moisture barrier....(spend the few extra dollars. This stuff is great.)
Some trim, then the roof. I only hit my thumb 13 times. Yup,,,lucky 13!!!!!
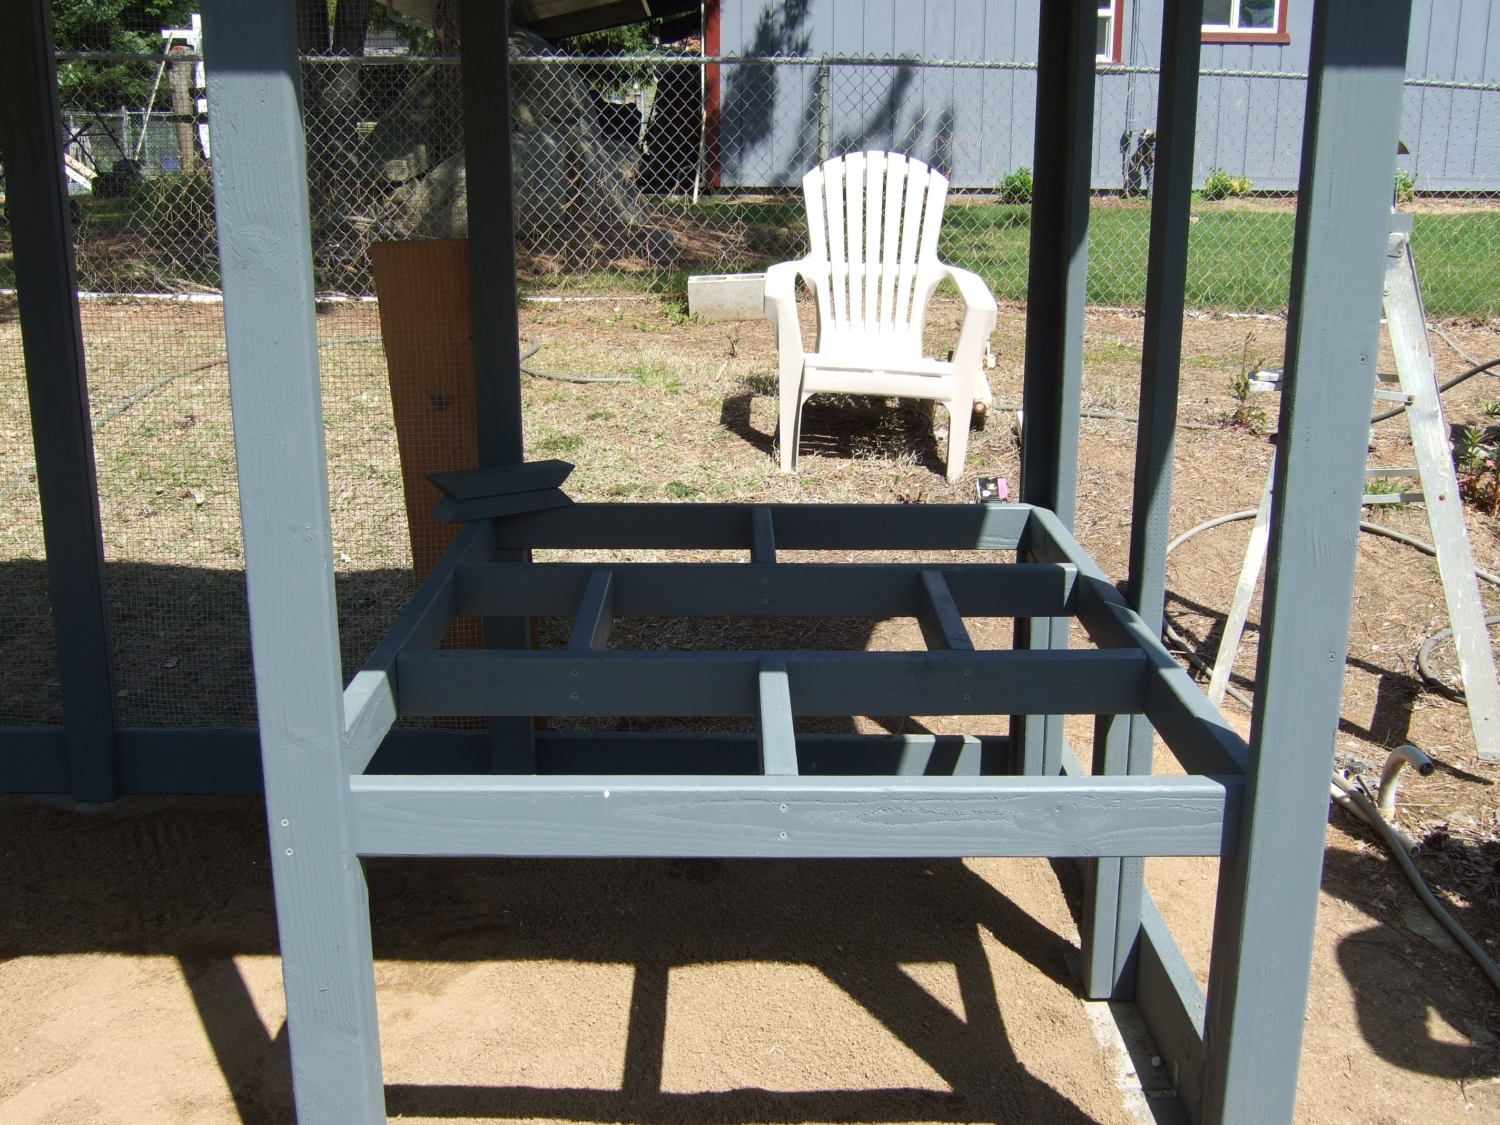
Since I got Orpingtons, I figured the floor better be strong.
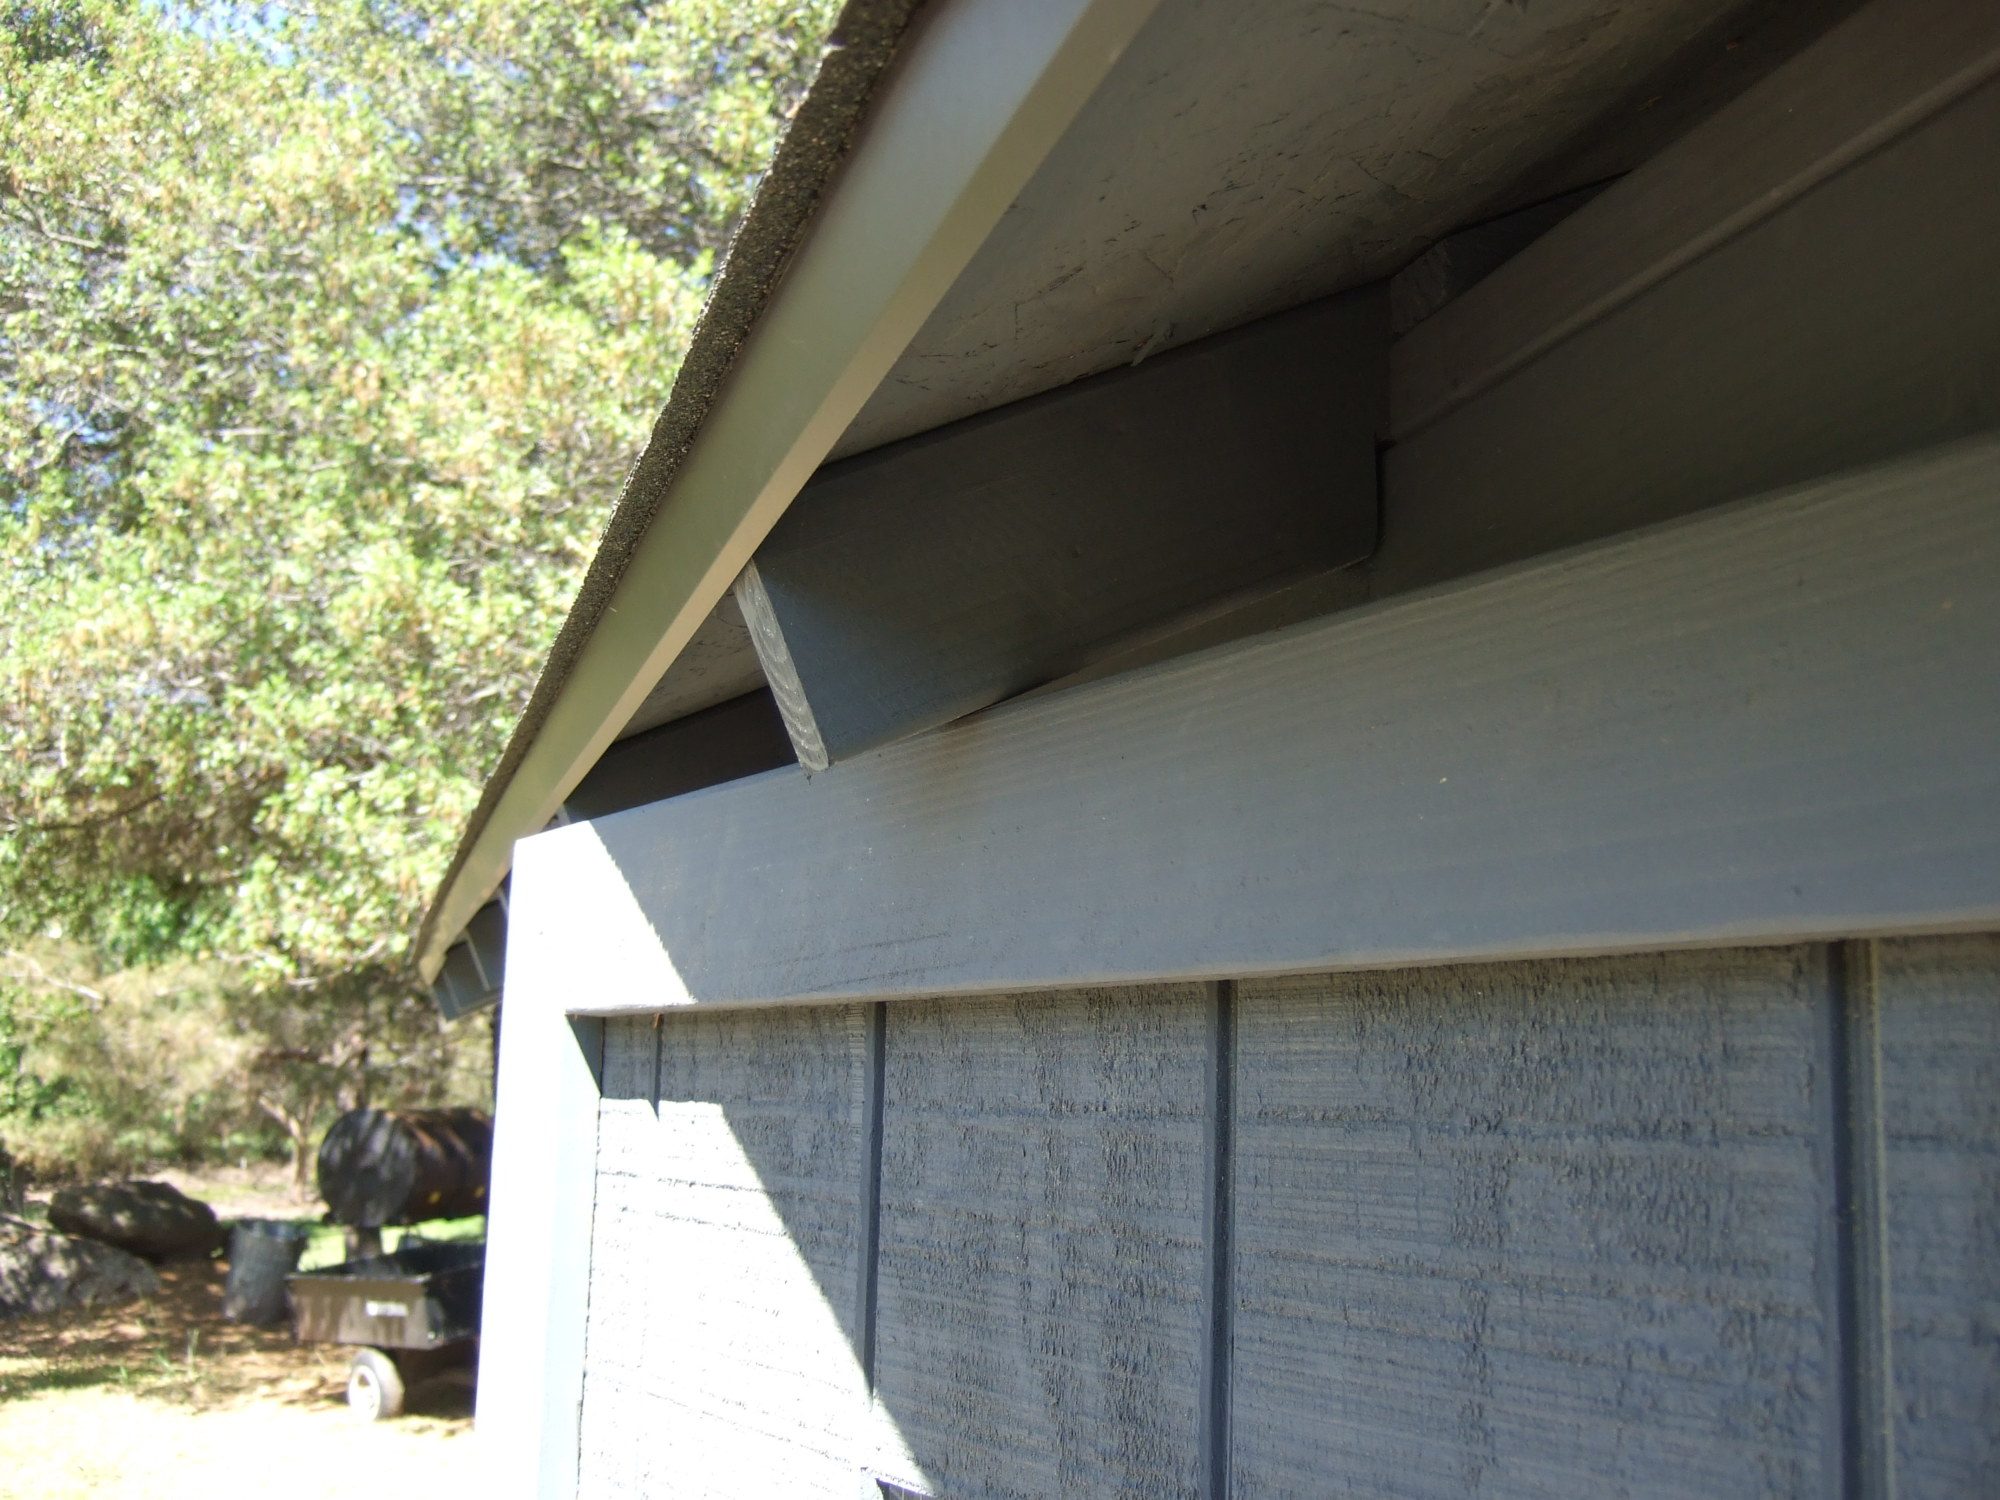
Closing up the eves with remnants of the hardware cloth. You didn't think I was gonna waste any of this stuff did ya?????
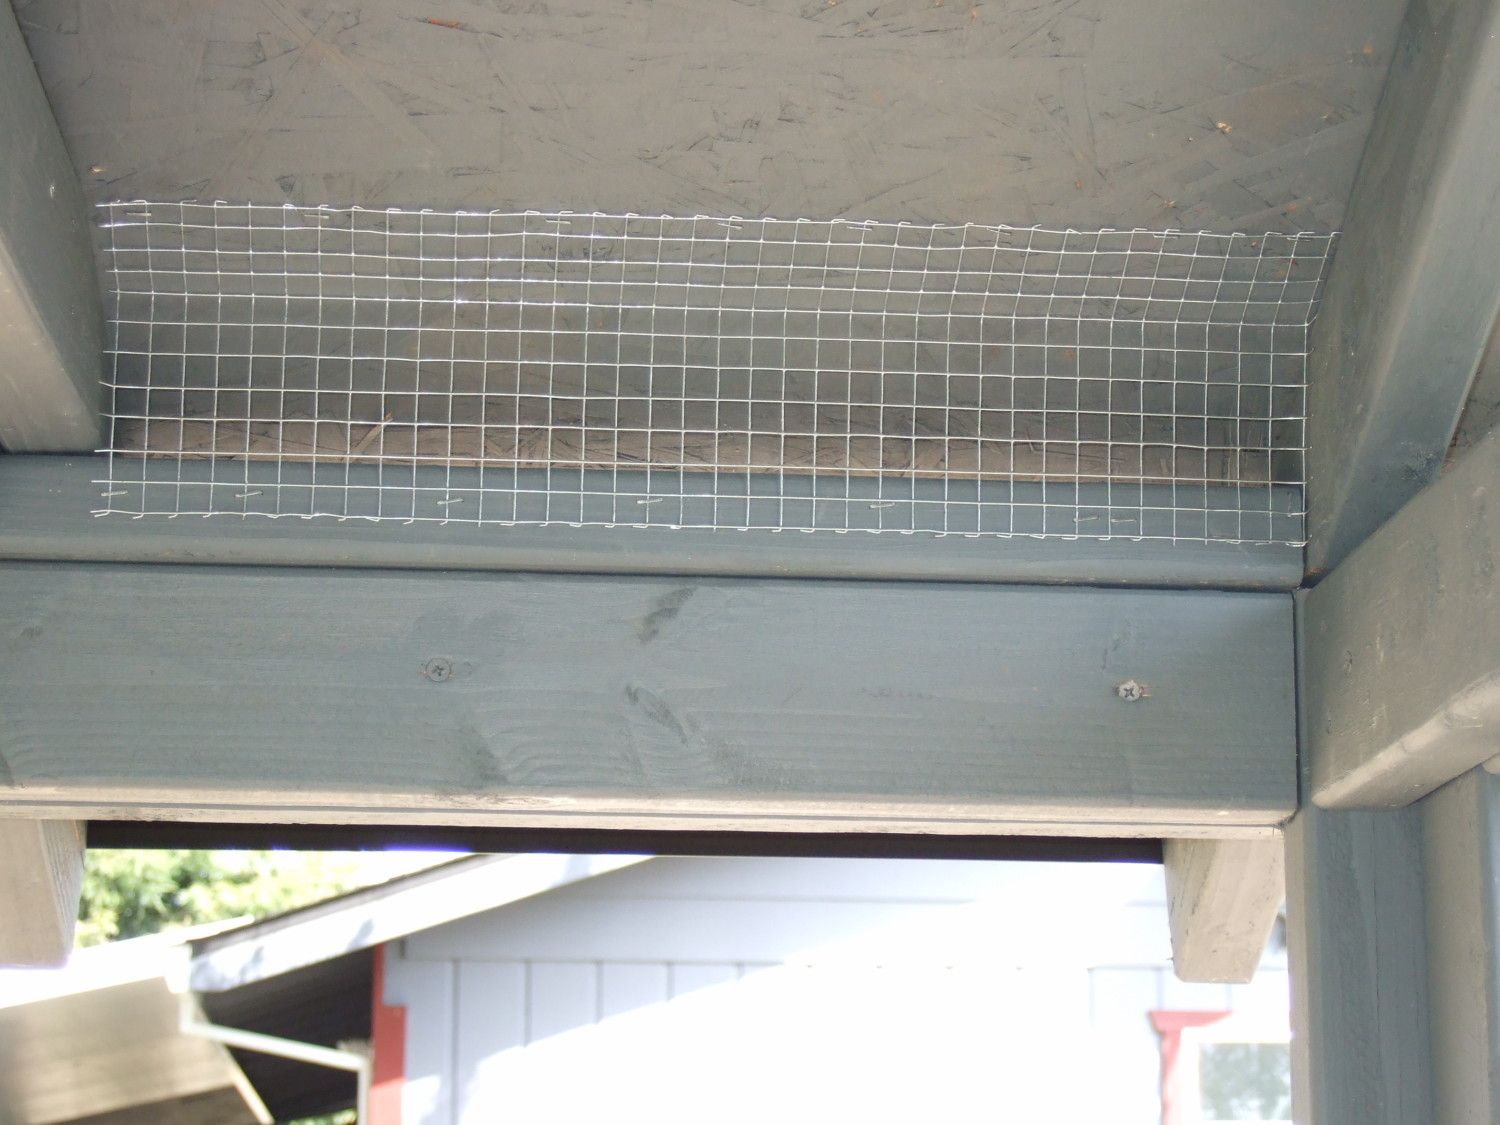
And as a Caveat,,,when working with hardware cloth, I would recommend wearing a long sleeve heavy duty shirt. Just sayin'........
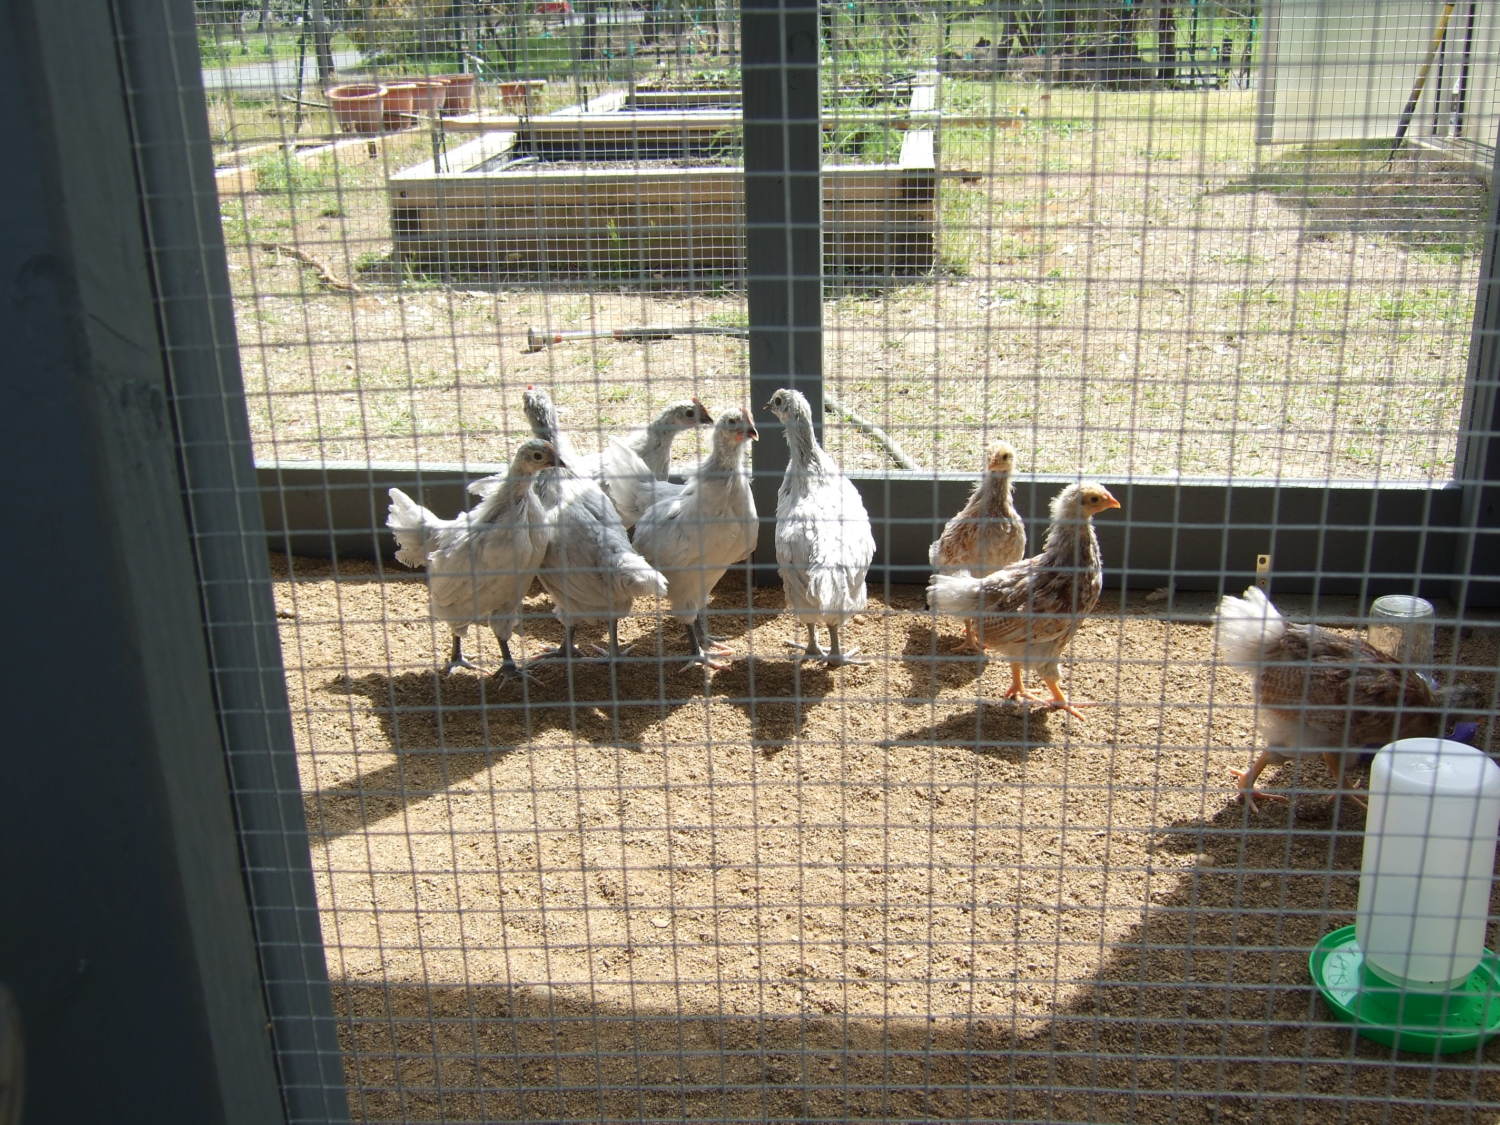
We started moving the birds out to the run during the day, then back to the brooder in the evening. This served three purposes. They got used to their new home,,,they got used to noise, and they got used to my yelling at the measuring tape when it failed me!!!!
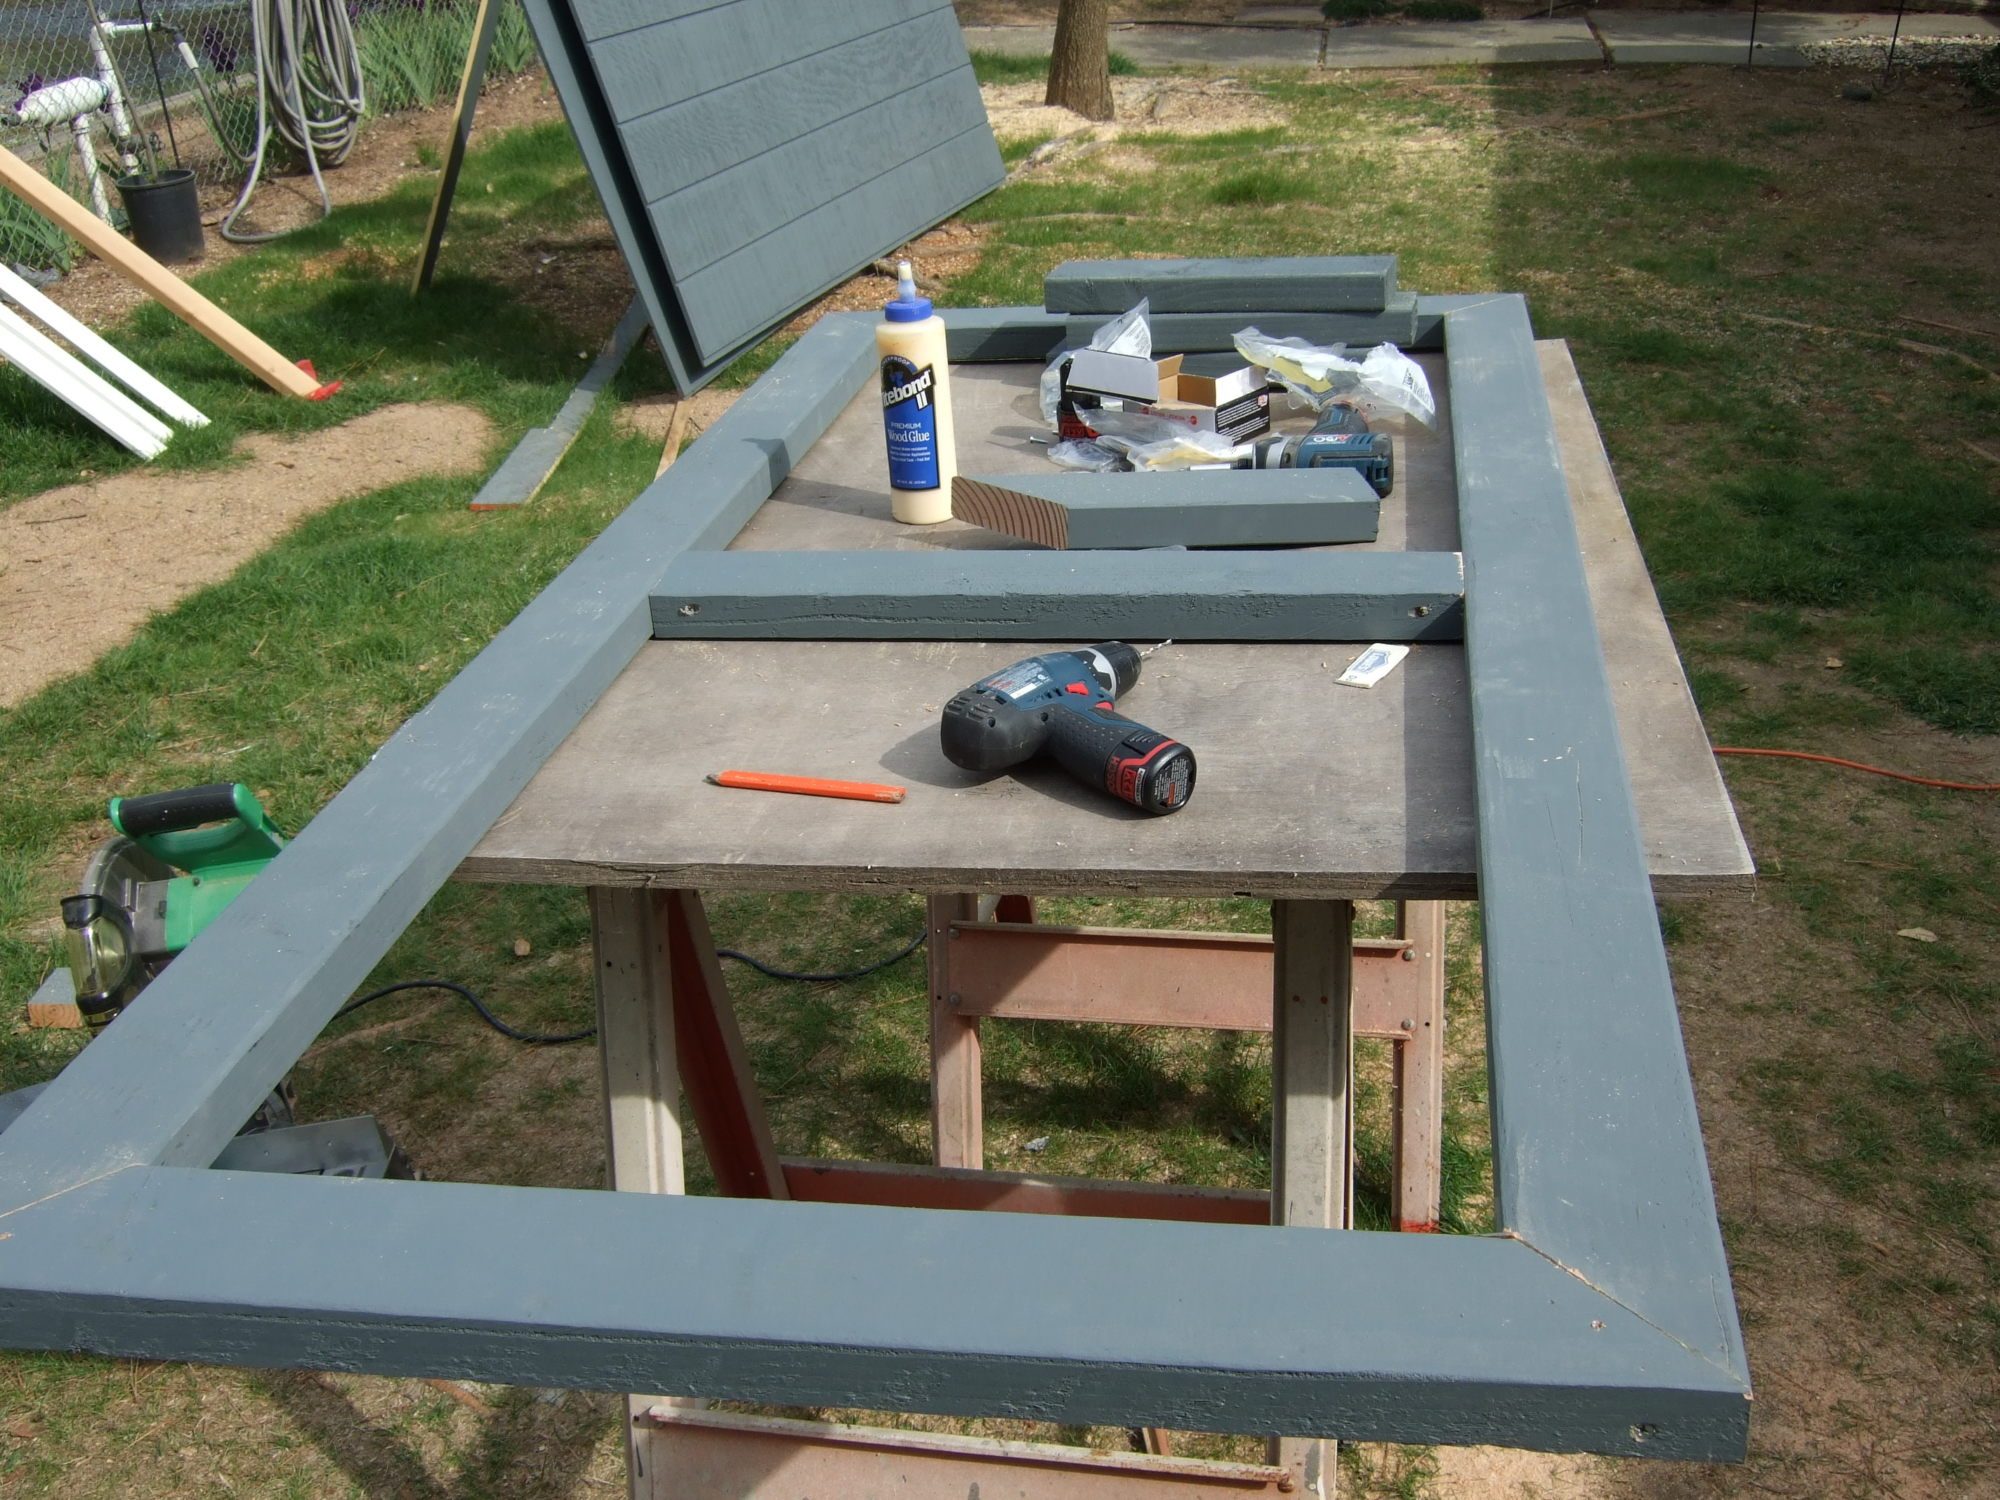
We built the people door. Measured in place, built outa place. Next time I'll build it in place. It's crooked!!!
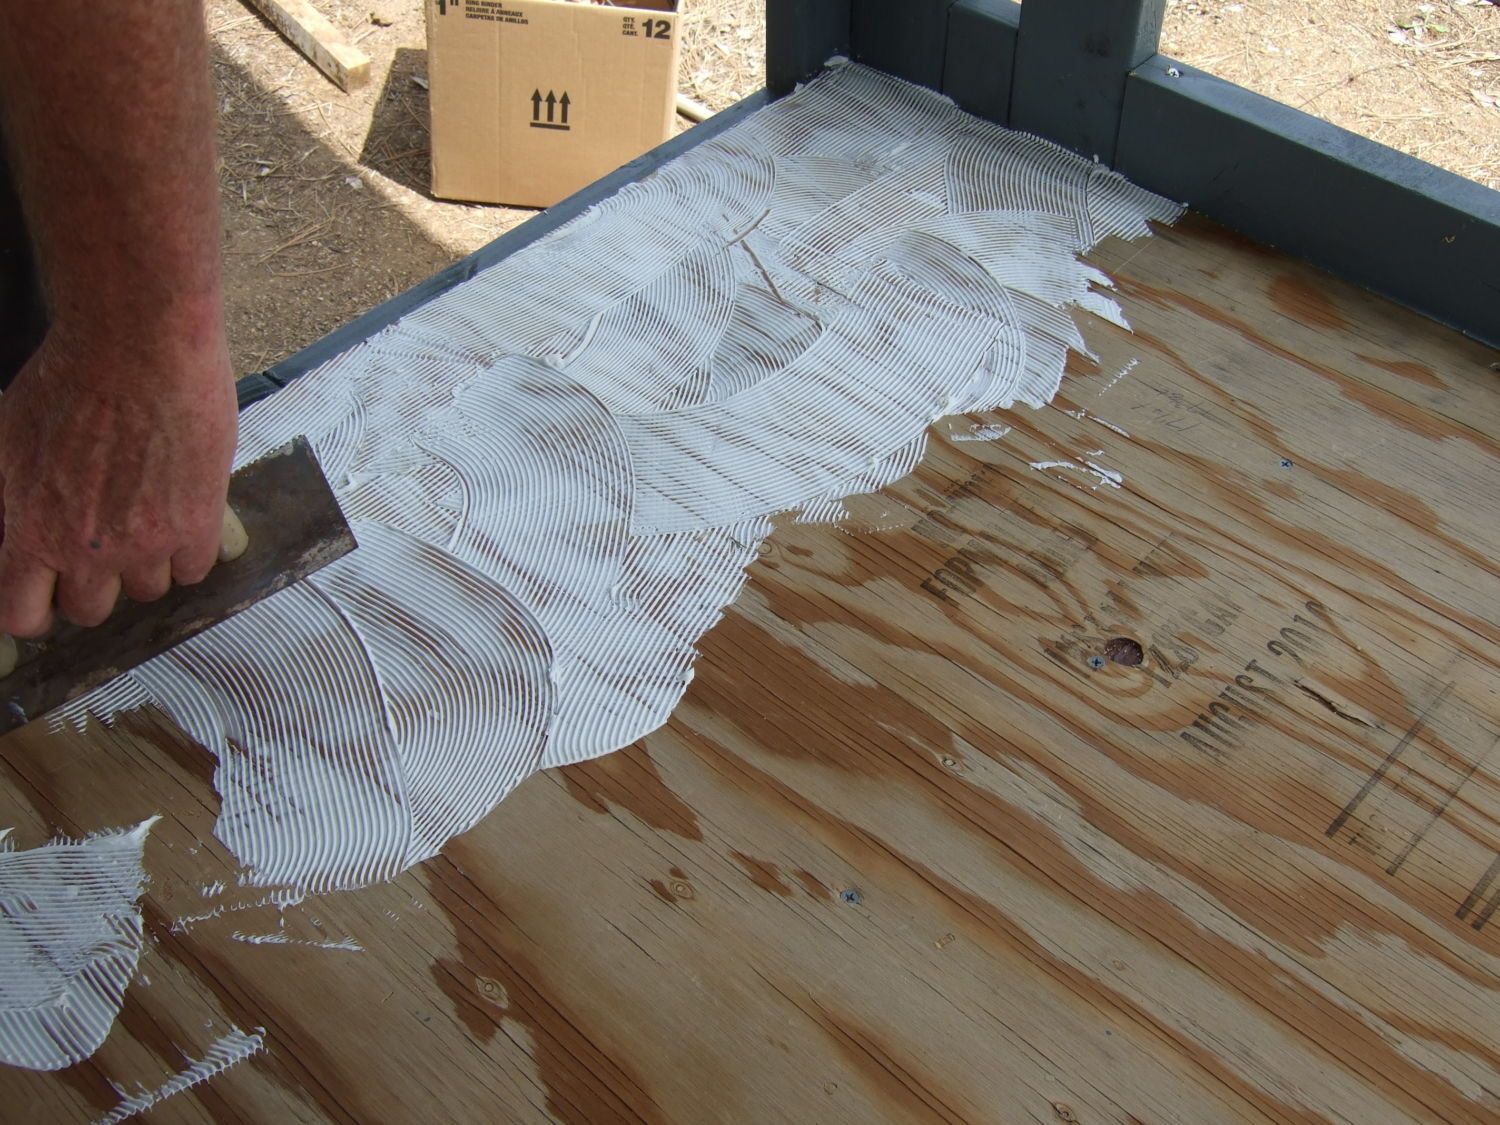
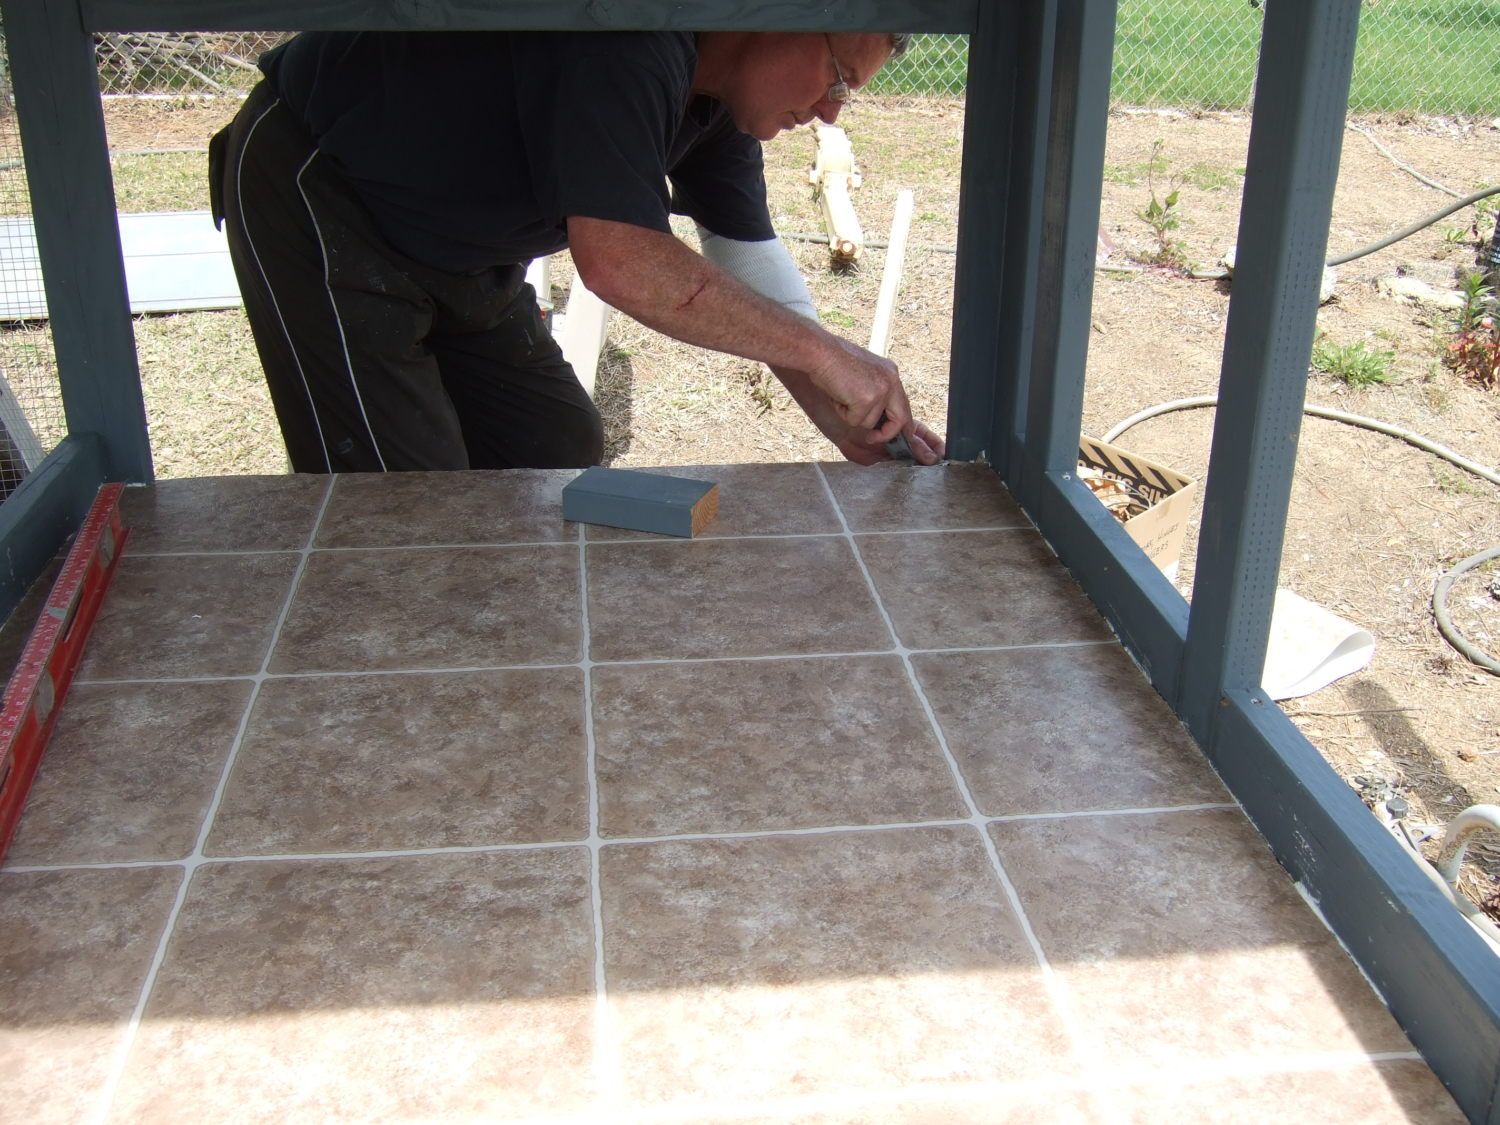
Then a little waterproof mastic, and some lovely vinyl I bought as a remnant at Lowes. Lovely,,,eh??? Now, if you just put some of this in your kitchen,,,please don't yell at me!!!!
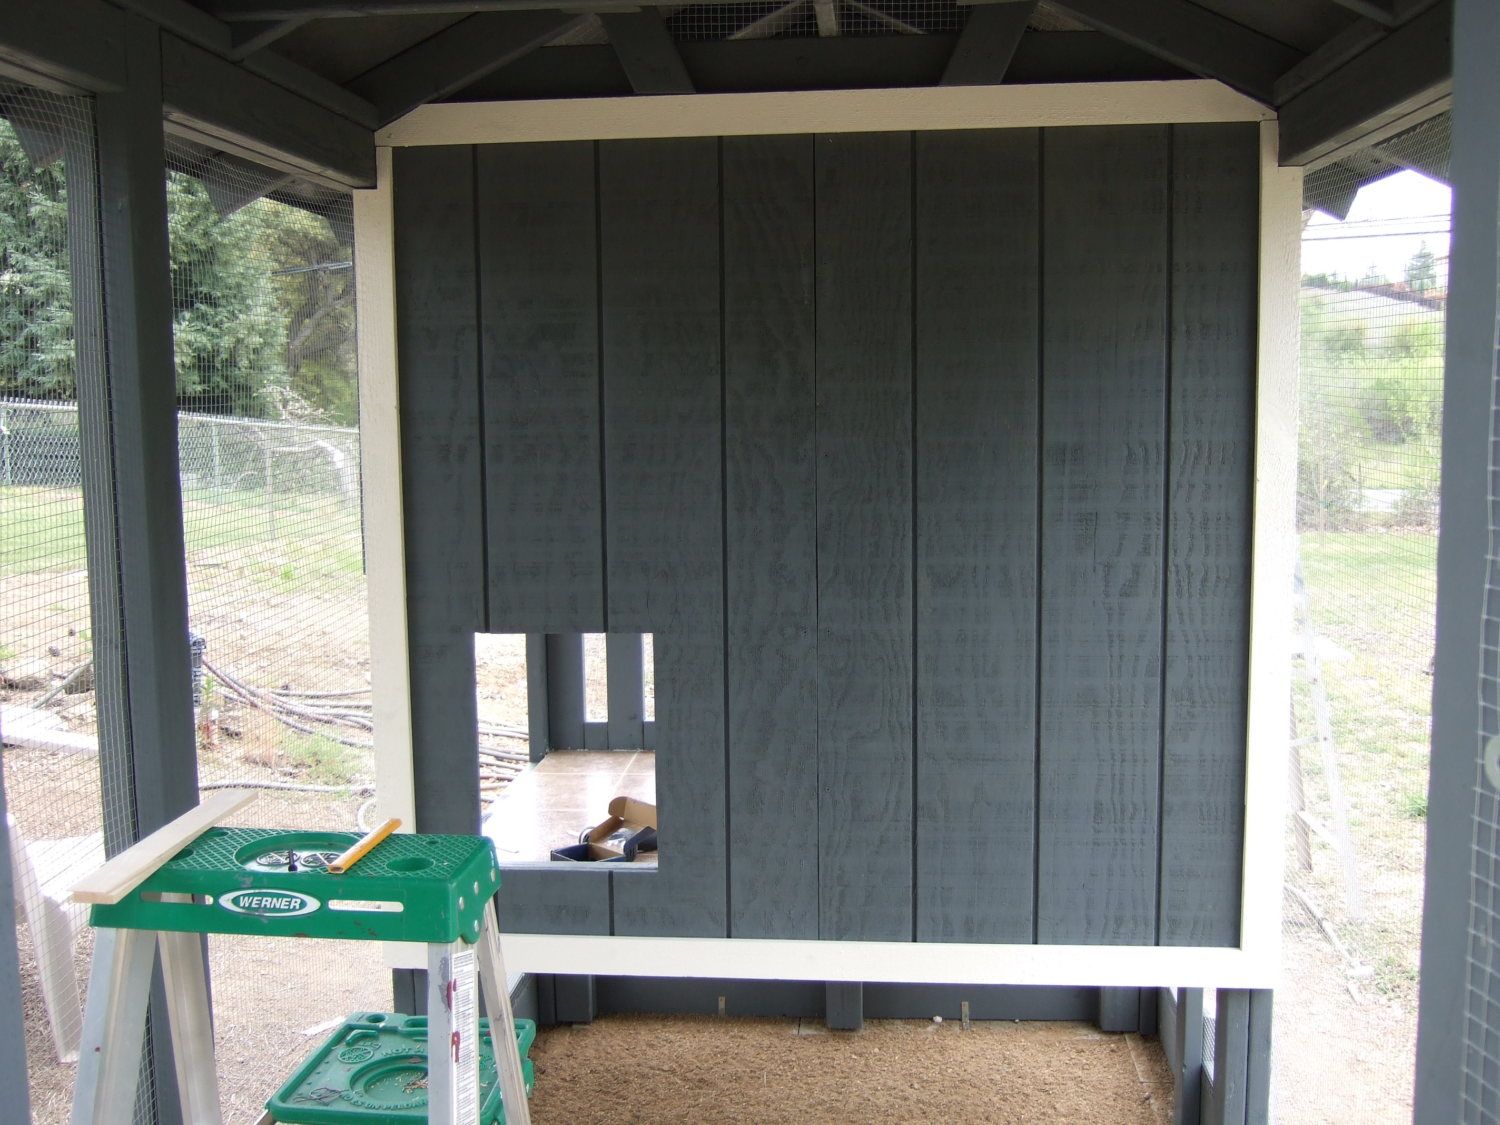
Siding, trim, and a pop door opening. The door is built on a 16 inch center so I can put in a fabricated electric door if that's the route I decide to take.
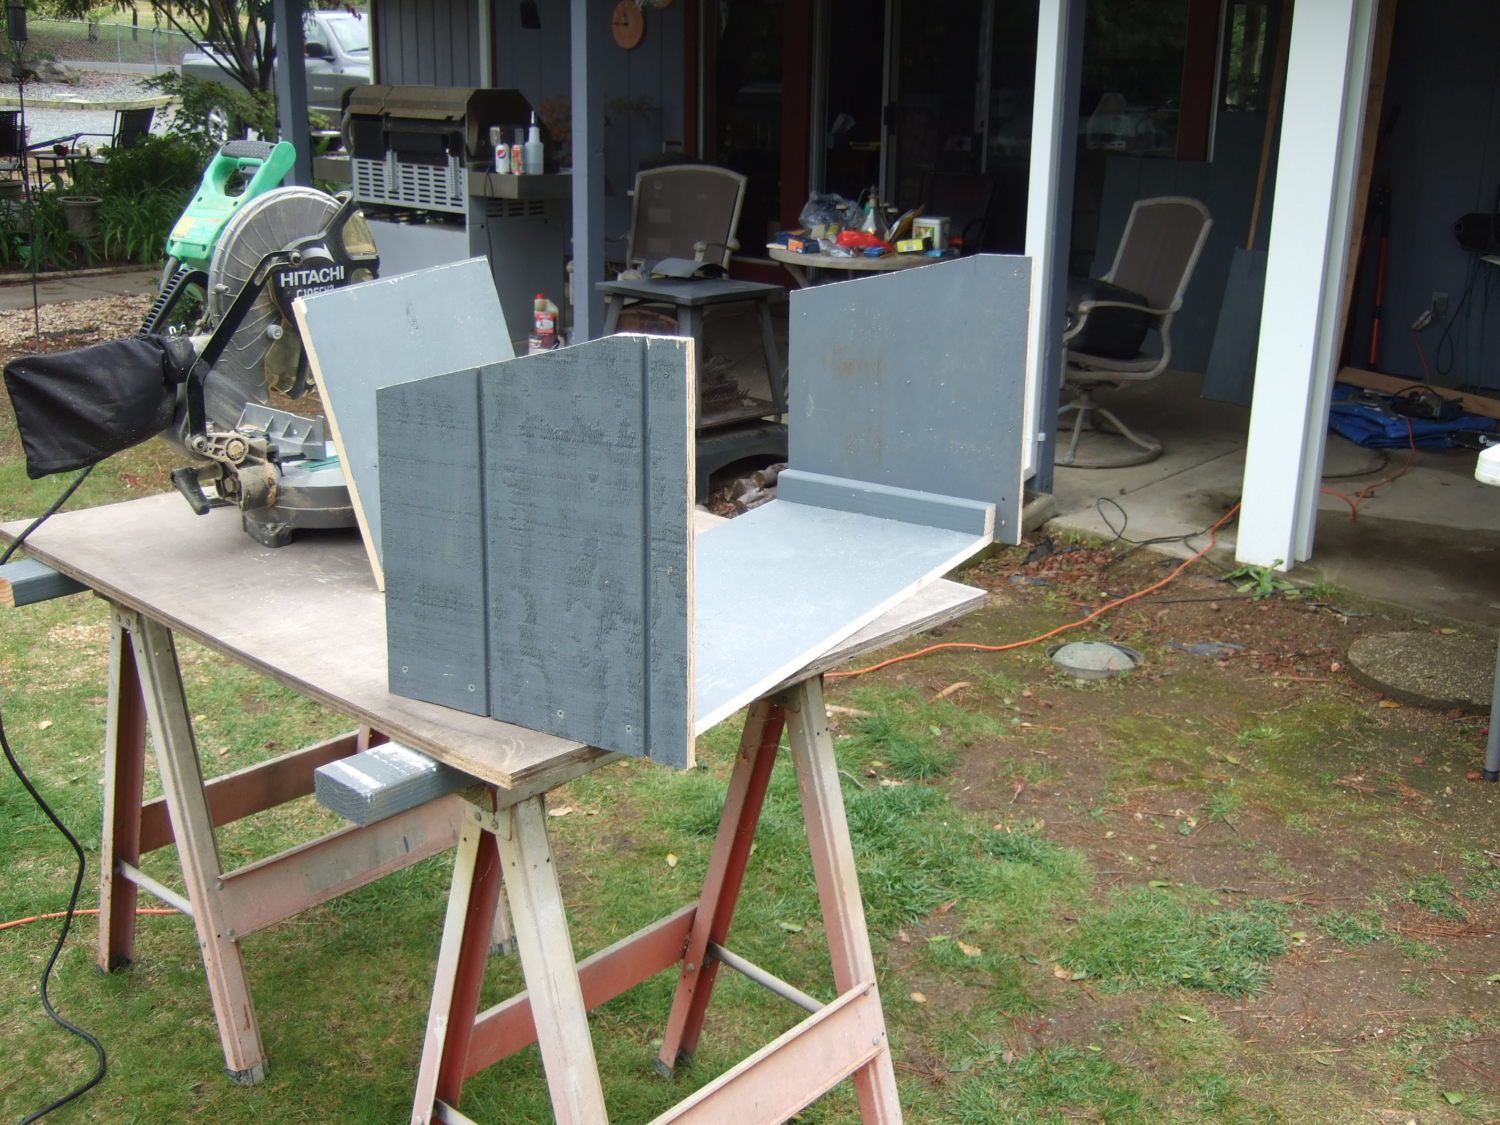
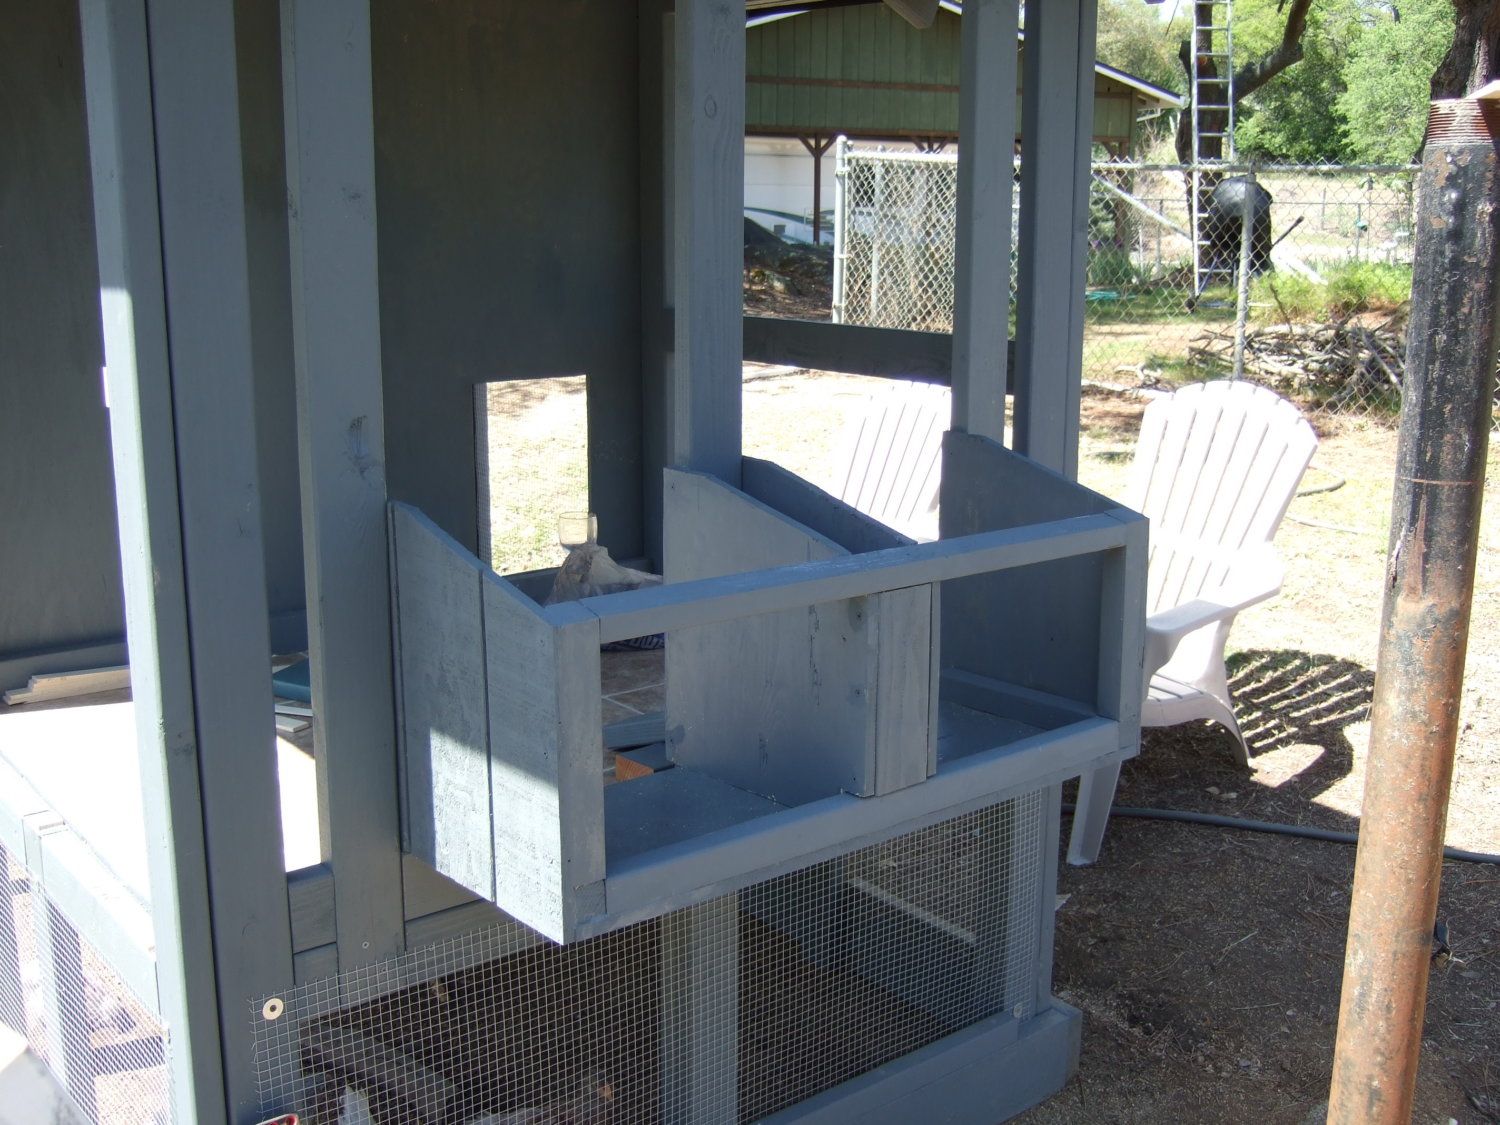
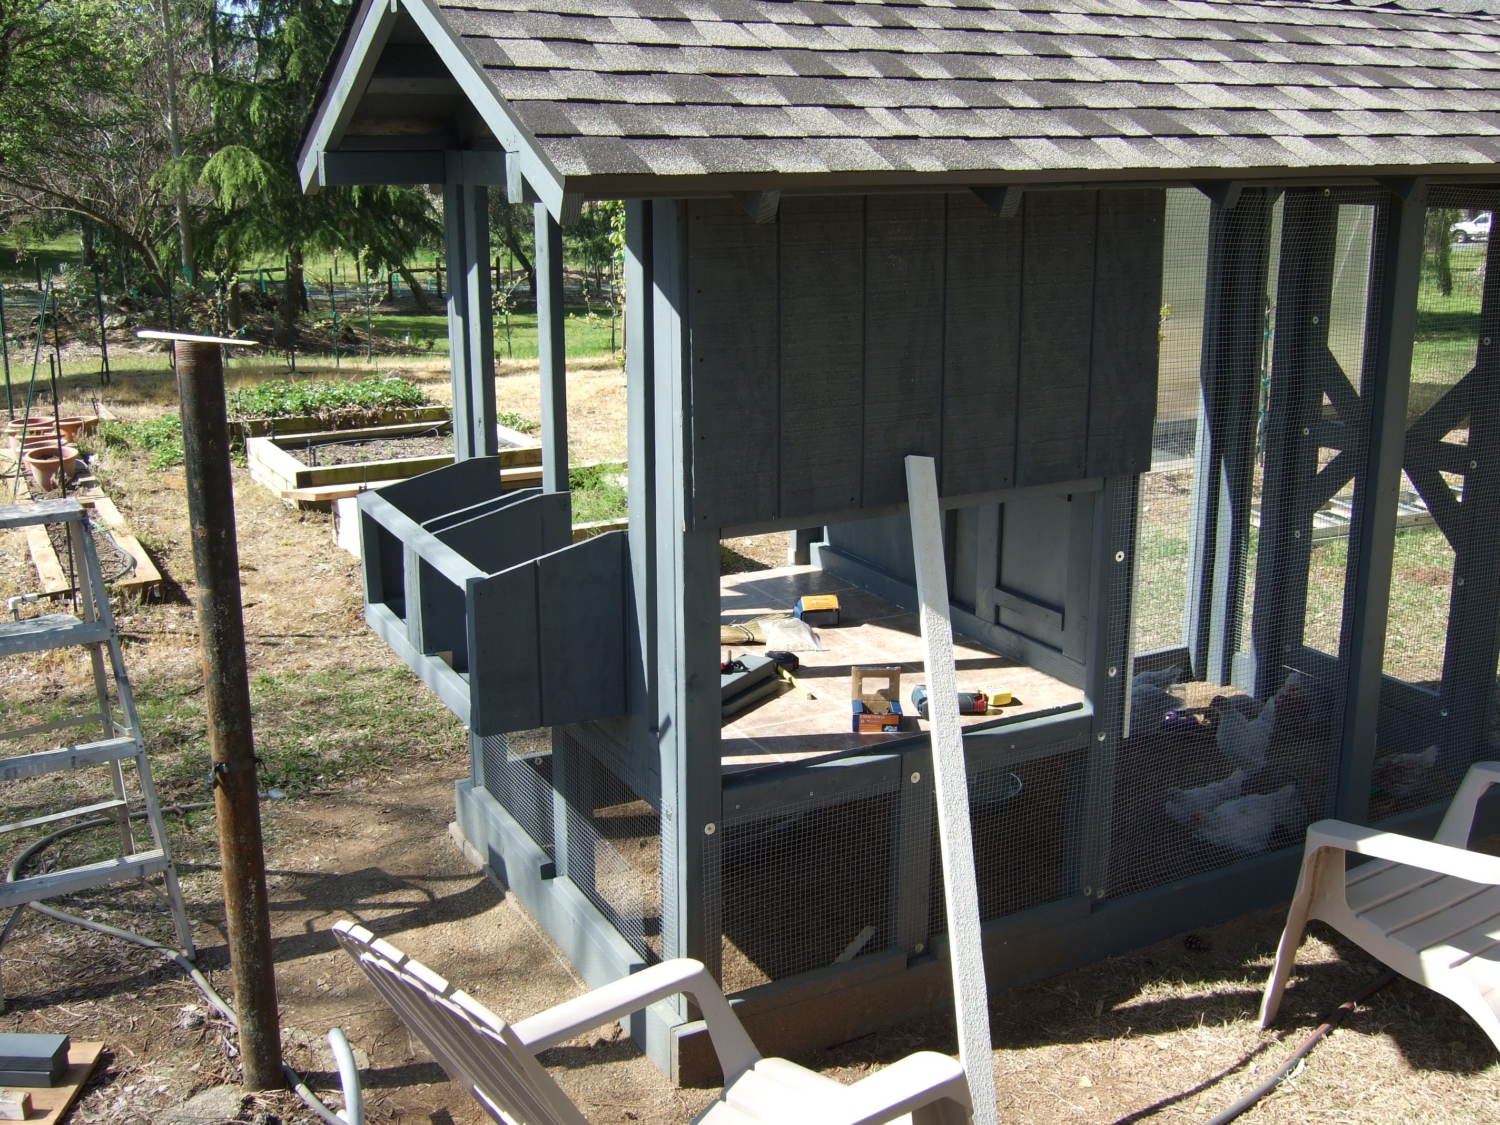
The beginning of the nesting boxes. I did a lot of research on this forum and decided that the size isn't relevant. Too big, too small, lots of opinions. mine are 12 x 14 x 12. Or close to it. The birds fit in there, so it appears they approve!!!
Then I built the coop door in place. It fits much better than the people door. Um, but,,,um,,,,well,,,I'll get to it!
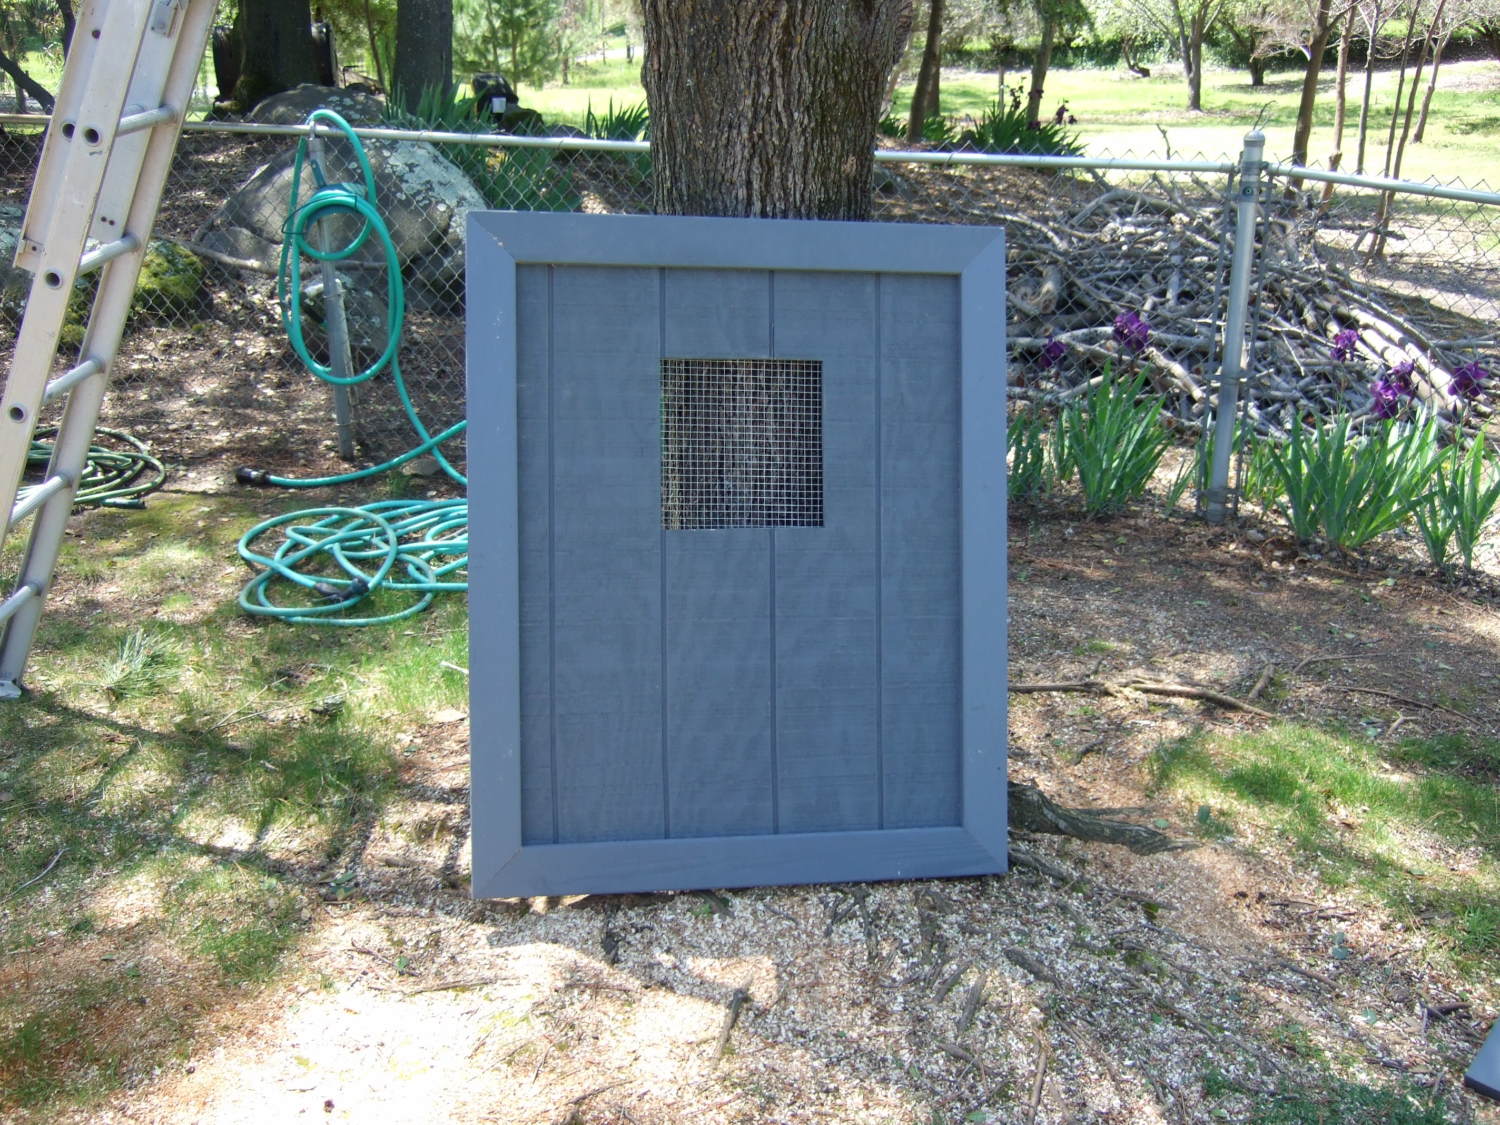
Finished the openings with hardware cloth,,,,

The nesting boxes go into place,,,,,,
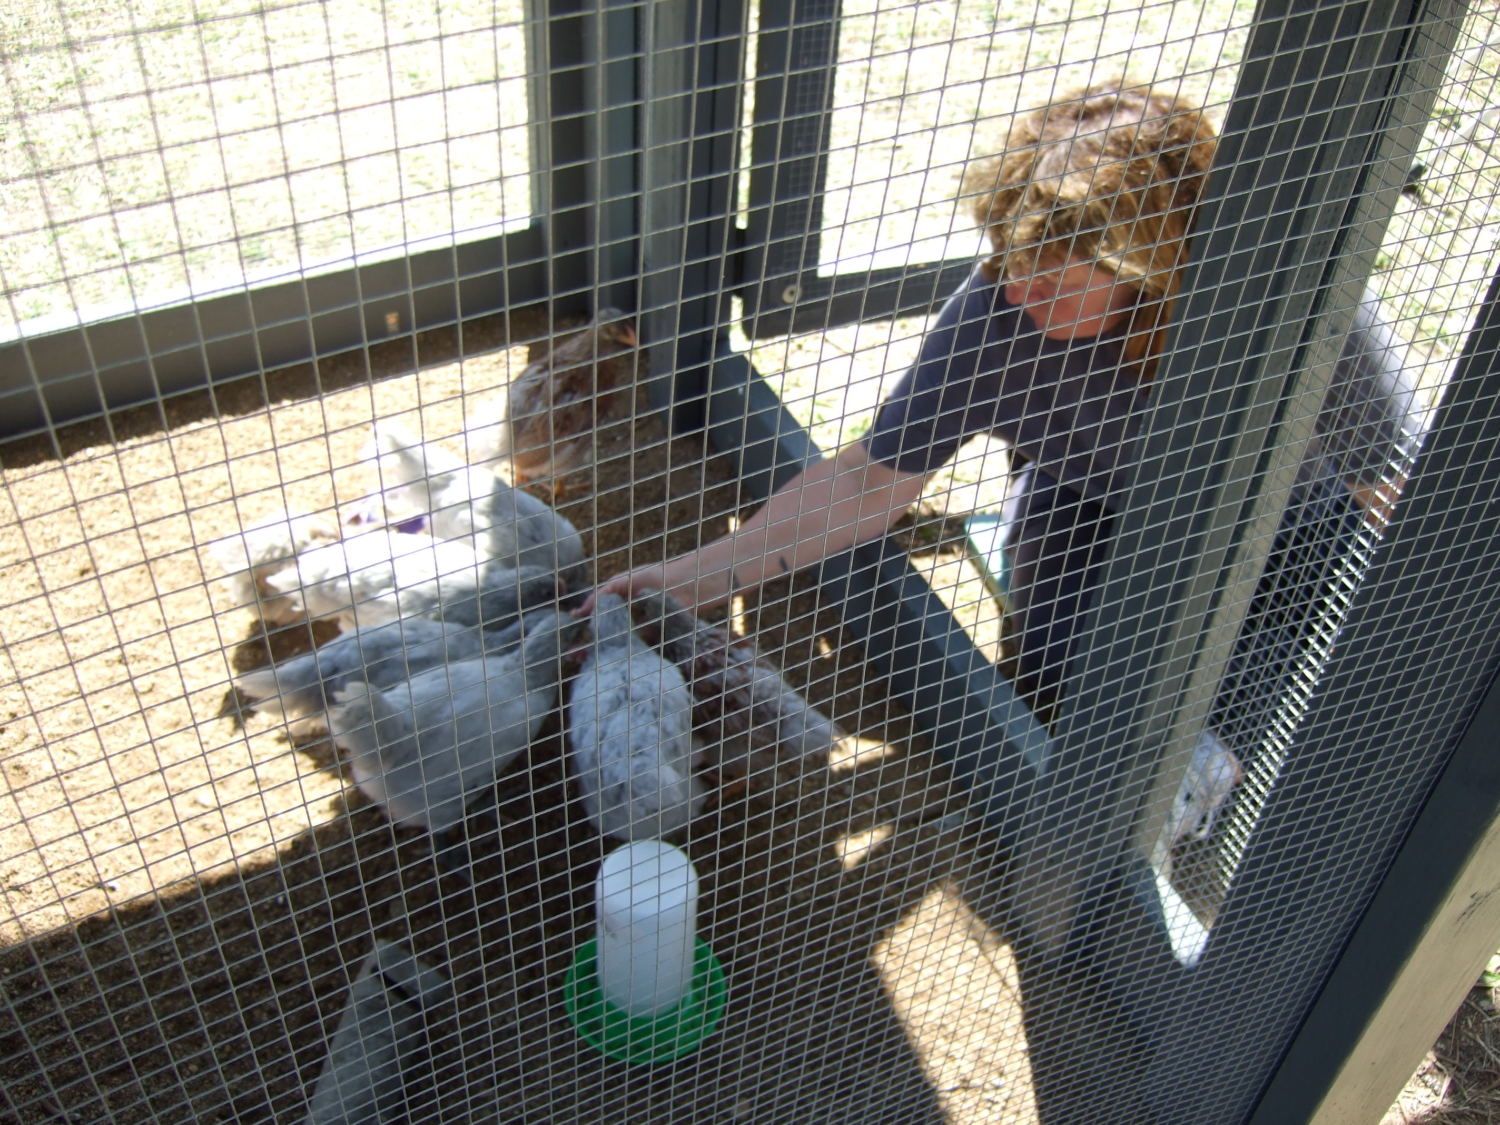
My wife attempting to tame these wild animals!!!!!!
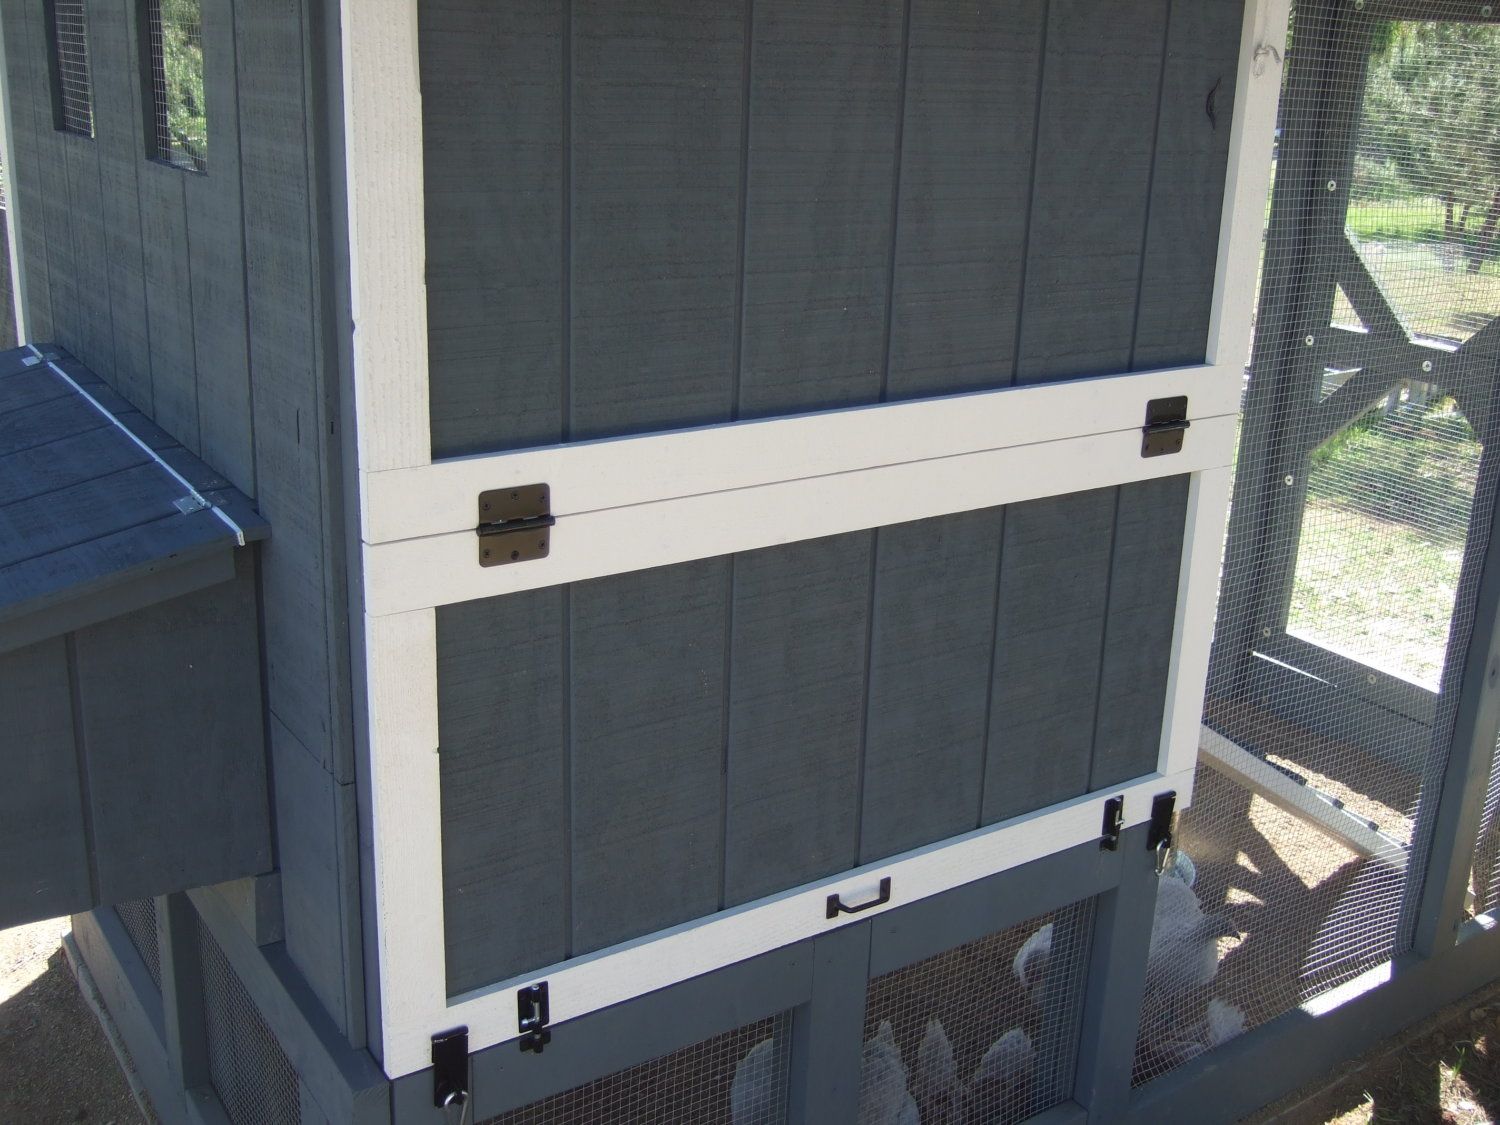
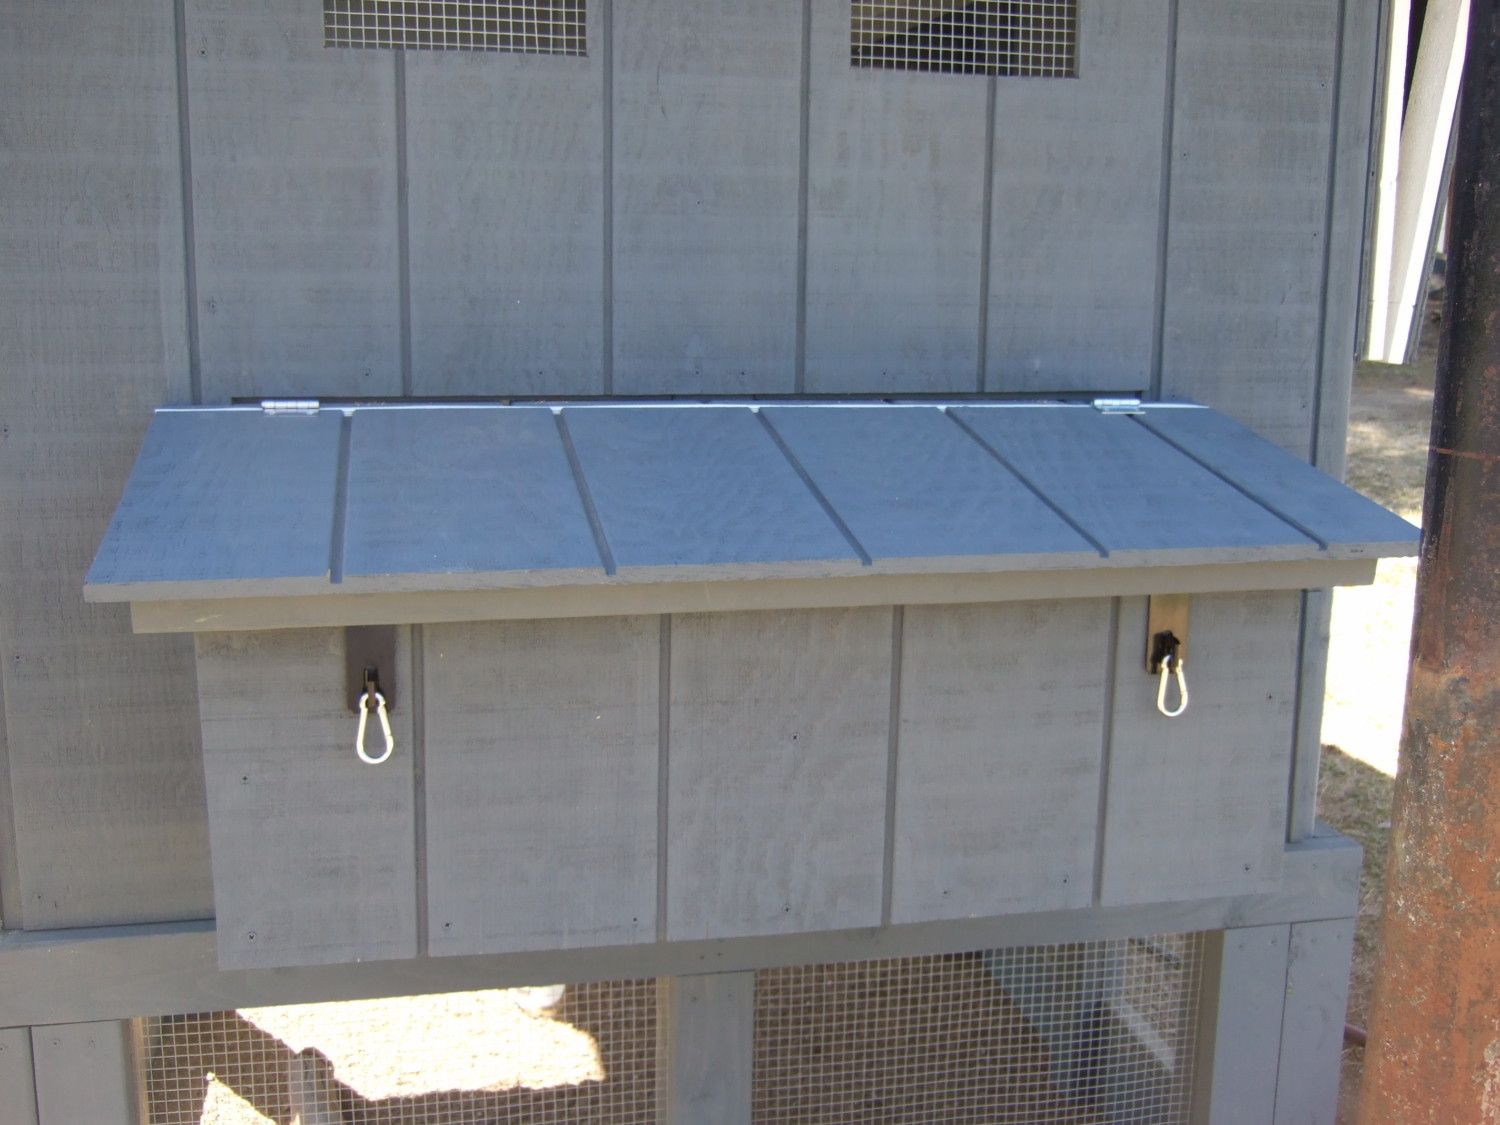
A half sheet of siding??/ What could I be up to????
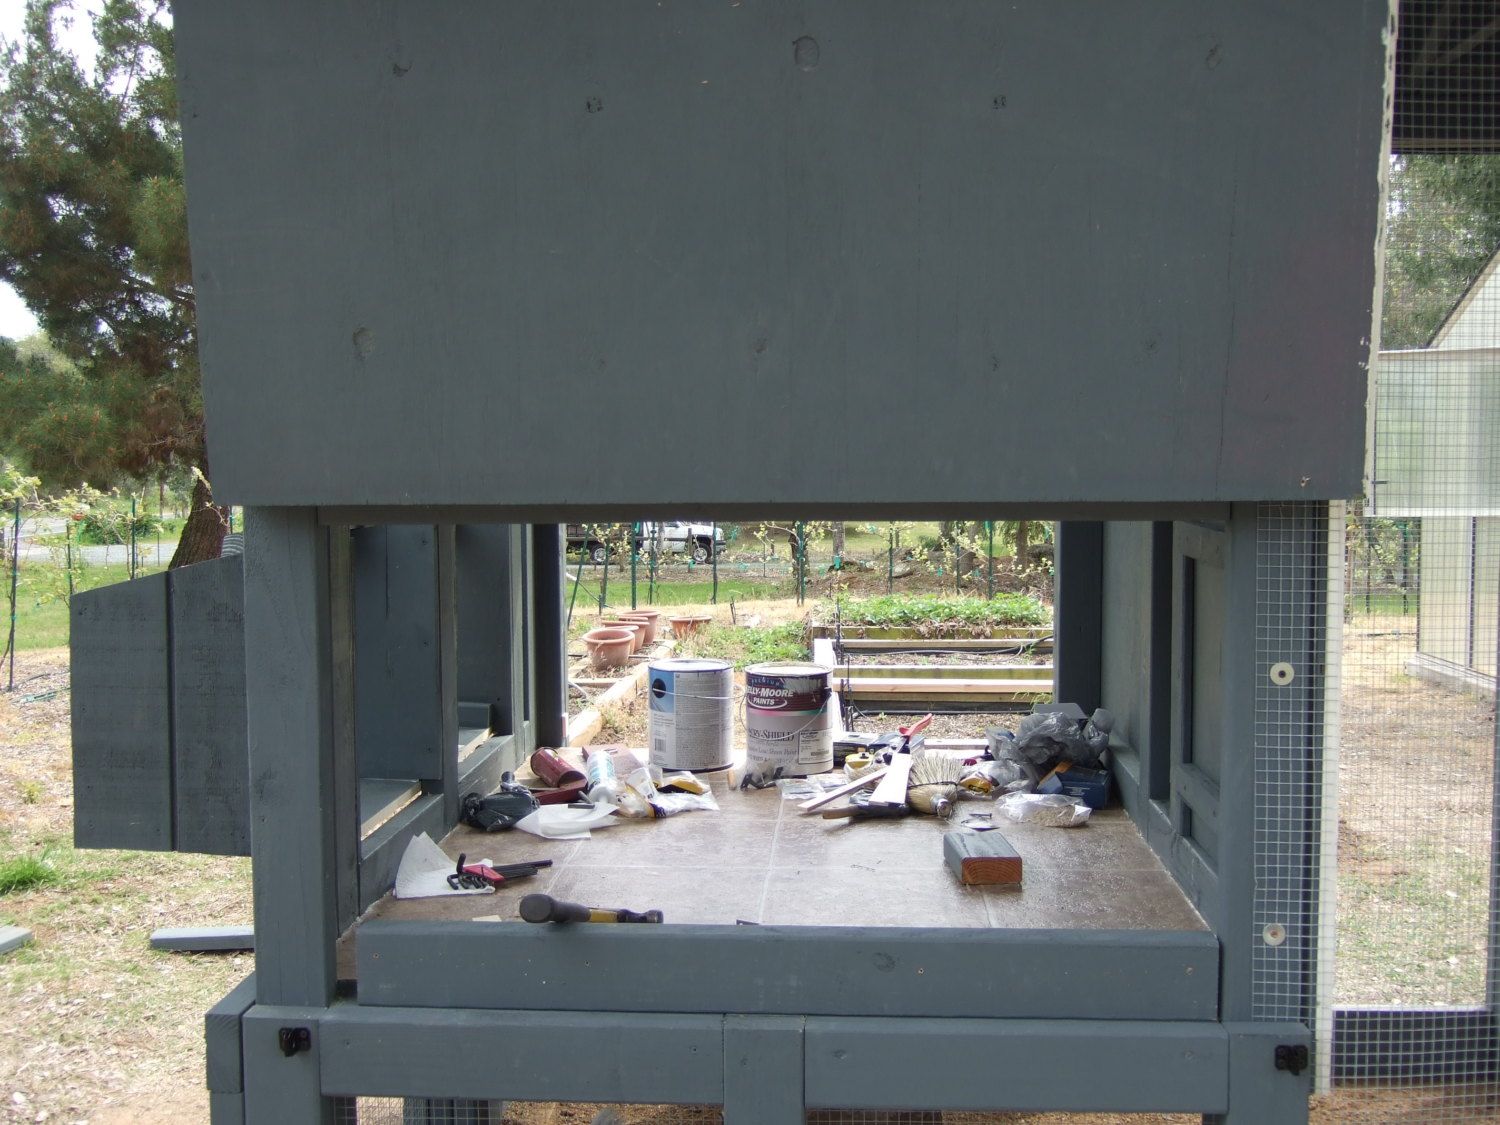
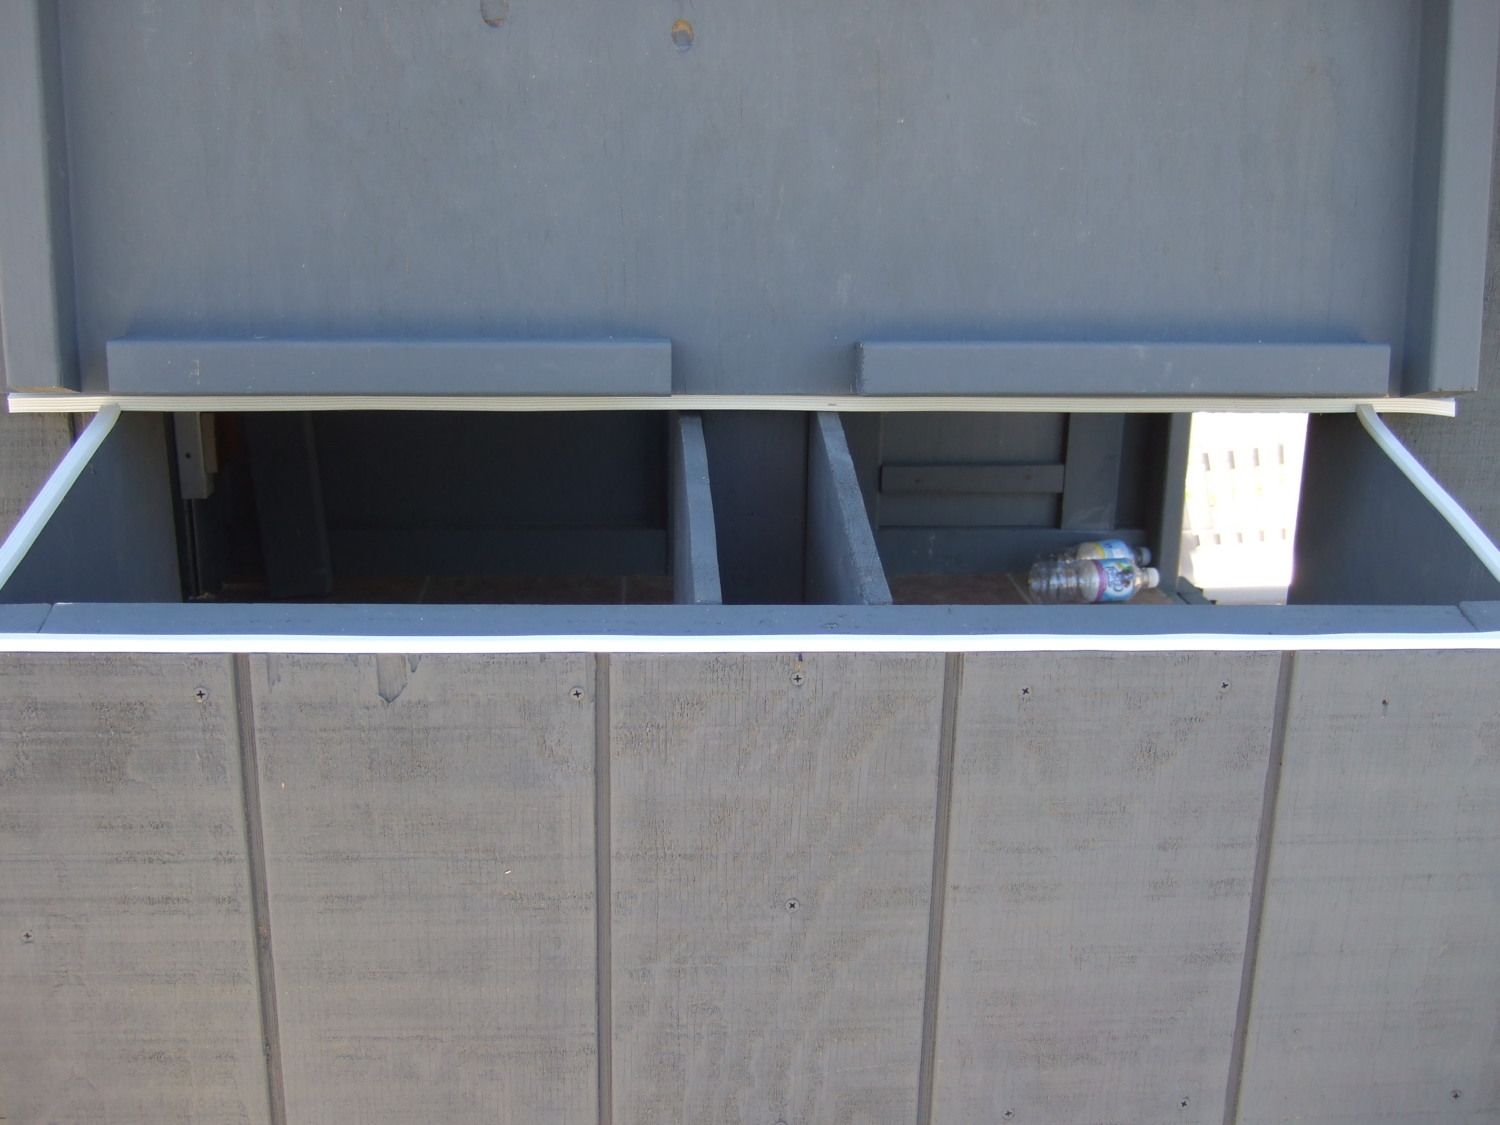
Well,,,it's a cleaning door.
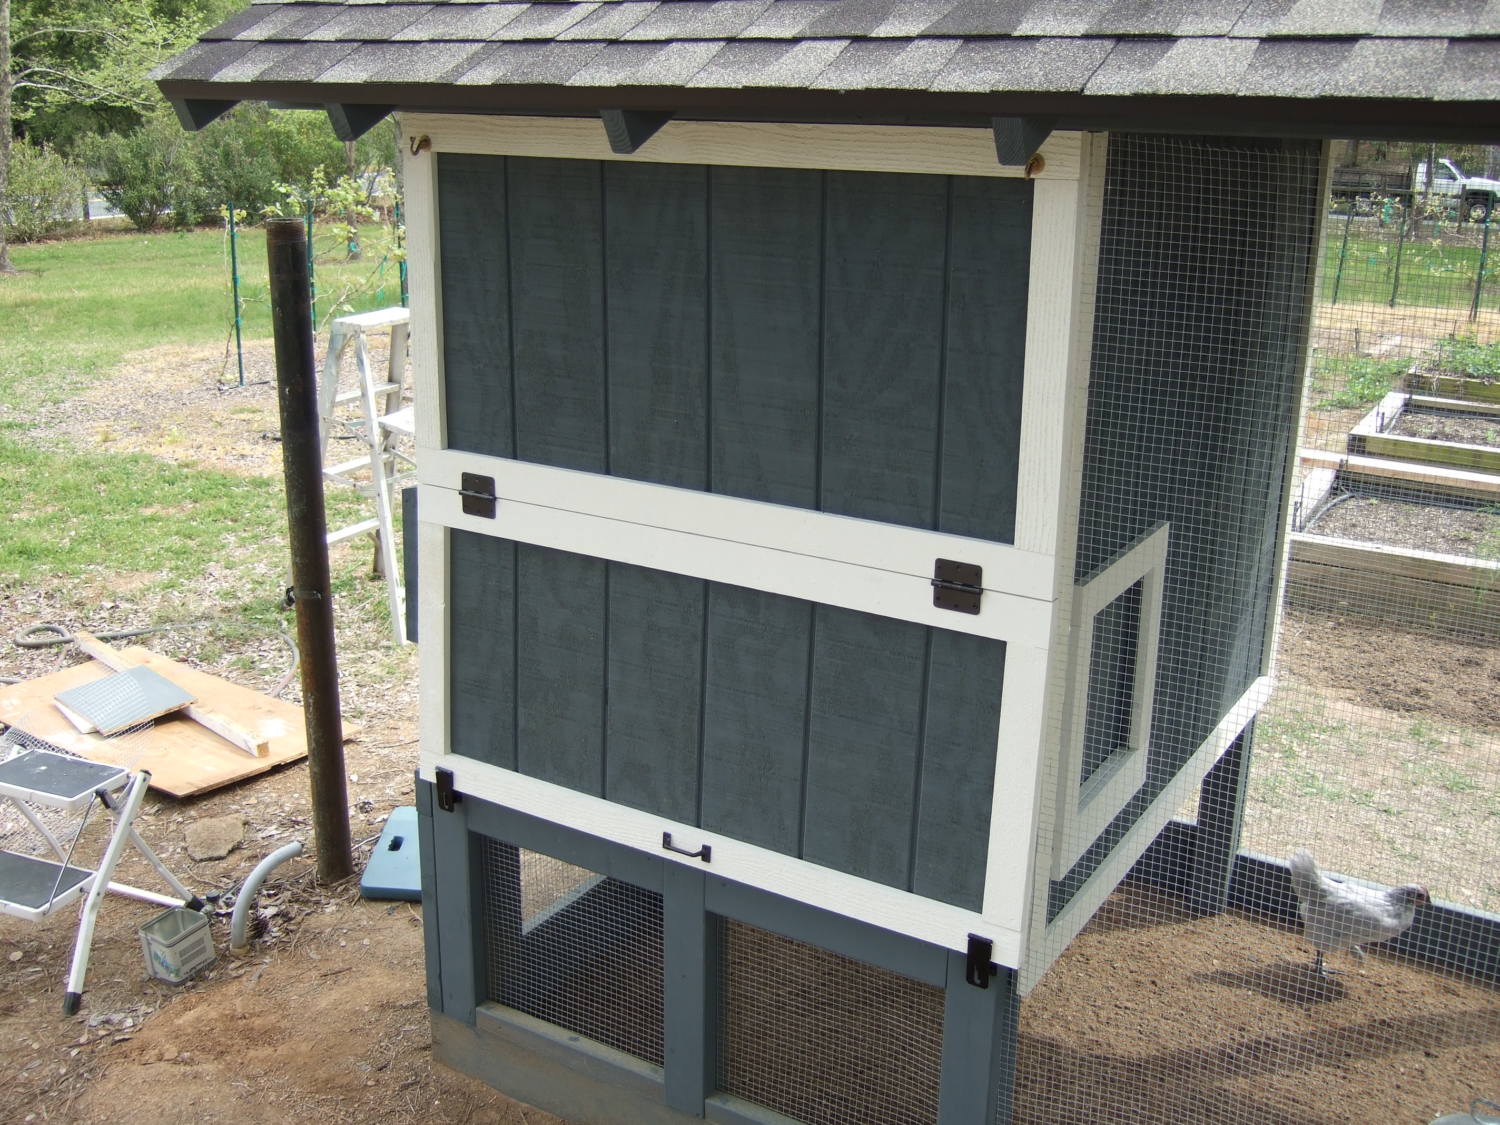
That hangs open while I hose out POOP!!!
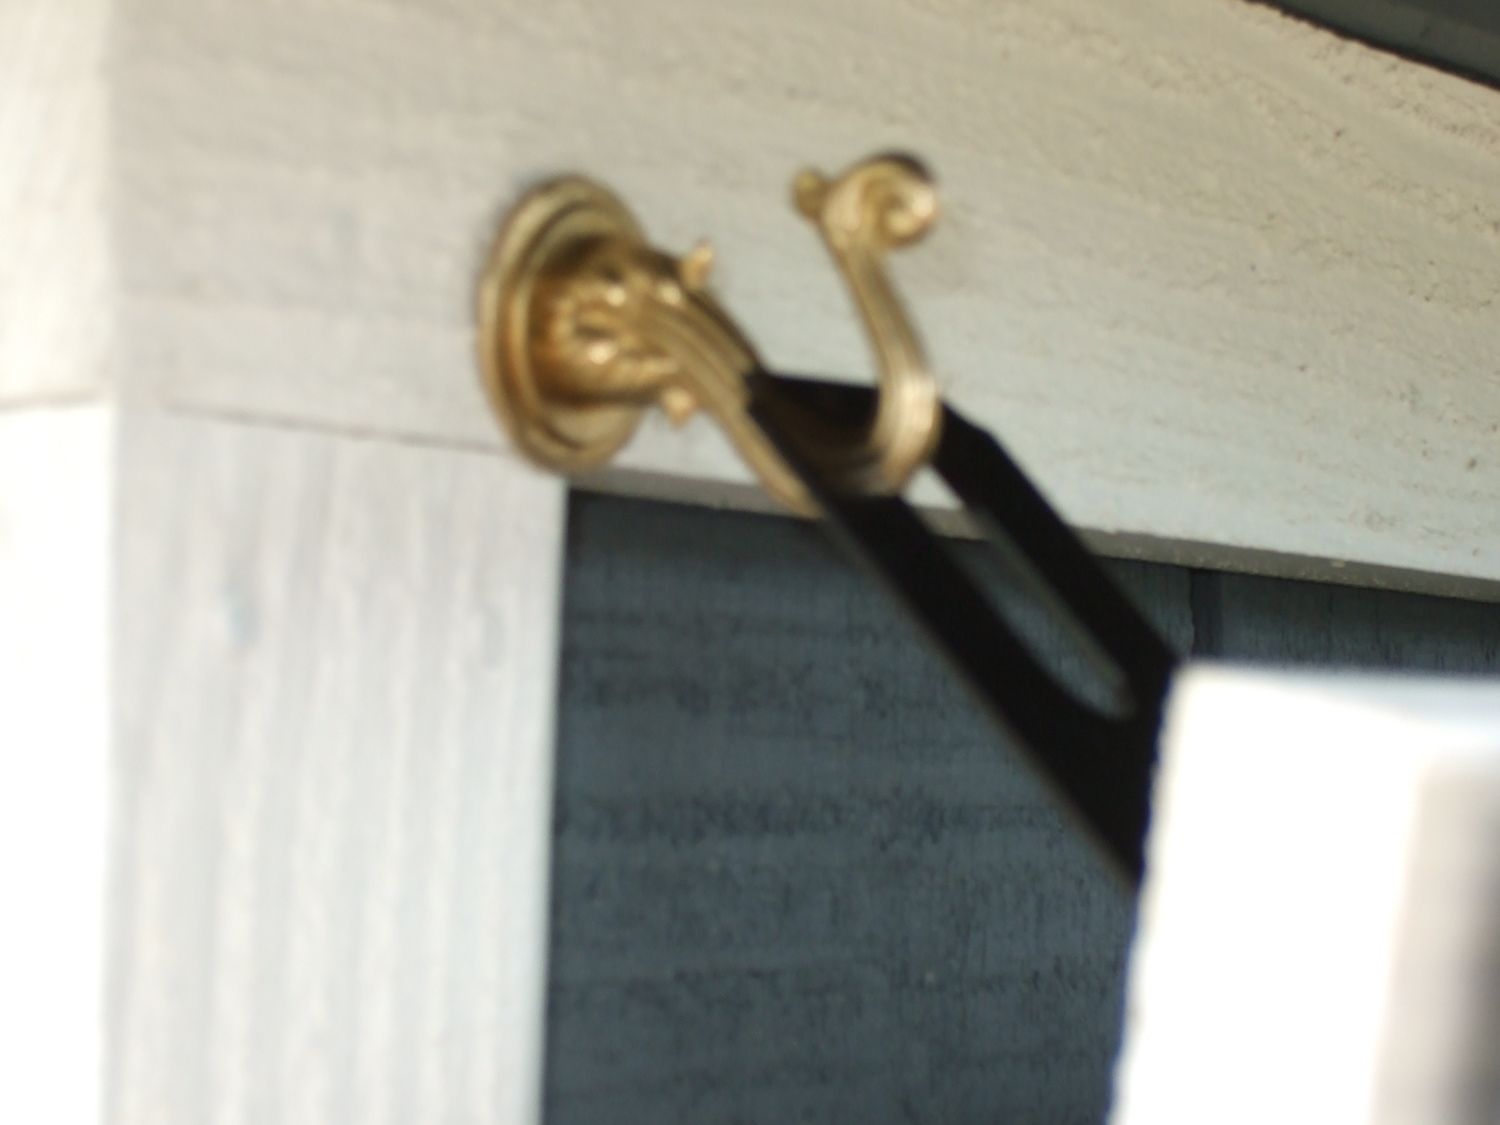
PS,,,yes the hooks have been changed out to Neuvo modern and stylish hooks.
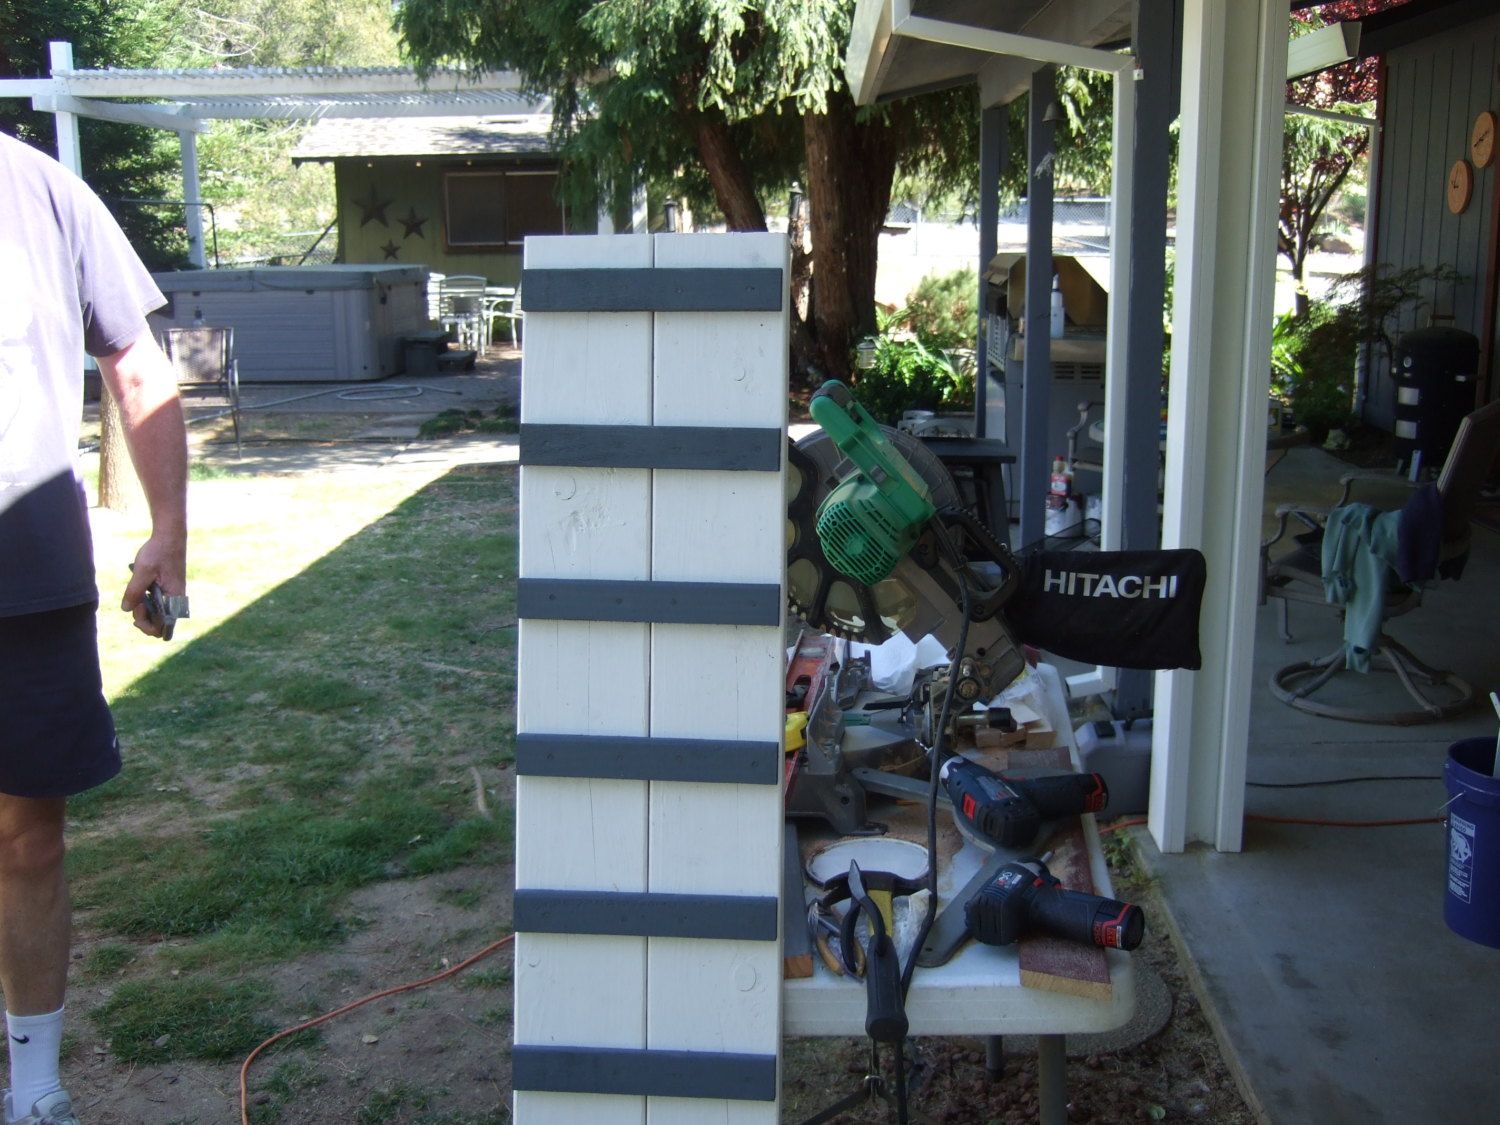
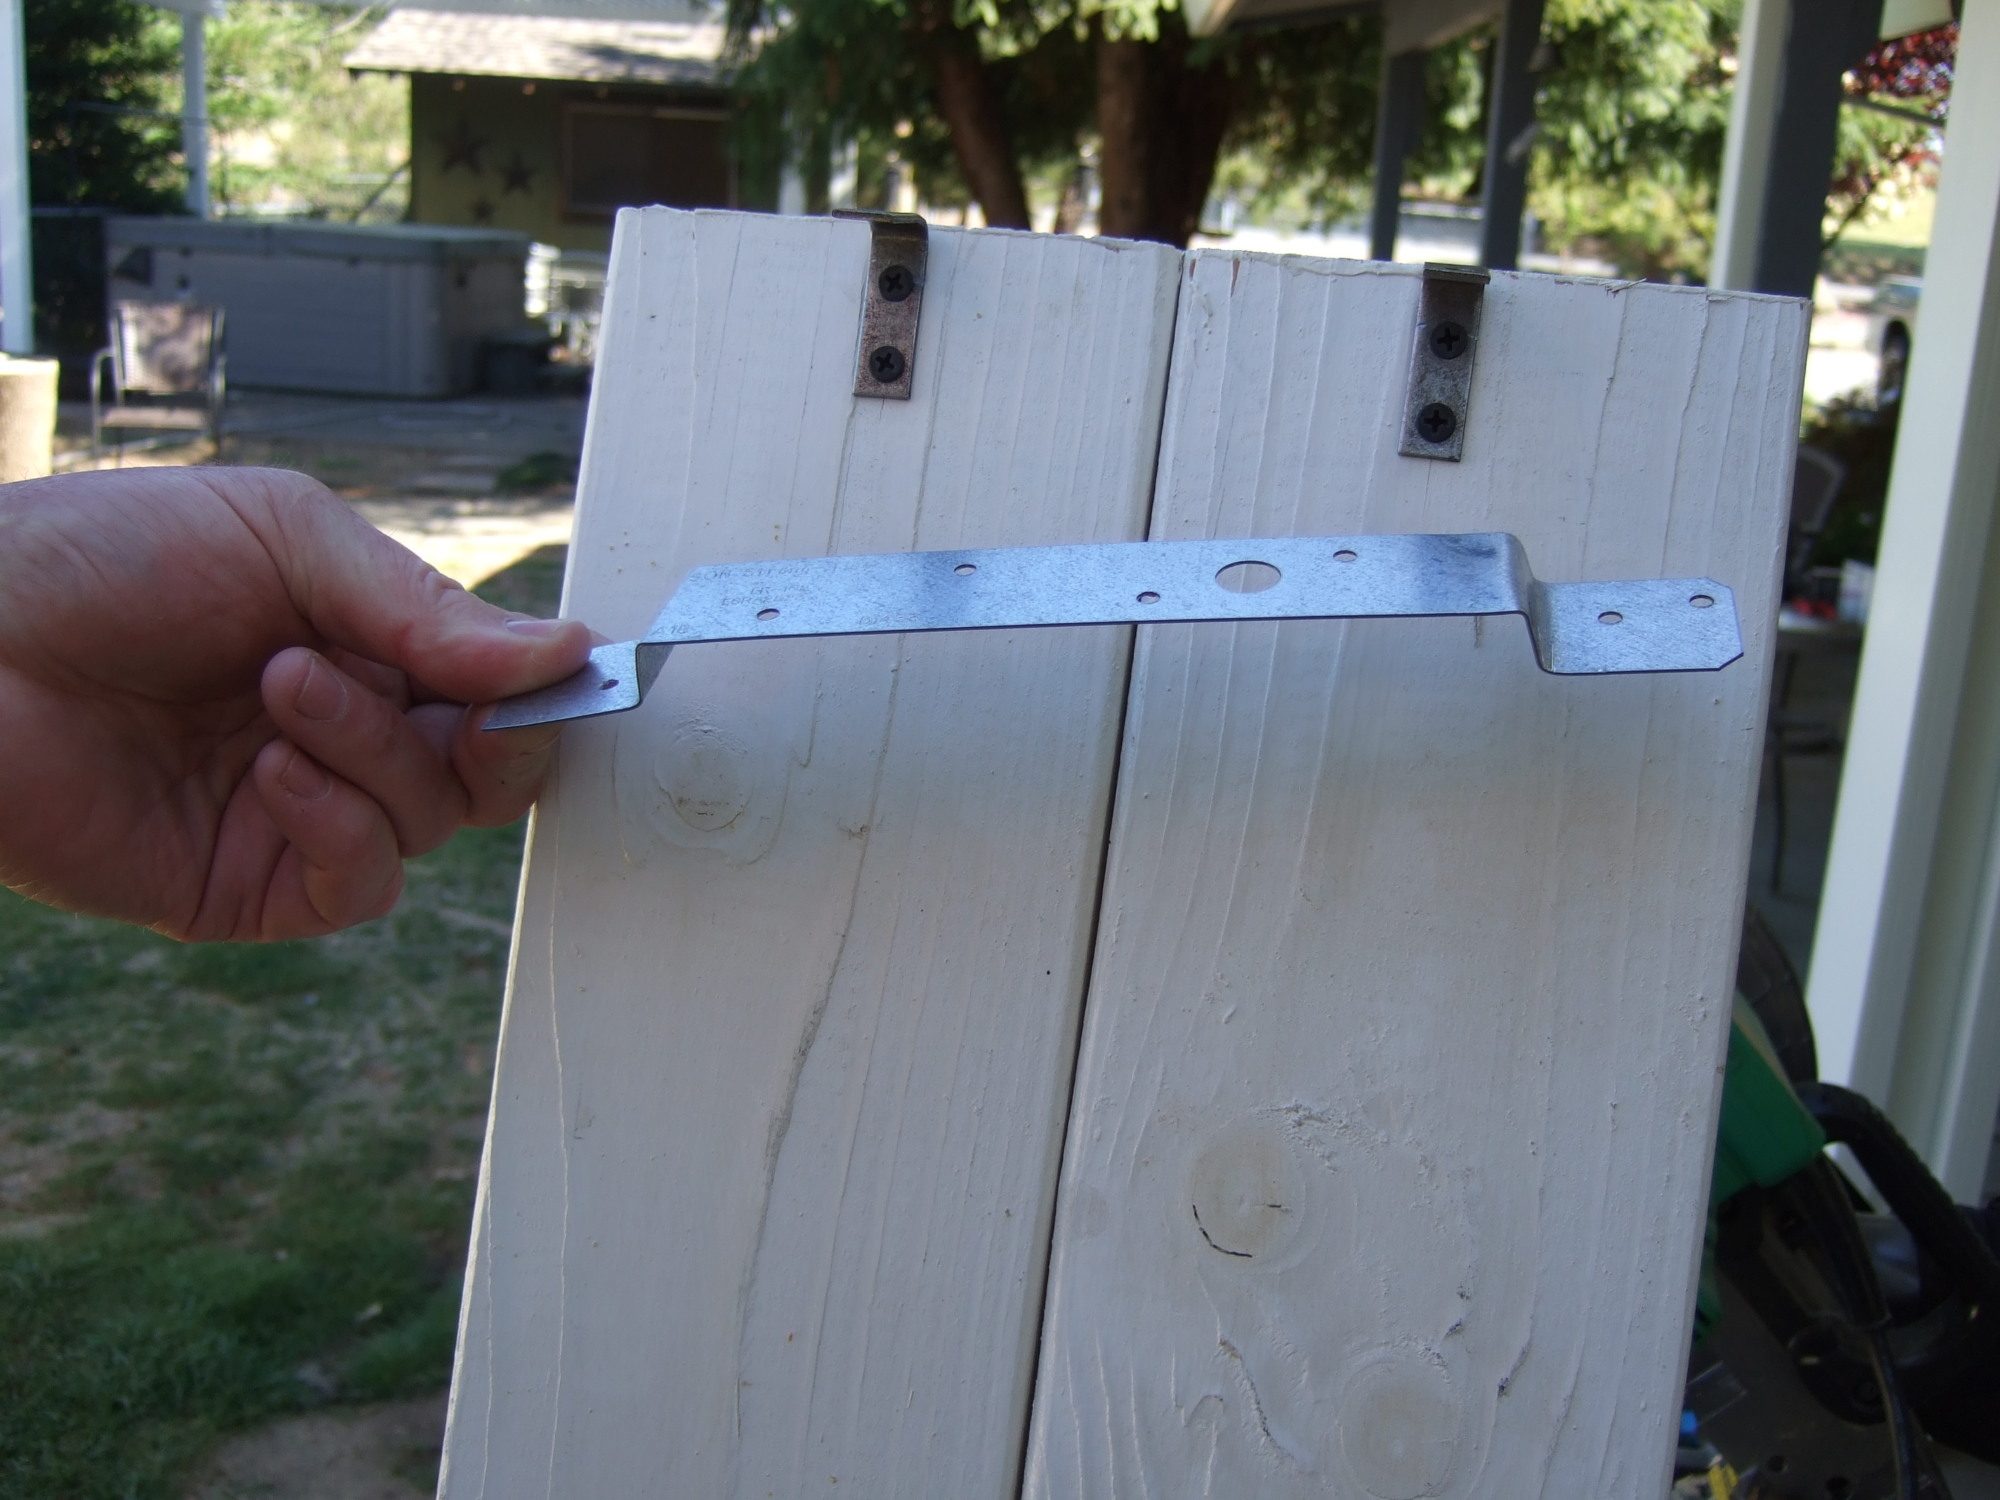
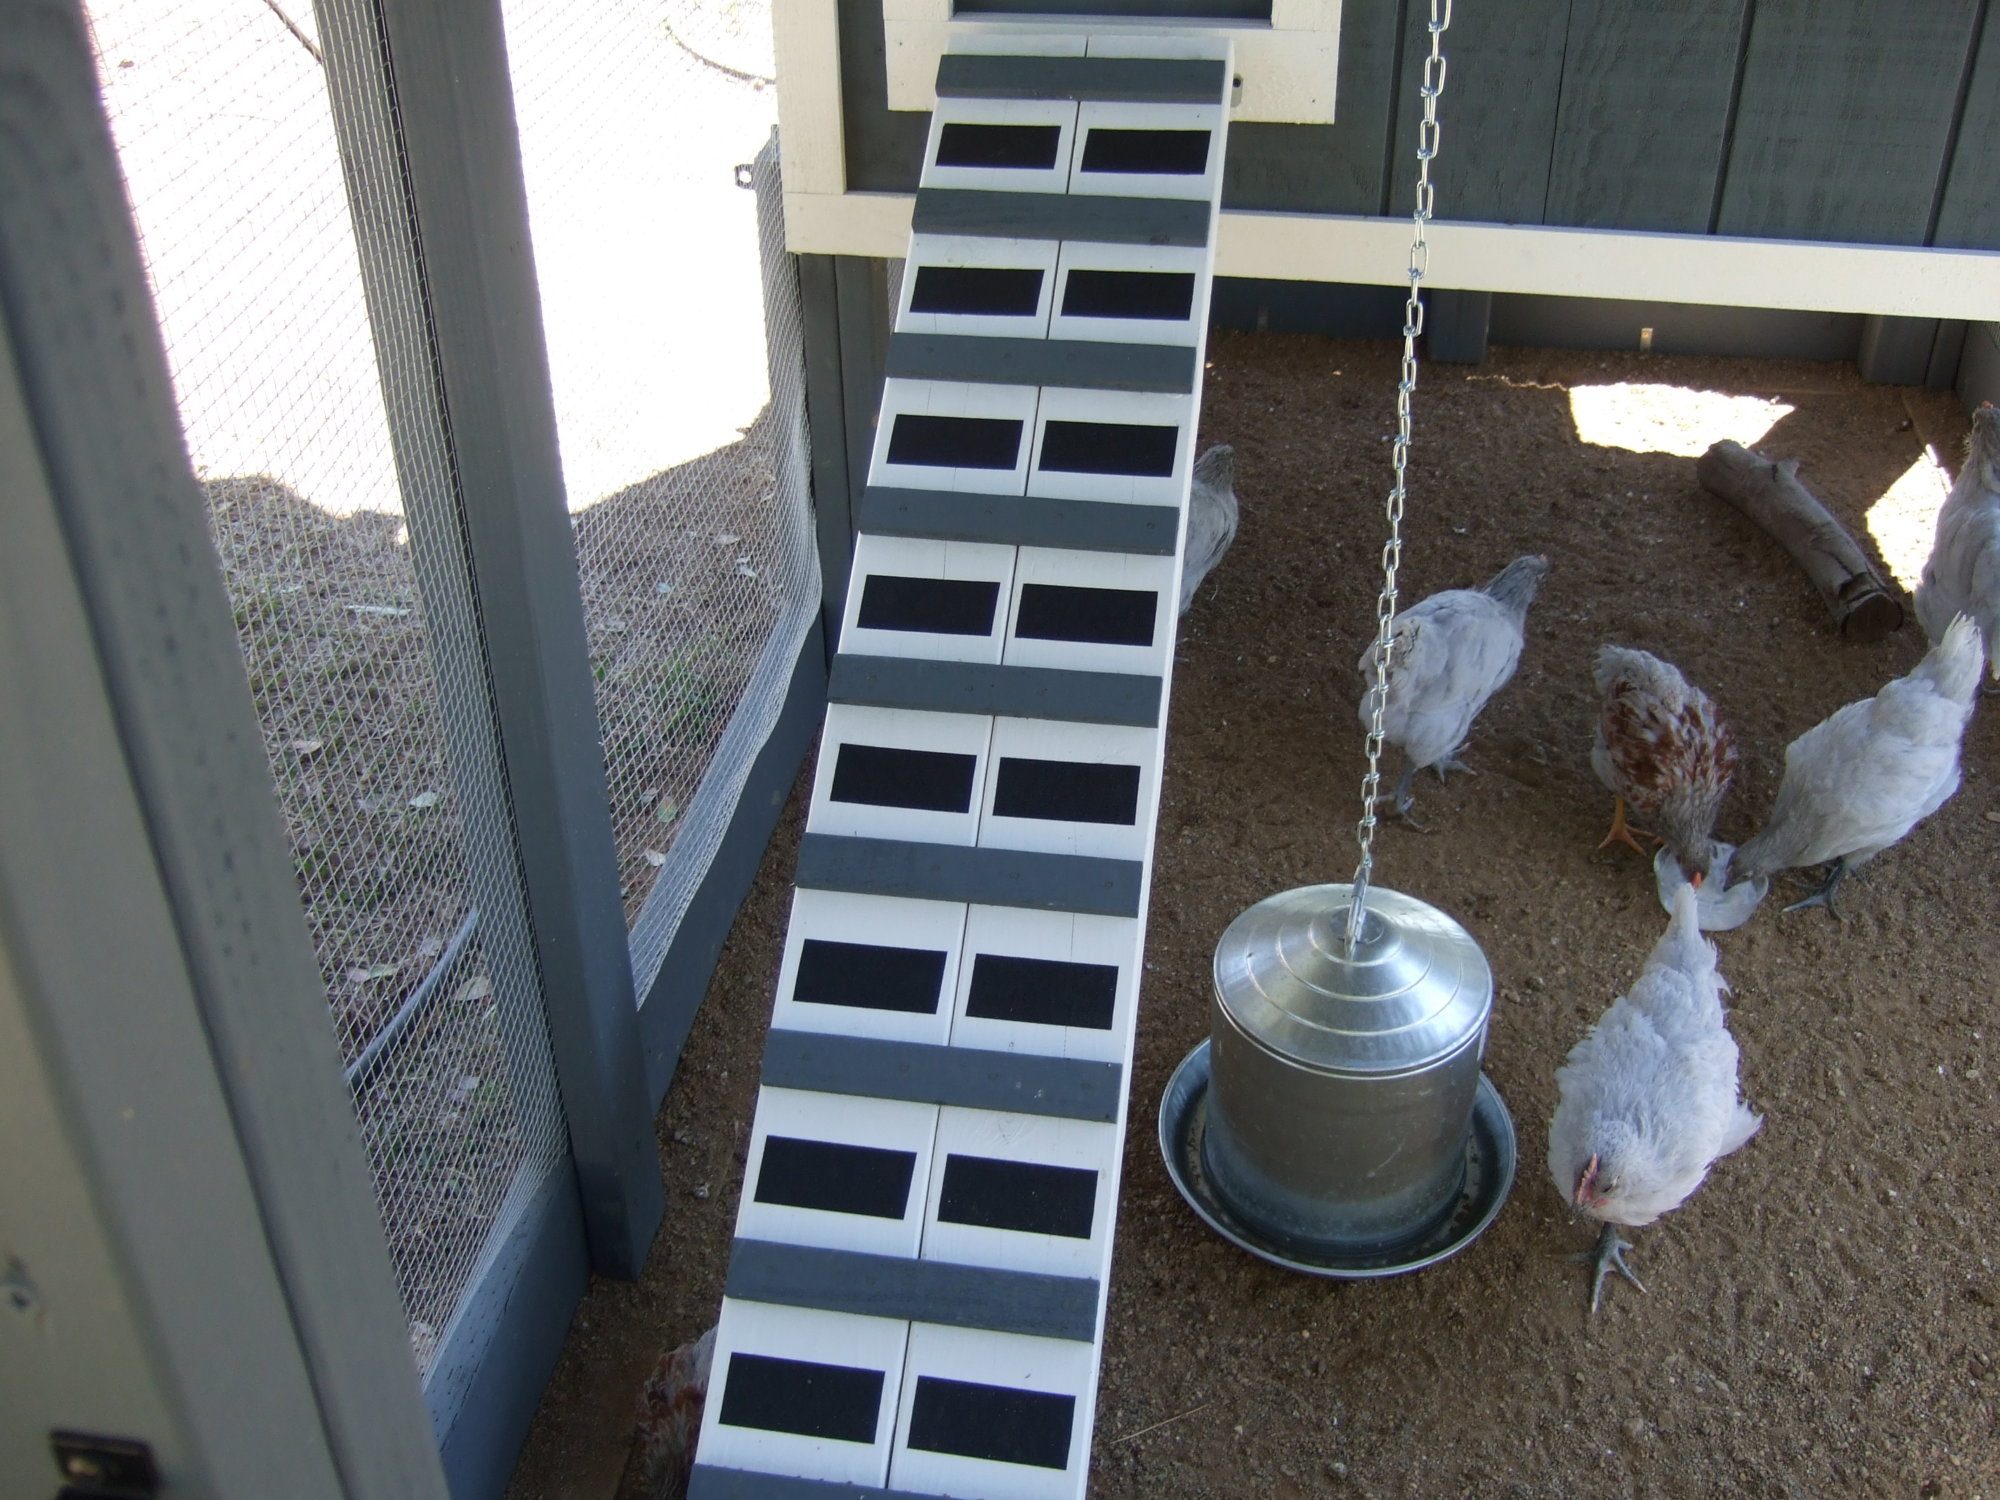
Simple ramp made from scrap 2x6's, some trim boards, and non-skid material. Then bought a piece of galvanized strap and bent it. Small 'L' brackets bent to an angle, and voila. A ramp that will hold even the fattest Orpington!!!
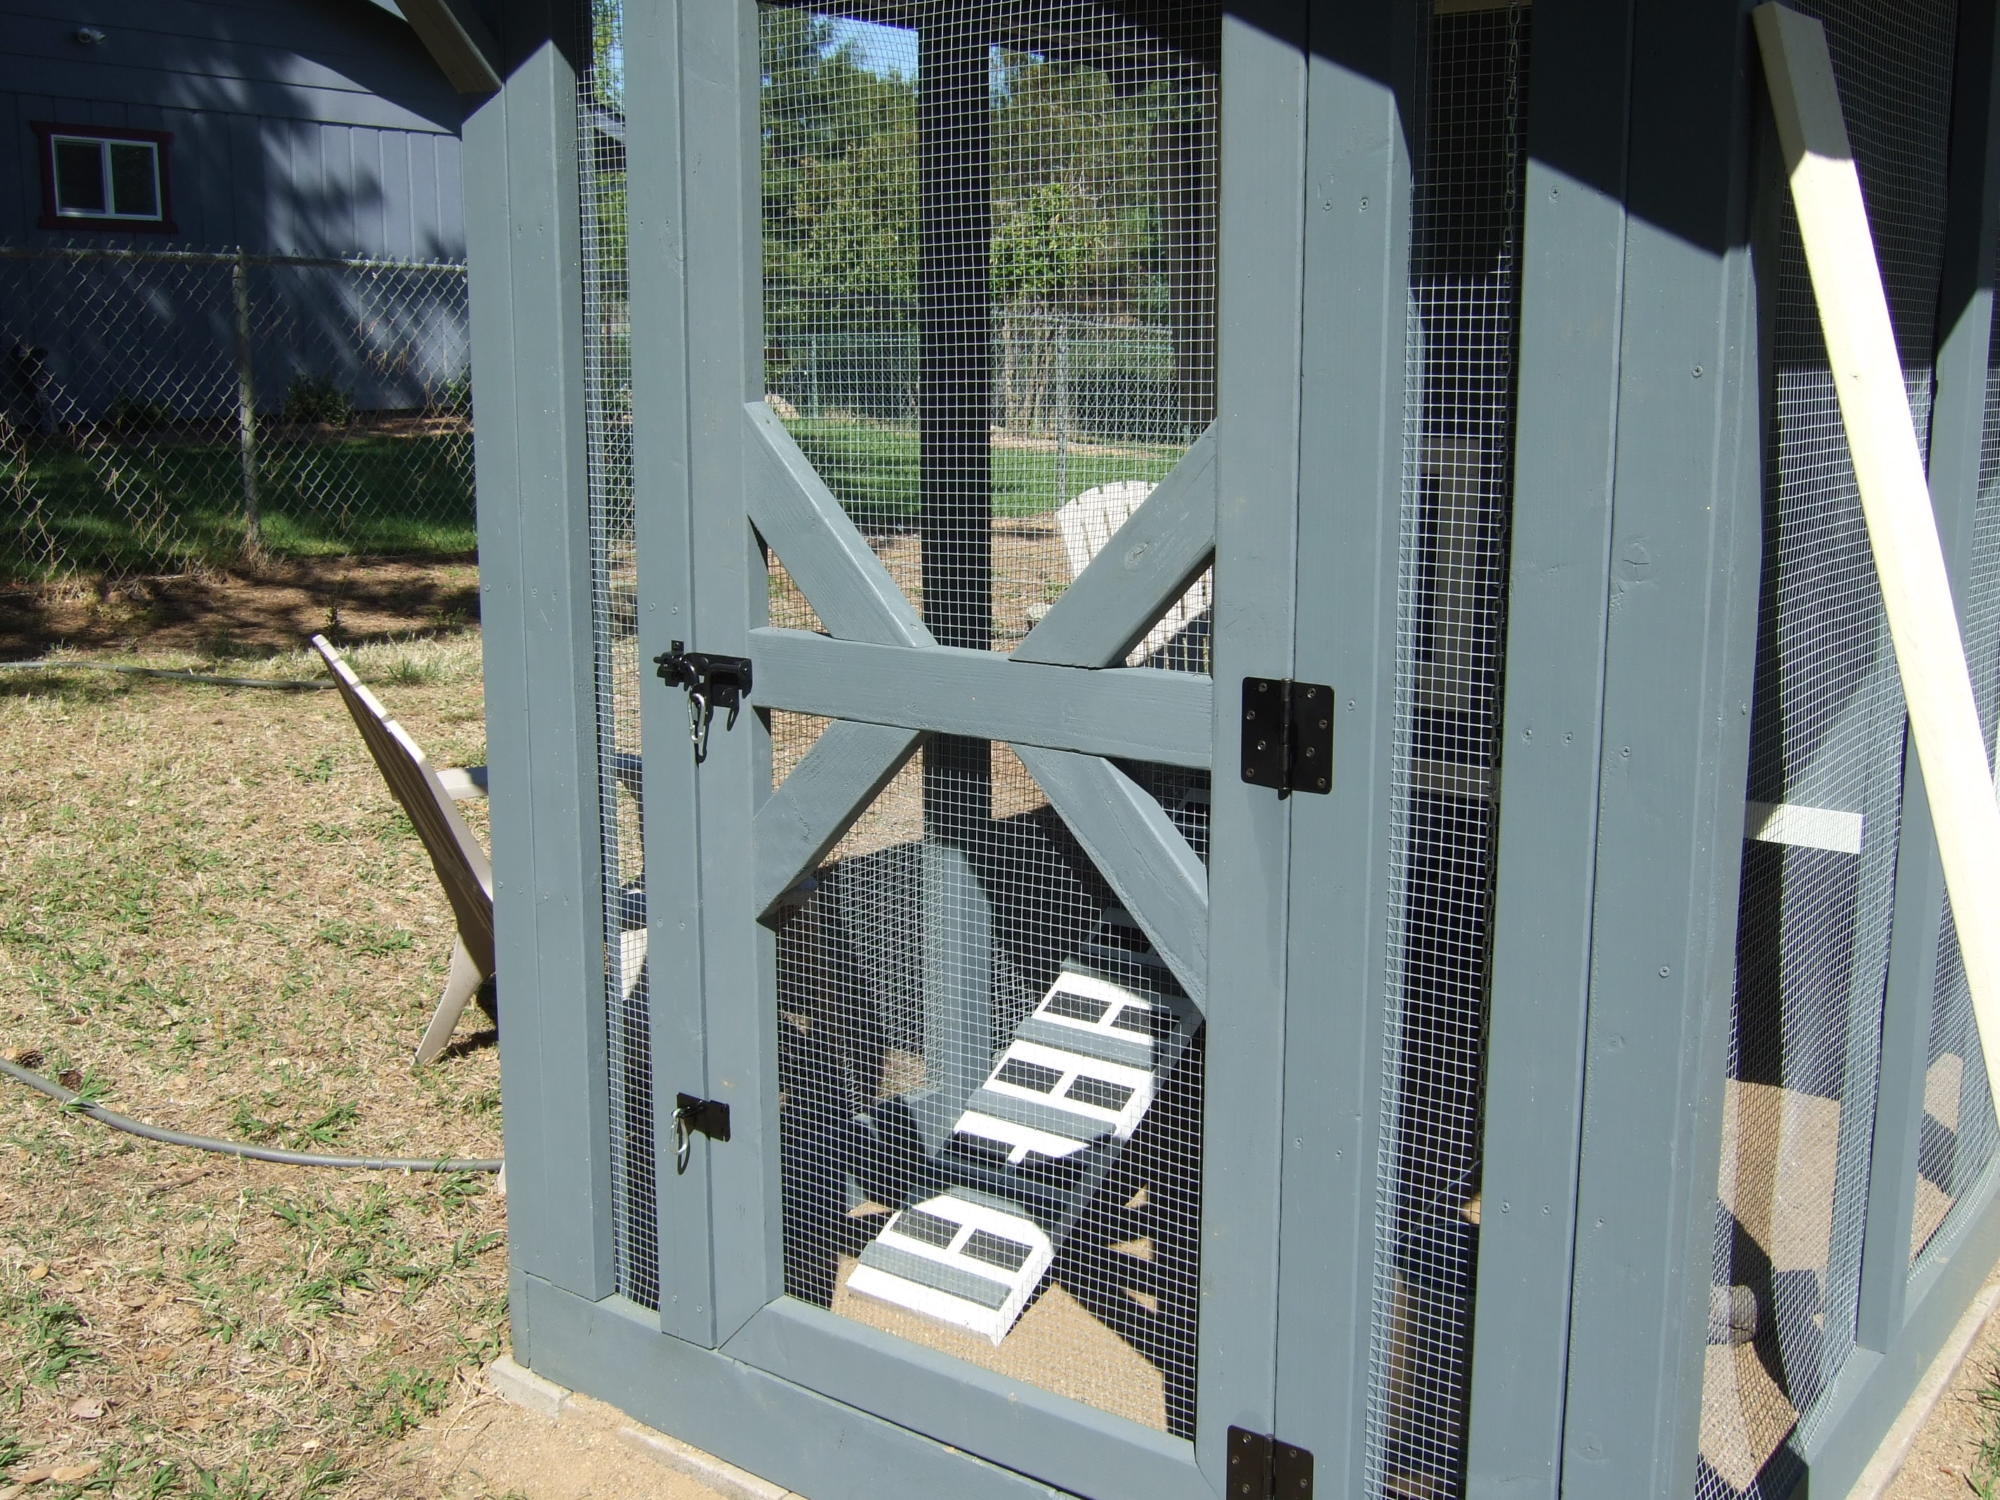
Security hardware installed per chicken's specifications.
Ramp installed. It will never again be so pretty!!!!!
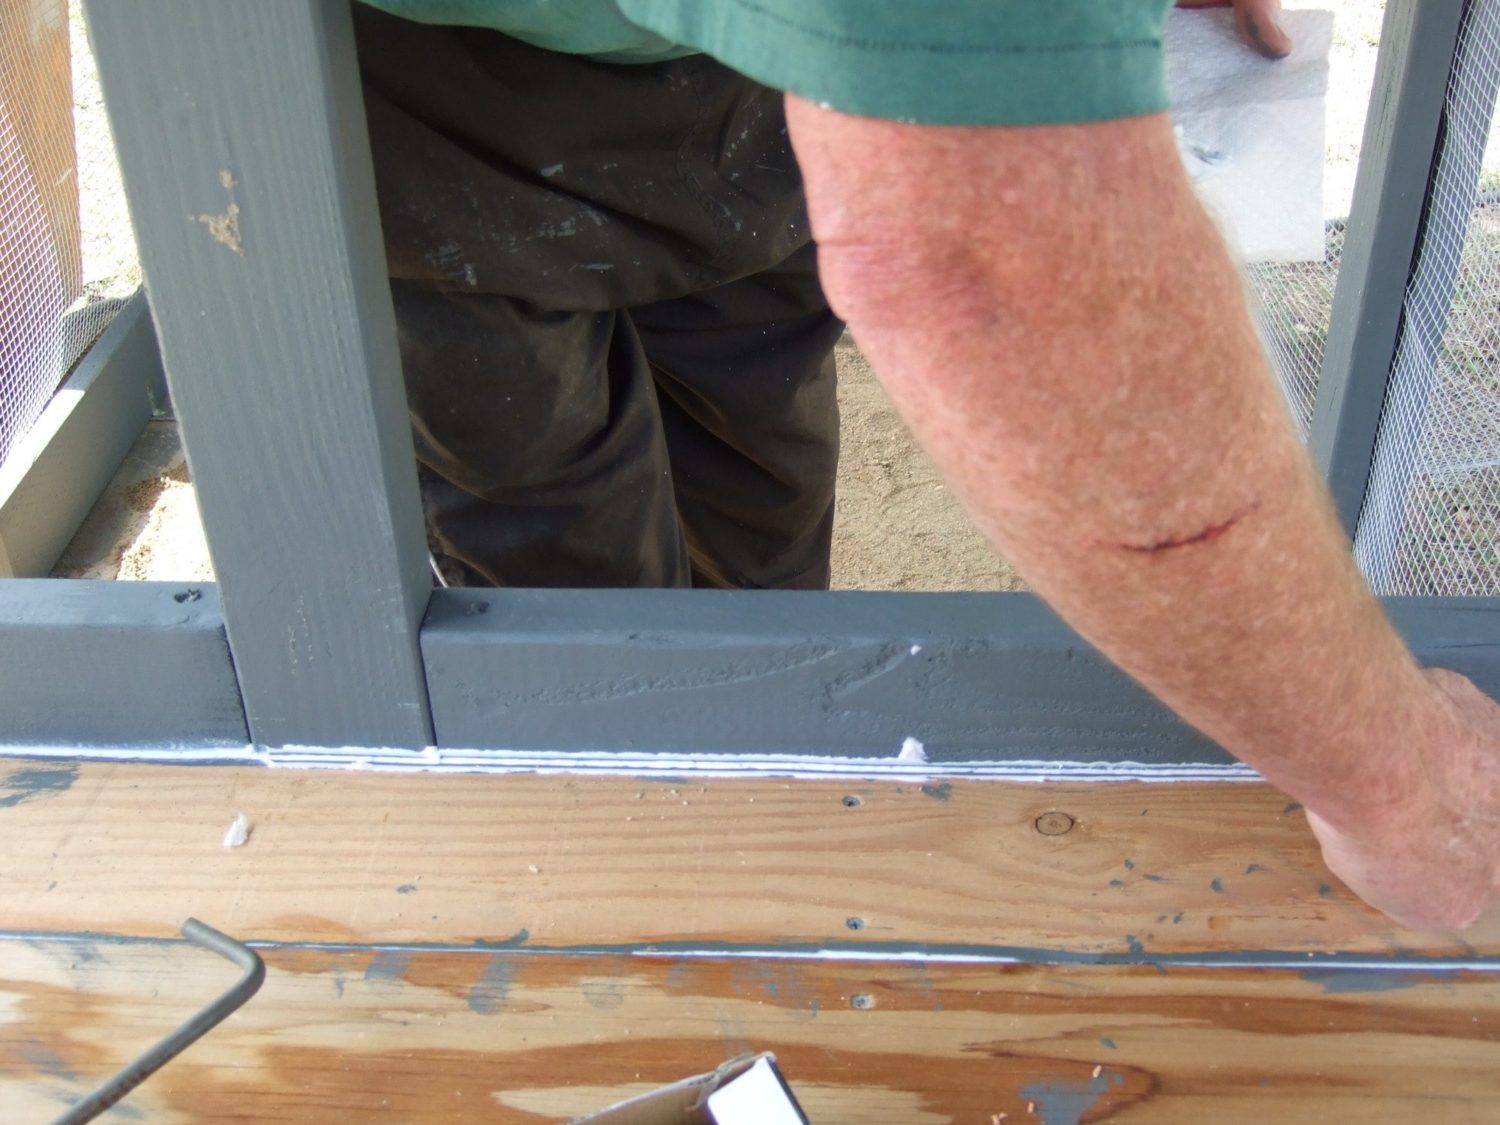
Door's in and shimmed,,hinges are attached. But wait!!!!

We have a small problem.
But it wasn't that hard to fix. I only show this so hopefully it doesn't happen to YOU!!!

Insulation around the nesting boxes that will (hopefully) stop the rain.
More security hardware.
The roosting bar (which I lowered for the fat birds, and they still don't use it!!!!!)
Now it's time for a poop board. But I didn't want a poop board, I wanted a rolling poop drawer. I won't bore ya'll with the first prototype which was a complete failure. Instead I'll show you the successful version!! It started with little rollers I picked up at Harbor Freight for a buck a piece.
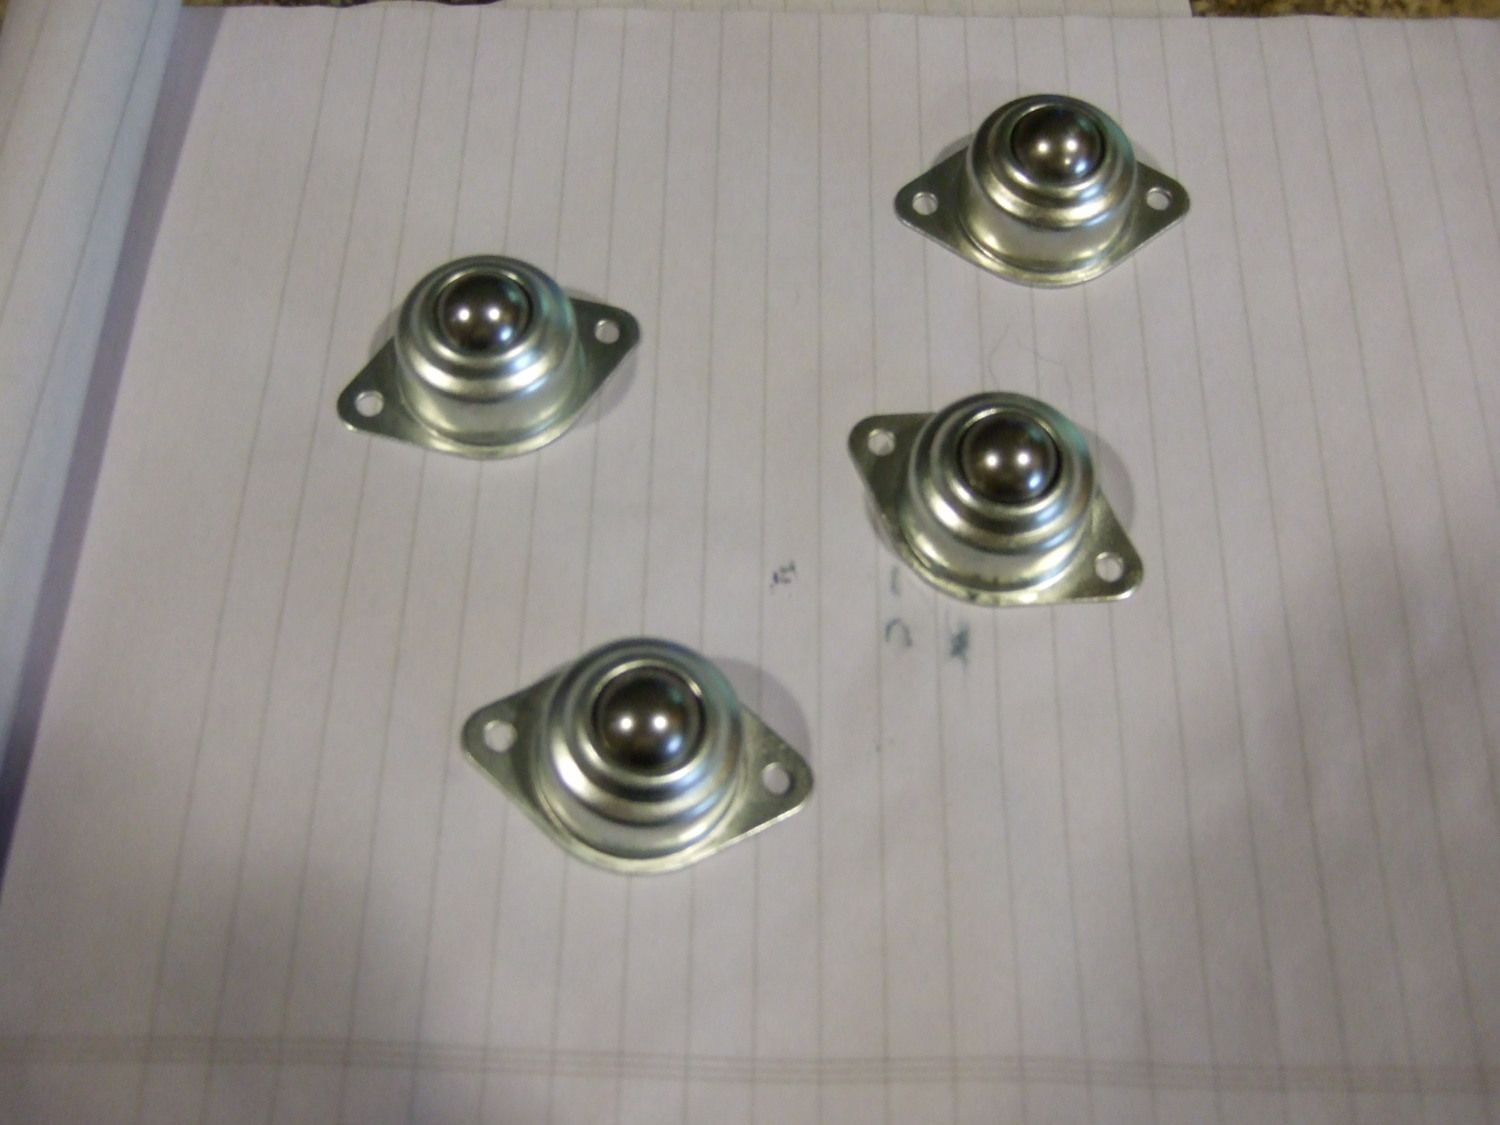
Built the drawer and attached the rollers.
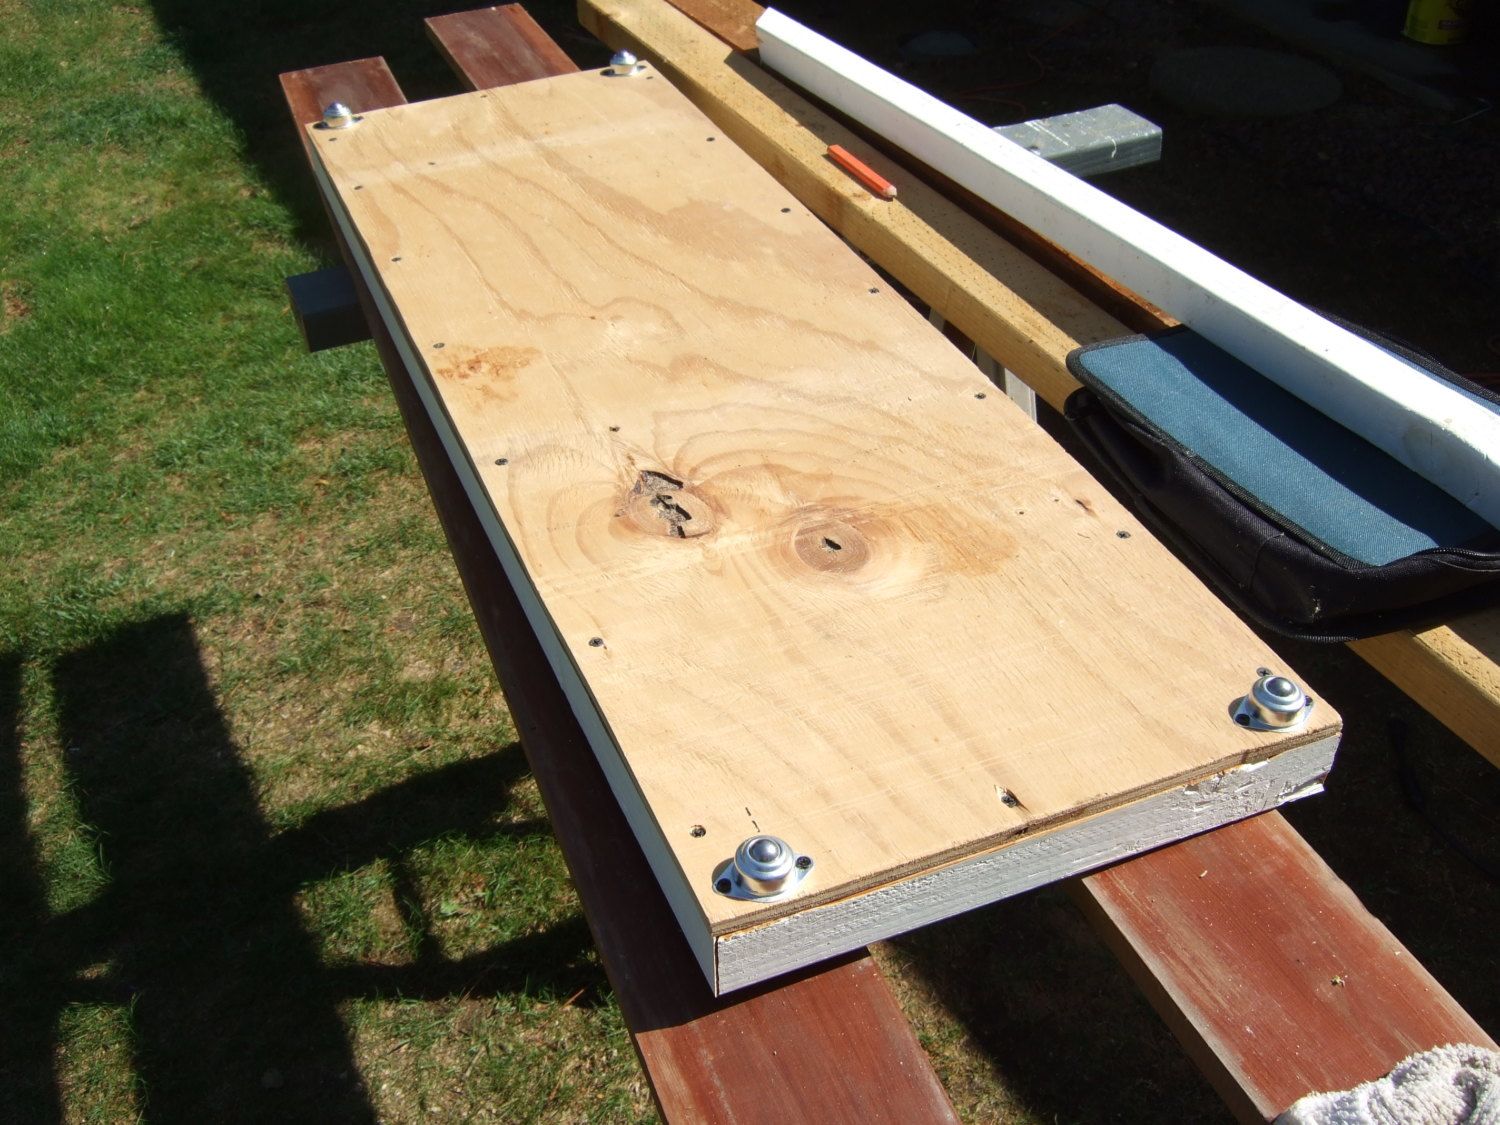
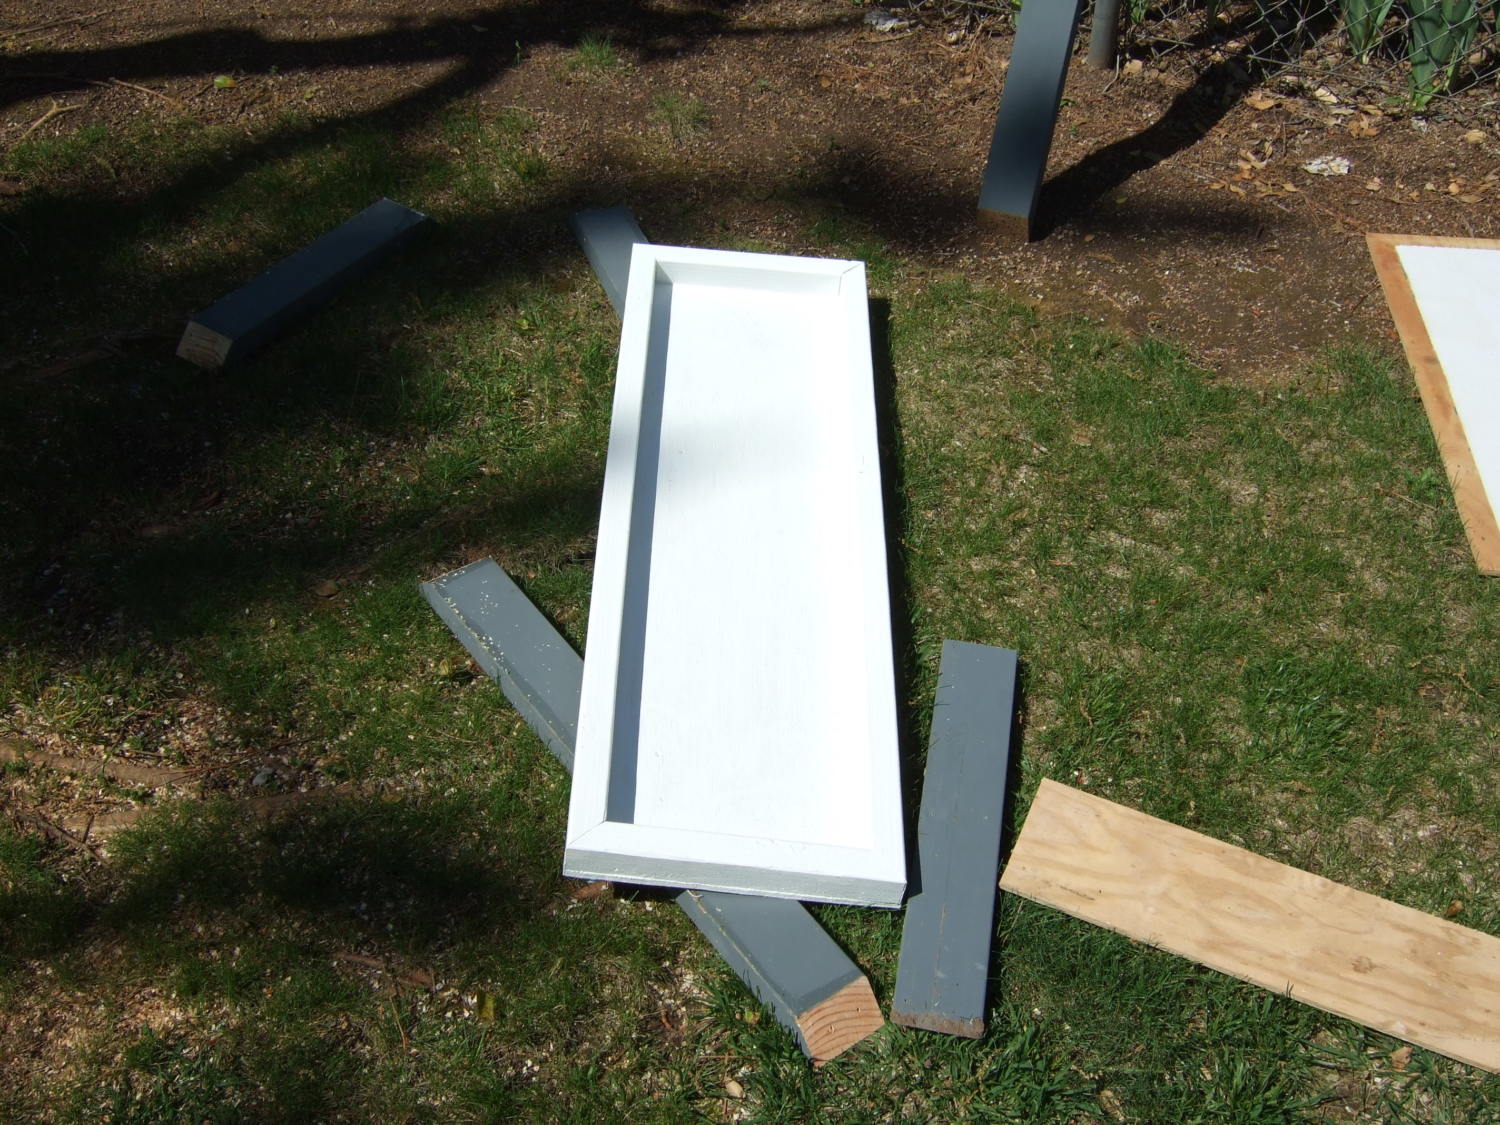
Two coats of exterior semi-gloss should protect the wood.
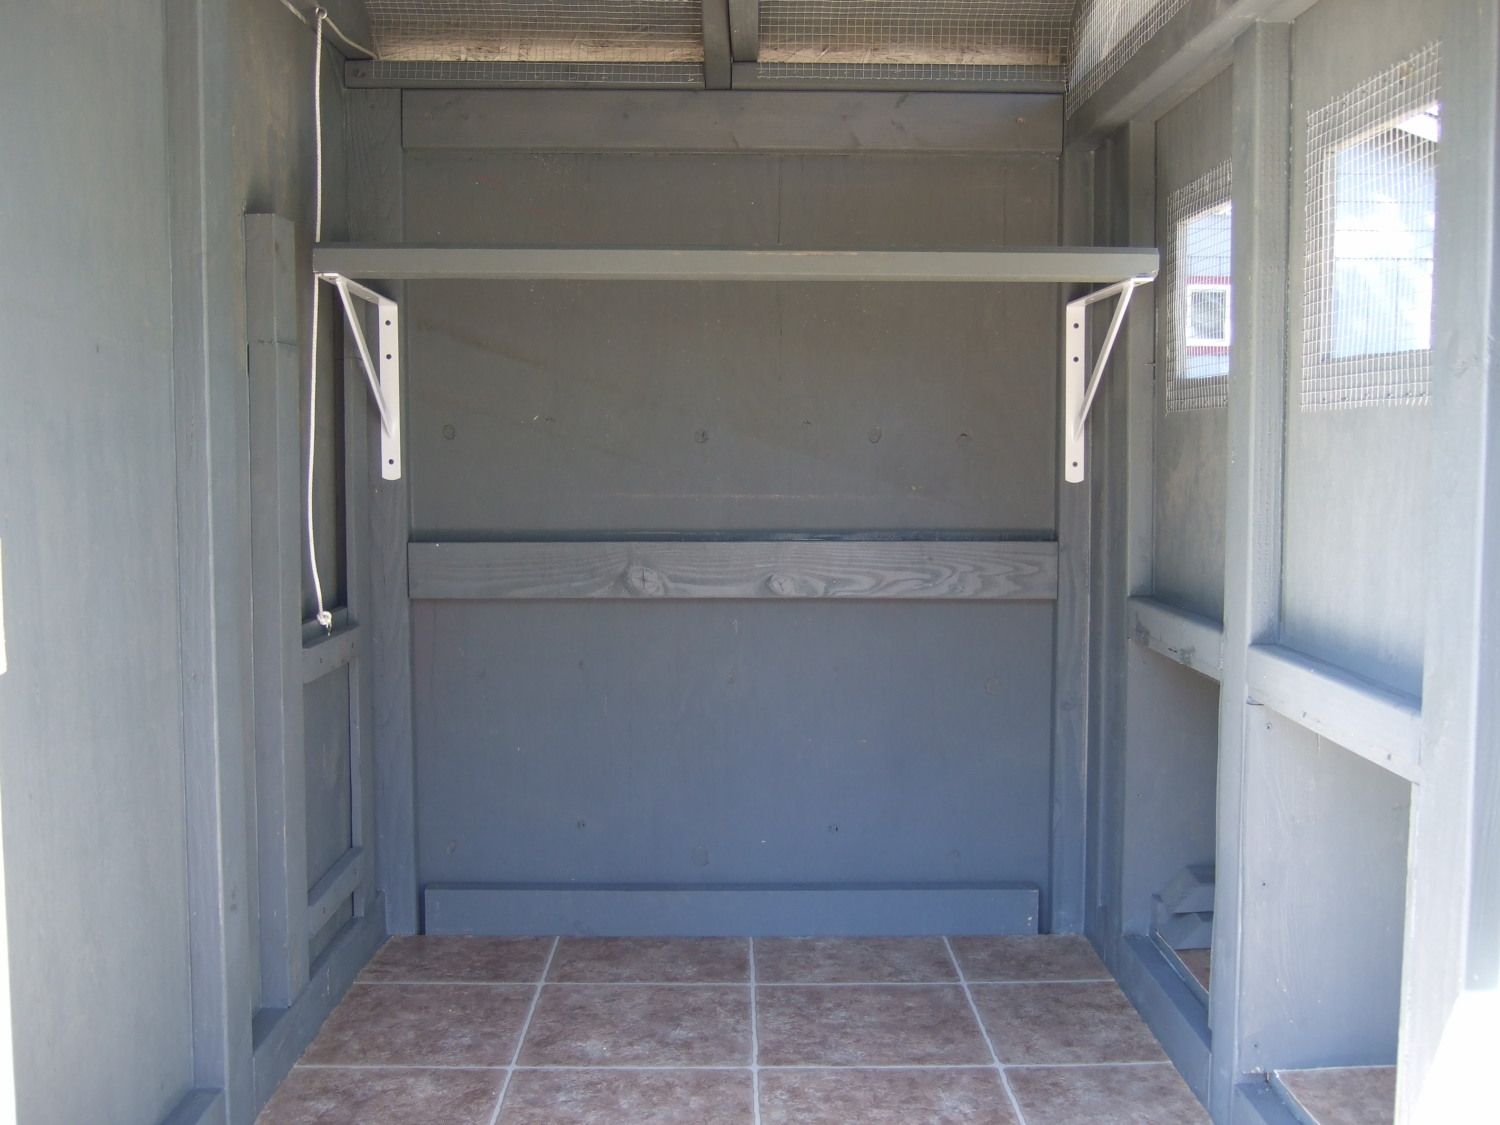
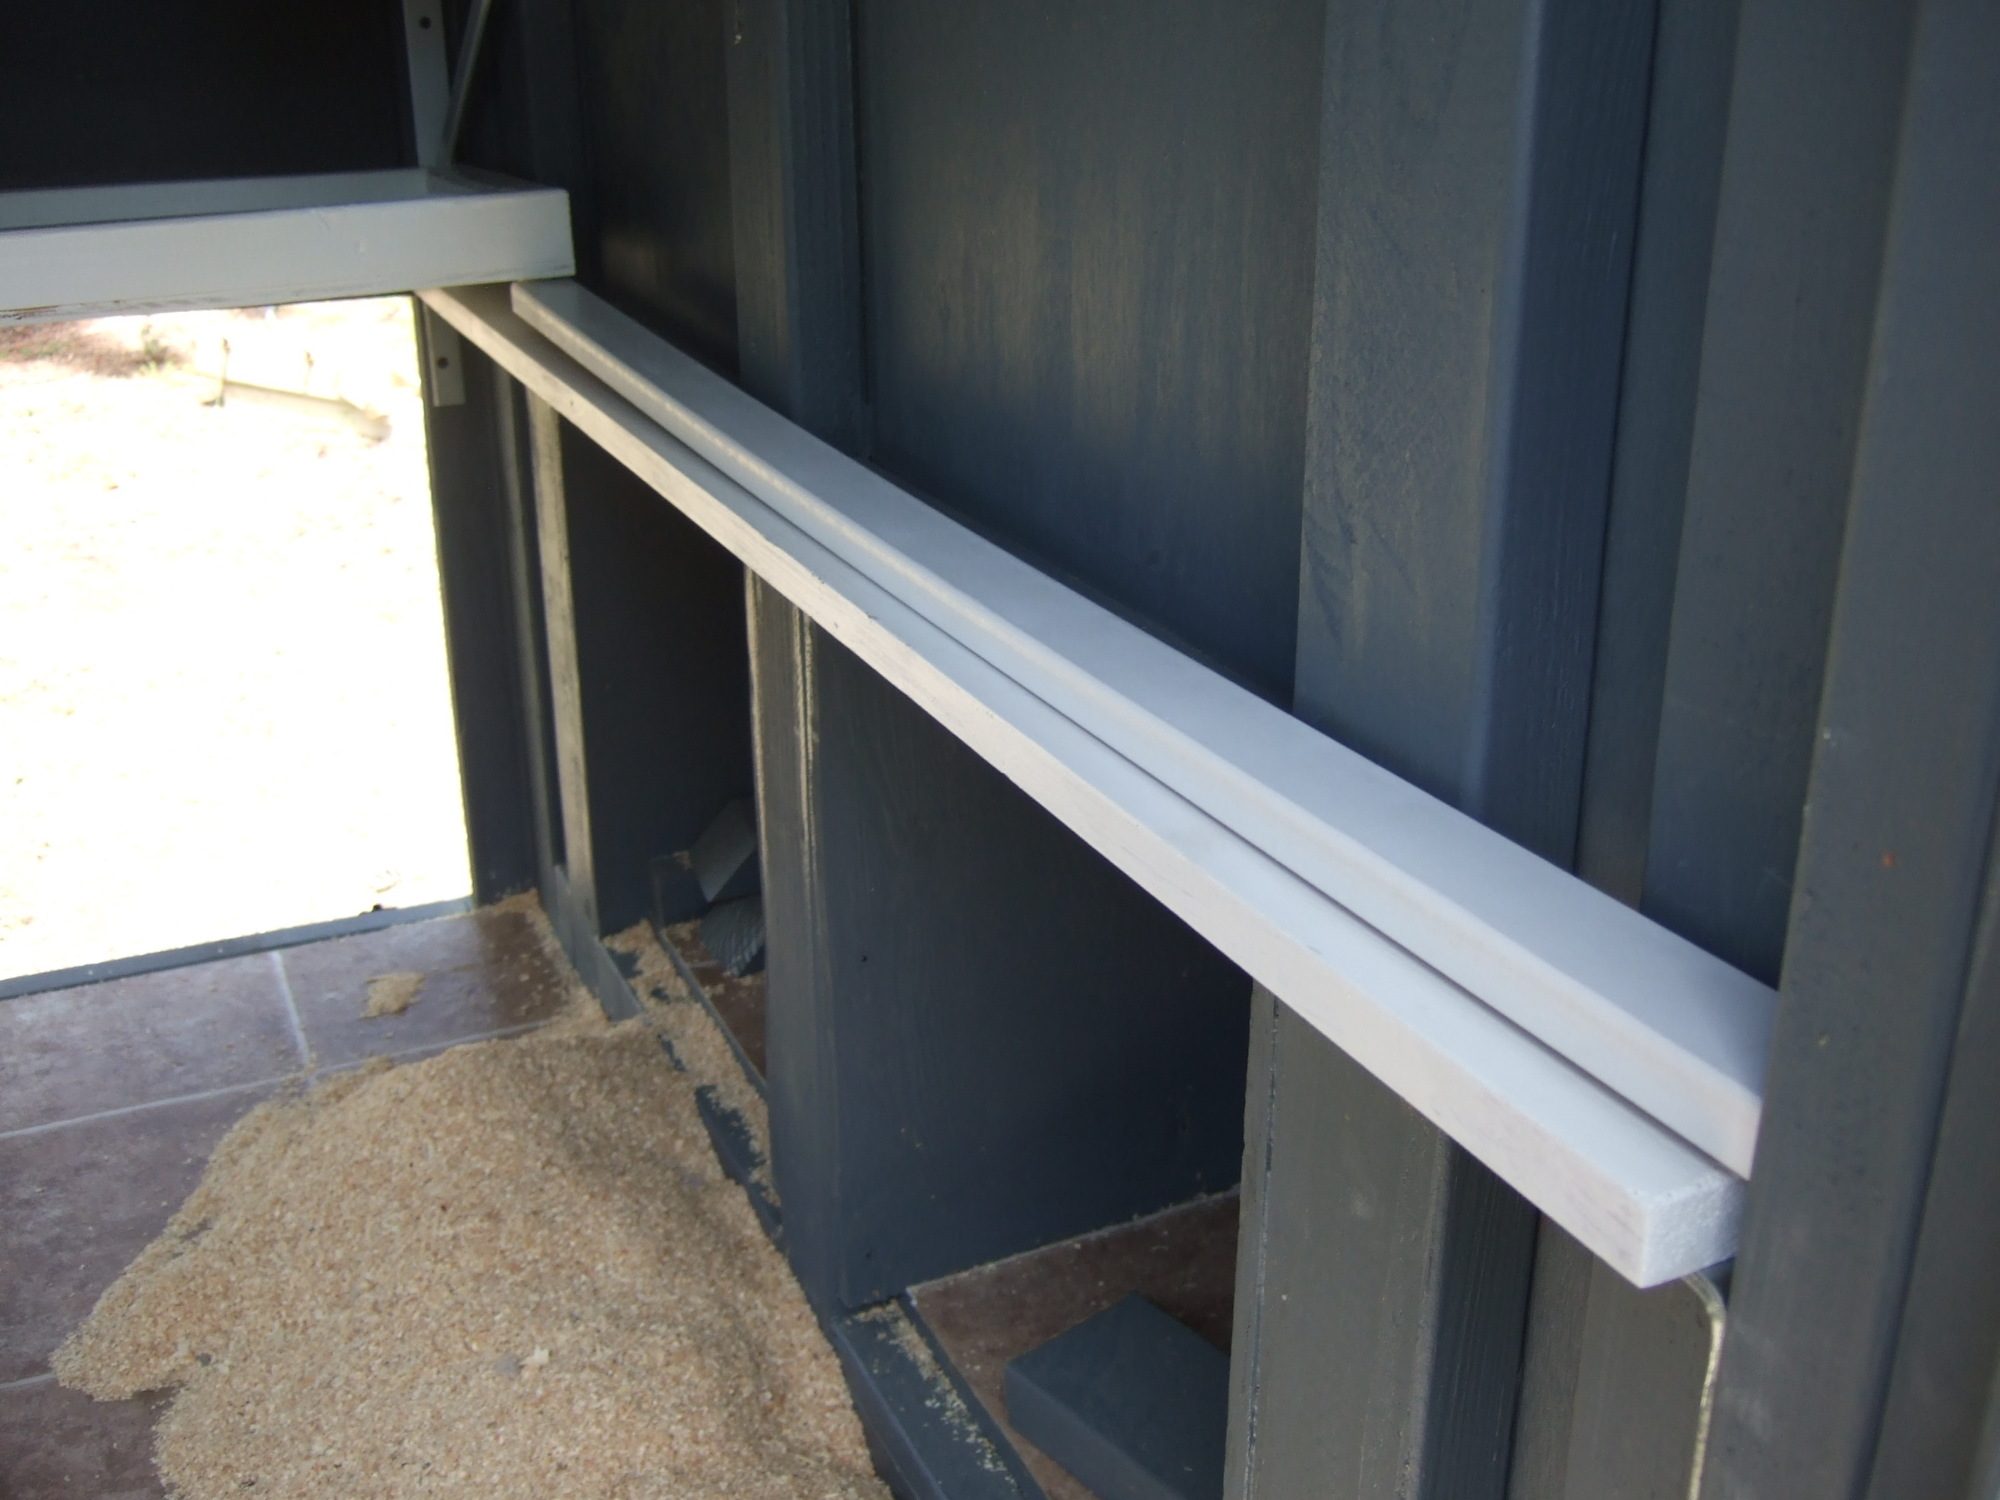
Using large 'L' brackets I put up runner boards, and installed the drawer on the runners. I also cut strips of wood that wedge between the rollers and end of the coop. These lock everything into place so if a bird jumps on it (like that would ever happen) nothing goes flying. Including the birds!!!
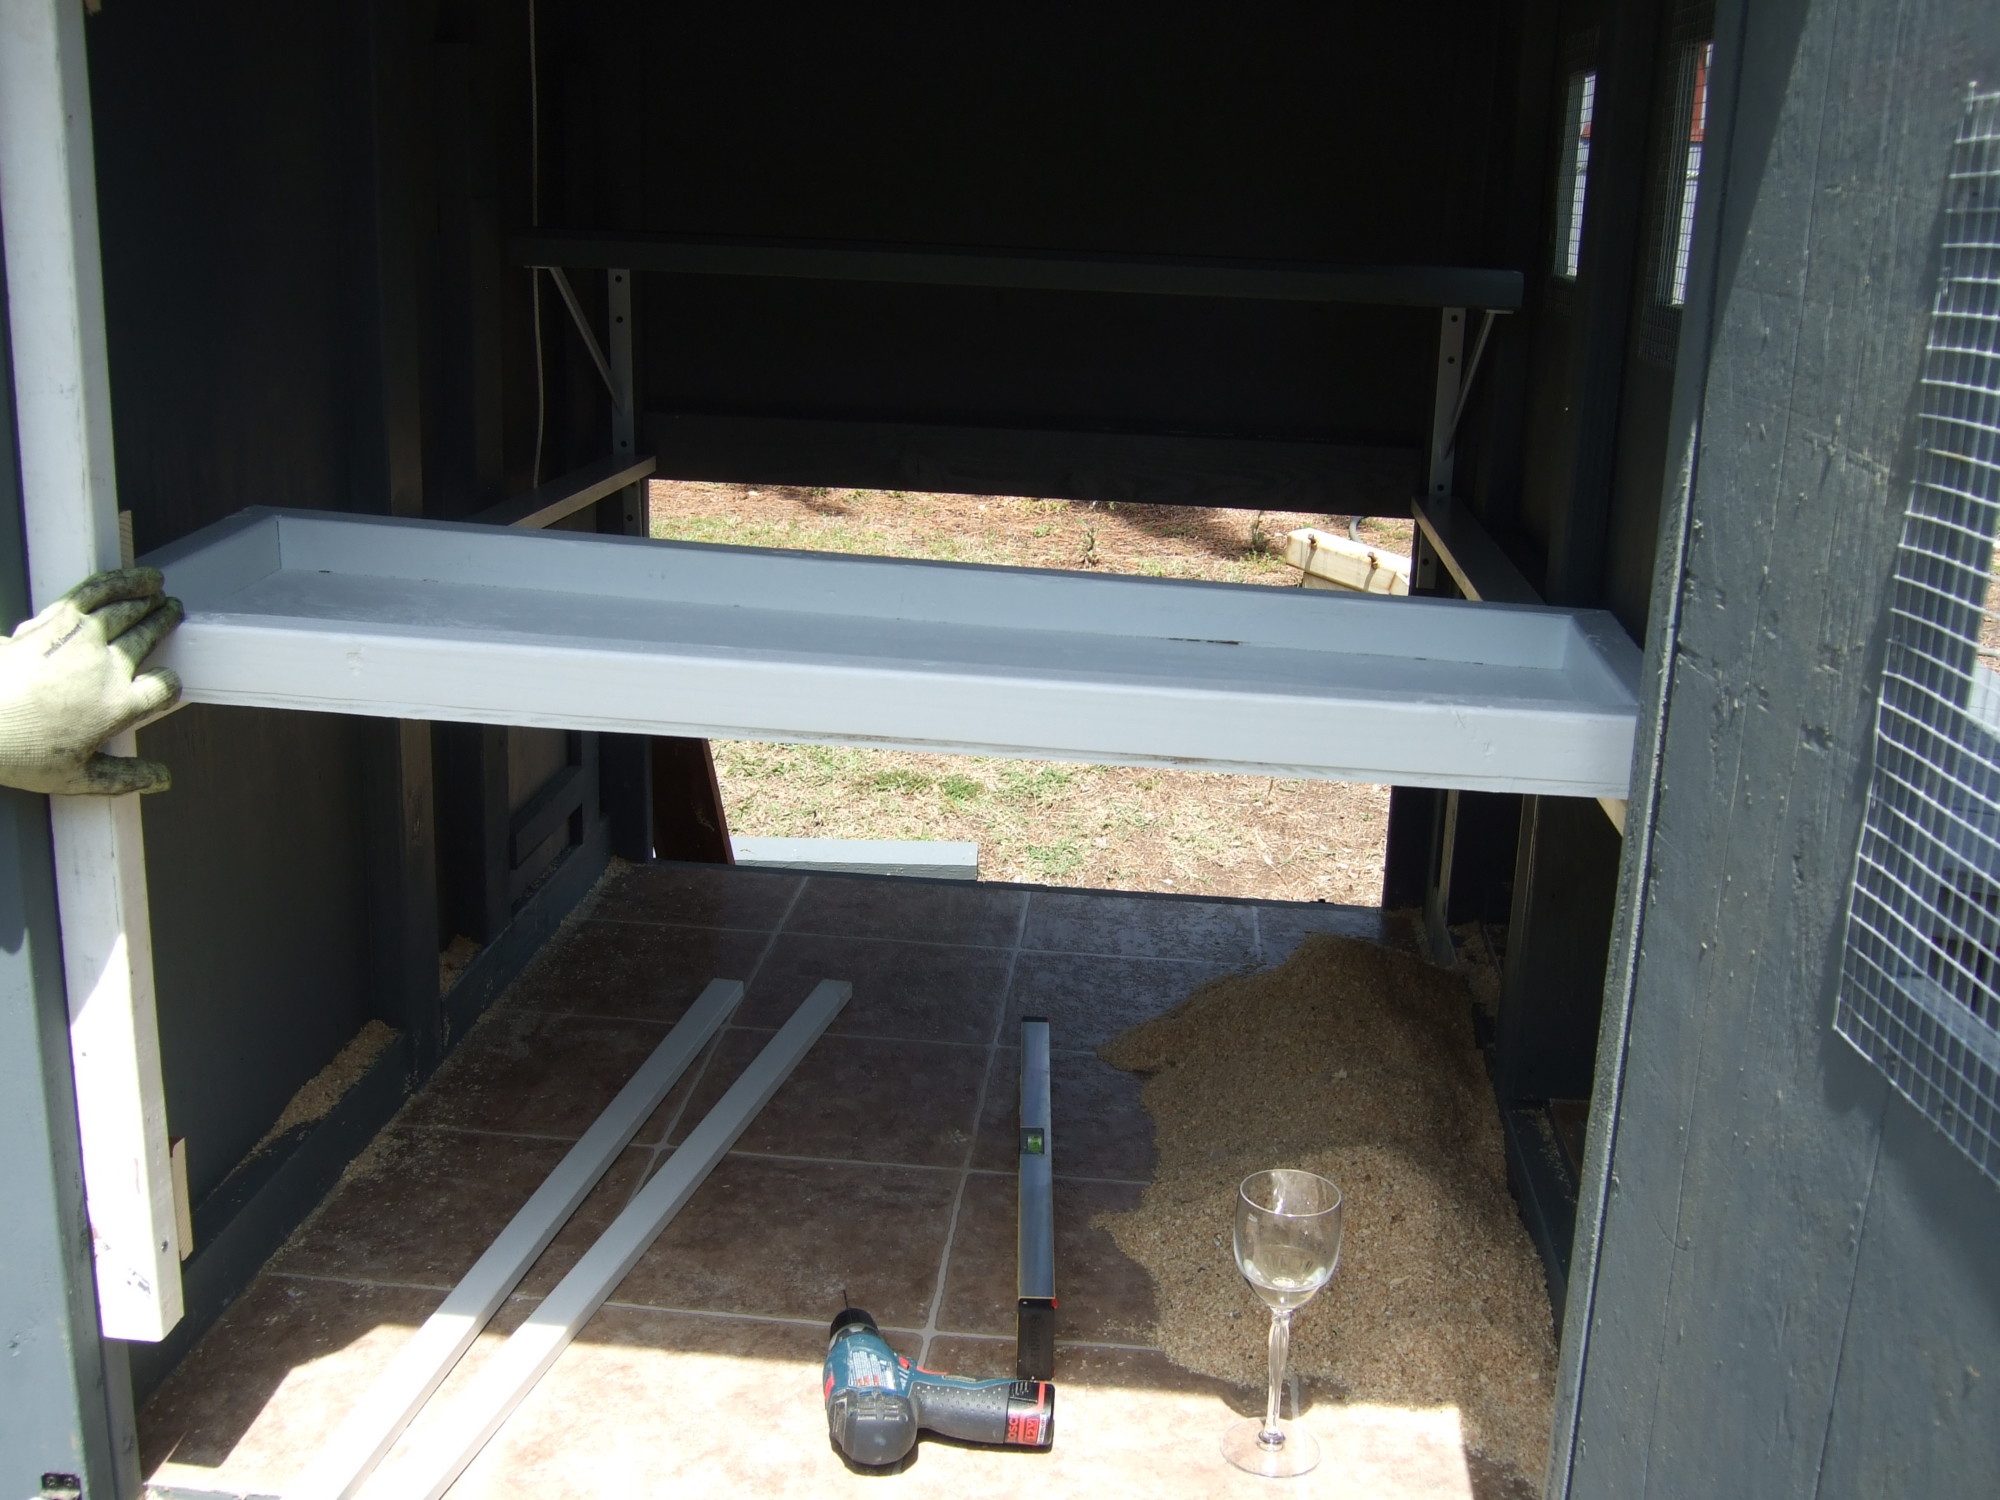
And it slides forward for easy cleaning. And since the birds ain't using the roosting bar,,,it's really easy to keep clean!!!!
Oh,,,and ignore the wine glass. It's only there for photographic ambiance. No,,really!!!
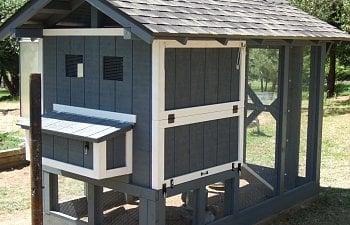
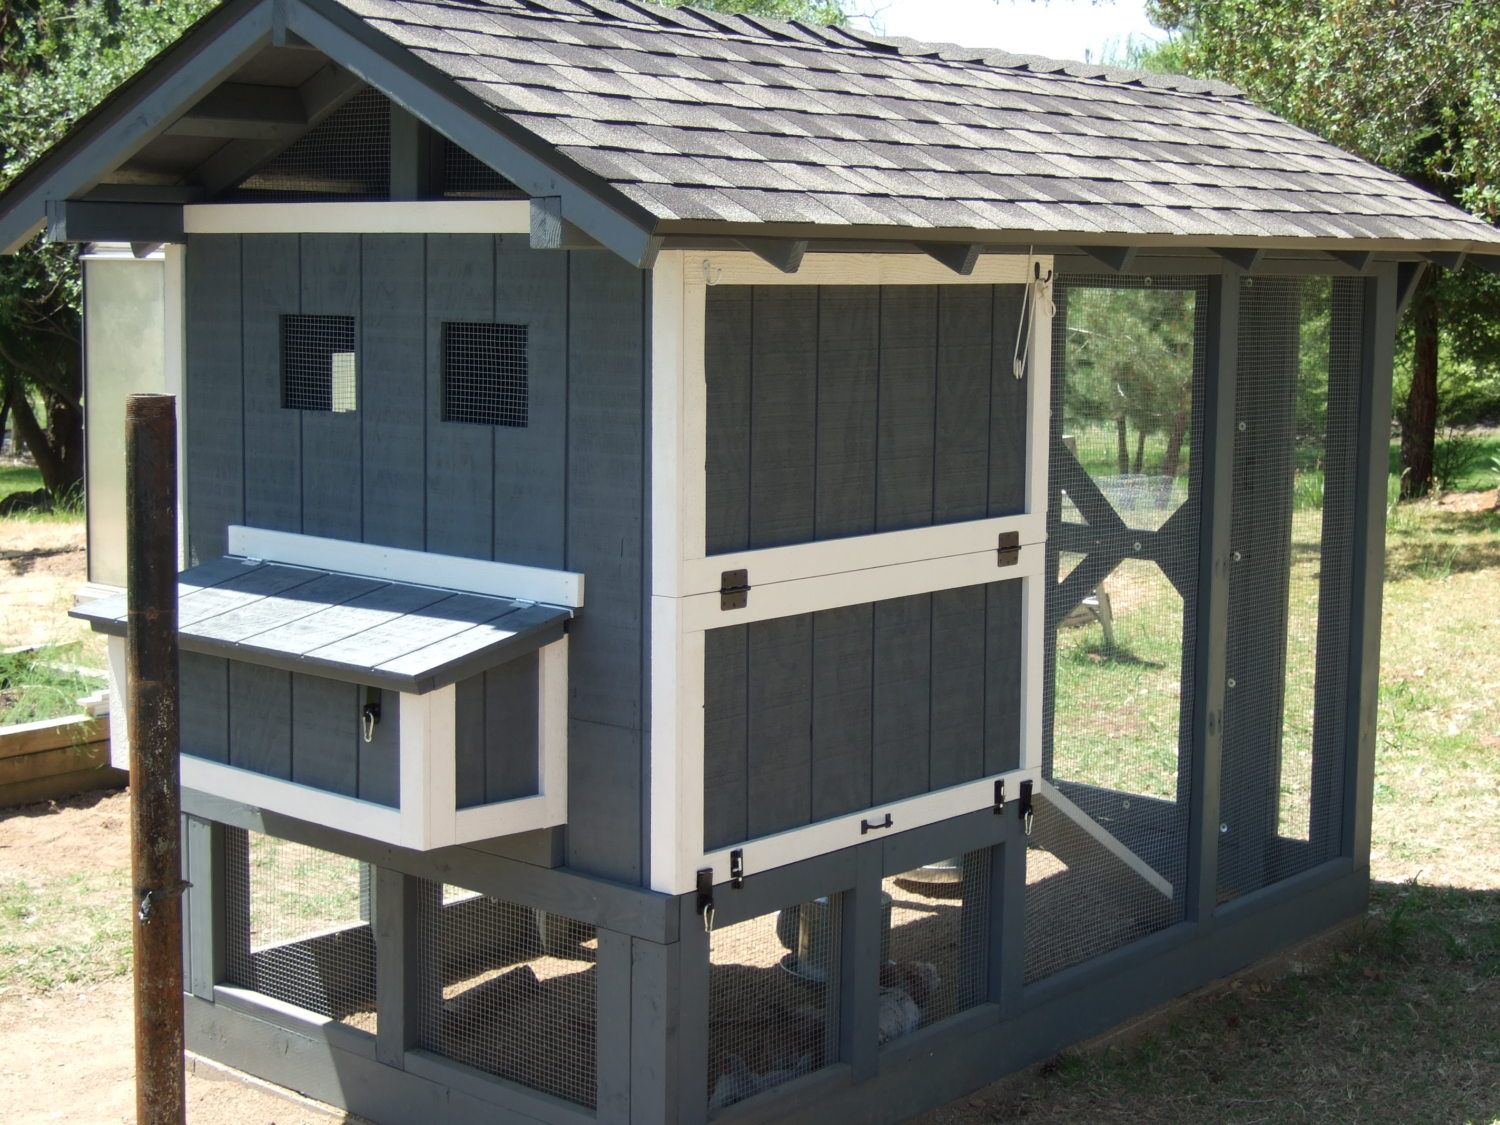
And after all this, I'd like to intoduce you to the,,,,,,,,,,,,,,,,,,,,,,,,,,,,,,,,,,,,,,,,,,,,,,,,,,
Chicken Coop!
What I have left to do.
Build my automatic waterer courtesy of a post by a fellow BYC member. You know,,,the one that uses a toilet tank valve!!
And get power out to the coop and install an automatic pop door. It's a real pain to have to tell my wife to get up and let the chickens out. I'll rest better once that stress is no longer in my morning!!!
What I would do different.
Raise crawdads. OK,,OK, just kidding!!!
I would have made the coop bigger by a foot on both sides, and made the run 2 feet longer. I know these birds are supposed to handle confinement well, but I don't like it.
I would never have used fill sand. Slowly I will incorporate cleaner river sand.
I would have started the coop weeks before getting the birds. I had no idea how fast they grow. And there was lots of rain which also slowed us down considerably.
I would have shopped around for hardware cloth. My feed store just up the road had it cheaper than the big box guys.
Instead of using stain, I would have used a good exterior paint on everthing. Cheaper and longer lasting.
I think those are the only changes I would have made. Thanx for looking in on my project. It was fun. What's that honey????? OK. It was NOT fun. I have been corrected!!!