The Triple C
(The Crouches Chicken Coop)
(The Crouches Chicken Coop)
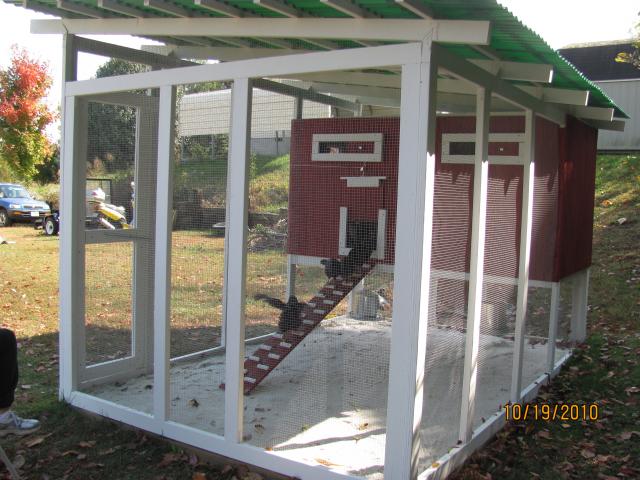
Hi everyone, I decided to post some pictures of our adventure building our coop. It's been a trying experience, but a rewarding one. The structure is an 8'x12' with the coop part being a 4'x8'. We have 8 Plymouth Barred Rocks, and I can't wait till we get the coop done so we can put our girls out in their new home. Here goes:
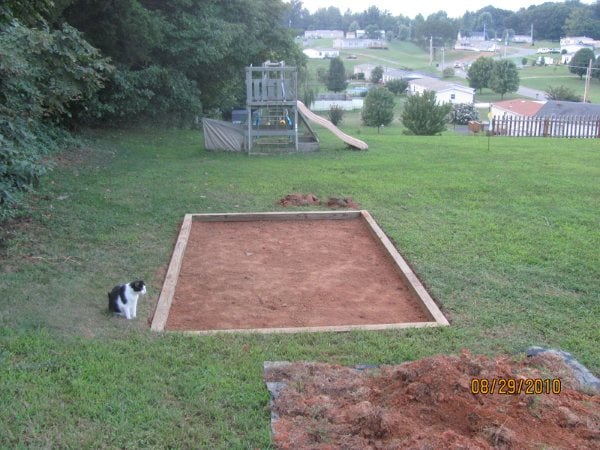
Dug out 8'x12' area to put treated 4'x4's as framing:

Notice our supervisor, lol....that's Butterball our 16 yr old cat.
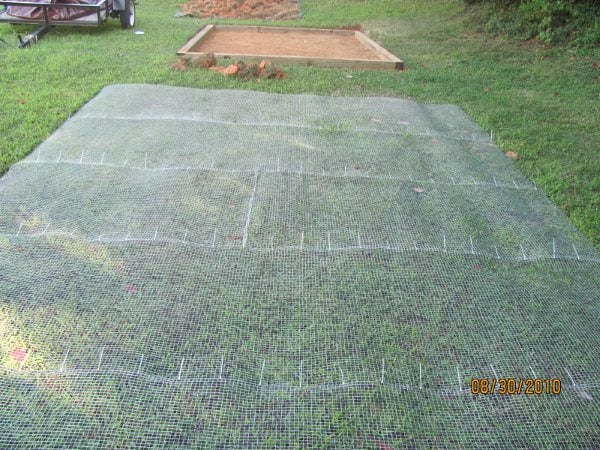
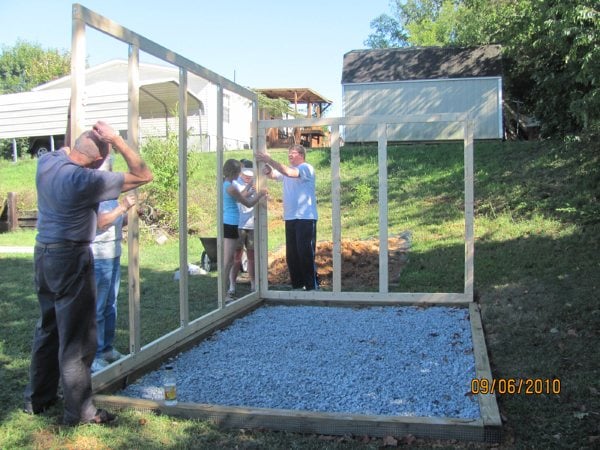
Next we decided to put a full hardware cloth layer underneath the framing instead of the apron so no predators could dig up and under the coop (a little pricey, but worth peace of mind).
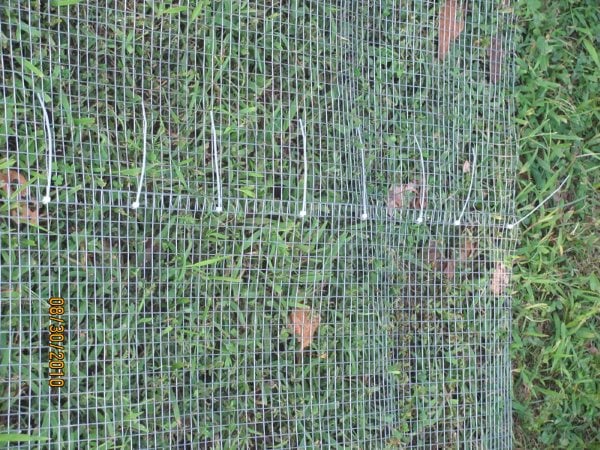
we used zip ties to piece together the hardware cloth. Since it will be buried under gravel and sand, we're not worried about how it looks, lol.
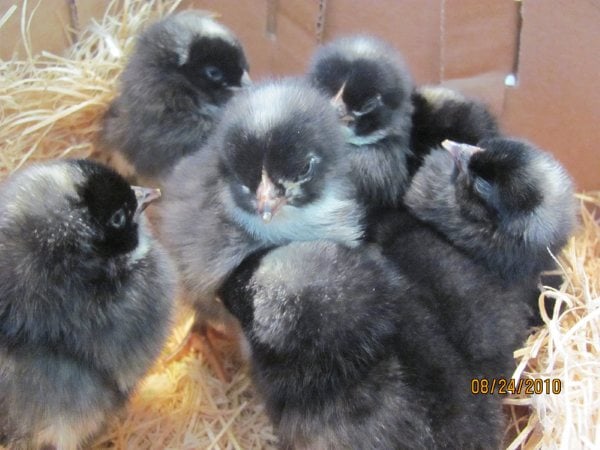
Oh, btw, here is a picture of our little fuzzy butts when we first got them (only a day old):
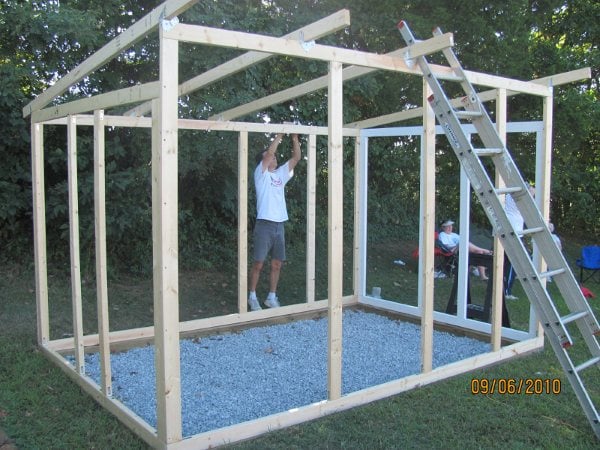
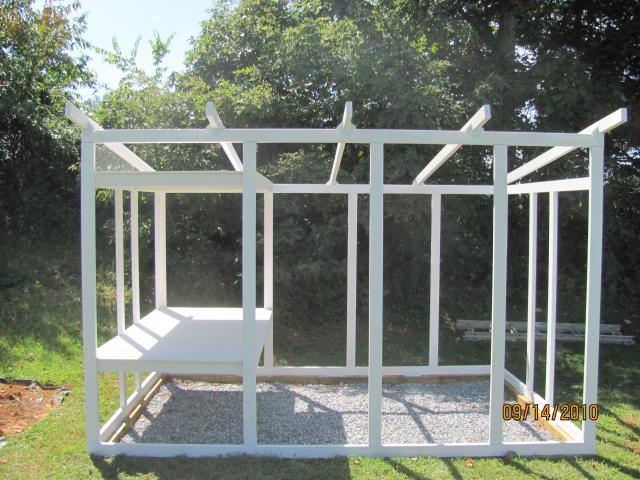
Next came framing the walls. We had one day where some of my family came up to help out and socialize. Much fun was had by all, LOL!
We used non treated 2"x4"s for the rest of the framing. The front wall of the coop is 7' high, and the back wall is 6' high to give us a nice slope. Here's my husband hard at work!
Dug out 8'x12' area to put treated 4'x4's as framing:
Notice our supervisor, lol....that's Butterball our 16 yr old cat.

Next we decided to put a full hardware cloth layer underneath the framing instead of the apron so no predators could dig up and under the coop (a little pricey, but worth peace of mind).
we used zip ties to piece together the hardware cloth. Since it will be buried under gravel and sand, we're not worried about how it looks, lol.
Oh, btw, here is a picture of our little fuzzy butts when we first got them (only a day old):
Next came framing the walls. We had one day where some of my family came up to help out and socialize. Much fun was had by all, LOL!
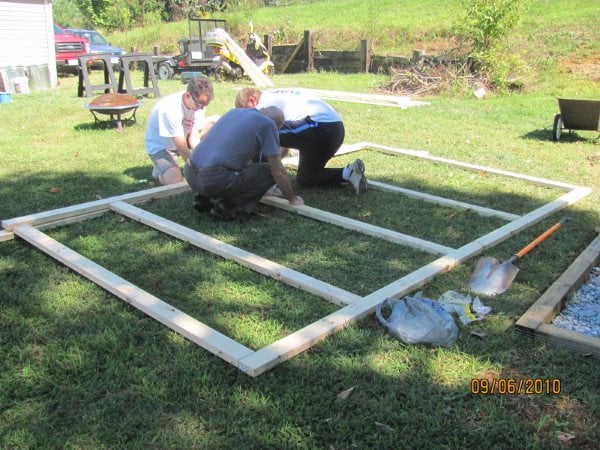
We used non treated 2"x4"s for the rest of the framing. The front wall of the coop is 7' high, and the back wall is 6' high to give us a nice slope. Here's my husband hard at work!
Next we put the framing up for the actual 4'x8' coop part. We used 4'x8' plywood for the floor and ceiling:
We checked all of our local flooring stores for remnants of vinyl flooring (linoleum), and this was the cheapest we could find (not the prettiest, but who's going to see it? lol)

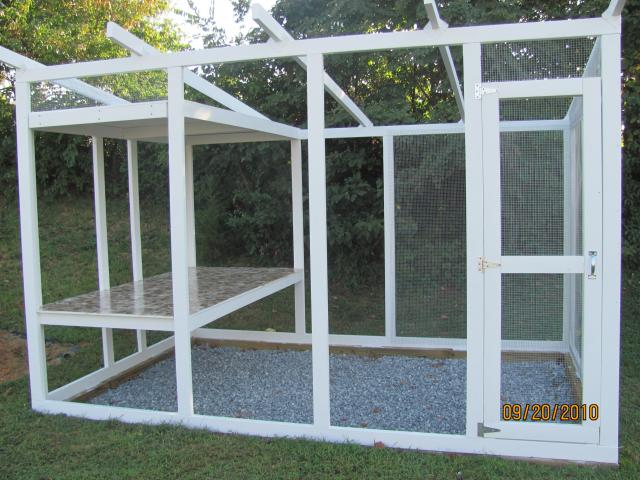
At this point we started putting some hardware cloth up in the run, but not everywhere yet. Need some open panels to make it easier to put the sand in the run. Now the next picture shows the door that we made by using 1"x4"s. We basically made 2 door frames using the 1"x4"s and sandwiched hardware cloth in between the 2 layers. When finished, it is the same thickness as the 2"x4" framing. (I'm so proud of myself, lol.....it took quite a while for us to figure out how to put the door together. I think it turned out pretty good If I do say so myself, hahaha!)

By this time, our chickies are not quite so little. They are quickly out growing the hutch we've been using as a brooder. Here they are at 6wks:
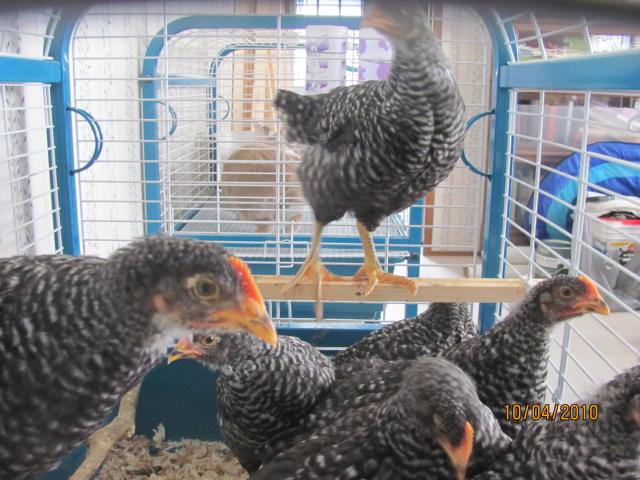
We better get crackin!
So, now the exciting part.....we put up walls of the coop! It's taking shape nicely.
We cut out the holes for the windows, vents, nest box doors, and pop door before putting the walls up. You'll notice in the picture above that we had also added the 2"x2" strips (purlins) for the roof.
OK...now we start with putting the trim work around all the openings (pop door, windows, etc.)
I love how the pop door turned out!
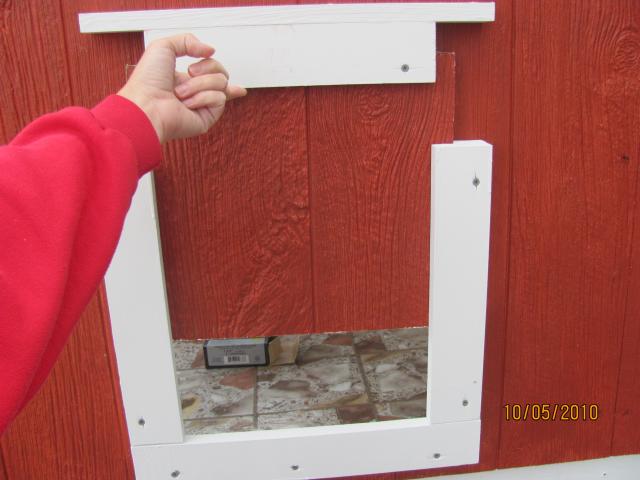
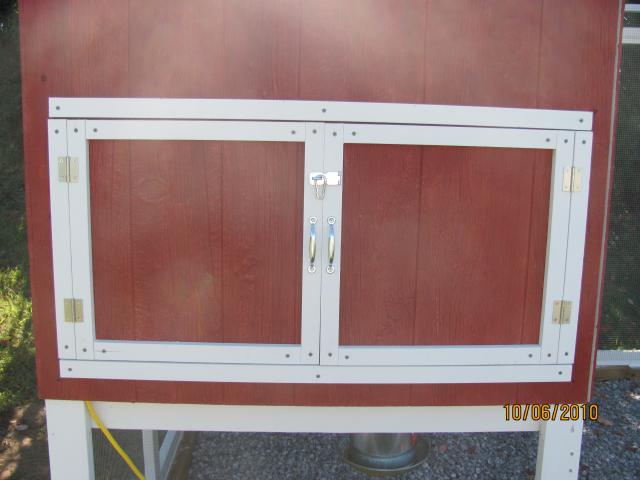
On to the nest box doors:
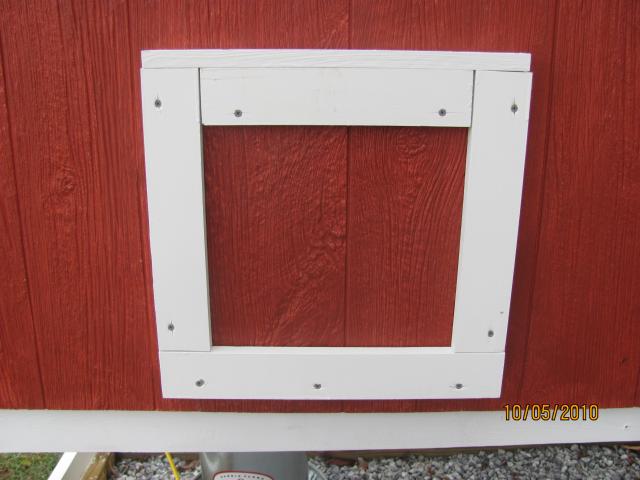
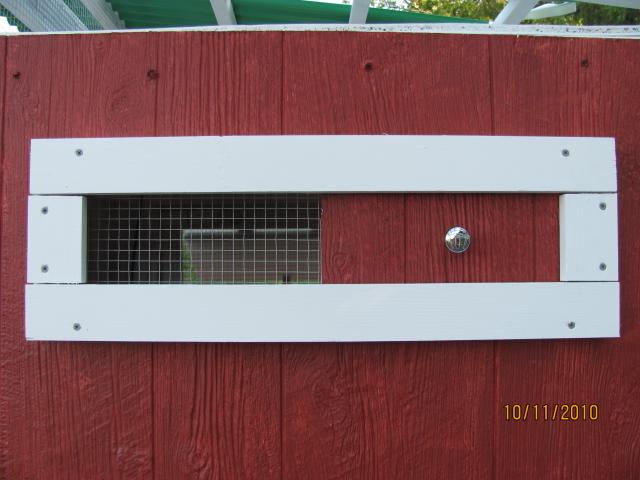
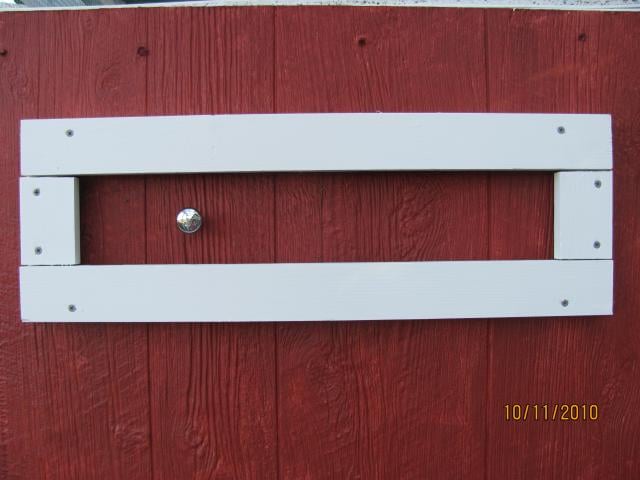
Next, the vents....we've made them similar to the pop door. We used the trim as a framing for the vent door so we can slide them open and closed.
Here's open:
Here's closed:
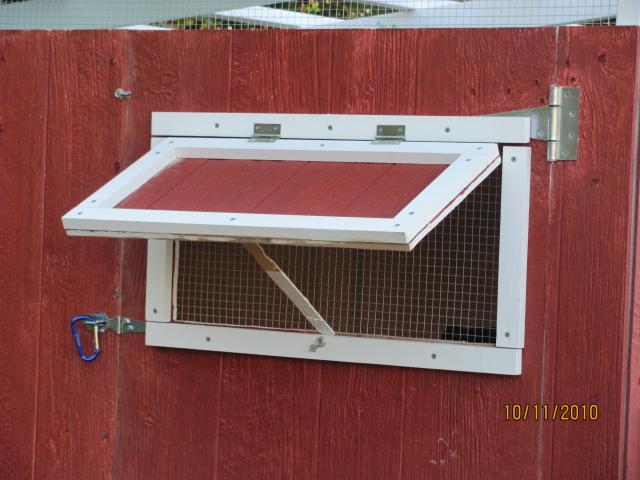
On to the windows.....we hinged them at the top so we could just swing them open. During the colder months we're going to put plexi-glass on the inside to block the cold air but still allow the chickens some light. Right now, we're using the paint stirers we used during this adventure to prop them open, lol. They're working pretty well.
You'll notice we had a wee bit of an issue with the trim covering the door hinge, lol. We just had to move the screws for the trim work to avoid hitting the hinge. It all worked out. May not be perfect, but we keep reminding ourselves....."IT'S JUST A CHICKEN COOP!" hahahaha
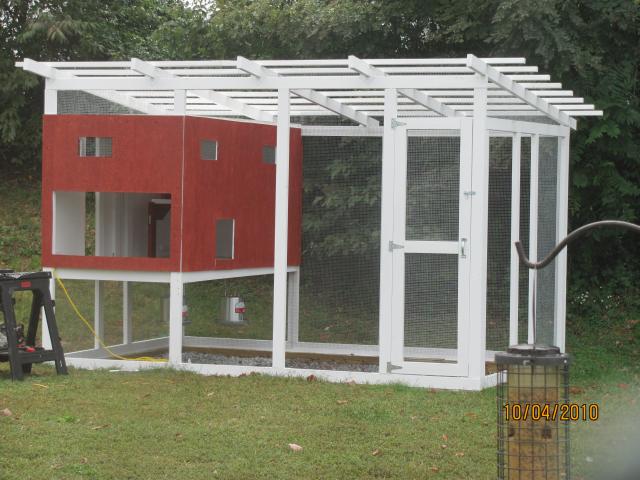
At this point we're getting so close to being done we can taste it, woo hoo! Wouldn't you know it, we ran into another problem, and it was a doozie! My husband and I decided to do the roofing next. We purchased green sea coaster corrugated Tuftex panels for the roof. Being novices to any building what so ever, we had no clue to what we were doing, but we pressed on. In order to put the panels up, you have to pre-drill the nail holes so the panels don't crack or split. Our problem was, in our desire to get the roof done, we lined up one panel and drilled the holes for that one, then decided to use that one as a template for the other panels. (MISTAKE) It turns out our drill line wasn't completely straight and when we went to put the other panels up the drill holes didn't line up with the purlins underneath (YIKES). Now what? We were quite upset with ourselves (especially because we couldn't afford to buy more panels), but after a couple days of cooling off, we came up with a solution that isn't pretty, but works (I think, lol). We had some scrap panels that weren't going to be used, so we used those to cut 2" strips to cover the drill holes using silicone. Only time will tell wether it holds up or not. Let's hope so! (You'll see the finished pictures at the end) For now, let's move on to the ramp, we used a 6 foot 10 inch plank, and used the scrap 1"x4"s cut up into 1 inch sections:

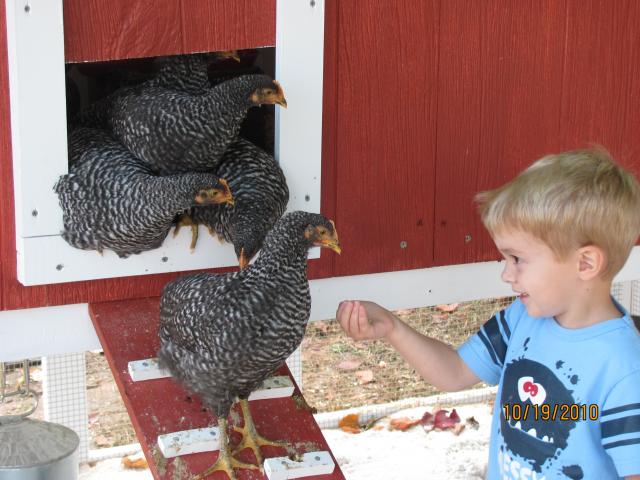
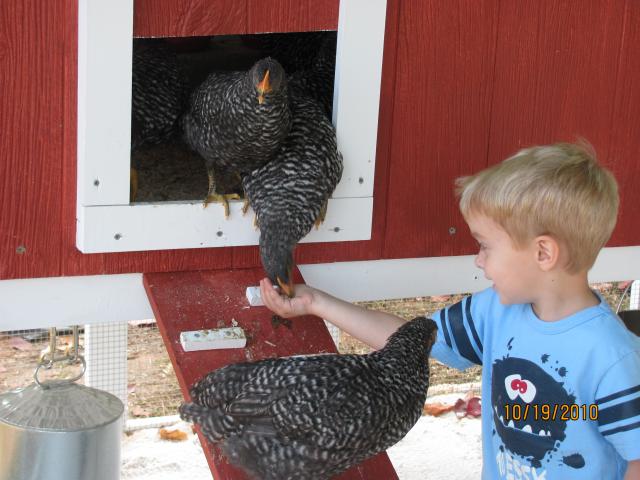
The picture above was also the first day we let the chickens out of the coop into the run for the first time. They weren't too excited about the sand at first. They wanted no part of it. It took 2 days before anyone was brave enough to set foot on it, lol.
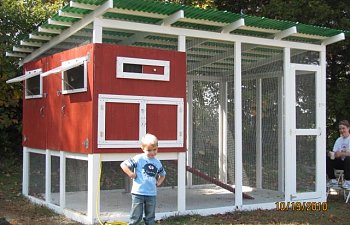
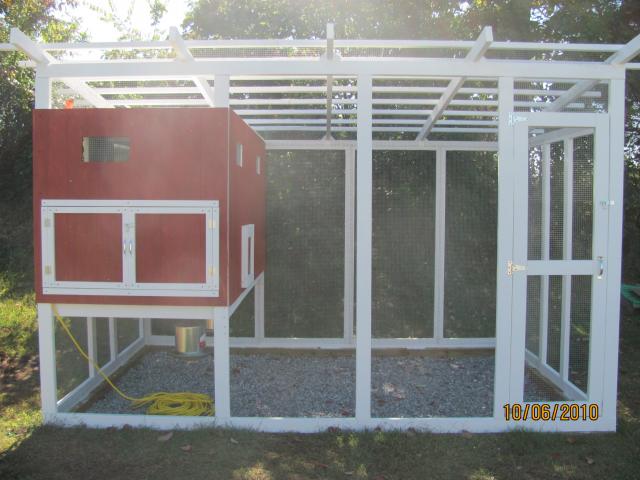
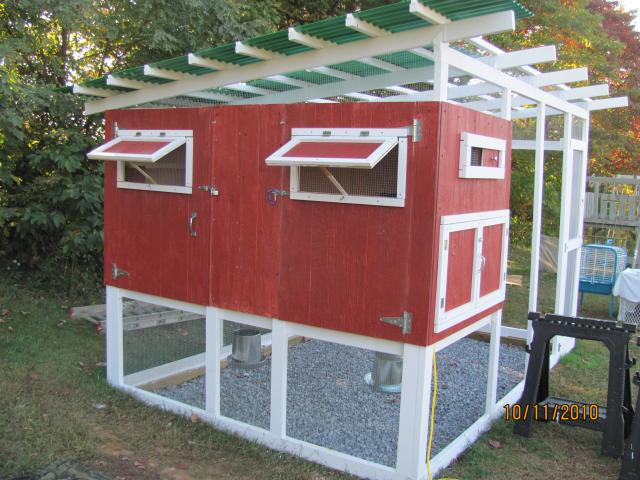
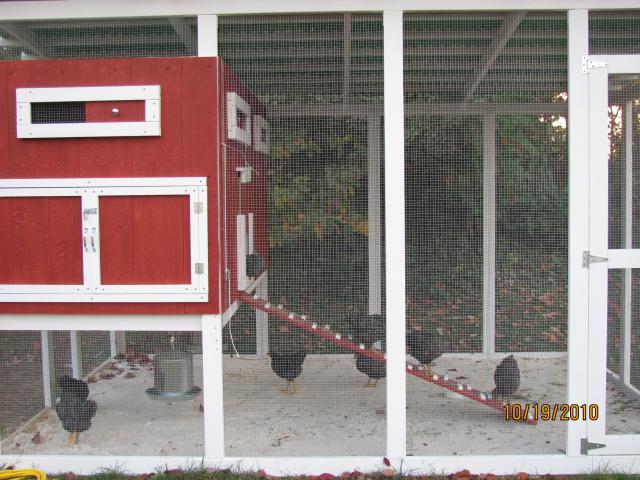
Here is an exterior shot of the finished coop. My 4yr old son is showing it off. You can also see the finished roof:

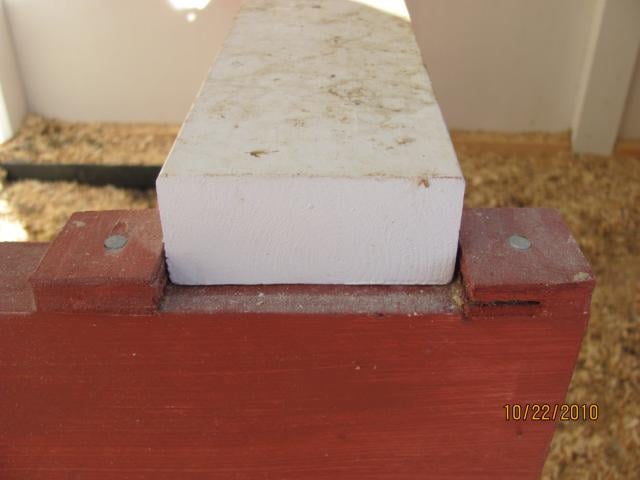
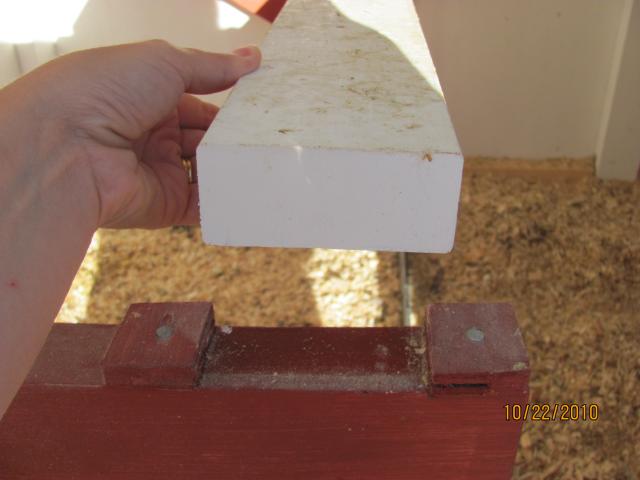
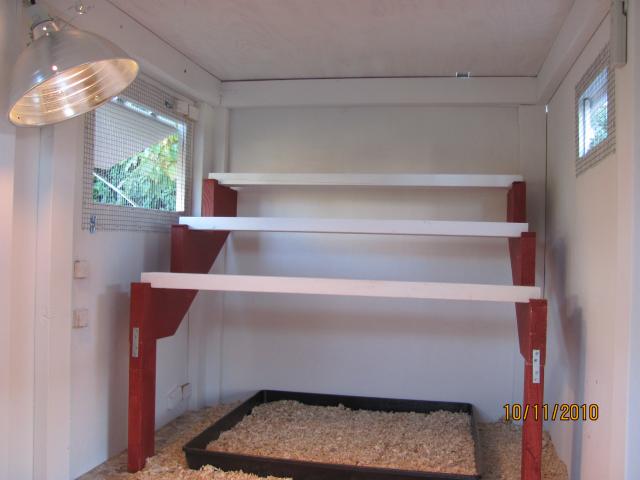
OK....now the inside. The next picture shows the roosts that we made using stair risers and 2"x4"s set on the flat side to keep our chickies feet toasty warm during the cold months. We put them 18" above the ground.
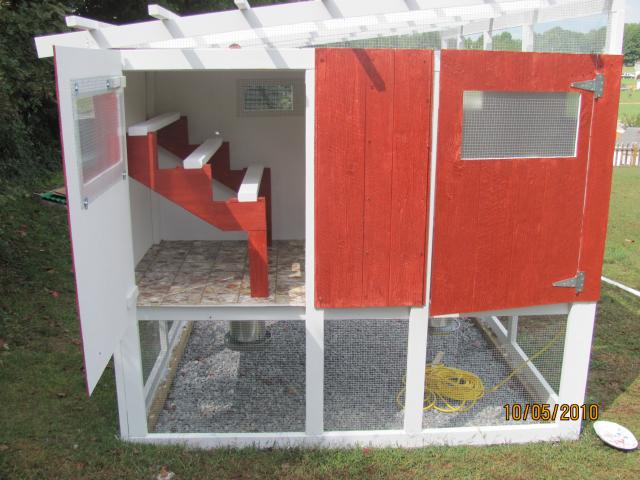
We used scraps of wood left over to put in front of and behind the 2"x4"s. That way we don't have to nail or screw the 2"x4"s down and we can take them out to clean and hose off when needed.
This next picture shows the roosts with the 30"x30" poop tray (bought at TSC) as well as the light we installed it mainly for egg laying, not warmth. We are using a 40 watt bulb and a timer. Right now we have the lights coming on at 6am and shutting off at 8am, then again at 7pm and 9pm. Seems to be working great!
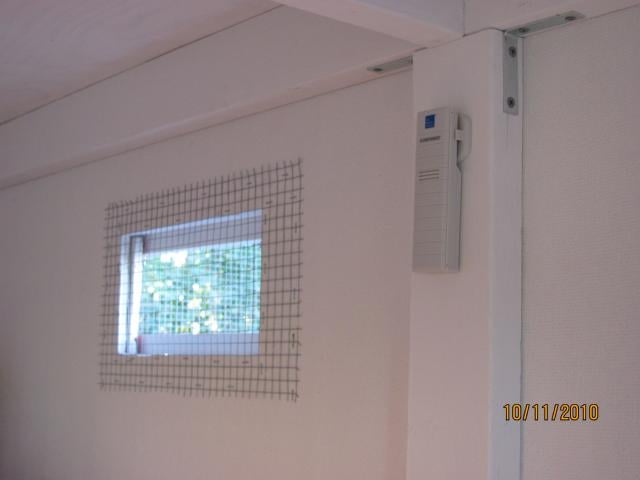
This picture is of the sensor for The Weather Channel temperature gauge that we have inside our home. We can monitor the temperature and humidity of the coop from inside our house. Very nice!
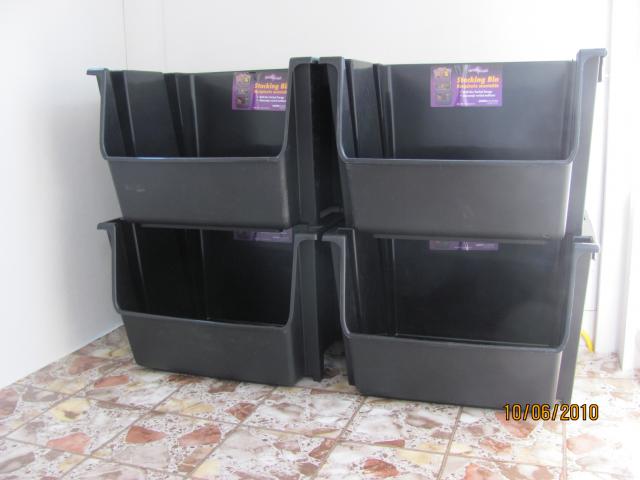
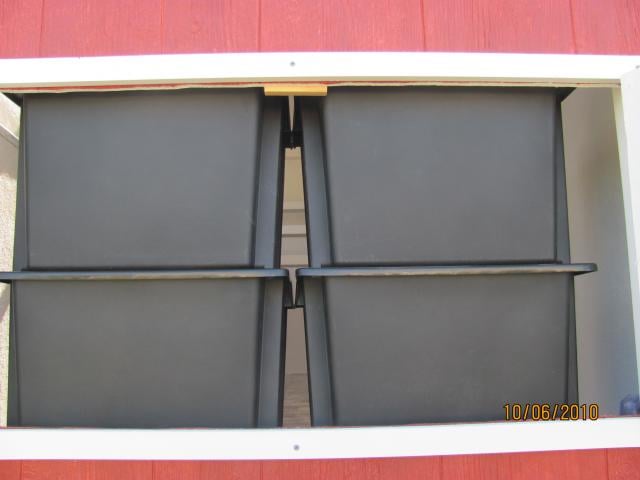
Here at the other end of the coop is our nest boxes, which we purchased at Lowe's for $7.90 each. Since taking the picture we've taken them out of the coop since the girls aren't old enough to be laying eggs. When they get closet to that age, we'll put them back in. We just don't want them sleeping in them and thinking that's what they are for. We'll be cutting round circles big enough for our hands to reach through the backside and retrieve the eggs from outside the coop.
That pretty much covers everything, I hope! Here a few bonus pictures, lol!
I hope this helps others in their process of building a coop, just like the BYC coop design page helped us in our building process! We love BYC and couldn't have done this without all the great information that was available to us through everyone's expertise. Here is just a few of the designs that inspired us and helped us in our process. We want to make sure to give credit where credit is due.
The Feather Factory ; La Cage Mahal ; "Chichen Paradise" Coop ; "Two Dog Farms"
9/12/2014
I thought I would give everyone an update on our adventure with chickens! Here is a link to our addition:
https://www.backyardchickens.com/t/898093/2nd-triple-c-coop-finished#post_14075792
You'll need to scroll up to the top of the original post to see the pictures.