Willard's Hen House Project
Although there is much debate as to whether the chicken or the egg came first, it is best to actually have a chicken coop before getting any chickens or eggs. During the last week of March 2011, I jumped the gun and bought five cute chicks. Our city had just recently made it legal to have up to six hens, no roosters. Having grown up on an acre and a half out in the county, I had raised chickens, ducks, sheep and a steer. So now that our city was allowing chickens, I was hoping to give our boys a chicken experience even though we live in a suburban neighborhood. The day we brought home five little chicks, our seven year old was so excited he stated, "This is the best day of my life!"
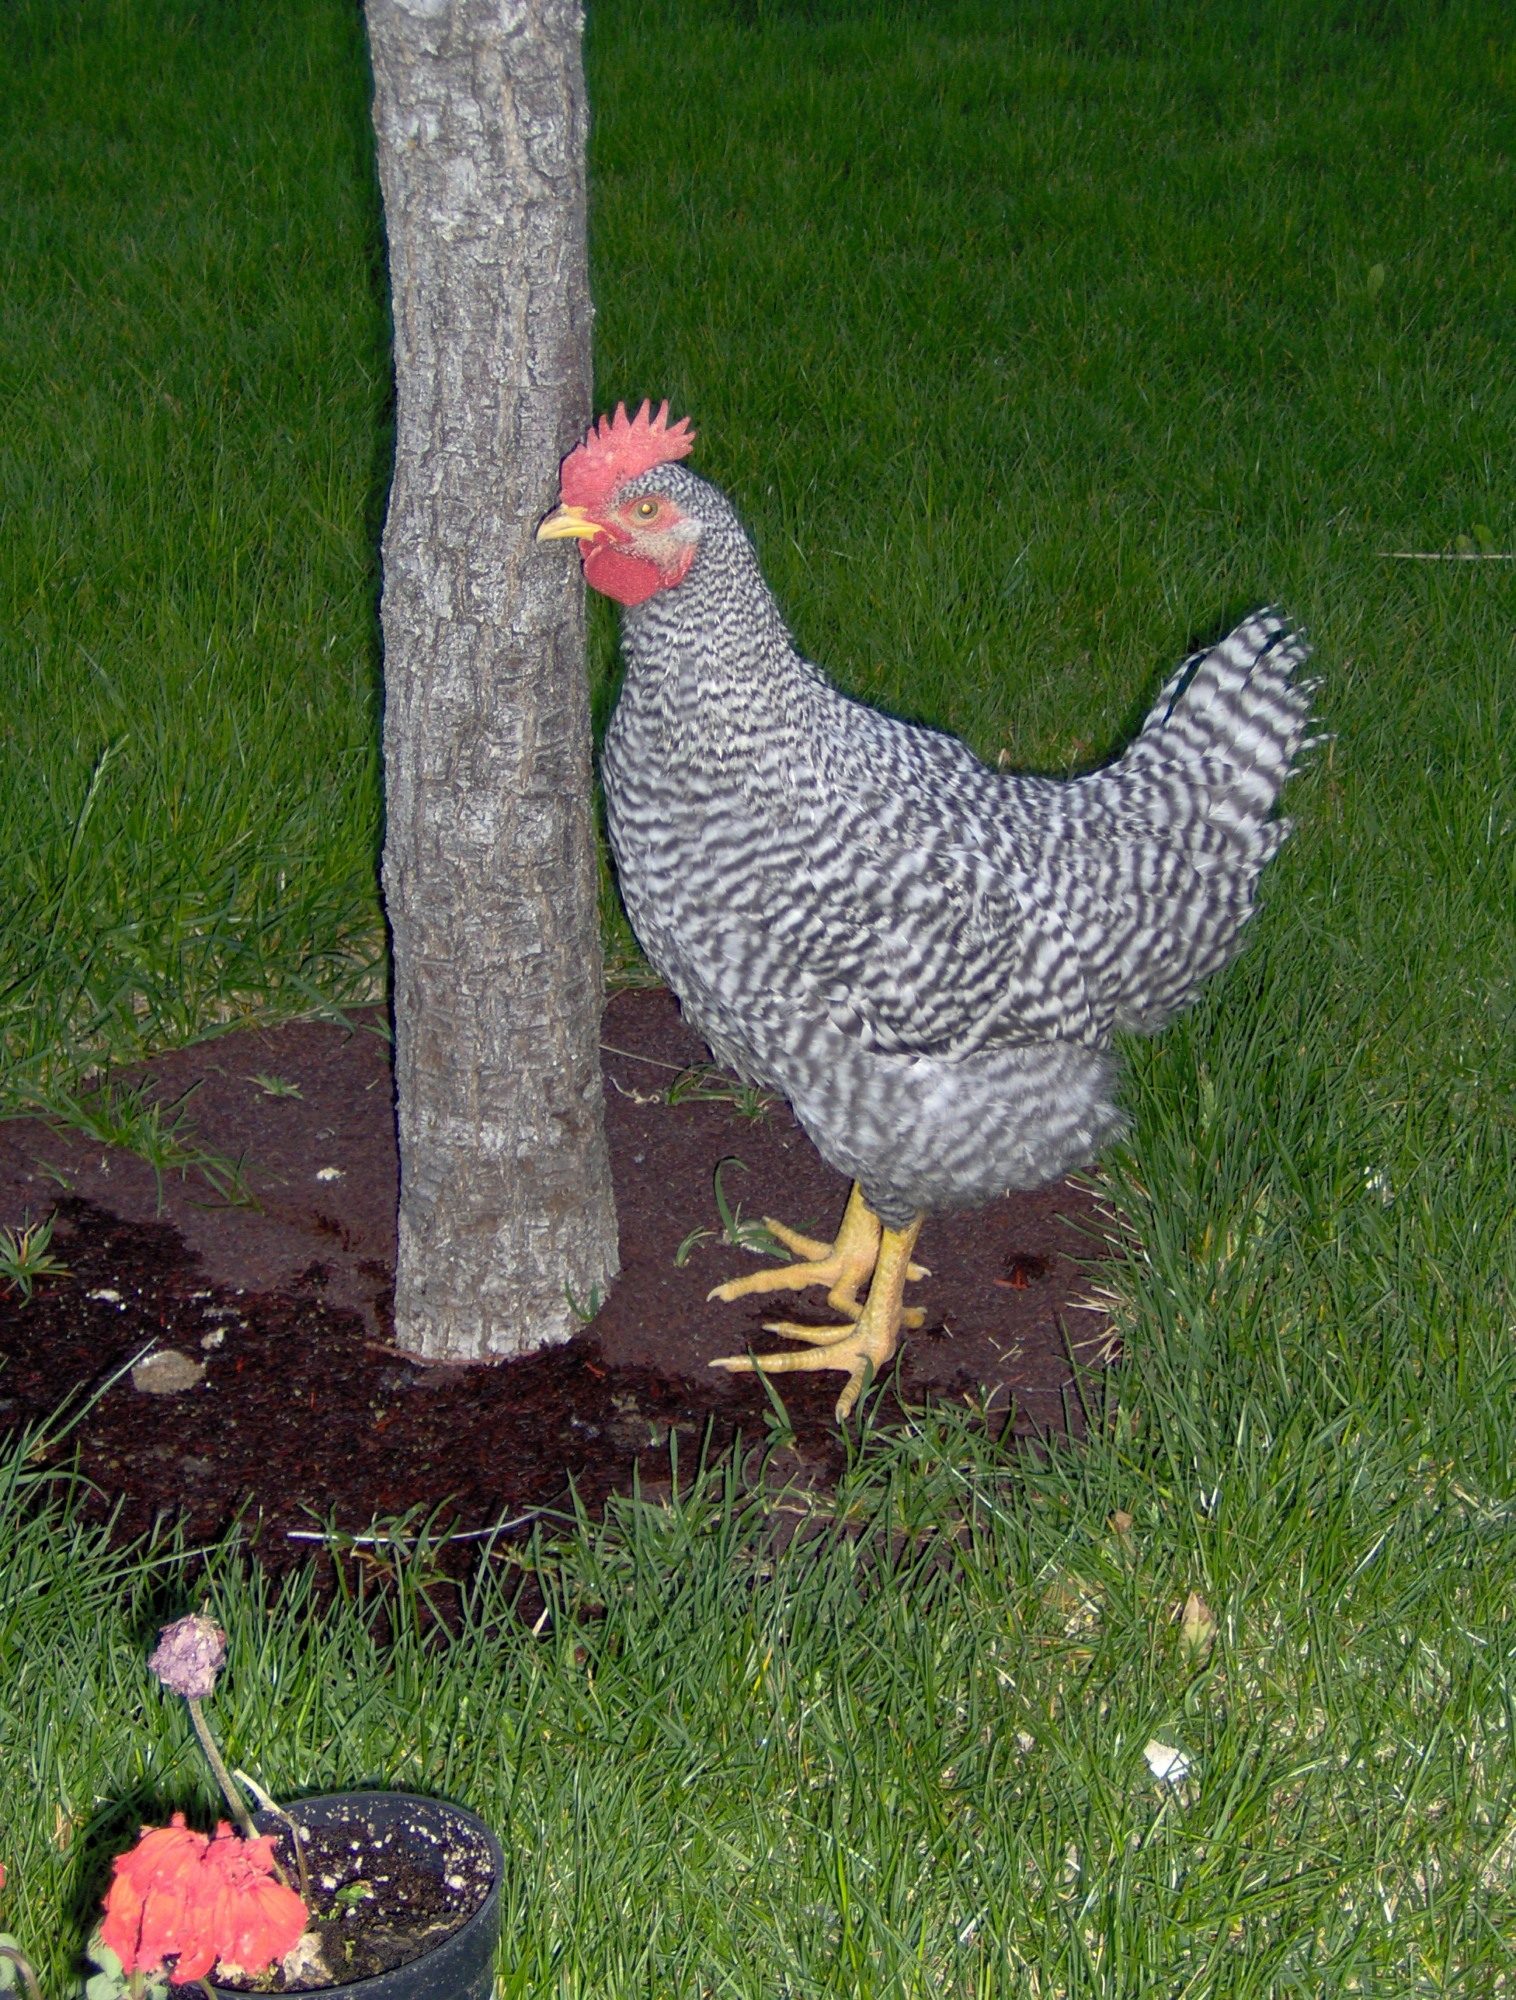
We put the chicks in the largest rubbermaid box I could find and used it as a brooder. We kept the brooder in our unfinished basement for about three weeks, but eventually moved it out into the garage. We name the buff orpington, Buffy; the silver laced wyondotte, Lacey; the brama, Belle; the australorp, Aussie; and the barred plymouth rock, Rocky.
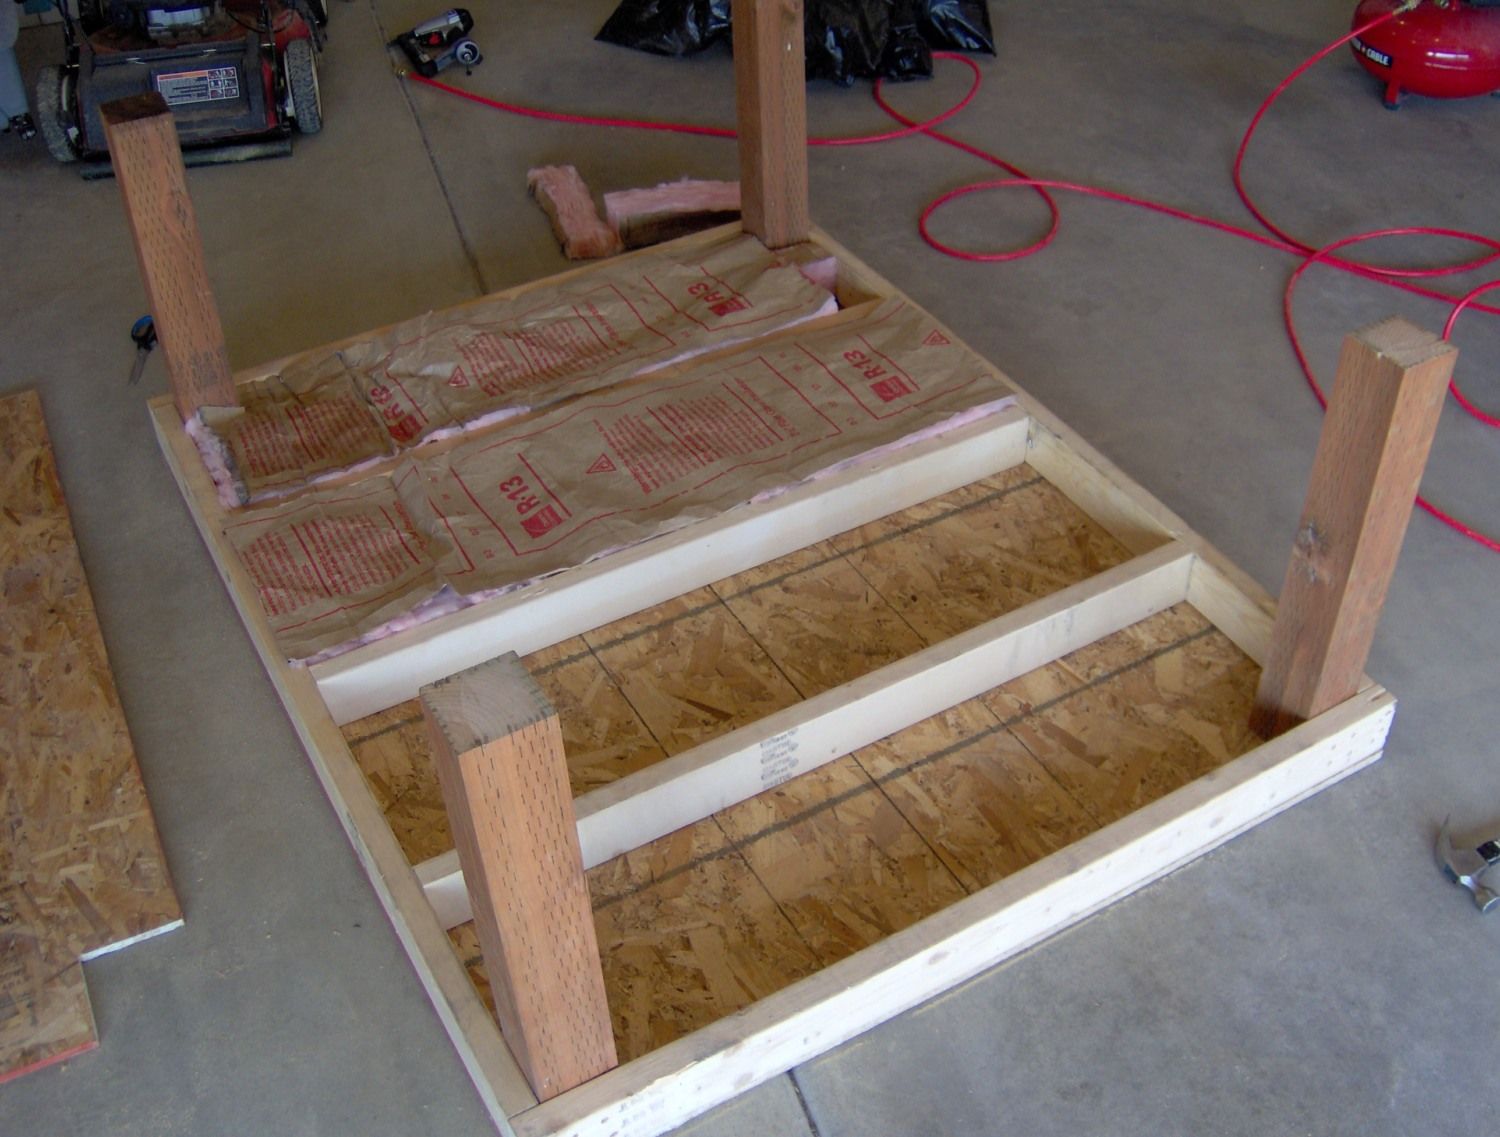
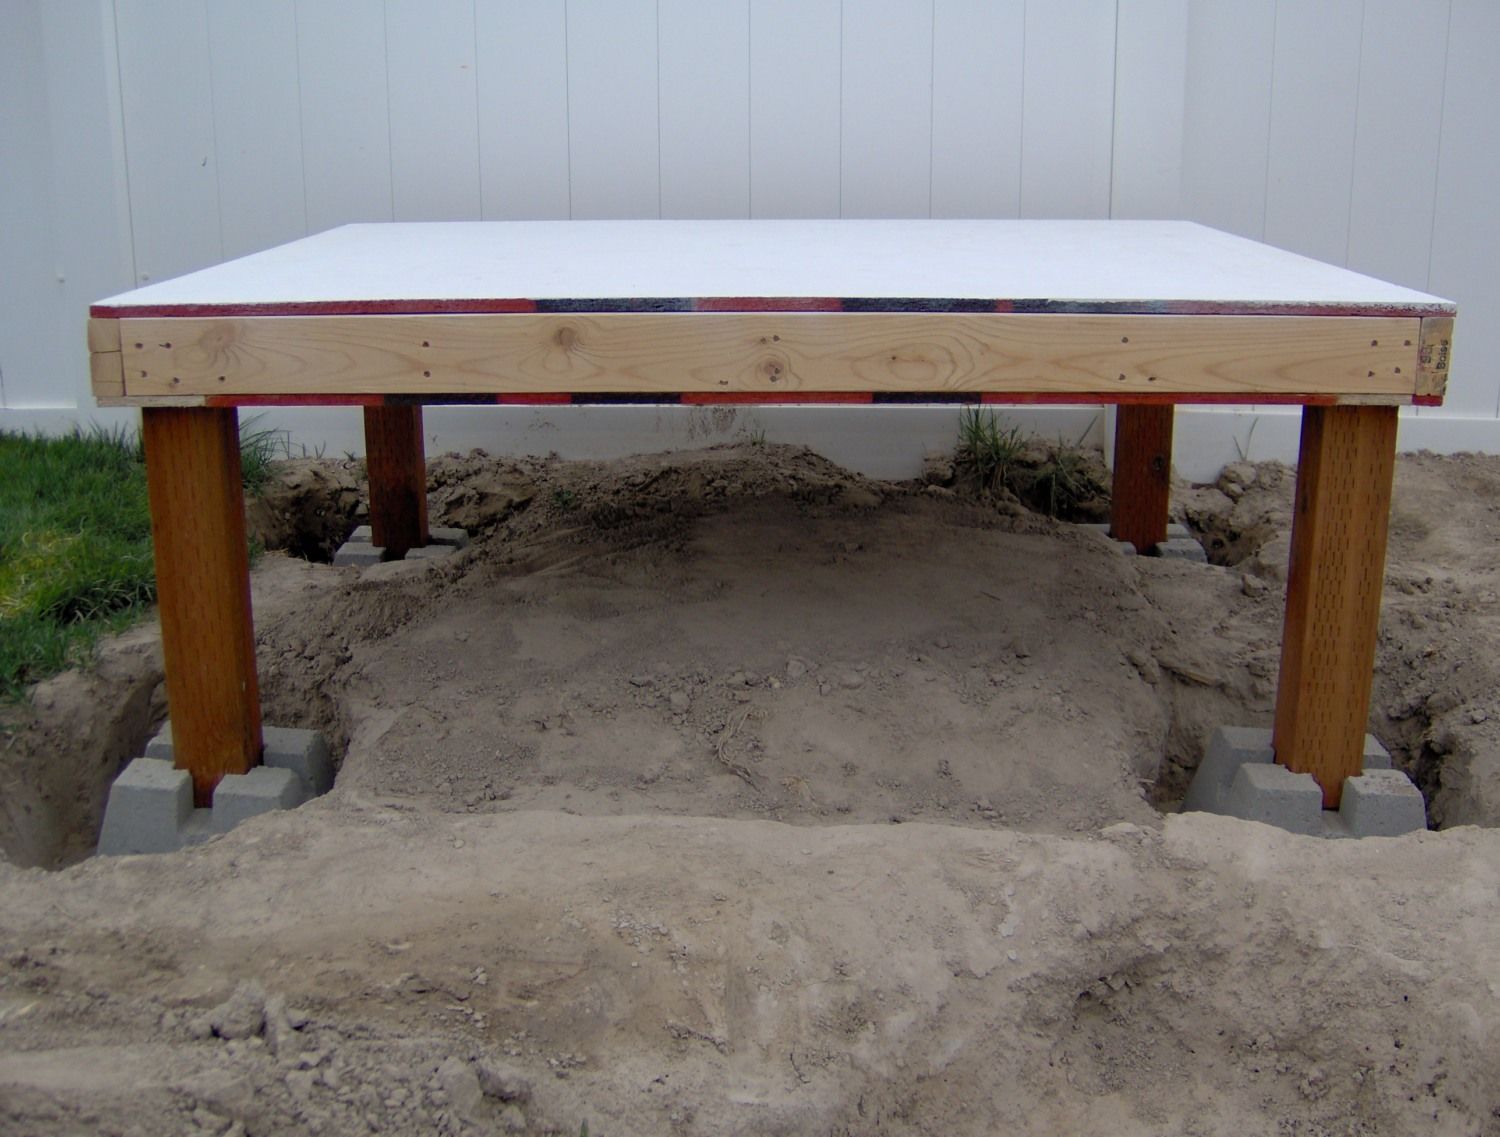
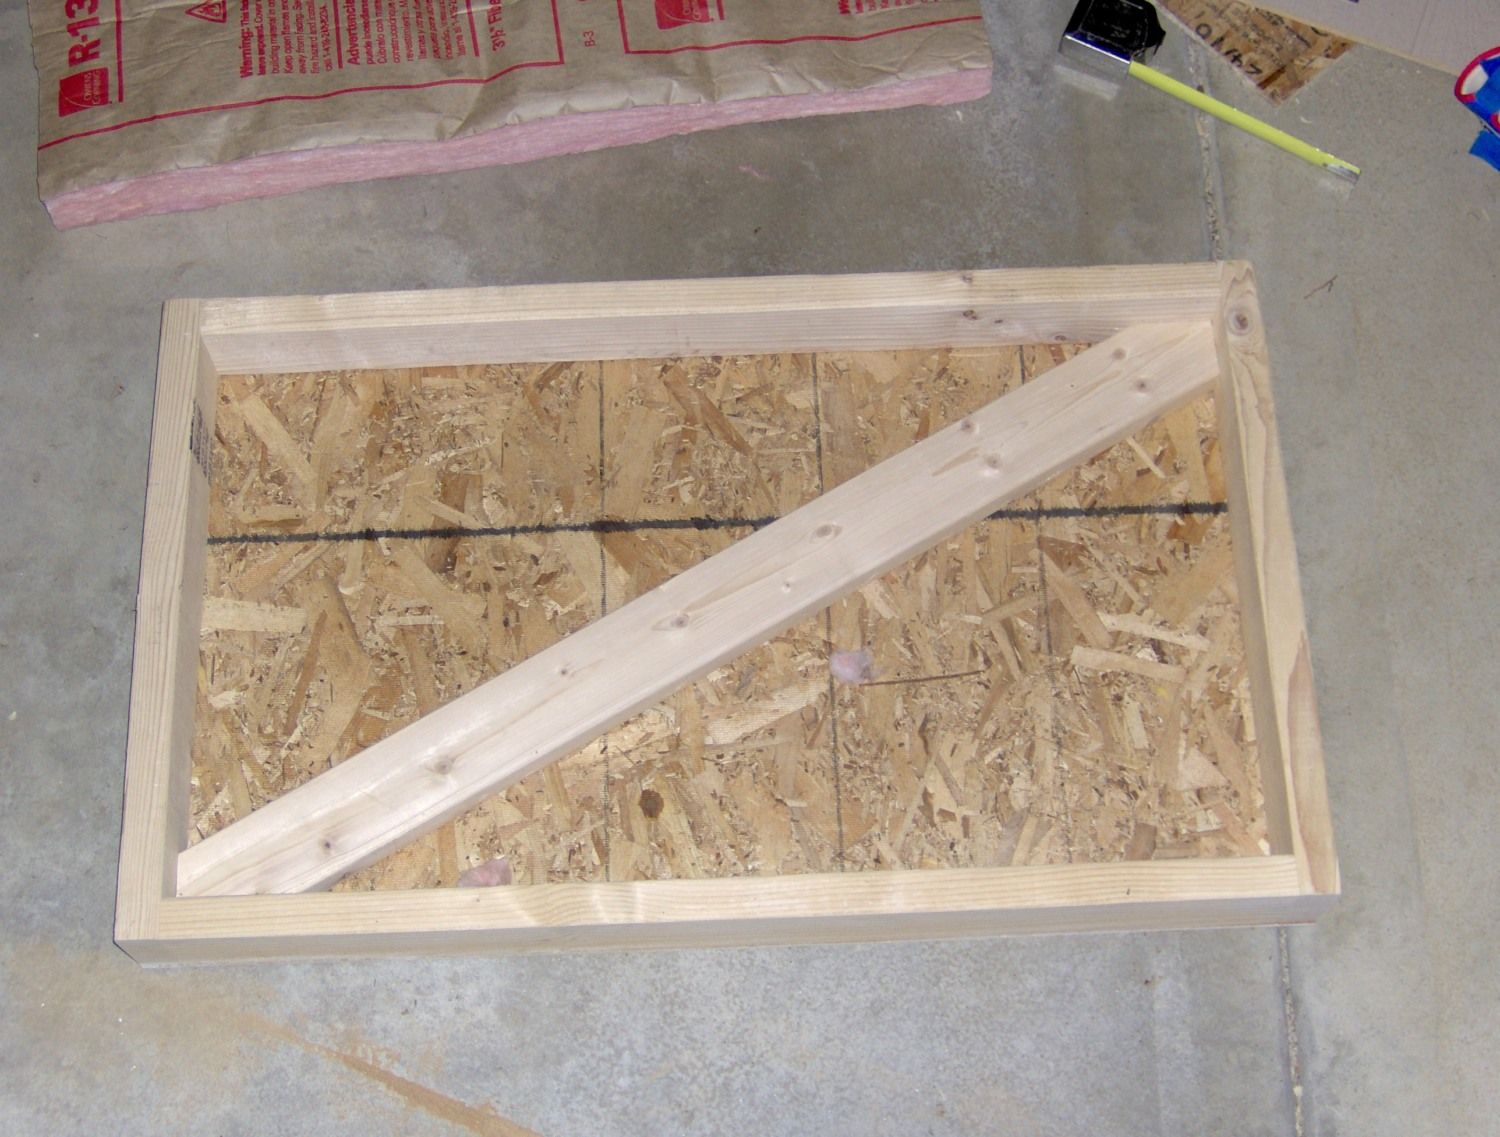
In April, I started working on the coop. I had no written plans but just made it up as I went. I first started building the floor. I made it 5 feet wide by 4 feet deep. The four corner posts are 2 feet long. This picture below shows the floor upside down, while I was adding insulation.
Here it is with more insulation added. Note that I was using scraps of insulation for the second half.
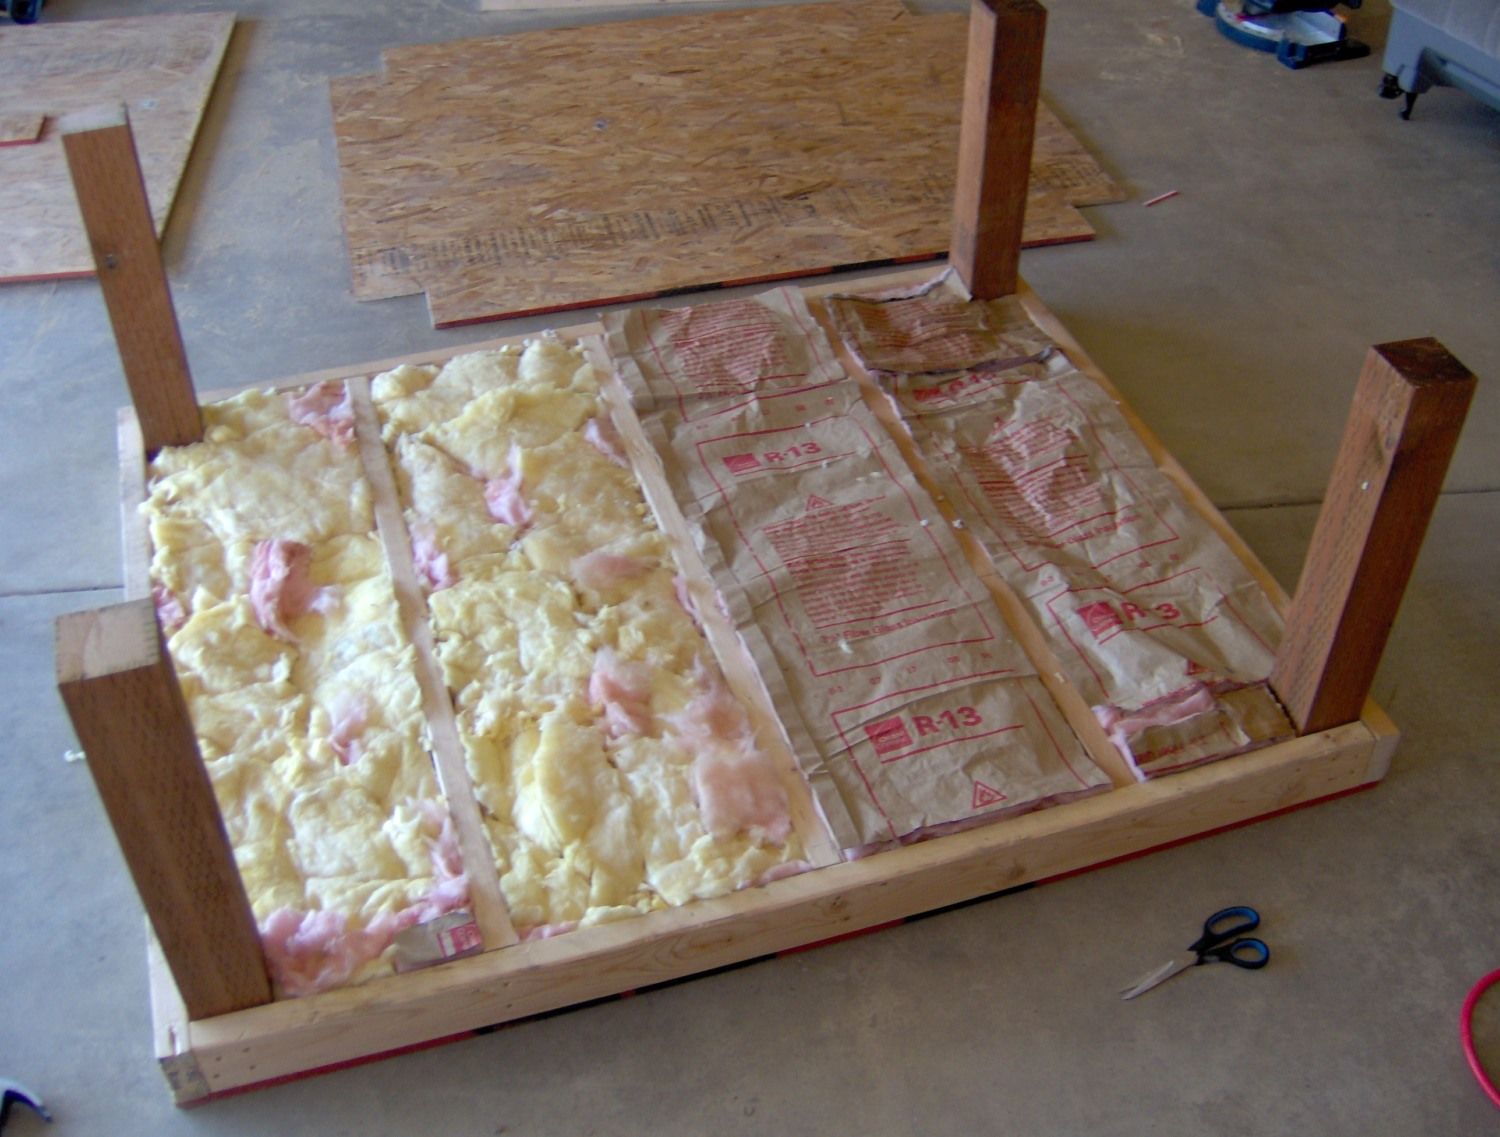
A bottom piece of wood was added to keep the insulation in place.
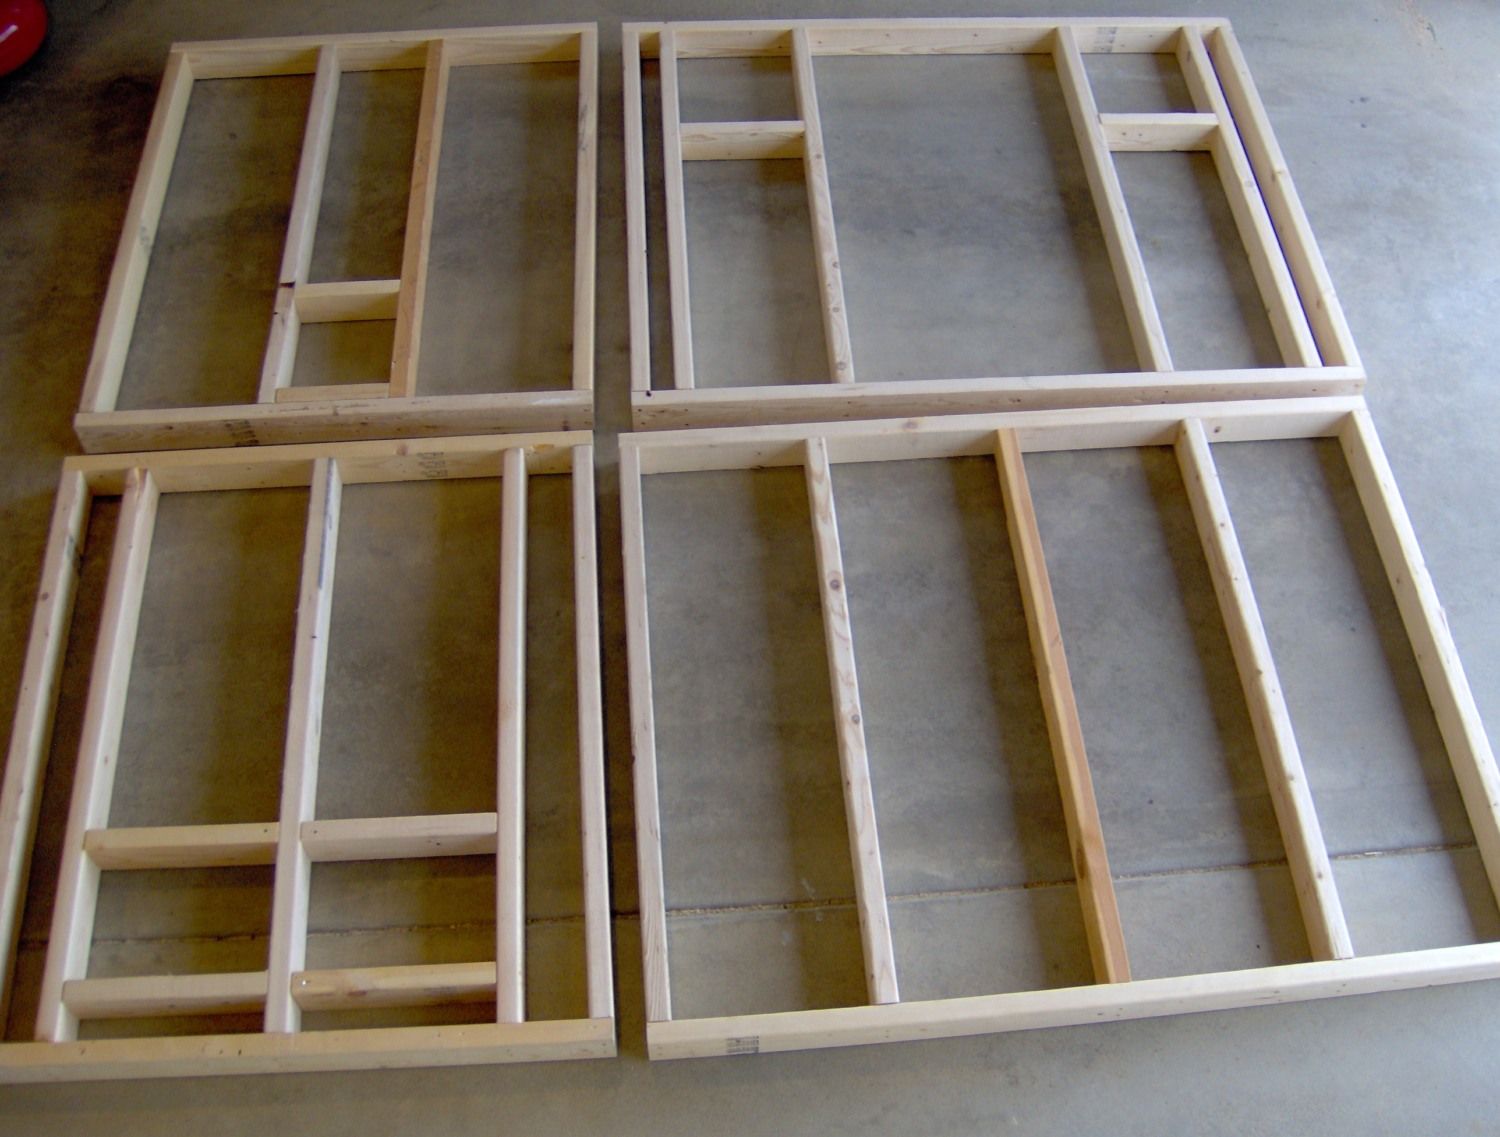
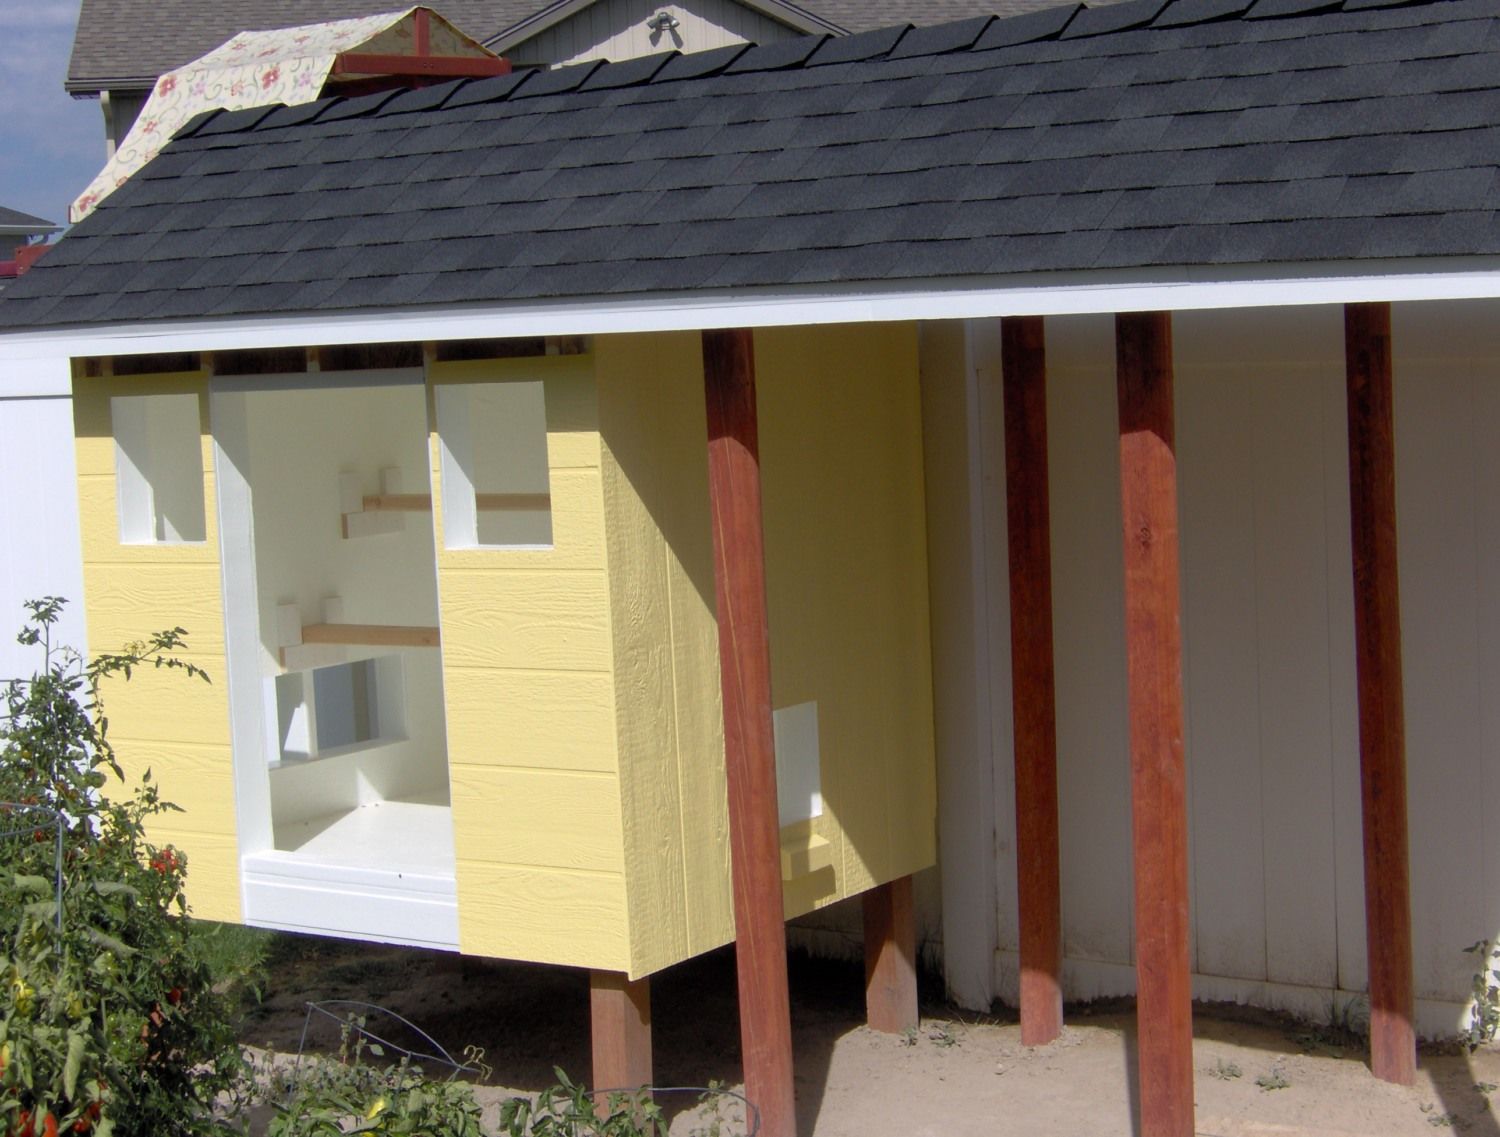
For the most part, I was working on the coop on Saturdays. I'd like to say I was extremely diligent, and got the coop built right away, but I wasn't and I didn't. In May, I got the four walls framed, however. The bottom right is the back wall. The top right is the front wall. You can see the two spaces for windows in the front wall section. The upper left is a side wall with a small framed door at the bottom for the chickens to go outside into the run. Finally, the bottom left is the other wall with two small holes for the nesting boxes, which will actually be mounted on the outside of the coop.
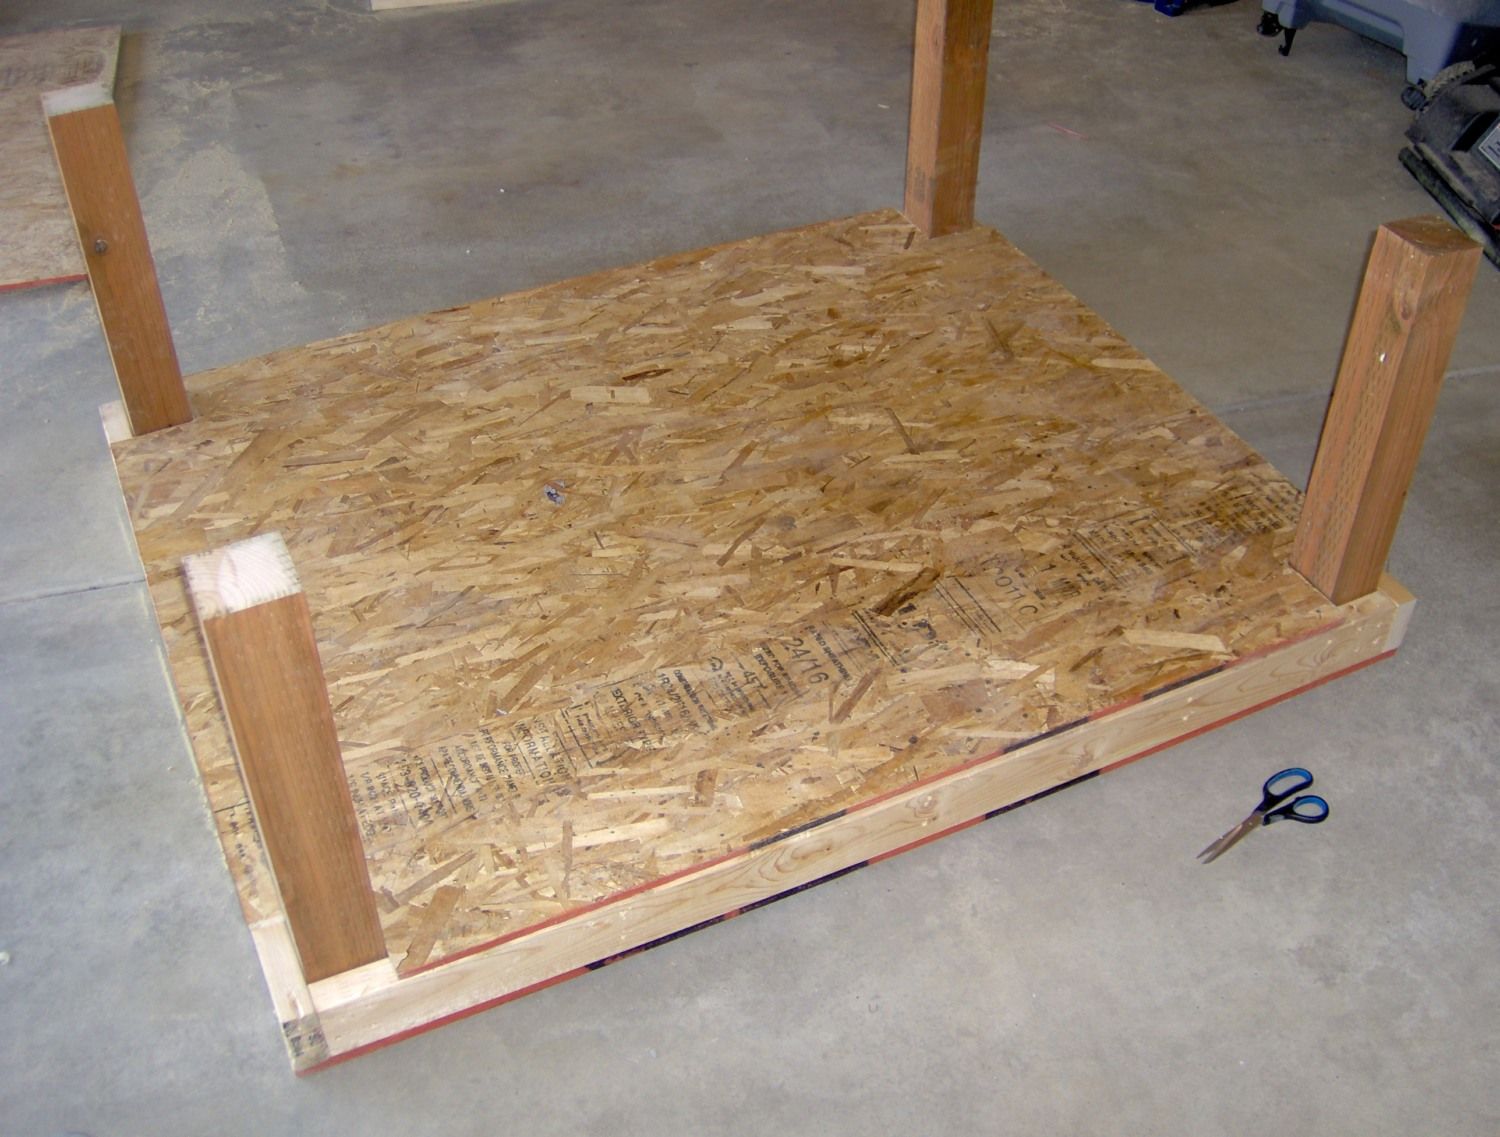
The next two pictures show the floor placed on deck footings in the garden area of our backyard. I did my best to get the floor level.

Next, I attached the framed walls to the floor.
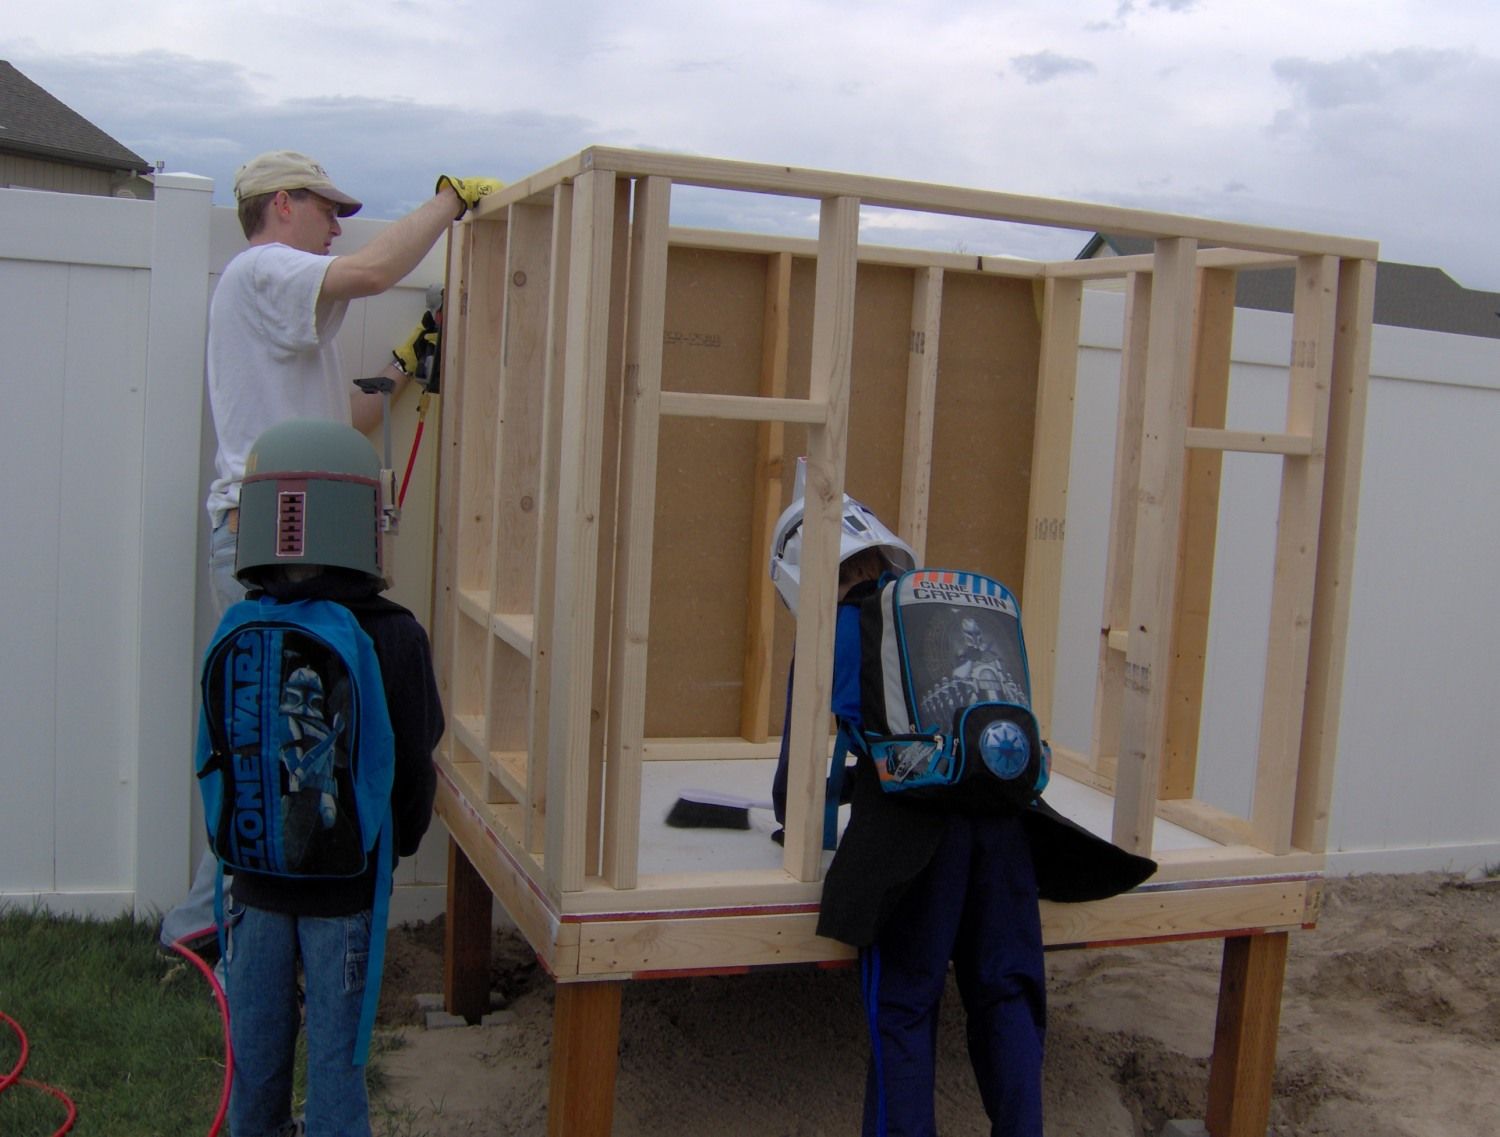
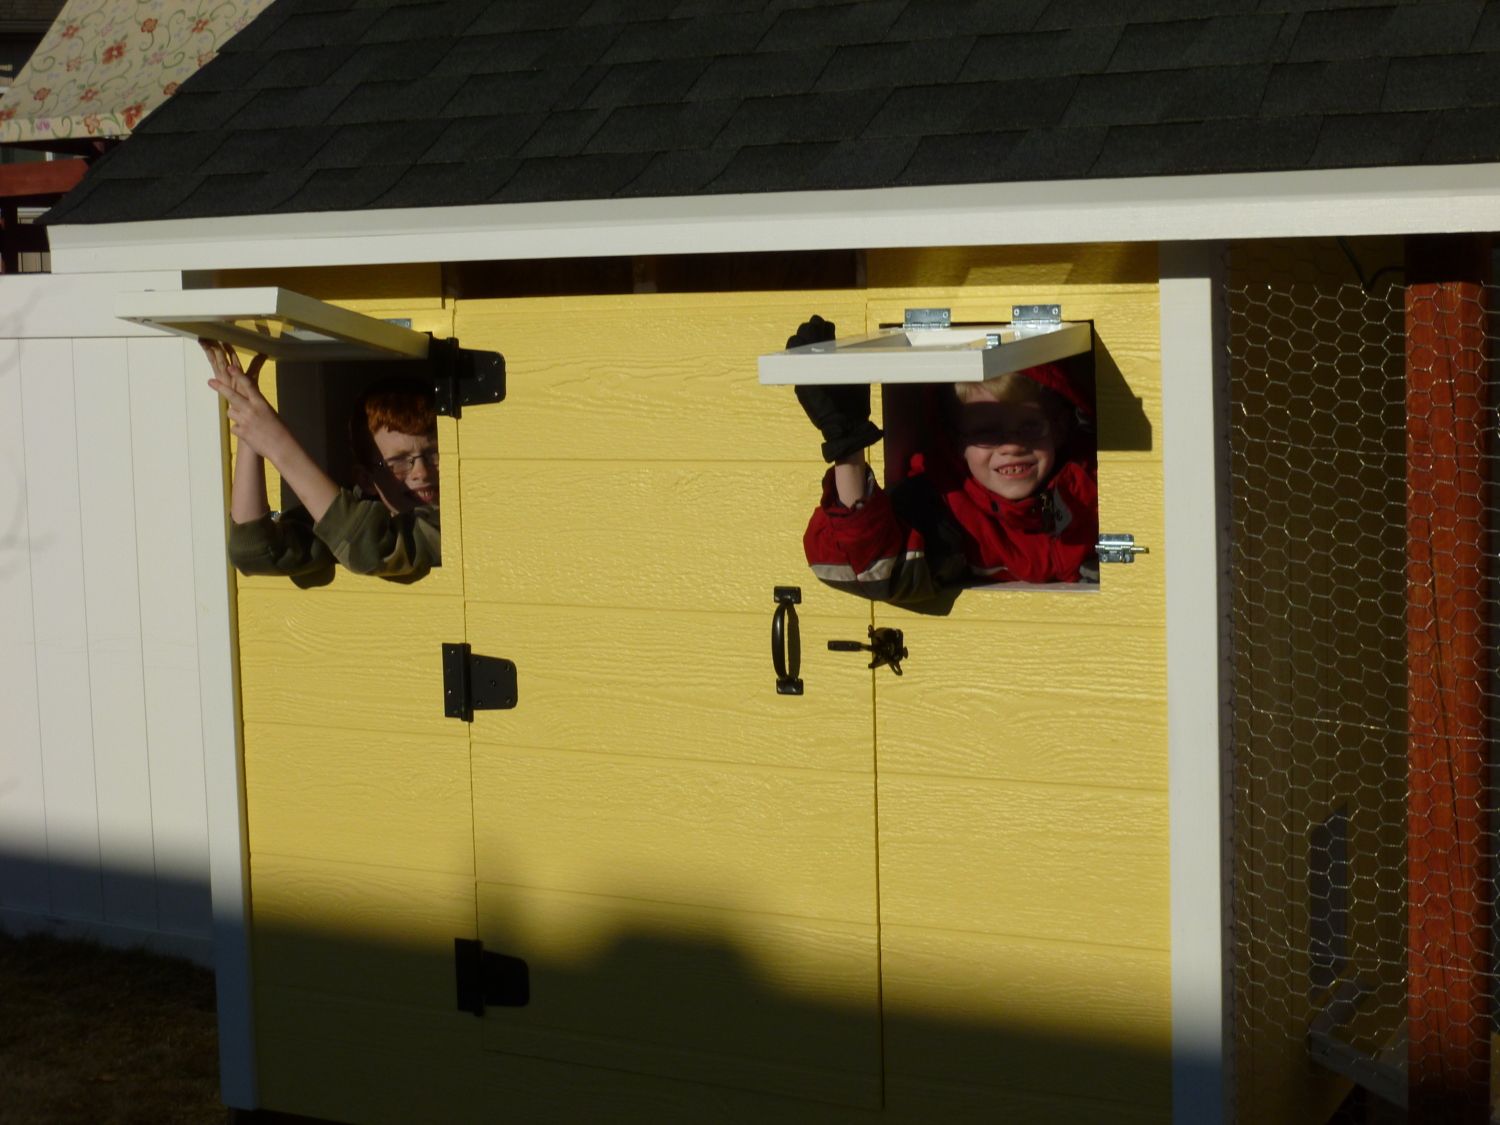
Boba Fett and a Clone Trooper thought it was looking a lot like a fort.

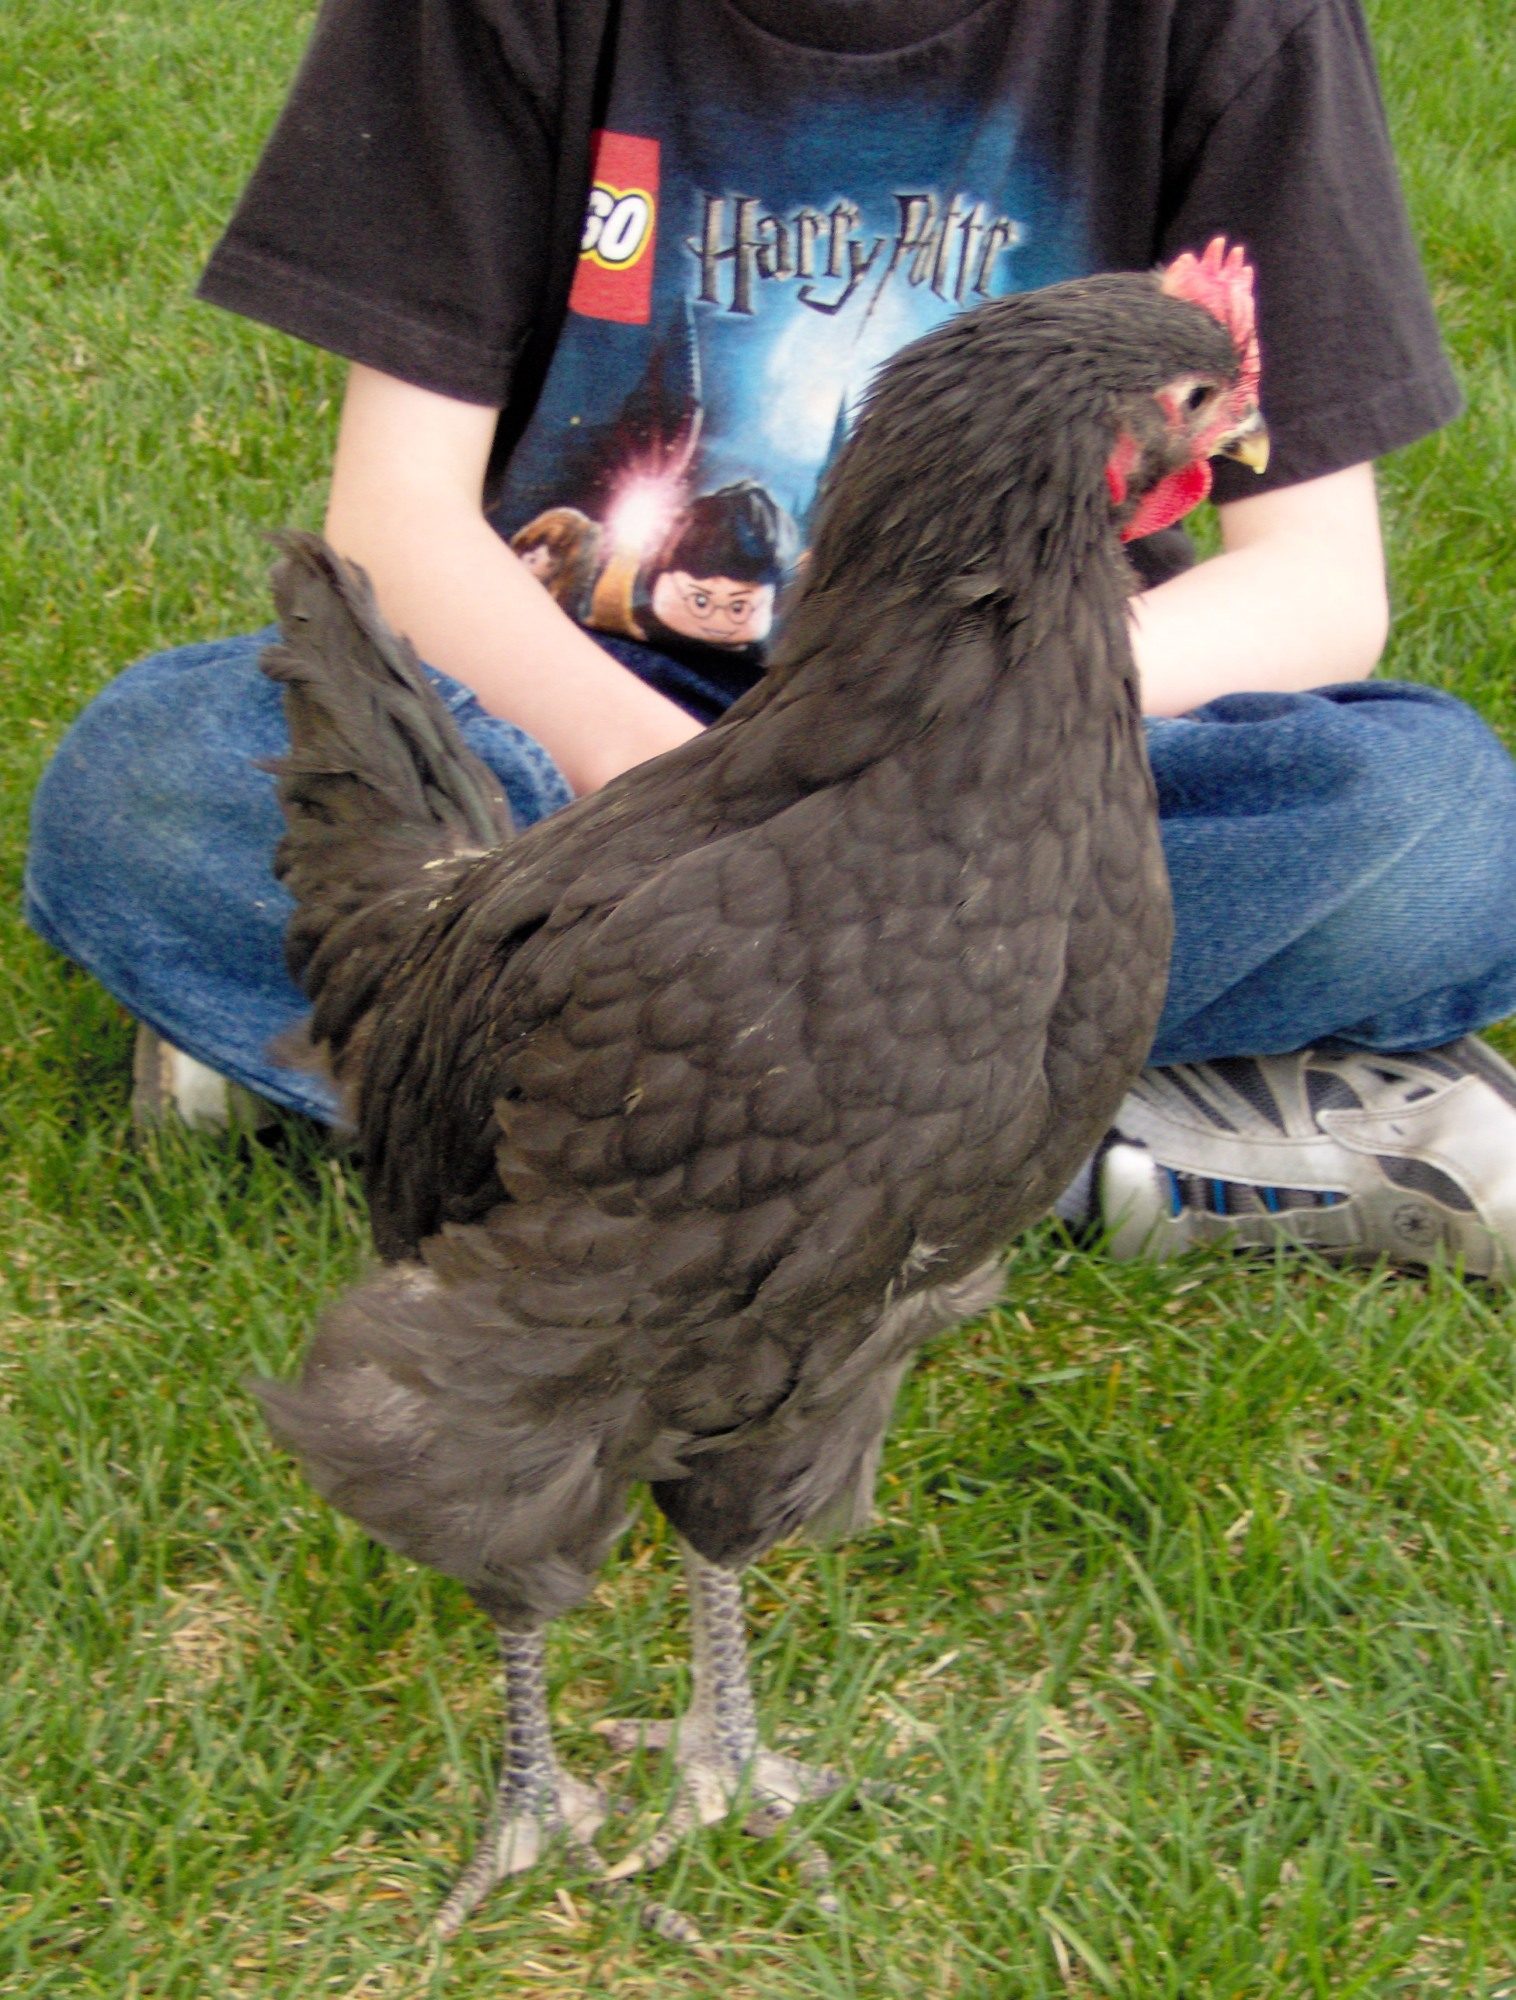
At this point, we noticed that Aussie started making this weird sound in the mornings. It was sort of like a rooster's crow, but about more like a teenager whose voice was changing. Unfortunately, Aussie was not a hen, but was a rooster. Since our city does not allow roosters, we promptly sold him on Craig's List. That was a sad day.
In June, I added poles for the run and framed the roof. I also added some wood panels to the inside walls.
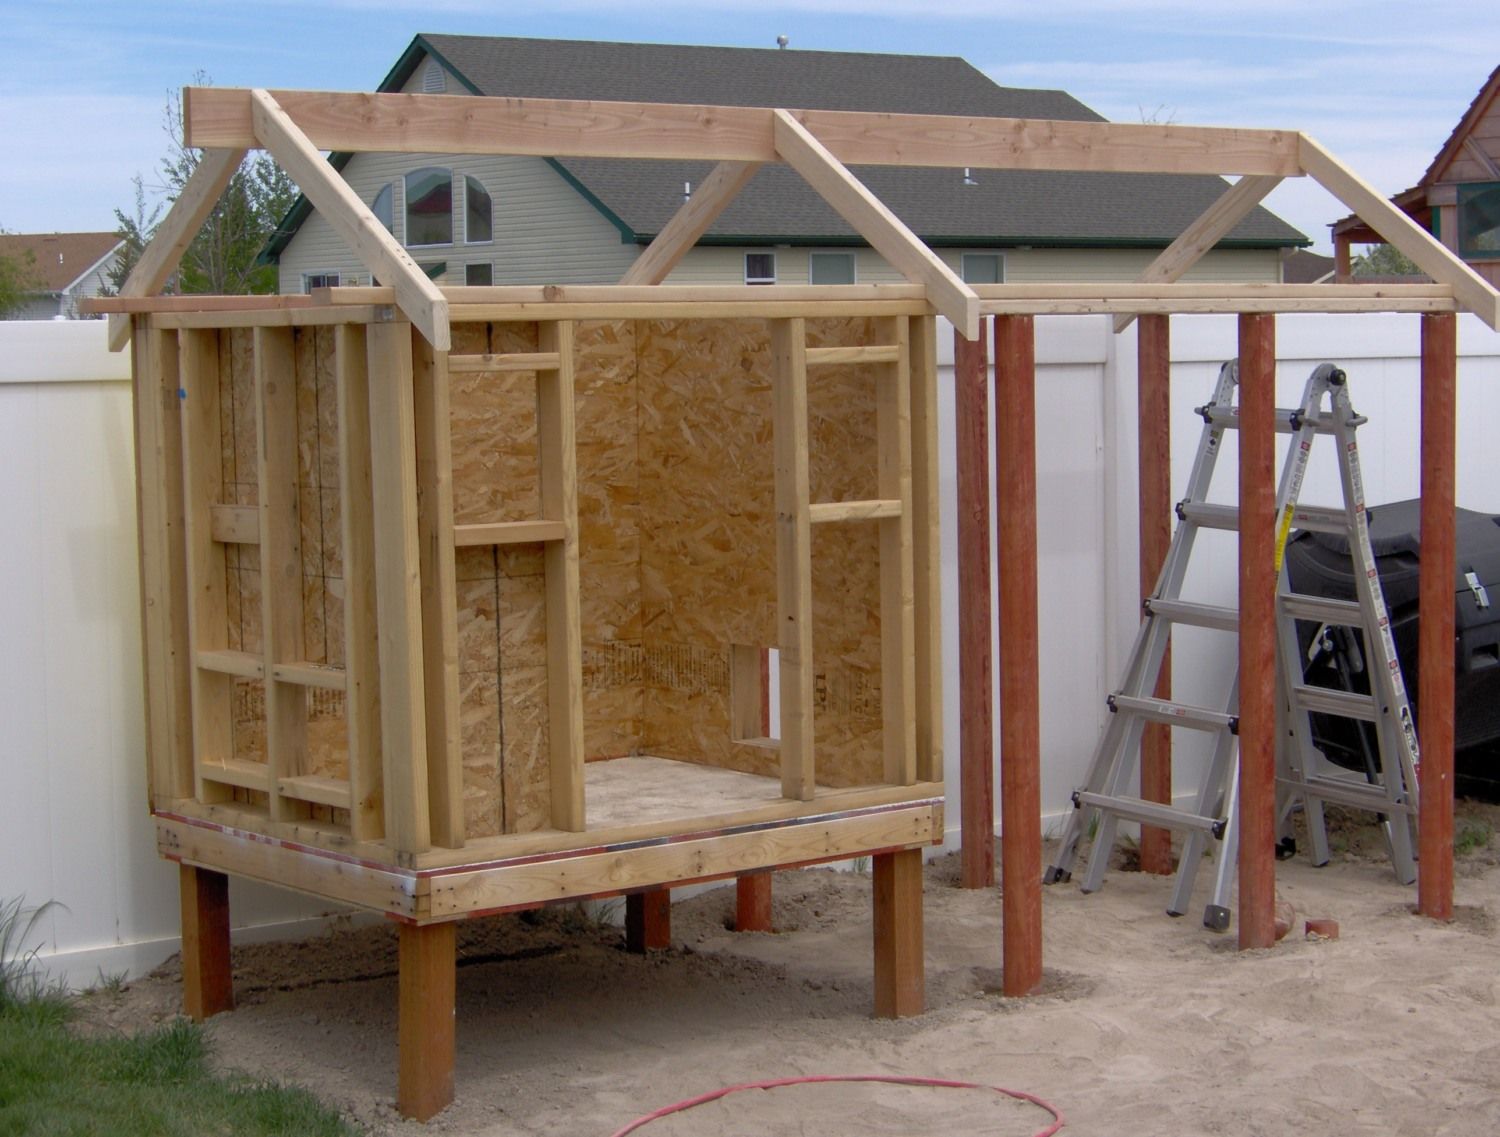
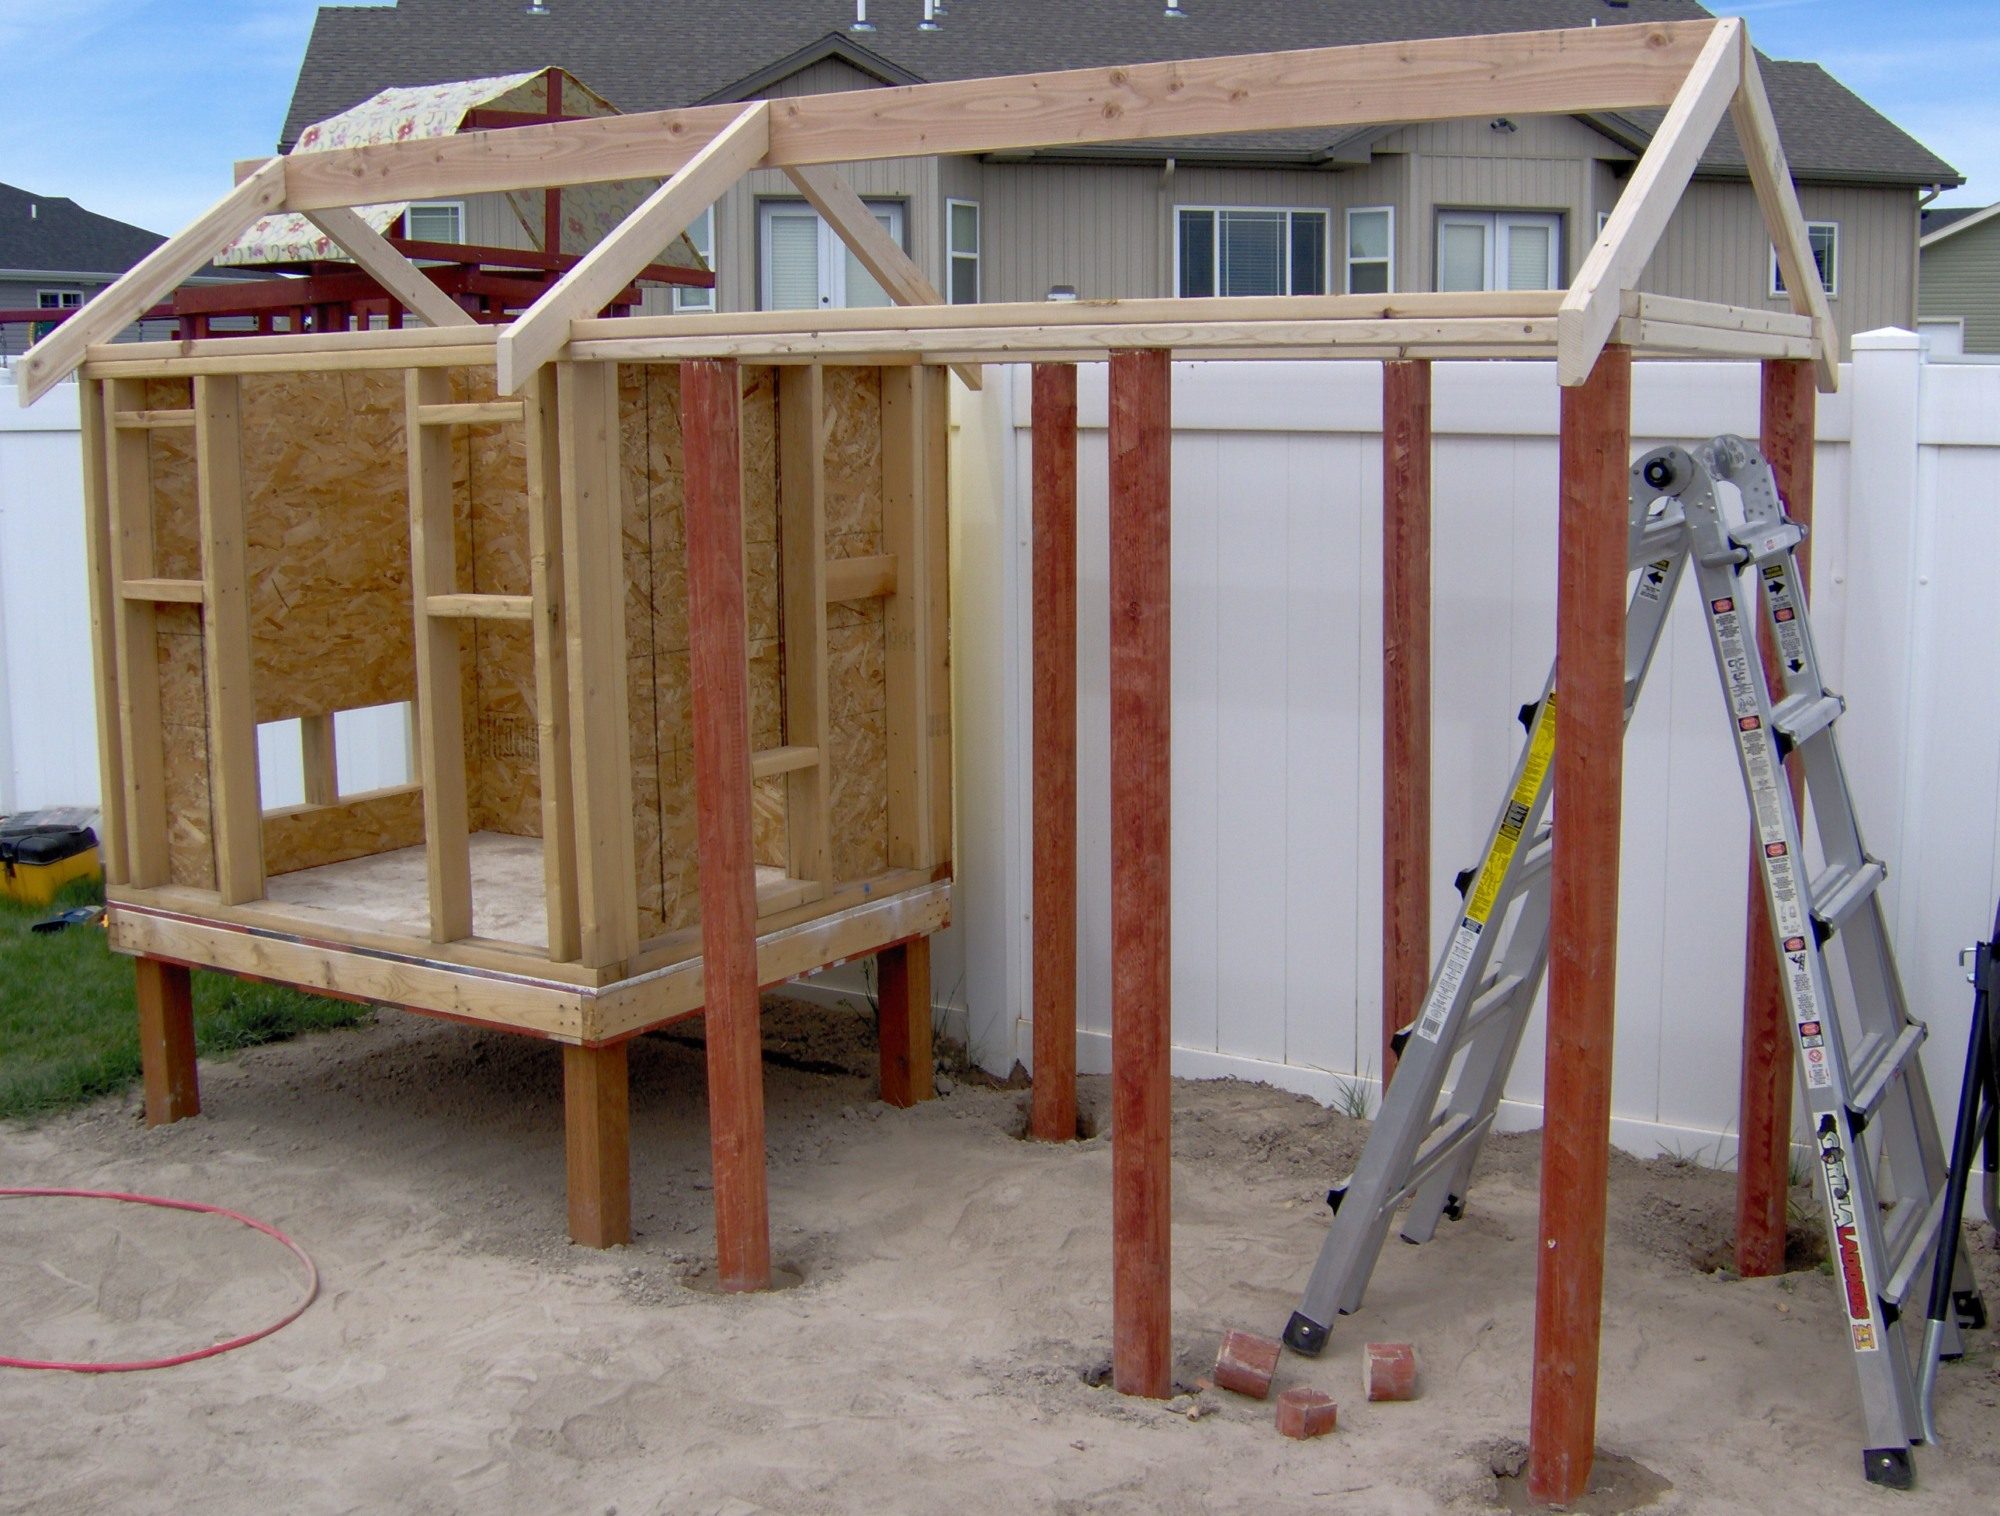
The hardest part was figuring out how to cut the rafters. I did some Internet searches and found helpful sites about roofing. I used an Internet rafters calculator to help me figure out how to cut the rafters. Once I had one cut, I used it as a template to cut the rest.
Just hanging out in the "fort".

Uh-oh! Rocky started making that those strange, voice changing cock-a-doodle-doos. Yes, turns out she's also a he. So we sold her on Craig's List to the son of a farmer who lives a couple of miles from us.
By July, I was insulating the walls.

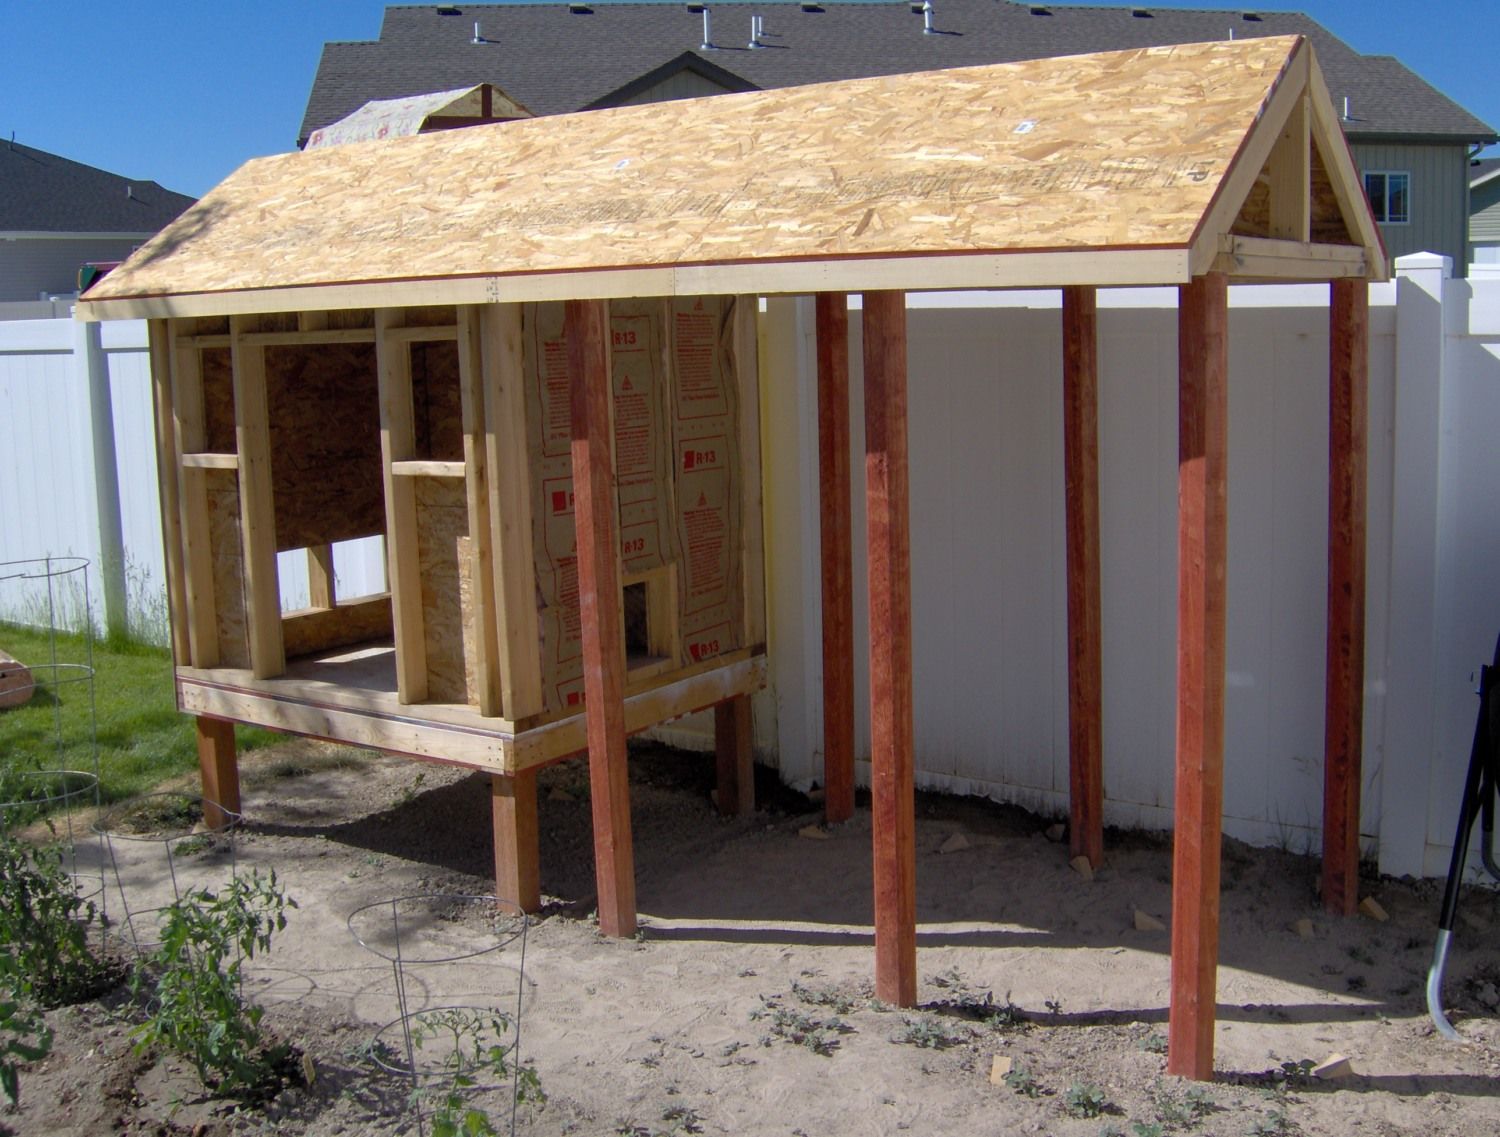
And I had the wood part of the roof up.
By August, I had started building the large door for the front of the coop.
During the day, we let the three remaining hens out into our backyard. At dusk each day, they would wait next to the side garage door for us to bring them back into the garage for the night. The next morning, we let them out into the backyard again. Although there wasn't a lot of room at night, they had free range during the day. This required the boys to constantly do the chore of picking up chicken poo as three hens can place a lot of "landmines" all over the yard and patio.
With the threat of winter weather just a few months away, I really pushed hard to get more done in September. My brother and I shingled the roof. Throughout the project I would look at "How to" books at the Home Depot to figure out how to do things. I especially needed to figure out how to build the roof from framing to shingling. I think the roof turned out nice.
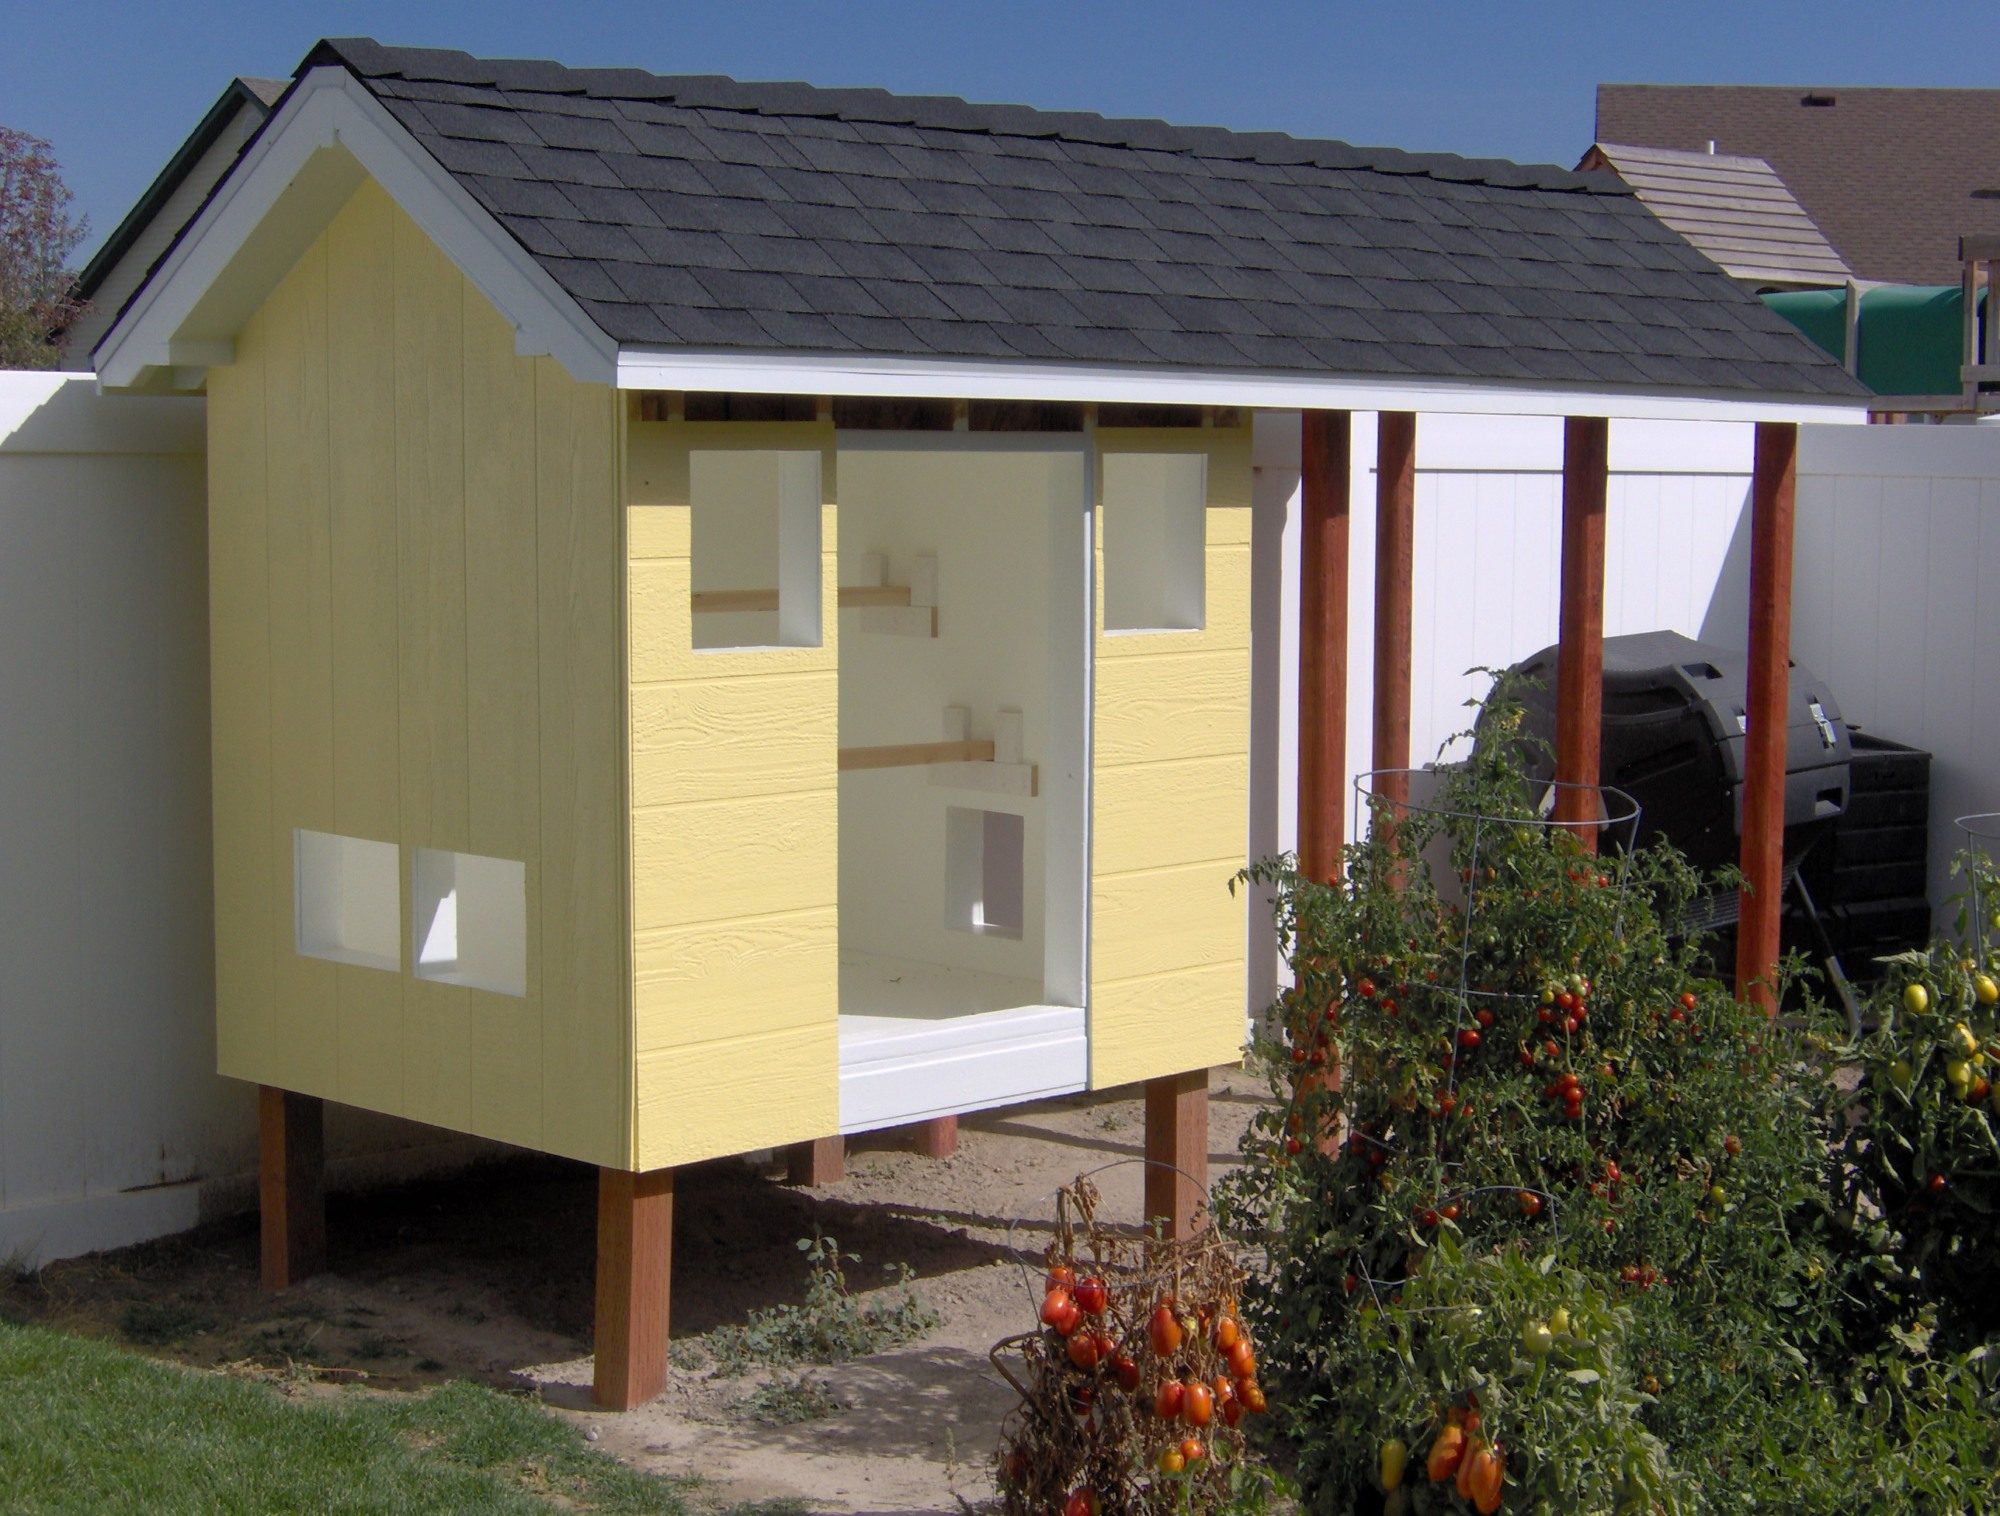
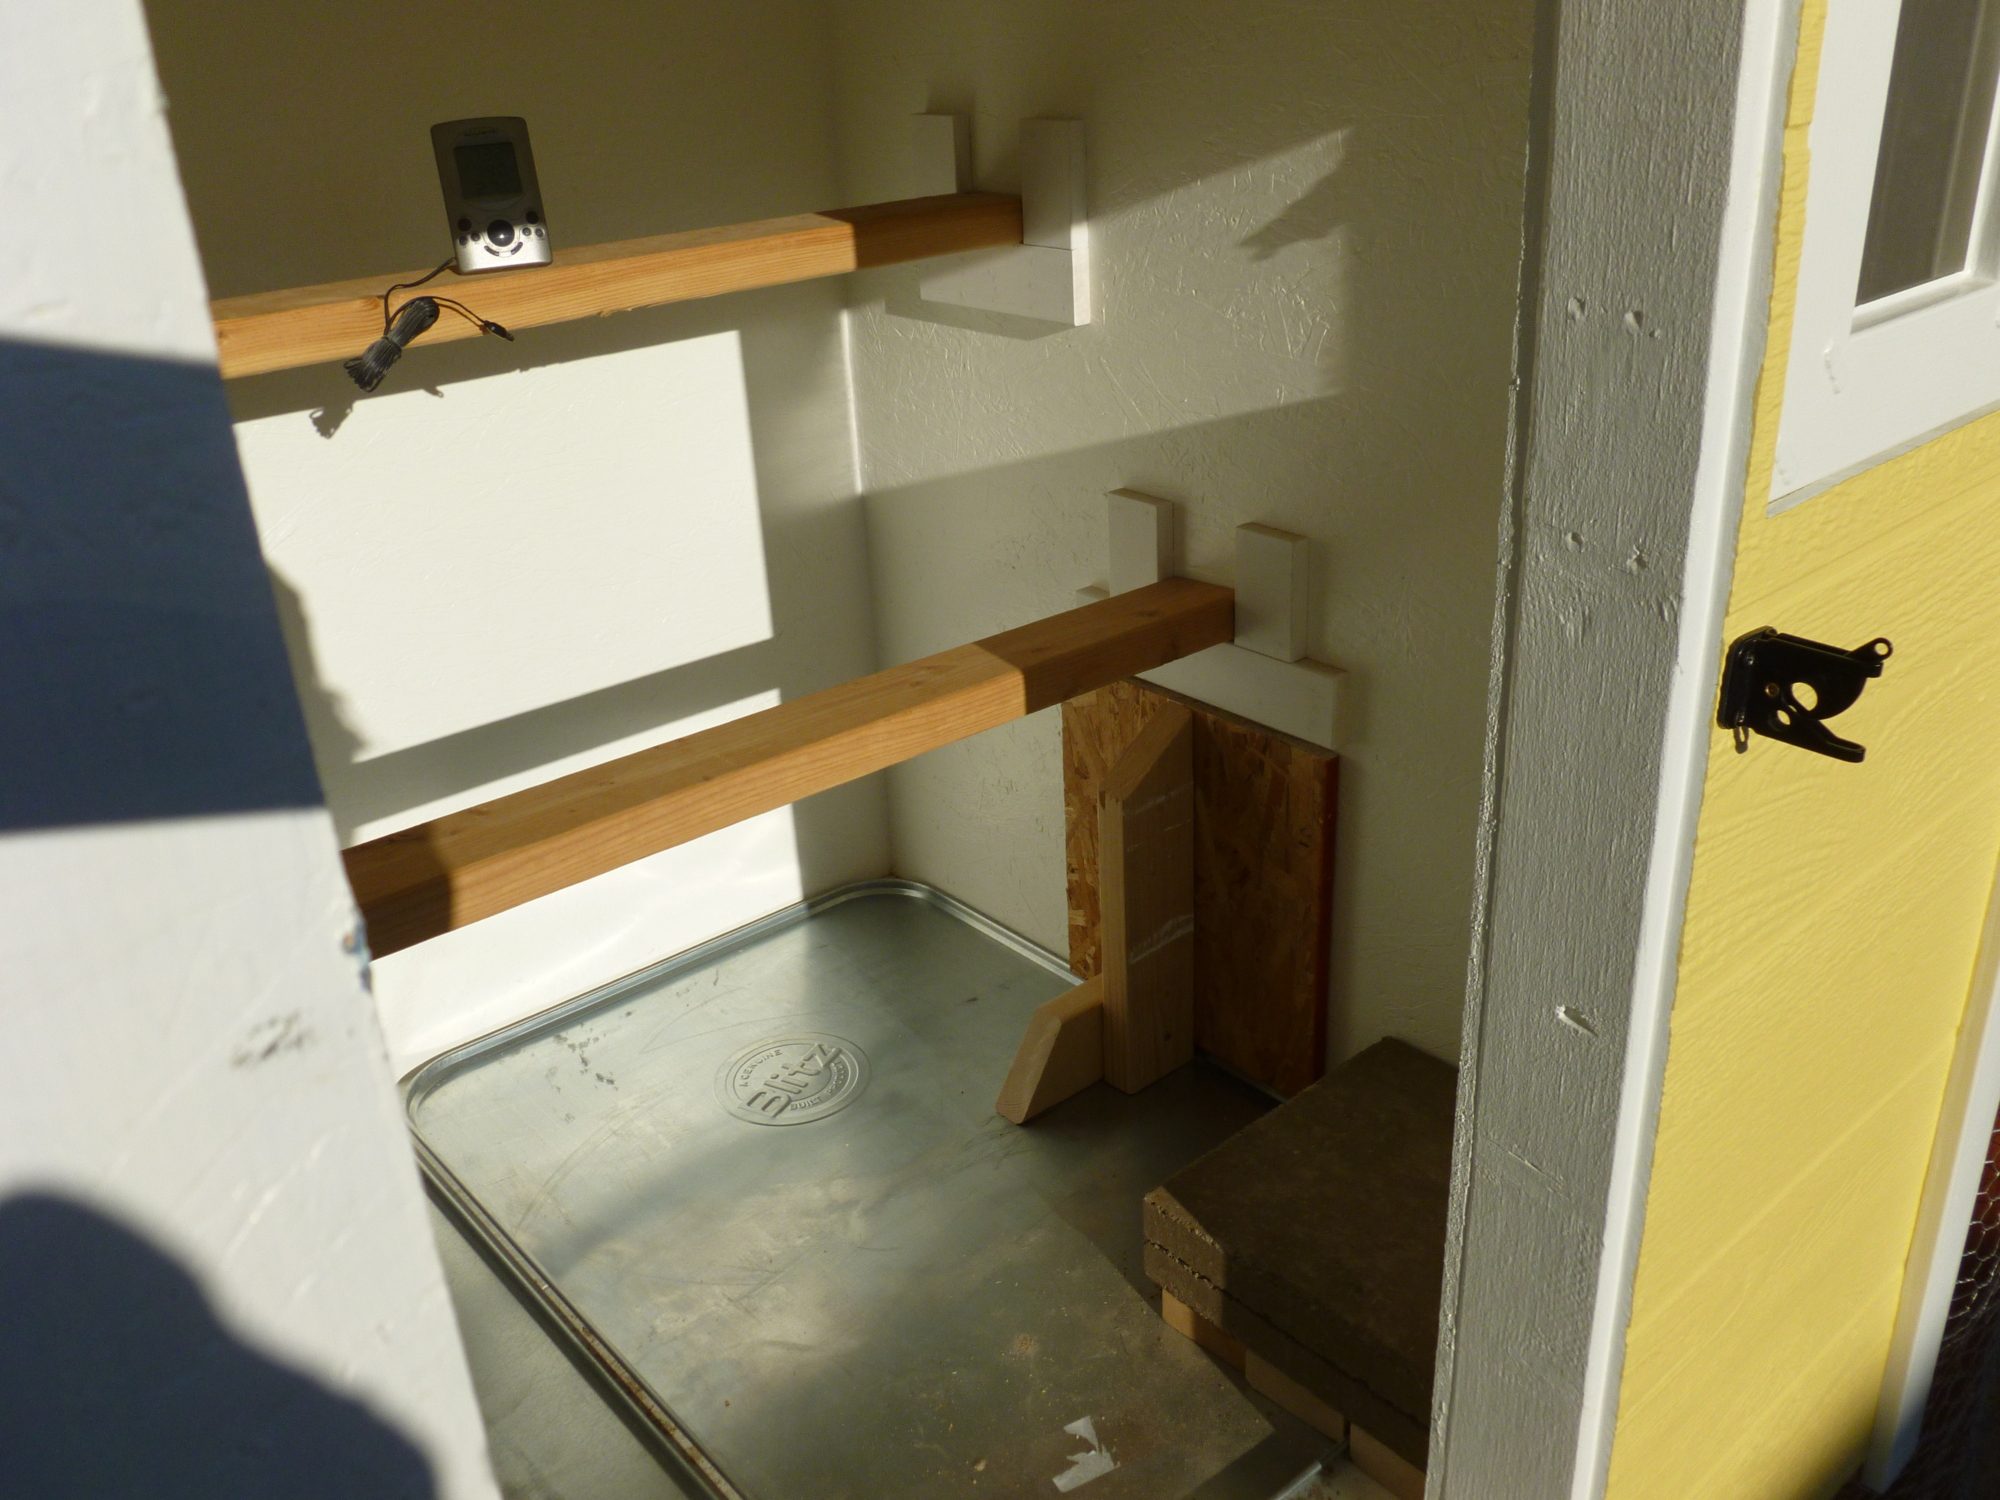
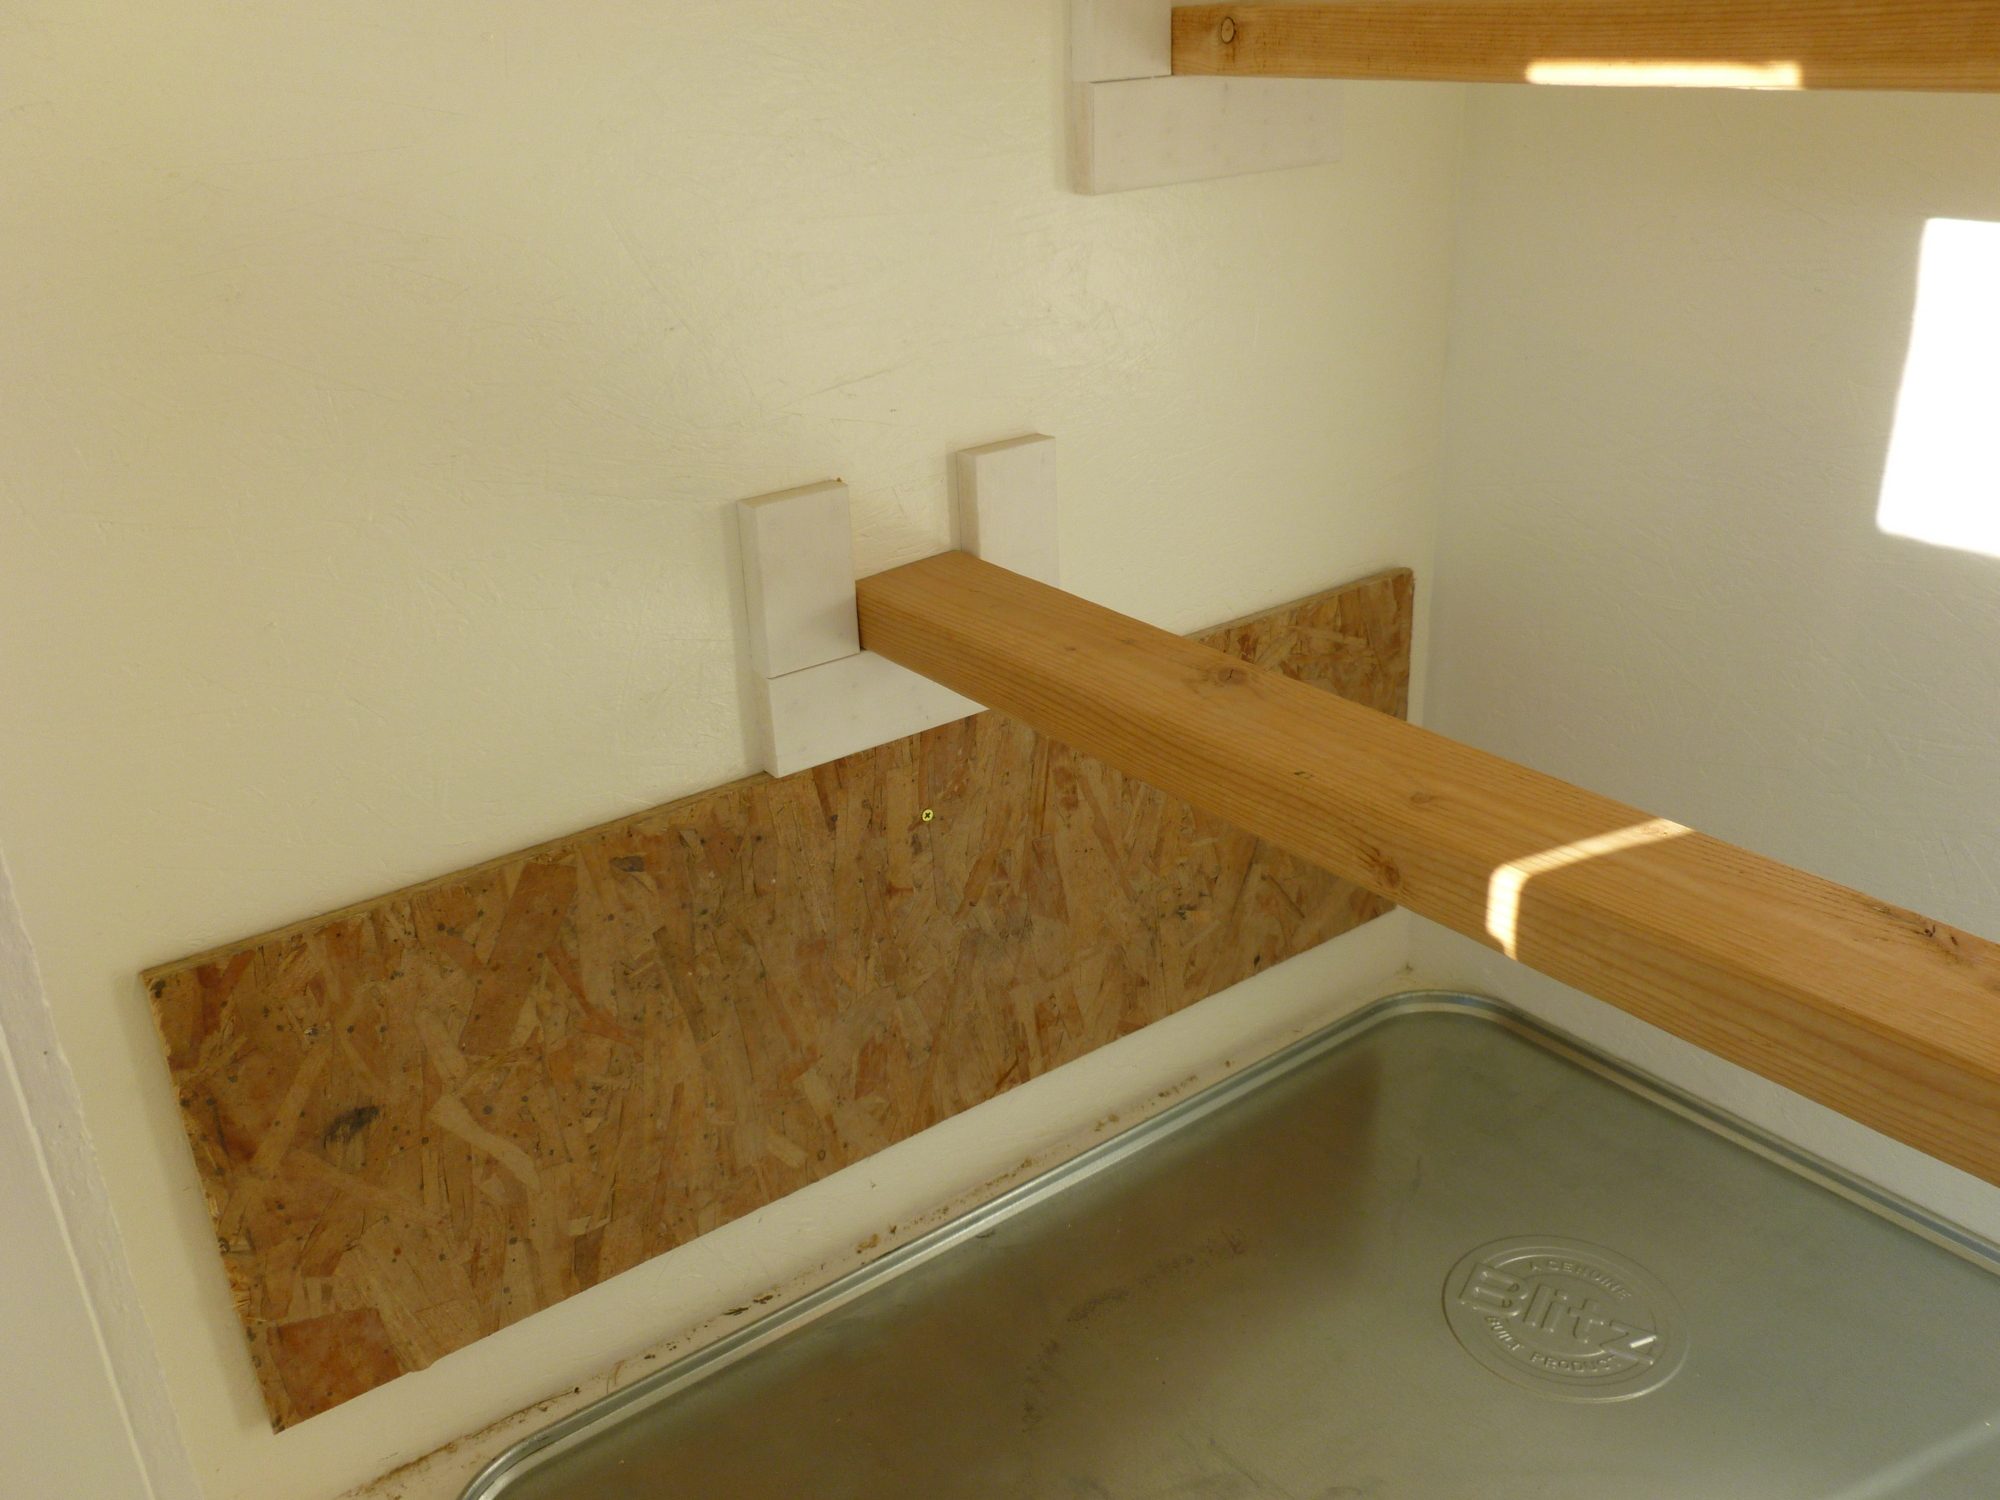
We also got the paneling up on the outside and primed and painted the inside and outside. You can also see the rooting boards inside. They are 2X4's and are removable, although they are rather tight so the hens can't just knock them out. I used 2X4's because we live in Idaho and our winters are usually quite cold. I read somewhere on BackYard Chickens that 2X4 roosts keep the chickens' feet warmer.
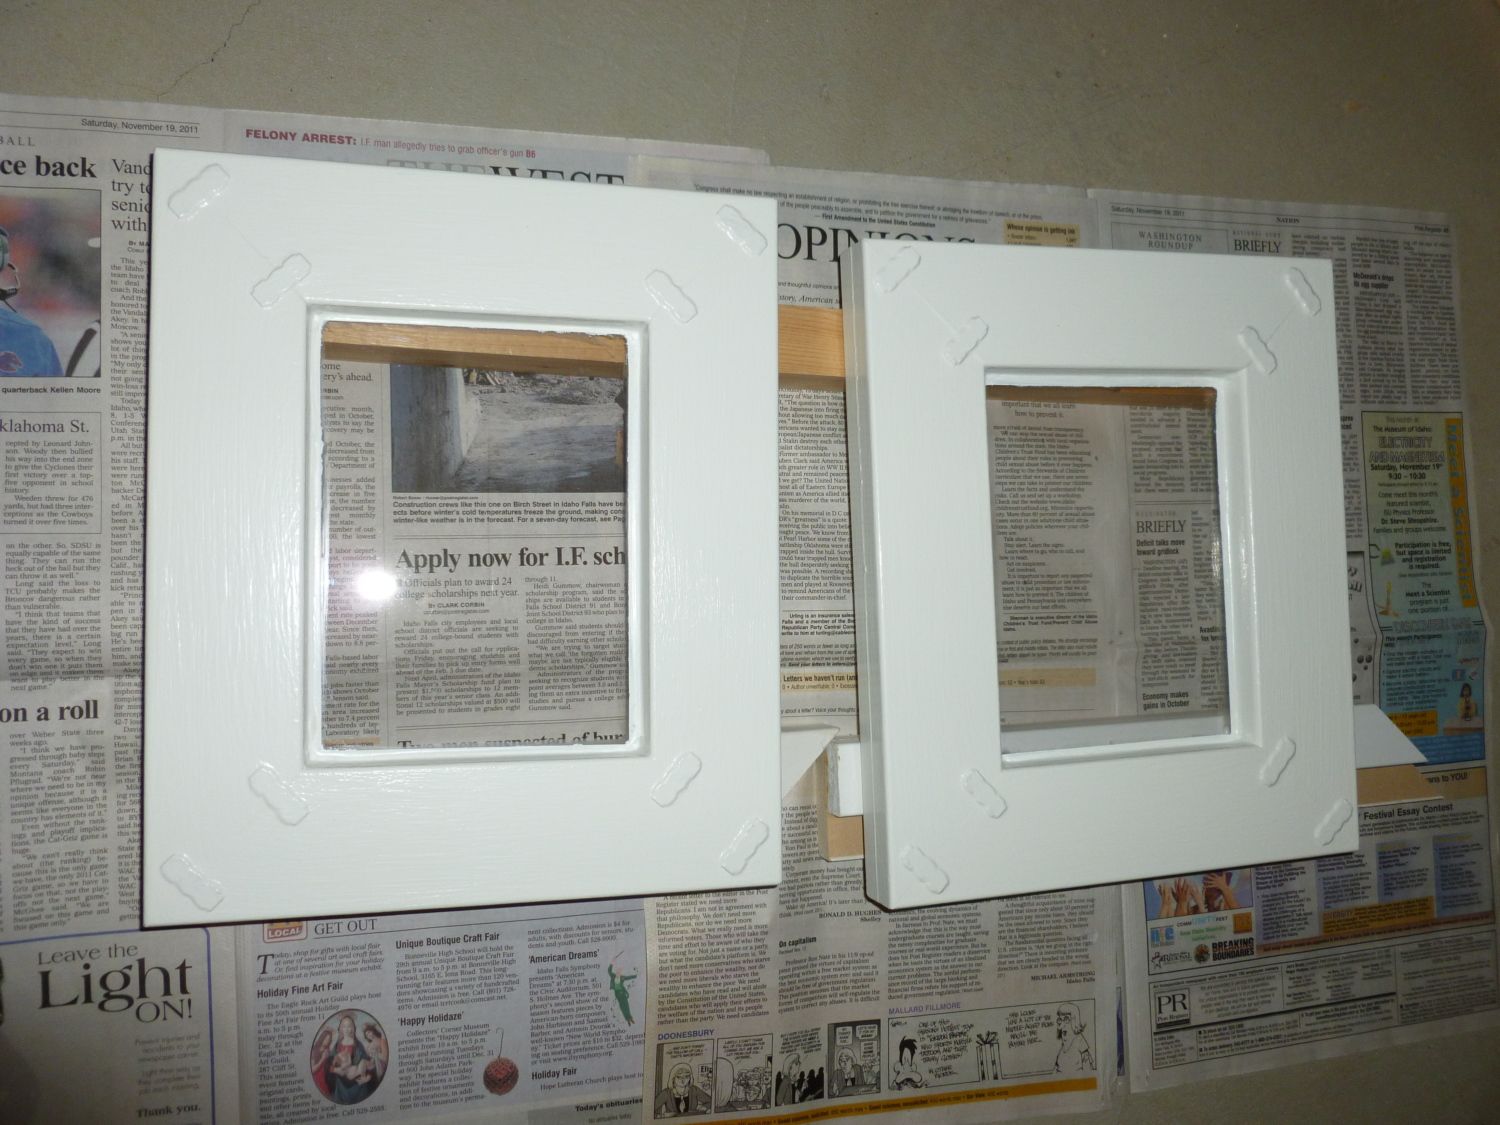
I worked on the coop during October, but I forgot to take pictures. Sorry. By November, I had finished building and painting the window frames and I had secured the plexiglass windows in the frames.
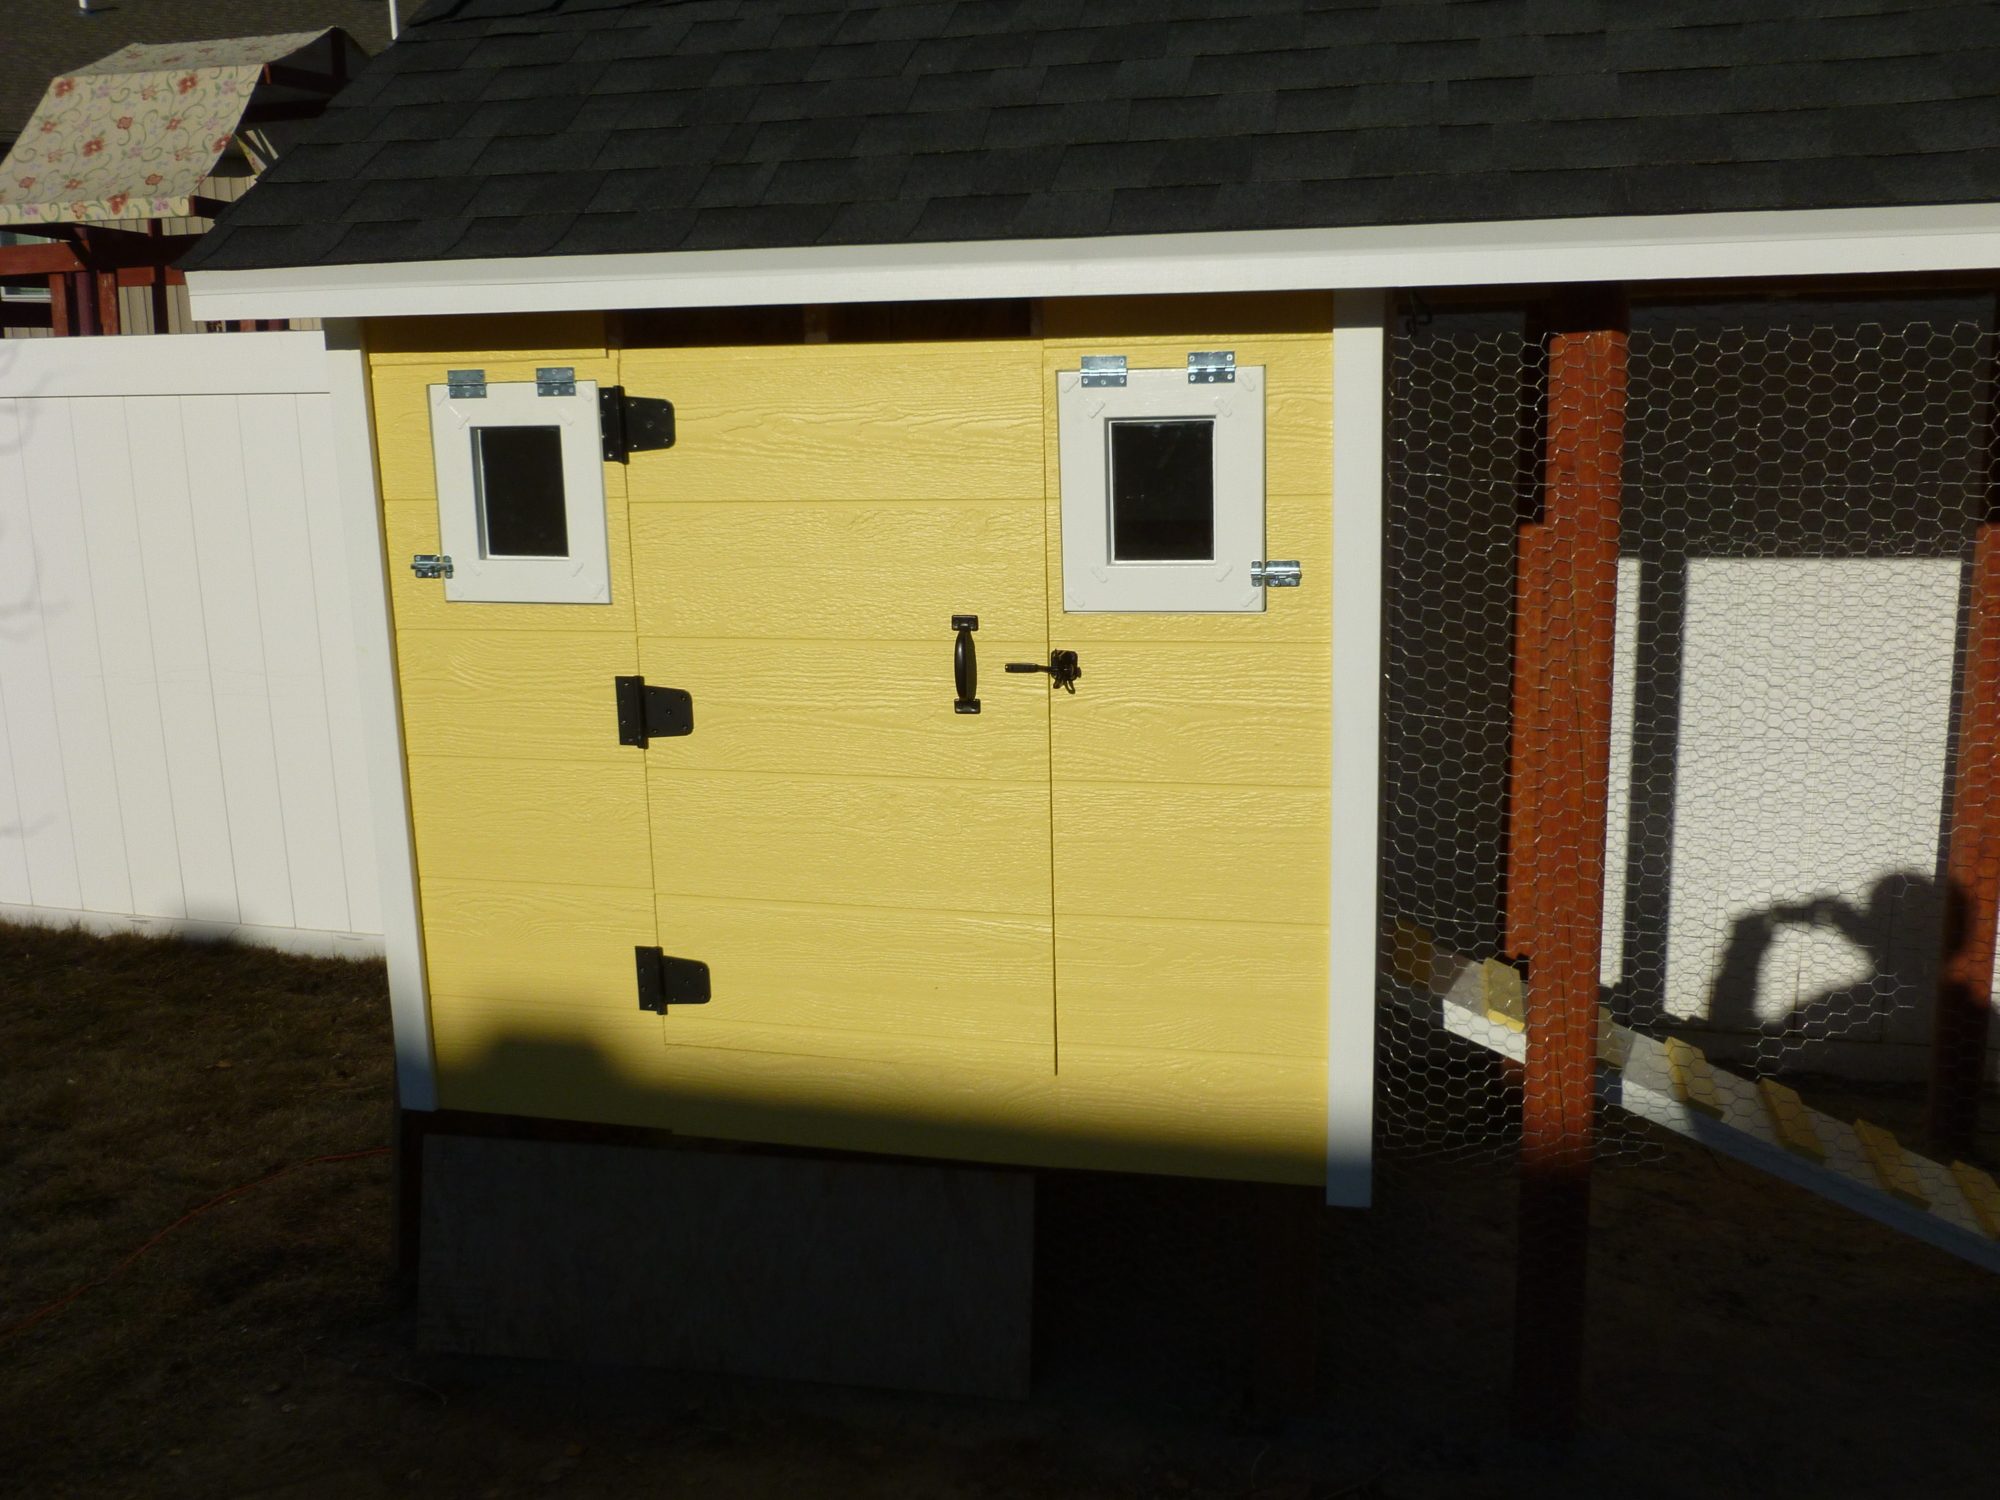
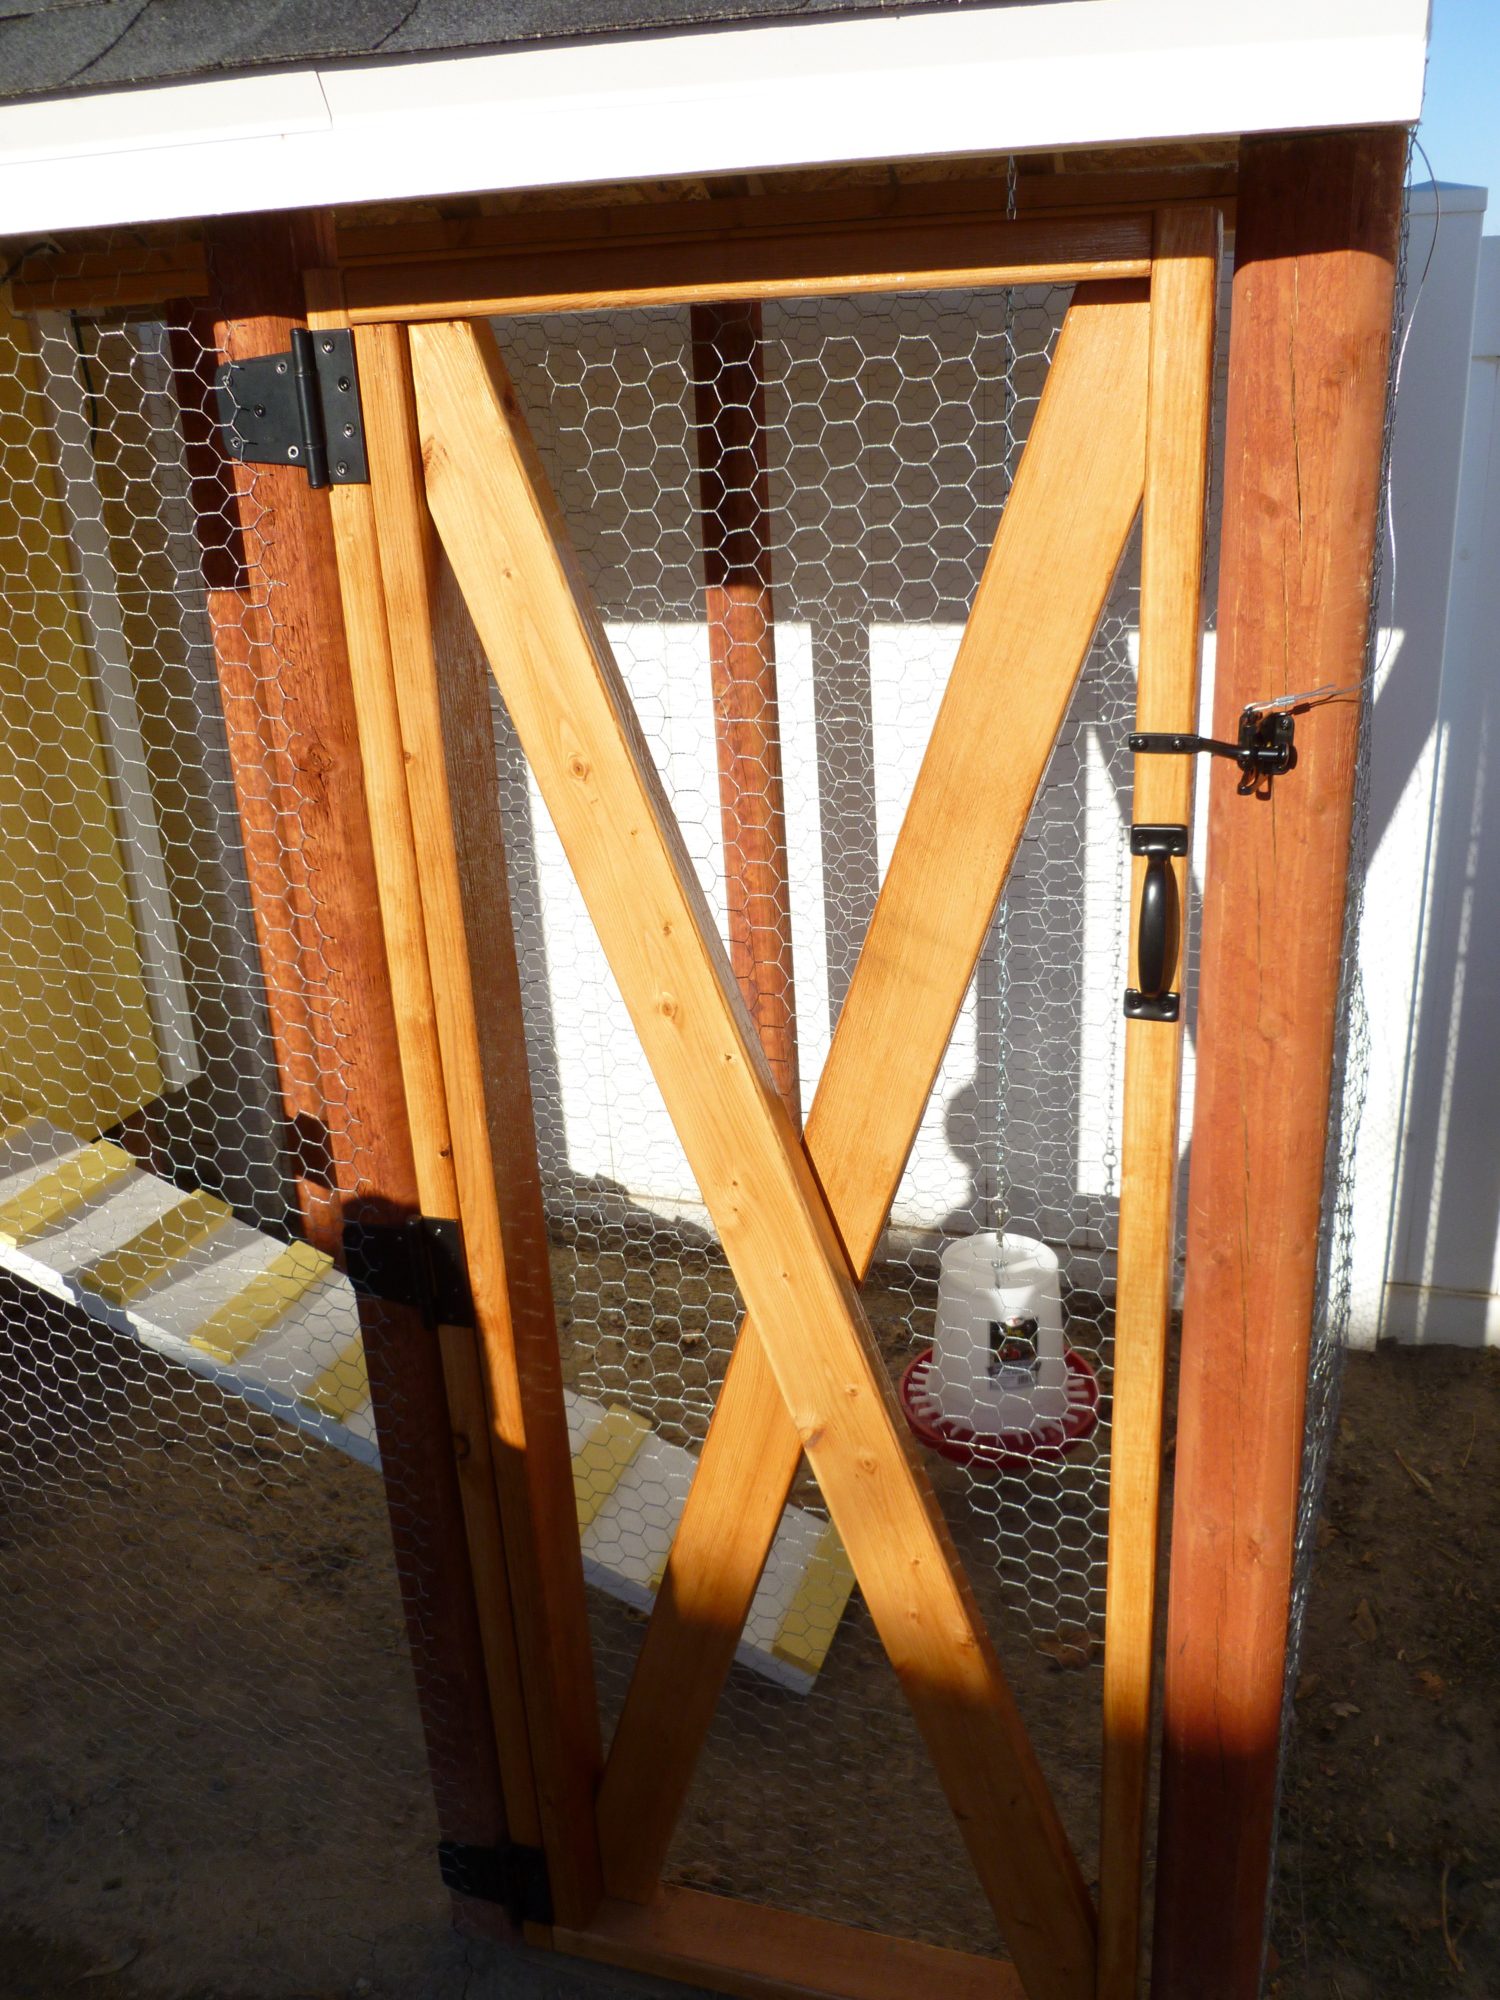
Also, in November, I mounted the main door into the coop as well as the gate into the run. I forgot to take pictures of the door and gate while they were under construction, but you can see them mounted in the December pictures below.
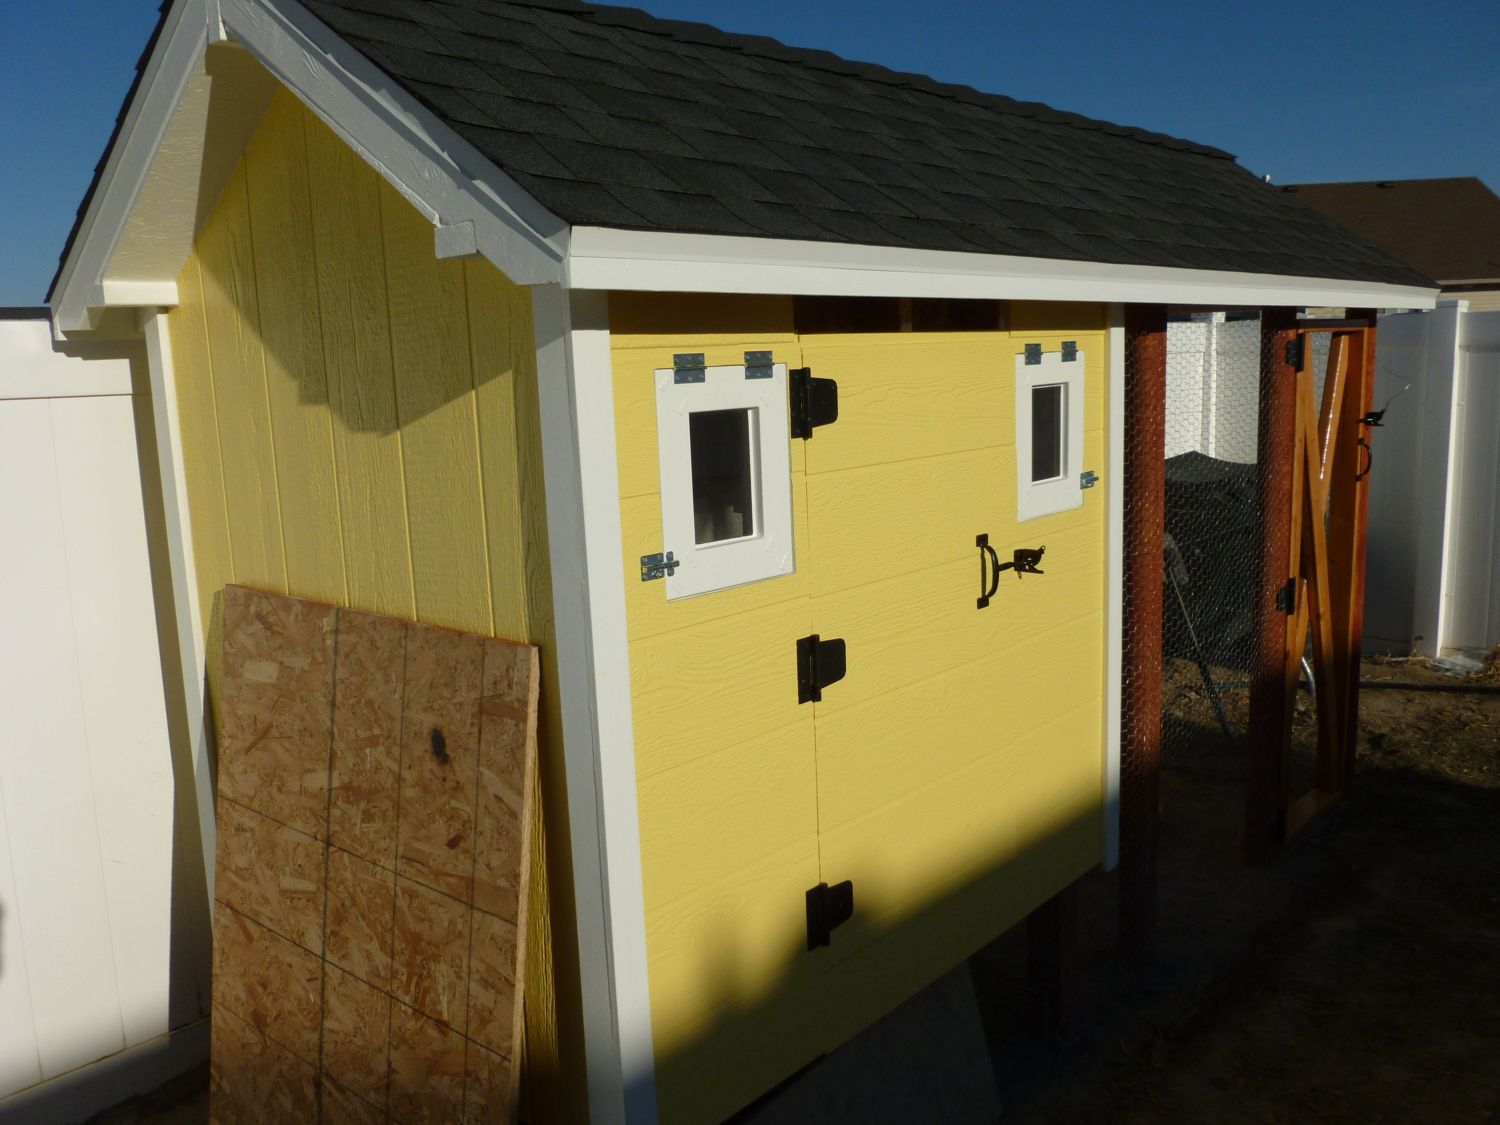
By early December, I decided I really needed to push to get the coop habitable. I mounted the windows as seen here.
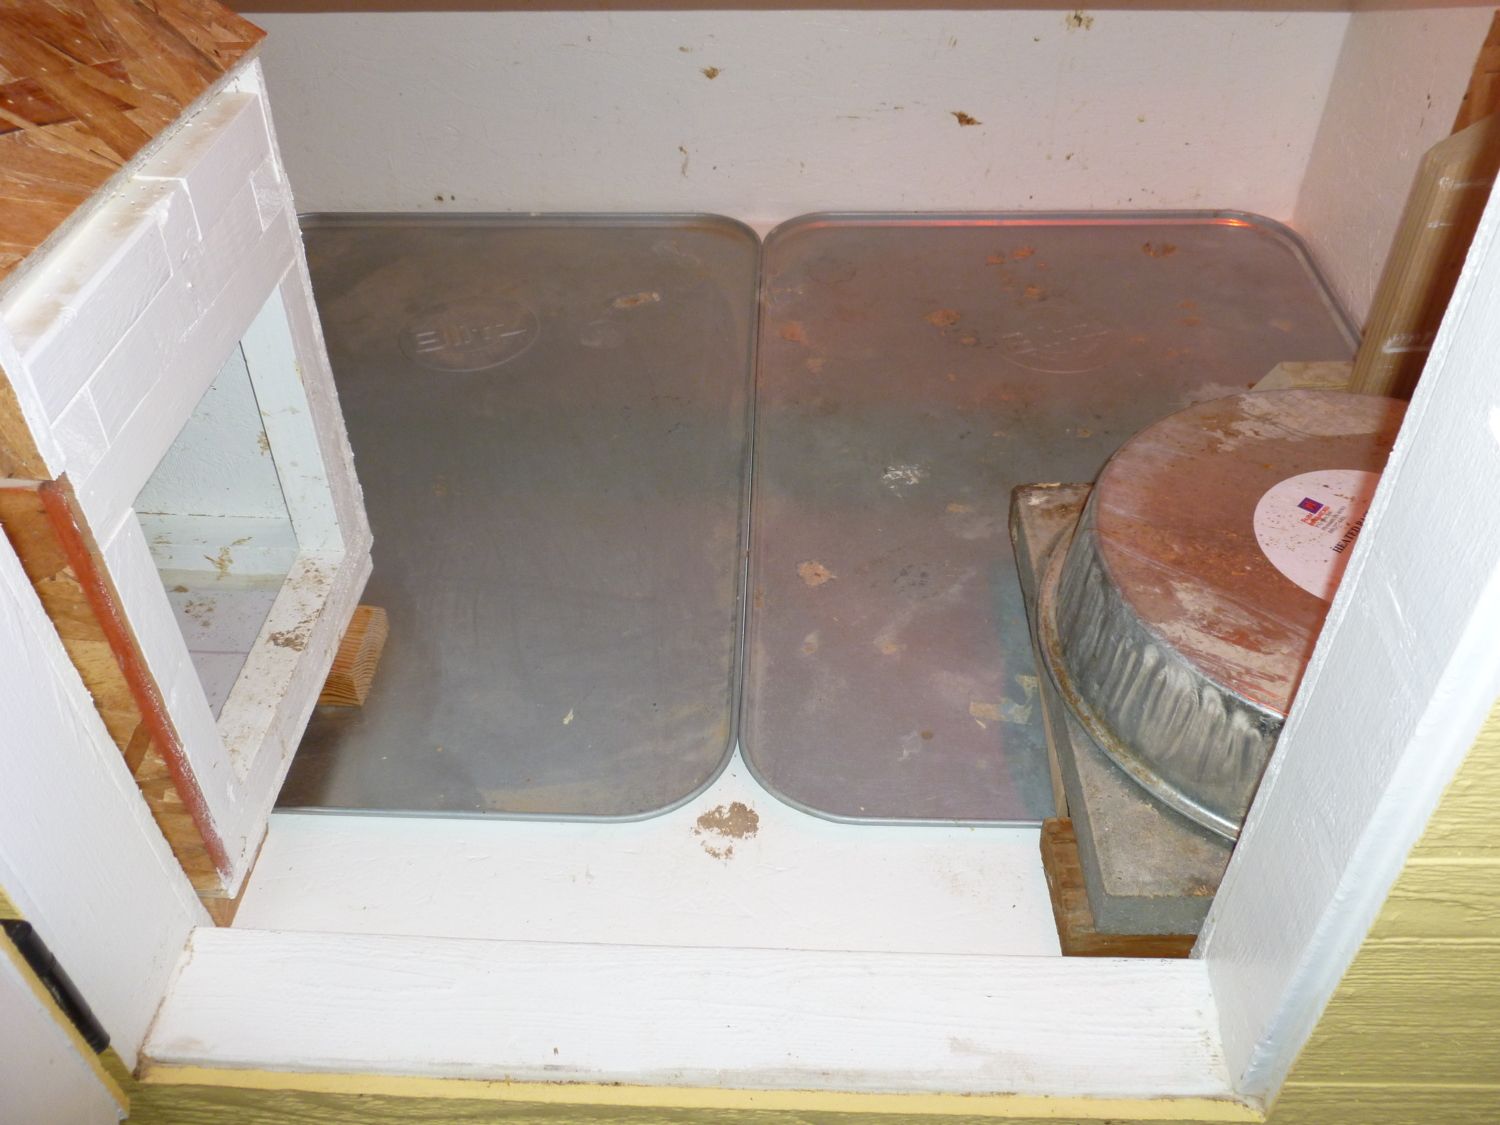
I made a temporary door to keep the chickens inside the coop at night. I also put two automotive drip pans on the floor. The fit well side to side, but left a couple of inches of the floor uncovered near the front of the coop. The idea behind these drip pans is that I can easily remove them when cleaning the coop. My brother gave the idea to me. I had seen a similar plan on BackYard Chickens when someone used plastic washing machine drip pans.
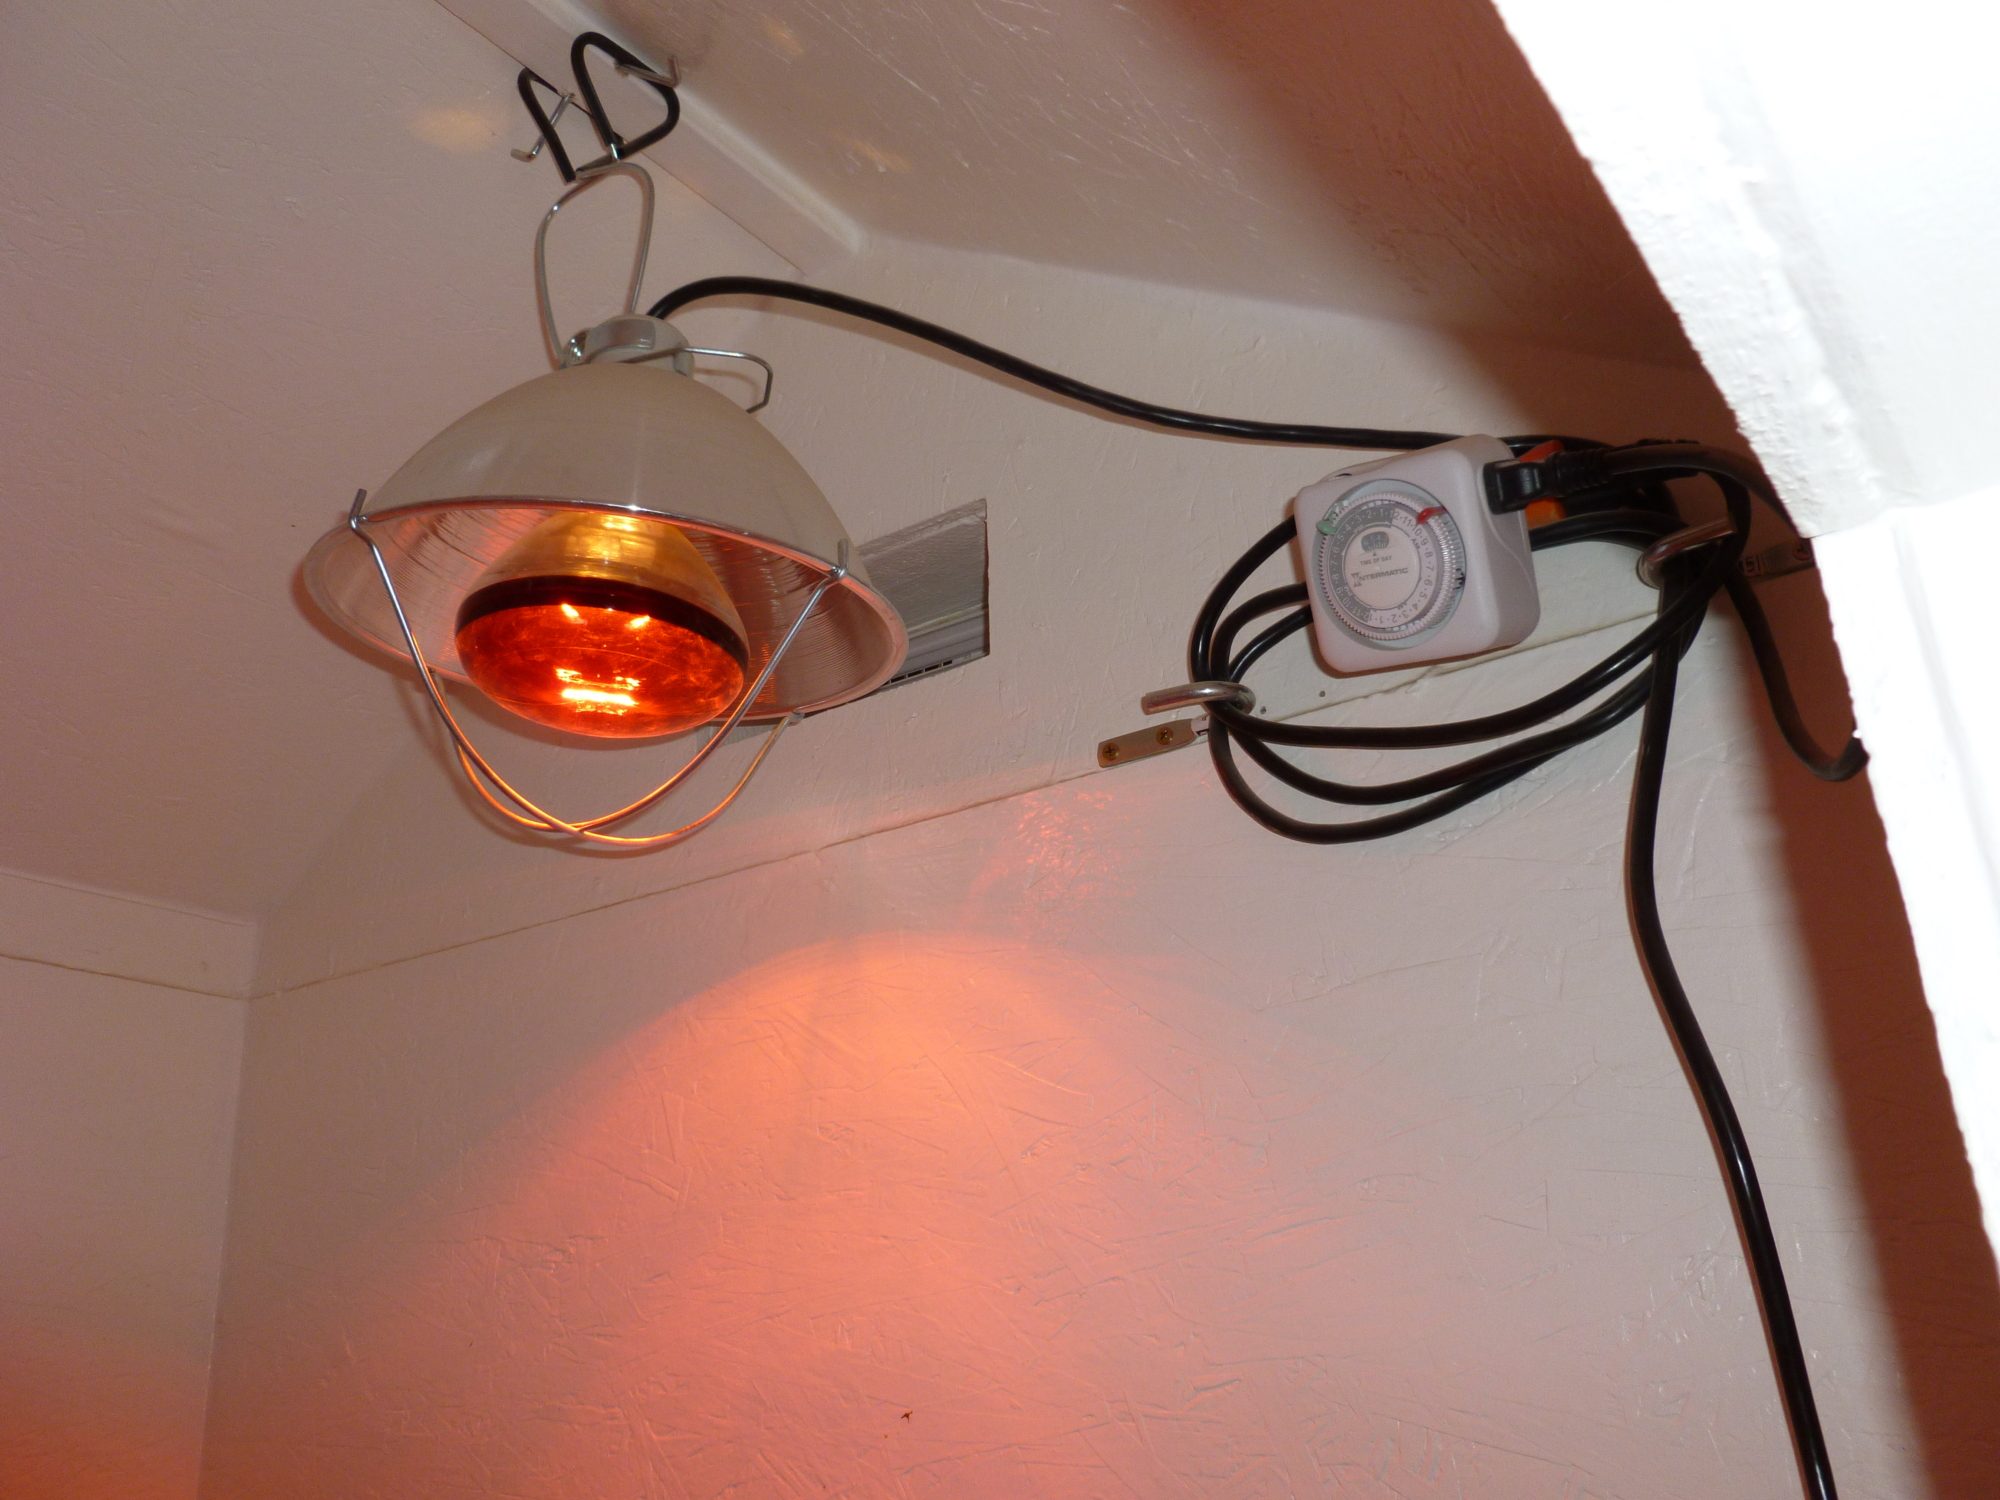
Note the vent at the top. I have kept it open to allow for air circulation. I also cut a hole for an extension cord. The extension cord is only for the winter when I heat is needed. On the inside I mounted a heat lamp on a timer and a heater to keep the water from freezing. Every winter we have temperatures that drop well below zero degrees fahrenheit, sometimes between 10 and 20 degrees below zero. So I wanted to make sure I had a heat source.
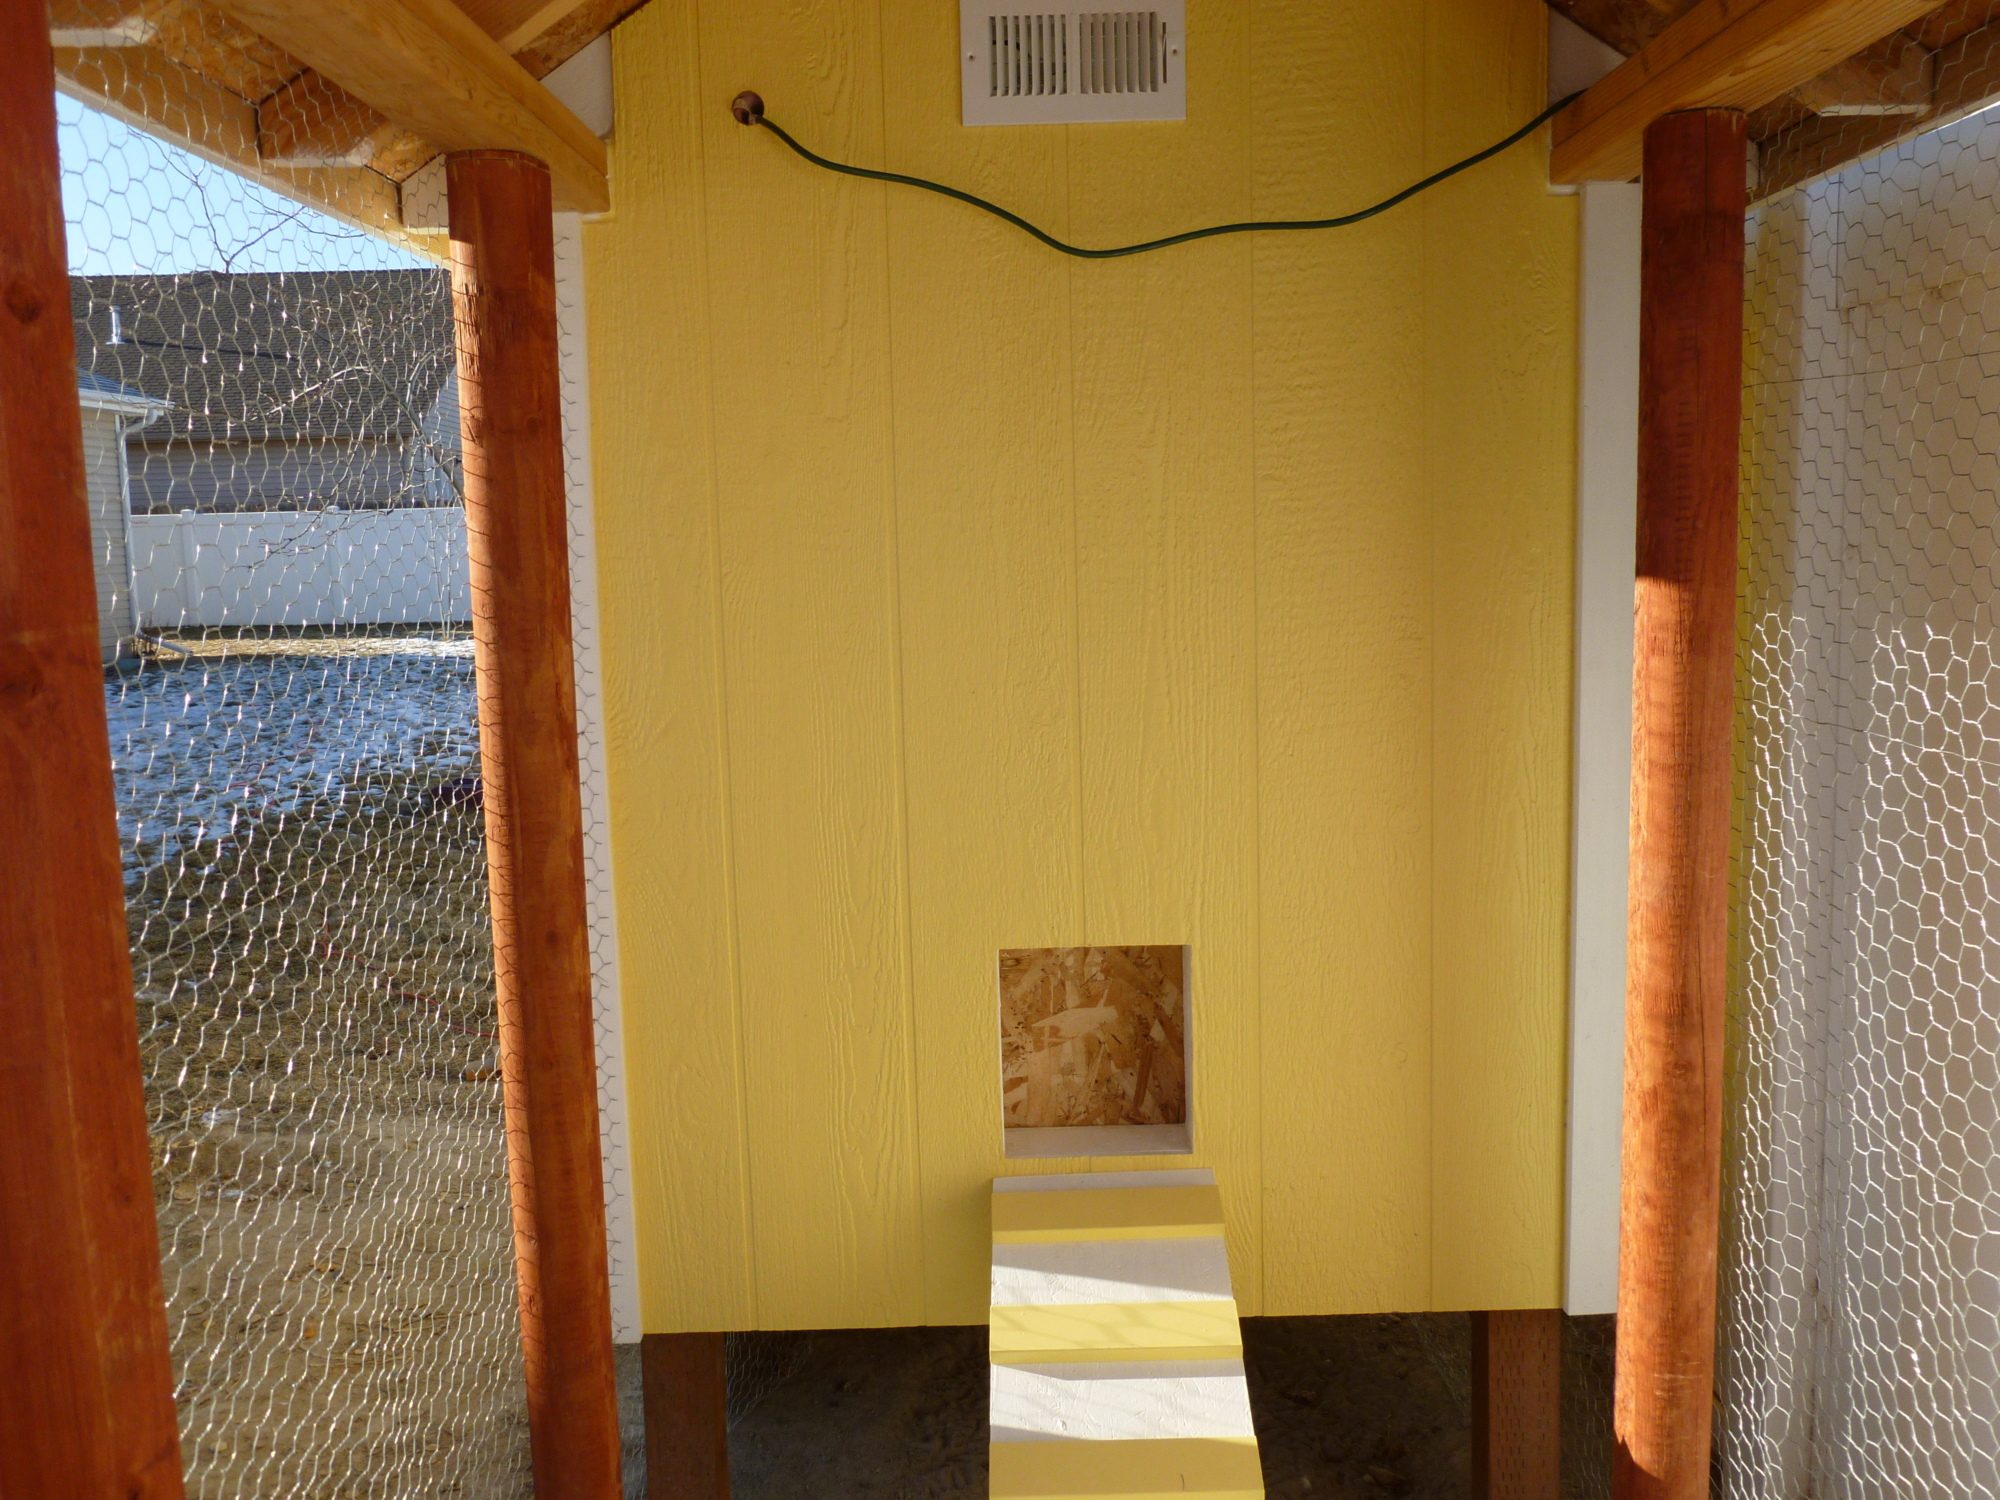
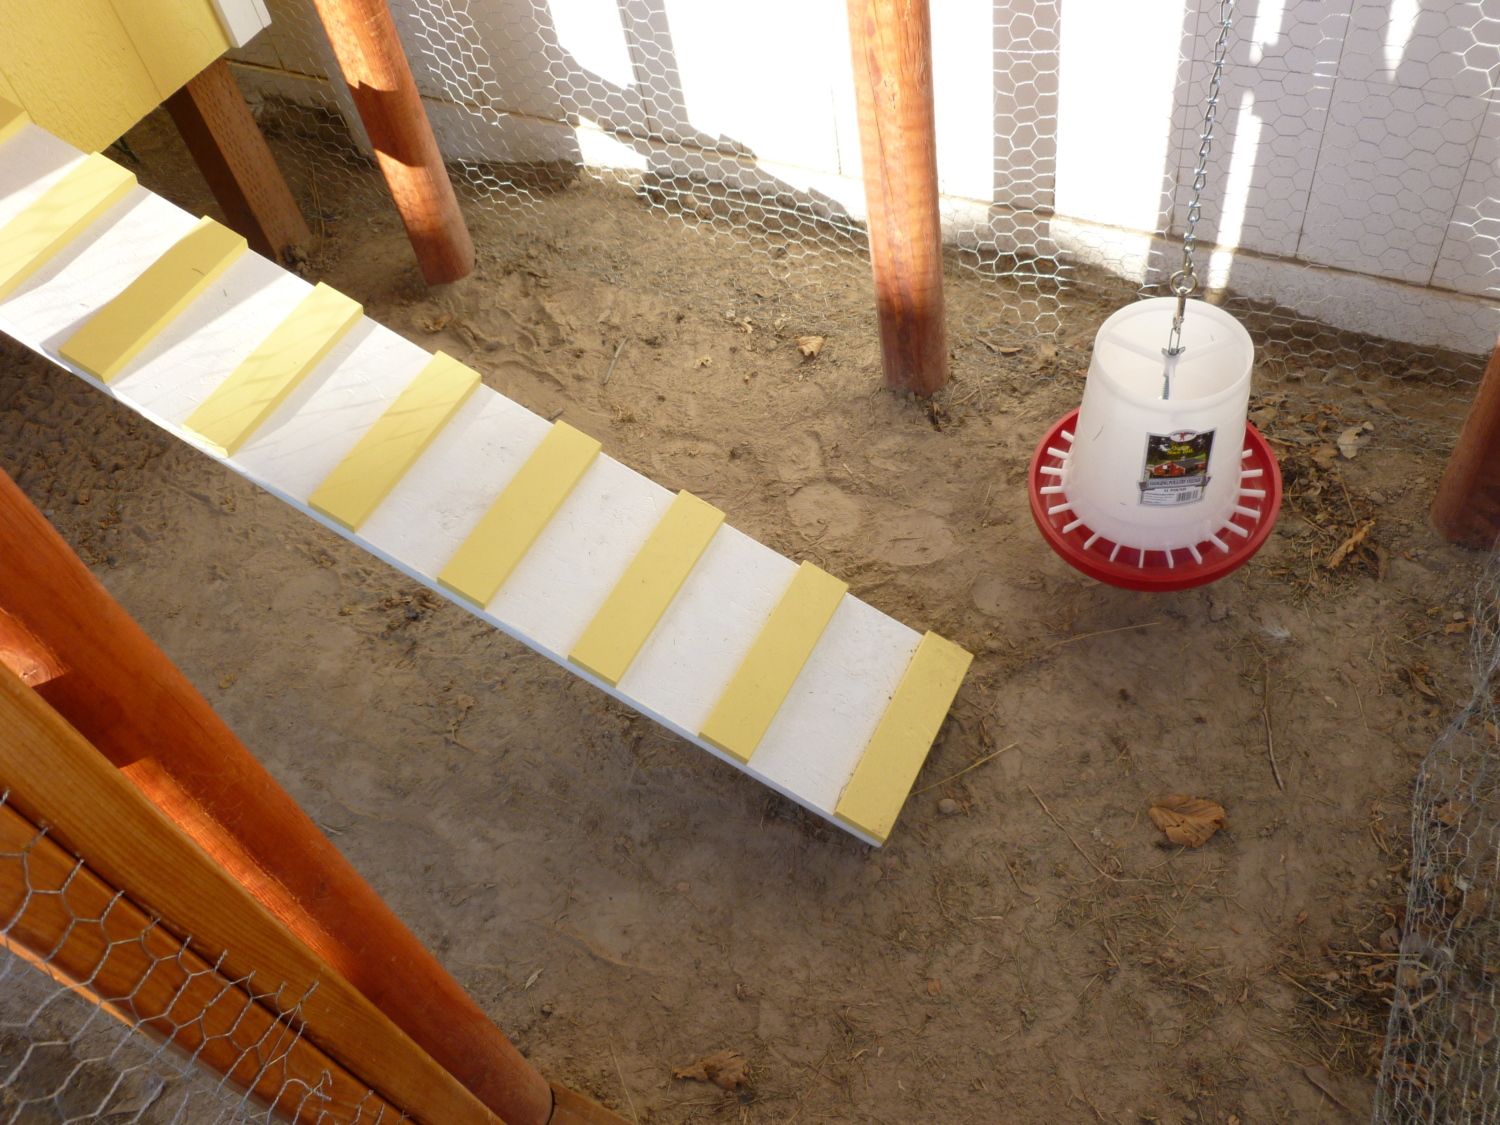
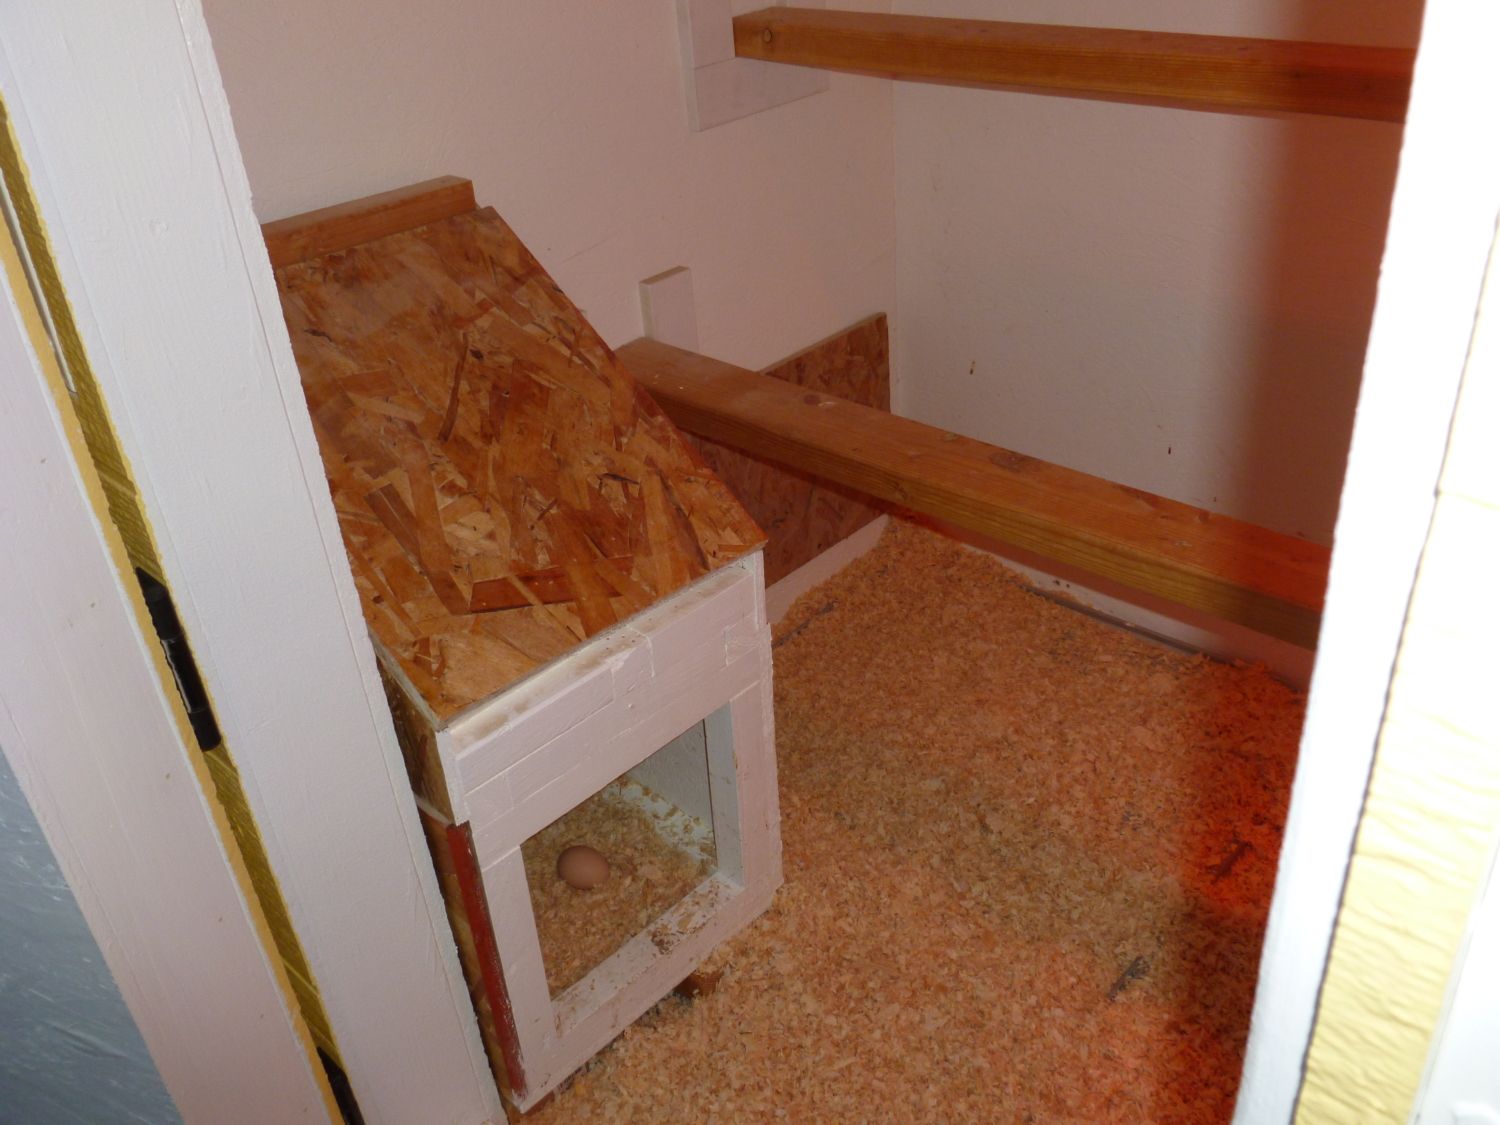
I hung the feeder with a chain to keep it off of the ground and installed the ramp into the coop.
Here's the gate. Back in October and November, I stained it and then coated it twice with some outdoor, oil based, clear gloss spar urethane to protect it from the elements. We also got the chicken wire installed during the end of November and first part of December.
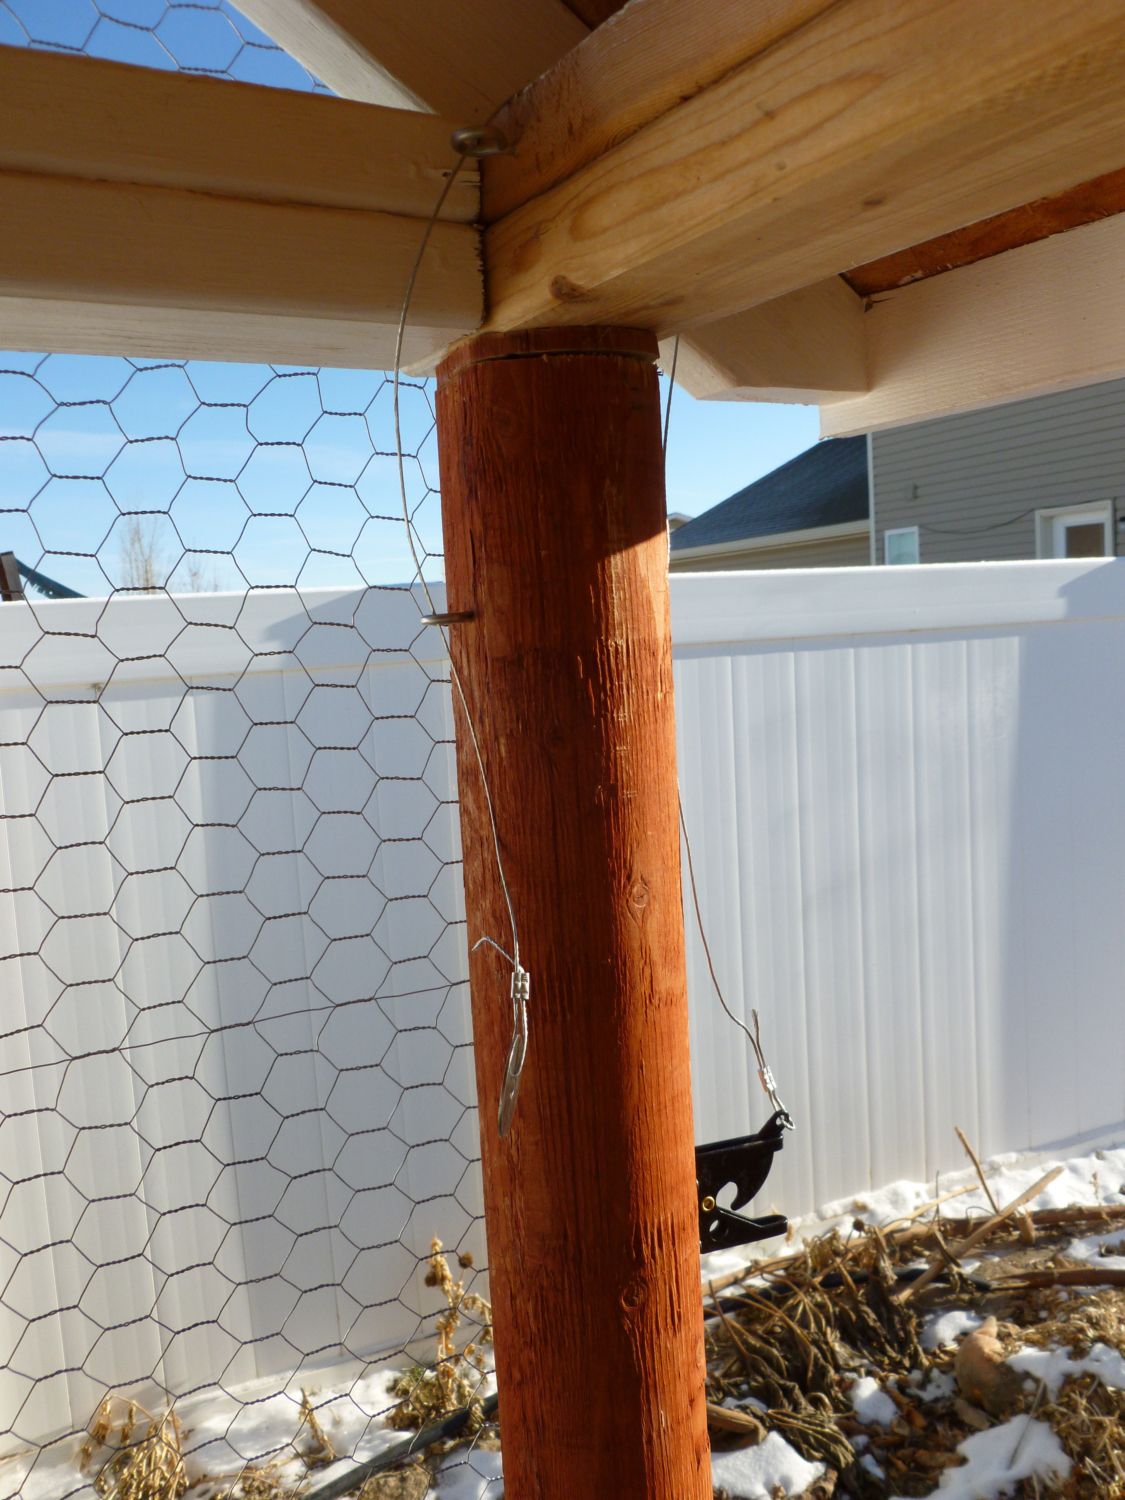
To keep from locking yourself inside the run, I added a pull wire with a large washer at the end so the gate can be opened from the inside.
I am planning on having two nesting boxes on the side of the coop. But because I haven't built them yet, and because winter is upon us, I simply covered them up for now.
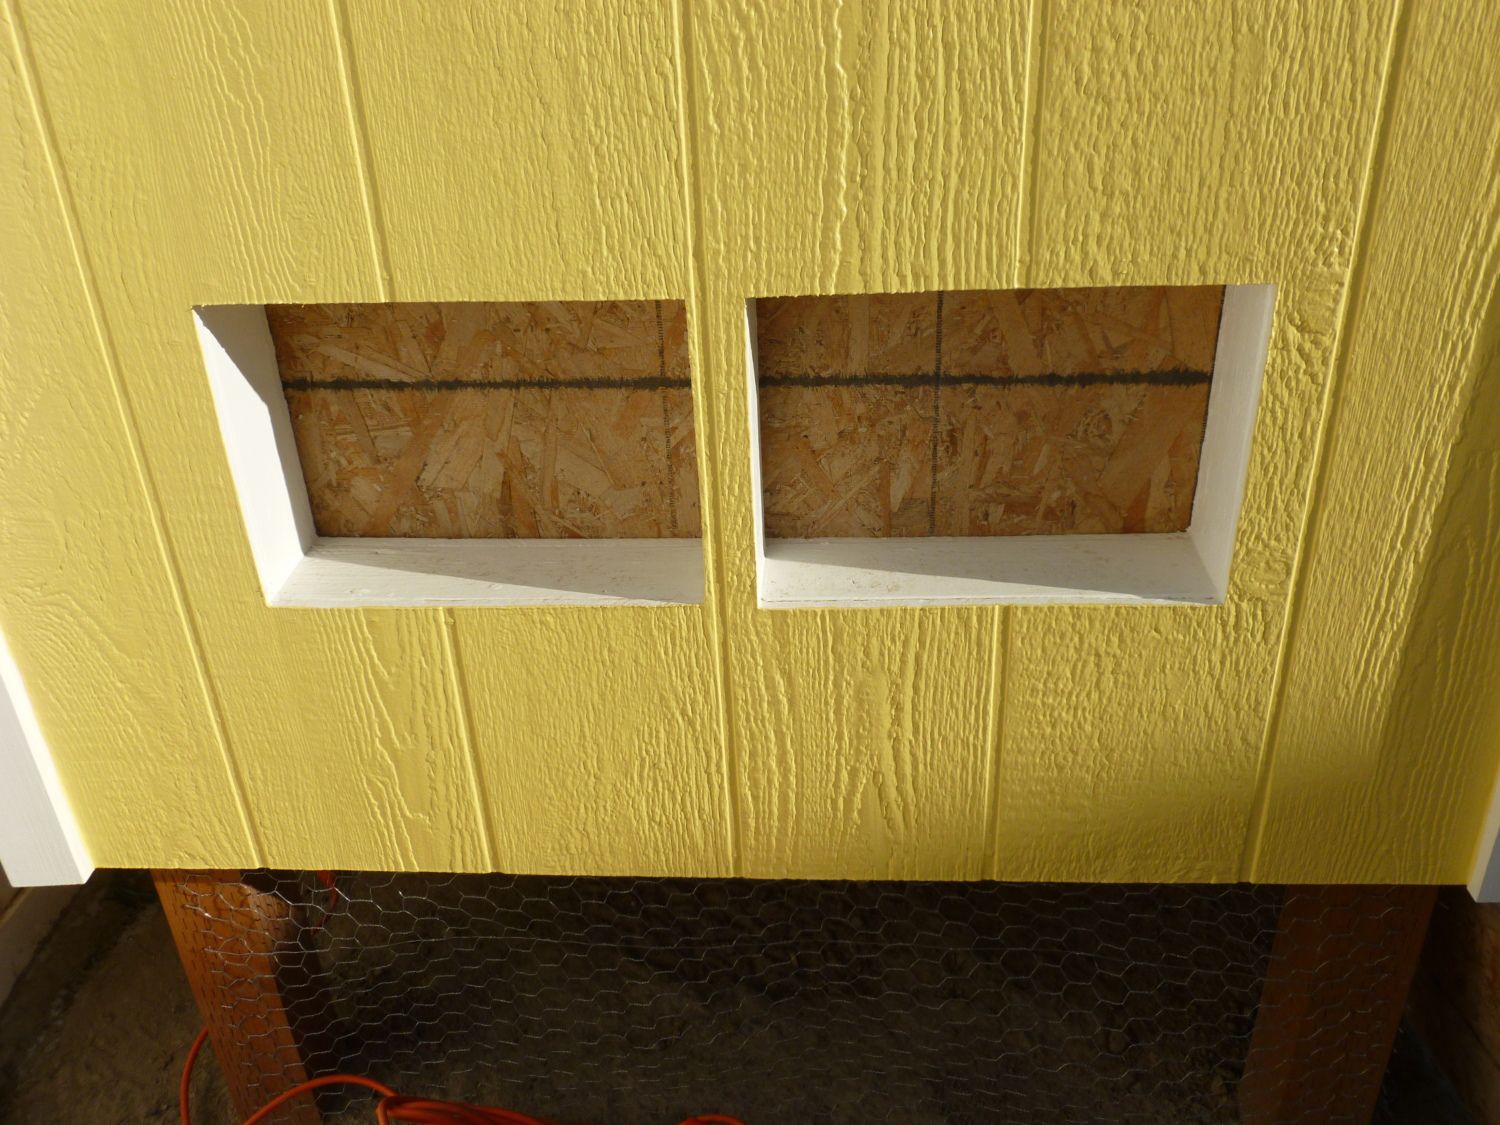
To make sure snow and water didn't get into the holes for the future nesting boxes a leaned a board up against the outside. I know that looks a bit dumpy, but it's only temporary.
One last day to play in the coop fort before the hens move in.
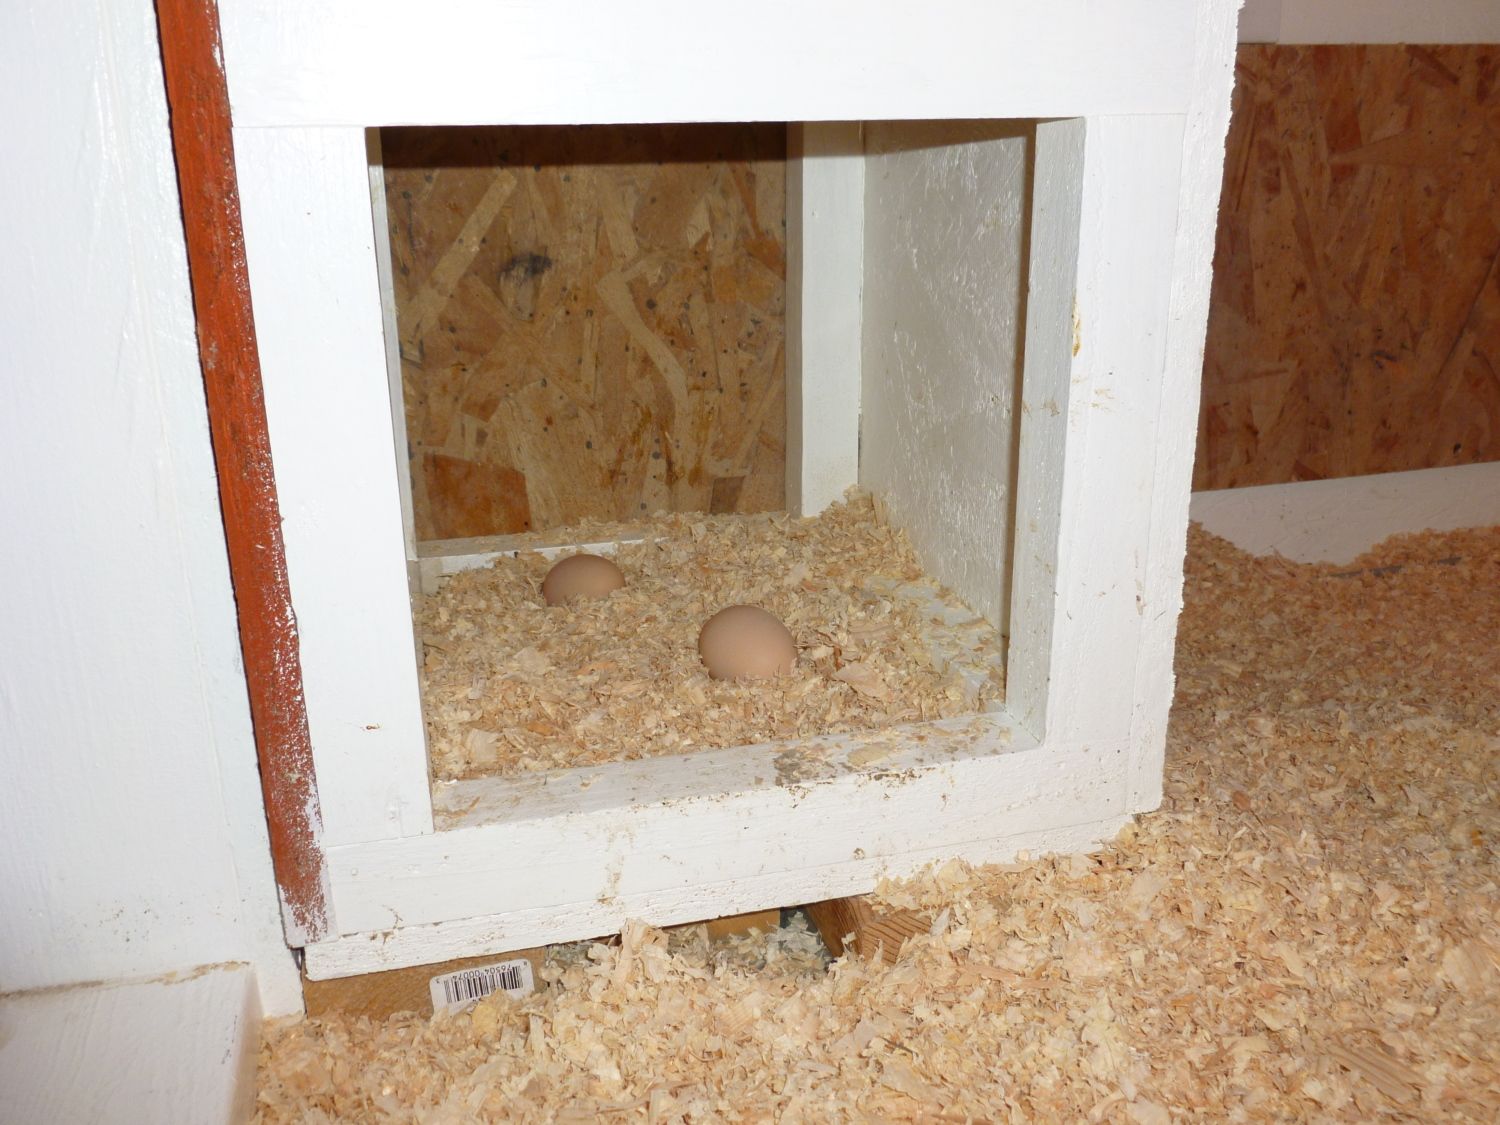
Knowing that the hens still need a place to lay their eggs, I spent an hour and a half and slapped a temporary nesting box together. It's removable. In fact, I take it out each time I clean out the coop. These pictures were taken in January, about a month after the hens had been in their new home.
Portable nesting box.
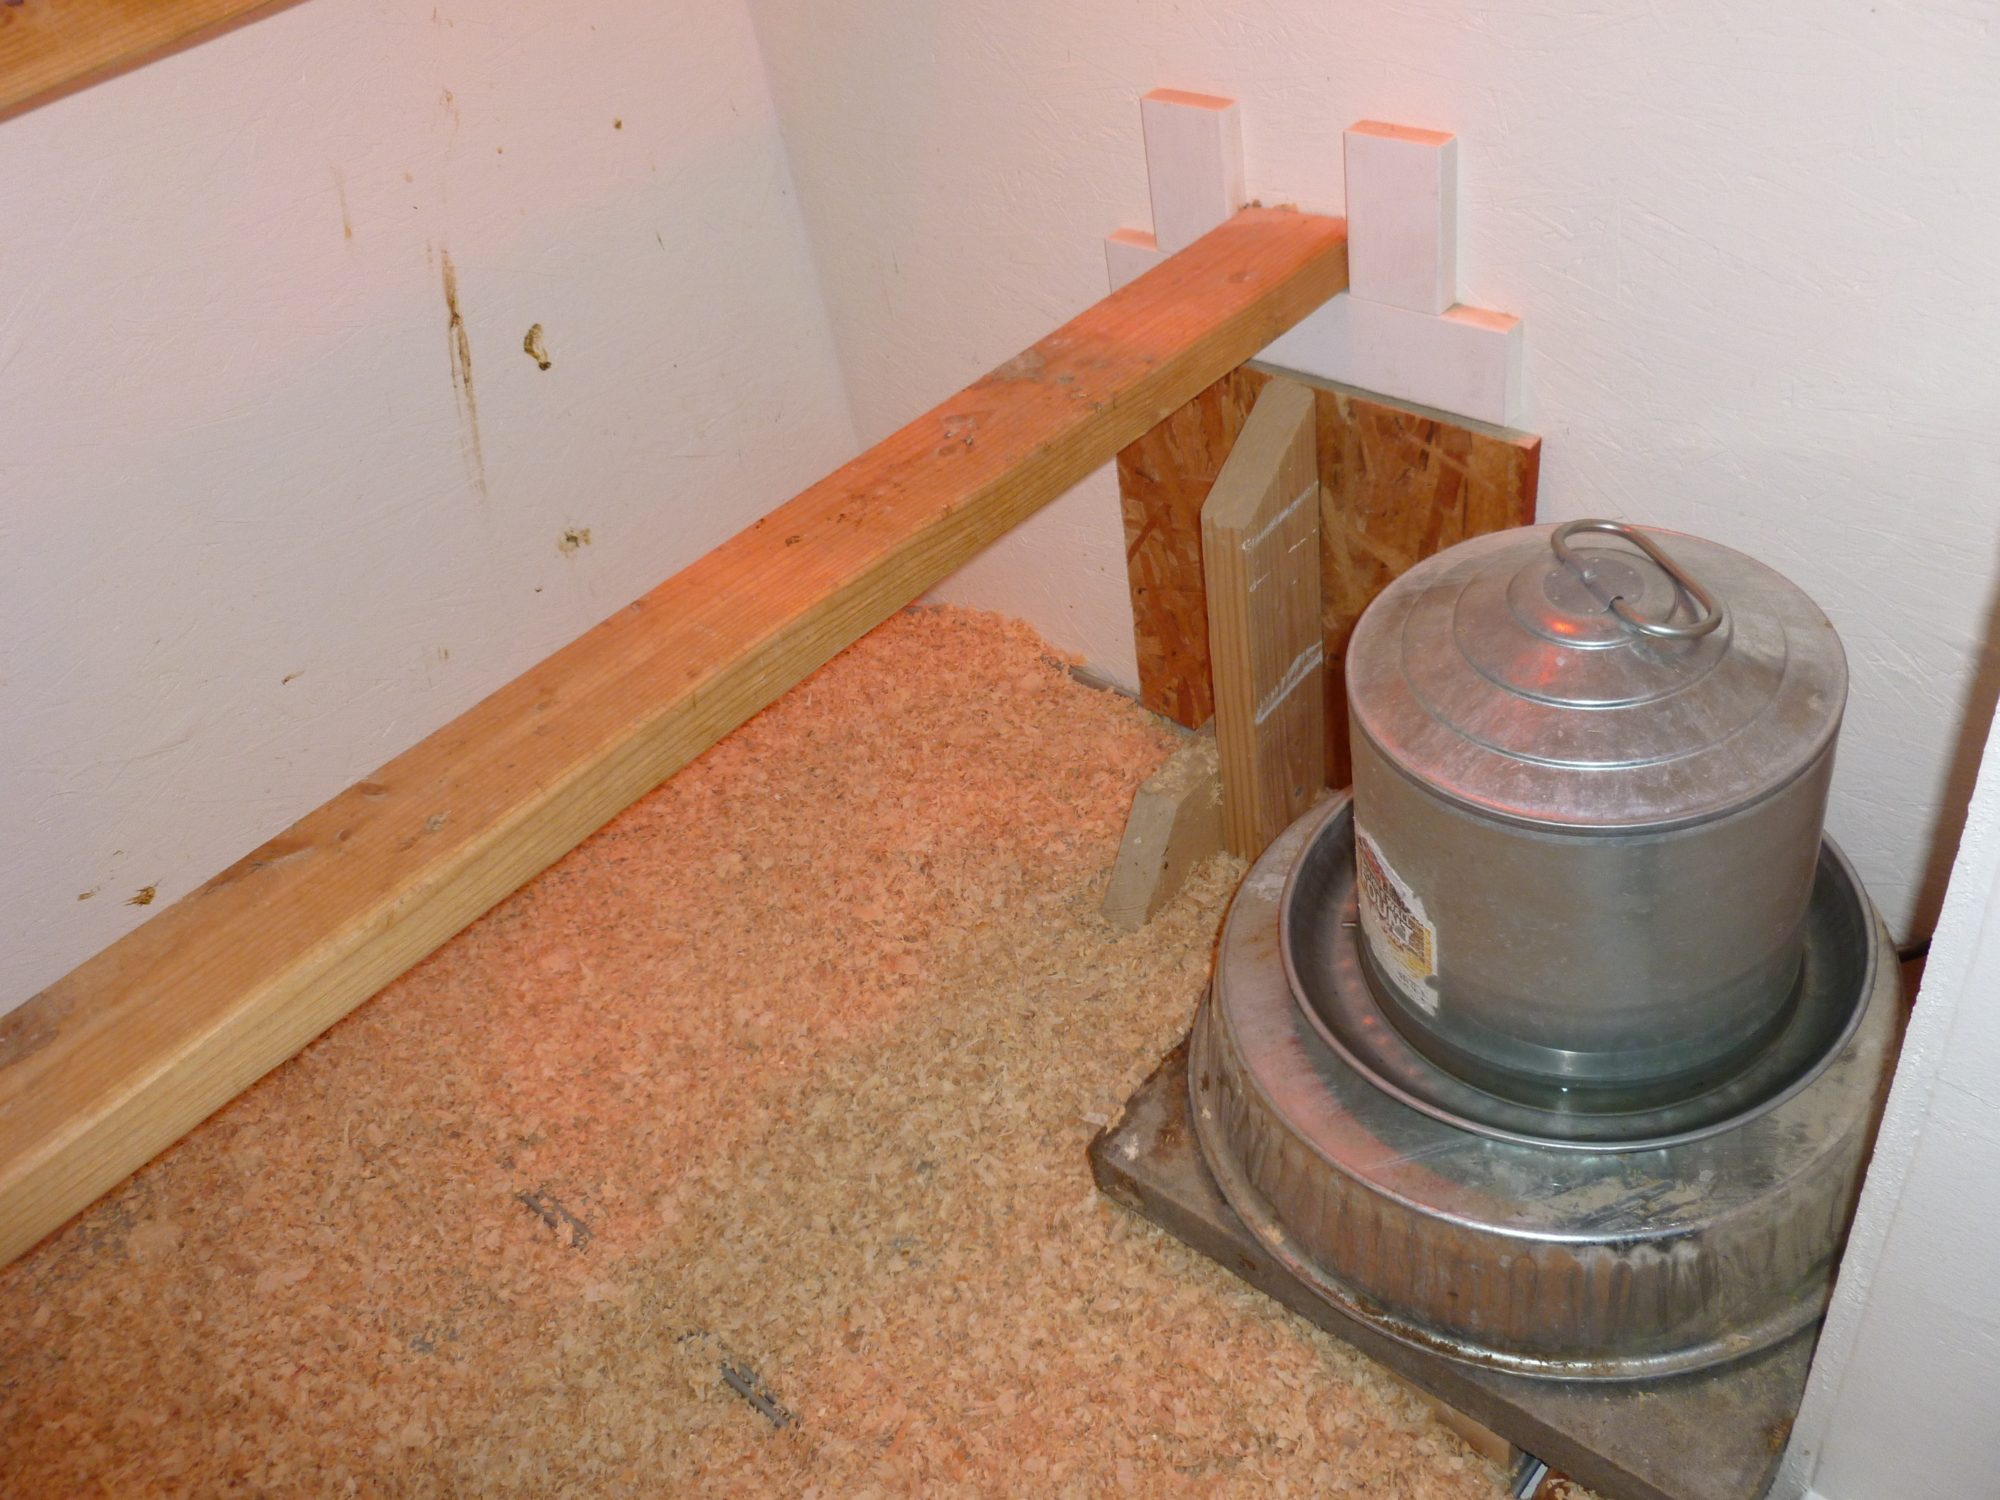
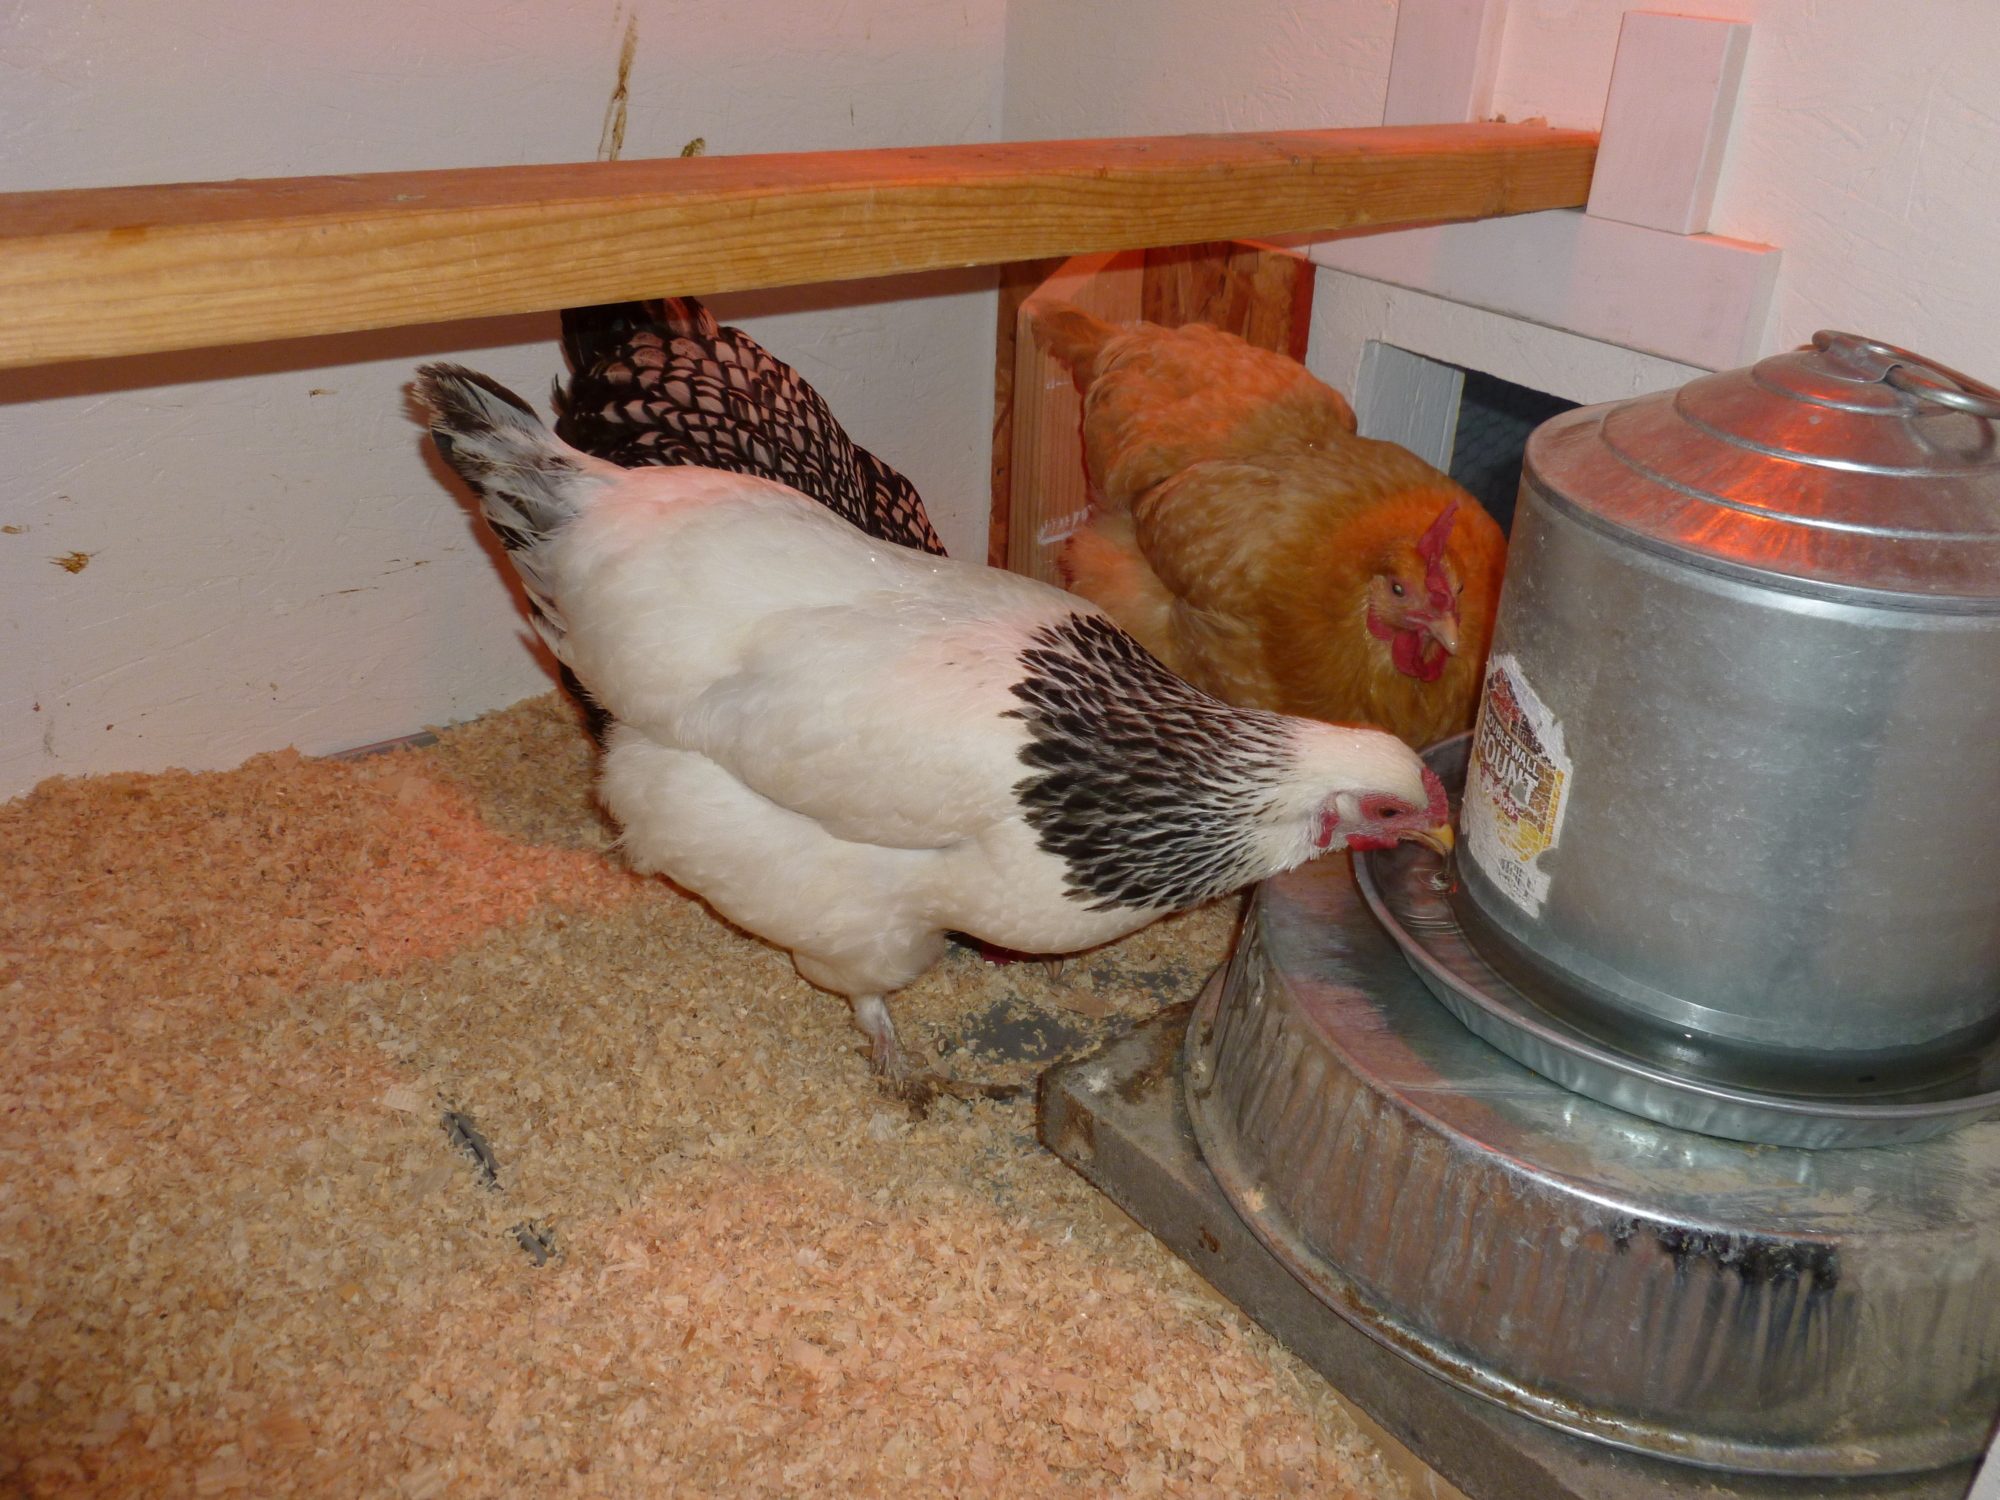
Water fount on top of heater. The heater is on top of a large paving stone. I like having the water raised up because it drastically cuts down on the amount of shavings and other stuff that end up in the water.
Here's the heat lamp and timer. Unless it is really, really cold, I don't have the heat lamp on during the day. The heater is attached with two screw-in fasteners that prevent it from falling and lighting the whole coop on fire. The water heater does not run through the timer. I also did my best to keep the power cords up and out of the way. After winter, I plan on taking out the heat lamp and water heater as I don't think they will be necessary for two thirds of the year.
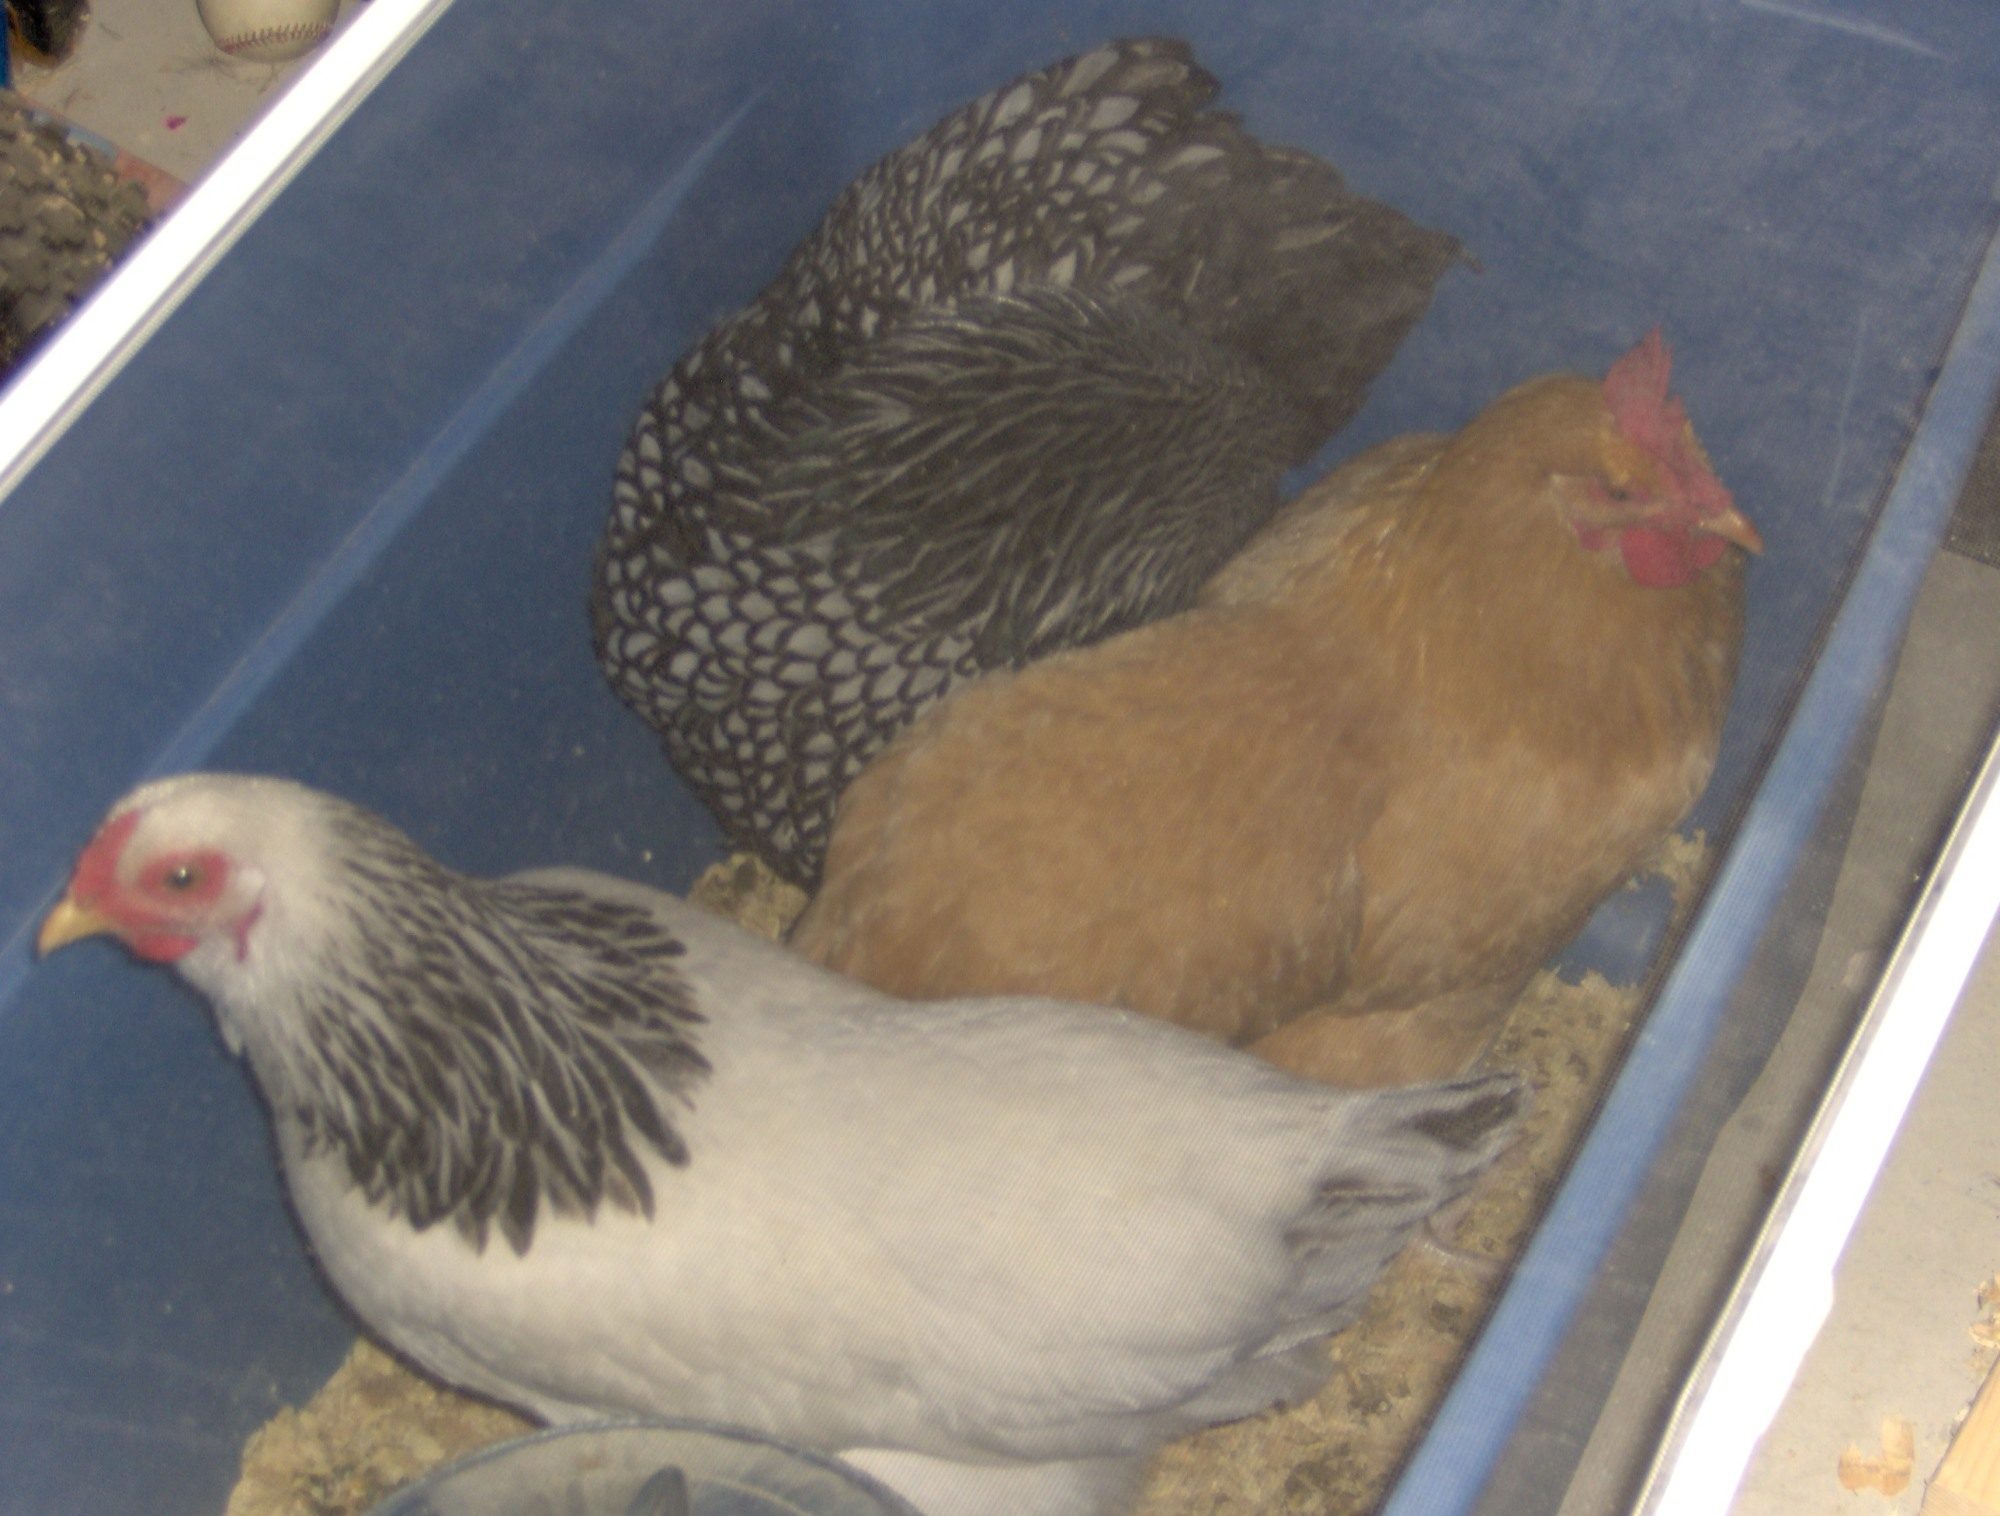
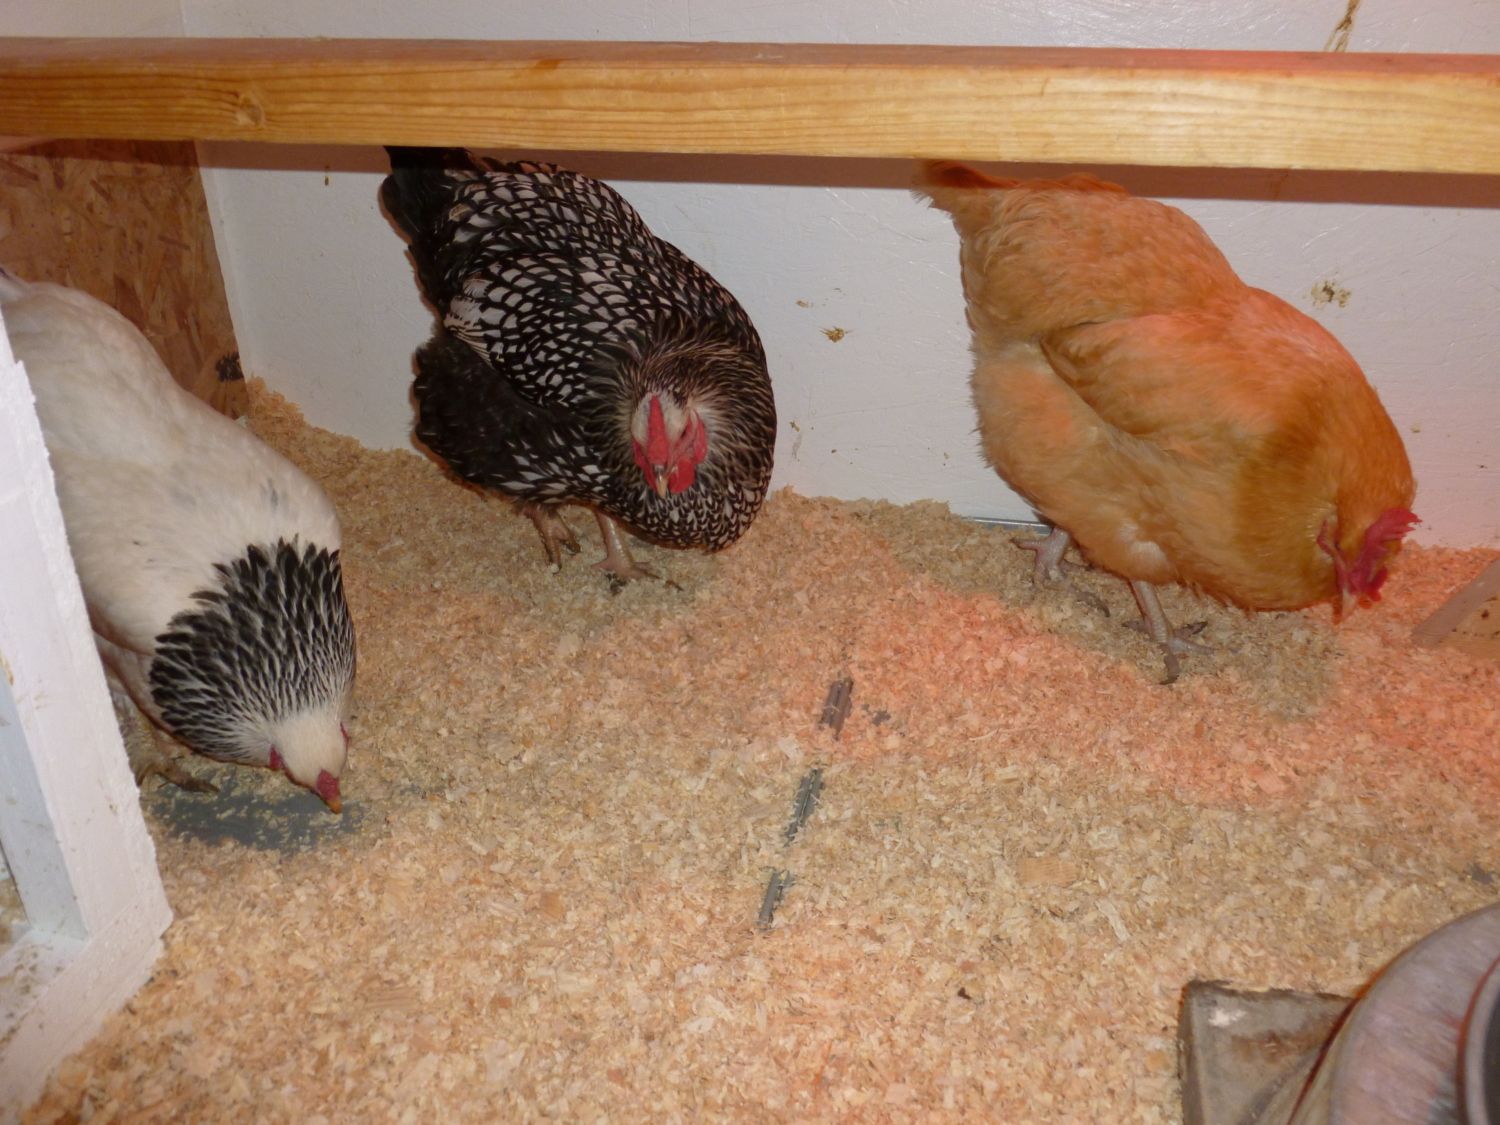
Here's Belle, Lacey and Buffy checking out the fresh wood shavings.
And here's Belle and Buffy getting a drink.
I have to be honest here. We're not saving any money on the eggs we get from our hens compared to what store-bought eggs cost. In fact, after considering what the materials cost for the coop as well as the chicken food, the eggs we get are golden eggs or at least worth their weight in gold. But that's okay because although it looks like we're raising chickens, what my wife and I are really raising are three boys. These hens have given the boys responsibilities and chores such as feeding the hens, collecting eggs, picking up poop (but not now that the hens aren't wandering all around the backyard), helping to clean the coop, etc. They also had fun helping to build the coop. So all in all, I'm very pleased to have our backyard chickens.
