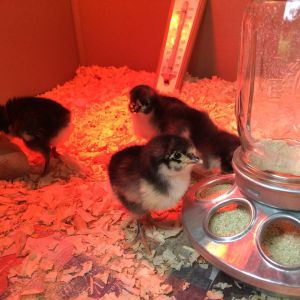
New to Urban Chickens. Just completed new chicken coop and brooding Australorp chicks. We have one other neighbor in the area with chickens......... got the itch and decided to join in. Tigard, Oregon
I love this.... did you have blueprint plans or did you just "wing" it ;-) ? We have NO building experience whatsoever, but ALL the tools, and we are going to attempt a 4 hen coop this weekend.... this is the design we are aiming for.
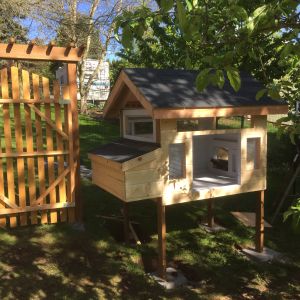
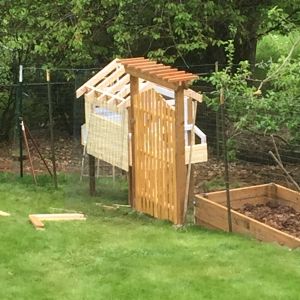
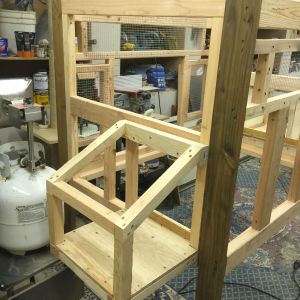
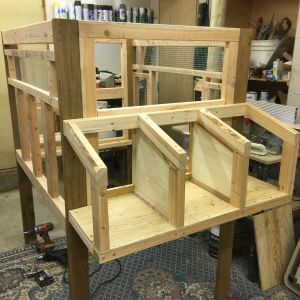
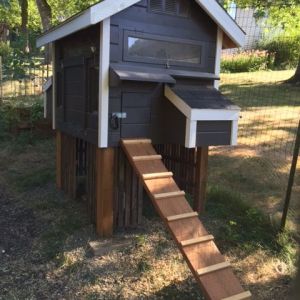
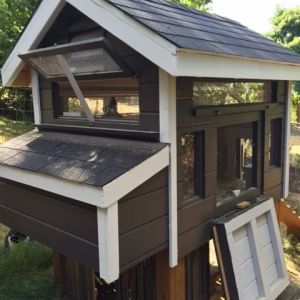
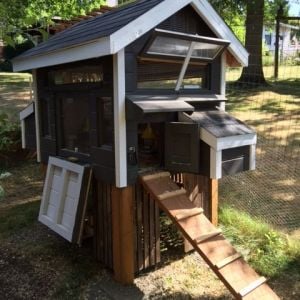
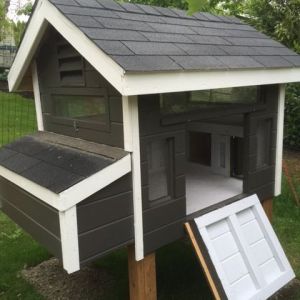
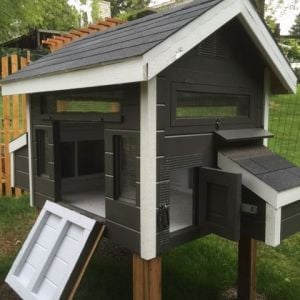
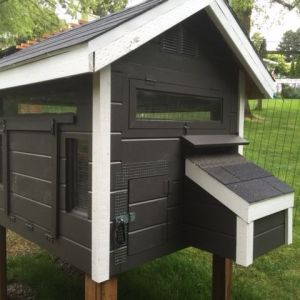
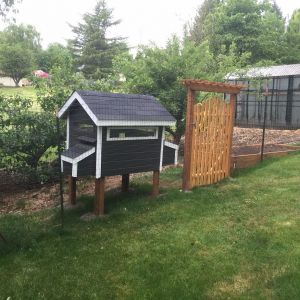
What I did was looked at a bunch of Coops from this site and went with the square footage recommendations given in the "Learning Center" along with the very important ventilation requirements. If you look closely at the pictures there are large vents in both ends and rafter vents between every rafter in the roof. We decided on Australorps chickens so the nesting boxes are over sized.
For warm to hot days I put in a windows that open above the nesting boxes on both ends of the coop.
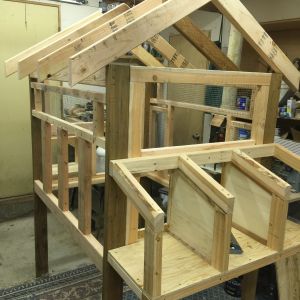
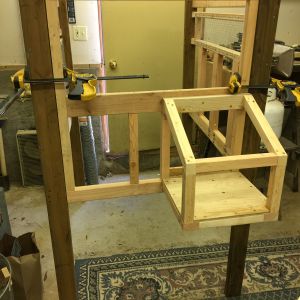
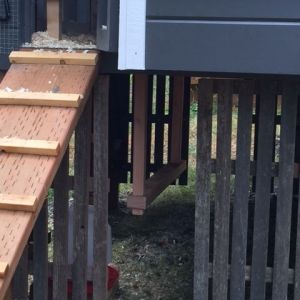
The construction is 2x3's for framing and then pine tongue and groove for siding. I did use cedar for the trim, but only since it will not come in contact with my chickens. I used screws to hold it all together rather than nails. I painted the interior a light color and you can see the dark exterior paint. I installed a outdoor electrical outlet with cover high on one interior wall and ran the wire through the bottom of the coop ending in a normal extension cord male plug on the end which hangs loose against the one coop leg. That way I can run a extension cord from the house to heat the coop in the winter if necessary. All the windows and vents are covered with half inch square heavy wire cloth to protect the flock from our many predators we have here. I also tacked in extra heavy wire cloth along entry points to guard against chewing through by windows and doors.
Construction time was about three weeks.......... the finish trim and putting in the windows (cut my own glass) was a slow go.
We decided to brood our babies inside of the chicken coop so I used card board and reduced the coop to about half the full size and put in a heat lamp. I've since removed the card board and let them use the full coop but kept the card board covering the nesting boxes since they won't be using them for months yet.
The interior of the coop (living area) is 40"x48". The nesting boxes are 14"x16", three on one end and a single on the end with the small chicken door. This is of course way to many nesting boxes for a house built for maybe six chickens max. But I planned on using at least one nesting box as storage for tools and things.
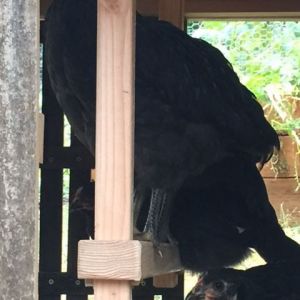
When my four chicks get to size I'll install roosting bars using a good plan I've seen from looking and looking through the Coop section of this site.
In closing......... use this site!!!! There is so much information it is incredible! My coop is so over engineered it took way longer to build then was necessary........... Have fun and relax, it doesn't have to be perfect.... just lots of ventilation and extra steps to protect your flock with half inch wire cloth!