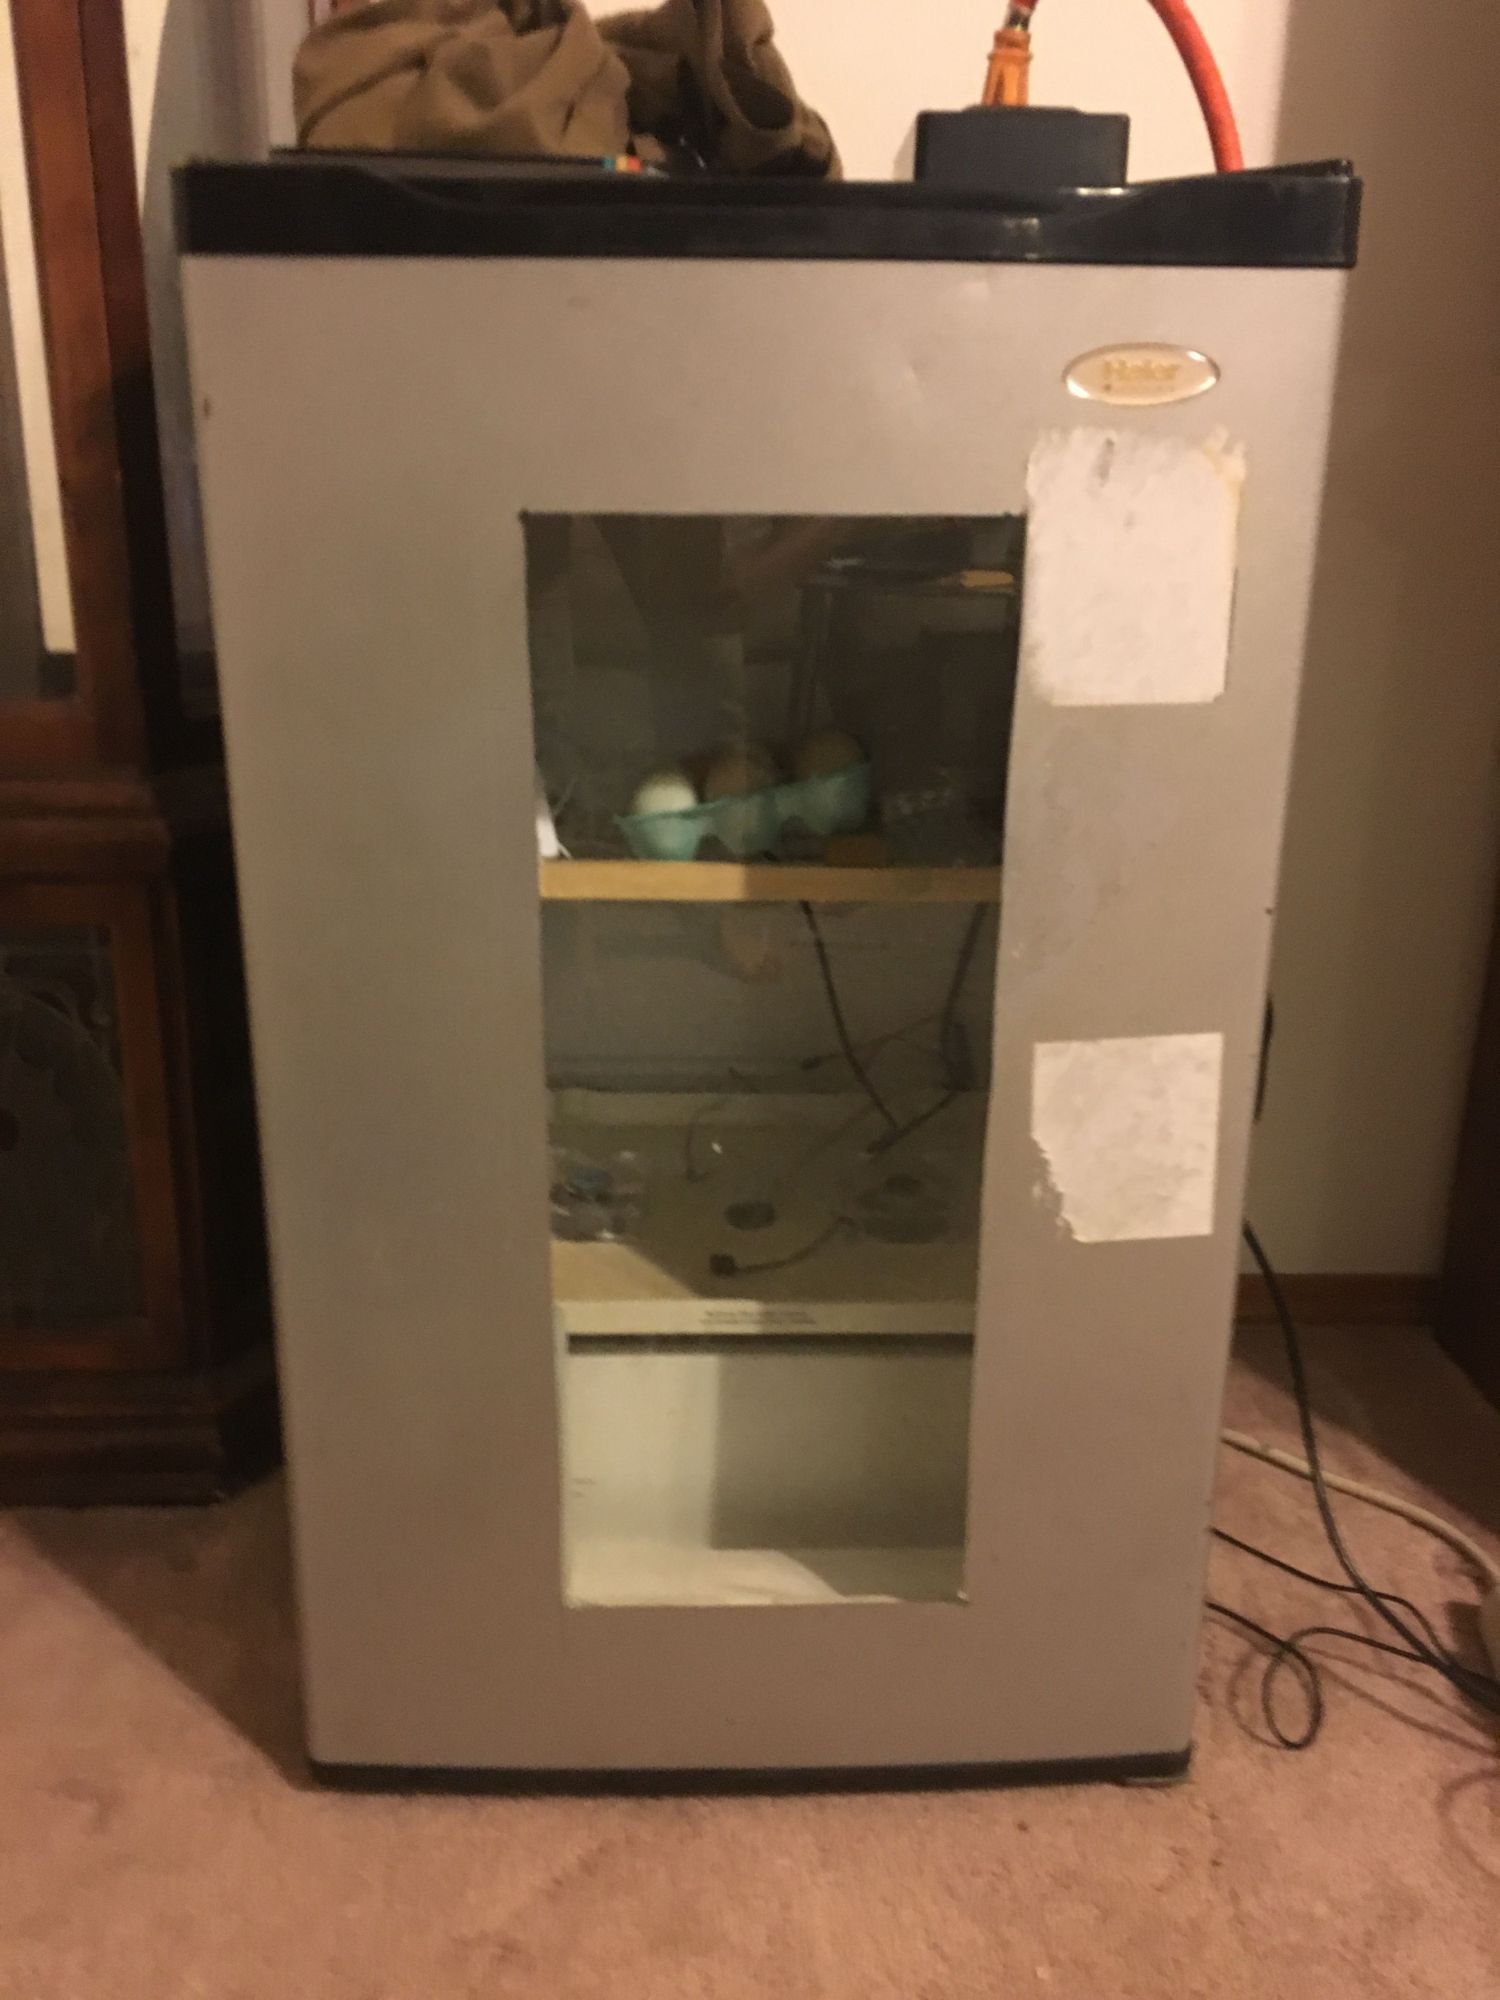
I just made an incubator out of an old minifridge.
Here's how;
I paid $25 for the fridge, but if I was patient, I probably could have gotten one for free. Just posted an add on craigslist, got quite a few responses and a couple were willing to give me one free but they were too far away. I cut a hole in the door and glued a piece of glass (no idea where this came from) so I had a window.
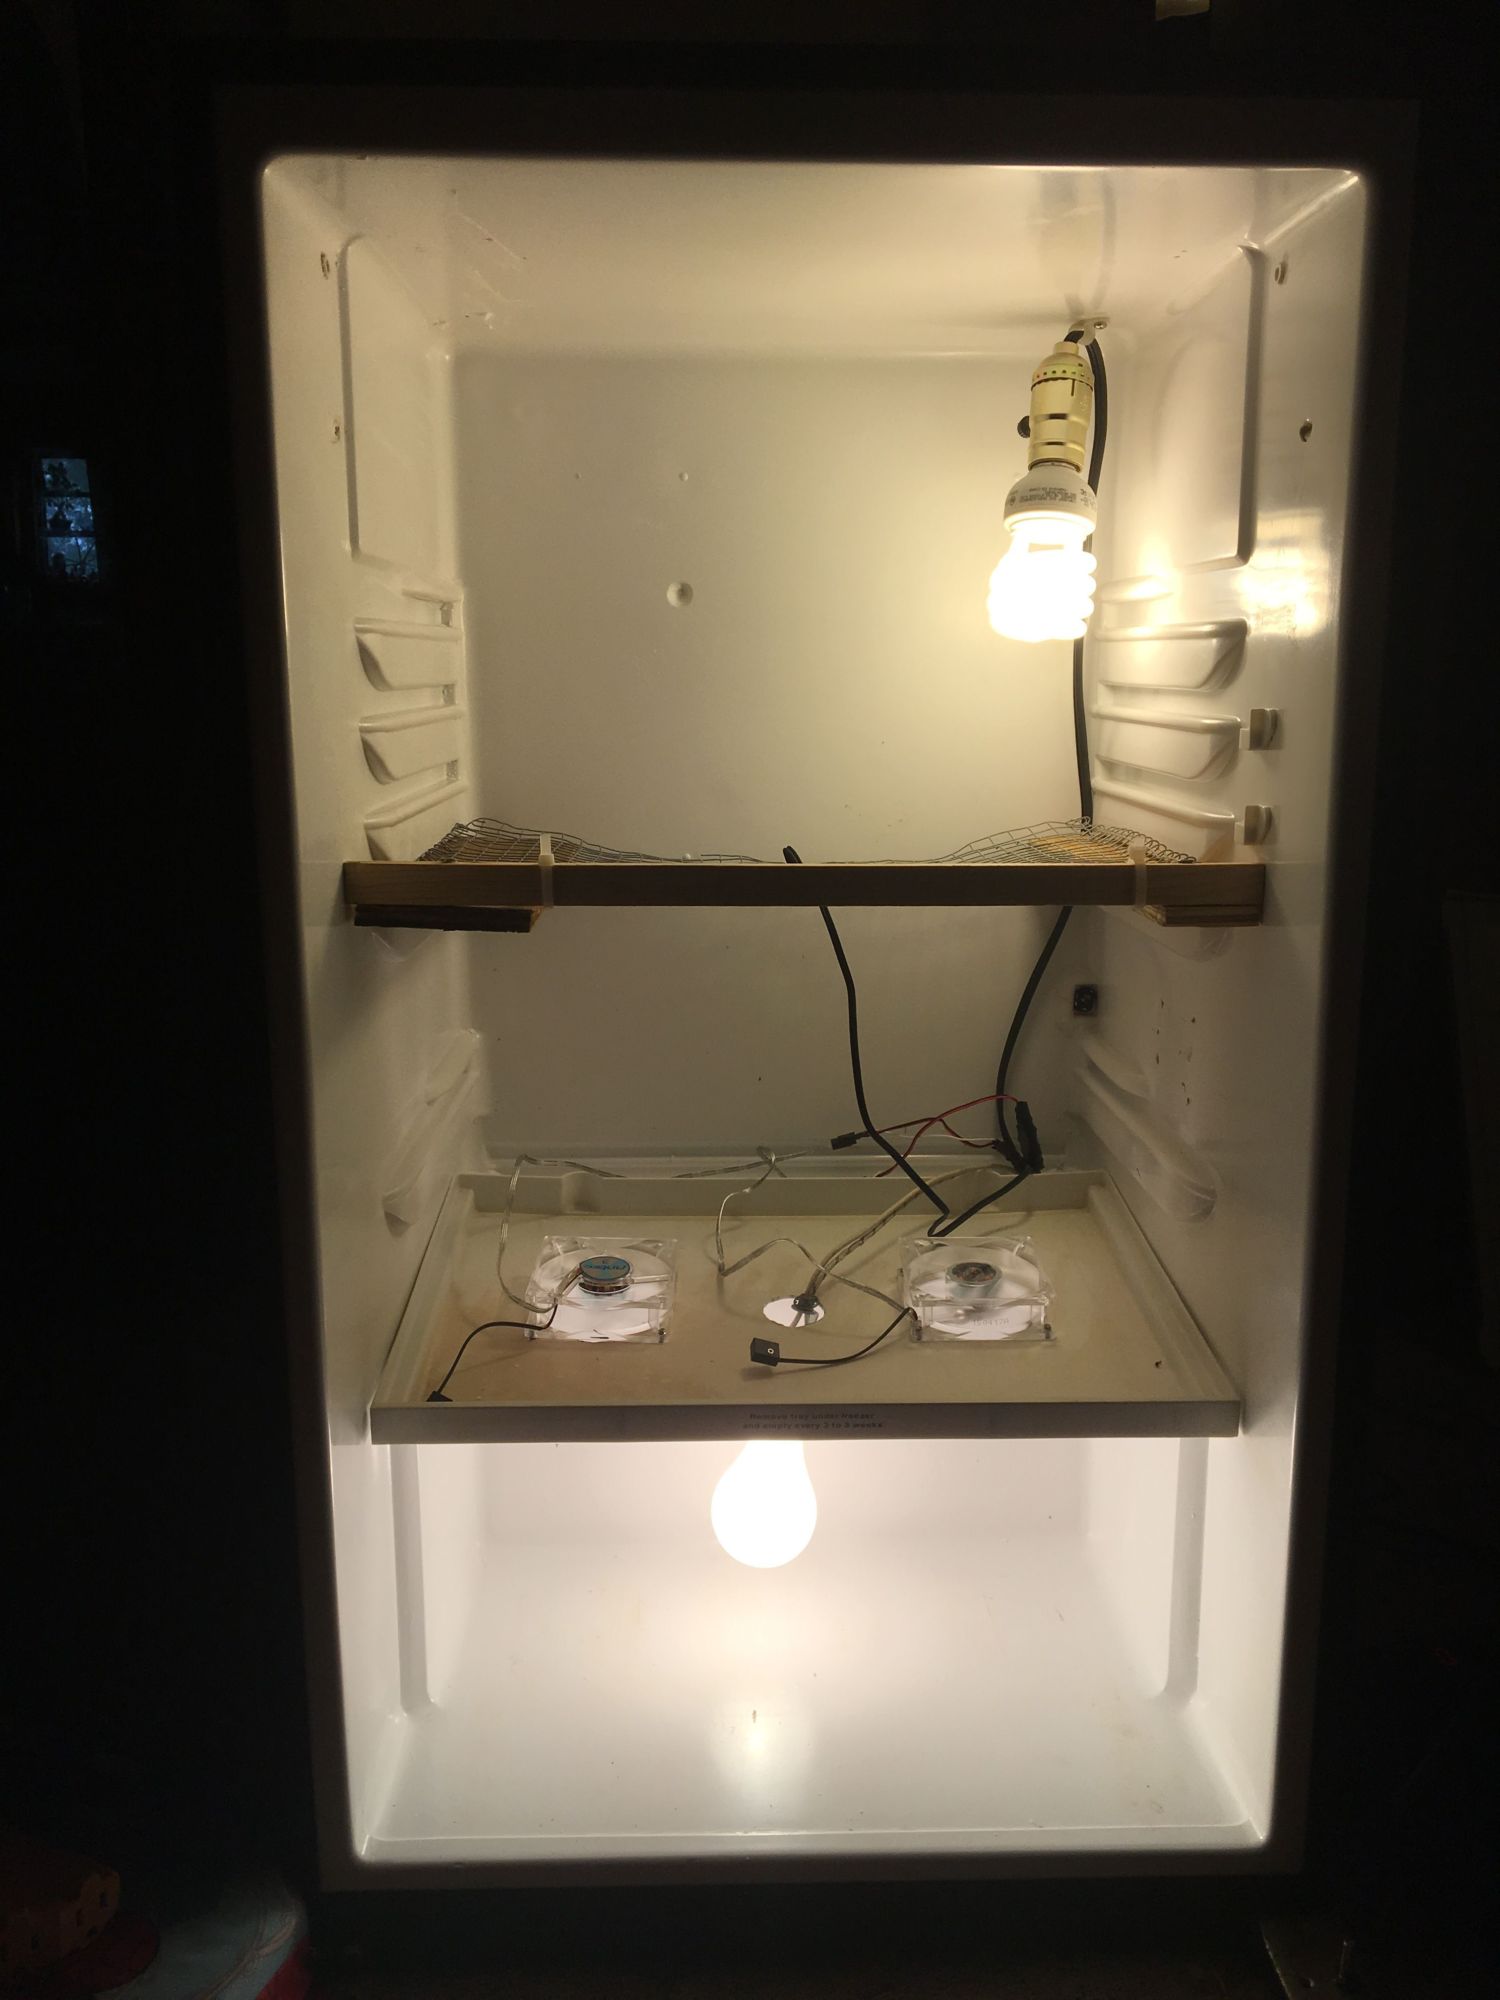
I used a couple computer fans (<$5, could be free if you know someone who builds computers or you have some you can break down), mounted in one of the plastic shelves, facing opposite directions to create good airflow. I wired these into old phone chargers.
For heat, I salvaged a light socket and had to buy one ($3), wired them into old computer power cables.
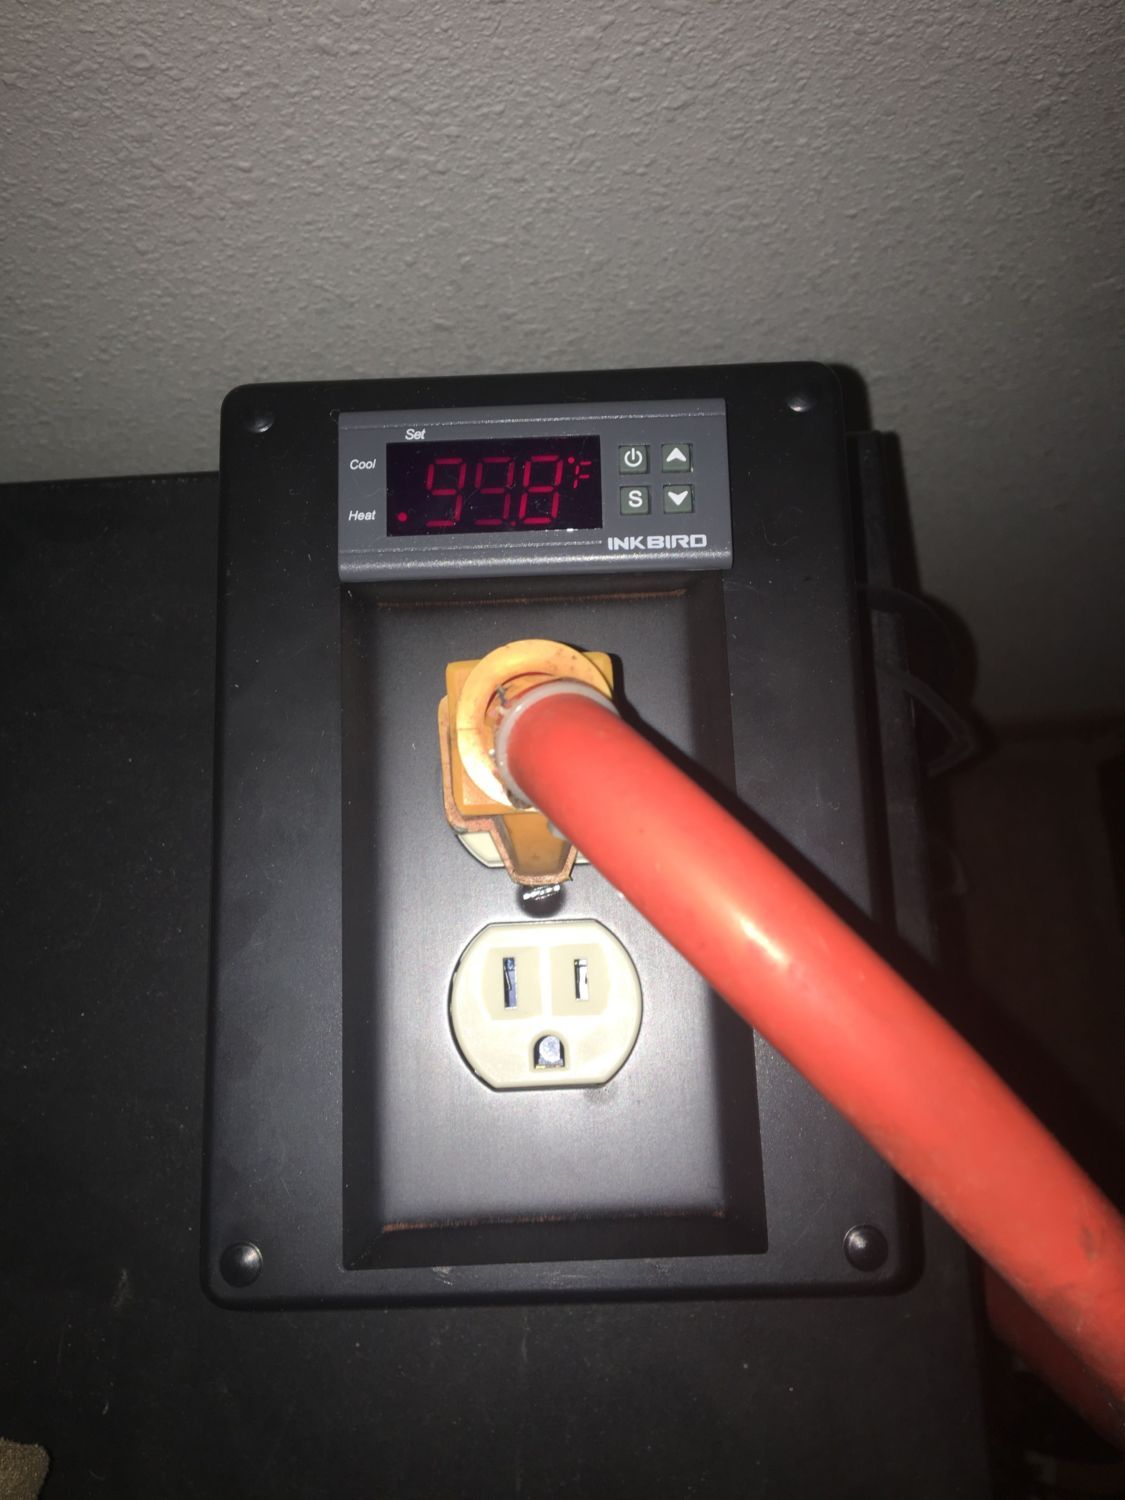
To control the heat, I bought an inkbird temperature controller ($18) and wired it to an outlet ($2) and mounted these two in a project box ($8). I plugged the lights into this and set it to the temperature I want it to cut the lights off.
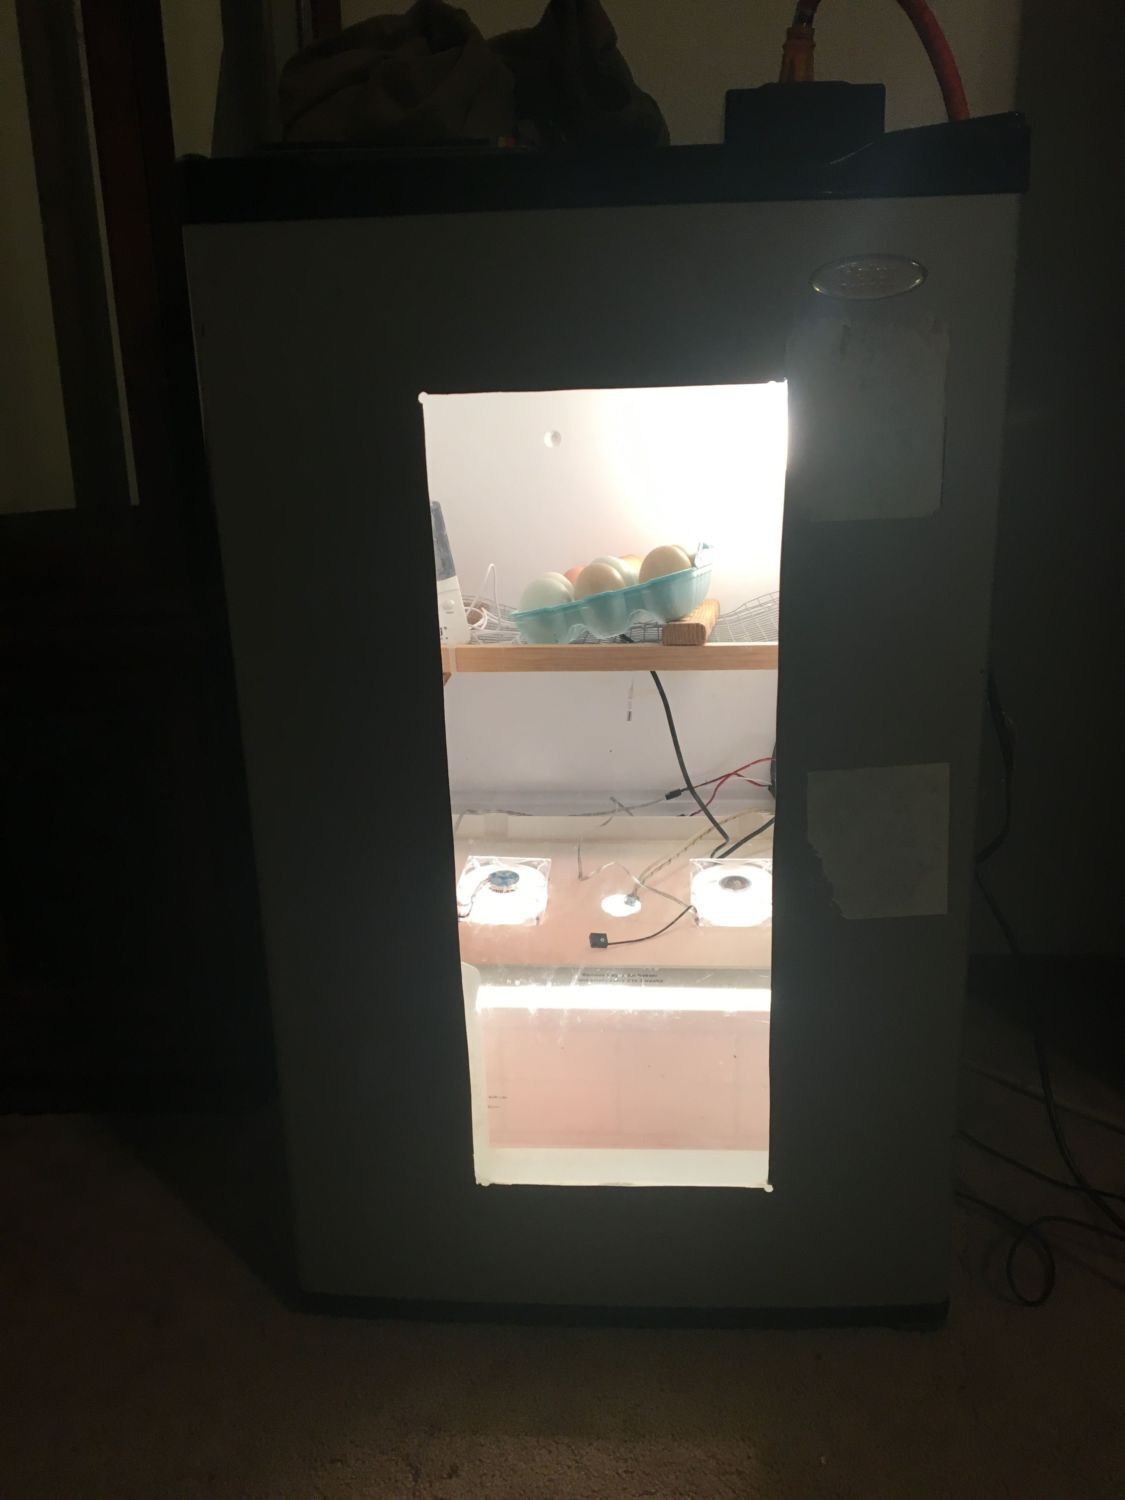
So, this amounts to about $60. A lot of these things can be salvaged, if you keep your eyes open and can be patient. I'm not sure how many eggs it will hold because I haven't quite finished the shelves. I just make one really rinky dink one to test it out with. I imagine it would hold at least 60 though...
If anyone wants specifics on wiring (I tripped a breaker 3 times and shocked myself once! But I figured it out!) let me know. I am obviously not electrically savvy so if I can do it, anyone can!
Here's how;
I paid $25 for the fridge, but if I was patient, I probably could have gotten one for free. Just posted an add on craigslist, got quite a few responses and a couple were willing to give me one free but they were too far away. I cut a hole in the door and glued a piece of glass (no idea where this came from) so I had a window.
I used a couple computer fans (<$5, could be free if you know someone who builds computers or you have some you can break down), mounted in one of the plastic shelves, facing opposite directions to create good airflow. I wired these into old phone chargers.
For heat, I salvaged a light socket and had to buy one ($3), wired them into old computer power cables.
To control the heat, I bought an inkbird temperature controller ($18) and wired it to an outlet ($2) and mounted these two in a project box ($8). I plugged the lights into this and set it to the temperature I want it to cut the lights off.
So, this amounts to about $60. A lot of these things can be salvaged, if you keep your eyes open and can be patient. I'm not sure how many eggs it will hold because I haven't quite finished the shelves. I just make one really rinky dink one to test it out with. I imagine it would hold at least 60 though...
If anyone wants specifics on wiring (I tripped a breaker 3 times and shocked myself once! But I figured it out!) let me know. I am obviously not electrically savvy so if I can do it, anyone can!
 ). I've been using LG styro 'bators for years, but I've been looking to upgrade to something bigger and more reliable for a while. Something like this might just fit the bill!

