I wanted to do a "tutorial" on the new brooder I just made today. I LOVE plastic storage drawer containers! They come in a variety of sizes and are super easy to clean. I use plastic totes for our brooders- but our laundry room is getting awfully full... No more room for more totes. I was at Wal-Mart and they had these drawers for $17! Some how... One ended up in one of my carts. Be careful! They're sneaky!!
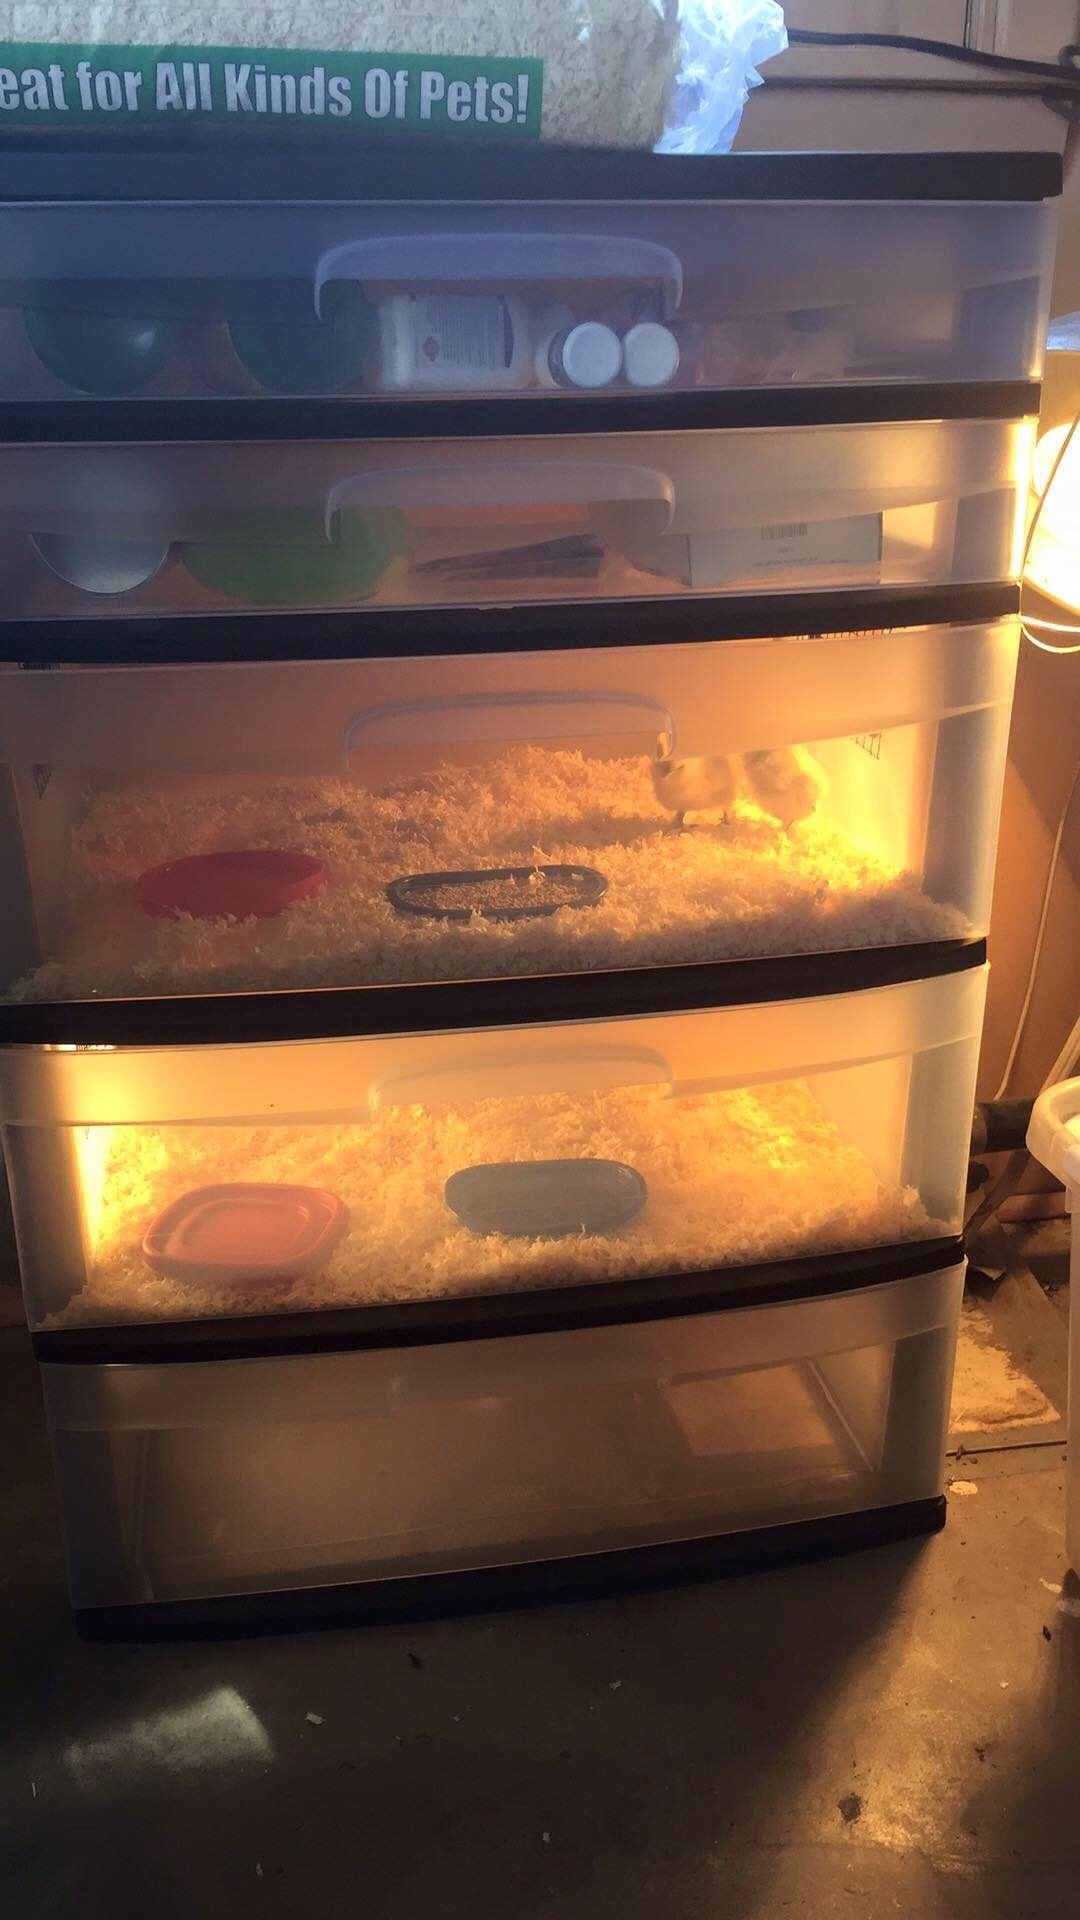
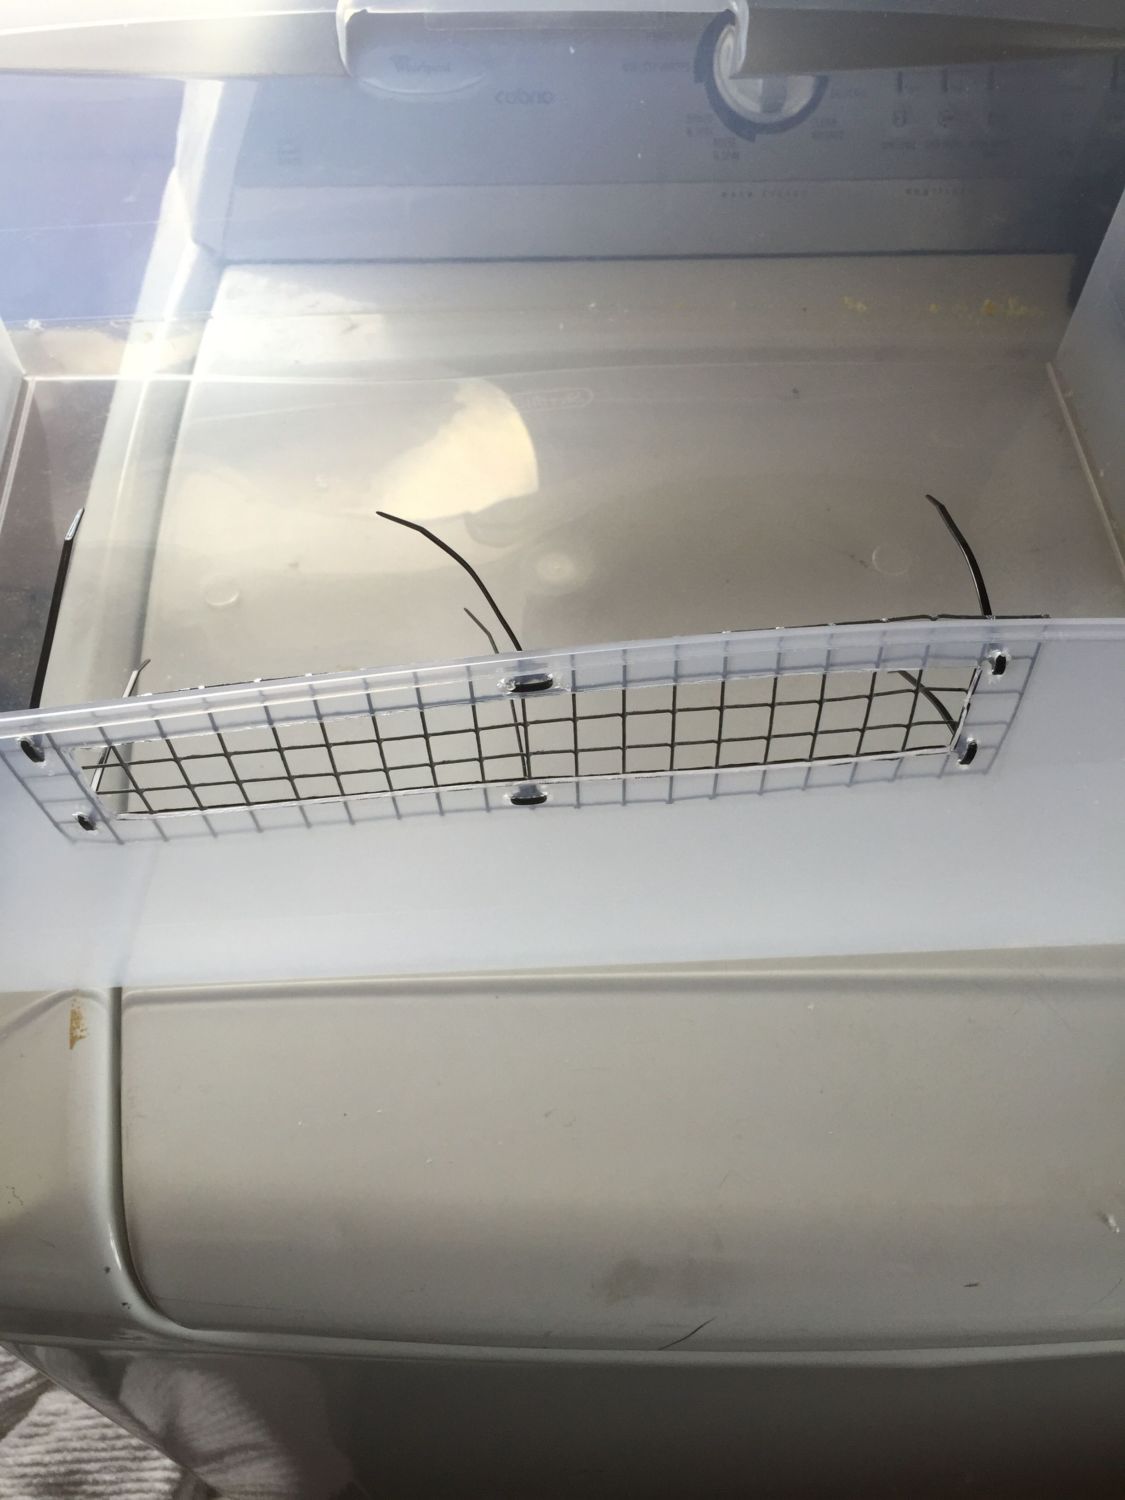
Onward to the pictures! Here's a picture of the finished product.
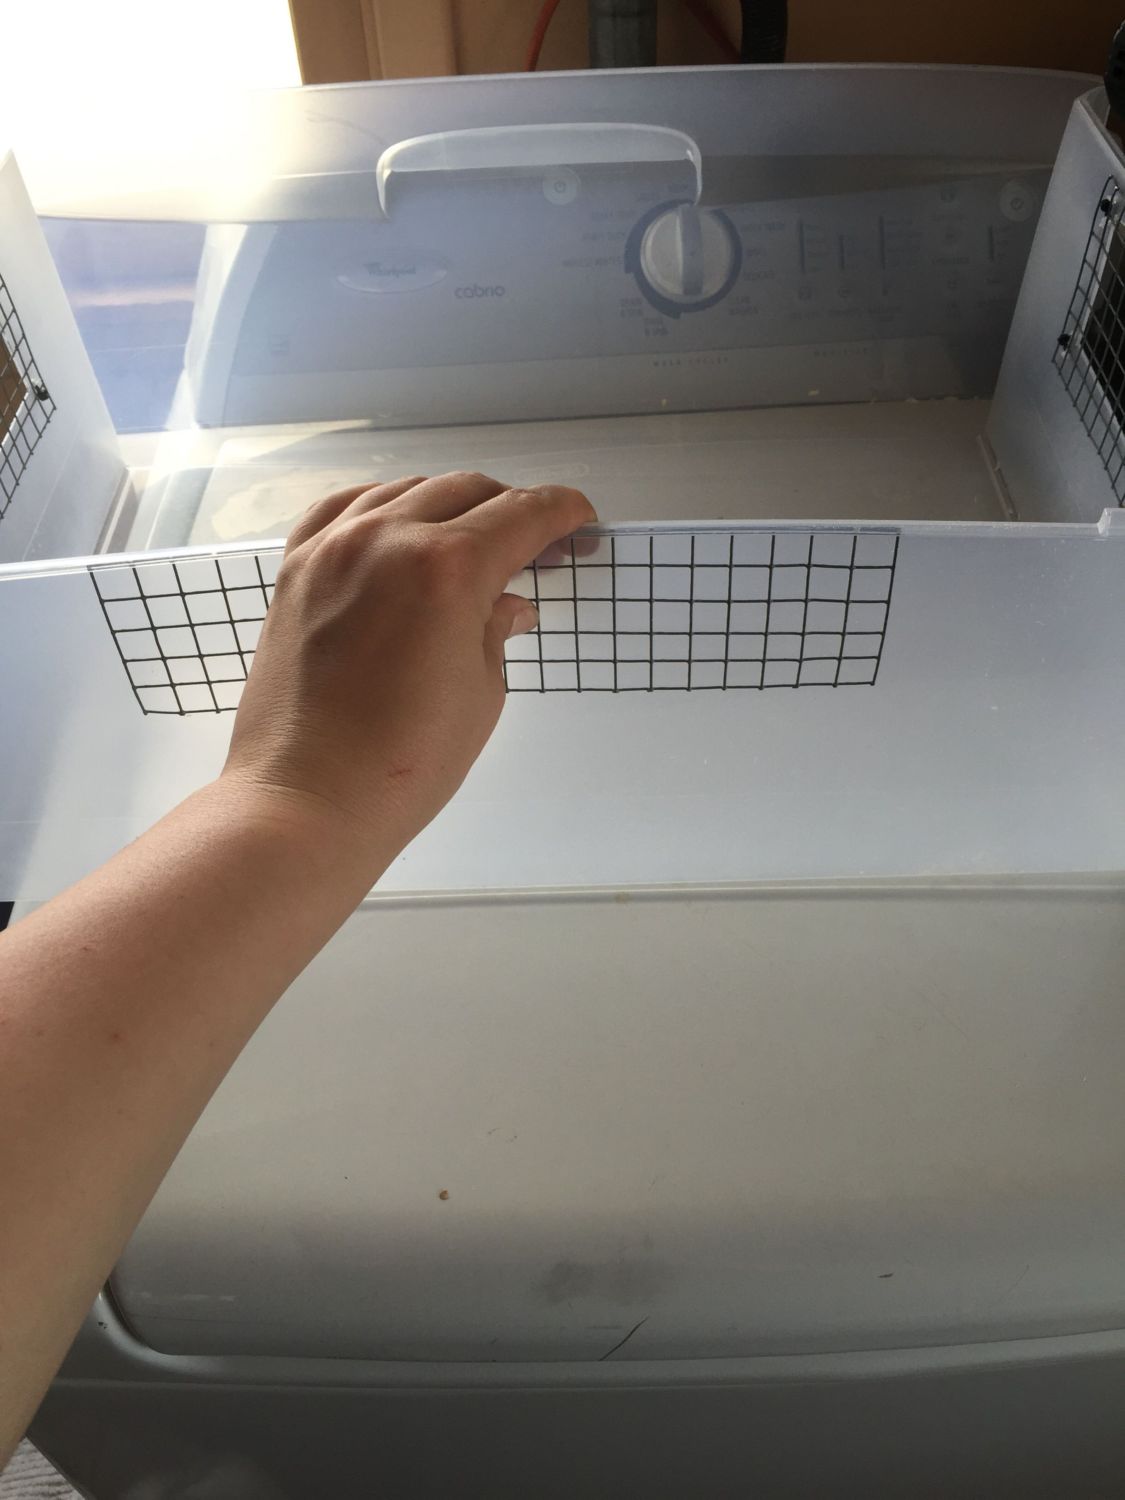
So first off- I cut the hardware cloth. I wanted a ventilation hole on each side and one on the back. I also wanted it up higher- that way when the chicks start kicking the woodchips- they are more likely to stay in the brooder and less likely to end up all over my floor

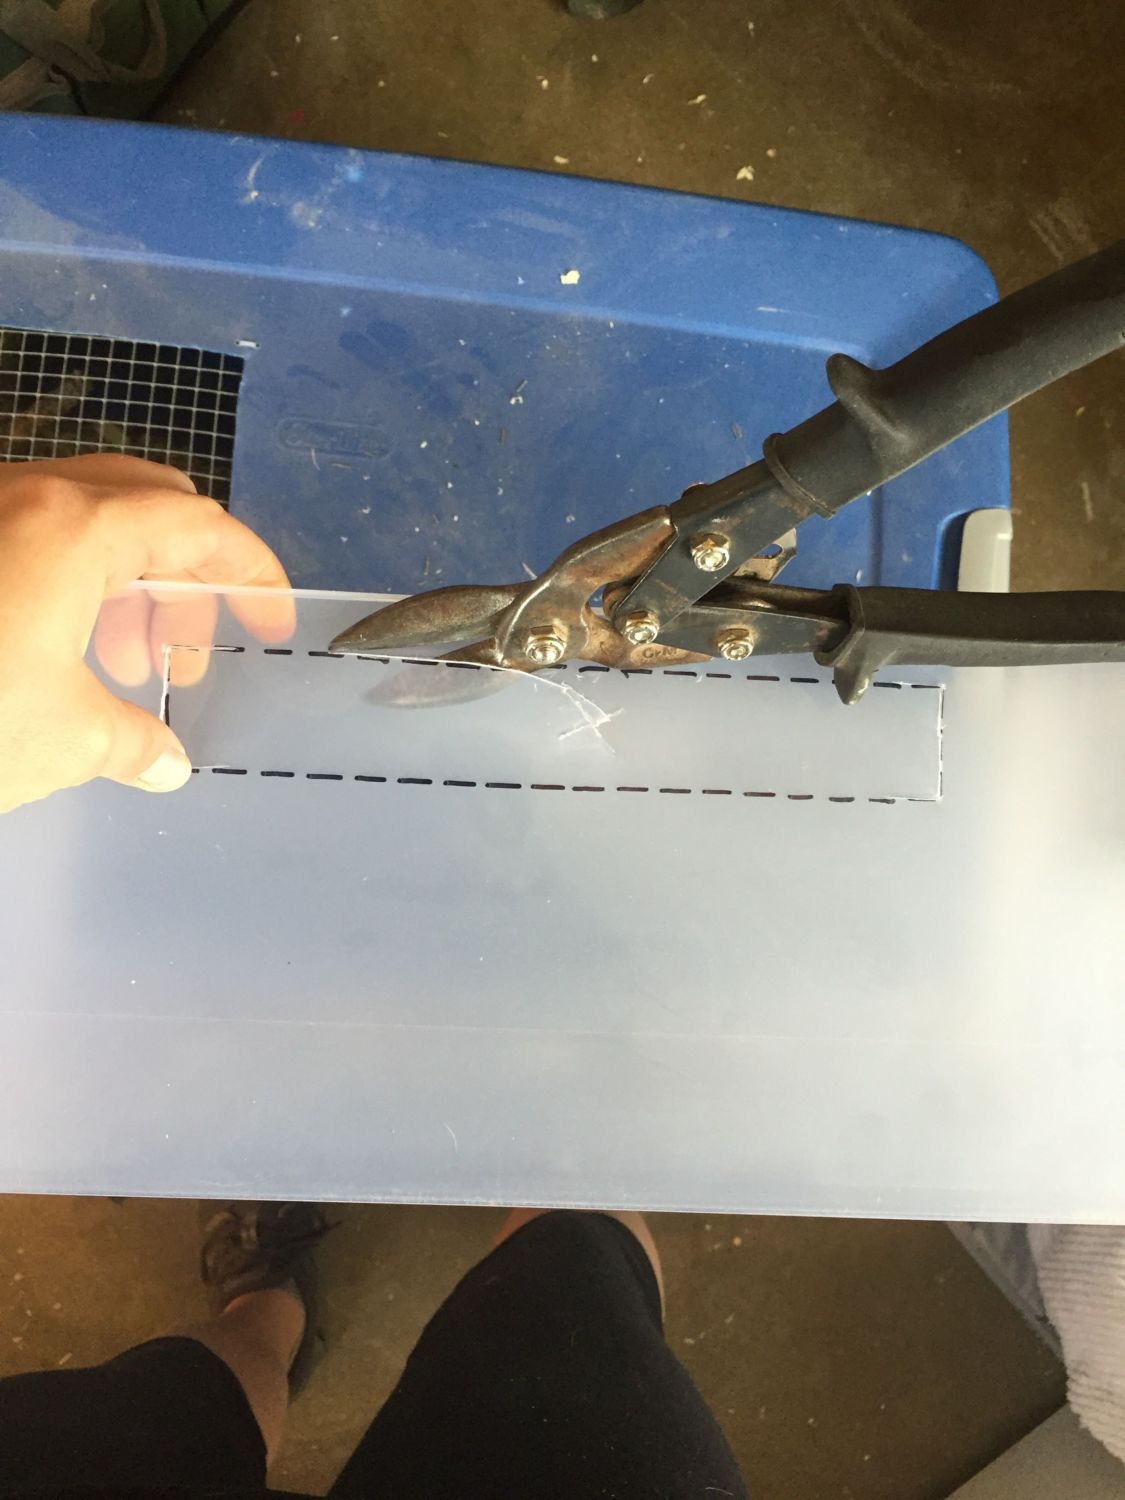
I used 1/2" x 1/2" hardware cloth and tin snips to cut it. Pliers or side cutters would work fine, too. I just prefer tin snips because they cut through it very quickly. Then I lined it up where I wanted it placed.
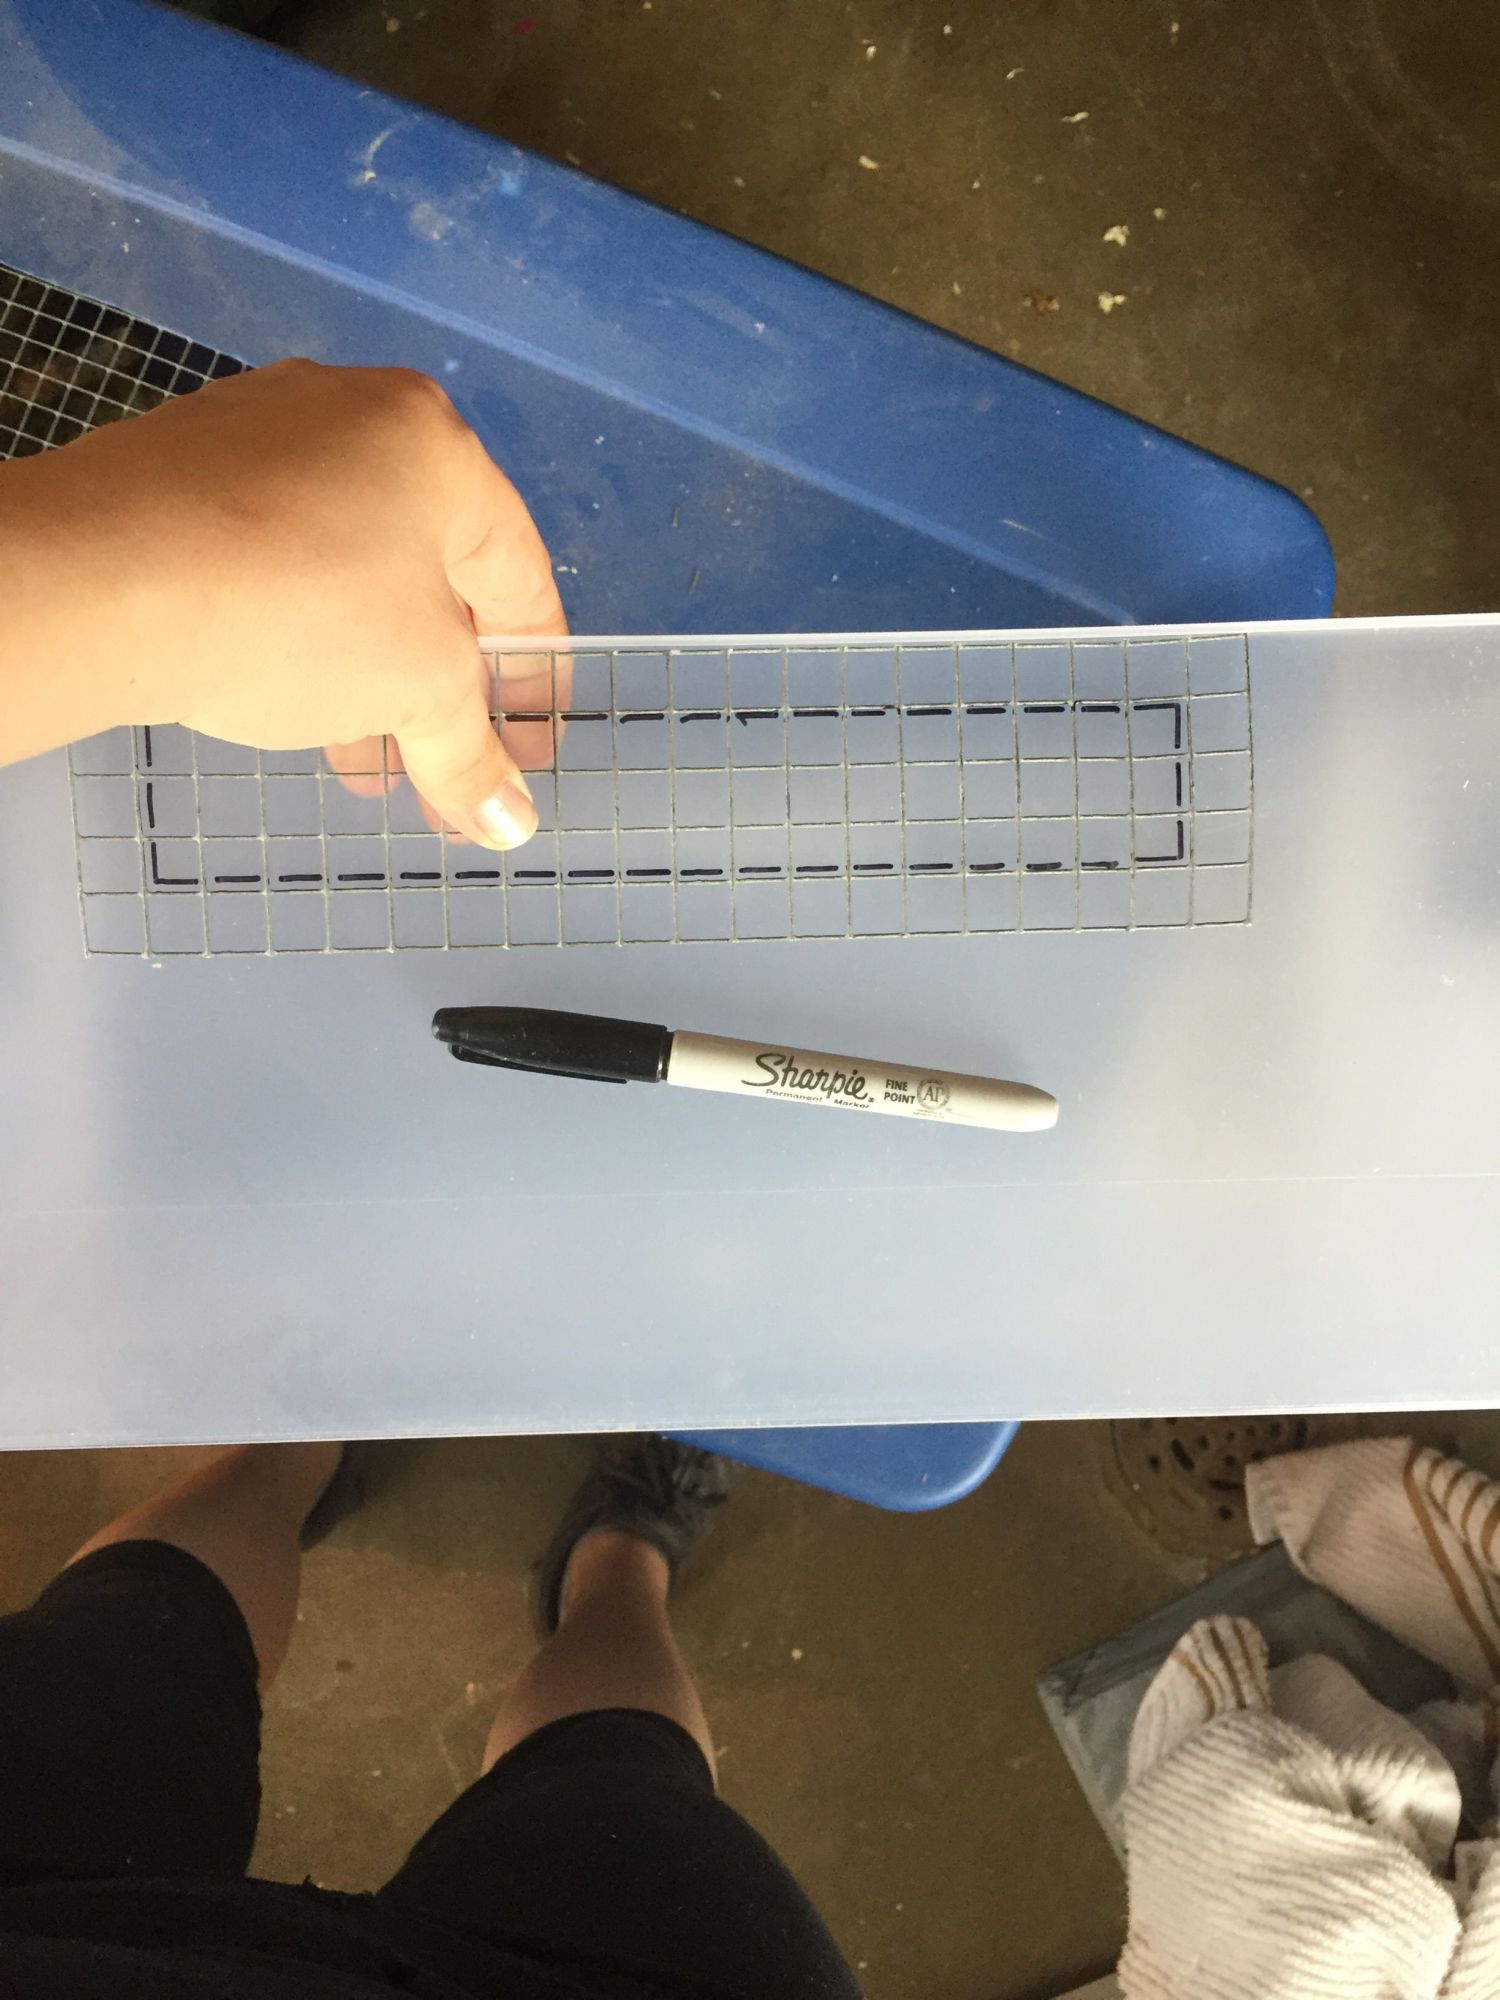
Next, I marked out where the plastic needed to be cut. I marked the lines in one square all the way around. (That way I had room to attach it to the tote)
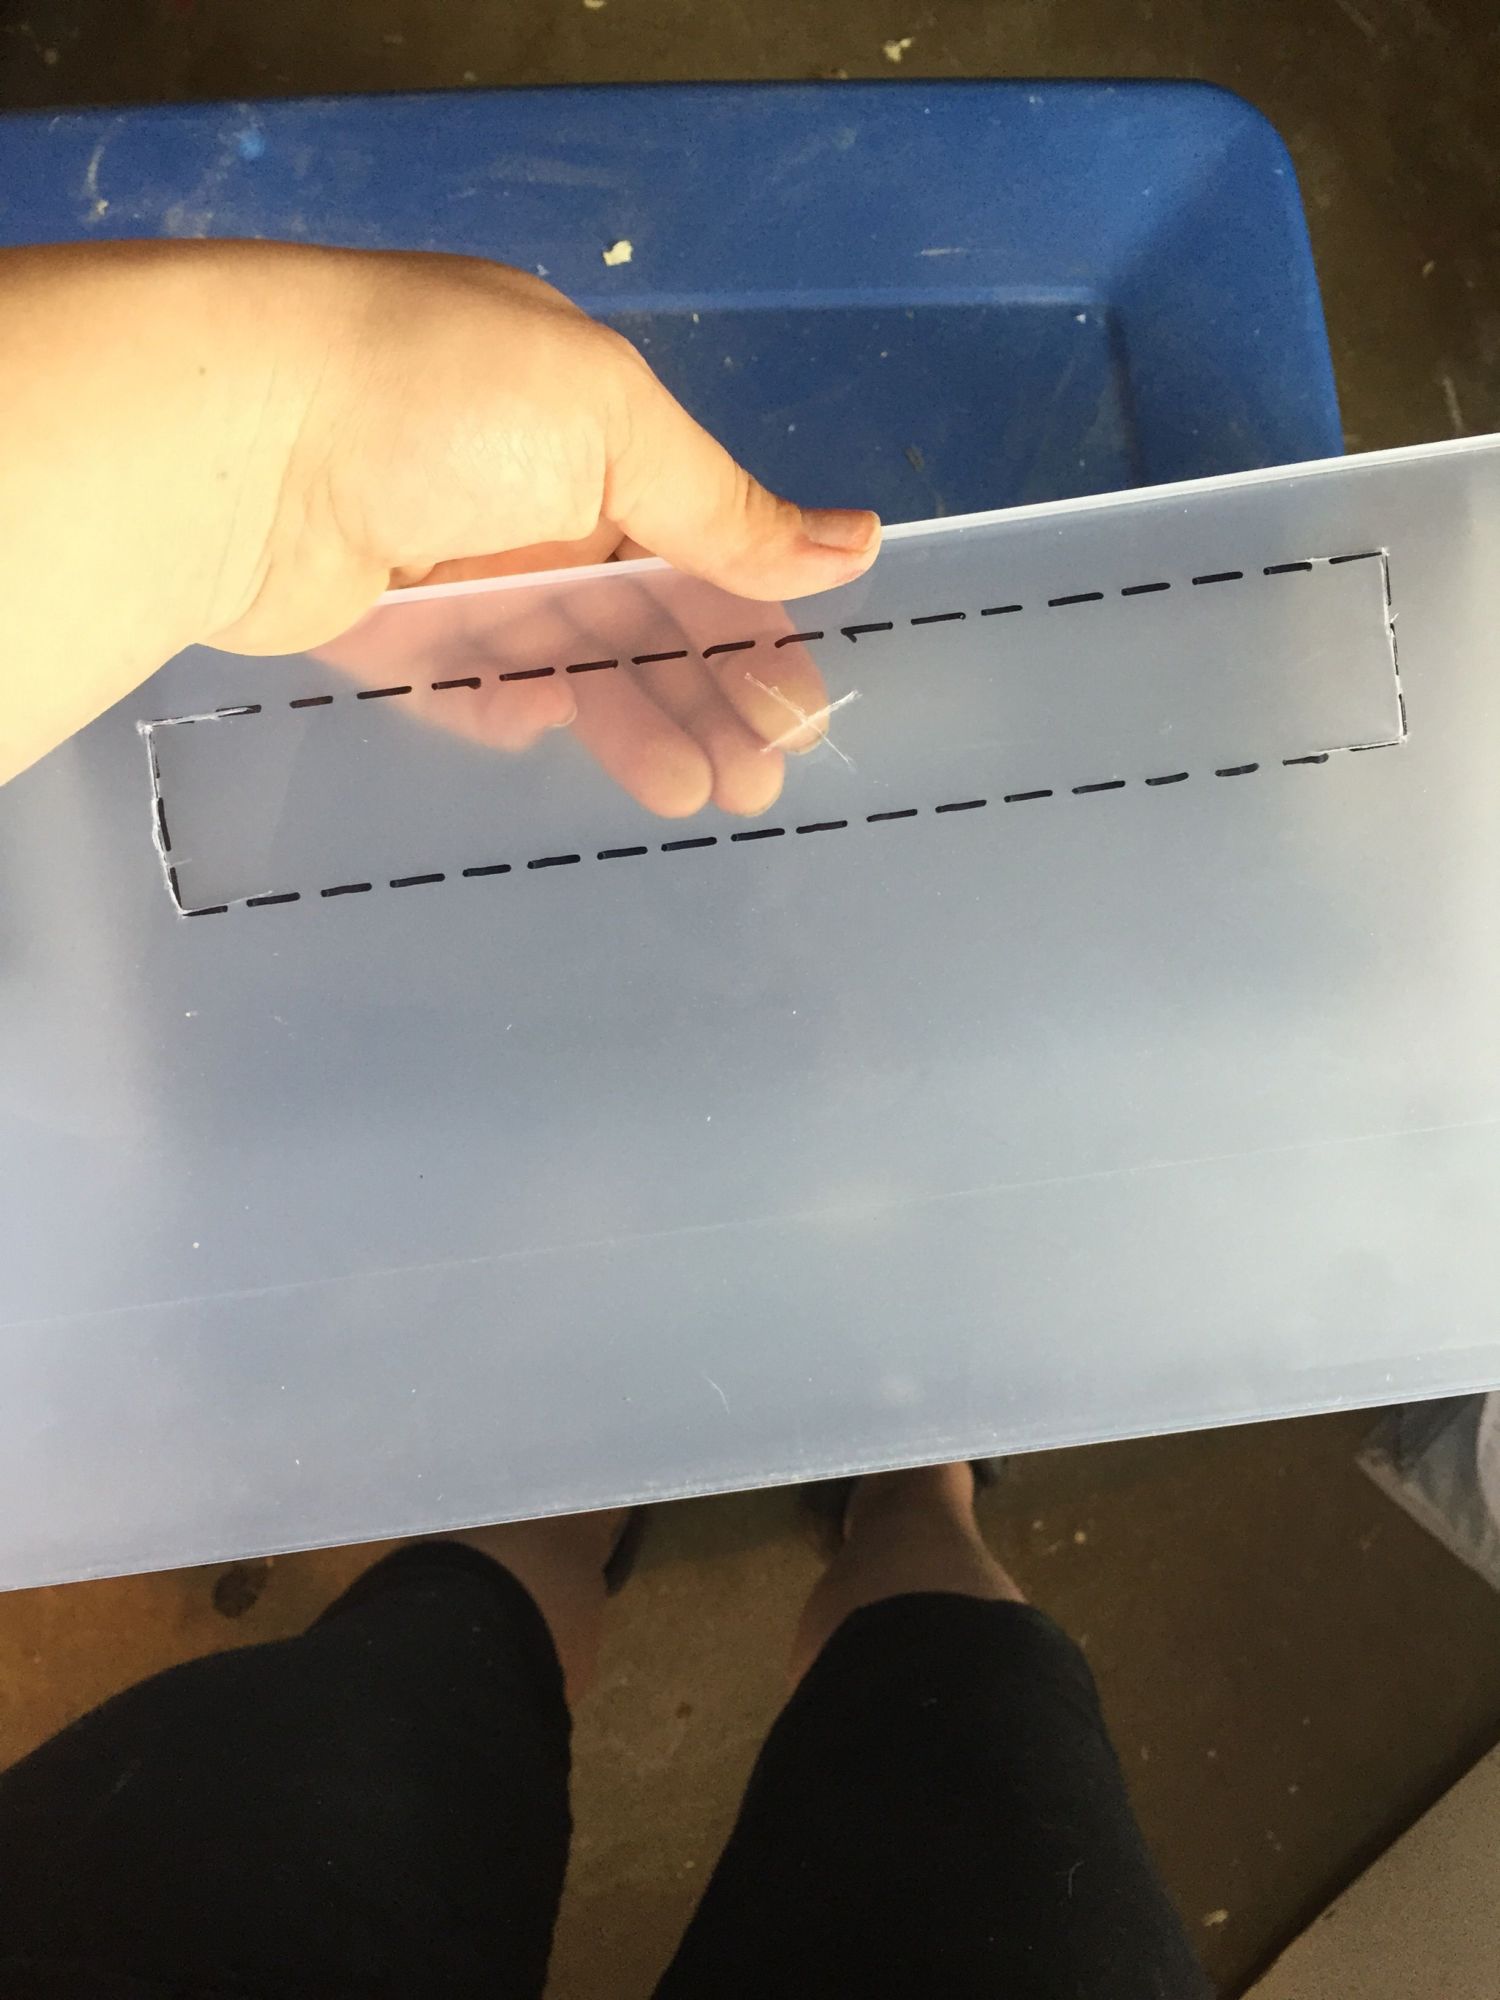
Then, I took a knife and cut the corners and an "X" in the middle. (This is so I can get the tin snips in to cut the rectangle out- scissors or a knife would work fine too)

Next, I held the hardware cloth where it needed to go. Then, used a drill and drilled out holes for the zip ties.
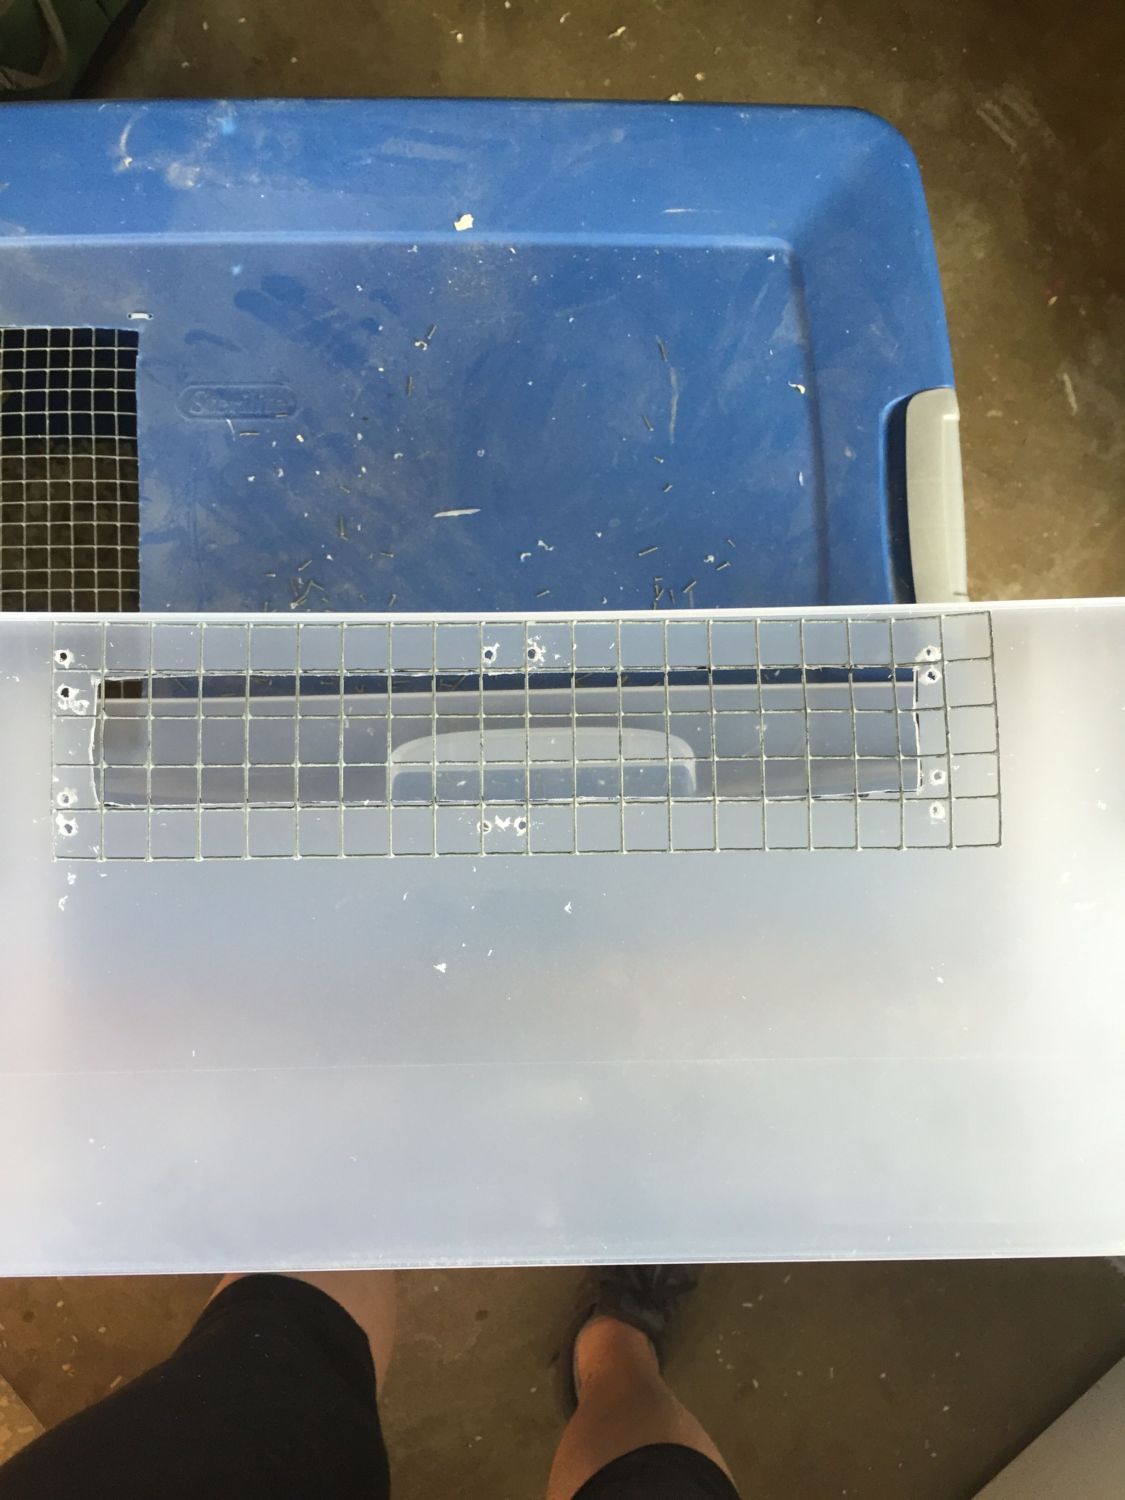
Lastly, I put the hardware cloth on the inside and attached it using zip ties. Then cut the "tails".

I did attach a heat lamp with a standard light bulb inside it to the side of the storage drawers (using zip ties).
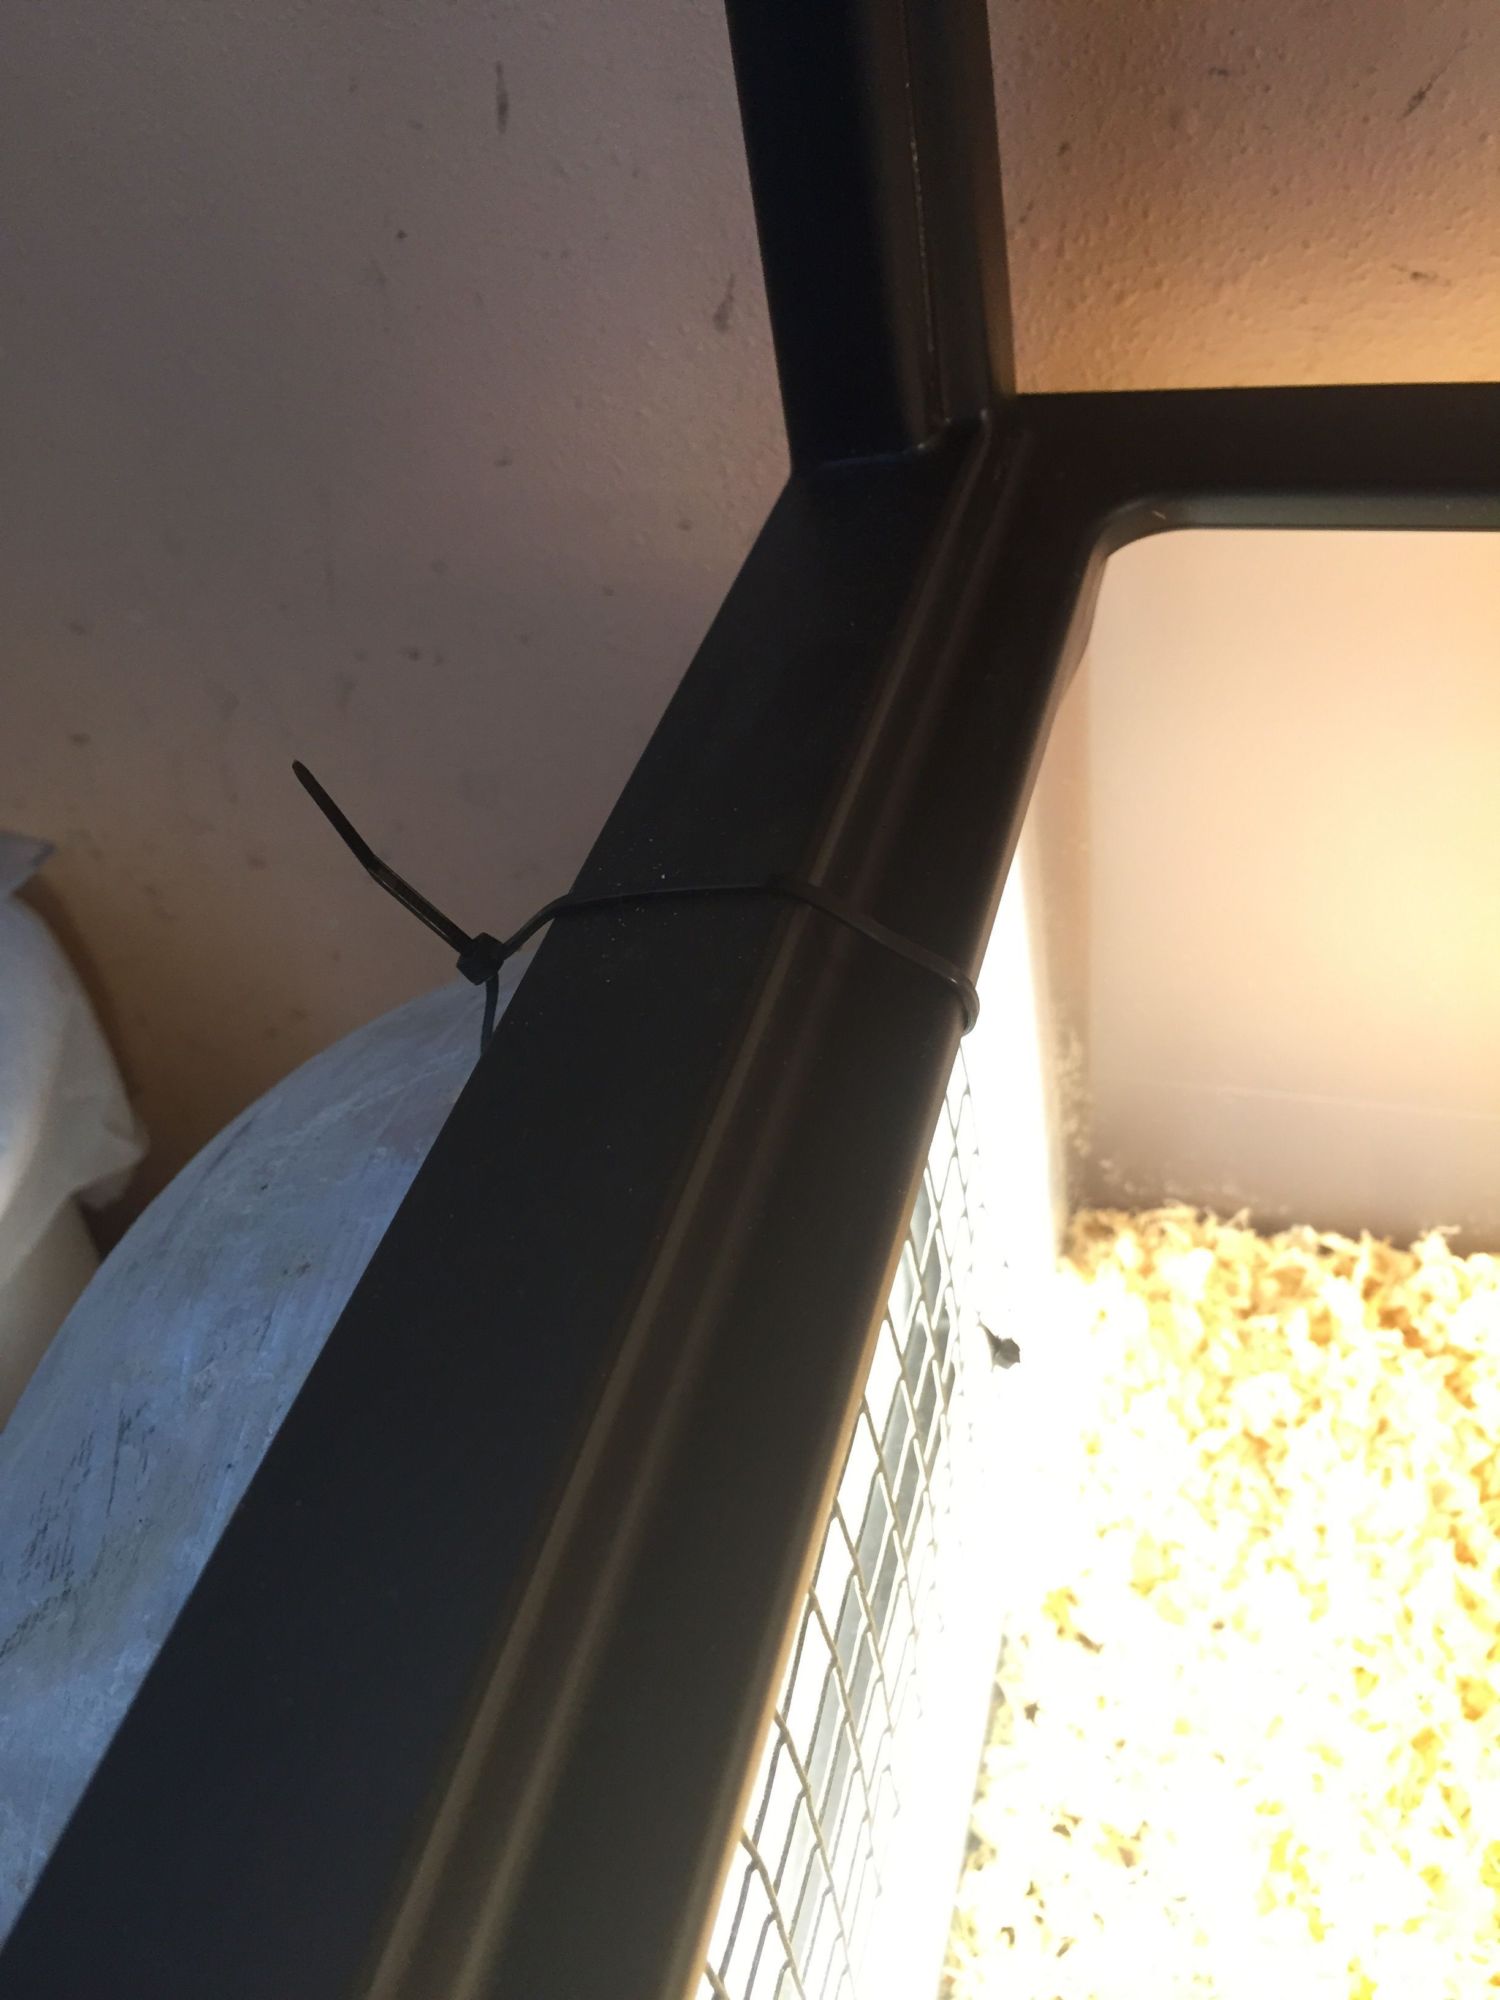
Thanks for taking a look!
Please note- this brooder is for new chicks until they get bigger for the other brooders.
Also, when using plastic containers for brooders monitor the temperature and be sure there is proper ventilation.
Onward to the pictures! Here's a picture of the finished product.
So first off- I cut the hardware cloth. I wanted a ventilation hole on each side and one on the back. I also wanted it up higher- that way when the chicks start kicking the woodchips- they are more likely to stay in the brooder and less likely to end up all over my floor
I used 1/2" x 1/2" hardware cloth and tin snips to cut it. Pliers or side cutters would work fine, too. I just prefer tin snips because they cut through it very quickly. Then I lined it up where I wanted it placed.
Next, I marked out where the plastic needed to be cut. I marked the lines in one square all the way around. (That way I had room to attach it to the tote)
Then, I took a knife and cut the corners and an "X" in the middle. (This is so I can get the tin snips in to cut the rectangle out- scissors or a knife would work fine too)
Next, I held the hardware cloth where it needed to go. Then, used a drill and drilled out holes for the zip ties.
Lastly, I put the hardware cloth on the inside and attached it using zip ties. Then cut the "tails".
I did attach a heat lamp with a standard light bulb inside it to the side of the storage drawers (using zip ties).
Thanks for taking a look!
Please note- this brooder is for new chicks until they get bigger for the other brooders.
Also, when using plastic containers for brooders monitor the temperature and be sure there is proper ventilation.


")
