Here's mine. I got the idea off someone on here. It works really well, except for the dust... and the shavings... and whatever other bedding I've tried and they still kick everywhere. *sigh* I've got to hurry and get this coop built!
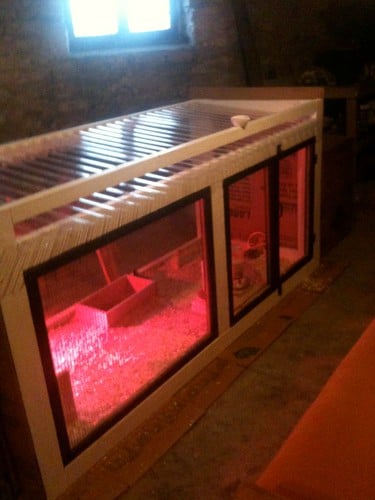
Finally I can post something on this thread. My brooder is done. Chicks will arrive in a couple of days. Any feedback or comments on changes I should consider is welcome.
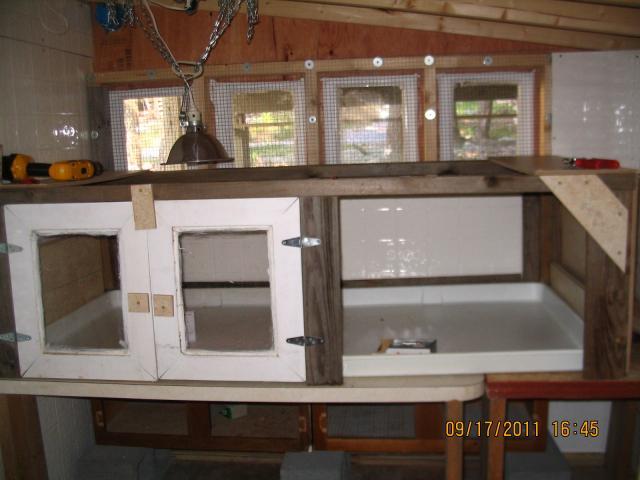
The brooder is 64"x32". It sits on top of what will become the poopshelf once the brooder is dismantled and there will be two roosts in its place. The bottom of the brooder are 2 32x32 washingmachine pans that I got at restore. From there I basically built up a frame of lumber that I had lying around from construction of our house and scraps of marmoleum flooring. The front features at the left hand side 2 plexiglass windows that I made for another project but didn't use. They open completely and allow access to food/water, cleaning bedding, checking chicks etc. This is also where the heatlamp is concentrated. The other half is closed off with hardware cloth that I can close off if the temps become too low to make sure the temp stays high enough. On top is hardware cloth that I can cover with a scrap of tileboard, left over from doing the coop walls, and a piece of plexiglass to allow some light in when everything is closed up. Here are some pictures.
During construction to show the washingmachine pans:
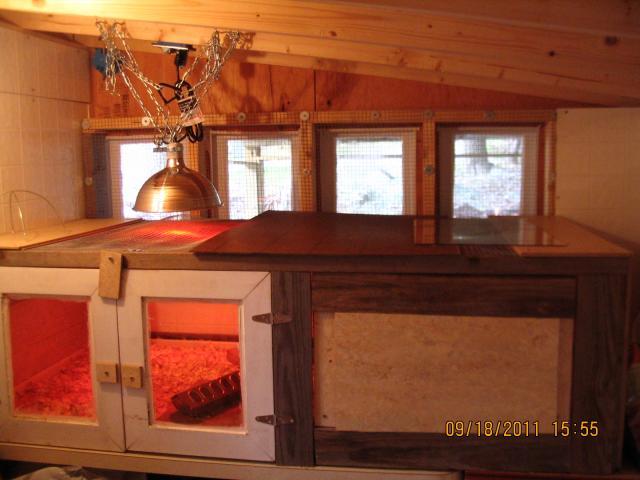
Everything closed:
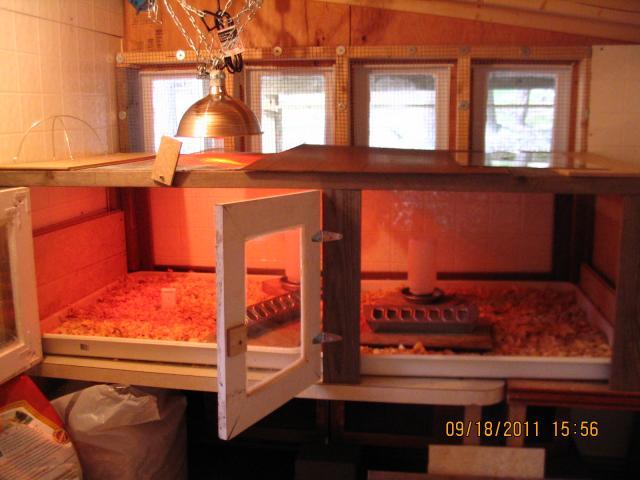
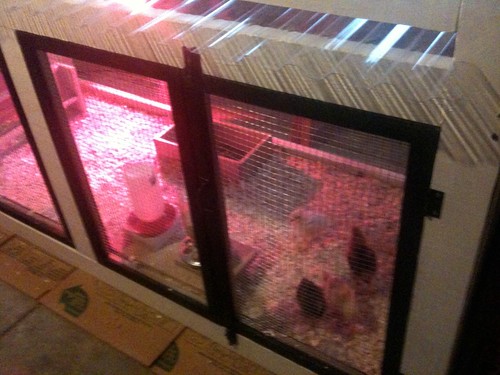
right side open:
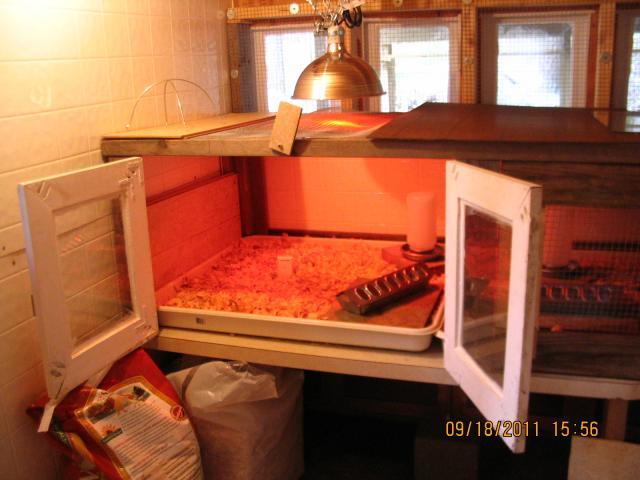
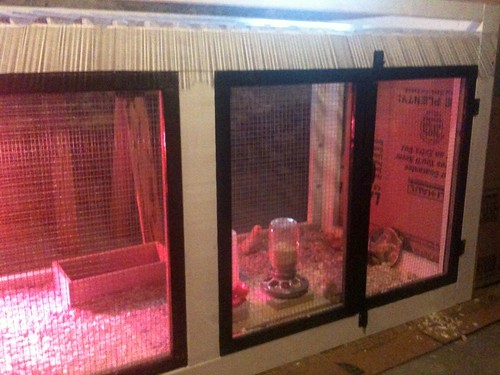
doors open:
Everything open:
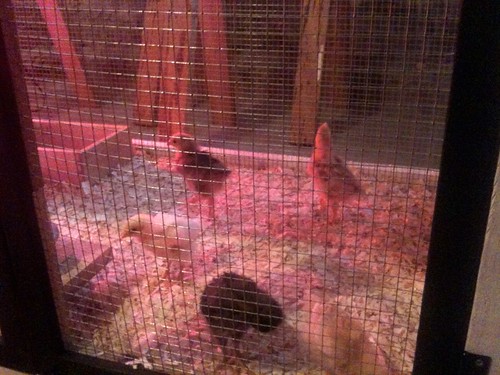
As you can see I'm not taking any chances with the heatlamp. Two separate metal chains that are each hanging off two hooks!
Really love your set up. I may have to borrow it when I start to do my set up in my barn. We just moved to some new property and I was blessed with a barn. Has a great shelf in there perfect for my brooder cages.
deana in Texas
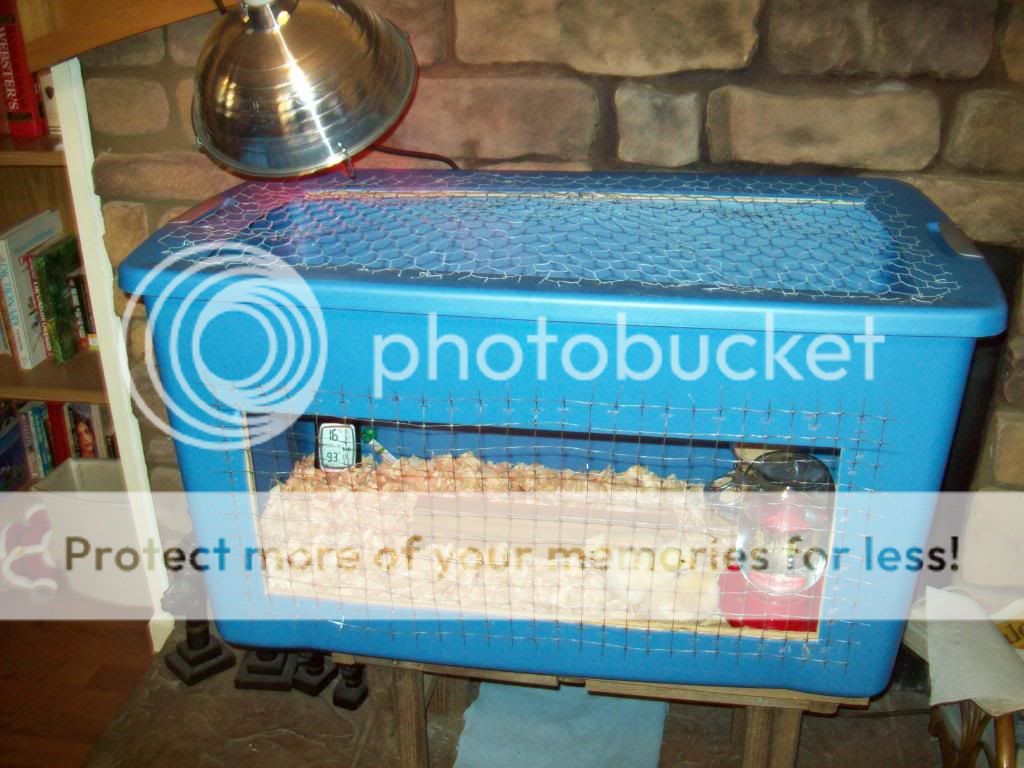
My chicks just outgrew their cardboard box so I converted this section of run for my new coop into a stage 2 brooder for now. For full details on my build see the link in my signature.
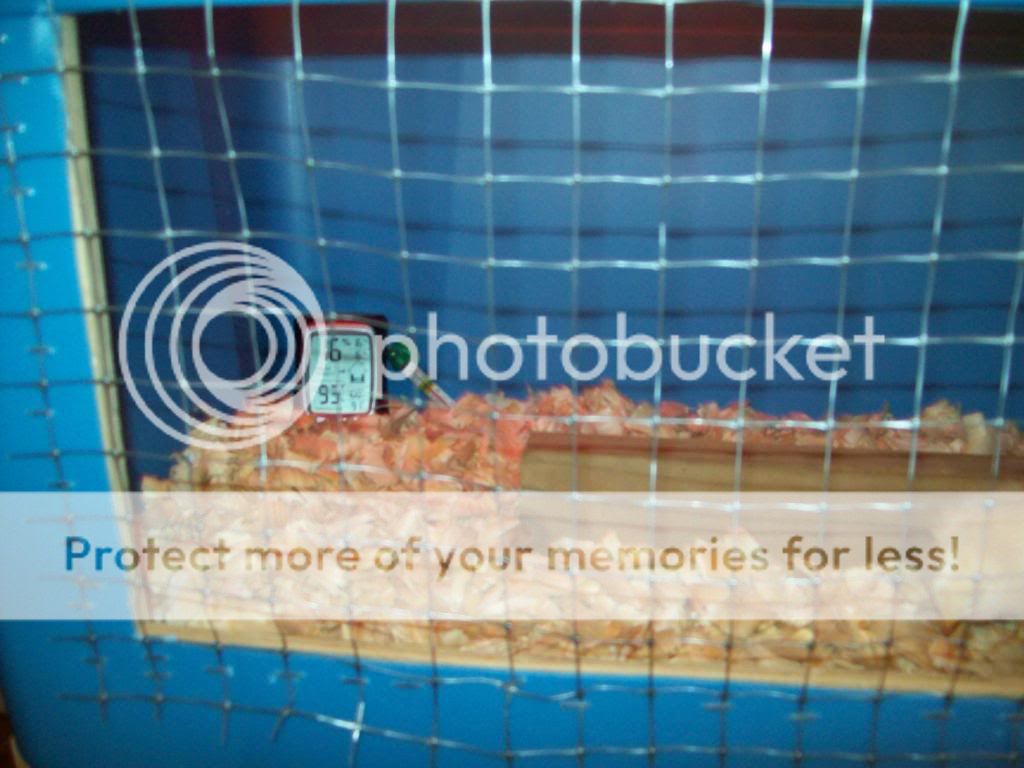
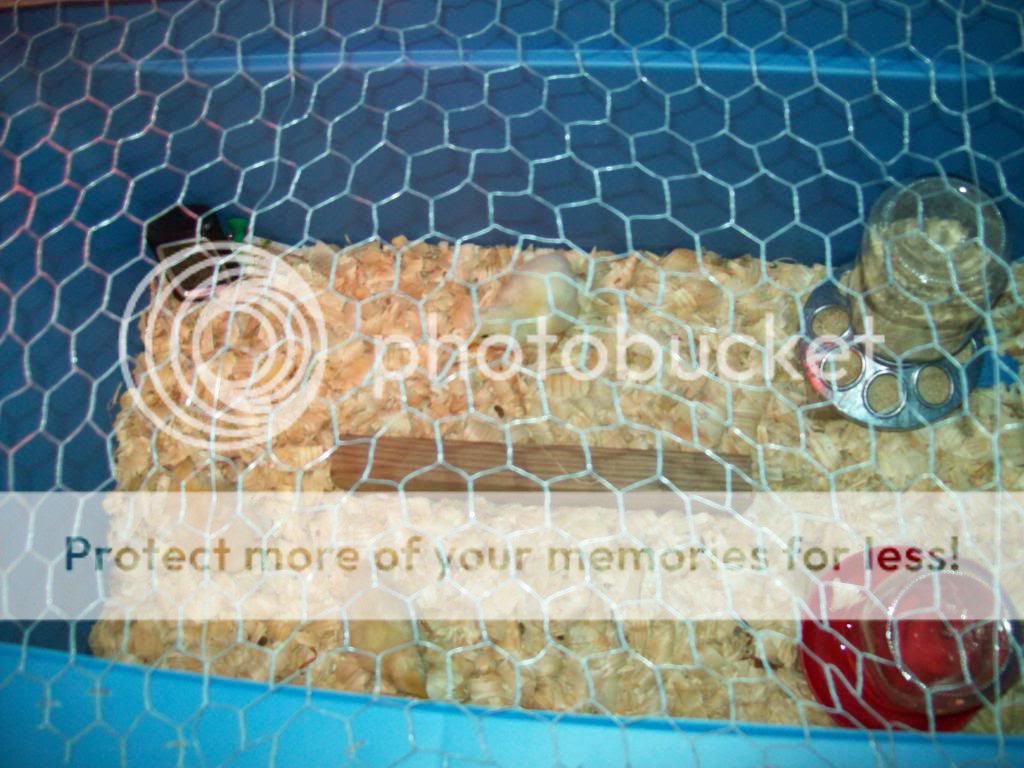
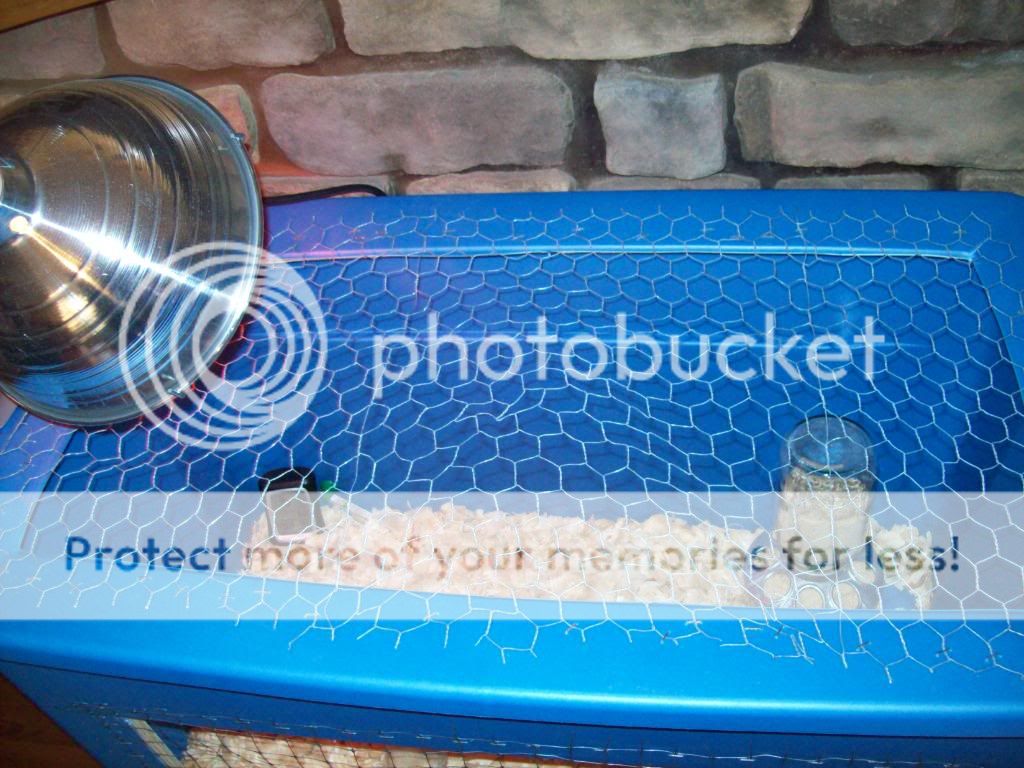
Like some others, I used a 45 gallon storage bin. I used the lid that came with it, but cut out the whole middle for ventilation and covered it in chicken wire. Under the lid, around the edge, I placed some half inch plywood that I stapled the chicken wire to, through the lid. I also cut a front portion out, and covered with plastic fencing...also utilizing strips of plywood on the inside. They are a little young maybe, but I placed a 2x4, small side up, with plywood base inside for a roost, or plaything...whichever they choose
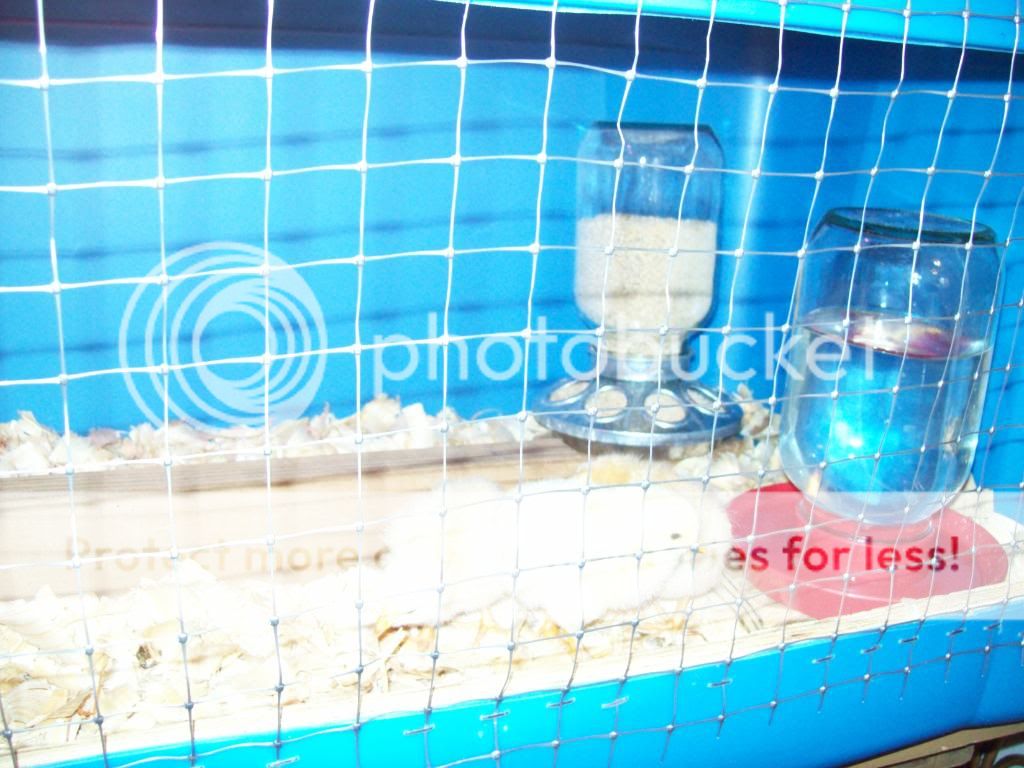
Only 3 chicks. I have the generic waterer and feeder in there using quart mason jars. Red 250w lamp a few inches above the top with a couple of different thermometers inside. Pine chips for bedding. I just made this today, and moved them from a smallish glass fish tank to this. Only problem I see is them sticking their heads out the holes in the side a bit. Kind of figured that would happen, and it's why I used plastic. I saved the piece I cut out, and will probably use it when I leave the house to deter my pug from doing any damage, though I doubt she would...she's got pretty used to them in the glass tank over the last week.
Cheap, easy and very functional. Should last these chicks a good long time, and be reusable for future small hatches. I have 30 in the bator right now, and will need to build something larger for them.