- Jan 11, 2012
- 81
- 114
- 81
Sponsored Content from www.Brinsea.com
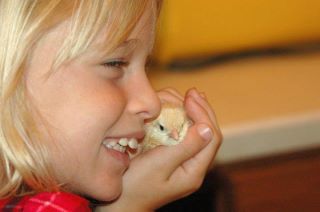
Nobody can resist fluffy baby chicks so what would be better than hatching your own. Imagine looking into an incubating egg and watching the embryo develop from the first sighting of blood veins and pulsating heart to the excitement of an emerging chick all wet and exhausted. And this miracle takes only 21 days!
You like the idea but have concerns about the cost and difficulty factor. Well let us put your mind at rest and make your first time incubating an enjoyable experience you will want to repeat.
Choose a good incubator
Incubators have come a long way and now you can purchase a good quality small incubator to hatch 7 to 10 eggs for $70 to $130.
An accurate temperature control is key to a successful hatch so look for an incubator with reliable electronic temperature control. Choose incubators made of waterproof materials and with simple turning mechanisms which can be cleaned easily and will not be a breeding ground for bacteria.
Egg turning can be done manually but bearing in mind that eggs need to be turned at least 4 times a day and preferably every hour – so you may want to pay a little extra for automatic turning!
The Mini Advance for instance rotates the eggs automatically every hour and counts down to hatch day. It automatically stops the turning 2 days before the eggs are due to hatch - so no risk of injuries to the chicks from moving parts. The temperature is already preset at 99.5°F and there is a high/low alarm which would sound if you forget to close the lid for example.
The menu is only accessed by pressing a combination of keys so not so easy for little fingers to interfere with the settings...
Basically it's ready to use right out of the box, just plug it in, add water and play! It couldn’t be easier!
Get quality fertile eggs
Apart from a good incubator you will need fertile eggs. If you have a flock of healthy hens that includes a rooster then you’re all set. If you don’t have a rooster it’s always best to source your fertile eggs locally. They will be fresher and their chances of hatching won’t have been compromised by jostling and extreme temperatures during shipping.
Now the fun part – candling!
Candling is the method used to observe the growth and development of an embryo inside an egg which uses a bright light source behind the egg to show details through the shell. It is so called because the original sources of light used were candles.
Modern egg candlers or candling lamps are lights with a concentrated beam. LEDs are now preferred because they are very bright, very efficient and put out a cool light rather than a lot of heat that might damage the embryos.
Candling allows you to monitor many things including the egg fertility, embryo development and weight loss rate.
By being able to identify and remove non-viable eggs (infertile or early death) you can also avoid the risk of a bad egg contaminating your hatch with germs.
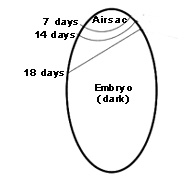
During incubation the air sac size should increase as moisture evaporates from the egg. Eggs need to lose about 13% of their original weight during incubation. If your humidity level is is right, the air sac should increase at different days of incubation according to the diagram shown here. If the incubation humidity is too low (very dry conditions), the air sac will be larger than normal and the humidity in the incubator sho
uld be increased to reduce the rate of water loss. If the air space is smaller than normal then the opposite applies.
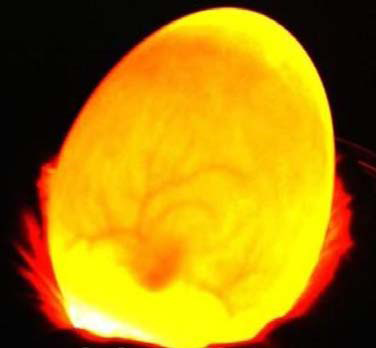
Eggs may be candled after 5 days of incubation and every few days thereafter. For best results you should candle eggs in a darkened room or in dimly lit conditions. The candler should be held right against the shell at the larger end of the egg where the air sac is located. The egg can be rotated to observe blood vessel growth and embryo development.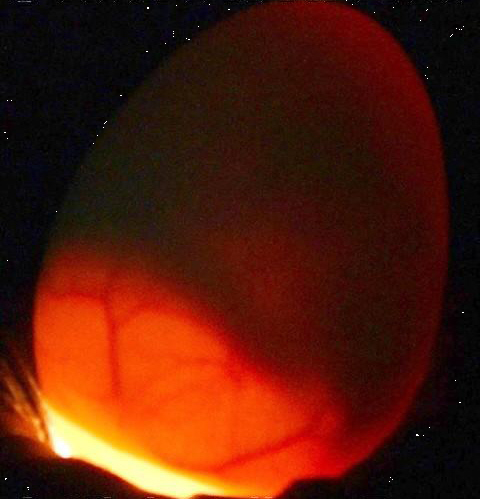
Initially you will be able to see a small embryo and a web of blood vessels radiating from it. As the chick grows it will be hard to make out detail but you should still be able to see movement.
Conversely, infertile eggs will remain clear and eggs which have died will show a dark ring. It will take a little practice to become a confident candler. Do not discard any eggs if you are not sure. Have another look at them later comparing them to your good eggs to help you decide.
The magical hatching...
2 days before the eggs are due to hatch you should stop turning and eggs and make sure the water reservoirs are well topped up. Humidity needs to be high during hatching so do not open the incubator.
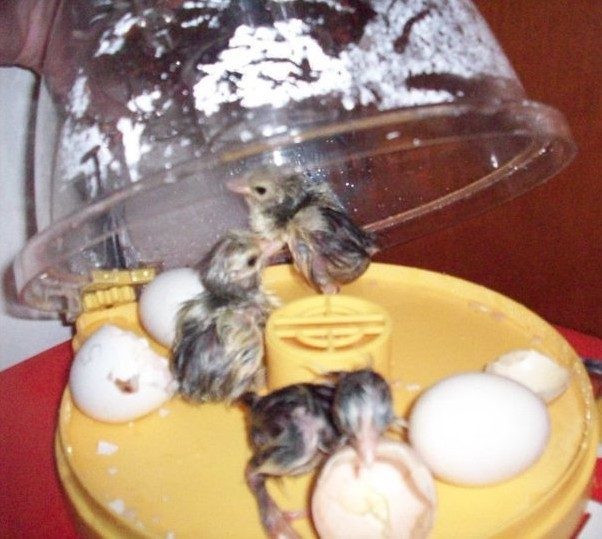
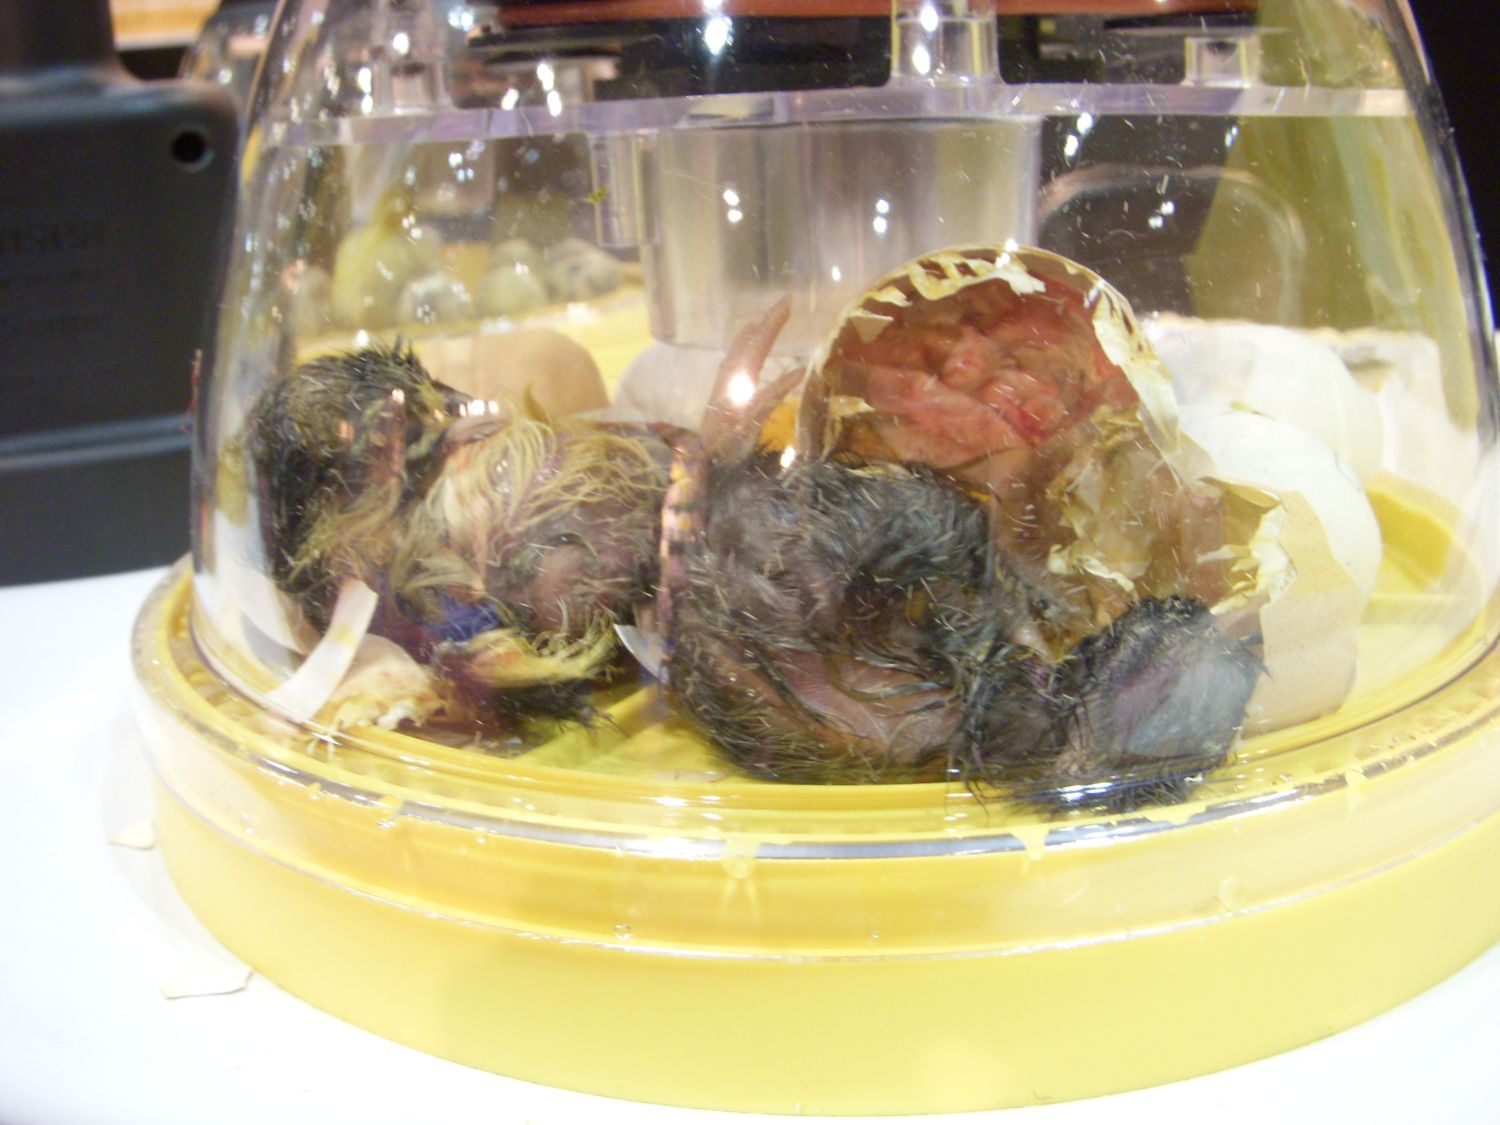
Birth takes time! 24 hours or more from the time you notice the first bump on the shell to the time the chicks emerges all wet and exhausted. So be patient, don't be tempted to help and don’t transfer the chicks under a brooder until they are fully fluffed up or they could chill. Your patience will be rewarded with little bundles of fuzzy cuteness nobody can resist.
One word of caution, hatching is addictive and you could soon be overrun")
For more information on candling and other incubation procedures you can download a free Incubation Handbook from www.Brinsea.com
We’d also recommend you take a look at the Incubating and Hatching eggs threads on the Forum and join Brinsea on Facebook.
Happy Hatching!
Feel free to post any questions you have about hatching, incubators, or baby chicks!
Hatch your own chicks!
Incubating a small number of eggs has never been easier or more affordable
Incubating a small number of eggs has never been easier or more affordable
Nobody can resist fluffy baby chicks so what would be better than hatching your own. Imagine looking into an incubating egg and watching the embryo develop from the first sighting of blood veins and pulsating heart to the excitement of an emerging chick all wet and exhausted. And this miracle takes only 21 days!
You like the idea but have concerns about the cost and difficulty factor. Well let us put your mind at rest and make your first time incubating an enjoyable experience you will want to repeat.
Choose a good incubator
Incubators have come a long way and now you can purchase a good quality small incubator to hatch 7 to 10 eggs for $70 to $130.
An accurate temperature control is key to a successful hatch so look for an incubator with reliable electronic temperature control. Choose incubators made of waterproof materials and with simple turning mechanisms which can be cleaned easily and will not be a breeding ground for bacteria.
Egg turning can be done manually but bearing in mind that eggs need to be turned at least 4 times a day and preferably every hour – so you may want to pay a little extra for automatic turning!
The Mini Advance for instance rotates the eggs automatically every hour and counts down to hatch day. It automatically stops the turning 2 days before the eggs are due to hatch - so no risk of injuries to the chicks from moving parts. The temperature is already preset at 99.5°F and there is a high/low alarm which would sound if you forget to close the lid for example.
The menu is only accessed by pressing a combination of keys so not so easy for little fingers to interfere with the settings...
Basically it's ready to use right out of the box, just plug it in, add water and play! It couldn’t be easier!
Get quality fertile eggs
Apart from a good incubator you will need fertile eggs. If you have a flock of healthy hens that includes a rooster then you’re all set. If you don’t have a rooster it’s always best to source your fertile eggs locally. They will be fresher and their chances of hatching won’t have been compromised by jostling and extreme temperatures during shipping.
Now the fun part – candling!
Candling is the method used to observe the growth and development of an embryo inside an egg which uses a bright light source behind the egg to show details through the shell. It is so called because the original sources of light used were candles.
Modern egg candlers or candling lamps are lights with a concentrated beam. LEDs are now preferred because they are very bright, very efficient and put out a cool light rather than a lot of heat that might damage the embryos.
Candling allows you to monitor many things including the egg fertility, embryo development and weight loss rate.
By being able to identify and remove non-viable eggs (infertile or early death) you can also avoid the risk of a bad egg contaminating your hatch with germs.
During incubation the air sac size should increase as moisture evaporates from the egg. Eggs need to lose about 13% of their original weight during incubation. If your humidity level is is right, the air sac should increase at different days of incubation according to the diagram shown here. If the incubation humidity is too low (very dry conditions), the air sac will be larger than normal and the humidity in the incubator sho
uld be increased to reduce the rate of water loss. If the air space is smaller than normal then the opposite applies.
Eggs may be candled after 5 days of incubation and every few days thereafter. For best results you should candle eggs in a darkened room or in dimly lit conditions. The candler should be held right against the shell at the larger end of the egg where the air sac is located. The egg can be rotated to observe blood vessel growth and embryo development.
Initially you will be able to see a small embryo and a web of blood vessels radiating from it. As the chick grows it will be hard to make out detail but you should still be able to see movement.
Conversely, infertile eggs will remain clear and eggs which have died will show a dark ring. It will take a little practice to become a confident candler. Do not discard any eggs if you are not sure. Have another look at them later comparing them to your good eggs to help you decide.
The magical hatching...
2 days before the eggs are due to hatch you should stop turning and eggs and make sure the water reservoirs are well topped up. Humidity needs to be high during hatching so do not open the incubator.
Birth takes time! 24 hours or more from the time you notice the first bump on the shell to the time the chicks emerges all wet and exhausted. So be patient, don't be tempted to help and don’t transfer the chicks under a brooder until they are fully fluffed up or they could chill. Your patience will be rewarded with little bundles of fuzzy cuteness nobody can resist.
One word of caution, hatching is addictive and you could soon be overrun
For more information on candling and other incubation procedures you can download a free Incubation Handbook from www.Brinsea.com
We’d also recommend you take a look at the Incubating and Hatching eggs threads on the Forum and join Brinsea on Facebook.
Happy Hatching!
Feel free to post any questions you have about hatching, incubators, or baby chicks!
Last edited:
